instrument panel DODGE VIPER 2008 ZB II / 2.G Owners Manual
[x] Cancel search | Manufacturer: DODGE, Model Year: 2008, Model line: VIPER, Model: DODGE VIPER 2008 ZB II / 2.GPages: 303, PDF Size: 2.65 MB
Page 2 of 303
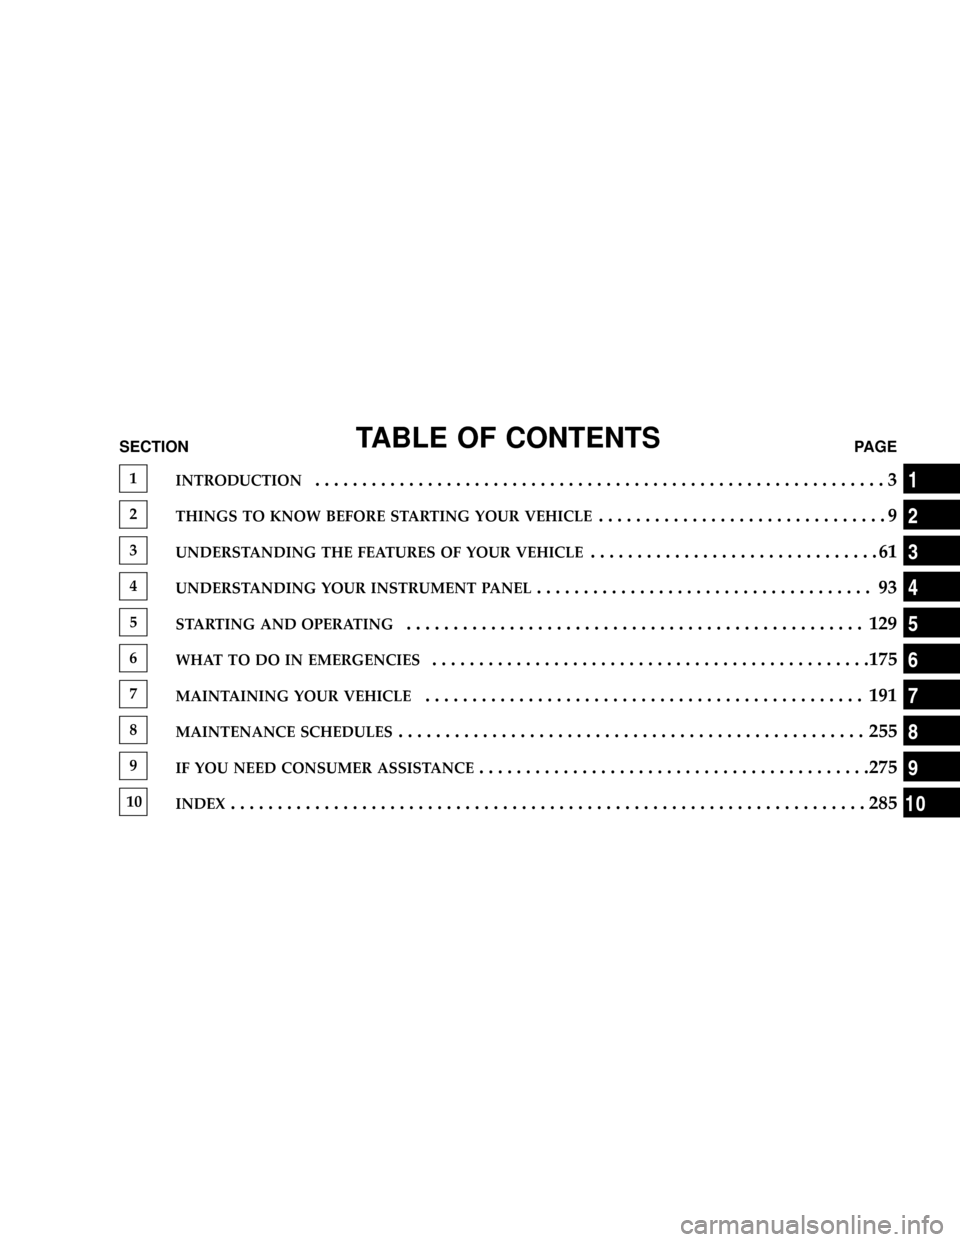
TABLE OF CONTENTSSECTIONPAGE
1INTRODUCTION.............................................................3
2THINGS TO KNOW BEFORE STARTING YOUR VEHICLE...............................9
3UNDERSTANDING THE FEATURES OF YOUR VEHICLE...............................61
4UNDERSTANDING YOUR INSTRUMENT PANEL.................................... 93
5STARTING AND OPERATING................................................. 129
6WHAT TO DO IN EMERGENCIES...............................................175
7MAINTAINING YOUR VEHICLE............................................... 191
8MAINTENANCE SCHEDULES.................................................. 255
9IF YOU NEED CONSUMER ASSISTANCE..........................................275
10INDEX....................................................................285
1
2
3
4
5
6
7
8
9
10
Page 7 of 303
WARNINGS AND CAUTIONS
This manual containsWARNINGSagainst operating
procedures, which could result in an accident or bodily
injury. It also containsCAUTIONSagainst procedures,
which could result in damage to your vehicle. If you do
not read this entire manual, you may miss important
information. Observe all Warnings and Cautions.
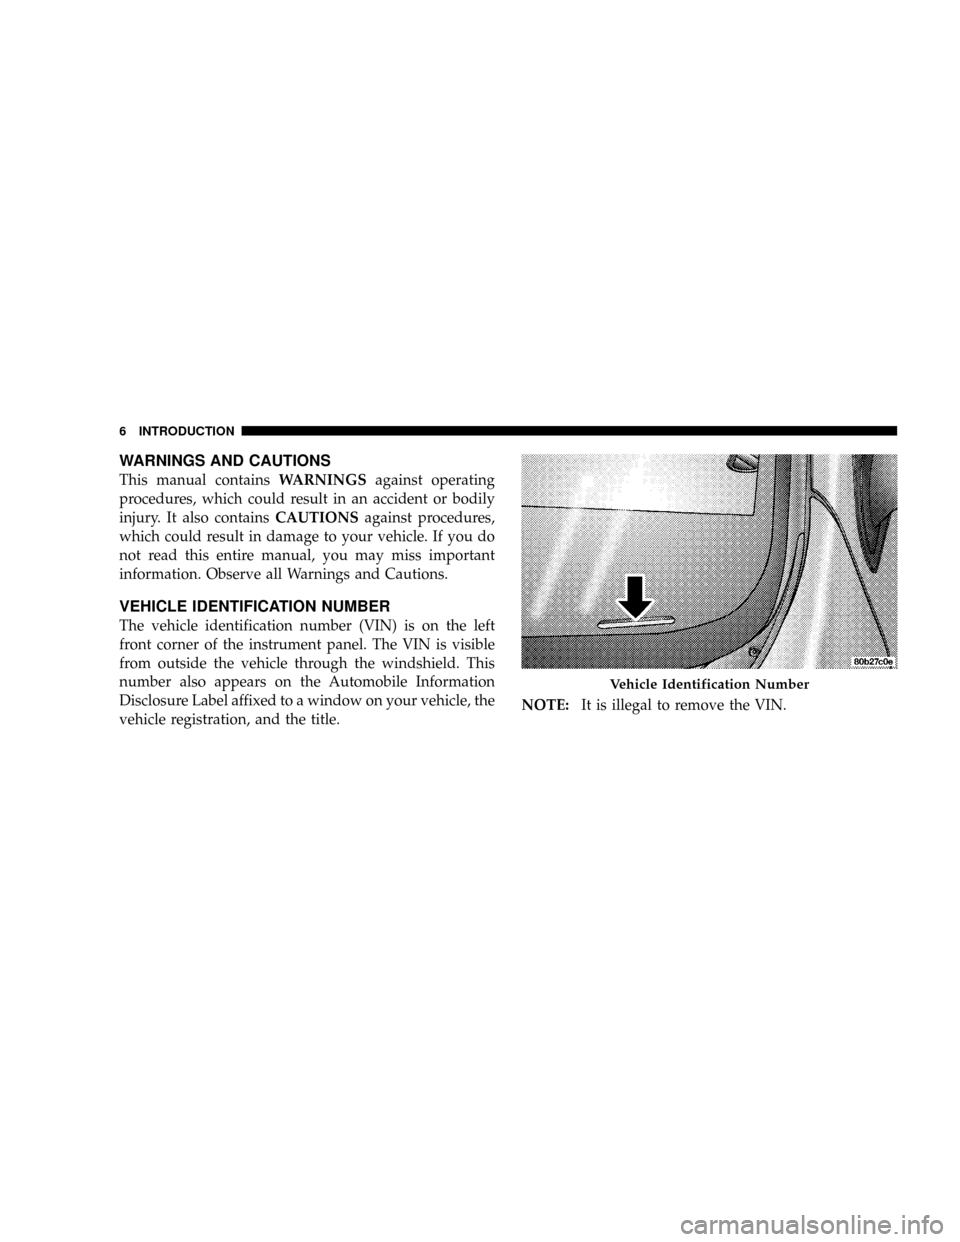
VEHICLE IDENTIFICATION NUMBER
The vehicle identification number (VIN) is on the left
front corner of the instrument panel. The VIN is visible
from outside the vehicle through the windshield. This
number also appears on the Automobile Information
Disclosure Label affixed to a window on your vehicle, the
vehicle registration, and the title.NOTE:It is illegal to remove the VIN.
Vehicle Identification Number
6 INTRODUCTION
Page 41 of 303
Driver and Passenger Supplemental Restraint
System (SRS) - Airbag
This vehicle is equipped with airbags for the driver and
passenger as a supplement to the seat belt restraint
systems. The driver airbag is mounted in the steering
wheel. The passenger airbag is mounted underneath a
cover in the passenger's side of the instrument panel. The
words SRS/AIRBAG is embossed on the airbag covers.
NOTE:The airbags are certified to the Federal regula-
tions that allow less forceful deployment. The passenger
airbag is certified to the Federal regulations that define
Occupant Classification (Refer to ªHow The Airbag Sys-
tem Worksº in this section).
The airbags have a multi stage inflator design. This may
allow the airbag to have different rates of inflation that
are based on collision severity and occupant size.
WARNING!
²Do not put anything on or around the airbag covers or
attempt to open them manually. You may damage the
airbags and you could be injured because the airbags are
no longer functional. These protective covers for the
airbag cushions are designed to open only when the
airbags are inflating.
²Do not drill, cut, or tamper with the knee bolster in any
way.
²Do not mount any accessories to the knee bolster such as
alarm lights, stereos, citizens band radios, etc.
²Relying on the airbags alone could lead to more severe
injuries in a collision. The airbags work with your seat
belt to restrain you properly. In some collisions, the
airbags won't deploy at all. Always wear your seat belts
even though you have airbags.
²Being too close to the steering wheel or instrument panel
during airbag deployment could cause serious injury.
Airbags need room to inflate. Sit back, extending your
arms comfortably to reach the steering wheel or instru-
ment panel.
40 THINGS TO KNOW BEFORE STARTING YOUR VEHICLE
Page 42 of 303
The airbags work with the instrument panel knee bolsters
and the seat belts to provide improved protection for the
driver and passenger. While the seat belts are designed to
protect the driver and passenger in many types of
collisions, the airbags will deploy in moderate to severe
frontal collisions. However, even in collisions where the
airbags deploy, all occupants need the seat belts to keep
them in the right position for the airbags to protect
properly.
NOTE:The passenger airbag may not deploy if the
Occupant Classification System (refer to ªHow The Air-
bag System Worksº in this section) determines the seat is
empty or is occupied by someone that is classified in the
ªchildº category. This could be a child, a teenager, or
even a small adult. Therefore, even if the driver airbag
deploys, the passenger airbag may not deploy.
Here are some simple steps you can take to minimize
the risk of harm from a deploying airbag.1. An infant up to 1 year or approximately 20 pounds (9
kg) should never ride in the vehicle, because in the event
of a crash the rear facing child seat places them too close
to the passenger airbag.
2. An infant in rear facing child safety seat, designed for
a child up to one year or approximately 20 pounds (9 kg),
shouldNEVERride in the front seat of a vehicle
equipped with a passenger airbag, unless the airbag is
shut OFF. An airbag deployment can cause severe injury
or death to an infant in this position. Refer to ªPassenger
Airbag Disabled (PAD) Indicator Lightº in this section.
3. A child that is not big enough to wear the vehicle seat
belt properly (refer to information on Child Restraint in
this section) should be secured in a child safety seat or
booster seat.
4. An older child who does not use a child safety seat or
booster seat should ride buckled properly in their seat.
THINGS TO KNOW BEFORE STARTING YOUR VEHICLE 41
2
Page 43 of 303
5. Never allow a child to place the shoulder belt behind
them or under the arm.
6. Never allow a child to lean forward toward the
instrument panel as a passenger airbag deployment
could cause severe injury or death to a child in this
position.
7. For a child from 1 to 12 years old: Move the passenger
seat as far back as possible. For a child from 20 to 60
pounds (9 kg to 27 kg): Secure them in the appropriate
child safety seat or booster seat. If too large for a booster
seat, the child should wear the lap/shoulder belt prop-
erly.
8. Read the instructions provided with your child re-
straint to make sure that you are using it properly.
9. Read the instructions provided with your child safety
seat or booster seat to make sure that you are using it
properly.10. All occupants should wear their lap and shoulder
belts properly.
11. Position the driver seat and passenger seat as far
away from the instrument panel as practical to allow the
airbags room to inflate. Note that the power adjustable
pedals allow for more driver's seat adjustment options.
Refer to ªAdjustable Pedalsº in Section 3 of this manual
for details.
Airbag System Components
The airbag system consists of the following:
²Occupant Restraint Controller (ORC)
²Airbag Warning Light
²Driver Airbag
²Passenger Airbag
²Passenger Airbag Off Light
42 THINGS TO KNOW BEFORE STARTING YOUR VEHICLE
Page 44 of 303
²Steering Wheel and Column
²Instrument Panel
²Seat Track Position Sensors
²Interconnecting Wiring
²Seat Belt Reminder Light
²Knee Impact Bolsters
²Front Acceleration Sensors
²Passenger Seat Occupant Classification System (OCS)
þOccupant Classification Module (OCM)
þPassenger Airbag Disabled (PAD) Indicator Light
þFlex Mat
þInterconnecting Wiring
þSeat Track Position Sensors
How The Airbag System Works
²
TheOccupant Restraint Controller (ORC)determines
if a frontal collision is severe enough to require the
airbags to inflate. The airbag inflators are designed to
provide different rates of inflation. Based on the level
of collision severity, the ORC determines the proper
rate of inflation. The ORC may modify the rate of
passenger airbag inflation or prevent passenger airbag
deployment based on input from the Occupant Clas-
sification System (OCS). The ORC will not detect roll
over or rear impacts. Furthermore, the airbags are not
on and will not inflate if the key is in the OFF/LOCK
position, in the ACC position, or not in the ignition.
The ORC also monitors the readiness of the electronic
parts of the system whenever the ignition switch is in
the ON/RUN position. These include all of the items
listed under ªAirbag System Componentsº except the
steering wheel and column and the knee bolsters.
THINGS TO KNOW BEFORE STARTING YOUR VEHICLE 43
2
Page 45 of 303
The ORC turns on the Airbag warning light
and Passenger Airbag Disable (PAD) indica-
tor light for 6 to 8 seconds as a self-check
when the ignition is first turned on. After the
self-check, the Airbag warning light will turn off and
the PAD indicator light will function normally (Refer to
ªPassenger Airbag Disable (PAD) Indicator Lightº in
this section). If the ORC detects a malfunction in any
part of the system, it turns on the Airbag warning light
either momentarily or continuously. A single chime will
sound if the light comes on again after initial start up.
WARNING!
Ignoring the Airbag Warning Light in your instrument
panel could mean you won't have the airbags to protect
you in a collision. If the light does not come on, stays
on after you start the vehicle, or if it comes on as you
drive, have the airbag system checked right away.
²TheDriver Airbag/Inflator Unitis mounted in the
steering wheel. ThePassenger Airbag/Inflator Unitis
mounted underneath a cover in the passenger side of
the instrument panel. When the ORC detects a colli-
sion requiring the airbags, it signals the inflator units.
A large quantity of non-toxic gas is generated to inflate
the airbags. Different airbag inflation rates may be
possible based on collision severity and occupant size.
The steering wheel hub trim cover and the upper right
side of the instrument panel separate and then fold out
of the way, as the bags inflate to their full size. The
bags inflate fully in about 50±70 milliseconds. This is
about half of the time it takes to blink your eyes. The
bags then deflate quickly while helping to restrain the
driver and passenger. The airbag gas is vented toward
the instrument panel through vent holes in the airbag
material. In this way, the airbags do not interfere with
your control of the vehicle.
44 THINGS TO KNOW BEFORE STARTING YOUR VEHICLE
Page 47 of 303
who is seated properly in the passenger seat. The
driver and passenger should always use the PAD
indicator light as an indication that the passenger is
positioned properly in their seat. If the PAD indicator
light comes on when an adult or teenager is in the
passenger seat, have the passenger reposition their self
in the seat until the light goes out. Remember, if the
PAD indicator light is illuminated the passenger air-
bag will not inflate in the event of a collision.
The passenger airbag will not be enabled for most any
size child who is seated properly in the passenger seat
and for most properly installed child restraint systems.
However, under certain conditions, even with a properly
installed child restraint system, the PAD indicator light
may not be on, even though the airbag is disabled. This
can occur if the child restraint is lighter than the thresh-
old weight necessary to turn the PAD indicator light on.
In any case,DO NOTassume the airbag is turned off if
the PAD indicator light is not illuminated.WARNING!
An infant in rear facing child safety seat, designed
for a child up to one year or approximately 20 pounds
(9 kg), should NEVER ride in the front seat of a
vehicle equipped with a passenger airbag, unless the
airbag is shut OFF. An airbag deployment can cause
severe injury or death to an infant in this position.
²TheFlex Matis located beneath the passenger seat
cushion foam. The Flex Mat sends signals to the OCM
for classifying the occupant in the passenger seat.
Any weight on the seat will be sensed by the Flex Mat.
Therefore, the occupant in the passenger seat needs to
sit in a normal position (with their feet on or near the
floor) in order to be classified properly. If an occu-
pant's weight is transferred to another part of the
vehicle (like the door or instrument panel), the system
46 THINGS TO KNOW BEFORE STARTING YOUR VEHICLE
Page 60 of 303
Periodic Safety Checks You Should Make Outside
The Vehicle
Tires
Examine tires for excessive tread wear or uneven wear
patterns. Check for stones, nails, glass, or other objects
lodged in the tread. Inspect the tread and side wall for
cuts and cracks. Check the wheel nuts for tightness.
Check the tires for proper pressure.
Lights
Have someone observe the operation of exterior lights
while you work the controls. Check turn signal and high
beam indicator lights on the instrument panel.
Door Latches
Check for positive closing, latching, and locking.
Fluid Leaks
Check the area under the vehicle after overnight parking
for fuel, water, oil, or other fluid leaks. Also, if gasoline
fumes are present, the cause should be corrected imme-
diately.
THINGS TO KNOW BEFORE STARTING YOUR VEHICLE 59
2
Page 82 of 303
LIGHTS
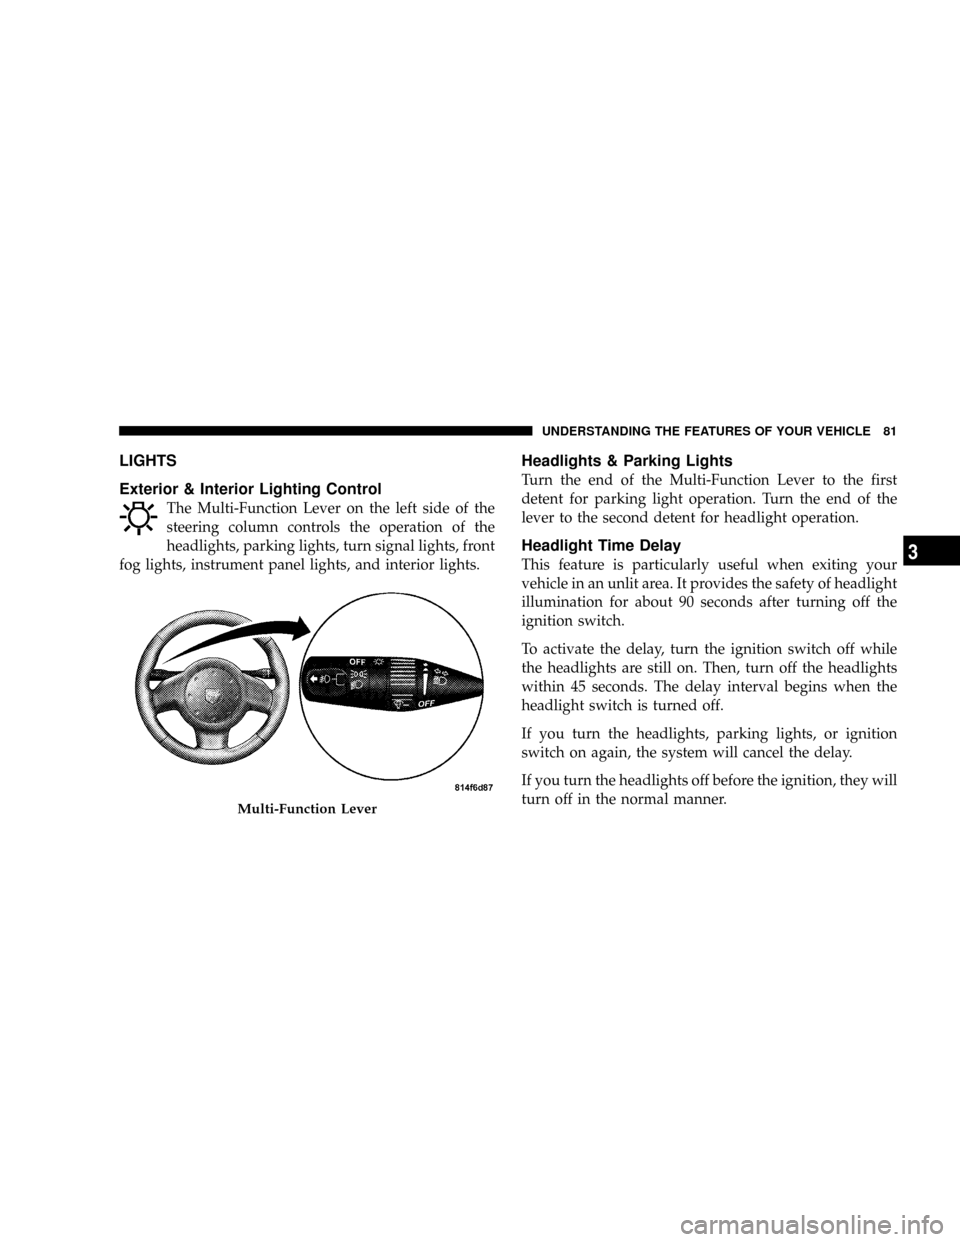
Exterior & Interior Lighting Control
The Multi-Function Lever on the left side of the
steering column controls the operation of the
headlights, parking lights, turn signal lights, front
fog lights, instrument panel lights, and interior lights.
Headlights & Parking Lights
Turn the end of the Multi-Function Lever to the first
detent for parking light operation. Turn the end of the
lever to the second detent for headlight operation.
Headlight Time Delay
This feature is particularly useful when exiting your
vehicle in an unlit area. It provides the safety of headlight
illumination for about 90 seconds after turning off the
ignition switch.
To activate the delay, turn the ignition switch off while
the headlights are still on. Then, turn off the headlights
within 45 seconds. The delay interval begins when the
headlight switch is turned off.
If you turn the headlights, parking lights, or ignition
switch on again, the system will cancel the delay.
If you turn the headlights off before the ignition, they will
turn off in the normal manner.
Multi-Function Lever
UNDERSTANDING THE FEATURES OF YOUR VEHICLE 81
3