oil DODGE VIPER 2008 ZB II / 2.G Owners Manual
[x] Cancel search | Manufacturer: DODGE, Model Year: 2008, Model line: VIPER, Model: DODGE VIPER 2008 ZB II / 2.GPages: 303, PDF Size: 2.65 MB
Page 23 of 303
2. Remove and replace the battery. Avoid touching the
new battery with your fingers. Skin oils may cause
battery deterioration. If you touch a battery, clean it with
rubbing alcohol.
3. To assemble the transmitter case, snap the two halves
together.
4. Test the transmitter operation.
General Information
This transmitter complies with FCC rules part 15. Opera-
tion is subject to the following conditions:
1. This device may not cause harmful interference.
2. This device must accept any interference that may be
received, including interference that may cause undes-
ired operation.
If your Remote Keyless Entry transmitter ever fails to
operate from a normal distance, check the following:1. Closeness to a radio transmitter, such as a radio station
tower, airport transmitter, and some mobile or CB radios
can affect transmitter operation. To verify if this is the
cause, move the vehicle to another area and test trans-
mitter operation.
2. The transmitter may become ªout of syncº and will no
longer function if operated more than 255 times while out
of range of the vehicle (23 feet or 7 meters) or if operated
while the vehicle battery is dead or disconnected. To
ªsynchronizeº the transmitter, remove the key from the
ignition. Close the hood and all doors. Press both buttons
on the transmitter for about 10 seconds. The horn will
chirp once to acknowledge the signal. Normal transmit-
ter operation should resume.
3. The transmitter battery may be weak or dead. The
expected life of the battery is a minimum of three years.
22 THINGS TO KNOW BEFORE STARTING YOUR VEHICLE
Page 58 of 303
²Avoid excessive idling.
²Check the engine oil level at every fuel fill.
NOTE:A new engine will consume some oil during the
first few thousand miles of operation. This should be
considered as a normal part of the break-in and not
interpreted as a sign of difficulty.
SAFETY TIPS
Exhaust Gas
Do not run the engine in a closed garage or in confined
areas any longer than needed to move your vehicle in or
out of the area.
If it is necessary to sit in a parked vehicle with the engine
running, adjust your heating or cooling controls to force
outside air into the vehicle. Set the blower at high speed.The best protection against carbon monoxide entry into
the vehicle body is a properly maintained engine exhaust
system.
Whenever a change is noticed in the sound of the exhaust
system, when exhaust fumes can be detected inside the
vehicle, or when the underside or rear of the vehicle is
damaged, have a competent technician inspect the com-
plete exhaust system and adjacent body areas for broken,
damaged, deteriorated, or mispositioned parts. Open
seams or loose connections could permit exhaust fumes
to seep into the passenger compartment. In addition,
inspect the exhaust system each time the vehicle is raised
for lubrication or oil change. Replace as required.
THINGS TO KNOW BEFORE STARTING YOUR VEHICLE 57
2
Page 60 of 303
Periodic Safety Checks You Should Make Outside
The Vehicle
Tires
Examine tires for excessive tread wear or uneven wear
patterns. Check for stones, nails, glass, or other objects
lodged in the tread. Inspect the tread and side wall for
cuts and cracks. Check the wheel nuts for tightness.
Check the tires for proper pressure.
Lights
Have someone observe the operation of exterior lights
while you work the controls. Check turn signal and high
beam indicator lights on the instrument panel.
Door Latches
Check for positive closing, latching, and locking.
Fluid Leaks
Check the area under the vehicle after overnight parking
for fuel, water, oil, or other fluid leaks. Also, if gasoline
fumes are present, the cause should be corrected imme-
diately.
THINGS TO KNOW BEFORE STARTING YOUR VEHICLE 59
2
Page 96 of 303
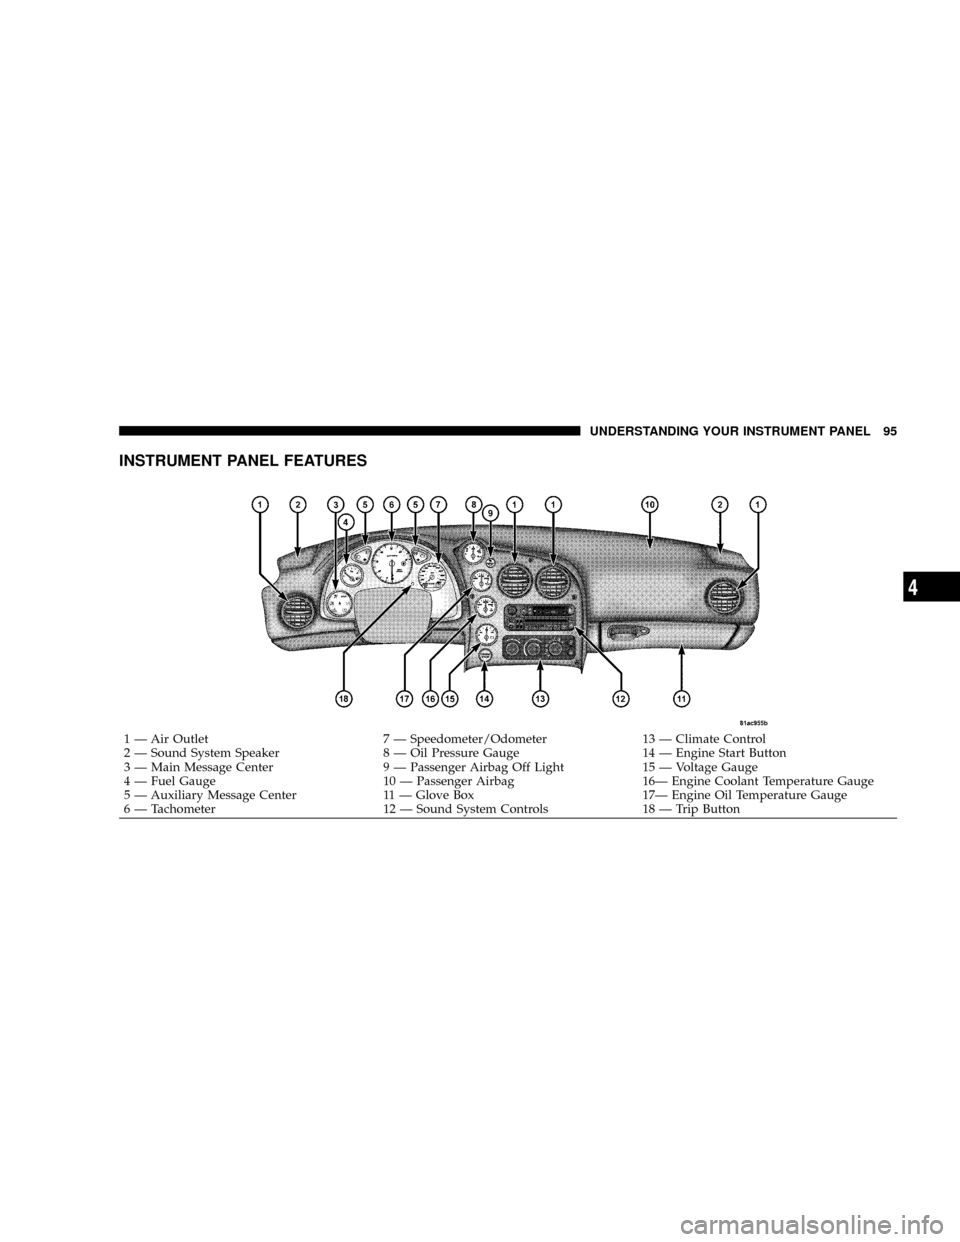
INSTRUMENT PANEL FEATURES
1 Ð Air Outlet 7 Ð Speedometer/Odometer 13 Ð Climate Control
2 Ð Sound System Speaker 8 Ð Oil Pressure Gauge 14 Ð Engine Start Button
3 Ð Main Message Center 9 Ð Passenger Airbag Off Light 15 Ð Voltage Gauge
4 Ð Fuel Gauge 10 Ð Passenger Airbag 16Ð Engine Coolant Temperature Gauge
5 Ð Auxiliary Message Center 11 Ð Glove Box 17Ð Engine Oil Temperature Gauge
6 Ð Tachometer 12 Ð Sound System Controls 18 Ð Trip ButtonUNDERSTANDING YOUR INSTRUMENT PANEL 95
4
Page 105 of 303
6000 RPM. This serves as a visual aid to shift before
reaching the red line. This warning will turn off when the
tachometer pointer falls below 5900 RPM. (See page 136
for more information.)
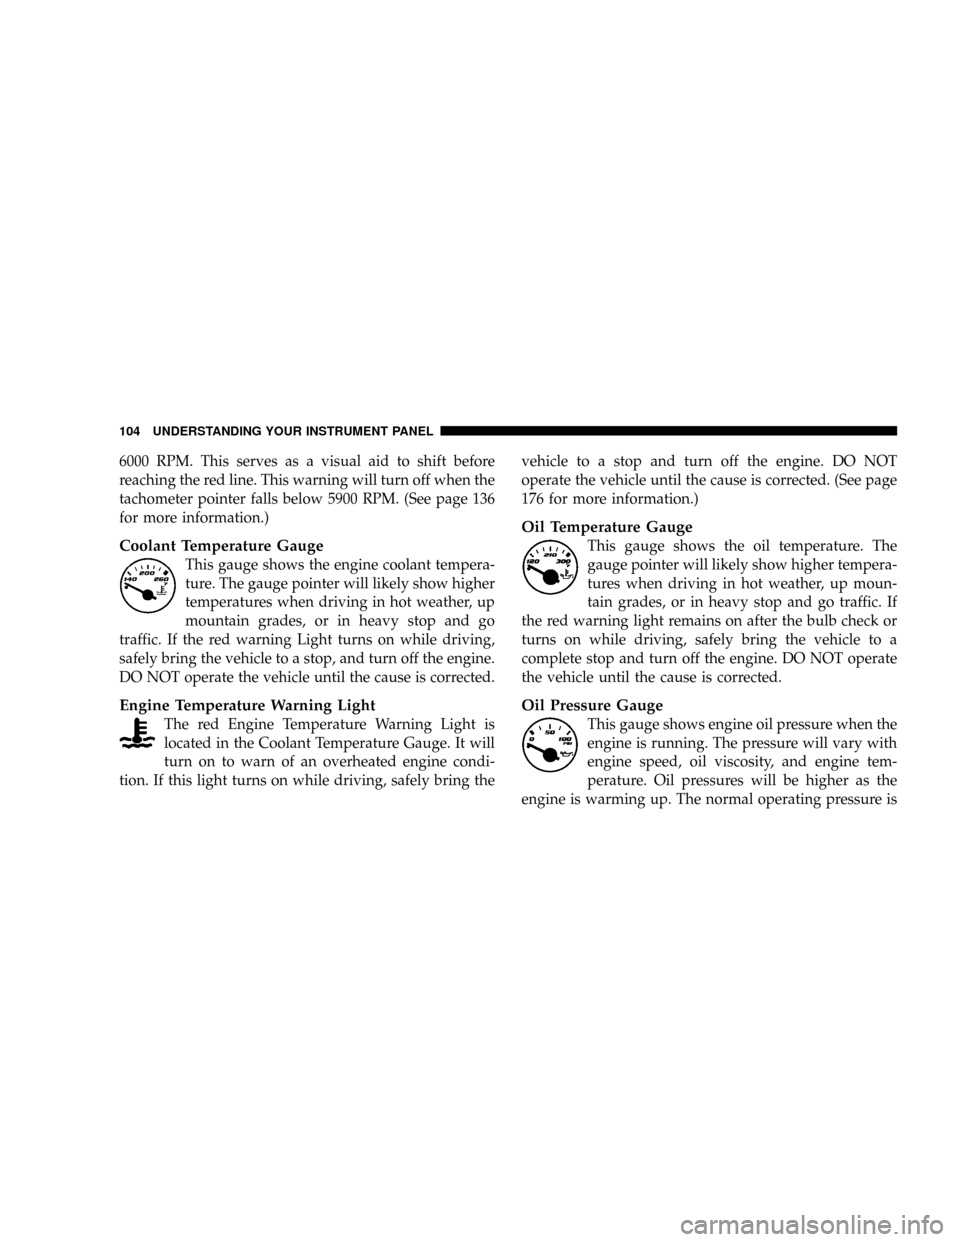
Coolant Temperature Gauge
This gauge shows the engine coolant tempera-
ture. The gauge pointer will likely show higher
temperatures when driving in hot weather, up
mountain grades, or in heavy stop and go
traffic. If the red warning Light turns on while driving,
safely bring the vehicle to a stop, and turn off the engine.
DO NOT operate the vehicle until the cause is corrected.
Engine Temperature Warning Light
The red Engine Temperature Warning Light is
located in the Coolant Temperature Gauge. It will
turn on to warn of an overheated engine condi-
tion. If this light turns on while driving, safely bring thevehicle to a stop and turn off the engine. DO NOT
operate the vehicle until the cause is corrected. (See page
176 for more information.)
Oil Temperature Gauge
This gauge shows the oil temperature. The
gauge pointer will likely show higher tempera-
tures when driving in hot weather, up moun-
tain grades, or in heavy stop and go traffic. If
the red warning light remains on after the bulb check or
turns on while driving, safely bring the vehicle to a
complete stop and turn off the engine. DO NOT operate
the vehicle until the cause is corrected.
Oil Pressure Gauge
This gauge shows engine oil pressure when the
engine is running. The pressure will vary with
engine speed, oil viscosity, and engine tem-
perature. Oil pressures will be higher as the
engine is warming up. The normal operating pressure is
104 UNDERSTANDING YOUR INSTRUMENT PANEL
Page 106 of 303
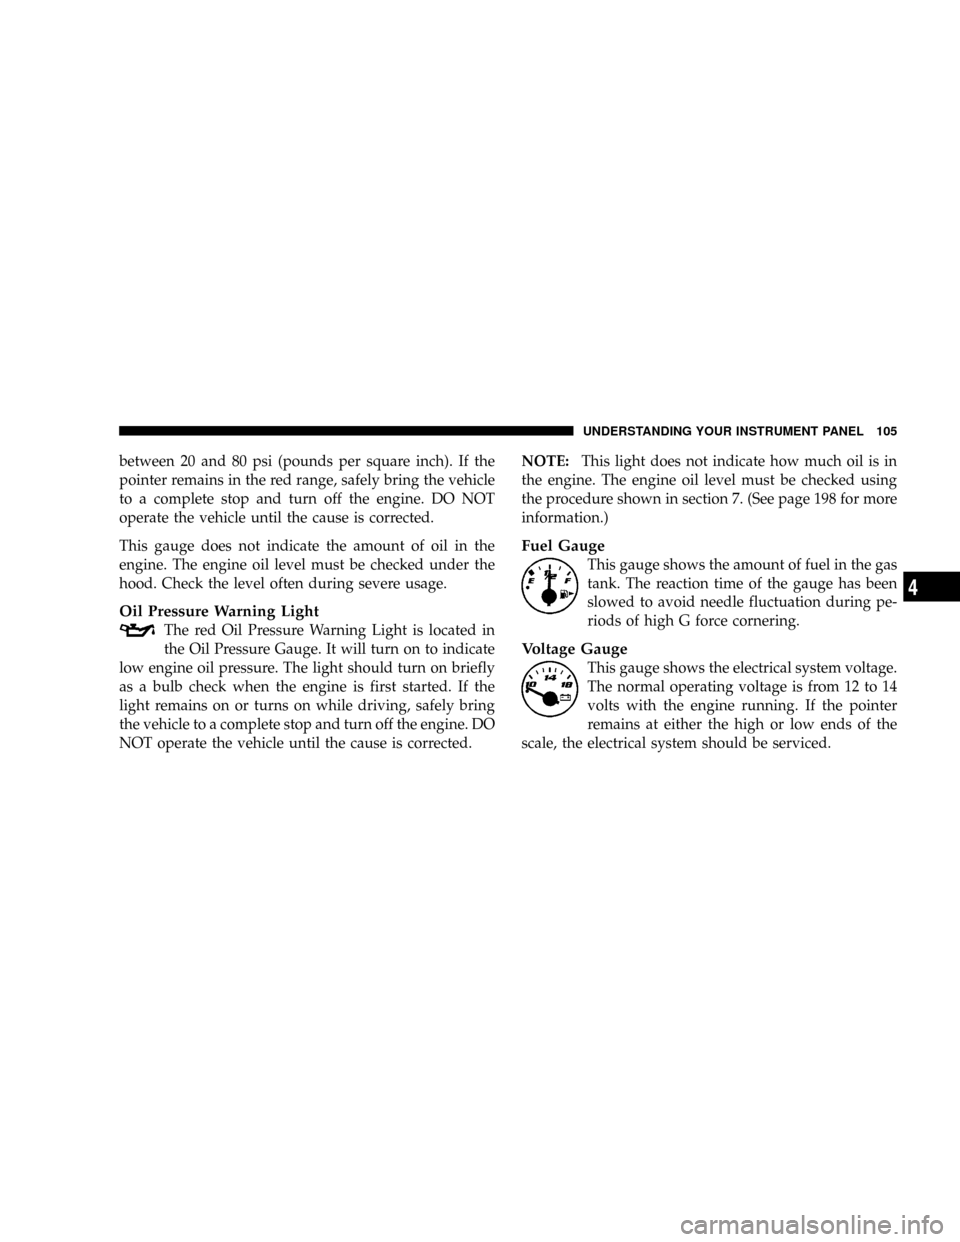
between 20 and 80 psi (pounds per square inch). If the
pointer remains in the red range, safely bring the vehicle
to a complete stop and turn off the engine. DO NOT
operate the vehicle until the cause is corrected.
This gauge does not indicate the amount of oil in the
engine. The engine oil level must be checked under the
hood. Check the level often during severe usage.
Oil Pressure Warning Light
The red Oil Pressure Warning Light is located in
the Oil Pressure Gauge. It will turn on to indicate
low engine oil pressure. The light should turn on briefly
as a bulb check when the engine is first started. If the
light remains on or turns on while driving, safely bring
the vehicle to a complete stop and turn off the engine. DO
NOT operate the vehicle until the cause is corrected.NOTE:This light does not indicate how much oil is in
the engine. The engine oil level must be checked using
the procedure shown in section 7. (See page 198 for more
information.)
Fuel Gauge
This gauge shows the amount of fuel in the gas
tank. The reaction time of the gauge has been
slowed to avoid needle fluctuation during pe-
riods of high G force cornering.
Voltage Gauge
This gauge shows the electrical system voltage.
The normal operating voltage is from 12 to 14
volts with the engine running. If the pointer
remains at either the high or low ends of the
scale, the electrical system should be serviced.
UNDERSTANDING YOUR INSTRUMENT PANEL 105
4
Page 142 of 303
Flowing/Rising Water
WARNING!
Do not drive on or cross a road or a path where water
is flowing and/or rising (as in storm run-off). Flow-
ing water can wear away the road or path's surface
and cause your vehicle to sink into deeper water.
Furthermore, flowing and/or rising water can carry
your vehicle away swiftly. Failure to follow this
warning may result in injuries that are serious or
fatal to you, your passengers, and others around you.
Shallow Standing Water
Although your vehicle is capable of driving through
shallow standing water, consider the following before
doing so:
CAUTION!
²Always check the depth of the standing water before
driving through it. Never drive through standing water that
is deeper than the bottom of the tire rims mounted on the
vehicle.
²Determine the condition of the road or the path that is
under water and if there are any obstacles in the way before
driving through the standing water.
²Do not exceed 5 mph (8 km/h) when driving through
standing water. This will minimize wave effects.
²Driving through standing water may cause damage to your
vehicle's drivetrain components. Always inspect your ve-
hicle's fluids (i.e., engine oil, transmission, axle, etc.) for
signs of contamination (i.e., fluid that is milky or foamy in
appearance) after driving through standing water. Do not
continue to operate the vehicle if any fluid appears con-
taminated, as this may result in further damage. Such
damage is not covered by the new vehicle limited warranty.
²Getting water inside your vehicle's engine can cause it to
lockup and stall out and cause serious internal damage to
the engine. Such damage is not covered by the new vehicle
limited warranty.
STARTING AND OPERATING 141
5
Page 163 of 303
Many states have laws requiring tire replacement at this
point.
Life of Tire
The service life of a tire is dependent upon varying
factors including but not limited to:
²Driving style
²Tire pressure
²Distance driven
WARNING!
Tires and spare tire should be replaced after six years,
regardless of the remaining tread. Failure to follow
this warning can result in sudden tire failure. You
could lose control and have an accident resulting in
serious injury or death.Keep dismounted tires in a cool, dry place with as little
exposure to light as possible. Protect tires from contact
with oil, grease, and gasoline.
Replacement Tires
The tires on your new vehicle provide a balance of many
characteristics. They should be inspected regularly for
wear and correct cold tire inflation pressure. The manu-
facturer strongly recommends that you use tires equiva-
lent to the originals in size, quality and performance
when replacement is needed (refer to the paragraph on
ªTread Wear Indicatorsº). Refer to the ªTire and Loading
Informationº placard for the size designation of your tire.
The service description and load identification will be
found on the original equipment tire. Failure to use
equivalent replacement tires may adversely affect the
safety, handling, and ride of your vehicle. We recommend
that you contact your original equipment or an autho-
rized tire dealer with any questions you may have on tire
specifications or capability.
162 STARTING AND OPERATING
Page 178 of 303
²In city traffic ÐWhile moving, shift into the highest
gear possible to reduce engine RPM.
NOTE:There are steps that you can take to slow down
an impending overheat condition. If your air conditioner
is on, turn it off. The air conditioning system adds heat to
the cooling system and turning off the A/C removes this
heat. You can also turn the Temperature control to
maximum heat, the Mode control to floor, and the fan
control to High. This allows the heater core to act as a
supplement to the radiator and aids in removing heat
from the cooling system.WARNING!
A hot cooling system is dangerous. You or others could
be badly burned by steam or boiling coolant. If your
temperature gauge pointer is in the red area, turn off
the engine immediately. You may want to call a service
center for service. If you decide to look under the hood
yourself, see Section 7 of this manual. Follow the
warnings under the Radiator Cap paragraph.
TIREFIT KIT
Small punctures in the tire tread can be sealed with
TIREFIT. Foreign objects (e.g., screws or nails) should not
be removed from the tire. TIREFIT can be used in outside
temperatures down to approximately -4ÉF (-20ÉC).
WHAT TO DO IN EMERGENCIES 177
6
Page 183 of 303
(B) Setting Up to Use TIREFIT:
Turn the Mode Select knob (4) to the Sealant/
Air Mode position.
1. Uncoil the Clear Sealant Hose (7) and then remove the
Yellow Cap from the fitting at the end of the hose.
2. Place the TIREFIT kit flat on the ground next to the
deflated tire.
3. Remove the cap from the valve stem and then screw
the fitting at the end of the Sealant Hose (7) onto the
valve stem.
4. Uncoil the Power Plug and Cable (5) and then insert
the plug into the vehicle's power outlet.
NOTE:Do not remove foreign objects (e.g., screws or
nails) from the tire.
(C)Injecting TIREFIT Sealant into the deflated tire:
1. Always start the engine before turning on the TIREFIT
kit.
2. After pressing the Air Pump Power Button
(3), the air pump should start to inflate the tire
and the sealant (white fluid) will flow from the
Sealant Bottle (1) through the Sealant Hose (7)
and into the tire.NOTE:Some sealant may leak out
through the puncture in the tire.
3.If the sealant Does Not Flow Through the Clear
Sealant Hose (7):
²Press the Air Pump Power Button (3) to turn off the
TIREFIT kit. Disconnect the Clear Sealant Hose (7)
from the valve stem. Make sure the valve stem is
free of debris. Reconnect the Clear Sealant Hose (7)
to the valve stem. Press the Air Pump Power Button
(3) to turn on the TIREFIT kit.
182 WHAT TO DO IN EMERGENCIES