engine DODGE VIPER 2013 VX / 3.G User Guide
[x] Cancel search | Manufacturer: DODGE, Model Year: 2013, Model line: VIPER, Model: DODGE VIPER 2013 VX / 3.GPages: 372, PDF Size: 2.41 MB
Page 109 of 372
2. Repeat the words and phrases when prompted byUconnect™ Voice. For best results, the Voice Training
session should be completed when the vehicle is
parked, engine running, all windows closed, and the
blower fan switched off. This procedure may be re-
peated with a new user. The system will adapt to the
last trained voice only.SEATS
Seats are a part of the Occupant Restraint System of the
vehicle.
WARNING!
•It is dangerous to ride in a cargo area, inside or
outside of a vehicle. In a collision, people riding in
these areas are more likely to be seriously injured
or killed.
• Do not allow people to ride in any area of your
vehicle that is not equipped with seats and seat
belts. In a collision, people riding in these areas are
more likely to be seriously injured or killed.
• Be sure everyone in your vehicle is in a seat and
using a seat belt properly.3
UNDERSTANDING THE FEATURES OF YOUR VEHICLE 107
Page 118 of 372
Automatic Headlights
This system automatically turns the headlights on or off
according to ambient light levels. To turn the system on,
rotate the headlight switch counterclockwise to the A
(AUTO) position. When the system is on, the headlight
time delay feature is also on. This means the headlights
will stay on for up to 90 seconds after placing the ignition
in the OFF position. To turn the Automatic system off,
move the headlight switch out of the AUTO position.
NOTE:The engine must be running before the head-
lights will come on in the automatic mode.
Headlights On With Wipers (Available with
Automatic Headlights Only)
When this feature is active, the headlights will turn on
approximately 10 seconds after the wipers are turned on
if the headlight switch is placed in the AUTO position. In
addition, the headlights will turn off when the wipers are
turned off if they were turned on by this feature. NOTE:
The Headlights On with Wipers feature can be
turned on or off using the Uconnect Touch™ System,
refer to “Uconnect Touch™ Settings” in “Understanding
Your Instrument Panel” for further information.
Headlight Time Delay
This feature provides the safety of headlight illumination
for up to 90 seconds (programmable) when leaving your
vehicle in an unlit area.
To activate the delay feature, place the ignition in the OFF
position while the headlights are still on. Then, turn off
the headlights within 45 seconds. The delay interval
begins when the headlight switch is turned off.
If you turn the headlights or parking lights on, or place
the ignition in ACC or RUN, the system will cancel the
delay.
If you turn the headlights off before the ignition, they will
turn off in the normal manner.
116 UNDERSTANDING THE FEATURES OF YOUR VEHICLE
Page 125 of 372
CAUTION!
•Turn the windshield wipers off when driving
through an automatic car wash. Damage to the
windshield wipers may result if the wiper control
is left in any position other than off.
• In cold weather, always turn off the wiper switch
and allow the wipers to return to the “Park” posi-
tion before turning off the engine. If the wiper
switch is left on and the wipers freeze to the
windshield, damage to the wiper motor may occur
when the vehicle is restarted.
• Always remove any buildup of snow that prevents
the windshield wiper blades from returning to the
off position. If the windshield wiper control is
turned off and the blades cannot return to the off
position, damage to the wiper motor may occur.
Mist Feature
When a single wipe to clear off road mist or spray from
a passing vehicle is needed, push the washer knob,
located on the end of the multifunction lever, inward to
the first detent and release. The wipers will cycle one
time and automatically shut off.
NOTE: The mist feature does not activate the washer
pump; therefore, no washer fluid will be sprayed on the
windshield. The wash function must be used in order to
spray the windshield with washer fluid.
Windshield Washers
To use the windshield washer, push the washer knob,
located on the end of the multifunction lever, inward to
the second detent. Washer fluid will be sprayed and the
wiper will operate for two to three cycles after the washer
knob is released from this position. If the washer knob is
depressed while in the delay range, the wiper will
operate for several seconds after the washer knob is
3
UNDERSTANDING THE FEATURES OF YOUR VEHICLE 123
Page 145 of 372
WARNING!
To avoid serious injury or death:
•Only devices designed for use in this type of outlet
should be inserted into any 12 Volt outlet.
• Do not touch with wet hands.
• Close the lid when not in use and while driving the
vehicle.
• If this outlet is mishandled, it may cause an electric
shock and failure.
CAUTION!
• Many accessories that can be plugged in draw
power from the vehicle’s battery, even when not in
use (i.e., cellular phones, etc.). Eventually, if
plugged in long enough, the vehicle’s battery will
discharge sufficiently to degrade battery life and/or
prevent the engine from starting.
• Accessories that draw higher power (i.e., coolers,
vacuum cleaners, lights, etc.) will degrade the bat-
tery even more quickly. Only use these intermit-
tently and with greater caution.
• After the use of high power draw accessories, or
long periods of the vehicle not being started (with
accessories still plugged in), the vehicle must be
driven a sufficient length of time to allow the
generator to recharge the vehicle’s battery.
3
UNDERSTANDING THE FEATURES OF YOUR VEHICLE 143
Page 150 of 372
REAR WINDOW FEATURES
Rear Window Defroster
The rear window defroster button is located on
the climate control panel. Press this button to turn
on the rear window defroster. An indicator in the button
will illuminate when the rear window defroster is on. The
rear window defroster automatically turns off after ap-
proximately 10 minutes. For an additional five minutes of
operation, press the button a second time.
NOTE: To prevent excessive battery drain, use the rear
window defroster only when the engine is operating.
CAUTION!
Failure to follow these cautions can cause damage to
the heating elements:
• Use care when washing the inside of the rear
window. Do not use abrasive window cleaners on
the interior surface of the window. Use a soft cloth
and a mild washing solution, wiping parallel to the
heating elements. Labels can be peeled off after
soaking with warm water.
• Do not use scrapers, sharp instruments, or abrasive
window cleaners on the interior surface of the
window.
• Keep all objects a safe distance from the window.
148 UNDERSTANDING THE FEATURES OF YOUR VEHICLE
Page 158 of 372
Operation of the Brake Warning Light can be checked by
cycling the ignition from the OFF position to the ON/
RUN position. The light should illuminate for approxi-
mately two seconds. The light should then turn off unless
the parking brake is applied or a brake fault is detected.
If the light does not illuminate, have the light inspected
by an authorized dealer.
The light also will turn on when the parking brake is
applied with the ignition in the ON/RUN position.
NOTE:This light shows only that the parking brake is
applied. It does not show the degree of brake application.
8. Tachometer
This gauge measures engine revolutions-per-minute
(RPM x 1000) 9. Oil Pressure Warning Light
This light indicates low engine oil pressure. The
light should turn on momentarily when the engine is
started. If the light turns on while driving, stop the
vehicle and shut off the engine as soon as possible. A
chime will sound when this light turns on.
Do not operate the vehicle until the cause is corrected.
This light does not indicate how much oil is in the engine.
The engine oil level must be checked under the hood.
10. Vehicle Security Light — If Equipped
This light will flash at a fast rate for approxi-
mately 15 seconds, when the vehicle security
alarm is arming, and then will flash slowly
until the vehicle is disarmed.
11. Fuel Gauge
The pointer shows the level of fuel in the fuel tank when
the ignition is in the ON/RUN position.
156 UNDERSTANDING YOUR INSTRUMENT PANEL
Page 160 of 372
alternate tires or wheels on the vehicle that prevent the
TPMS from functioning properly. Always check the
TPMS malfunction telltale after replacing one or more
tires or wheels on your vehicle, to ensure that the
replacement or alternate tires and wheels allow the TPMS
to continue to function properly.
CAUTION!
The TPMS has been optimized for the original
equipment tires and wheels. TPMS pressures and
warning have been established for the tire size
equipped on your vehicle. Undesirable system opera-
tion or sensor damage may result when using re-
placement equipment that is not of the same size,
type, and/or style. Aftermarket wheels can cause
sensor damage. Do not use tire sealant from a can or
balance beads if your vehicle is equipped with a
TPMS, as damage to the sensors may result.13. Malfunction Indicator Light (MIL)
The Malfunction Indicator Light (MIL) is part of
an onboard diagnostic system, called OBD, that
monitors engine control systems. The light will
illuminate when the ignition is in the ON/RUN position,
before engine start. If the bulb does not come on when
cycling the ignition from OFF to ON/RUN, have the
condition checked promptly.
Certain conditions, such as poor fuel quality, etc., may
illuminate the MIL after engine start. The vehicle should
be serviced if the light stays on through several of your
typical driving cycles. In most situations, the vehicle will
drive normally and will not require towing.
158 UNDERSTANDING YOUR INSTRUMENT PANEL
Page 161 of 372
CAUTION!
Prolonged driving with the MIL on could cause
damage to the engine control system. It also could
affect fuel economy and drivability. If the MIL is
flashing, severe catalytic converter damage and
power loss will soon occur. Immediate service is
required.
WARNING!
A malfunctioning catalytic converter, as referenced
above, can reach higher temperatures than in normal
operating conditions. This can cause a fire if you
drive slowly or park over flammable substances such
as dry plants, wood, cardboard, etc. This could result
in death or serious injury to the driver, occupants or
others.14. Electronic Speed Control Indicator Lights
•
Electronic Speed Control ON Indicator
This light will turn on when the electronic
speed control is ON. For further information,
refer to “Electronic Speed Control” in “Under-
standing The Features Of Your Vehicle.”
• Electronic Speed Control SET Indicator
This light will turn on when the electronic
speed control is SET. For further information,
refer to “Electronic Speed Control” in “Under-
standing The Features Of Your Vehicle.”
15. Cruise Speed Set Value
Speed value shown when set.
4
UNDERSTANDING YOUR INSTRUMENT PANEL 159
Page 162 of 372
16. EVIC Amber Telltale Lights
When the appropriate conditions exist, the following
EVIC Amber Telltale Lights will display:
•Windshield Washer Fluid Low Indicator — If
Equipped This light will turn on to indicate the wind-
shield washer fluid is low
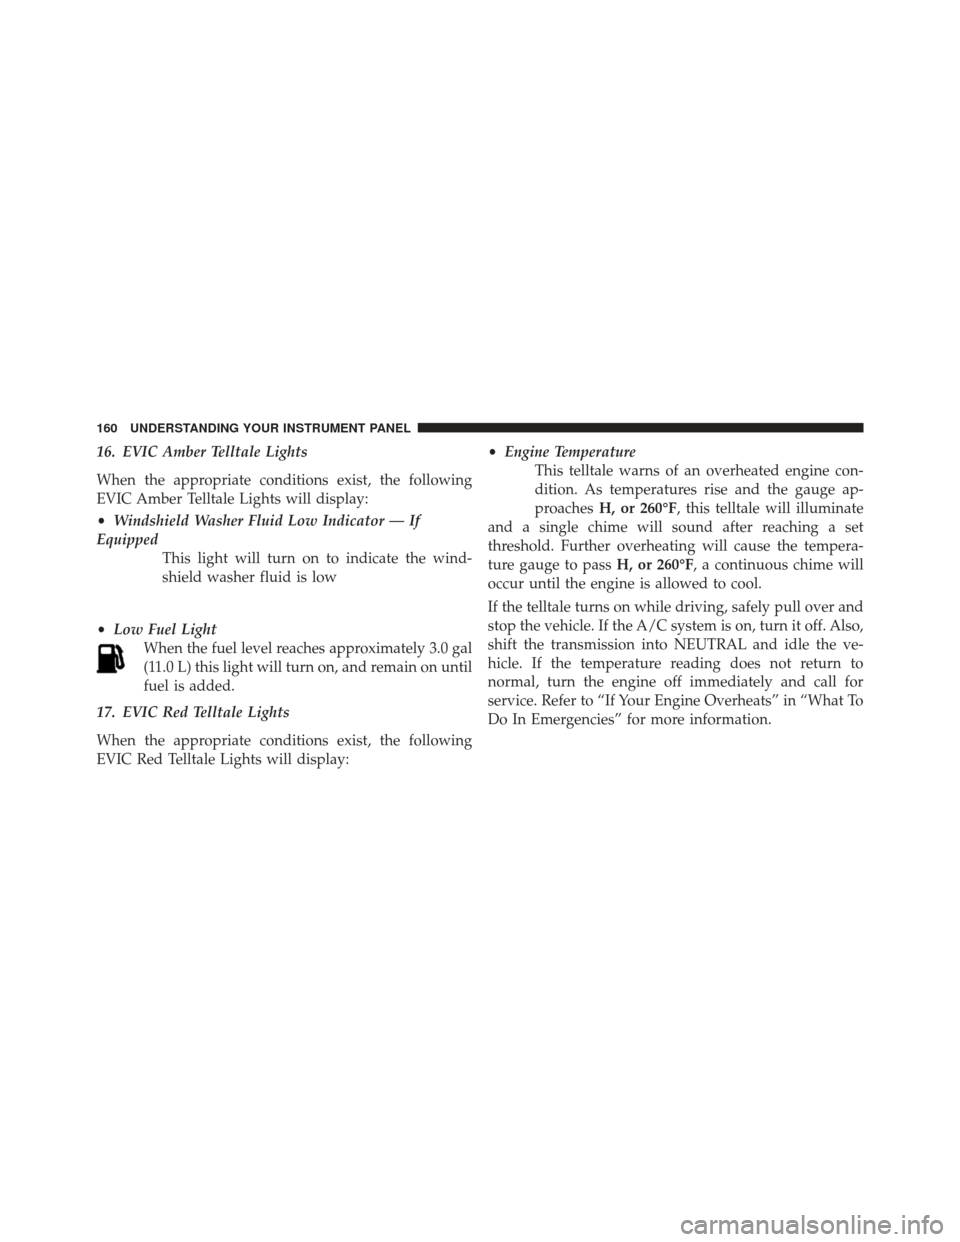
• Low Fuel Light
When the fuel level reaches approximately 3.0 gal
(11.0 L) this light will turn on, and remain on until
fuel is added.
17. EVIC Red Telltale Lights
When the appropriate conditions exist, the following
EVIC Red Telltale Lights will display: •
Engine Temperature
This telltale warns of an overheated engine con-
dition. As temperatures rise and the gauge ap-
proaches H, or 260°F, this telltale will illuminate
and a single chime will sound after reaching a set
threshold. Further overheating will cause the tempera-
ture gauge to pass H, or 260°F, a continuous chime will
occur until the engine is allowed to cool.
If the telltale turns on while driving, safely pull over and
stop the vehicle. If the A/C system is on, turn it off. Also,
shift the transmission into NEUTRAL and idle the ve-
hicle. If the temperature reading does not return to
normal, turn the engine off immediately and call for
service. Refer to “If Your Engine Overheats” in “What To
Do In Emergencies” for more information.
160 UNDERSTANDING YOUR INSTRUMENT PANEL
Page 163 of 372
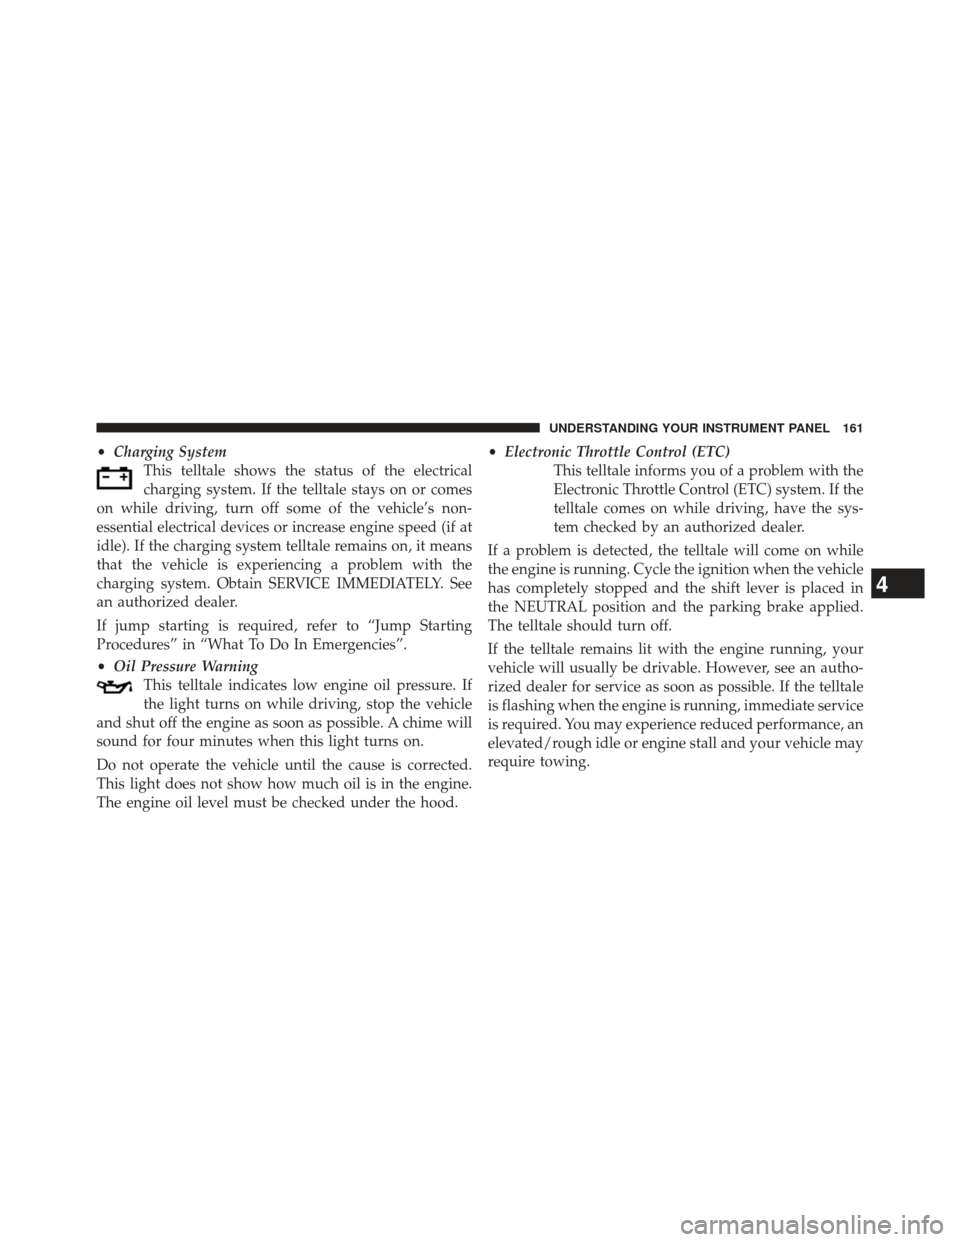
•Charging System
This telltale shows the status of the electrical
charging system. If the telltale stays on or comes
on while driving, turn off some of the vehicle’s non-
essential electrical devices or increase engine speed (if at
idle). If the charging system telltale remains on, it means
that the vehicle is experiencing a problem with the
charging system. Obtain SERVICE IMMEDIATELY. See
an authorized dealer.
If jump starting is required, refer to “Jump Starting
Procedures” in “What To Do In Emergencies”.
• Oil Pressure Warning
This telltale indicates low engine oil pressure. If
the light turns on while driving, stop the vehicle
and shut off the engine as soon as possible. A chime will
sound for four minutes when this light turns on.
Do not operate the vehicle until the cause is corrected.
This light does not show how much oil is in the engine.
The engine oil level must be checked under the hood. •
Electronic Throttle Control (ETC)
This telltale informs you of a problem with the
Electronic Throttle Control (ETC) system. If the
telltale comes on while driving, have the sys-
tem checked by an authorized dealer.
If a problem is detected, the telltale will come on while
the engine is running. Cycle the ignition when the vehicle
has completely stopped and the shift lever is placed in
the NEUTRAL position and the parking brake applied.
The telltale should turn off.
If the telltale remains lit with the engine running, your
vehicle will usually be drivable. However, see an autho-
rized dealer for service as soon as possible. If the telltale
is flashing when the engine is running, immediate service
is required. You may experience reduced performance, an
elevated/rough idle or engine stall and your vehicle may
require towing.
4
UNDERSTANDING YOUR INSTRUMENT PANEL 161