fuel DODGE VIPER 2013 VX / 3.G User Guide
[x] Cancel search | Manufacturer: DODGE, Model Year: 2013, Model line: VIPER, Model: DODGE VIPER 2013 VX / 3.GPages: 100, PDF Size: 3.1 MB
Page 8 of 100
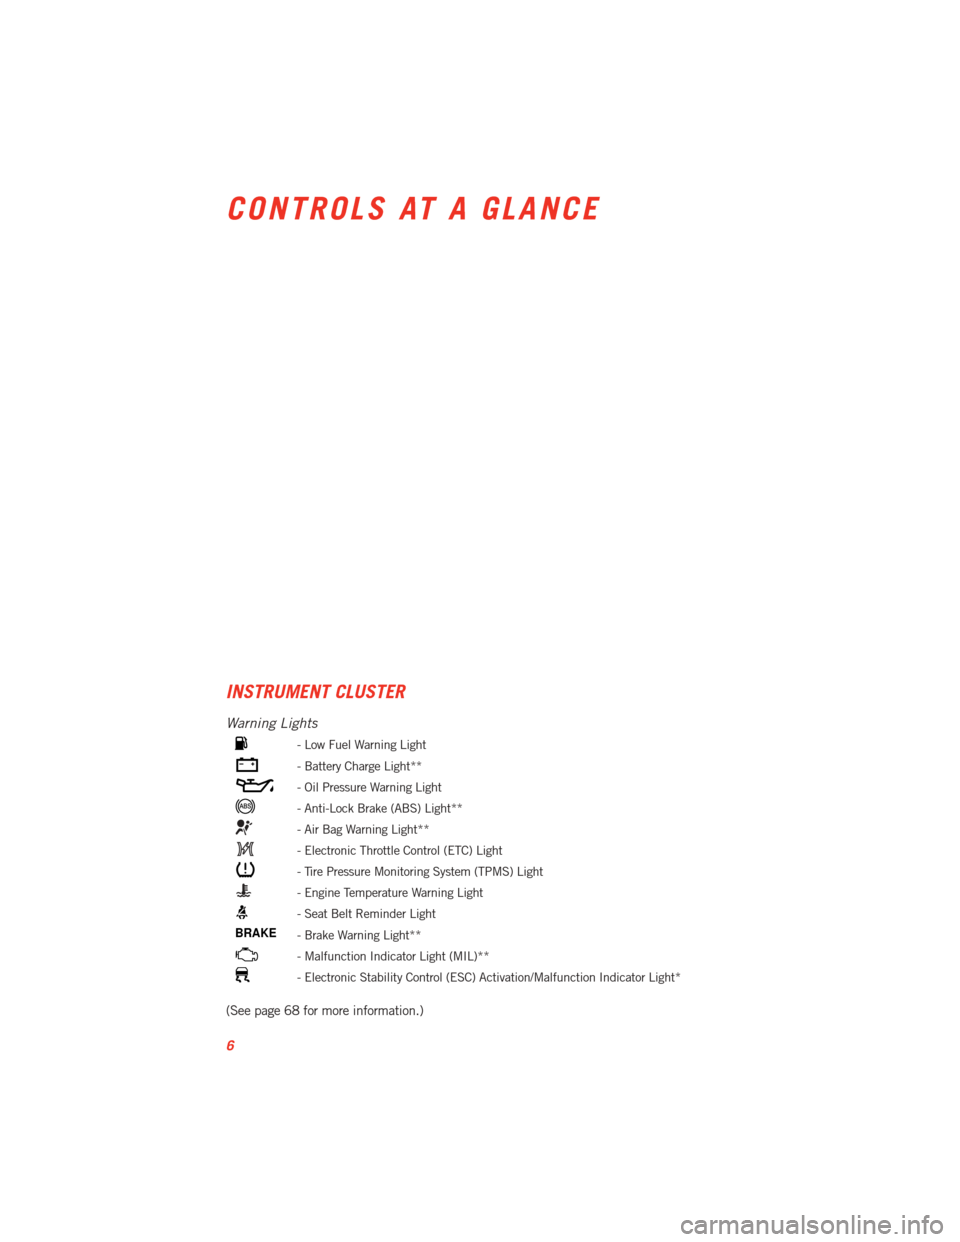
INSTRUMENT CLUSTER
Warning Lights
- Low Fuel Warning Light
- Battery Charge Light**
- Oil Pressure Warning Light
- Anti-Lock Brake (ABS) Light**
- Air Bag Warning Light**
- Electronic Throttle Control (ETC) Light
- Tire Pressure Monitoring System (TPMS) Light
- Engine Temperature Warning Light
- Seat Belt Reminder Light
BRAKE- Brake Warning Light**
- Malfunction Indicator Light (MIL)**
- Electronic Stability Control (ESC) Activation/Malfunction Indicator Light*
(See page 68 for more information.)
CONTROLS AT A GLANCE
6
Page 23 of 100
Accel/Decel
• Once a speed is set, pushing the RES + button once or the SET – button once willincrease or decrease the set speed approximately 1 mph (2 km/h).
• Push and hold the RES + button to accelerate in 5 mph (8 km/h) increments or push and hold the SET – button to decelerate in 5 mph (8 km/h) increments; release the
button to save the new set speed.
Resume
• To resume a previously selected set speed in memory, push the RES + button andrelease.
Cancel
• Push the CANCEL button, or apply the brakes to cancel the set speed and maintain theset speed memory.
• Push the ON/OFF button to turn the system off and erase the set speed memory.
WARNING!
• Leaving the Electronic Speed Control system on when not in use is dangerous. You could accidentally set the system or cause it to go faster than you want. You could
lose control and have a collision. Always leave the Electronic Speed Control system
off when you are not using it.
• Electronic Speed Control can be dangerous where the system cannot maintain a constant speed. Your vehicle could go too fast for the conditions, and you could lose
control. A collision could be the result. Do not use Electronic Speed Control in
heavy traffic or on roads that are winding, icy, snow-covered or slippery.
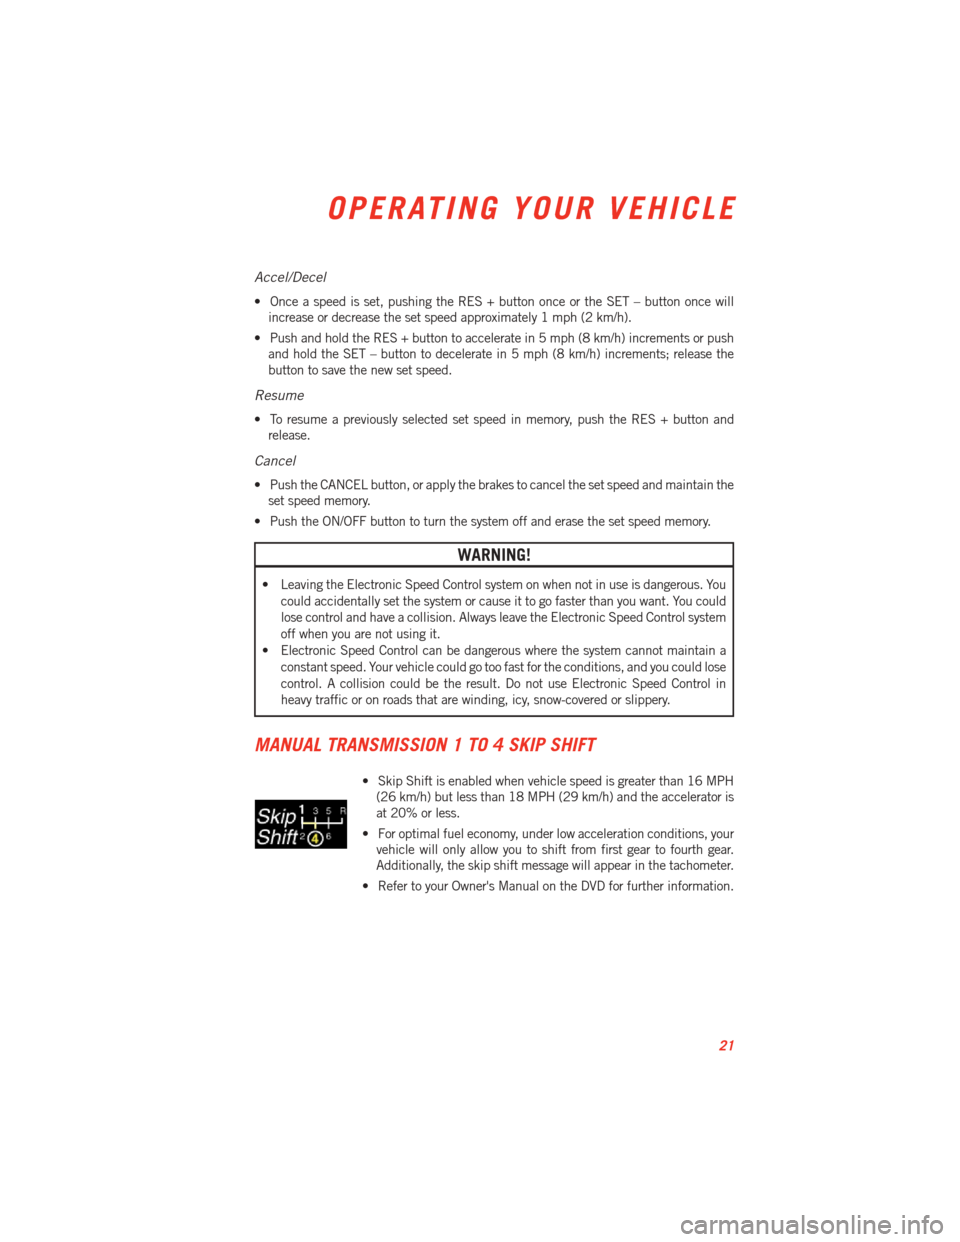
MANUAL TRANSMISSION 1 TO 4 SKIP SHIFT
• Skip Shift is enabled when vehicle speed is greater than 16 MPH(26 km/h) but less than 18 MPH (29 km/h) and the accelerator is
at 20% or less.
• For optimal fuel economy, under low acceleration conditions, your vehicle will only allow you to shift from first gear to fourth gear.
Additionally, the skip shift message will appear in the tachometer.
• Refer to your Owner's Manual on the DVD for further information.
OPERATING YOUR VEHICLE
21
Page 54 of 100
Adding a Stop
• To add a stop you must be navigating a route.
• Touch the Menu soft-key to return to the Main Navigation menu.
• Touch Where To?, then search for the extra stop. When another location has beenselected, you can choose to cancel your previous route, add as the first destination or
add as the last destination.
• Touch the desired selection and touch Yes.
Taking a Detour
• To take a detour you must be navigating a route.
• Touch Detour.
NOTE:
• If the route you are currently taking is the only reasonable option, the device might not calculate a detour.
• For more information, see your Uconnect™ Access User's Manual.
SiriusXM™ TRAVEL LINK
• SiriusXM™ Travel Link brings a wealth of useful information into your vehicle and right to your fingertips.
• To access SiriusXM™ Travel Link, touch Apps soft-key, then the SiriusXM™ Travel Link soft-key.
NOTE:
• SiriusXM™ Travel Link requires a subscription, sold separately after the 1 year trial subscription included with your vehicle purchase.
• SiriusXM™ Travel Link is only available in the United States.
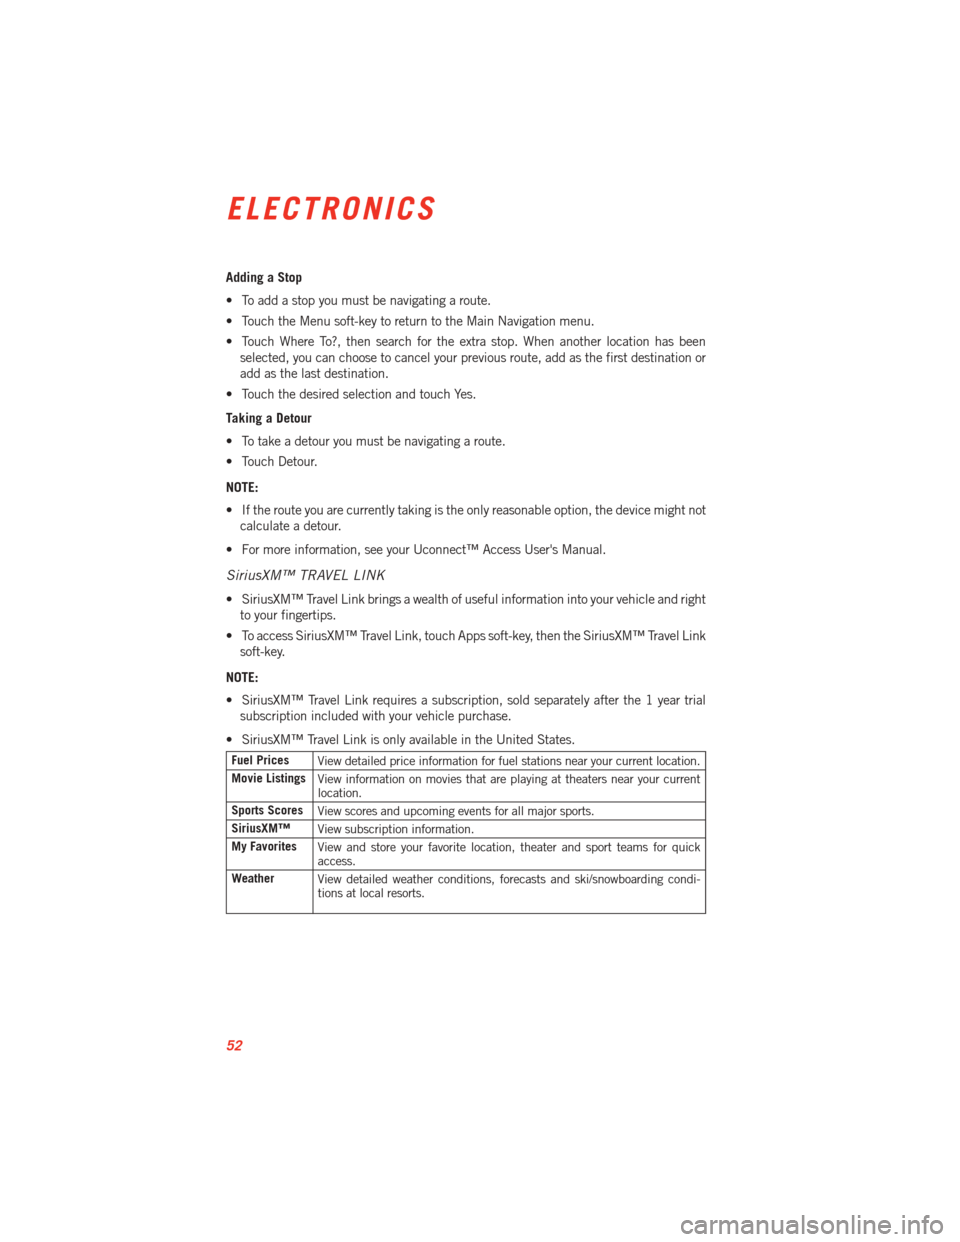
Fuel Prices View detailed price information for fuel stations near your current location.
Movie Listings View information on movies that are playing at theaters near your current
location.
Sports Scores View scores and upcoming events for all major sports.
SiriusXM™ View subscription information.
My Favorites View and store your favorite location, theater and sport teams for quick
access.
Weather View detailed weather conditions, forecasts and ski/snowboarding condi-
tions at local resorts.
ELECTRONICS
52
Page 58 of 100
Uconnect™ VOICE COMMAND
• If the Uconnect™ Voice Commandbutton exists on your steering wheel, then
you have the Voice Command feature.
• The Voice Command feature lets you keep your hands on the steering wheel, and your eyes on the road.
•
When you press the Voice Command buttonlocated on the radio faceplate or
steering wheel, you will hear a beep. The beep is your signal to give a command. If you do
not know what commands to say, you can say "help" and the system will provide options to
you. If you ever wish to interrupt the system while it lists options, press the Voice Command
button
, listen for the BEEP, and say your command.
• You can “chain” commands together for faster results. Say “Call John Doe, mobile”, for
example.
Changing The Volume
• Start a dialogue by pressing the Voice Command button
, then say a command
(for example, “help”).
•
Use the radio ON/OFF VOLUME rotary knob to adjust the volume to a comfortable level
while the Voice Command system is speaking. The volume setting for Voice Command is
different than the audio system.
• Refer to the Understand The Features Of Your Vehicle section of your vehicle's Owner's Manual on the DVD for further details.
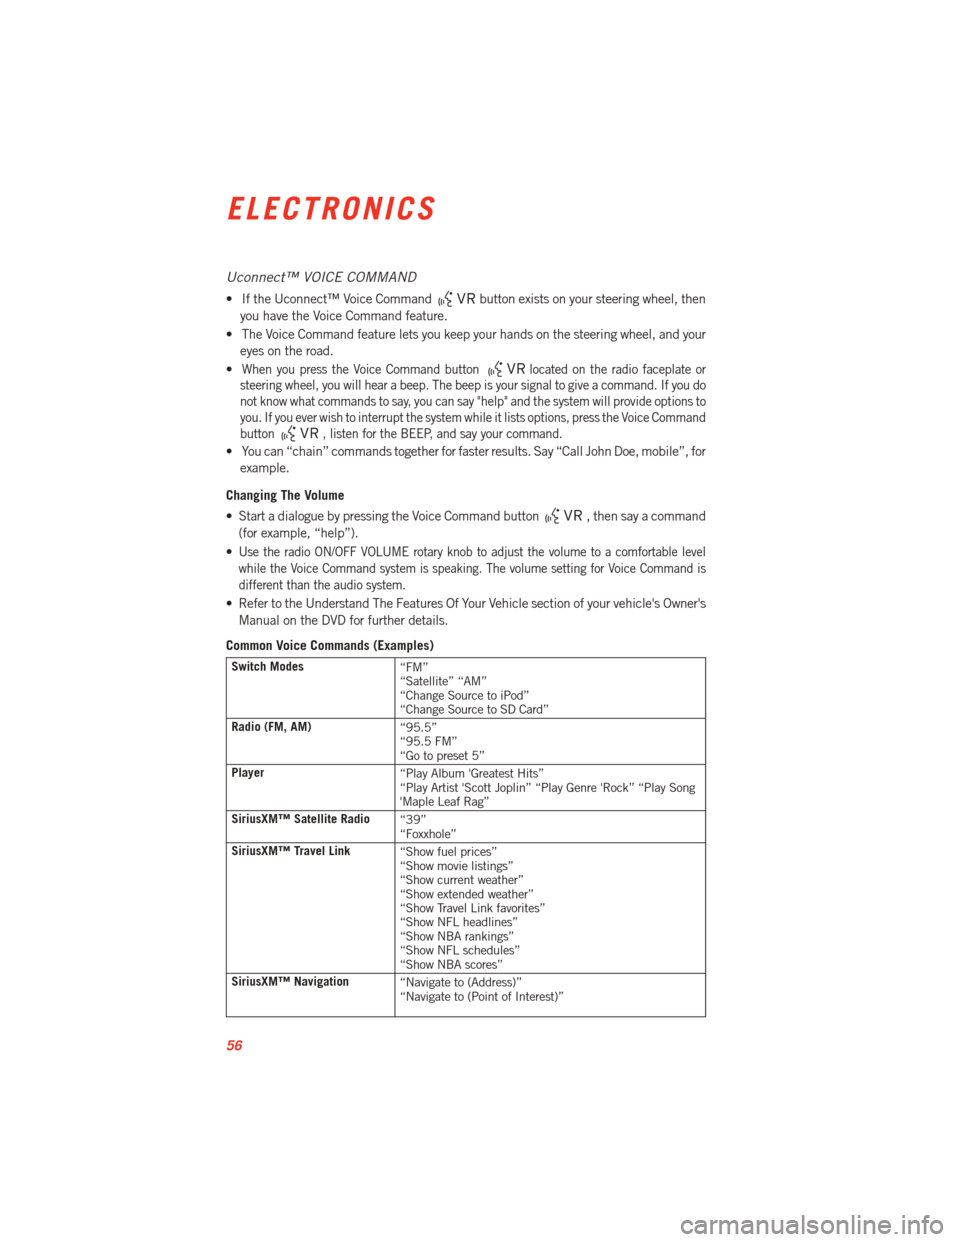
Common Voice Commands (Examples)
Switch Modes “FM”
“Satellite” “AM”
“Change Source to iPod”
“Change Source to SD Card”
Radio (FM, AM) “95.5”
“95.5 FM”
“Go to preset 5”
Player “Play Album 'Greatest Hits”
“Play Artist 'Scott Joplin” “Play Genre 'Rock” “Play Song
'Maple Leaf Rag”
SiriusXM™ Satellite Radio “39”
“Foxxhole”
SiriusXM™ Travel Link “Show fuel prices”
“Show movie listings”
“Show current weather”
“Show extended weather”
“Show Travel Link favorites”
“Show NFL headlines”
“Show NBA rankings”
“Show NFL schedules”
“Show NBA scores”
SiriusXM™ Navigation “Navigate to (Address)”
“Navigate to (Point of Interest)”
ELECTRONICS
56
Page 59 of 100
NOTE:
• For the shortened SiriusXM™ Satellite Radio mode commands to be recognized youmust be in that mode. For example, if you are in SiriusXM™ Satellite Radio mode you
can say “39”, but if you are not in SiriusXM™ mode, you would need to say “Tune to
Satellite Channel 39.”
•
For additional information on available Voice Commands, visit www.driveuconnect.com/
features/entertainment/ and select Voice Commands.
Common Navigation Voice Commands
• To access the navigation voice commands, press the Uconnect™ Voice Command
button while in any mode and say “Navigation.”
• Once in the Navigation feature, you can simply Say What You Seeon the touch-screen
to give a navigation voice command.
• Locating an address can be given as a one shot entry. For example, after saying “Find
Address” and the system is ready, you can say the entire address in one command,
“1234 1st Street, Any Town, Michigan.” If you are searching for a particular address or
Point Of Interest, the available voice commands depend on what is displayed on the
touch-screen.
• When the Voice Command system is ready to be given a command, the green indicator is visible in the right corner of the touch-screen.
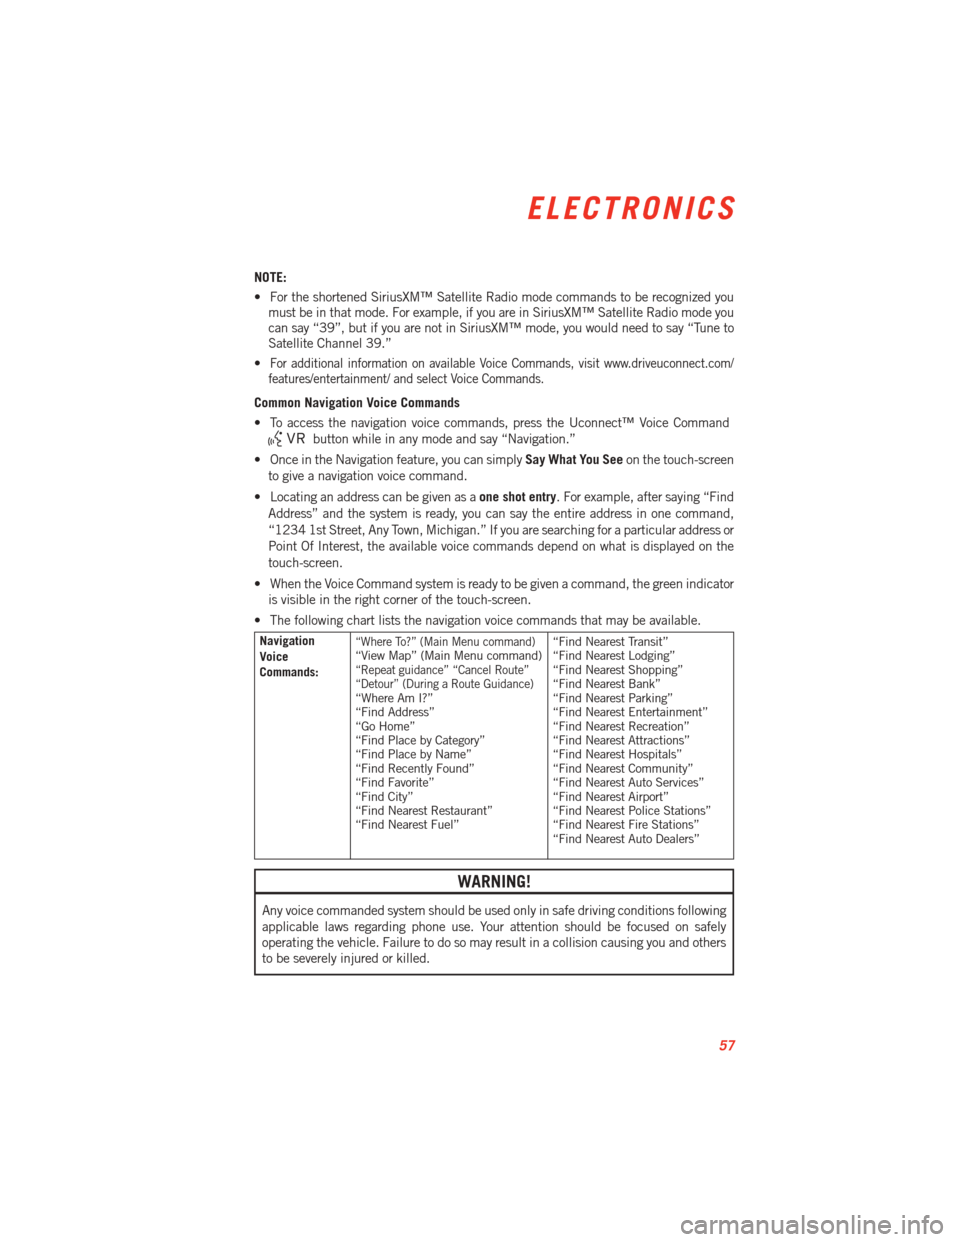
• The following chart lists the navigation voice commands that may be available.
Navigation
Voice
Commands:“Where To?” (Main Menu command)“View Map” (Main Menu command)“Repeat guidance” “Cancel Route”
“Detour” (During a Route Guidance)
“Where Am I?”
“Find Address”
“Go Home”
“Find Place by Category”
“Find Place by Name”
“Find Recently Found”
“Find Favorite”
“Find City”
“Find Nearest Restaurant”
“Find Nearest Fuel” “Find Nearest Transit”
“Find Nearest Lodging”
“Find Nearest Shopping”
“Find Nearest Bank”
“Find Nearest Parking”
“Find Nearest Entertainment”
“Find Nearest Recreation”
“Find Nearest Attractions”
“Find Nearest Hospitals”
“Find Nearest Community”
“Find Nearest Auto Services”
“Find Nearest Airport”
“Find Nearest Police Stations”
“Find Nearest Fire Stations”
“Find Nearest Auto Dealers”
WARNING!
Any voice commanded system should be used only in safe driving conditions following
applicable laws regarding phone use. Your attention should be focused on safely
operating the vehicle. Failure to do so may result in a collision causing you and others
to be severely injured or killed.
ELECTRONICS
57
Page 60 of 100
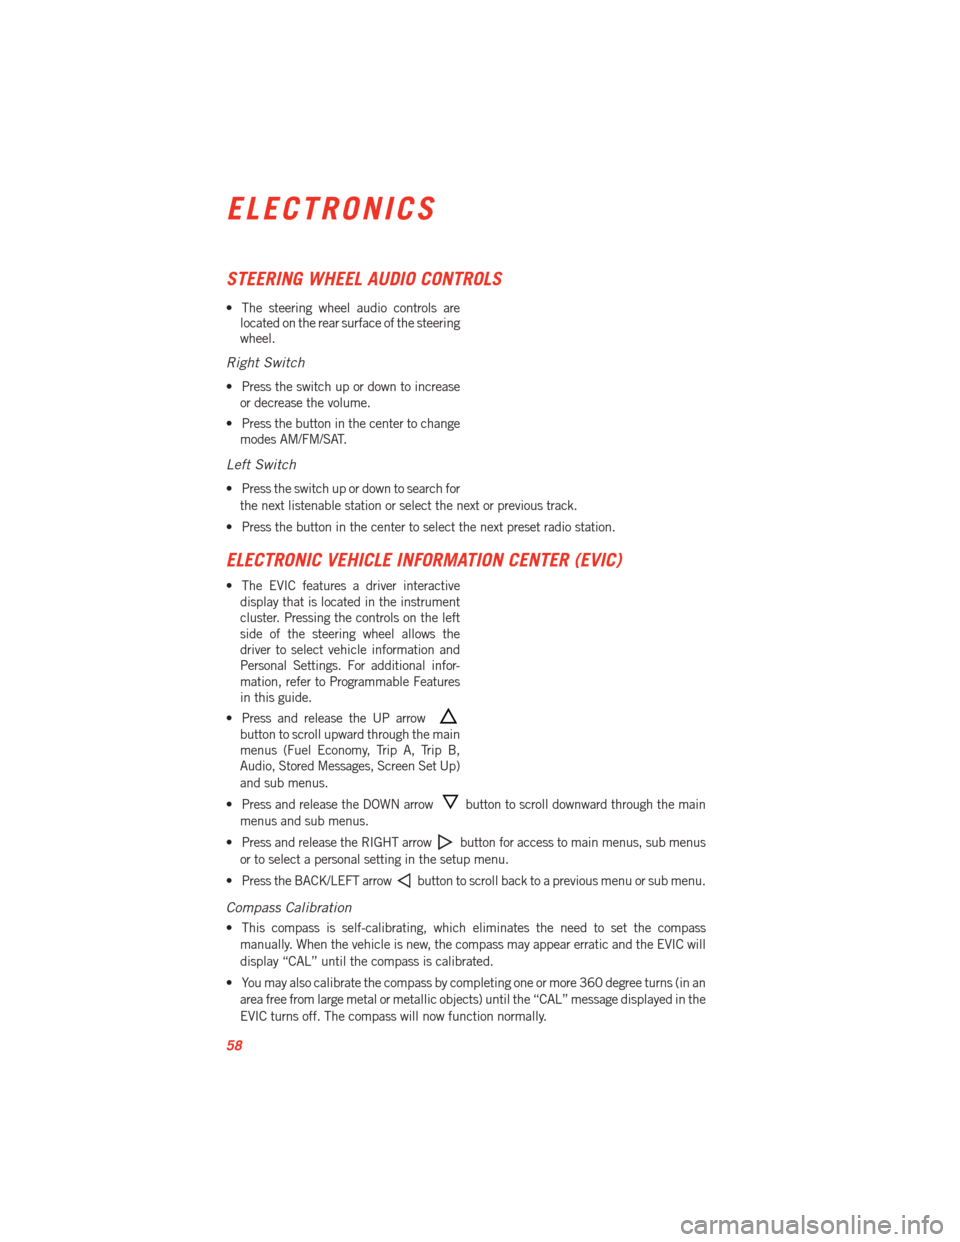
STEERING WHEEL AUDIO CONTROLS
• The steering wheel audio controls arelocated on the rear surface of the steering
wheel.
Right Switch
• Press the switch up or down to increase
or decrease the volume.
• Press the button in the center to change modes AM/FM/SAT.
Left Switch
• Press the switch up or down to search for
the next listenable station or select the next or previous track.
• Press the button in the center to select the next preset radio station.
ELECTRONIC VEHICLE INFORMATION CENTER (EVIC)
• The EVIC features a driver interactive display that is located in the instrument
cluster. Pressing the controls on the left
side of the steering wheel allows the
driver to select vehicle information and
Personal Settings. For additional infor-
mation, refer to Programmable Features
in this guide.
• Press and release the UP arrow
button to scroll upward through the main
menus (Fuel Economy, Trip A, Trip B,
Audio, Stored Messages, Screen Set Up)
and sub menus.
• Press and release the DOWN arrow
button to scroll downward through the main
menus and sub menus.
• Press and release the RIGHT arrow
button for access to main menus, sub menus
or to select a personal setting in the setup menu.
• Press the BACK/LEFT arrow
button to scroll back to a previous menu or sub menu.
Compass Calibration
• This compass is self-calibrating, which eliminates the need to set the compass manually. When the vehicle is new, the compass may appear erratic and the EVIC will
display “CAL” until the compass is calibrated.
• You may also calibrate the compass by completing one or more 360 degree turns (in an area free from large metal or metallic objects) until the “CAL” message displayed in the
EVIC turns off. The compass will now function normally.
ELECTRONICS
58
Page 61 of 100
PROGRAMMABLE FEATURES
Electronic Vehicle Information Center (EVIC)
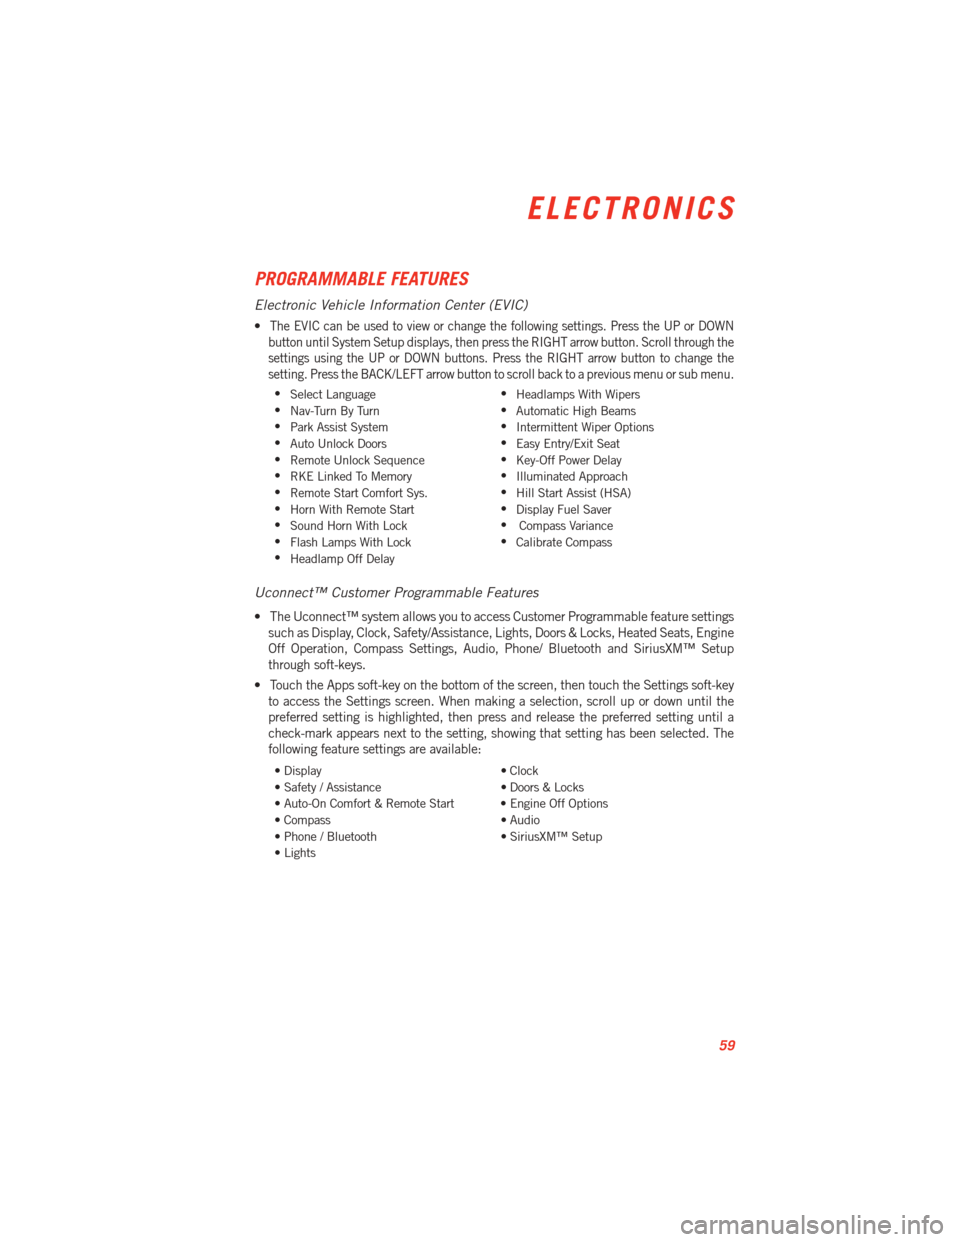
•The EVIC can be used to view or change the following settings. Press the UP or DOWN
button until System Setup displays, then press the RIGHT arrow button. Scroll through the
settings using the UP or DOWN buttons. Press the RIGHT arrow button to change the
setting. Press the BACK/LEFT arrow button to scroll back to a previous menu or sub menu.
• Select Language •
Headlamps With Wipers
• Nav-Turn By Turn •
Automatic High Beams
• Park Assist System •
Intermittent Wiper Options
• Auto Unlock Doors •
Easy Entry/Exit Seat
• Remote Unlock Sequence •
Key-Off Power Delay
• RKE Linked To Memory •
Illuminated Approach
• Remote Start Comfort Sys. •
Hill Start Assist (HSA)
• Horn With Remote Start •
Display Fuel Saver
• Sound Horn With Lock •
Compass Variance
• Flash Lamps With Lock •
Calibrate Compass
• Headlamp Off Delay
Uconnect™ Customer Programmable Features
• The Uconnect™ system allows you to access Customer Programmable feature settings
such as Display, Clock, Safety/Assistance, Lights, Doors & Locks, Heated Seats, Engine
Off Operation, Compass Settings, Audio, Phone/ Bluetooth and SiriusXM™ Setup
through soft-keys.
• Touch the Apps soft-key on the bottom of the screen, then touch the Settings soft-key to access the Settings screen. When making a selection, scroll up or down until the
preferred setting is highlighted, then press and release the preferred setting until a
check-mark appears next to the setting, showing that setting has been selected. The
following feature settings are available:
• Display • Clock
• Safety / Assistance • Doors & Locks
• Auto-On Comfort & Remote Start • Engine Off Options
• Compass • Audio
• Phone / Bluetooth • SiriusXM™ Setup
• Lights
ELECTRONICS
59
Page 70 of 100
INSTRUMENT CLUSTER WARNING LIGHTS
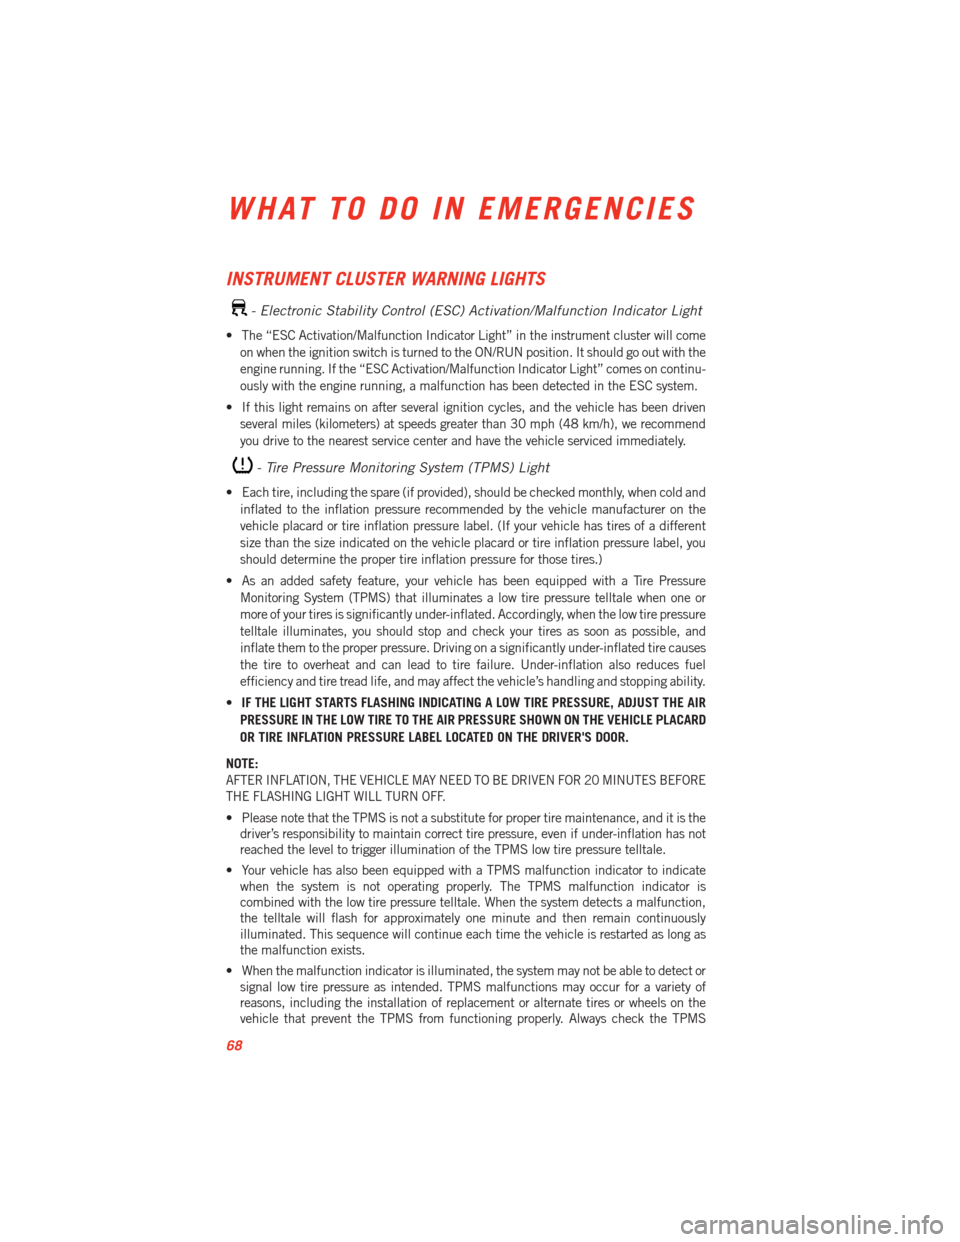
- Electronic Stability Control (ESC) Activation/Malfunction Indicator Light
• The “ESC Activation/Malfunction Indicator Light” in the instrument cluster will comeon when the ignition switch is turned to the ON/RUN position. It should go out with the
engine running. If the “ESC Activation/Malfunction Indicator Light” comes on continu-
ously with the engine running, a malfunction has been detected in the ESC system.
• If this light remains on after several ignition cycles, and the vehicle has been driven several miles (kilometers) at speeds greater than 30 mph (48 km/h), we recommend
you drive to the nearest service center and have the vehicle serviced immediately.
- Tire Pressure Monitoring System (TPMS) Light
• Each tire, including the spare (if provided), should be checked monthly, when cold andinflated to the inflation pressure recommended by the vehicle manufacturer on the
vehicle placard or tire inflation pressure label. (If your vehicle has tires of a different
size than the size indicated on the vehicle placard or tire inflation pressure label, you
should determine the proper tire inflation pressure for those tires.)
• As an added safety feature, your vehicle has been equipped with a Tire Pressure Monitoring System (TPMS) that illuminates a low tire pressure telltale when one or
more of your tires is significantly under-inflated. Accordingly, when the low tire pressure
telltale illuminates, you should stop and check your tires as soon as possible, and
inflate them to the proper pressure. Driving on a significantly under-inflated tire causes
the tire to overheat and can lead to tire failure. Under-inflation also reduces fuel
efficiency and tire tread life, and may affect the vehicle’s handling and stopping ability.
• IF THE LIGHT STARTS FLASHING INDICATING A LOW TIRE PRESSURE, ADJUST THE AIR
PRESSURE IN THE LOW TIRE TO THE AIR PRESSURE SHOWN ON THE VEHICLE PLACARD
OR TIRE INFLATION PRESSURE LABEL LOCATED ON THE DRIVER'S DOOR.
NOTE:
AFTER INFLATION, THE VEHICLE MAY NEED TO BE DRIVEN FOR 20 MINUTES BEFORE
THE FLASHING LIGHT WILL TURN OFF.
• Please note that the TPMS is not a substitute for proper tire maintenance, and it is the driver’s responsibility to maintain correct tire pressure, even if under-inflation has not
reached the level to trigger illumination of the TPMS low tire pressure telltale.
• Your vehicle has also been equipped with a TPMS malfunction indicator to indicate when the system is not operating properly. The TPMS malfunction indicator is
combined with the low tire pressure telltale. When the system detects a malfunction,
the telltale will flash for approximately one minute and then remain continuously
illuminated. This sequence will continue each time the vehicle is restarted as long as
the malfunction exists.
• When the malfunction indicator is illuminated, the system may not be able to detect or signal low tire pressure as intended. TPMS malfunctions may occur for a variety of
reasons, including the installation of replacement or alternate tires or wheels on the
vehicle that prevent the TPMS from functioning properly. Always check the TPMS
WHAT TO DO IN EMERGENCIES
68
Page 72 of 100
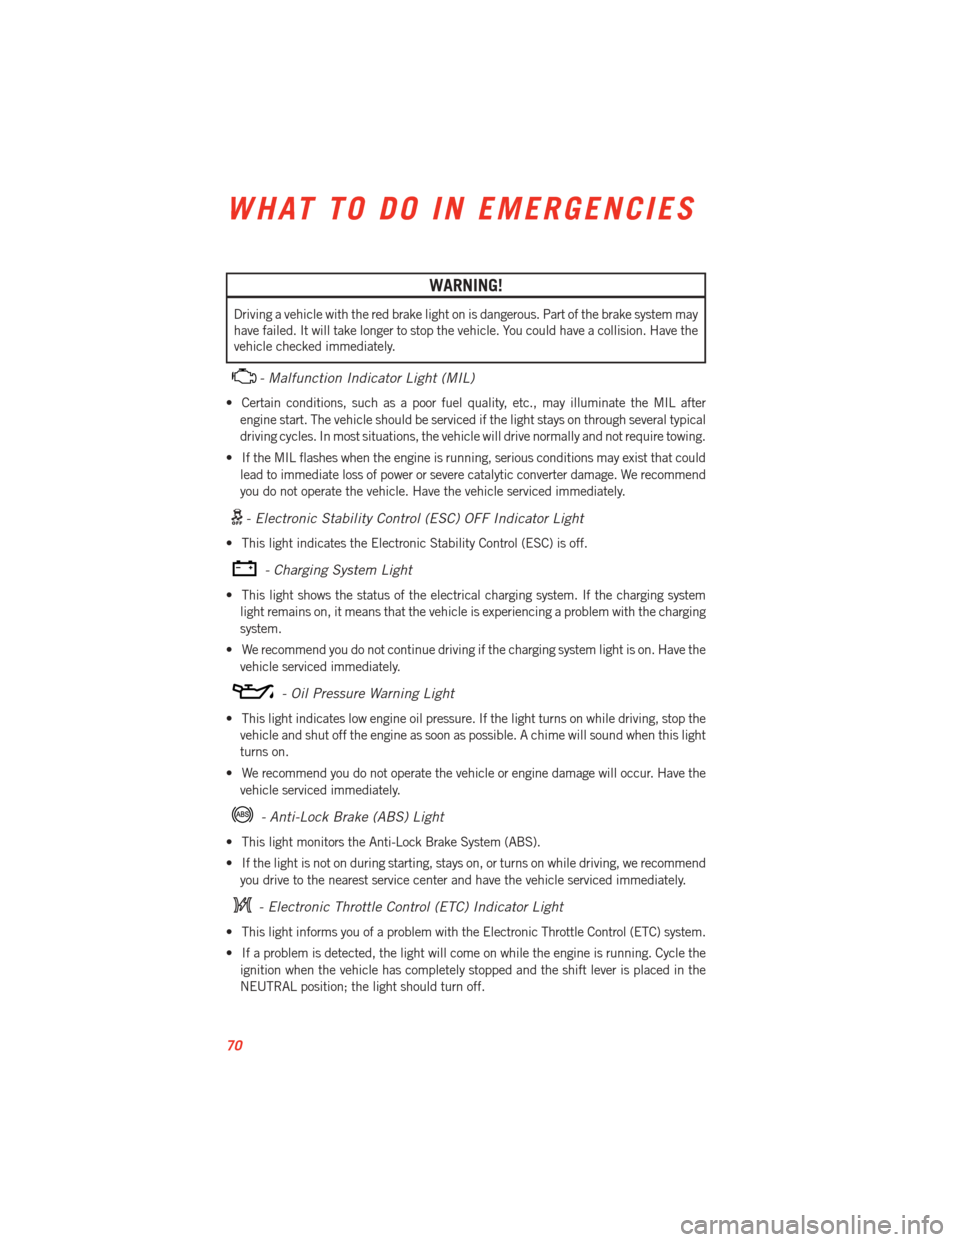
WARNING!
Driving a vehicle with the red brake light on is dangerous. Part of the brake system may
have failed. It will take longer to stop the vehicle. You could have a collision. Have the
vehicle checked immediately.
- Malfunction Indicator Light (MIL)
• Certain conditions, such as a poor fuel quality, etc., may illuminate the MIL afterengine start. The vehicle should be serviced if the light stays on through several typical
driving cycles. In most situations, the vehicle will drive normally and not require towing.
• If the MIL flashes when the engine is running, serious conditions may exist that could lead to immediate loss of power or severe catalytic converter damage. We recommend
you do not operate the vehicle. Have the vehicle serviced immediately.
- Electronic Stability Control (ESC) OFF Indicator Light
• This light indicates the Electronic Stability Control (ESC) is off.
- Charging System Light
• This light shows the status of the electrical charging system. If the charging systemlight remains on, it means that the vehicle is experiencing a problem with the charging
system.
• We recommend you do not continue driving if the charging system light is on. Have the vehicle serviced immediately.
- Oil Pressure Warning Light
• This light indicates low engine oil pressure. If the light turns on while driving, stop thevehicle and shut off the engine as soon as possible. A chime will sound when this light
turns on.
• We recommend you do not operate the vehicle or engine damage will occur. Have the vehicle serviced immediately.
- Anti-Lock Brake (ABS) Light
• This light monitors the Anti-Lock Brake System (ABS).
• If the light is not on during starting, stays on, or turns on while driving, we recommendyou drive to the nearest service center and have the vehicle serviced immediately.
- Electronic Throttle Control (ETC) Indicator Light
• This light informs you of a problem with the Electronic Throttle Control (ETC) system.
• If a problem is detected, the light will come on while the engine is running. Cycle theignition when the vehicle has completely stopped and the shift lever is placed in the
NEUTRAL position; the light should turn off.
WHAT TO DO IN EMERGENCIES
70
Page 85 of 100
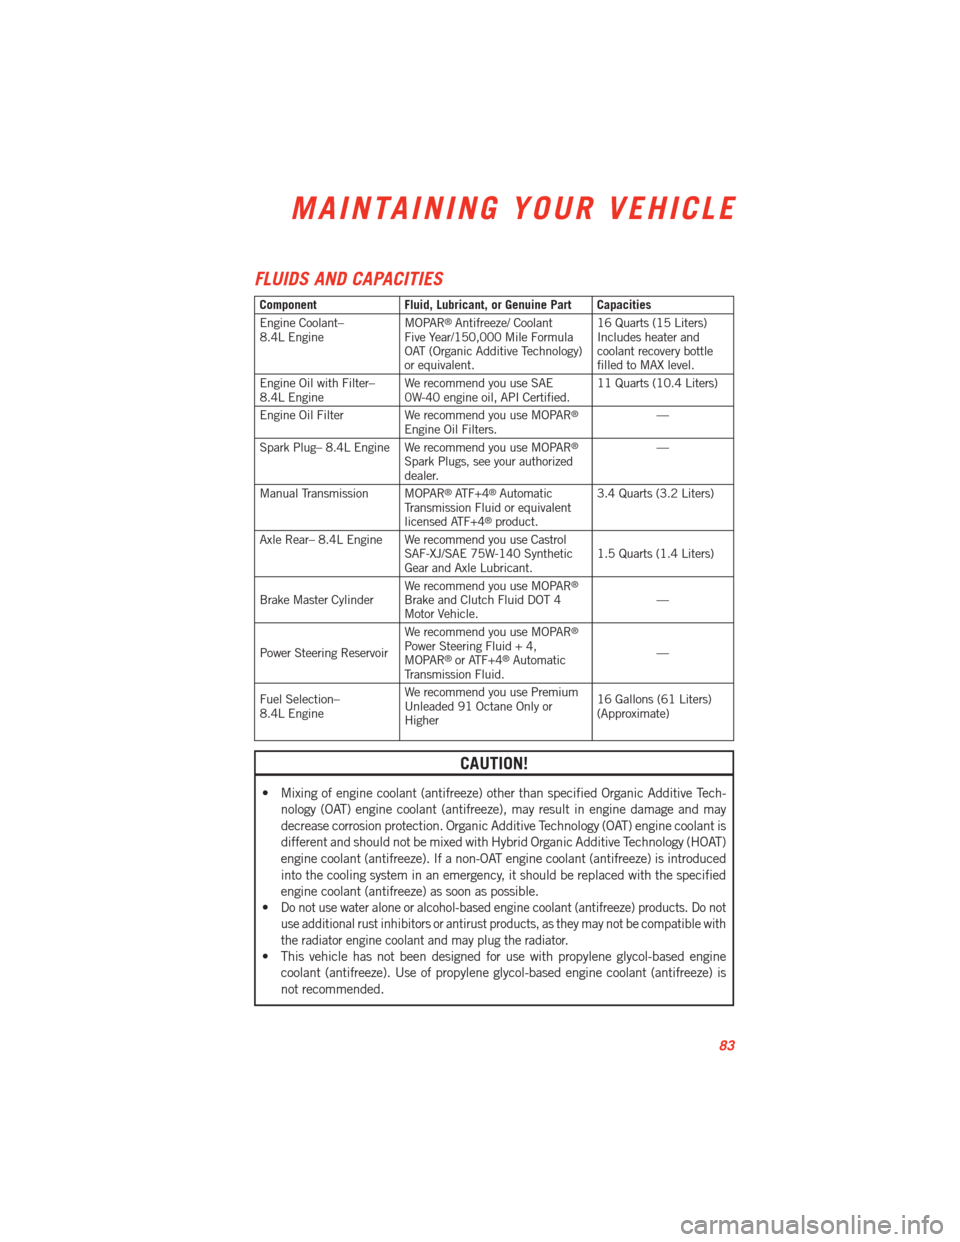
FLUIDS AND CAPACITIES
ComponentFluid, Lubricant, or Genuine Part Capacities
Engine Coolant–
8.4L Engine MOPAR®Antifreeze/ Coolant
Five Year/150,000 Mile Formula
OAT (Organic Additive Technology)
or equivalent. 16 Quarts (15 Liters)
Includes heater and
coolant recovery bottle
filled to MAX level.
Engine Oil with Filter–
8.4L Engine We recommend you use SAE
0W-40 engine oil, API Certified. 11 Quarts (10.4 Liters)
Engine Oil Filter We recommend you use MOPAR
®
Engine Oil Filters. —
Spark Plug– 8.4L Engine We recommend you use MOPAR®
Spark Plugs, see your authorized
dealer. —
Manual Transmission MOPAR
®ATF+4®Automatic
Transmission Fluid or equivalent
licensed ATF+4
®product. 3.4 Quarts (3.2 Liters)
Axle Rear– 8.4L Engine We recommend you use Castrol SAF-XJ/SAE 75W-140 Synthetic
Gear and Axle Lubricant. 1.5 Quarts (1.4 Liters)
Brake Master Cylinder We recommend you use MOPAR
®
Brake and Clutch Fluid DOT 4
Motor Vehicle. —
Power Steering Reservoir We recommend you use MOPAR
®
Power Steering Fluid + 4,
MOPAR®or ATF+4®Automatic
Transmission Fluid. —
Fuel Selection–
8.4L Engine We recommend you use Premium
Unleaded 91 Octane Only or
Higher 16 Gallons (61 Liters)
(Approximate)
CAUTION!
• Mixing of engine coolant (antifreeze) other than specified Organic Additive Tech-
nology (OAT) engine coolant (antifreeze), may result in engine damage and may
decrease corrosion protection. Organic Additive Technology (OAT) engine coolant is
different and should not be mixed with Hybrid Organic Additive Technology (HOAT)
engine coolant (antifreeze). If a non-OAT engine coolant (antifreeze) is introduced
into the cooling system in an emergency, it should be replaced with the specified
engine coolant (antifreeze) as soon as possible.
•
Do not use water alone or alcohol-based engine coolant (antifreeze) products. Do not
use additional rust inhibitors or antirust products, as they may not be compatible with
the radiator engine coolant and may plug the radiator.
• This vehicle has not been designed for use with propylene glycol-based engine
coolant (antifreeze). Use of propylene glycol-based engine coolant (antifreeze) is
not recommended.
MAINTAINING YOUR VEHICLE
83