remote start DODGE VIPER 2016 VX / 3.G User Guide
[x] Cancel search | Manufacturer: DODGE, Model Year: 2016, Model line: VIPER, Model: DODGE VIPER 2016 VX / 3.GPages: 423, PDF Size: 2.75 MB
Page 33 of 423
3. Push the window switch down firmly to the seconddetent to open the window completely and continue
to hold the switch down for an additional two seconds
after the window is fully open.
LIFTGATE
The liftgate can be unlocked or locked by the Remote
Keyless Entry (RKE) transmitter, the manual lock cylin-
der located on the rear panel, or by activating either of
the power door lock switches located on the door trim
panels.
To unlock the liftgate with the RKE transmitter, push the
LIFTGATE
button on the RKE transmitter two
times.
Once unlocked, the liftgate can be opened or closed. To
open the liftgate, push the LIFTGATE RELEASE switch
Rear Panel Manual Lock Cylinder
2
THINGS TO KNOW BEFORE STARTING YOUR VEHICLE 31
Page 193 of 423
shifted out of REVERSE (with camera delay turned ON),
the rear view image with dynamic grid lines will be
displayed for up to 10 seconds after shifting out of
“REVERSE” unless the forward vehicle speed exceeds
8 mph (12 km/h), the transmission is shifted into
“PARK” or the ignition is switched to the OFF position.
To set the ParkView Backup Camera Delay press the
“settings” button, then the “Safety & Driving Assistance”
button on the touchscreen. Press the “Parkview Backup
camera Delay” button on the touchscreen to turn the
ParkView Delay ON or OFF.
•Hill Start Assist — If Equipped
When this feature is selected, the Hill Start Assist (HSA)
system is active. To make your selection, press the “Hill
Start Assist” button on the touchscreen until a check-
mark appears next to setting, indicating that the setting
has been selected. Press the back arrow/Done button on
the touchscreen to return to the previous menu.Lights
After pressing the Lights button on the touchscreen the
following settings will be available.
• Headlight Off Delay
When this feature is selected, the driver can choose to
have the headlights remain on for 0, 30, 60, or 90 seconds
when exiting the vehicle. To change the Headlight Off
Delay status, press the “+” or “-” button on the touch-
screen to select your desired time interval. Press the back
arrow button on the touchscreen to return to the previous
menu, or push the back button on the faceplate.
• Headlight Illumination On Approach
When this feature is selected, the headlights will activate
and remain on for 0, 30, 60, or 90 seconds when the doors
are unlocked with the Remote Keyless Entry (RKE)
transmitter. To change the Illuminated Approach status,
press the “+” or “-” button on the touchscreen to select
4
UNDERSTANDING YOUR INSTRUMENT PANEL 191
Page 227 of 423
Uconnect Access (8.4AN)
WARNING!
ALWAYS obey traffic laws and pay attention to the
road. Some Uconnect Access services, including 9-1-1
and Assist, will NOT work without an operable 1X
(voice/data) or 3G (data) network connection.
NOTE: Your vehicle may be transmitting data as autho-
rized by the subscriber.
An included trial and/or subscription is required to take
advantage of the Uconnect Access services in the next
section of this guide. To register with Uconnect Access,
press the “Apps” button on the 8.4-inch touchscreen to
get started. Detailed registration instructions can be
found on the next page. NOTE:
Uconnect Access is available only on equipped
vehicles purchased within the continental United States,
Alaska and Hawaii. Services can only be used where
coverage is available; see coverage map for details.9-1-1 Call
Theft Alarm Notification
Remote Door Lock/Unlock
Stolen Vehicle Assistance
Remote Horn and Lights
Yelp Search
Voice Texting
Roadside Assistance Call
Wi-Fi Hotspot***
***Extra charges apply.
4
UNDERSTANDING YOUR INSTRUMENT PANEL 225
Page 326 of 423
NOTE:The battery is located underneath an access
panel inside the rear compartment on the left side of the
vehicle. A remote battery terminal is located in the engine
compartment for jump-starting.
Battery Location
1 — Positive Battery Post
2 — Negative Battery Post
324 WHAT TO DO IN EMERGENCIES
Page 327 of 423
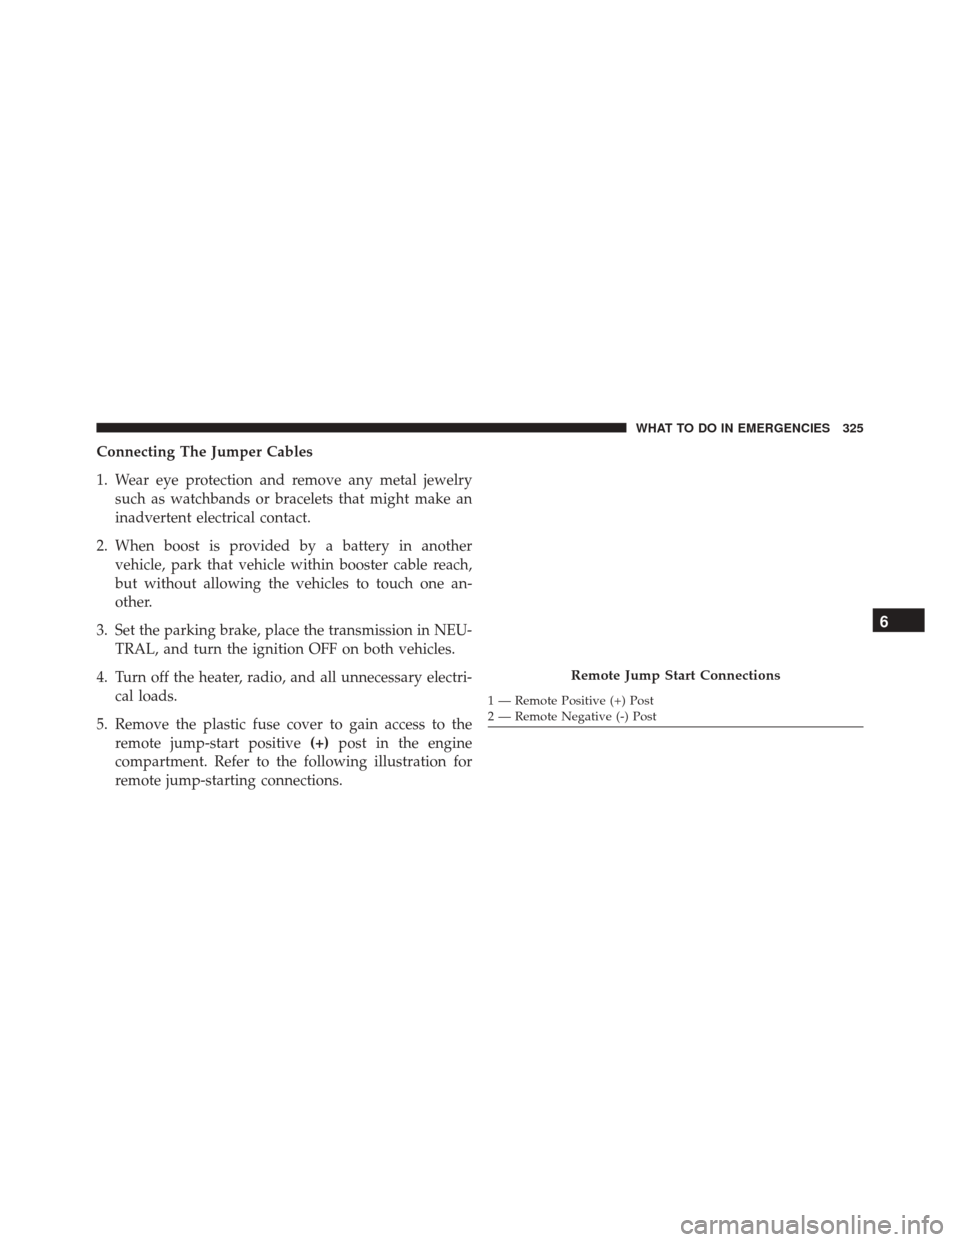
Connecting The Jumper Cables
1. Wear eye protection and remove any metal jewelrysuch as watchbands or bracelets that might make an
inadvertent electrical contact.
2. When boost is provided by a battery in another vehicle, park that vehicle within booster cable reach,
but without allowing the vehicles to touch one an-
other.
3. Set the parking brake, place the transmission in NEU- TRAL, and turn the ignition OFF on both vehicles.
4. Turn off the heater, radio, and all unnecessary electri- cal loads.
5. Remove the plastic fuse cover to gain access to the remote jump-start positive (+)post in the engine
compartment. Refer to the following illustration for
remote jump-starting connections.
Remote Jump Start Connections
1 — Remote Positive (+) Post
2 — Remote Negative (-) Post
6
WHAT TO DO IN EMERGENCIES 325
Page 328 of 423
CAUTION!
Failure to follow these procedures could result in
damage to the charging system of the booster vehicle
or the discharged vehicle.
6. Connect the positive (+)end of the jumper cable to the
remote positive (+)post of the discharged vehicle.
7. Connect the opposite end of the positive (+)jumper
cable to the positive (+)post of the booster battery.
8. Connect the negative (-)end of the jumper cable to the
negative (-)post of the booster battery.
9. Connect the opposite end of the negative (-)jumper
cable to the remote negative (-)post of the vehicle with
the discharged battery.
WARNING!
Do not connect the jumper cable to the negative (-)
post of the discharged battery. The resulting electri-
cal spark could cause the battery to explode and
could result in personal injury. Only use the specific
ground point, do not use any other exposed metal
parts.
10. Start the engine in the vehicle that has the booster battery, let the engine idle a few minutes, and then
start the engine in the vehicle with the discharged
battery.
326 WHAT TO DO IN EMERGENCIES
Page 329 of 423
11. Once the engine is started, remove the jumper cablesin the reverse sequence:
Disconnecting The Jumper Cables
1. Disconnect the negative (-)end of the jumper cable
from the remote negative (-)post of the vehicle with
the discharged battery.
2. Disconnect the opposite end of the negative (-)jumper
cable from the negative (-)post of the booster battery.
3. Disconnect the positive (+)end of the jumper cable
from the positive (+)post of the booster battery.
4. Disconnect the opposite end of the positive (+)jumper
cable from the remote positive (+)post of the vehicle
with the discharged battery.
If frequent jump-starting is required to start your vehicle
you should have the battery and charging system in-
spected at your authorized dealer.CAUTION!
Accessories plugged into the vehicle power outlets
draw power from the vehicle’s battery, even when not
in use (i.e., cellular phones, etc.). Eventually, if
plugged in long enough without engine operation,
the vehicle’s battery will discharge sufficiently to
degrade battery life and/or prevent the engine from
starting.
FREEING A STUCK VEHICLE
If your vehicle becomes stuck in mud, sand, or snow, it
can often be moved using a rocking motion. Turn your
steering wheel right and left to clear the area around the
front wheels. Then shift back and forth between 1st gear
and REVERSE, while gently pushing the accelerator. Use
the least amount of pressure to maintain the rocking
motion, without spinning the wheels, or racing the
engine.
6
WHAT TO DO IN EMERGENCIES 327
Page 335 of 423
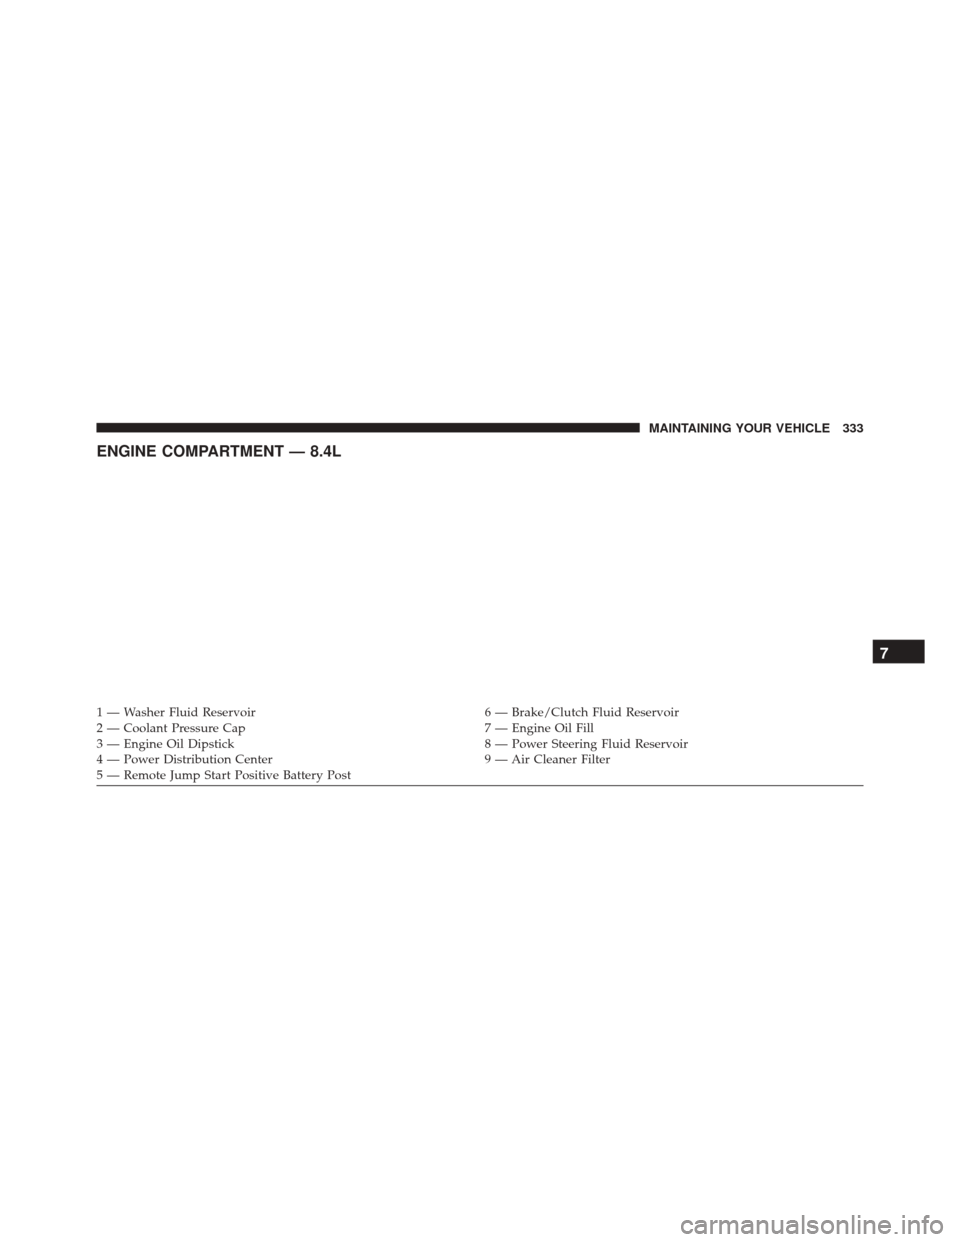
ENGINE COMPARTMENT — 8.4L
1 — Washer Fluid Reservoir6 — Brake/Clutch Fluid Reservoir
2 — Coolant Pressure Cap 7 — Engine Oil Fill
3 — Engine Oil Dipstick 8 — Power Steering Fluid Reservoir
4 — Power Distribution Center 9 — Air Cleaner Filter
5 — Remote Jump Start Positive Battery Post
7
MAINTAINING YOUR VEHICLE 333
Page 343 of 423
Maintenance-Free Battery
The top of the maintenance-free battery is vented, and
must be replaced with a vented battery.
The battery is located underneath an access panel inside
the rear compartment on the left side of the vehicle. A
remote battery terminal is located in the engine compart-
ment for jump-starting. Refer to “Jump-Starting Proce-
dures” in “What To Do In Emergencies” for further
information.
To gain access to the battery, remove the floor portion of
the rear compartment carpet.
Battery Location
1 — Positive Battery Post
2 — Negative Battery Post
7
MAINTAINING YOUR VEHICLE 341
Page 407 of 423
Automatic Door Locks....................27, 28
Automatic Headlights ..................... .106
Auto Unlock, Doors ........................28
Auto Up Power Windows ....................30
Auxiliary Electrical Outlet (Power Outlet) ........132
Auxiliary Power Outlet .....................132
Battery ............................ .153, 341
Charging System Light ...................153
Emergency Starting ..................... .323
Jump Starting ......................... .323
Keyless Transmitter Replacement (RKE) ........23
Location ............................. .341
Remote Battery Replacement ................23
Saving Feature (Protection) ................342
Storing Vehicle ........................ .342
Transmitter Battery Replacement .............23
Belts, Seat ...............................87
Body Mechanism Lubrication .................345B-Pillar Location
......................... .273
Brake Control System, Electronic ..............259
Brake, Parking .......................... .255
Brake System ........................ .257, 355
Anti-Lock (ABS) .....................257, 259
Fluid Check ....................... .355, 383
Master Cylinder ....................... .355
Warning Light ........................ .150
Break-In Recommendations, New Vehicle ........258
Brightness, Interior Lights ...................110
Bulb Replacement ........................ .379
Bulbs, Light .......................... .88, 377
Camera, Rear ........................... .121
Capacities, Antifreeze (Engine Coolant) ..........380
Capacities, Fluid ......................... .380
Caps, Filler Oil (Engine) .......................... .339
Power Steering ........................ .254
10
INDEX 405