DODGE VIPER SRT 2016 VX / 3.G Owners Manual
VIPER SRT 2016 VX / 3.G
DODGE
DODGE
https://www.carmanualsonline.info/img/12/5698/w960_5698-0.png
DODGE VIPER SRT 2016 VX / 3.G Owners Manual
Trending: driver seat adjustment, bulb, audio, keyless entry, oil capacities, headlight bulb, engine oil capacity
Page 171 of 427
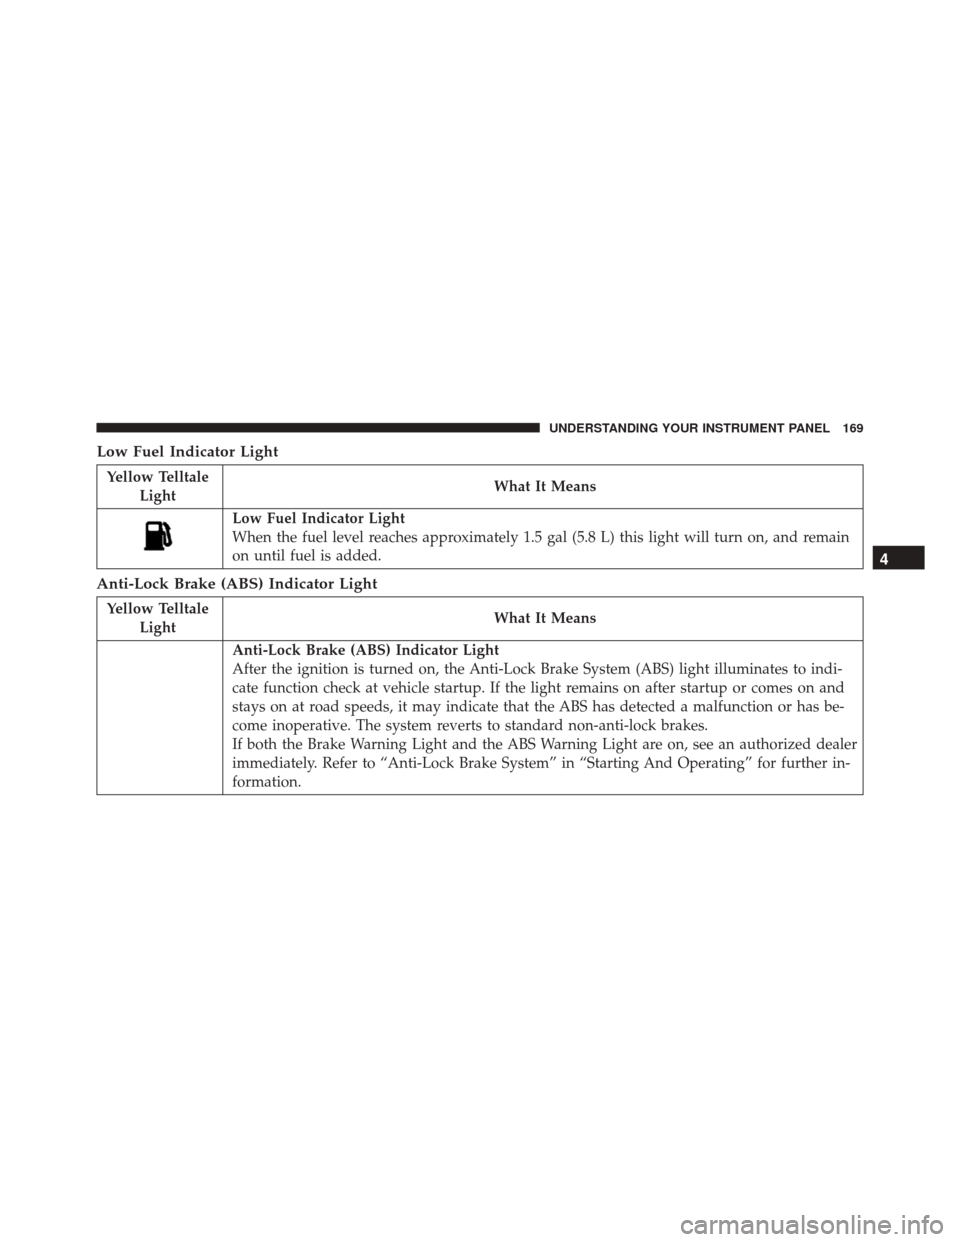
Low Fuel Indicator Light
Yellow TelltaleLight What It Means
Low Fuel Indicator Light
When the fuel level reaches approximately 1.5 gal (5.8 L) this light will turn on, and remain
on until fuel is added.
Anti-Lock Brake (ABS) Indicator Light
Yellow Telltale
Light What It Means
Anti-Lock Brake (ABS) Indicator Light
After the ignition is turned on, the Anti-Lock Brake System (ABS) light illuminates to indi-
cate function check at vehicle startup. If the light remains on after startup or comes on and
stays on at road speeds, it may indicate that the ABS has detected a malfunction or has be-
come inoperative. The system reverts to standard non-anti-lock brakes.
If both the Brake Warning Light and the ABS Warning Light are on, see an authorized dealer
immediately. Refer to “Anti-Lock Brake System” in “Starting And Operating” for further in-
formation.
4
UNDERSTANDING YOUR INSTRUMENT PANEL 169
Page 172 of 427
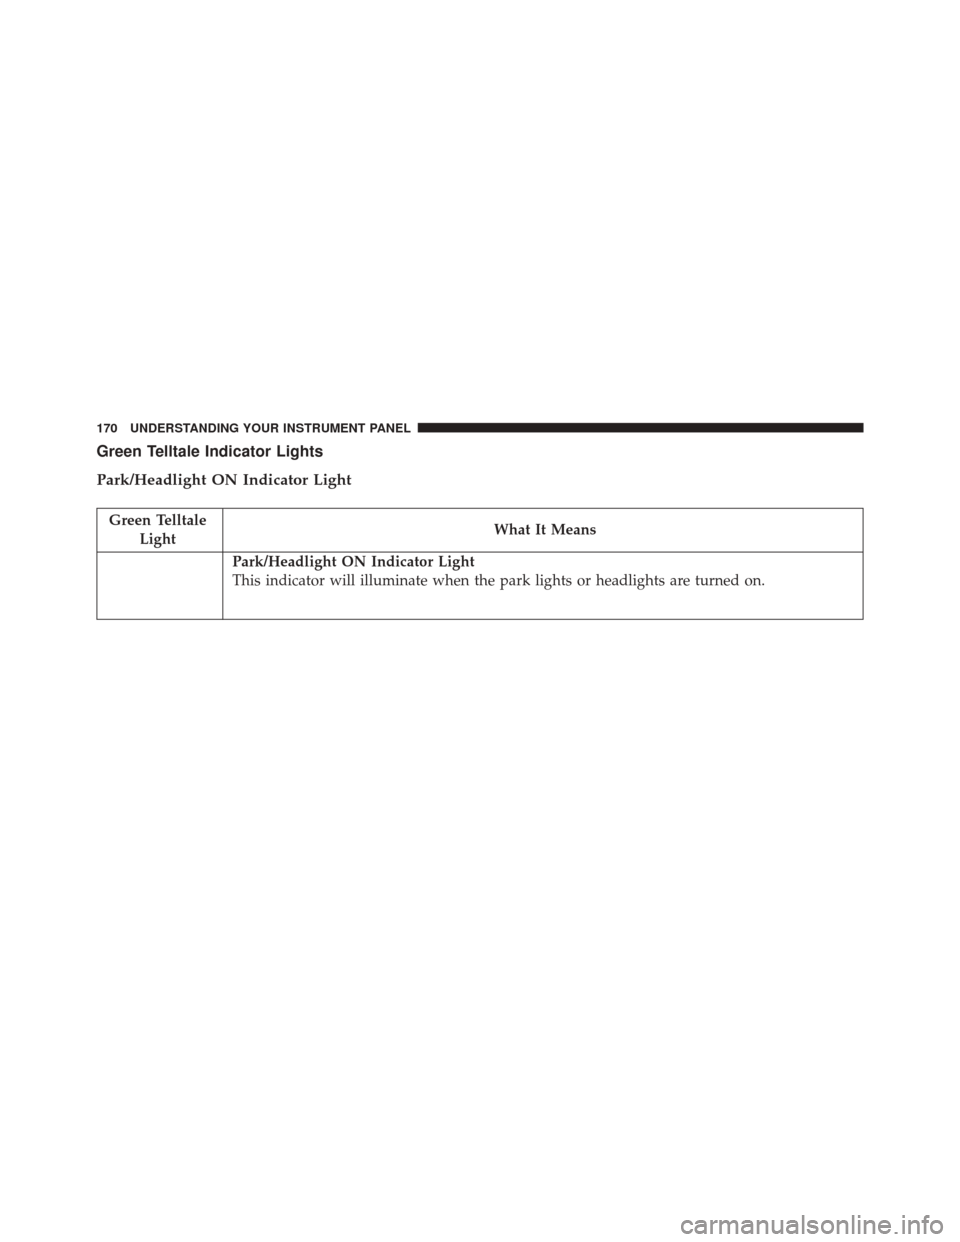
Green Telltale Indicator Lights
Park/Headlight ON Indicator Light
Green TelltaleLight What It Means
Park/Headlight ON Indicator Light
This indicator will illuminate when the park lights or headlights are turned on.
170 UNDERSTANDING YOUR INSTRUMENT PANEL
Page 173 of 427
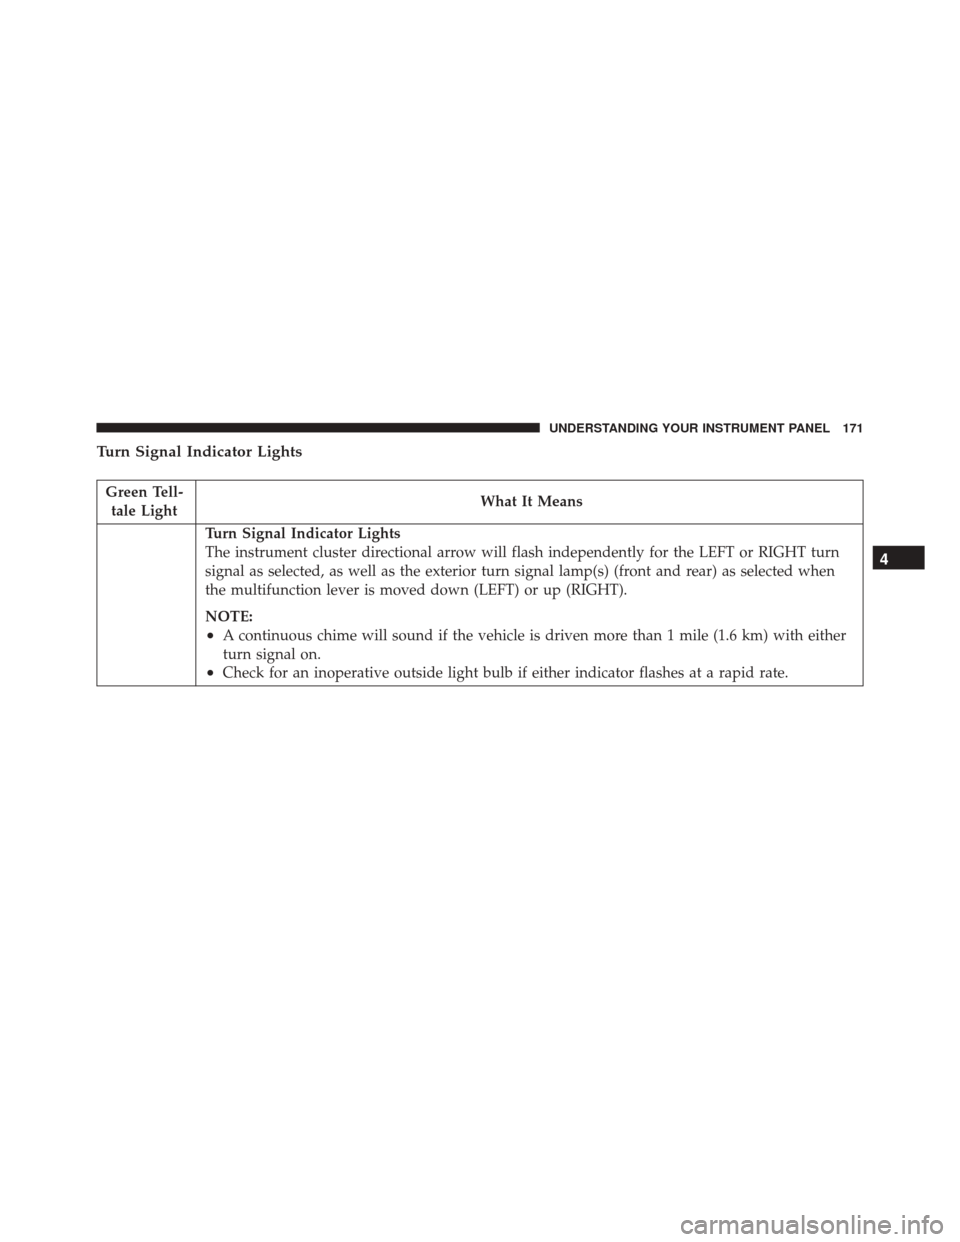
Turn Signal Indicator Lights
Green Tell-tale Light What It Means
Turn Signal Indicator Lights
The instrument cluster directional arrow will flash independently for the LEFT or RIGHT turn
signal as selected, as well as the exterior turn signal lamp(s) (front and rear) as selected when
the multifunction lever is moved down (LEFT) or up (RIGHT).
NOTE:
•A continuous chime will sound if the vehicle is driven more than 1 mile (1.6 km) with either
turn signal on.
•Check for an inoperative outside light bulb if either indicator flashes at a rapid rate.
4
UNDERSTANDING YOUR INSTRUMENT PANEL 171
Page 174 of 427
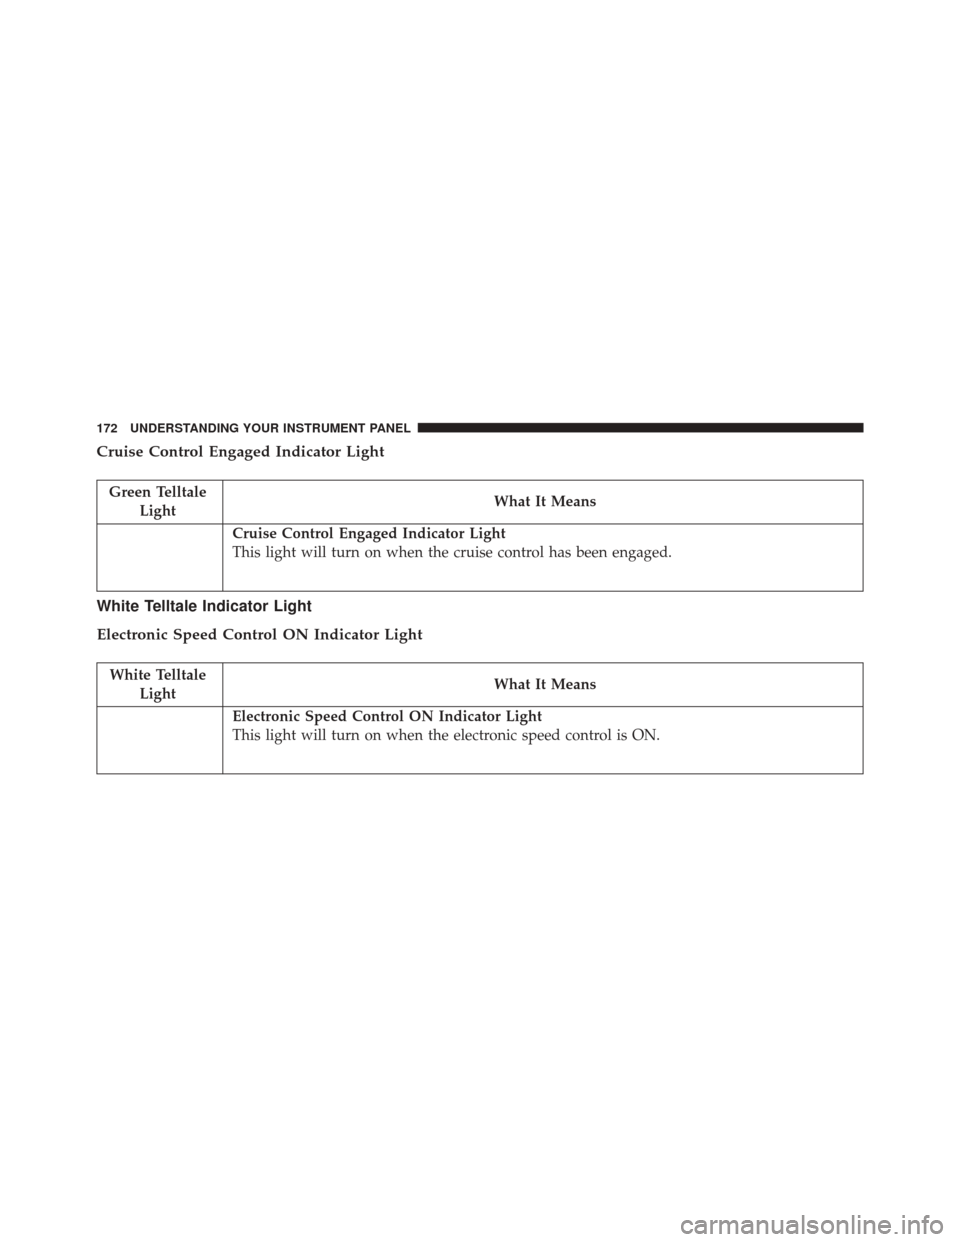
Cruise Control Engaged Indicator Light
Green TelltaleLight What It Means
Cruise Control Engaged Indicator Light
This light will turn on when the cruise control has been engaged.
White Telltale Indicator Light
Electronic Speed Control ON Indicator Light
White Telltale
Light What It Means
Electronic Speed Control ON Indicator Light
This light will turn on when the electronic speed control is ON.
172 UNDERSTANDING YOUR INSTRUMENT PANEL
Page 175 of 427
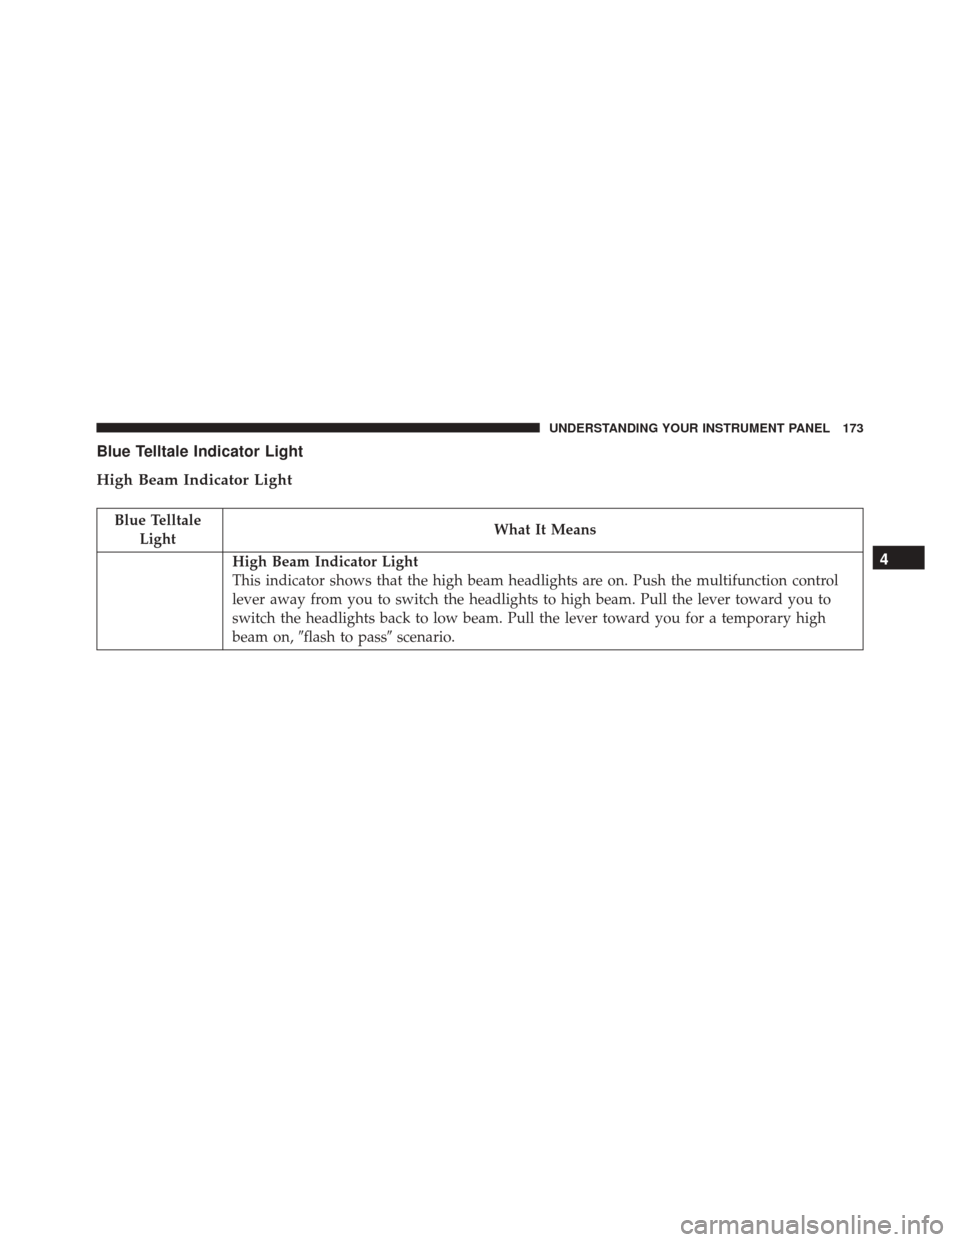
Blue Telltale Indicator Light
High Beam Indicator Light
Blue TelltaleLight What It Means
High Beam Indicator Light
This indicator shows that the high beam headlights are on. Push the multifunction control
lever away from you to switch the headlights to high beam. Pull the lever toward you to
switch the headlights back to low beam. Pull the lever toward you for a temporary high
beam on,
�flash to pass� scenario.4
UNDERSTANDING YOUR INSTRUMENT PANEL 173
Page 176 of 427
DRIVER INFORMATION DISPLAY (DID)
The Driver Information Display (DID) features a driver-
interactive display that is located in the instrument
cluster.This system allows the driver to select a variety of useful
information by pushing the switches mounted on the
steering wheel. The DID consists of the following:
•
Tachometer
• MPH/KMH
• Vehicle Information
• Fuel Economy
• Trip A
• Trip B
• Audio
• Stored Messages
• Screen Setup
• Performance
• Diagnostics
Driver Information Display (DID)
174 UNDERSTANDING YOUR INSTRUMENT PANEL
Page 177 of 427
•Hibernation
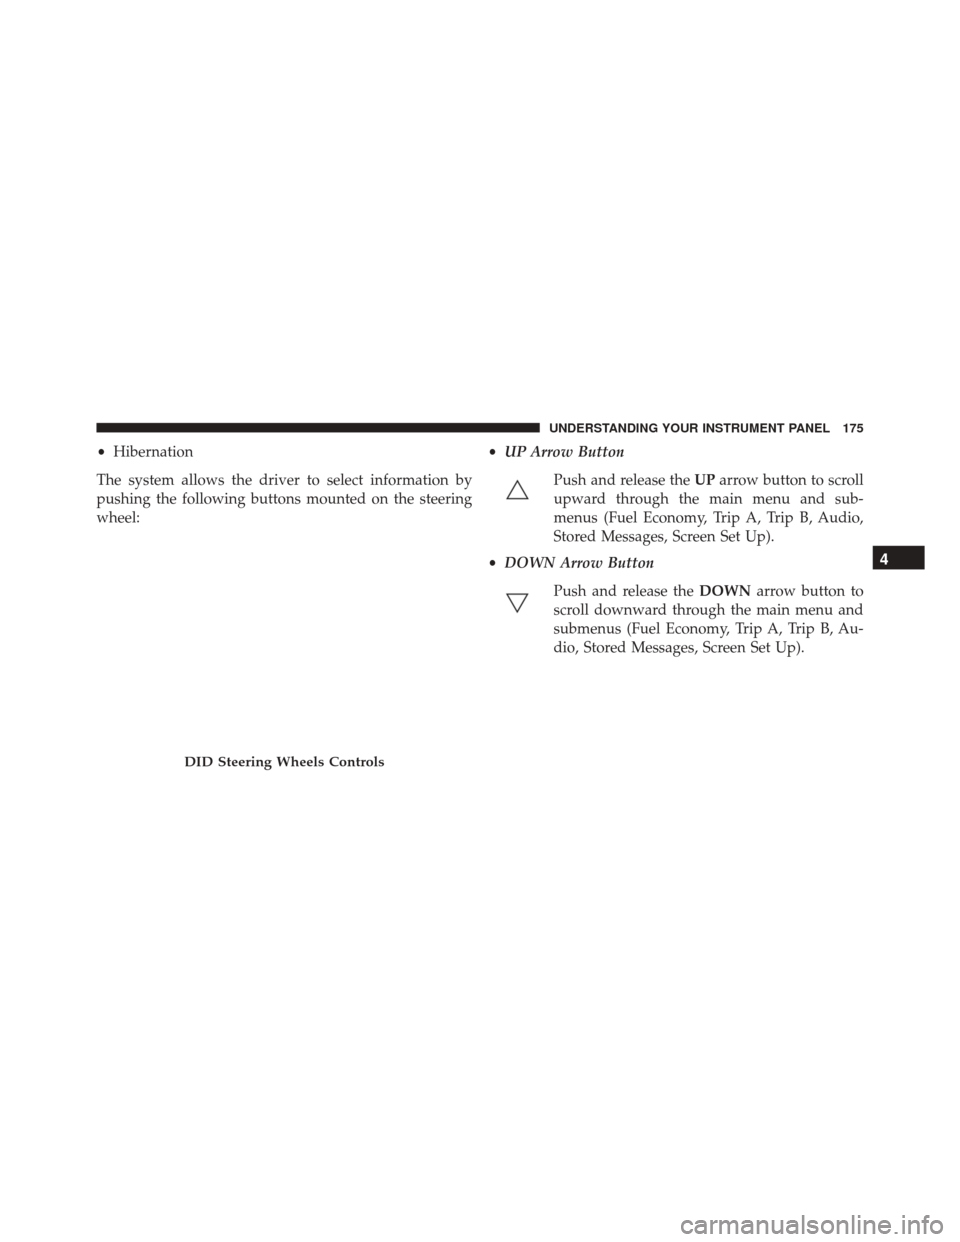
The system allows the driver to select information by
pushing the following buttons mounted on the steering
wheel: •
UP Arrow Button
Push and release the UParrow button to scroll
upward through the main menu and sub-
menus (Fuel Economy, Trip A, Trip B, Audio,
Stored Messages, Screen Set Up).
• DOWN Arrow Button
Push and release the DOWNarrow button to
scroll downward through the main menu and
submenus (Fuel Economy, Trip A, Trip B, Au-
dio, Stored Messages, Screen Set Up).
DID Steering Wheels Controls
4
UNDERSTANDING YOUR INSTRUMENT PANEL 175
Page 178 of 427
•RIGHT Arrow Button
Push and release the RIGHTarrow button to
access/select the information screens or sub-
menu screens of a main menu item. Push and
hold the RIGHTarrow button for two seconds
to reset displayed/selected features that can be reset.
• LEFT Arrow Button
Push and release the LEFTarrow button to
return to the main menu from an info screen or
submenu item.
NOTE: Pushing any arrow will override the DID “pop
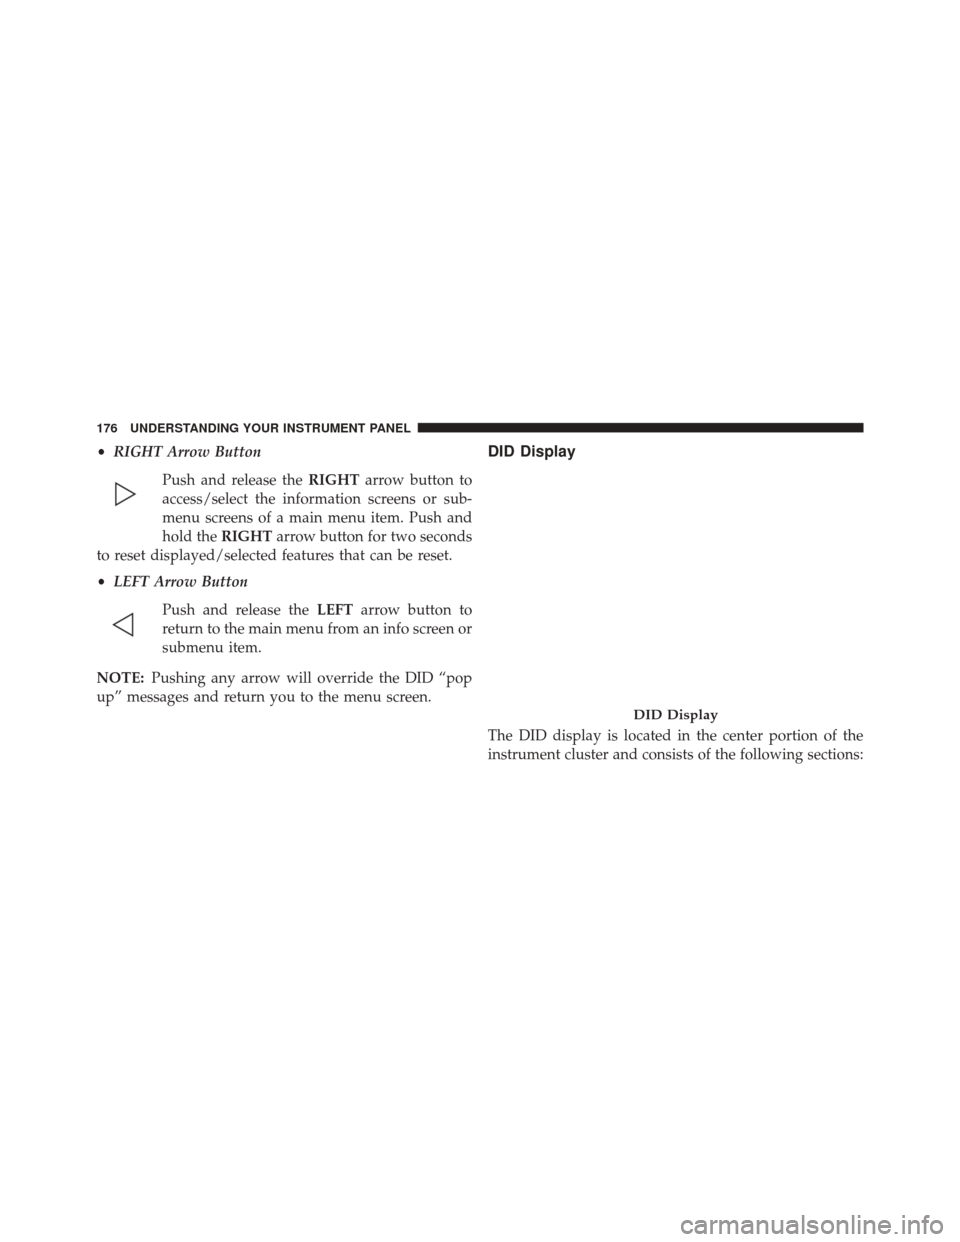
up” messages and return you to the menu screen.DID Display
The DID display is located in the center portion of the
instrument cluster and consists of the following sections:
DID Display
176 UNDERSTANDING YOUR INSTRUMENT PANEL
Page 179 of 427
1. Main Screen — The inner ring of the display willilluminate in grey under normal conditions, yellow for
non critical warnings, red for critical warnings, and
white for on demand information.
2. Audio / Phone Information and Sub-menu Informa- tion — Whenever there are sub-menus available, the
position within the sub-menus is shown here.
3. Reconfigurable Telltales/Information
4. Telltales/Indicators
5. Selectable Information (Tach, Mph/Kmh, Vehicle Info, Fuel Economy, Trip A, Trip B, Audio, Stored Messages,
Screen Setup, Performance, Diagnostics, Hibernation)
6. Suspension Status — The suspension status icon will illuminate in this area. Refer to “Starting And Operat-
ing” for further information. 7. ESC Status — The ESC status icon will illuminate in
this area. Refer to “Electronic Brake Control System”
in “Starting And Operating” for further information.
8. Launch Control status when launch control mode is entered. Refer to “Launch Mode” in “Starting And
Operating” for further information.
The main display area will normally display the main
menu or the screens of a selected feature of the main
menu. The main display area also displays “pop up”
messages that consist of approximately 60 possible warn-
ing or information messages. These pop up messages fall
into several categories:
• Five Second Stored Messages
When the appropriate conditions occur, this type of
message takes control of the main display area for five
seconds and then returns to the previous screen. Most of
the messages of this type are then stored (as long as the
condition that activated it remains active) and can be
4
UNDERSTANDING YOUR INSTRUMENT PANEL 177
Page 180 of 427
reviewed from the “Messages” main menu item. As long
as there is a stored message, an “i” will be displayed in
the DID’s compass/outside temp line. Examples of this
message type are “Right Front Turn Signal Lamp Out”
and “Low Tire Pressure.”
NOTE:Pushing the LEFT arrow button will override the
DID “pop up” messages and return you to the menu
screen.
• Unstored Messages
This message type is displayed indefinitely or until the
condition that activated the message is cleared. Examples
of this message type are “Turn Signal On” (if a turn signal
is left on) and “Lights On” (if driver leaves the vehicle).
• Five Second Unstored Messages
When the appropriate conditions occur, this type of
message takes control of the main display area for five seconds and then returns to the previous screen. An
example of this message type is “Automatic High Beams
On.”
Driver Information Display (DID) Messages
•
Front Seat Belts Unbuckled
• Driver Seat Belt Unbuckled
• Passenger Seat Belt Unbuckled
• Key Fob Battery Low
• Service Air Bag System
• ESC Status (ESC OFF, ESC ON, ESC SPORT, ESC
TRACK, RAIN MODE) — Refer to “Electronic Brake
Control System” in “Starting And Operating” for
further information.
• Oil Pressure Low
• Fuel Low
178 UNDERSTANDING YOUR INSTRUMENT PANEL
Trending: fuel tank capacity, transmission fluid, charging, remote control, steering, low beam, USB port
