fuel FIAT 500 ABARTH CABRIO 2017 2.G Owners Manual
[x] Cancel search | Manufacturer: FIAT, Model Year: 2017, Model line: 500 ABARTH CABRIO, Model: FIAT 500 ABARTH CABRIO 2017 2.GPages: 338, PDF Size: 2.78 MB
Page 41 of 338
bag inflation. These airborne particles may irritate
the skin, eyes, nose, or throat. If you have skin or eye
irritation, rinse the area with cool water. For nose or
throat irritation, move to fresh air. If the irritation
continues, see your doctor. If these particles settle on
your clothing, follow the garment manufacturer ’s
instructions for cleaning.
Do not drive your vehicle after the air bags have
deployed. If you are involved in another collision, the
air bags will not be in place to protect you.
WARNING!
Deployed air bags and seat belt pretensioners can-
not protect you in another collision. Have the air
bags, seat belt pretensioners, and the seat belt
retractor assemblies replaced by an authorized
dealer immediately. Also, have the Occupant Re-
straint Controller System serviced as well.
NOTE:
• Air bag covers may not be obvious in the interior
trim, but they will open during air bag deployment.
• After any collision, the vehicle should be taken to an
authorized dealer immediately.
Enhanced Accident Response System
In the event of an impact, if the communication net-
work remains intact, and the power remains intact,
depending on the nature of the event, the ORC will
determine whether to have the Enhanced Accident
Response System perform the following functions:
• Cut off fuel to the engine.
• Flash hazard lights as long as the battery has power
or until the hazard light button is pressed. The
hazard lights can be deactivated by pressing the
hazard light button.
• Turn on the interior lights, which remain on as long
as the battery has power or for 15 minutes from the
intervention of the Enhanced Accident Response
System.
• Unlock the power door locks.
Enhanced Accident Response System Reset
Procedure
After the event occurs, when the system is active, a
message regarding fuel cutoff is displayed. Turn the
2
THINGS TO KNOW BEFORE STARTING YOUR VEHICLE 39
Page 42 of 338
ignition switch from ignition AVV/START or MAR/
ACC/ON/RUN to ignition STOP/OFF/LOCK. Care-
fully check the vehicle for fuel leaks in the engine
compartment and on the ground near the engine com-
partment and fuel tank before resetting the system and
starting the engine.
Depending on the nature of the event the left and right
turn signal lights, located in the instrument panel, may
both be blinking and will continue to blink. In order to
move your vehicle to the side of the road, you must
follow the system reset procedure.
Customer Action Customer Will See
1. Turn Ignition OFF. (Turn Signal Switch Must Be Placed In Neutral State).
2. Turn Ignition ON. Left Turn Light Is OFF. Right Turn LightBLINKS.
3. Turn Right Turn Sig- nal Switch ON. Right Turn Light Is ON
SOLID. Left Turn Light BLINKS.
Customer Action Customer Will See
4. Turn Left Turn Signal Switch ON. Left Turn Light Is ON
SOLID. Right Turn Sig- nal Light BLINKS.
5. Turn Right Turn Sig- nal Switch ON. Right Turn Light Is ON
SOLID. Left Turn Light BLINKS.
6. Turn Left Turn Signal Switch ON. Left Turn Light Is ON
SOLID. Right Turn Light Is ON SOLID.
7. Turn Left Turn Signal
Switch OFF. (Turn Signal Switch Must Be Placed In Neutral State). Left Turn light Is OFF.
Right Turn Light is OFF.
8. Turn Ignition OFF.
9. Turn Hazard Flashers OFF (Manually). System is now reset and
the engine may be started.
If a reset procedure step is not completed within 60
seconds, then the turn signal lights will blink and the
reset procedure must be performed again in order to be
successful.
40 THINGS TO KNOW BEFORE STARTING YOUR VEHICLE
Page 66 of 338
Periodic Safety Checks You Should Make
Outside The Vehicle
Tires
Examine tires for excessive tread wear and uneven wear
patterns. Check for stones, nails, glass, or other objects
lodged in the tread or sidewall. Inspect the tread for
cuts and cracks. Inspect sidewalls for cuts, cracks and
bulges. Check the wheel bolts for tightness. Check the
tires (including spare) for proper cold inflation pres-
sure.
Lights
Have someone observe the operation of brake lights
and exterior lights while you work the controls. Check
turn signal and high beam indicator lights on the
instrument panel.
Door Latches
Check for proper closing, latching, and locking.
Fluid Leaks
Check area under vehicle after overnight parking for
fuel, engine coolant, oil, or other fluid leaks. Also, if
gasoline fumes are detected or if fuel, power steering
fluid (if equipped), or brake fluid leaks are suspected.
The cause should be located and corrected immediately.
64 THINGS TO KNOW BEFORE STARTING YOUR VEHICLE
Page 113 of 338
•The digital gauge will likely indicate a higher
temperature when driving in hot weather, or up
mountain grades. It should not be allowed to
exceed the upper limits of the normal operating
range.
WARNING!
Driving with a hot engine cooling system could
damage your vehicle. If the temperature gauge reads
“H” pull over and stop the vehicle. Idle the vehicle
with the air conditioner turned off until the pointer
drops back into the normal range. If the pointer
remains on the “H,” turn the engine off immediately
and call an authorized dealer for service.
WARNING!
A hot engine cooling system is dangerous. You or
others could be badly burned by steam or boiling
coolant. You may want to call an authorized dealer
for service if your vehicle overheats. If you decide
to look under the hood yourself, see “Maintaining
Your Vehicle.” Follow the warnings under the Cool-
ing System Pressure Cap paragraph.
3. Speedometer
• Indicates vehicle speed.
4. Fuel Gauge
• The digital display shows the amount of fuel in the
tank.
• The switching on of the digital warning light
indicates that 1 – 1.3 gallons of fuel are left in the
tank; in this situation, refuel as soon as possible.
• Do not travel with the fuel tank almost empty; any
gaps in fuel delivery could damage the catalytic
converter.
4
UNDERSTANDING YOUR INSTRUMENT PANEL 111
Page 114 of 338
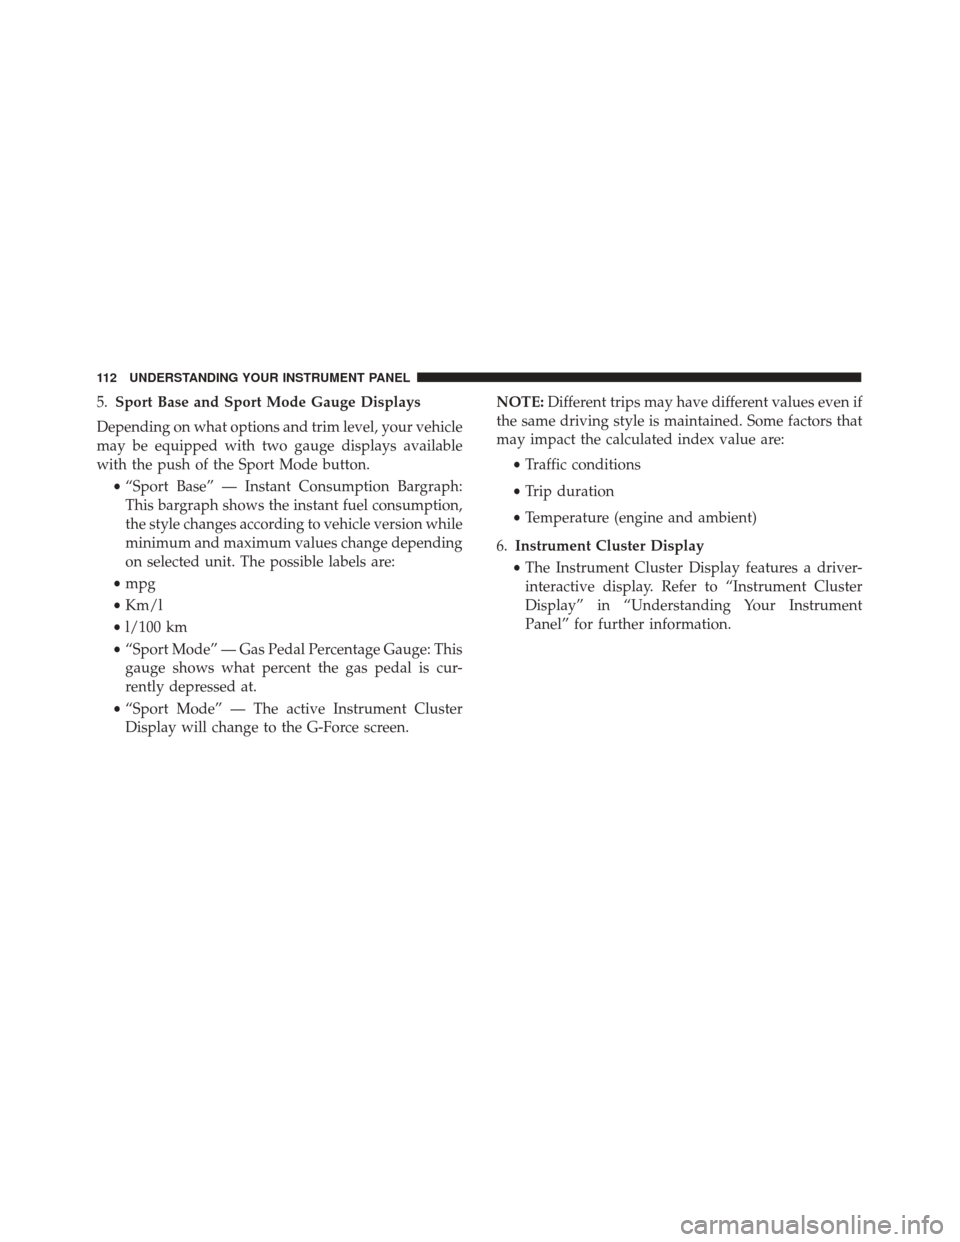
5.Sport Base and Sport Mode Gauge Displays
Depending on what options and trim level, your vehicle
may be equipped with two gauge displays available
with the push of the Sport Mode button. •“Sport Base” — Instant Consumption Bargraph:
This bargraph shows the instant fuel consumption,
the style changes according to vehicle version while
minimum and maximum values change depending
on selected unit. The possible labels are:
• mpg
• Km/l
• l/100 km
• “Sport Mode” — Gas Pedal Percentage Gauge: This
gauge shows what percent the gas pedal is cur-
rently depressed at.
• “Sport Mode” — The active Instrument Cluster
Display will change to the G-Force screen. NOTE:
Different trips may have different values even if
the same driving style is maintained. Some factors that
may impact the calculated index value are:
•Traffic conditions
• Trip duration
• Temperature (engine and ambient)
6. Instrument Cluster Display
• The Instrument Cluster Display features a driver-
interactive display. Refer to “Instrument Cluster
Display” in “Understanding Your Instrument
Panel” for further information.
112 UNDERSTANDING YOUR INSTRUMENT PANEL
Page 117 of 338
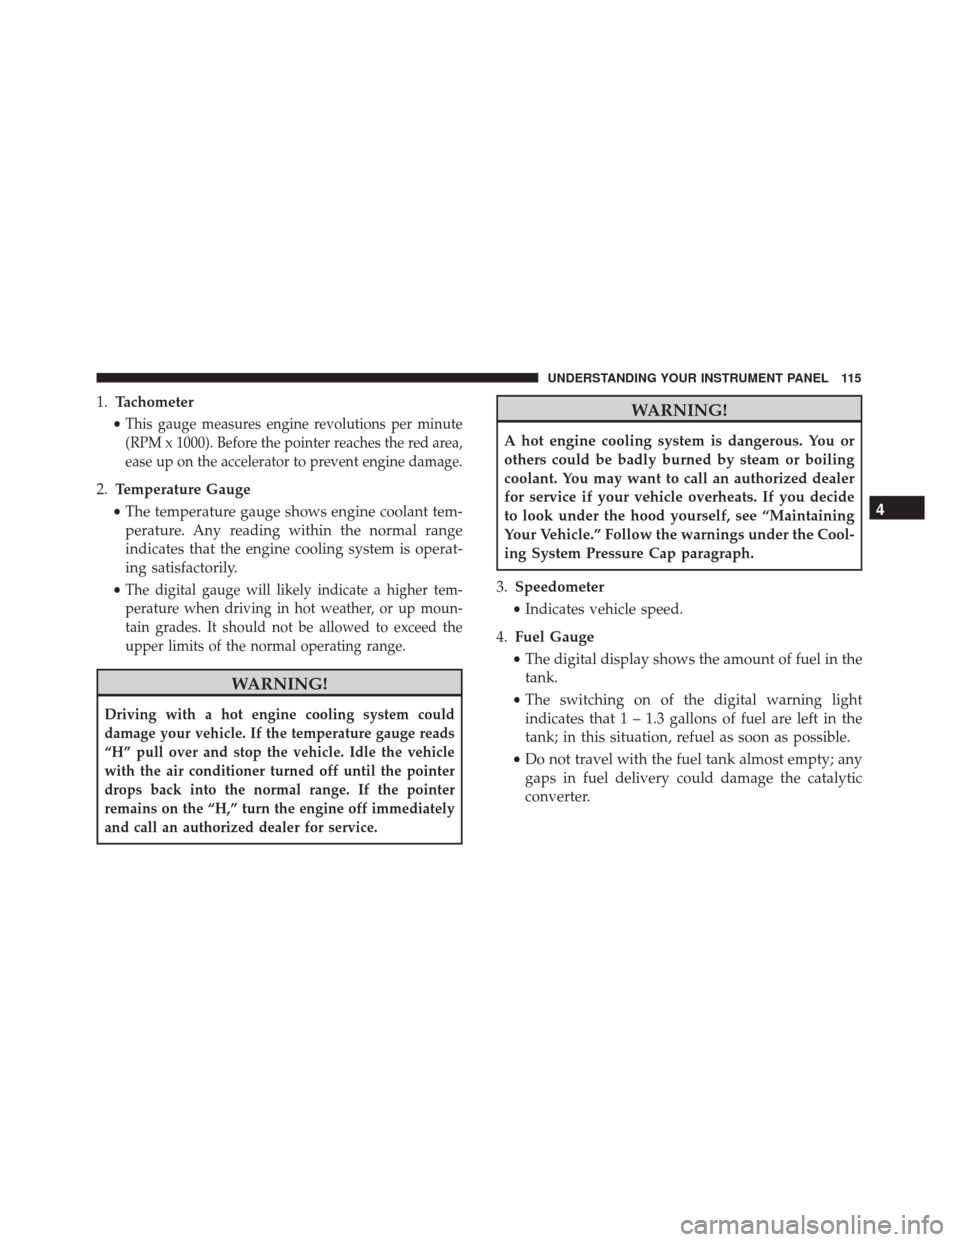
1.Tachometer
•
This gauge measures engine revolutions per minute
(RPM x 1000). Before the pointer reaches the red area,
ease up on the accelerator to prevent engine damage.
2. Temperature Gauge
• The temperature gauge shows engine coolant tem-
perature. Any reading within the normal range
indicates that the engine cooling system is operat-
ing satisfactorily.
•
The digital gauge will likely indicate a higher tem-
perature when driving in hot weather, or up moun-
tain grades. It should not be allowed to exceed the
upper limits of the normal operating range.
WARNING!
Driving with a hot engine cooling system could
damage your vehicle. If the temperature gauge reads
“H” pull over and stop the vehicle. Idle the vehicle
with the air conditioner turned off until the pointer
drops back into the normal range. If the pointer
remains on the “H,” turn the engine off immediately
and call an authorized dealer for service.
WARNING!
A hot engine cooling system is dangerous. You or
others could be badly burned by steam or boiling
coolant. You may want to call an authorized dealer
for service if your vehicle overheats. If you decide
to look under the hood yourself, see “Maintaining
Your Vehicle.” Follow the warnings under the Cool-
ing System Pressure Cap paragraph.
3. Speedometer
• Indicates vehicle speed.
4. Fuel Gauge
• The digital display shows the amount of fuel in the
tank.
• The switching on of the digital warning light
indicates that 1 – 1.3 gallons of fuel are left in the
tank; in this situation, refuel as soon as possible.
• Do not travel with the fuel tank almost empty; any
gaps in fuel delivery could damage the catalytic
converter.
4
UNDERSTANDING YOUR INSTRUMENT PANEL 115
Page 118 of 338
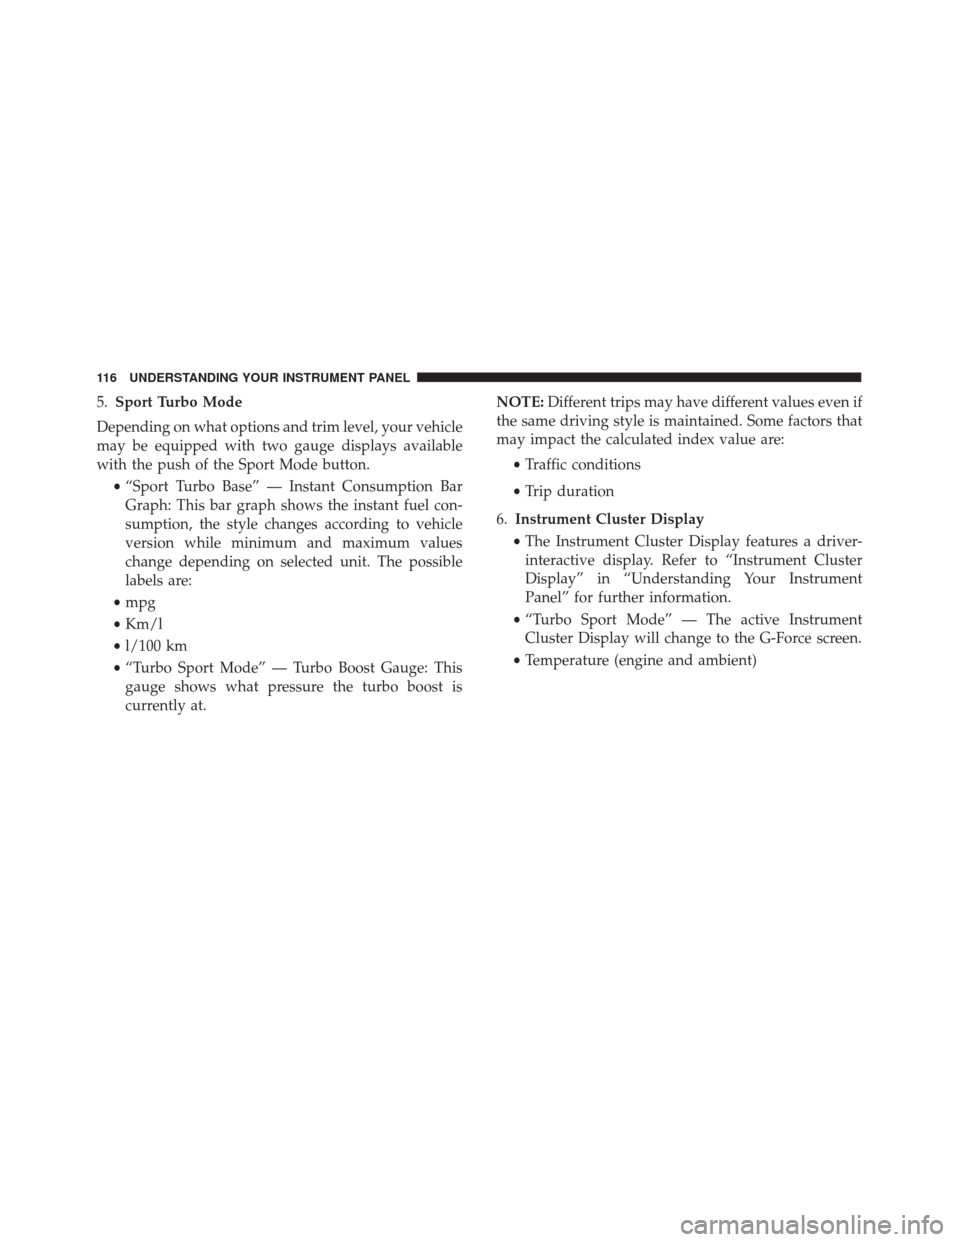
5.Sport Turbo Mode
Depending on what options and trim level, your vehicle
may be equipped with two gauge displays available
with the push of the Sport Mode button. •“Sport Turbo Base” — Instant Consumption Bar
Graph: This bar graph shows the instant fuel con-
sumption, the style changes according to vehicle
version while minimum and maximum values
change depending on selected unit. The possible
labels are:
• mpg
• Km/l
• l/100 km
• “Turbo Sport Mode” — Turbo Boost Gauge: This
gauge shows what pressure the turbo boost is
currently at. NOTE:
Different trips may have different values even if
the same driving style is maintained. Some factors that
may impact the calculated index value are:
•Traffic conditions
• Trip duration
6. Instrument Cluster Display
• The Instrument Cluster Display features a driver-
interactive display. Refer to “Instrument Cluster
Display” in “Understanding Your Instrument
Panel” for further information.
• “Turbo Sport Mode” — The active Instrument
Cluster Display will change to the G-Force screen.
• Temperature (engine and ambient)
116 UNDERSTANDING YOUR INSTRUMENT PANEL
Page 120 of 338
•The digital gauge will likely indicate a higher
temperature when driving in hot weather, or up
mountain grades. It should not be allowed to
exceed the upper limits of the normal operating
range.
WARNING!
Driving with a hot engine cooling system could
damage your vehicle. If the temperature gauge reads
“H” pull over and stop the vehicle. Idle the vehicle
with the air conditioner turned off until the pointer
drops back into the normal range. If the pointer
remains on the “H,” turn the engine off immediately
and call an authorized dealer for service.
WARNING!
A hot engine cooling system is dangerous. You or
others could be badly burned by steam or boiling
coolant. You may want to call an authorized dealer
for service if your vehicle overheats. If you decide
to look under the hood yourself, see “Maintaining
Your Vehicle.” Follow the warnings under the Cool-
ing System Pressure Cap paragraph. 3.
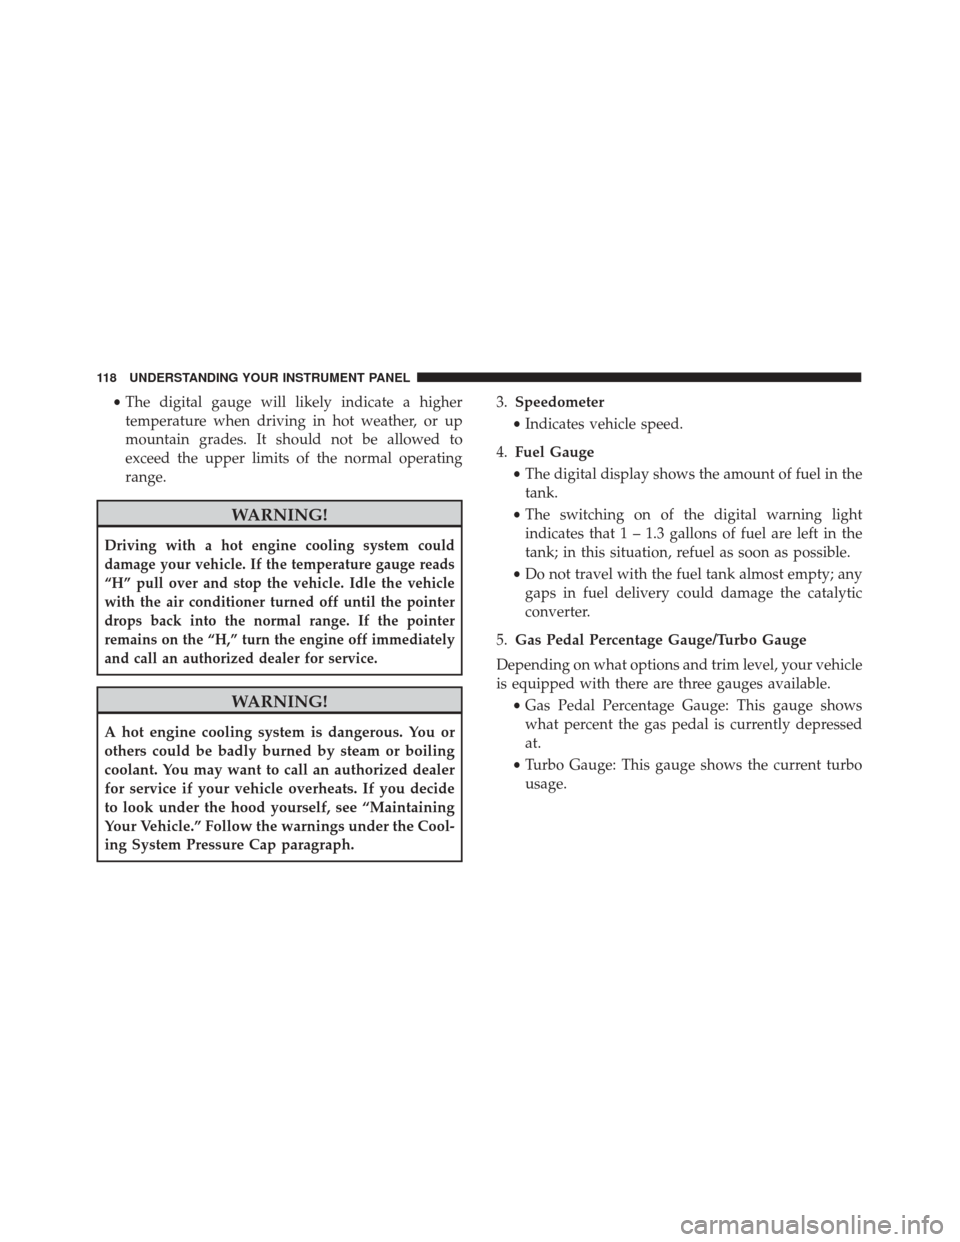
Speedometer
• Indicates vehicle speed.
4. Fuel Gauge
• The digital display shows the amount of fuel in the
tank.
• The switching on of the digital warning light
indicates that 1 – 1.3 gallons of fuel are left in the
tank; in this situation, refuel as soon as possible.
• Do not travel with the fuel tank almost empty; any
gaps in fuel delivery could damage the catalytic
converter.
5. Gas Pedal Percentage Gauge/Turbo Gauge
Depending on what options and trim level, your vehicle
is equipped with there are three gauges available. •Gas Pedal Percentage Gauge: This gauge shows
what percent the gas pedal is currently depressed
at.
• Turbo Gauge: This gauge shows the current turbo
usage.
118 UNDERSTANDING YOUR INSTRUMENT PANEL
Page 129 of 338
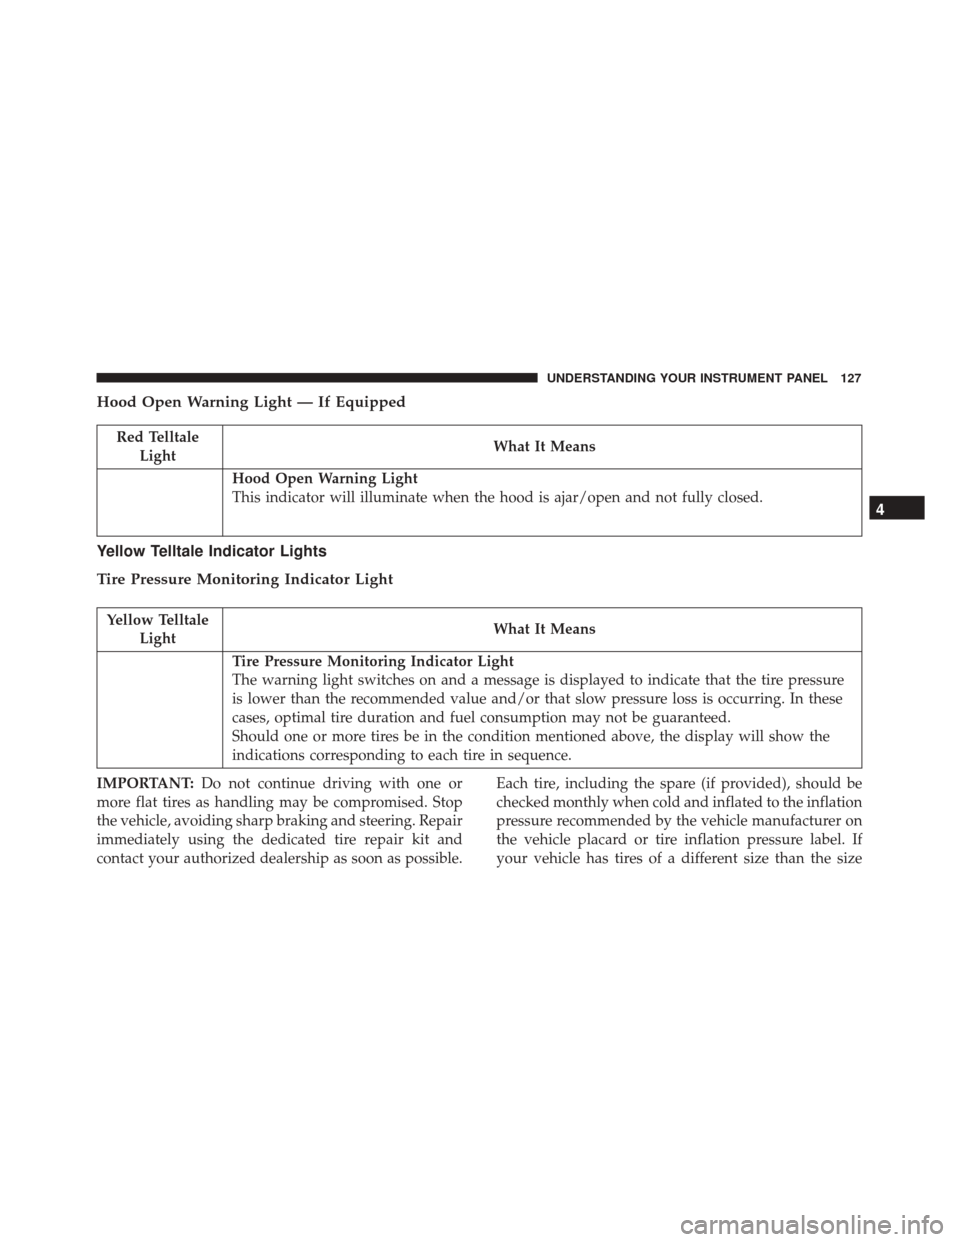
Hood Open Warning Light — If Equipped
Red TelltaleLight What It Means
Hood Open Warning Light
This indicator will illuminate when the hood is ajar/open and not fully closed.
Yellow Telltale Indicator Lights
Tire Pressure Monitoring Indicator Light
Yellow Telltale
Light What It Means
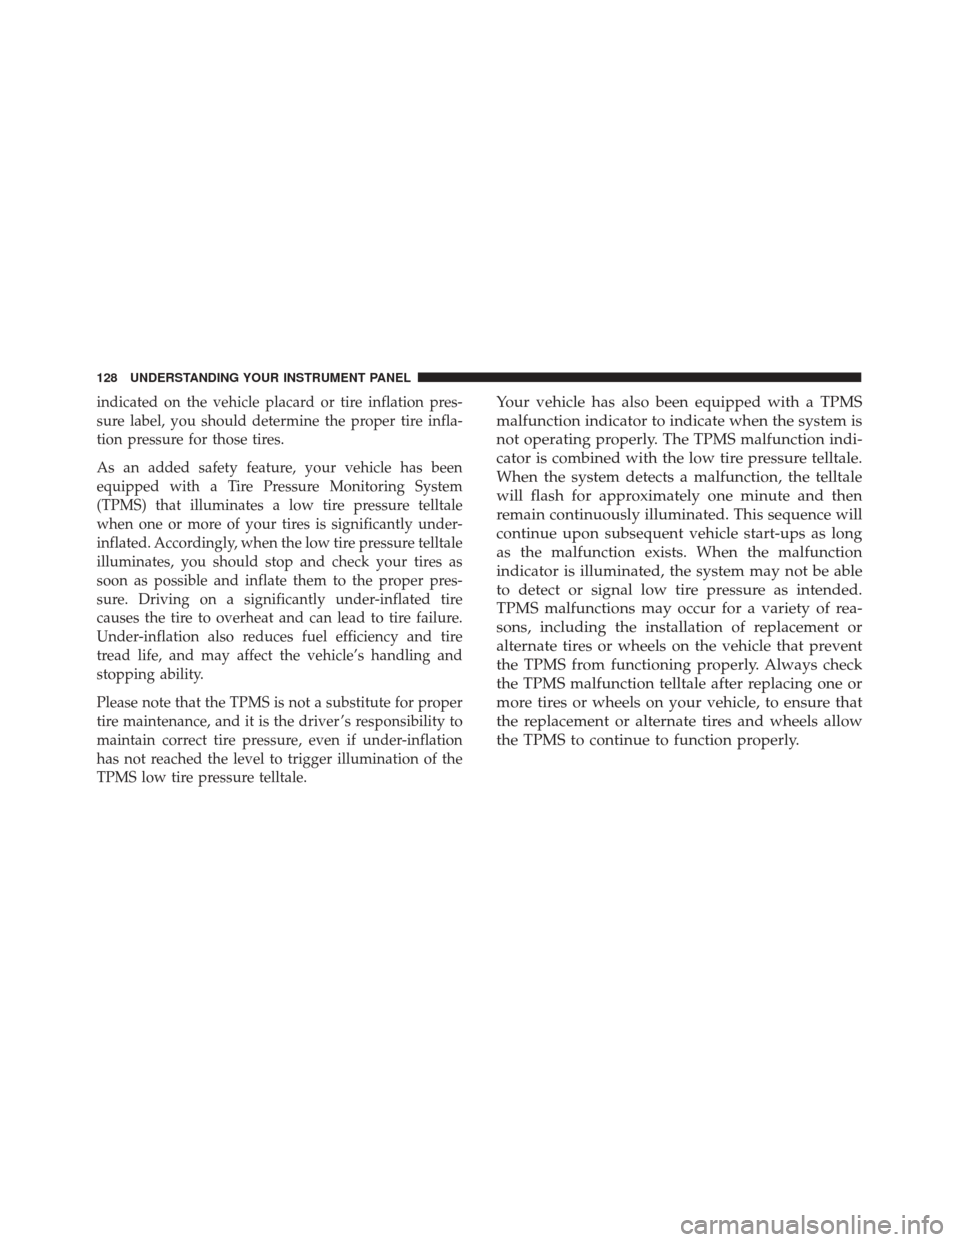
Tire Pressure Monitoring Indicator Light
The warning light switches on and a message is displayed to indicate that the tire pressure
is lower than the recommended value and/or that slow pressure loss is occurring. In these
cases, optimal tire duration and fuel consumption may not be guaranteed.
Should one or more tires be in the condition mentioned above, the display will show the
indications corresponding to each tire in sequence.
IMPORTANT: Do not continue driving with one or
more flat tires as handling may be compromised. Stop
the vehicle, avoiding sharp braking and steering. Repair
immediately using the dedicated tire repair kit and
contact your authorized dealership as soon as possible. Each tire, including the spare (if provided), should be
checked monthly when cold and inflated to the inflation
pressure recommended by the vehicle manufacturer on
the vehicle placard or tire inflation pressure label. If
your vehicle has tires of a different size than the size
4
UNDERSTANDING YOUR INSTRUMENT PANEL 127
Page 130 of 338
indicated on the vehicle placard or tire inflation pres-
sure label, you should determine the proper tire infla-
tion pressure for those tires.
As an added safety feature, your vehicle has been
equipped with a Tire Pressure Monitoring System
(TPMS) that illuminates a low tire pressure telltale
when one or more of your tires is significantly under-
inflated. Accordingly, when the low tire pressure telltale
illuminates, you should stop and check your tires as
soon as possible and inflate them to the proper pres-
sure. Driving on a significantly under-inflated tire
causes the tire to overheat and can lead to tire failure.
Under-inflation also reduces fuel efficiency and tire
tread life, and may affect the vehicle’s handling and
stopping ability.
Please note that the TPMS is not a substitute for proper
tire maintenance, and it is the driver ’s responsibility to
maintain correct tire pressure, even if under-inflation
has not reached the level to trigger illumination of the
TPMS low tire pressure telltale.Your vehicle has also been equipped with a TPMS
malfunction indicator to indicate when the system is
not operating properly. The TPMS malfunction indi-
cator is combined with the low tire pressure telltale.
When the system detects a malfunction, the telltale
will flash for approximately one minute and then
remain continuously illuminated. This sequence will
continue upon subsequent vehicle start-ups as long
as the malfunction exists. When the malfunction
indicator is illuminated, the system may not be able
to detect or signal low tire pressure as intended.
TPMS malfunctions may occur for a variety of rea-
sons, including the installation of replacement or
alternate tires or wheels on the vehicle that prevent
the TPMS from functioning properly. Always check
the TPMS malfunction telltale after replacing one or
more tires or wheels on your vehicle, to ensure that
the replacement or alternate tires and wheels allow
the TPMS to continue to function properly.
128 UNDERSTANDING YOUR INSTRUMENT PANEL