display FIAT 500C 2016 2.G Owner's Manual
[x] Cancel search | Manufacturer: FIAT, Model Year: 2016, Model line: 500C, Model: FIAT 500C 2016 2.GPages: 442, PDF Size: 3.1 MB
Page 184 of 442
Values Displayed
Range
This indicates the distance which may be traveled with
the fuel remaining in the tank, assuming that driving
conditions will not change. The message “----” will
appear on the display in the following cases:
•Distance less than 30 miles (or 50 km).
• The vehicle is parked for a long time with the engine
running.
NOTE: The range depends on several factors: driving
style, type of route (freeway, residential, mountain roads,
etc.), and conditions of use of the vehicle (load, tire
pressure, etc.). Trip planning must take into account the
above notes.
Distance Traveled
This value shows the distance covered since the last reset.
Average Economy
This value shows the approximate average consumption
since the last reset.
Instantaneous Economy
This indicates the fuel consumption. The value is con-
stantly updated. The message “----” will appear on the
display if the vehicle is parked with the engine running.
Average Speed
This value shows the vehicle’s average speed as a func-
tion of the overall time elapsed since the last reset.
Travel Time
This value shows the time elapsed since the last reset.
182 UNDERSTANDING YOUR INSTRUMENT PANEL
Page 185 of 442
EVIC Submenu Personal Settings
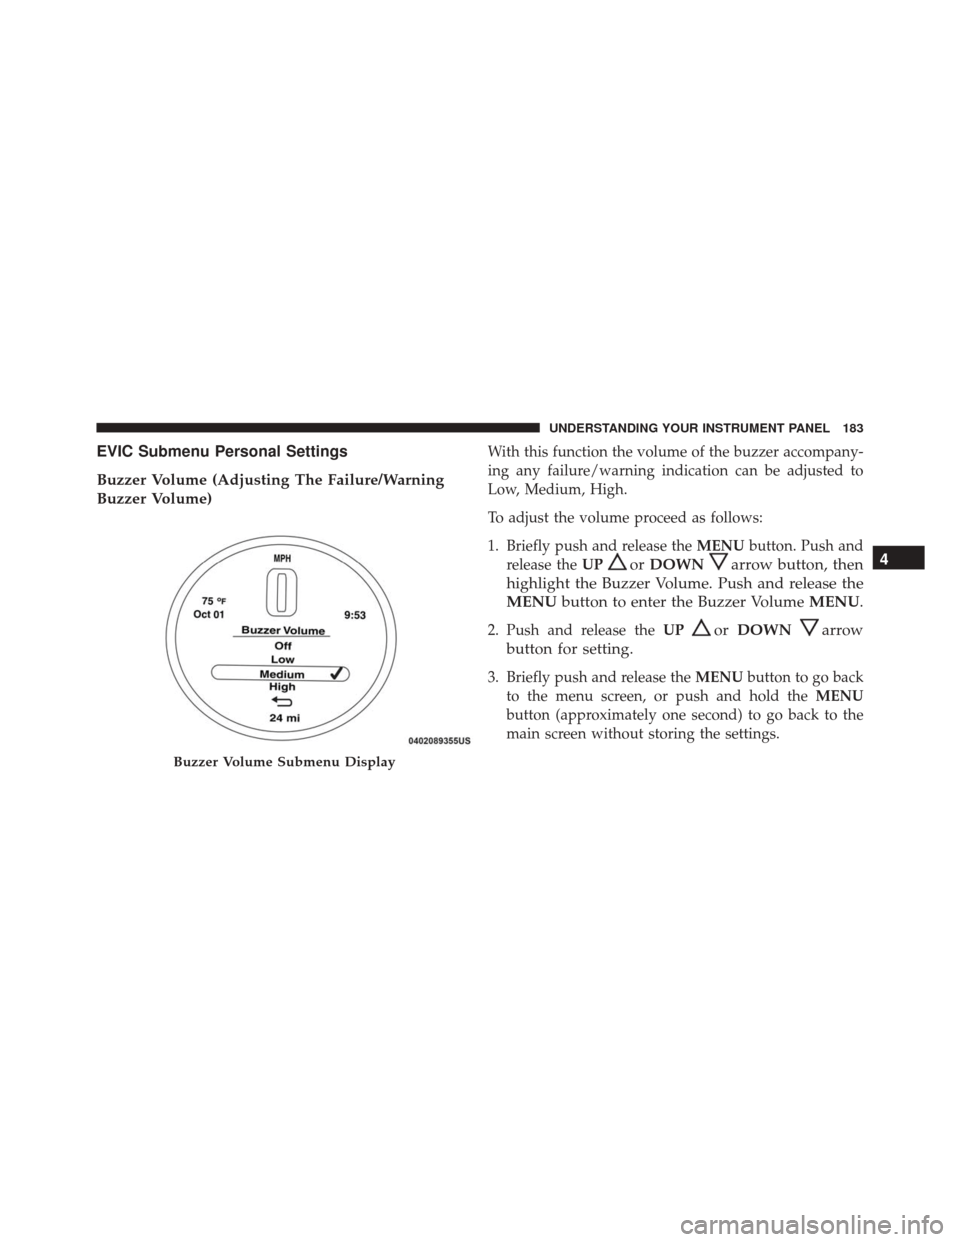
Buzzer Volume (Adjusting The Failure/Warning
Buzzer Volume)With this function the volume of the buzzer accompany-
ing any failure/warning indication can be adjusted to
Low, Medium, High.
To adjust the volume proceed as follows:
1. Briefly push and release theMENUbutton. Push and
release the UP
orDOWNarrow button, then
highlight the Buzzer Volume. Push and release the
MENU button to enter the Buzzer Volume MENU.
2. Push and release theUPorDOWNarrow
button for setting.
3. Briefly push and release the MENUbutton to go back
to the menu screen, or push and hold the MENU
button (approximately one second) to go back to the
main screen without storing the settings.
Buzzer Volume Submenu Display
4
UNDERSTANDING YOUR INSTRUMENT PANEL 183
Page 186 of 442
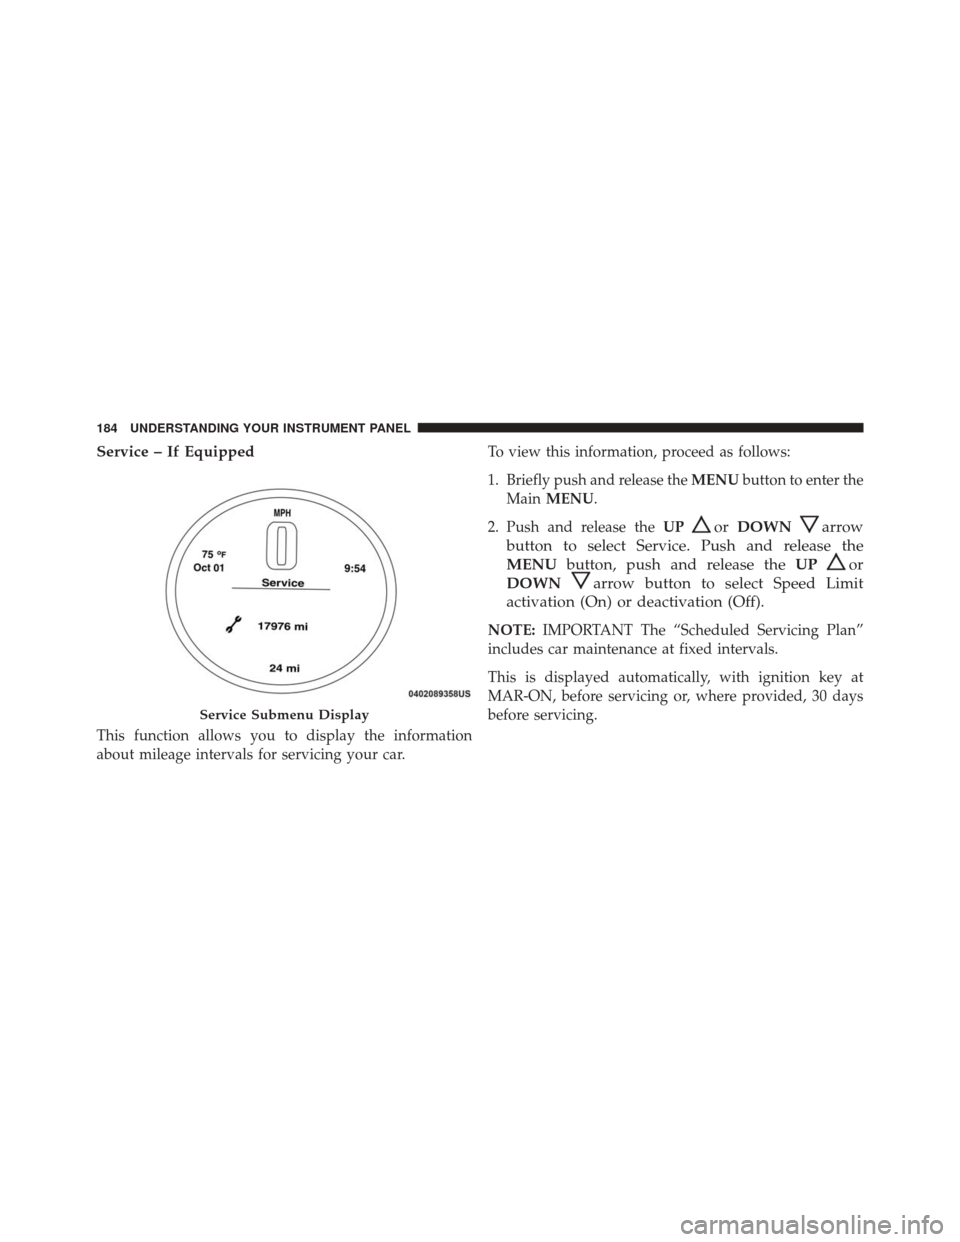
Service – If Equipped
This function allows you to display the information
about mileage intervals for servicing your car.To view this information, proceed as follows:
1. Briefly push and release the
MENUbutton to enter the
Main MENU.
2. Push and release the UP
orDOWNarrow
button to select Service. Push and release the
MENU button, push and release the UP
or
DOWN
arrow button to select Speed Limit
activation (On) or deactivation (Off).
NOTE: IMPORTANT The “Scheduled Servicing Plan”
includes car maintenance at fixed intervals.
This is displayed automatically, with ignition key at
MAR-ON, before servicing or, where provided, 30 days
before servicing.
Service Submenu Display
184 UNDERSTANDING YOUR INSTRUMENT PANEL
Page 187 of 442
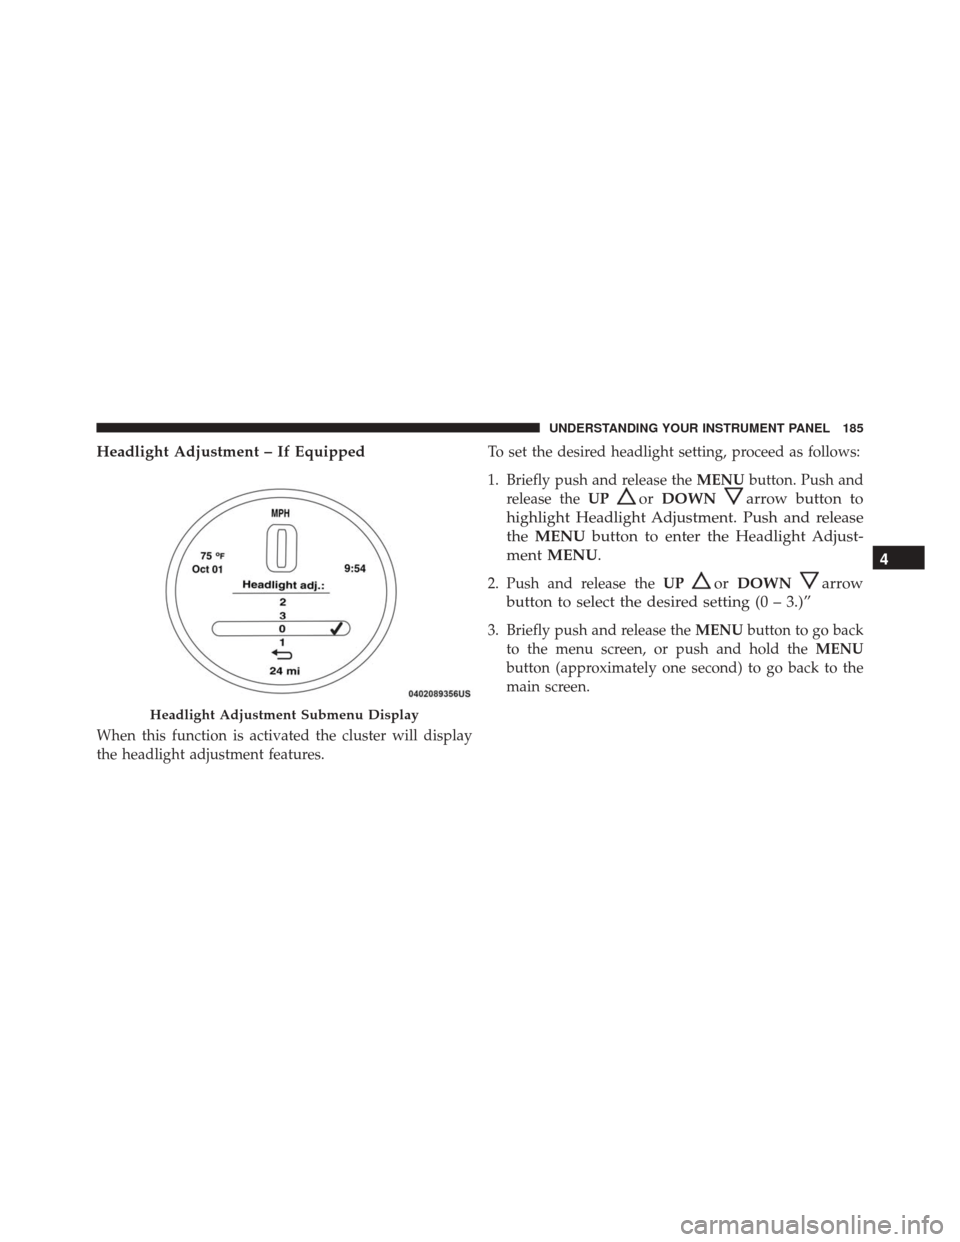
Headlight Adjustment – If Equipped
When this function is activated the cluster will display
the headlight adjustment features.To set the desired headlight setting, proceed as follows:
1. Briefly push and release the
MENUbutton. Push and
release the UP
orDOWNarrow button to
highlight Headlight Adjustment. Push and release
the MENU button to enter the Headlight Adjust-
ment MENU.
2. Push and release the UPorDOWNarrow
button to select the desired setting (0 – 3.)”
3. Briefly push and release the MENUbutton to go back
to the menu screen, or push and hold the MENU
button (approximately one second) to go back to the
main screen.
Headlight Adjustment Submenu Display
4
UNDERSTANDING YOUR INSTRUMENT PANEL 185
Page 188 of 442
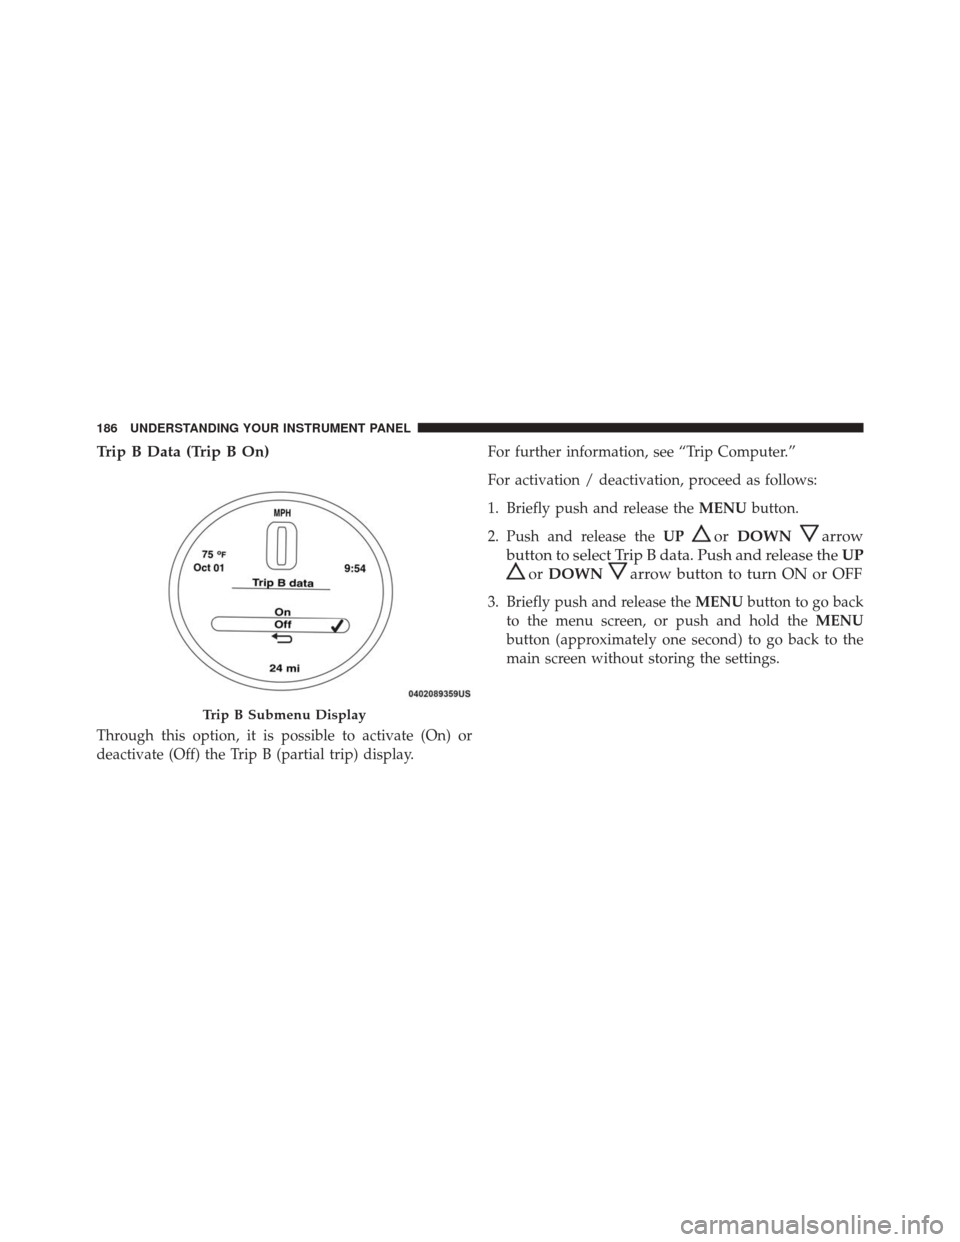
Trip B Data (Trip B On)
Through this option, it is possible to activate (On) or
deactivate (Off) the Trip B (partial trip) display.For further information, see “Trip Computer.”
For activation / deactivation, proceed as follows:
1. Briefly push and release the
MENUbutton.
2. Push and release the UP
orDOWNarrow
button to select Trip B data. Push and release the UP
orDOWNarrow button to turn ON or OFF
3. Briefly push and release the MENUbutton to go back
to the menu screen, or push and hold the MENU
button (approximately one second) to go back to the
main screen without storing the settings.
Trip B Submenu Display
186 UNDERSTANDING YOUR INSTRUMENT PANEL
Page 189 of 442
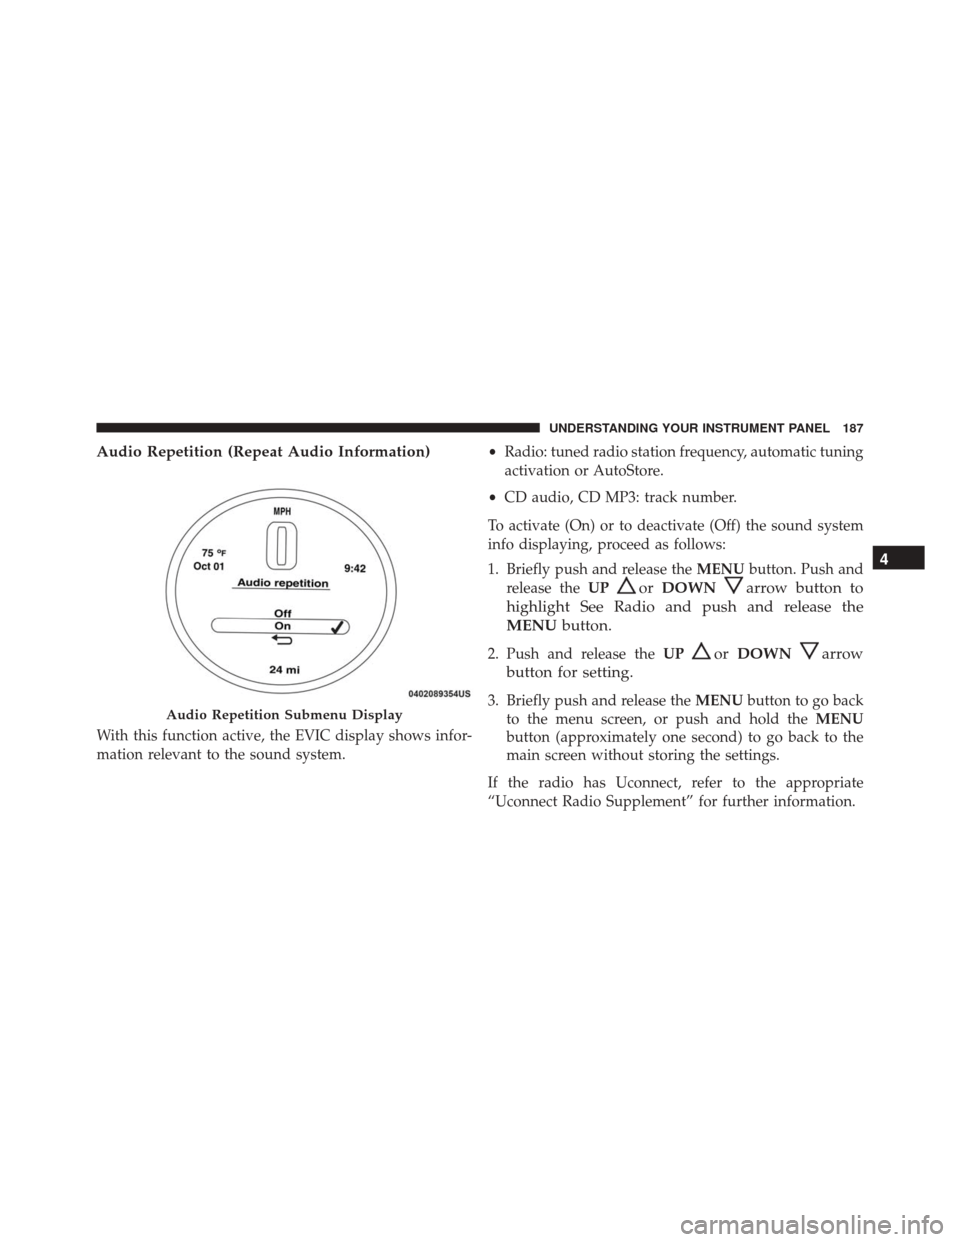
Audio Repetition (Repeat Audio Information)
With this function active, the EVIC display shows infor-
mation relevant to the sound system.•
Radio: tuned radio station frequency, automatic tuning
activation or AutoStore.
• CD audio, CD MP3: track number.
To activate (On) or to deactivate (Off) the sound system
info displaying, proceed as follows:
1. Briefly push and release the MENUbutton. Push and
release the UP
orDOWNarrow button to
highlight See Radio and push and release the
MENU button.
2. Push and release the UPorDOWNarrow
button for setting.
3. Briefly push and release the MENUbutton to go back
to the menu screen, or push and hold the MENU
button (approximately one second) to go back to the
main screen without storing the settings.
If the radio has Uconnect, refer to the appropriate
“Uconnect Radio Supplement” for further information.Audio Repetition Submenu Display
4
UNDERSTANDING YOUR INSTRUMENT PANEL 187
Page 190 of 442
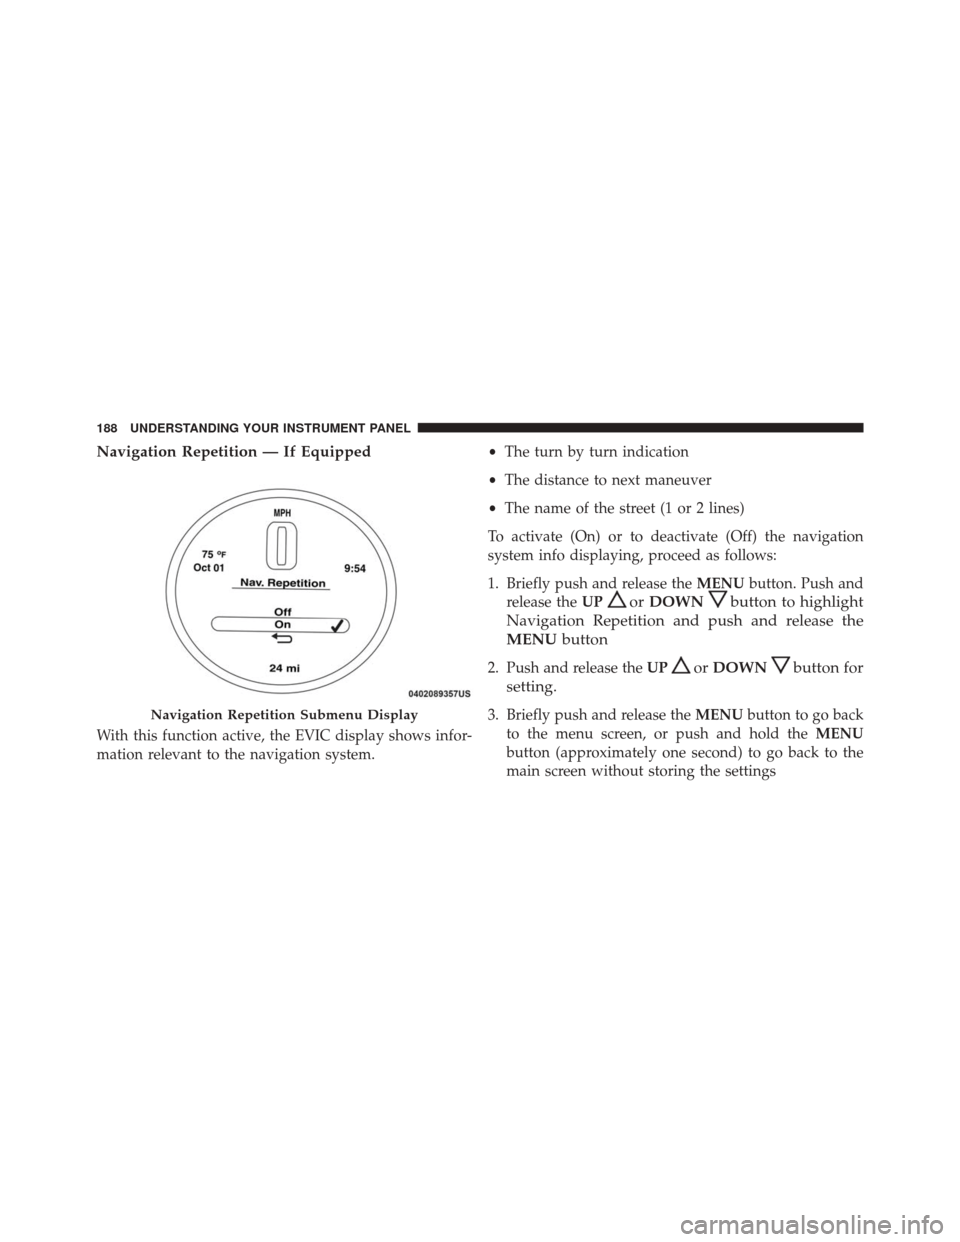
Navigation Repetition — If Equipped
With this function active, the EVIC display shows infor-
mation relevant to the navigation system.•
The turn by turn indication
• The distance to next maneuver
• The name of the street (1 or 2 lines)
To activate (On) or to deactivate (Off) the navigation
system info displaying, proceed as follows:
1. Briefly push and release the MENUbutton. Push and
release the UP
orDOWNbutton to highlight
Navigation Repetition and push and release the
MENU button
2. Push and release the UPorDOWNbutton for
setting.
3. Briefly push and release the MENUbutton to go back
to the menu screen, or push and hold the MENU
button (approximately one second) to go back to the
main screen without storing the settingsNavigation Repetition Submenu Display
188 UNDERSTANDING YOUR INSTRUMENT PANEL
Page 195 of 442
Buttons On The Faceplate
Buttons on the faceplate are located below, and beside the
Uconnect system in the center of the instrument panel. In
addition, there is a Scroll/Enter control knob located on
the right side. Turn the control knob to scroll through
menus and change settings (i.e., 30, 60, 90), push the
center of the control knob one or more times to select or
change a setting (i.e., ON, OFF).
Your Uconnect system may also have Display Off and
back arrow buttons on the faceplate.
Push the Display Off button on the faceplate to turn off
the Uconnect screen. Push the Display Off button on the
faceplate a second time to turn the screen on.
Push the Back Arrow button on the faceplate to exit out
of a Menu or certain option on the Uconnect system.
Buttons On The Touchscreen
Buttons on the touchscreen are accessible on the Uconnect
touchscreen.
Customer Programmable Features — Uconnect
5.0 Settings
Push the Settingsbutton on the faceplate, to display
the settings menu screen. In this mode the Uconnect
system allows you to access programmable feature
settings.
NOTE: Only one touchscreen area may be selected at a
time.
When making a selection, press the button on the touch-
screen to enter the desired mode. Once in the desired
mode, press and release the preferred setting and make
your selection. Once the setting is complete, either press
4
UNDERSTANDING YOUR INSTRUMENT PANEL 193
Page 196 of 442
the Back Arrow button on the touchscreen or the Back
button on the faceplate to return to the previous menu or
press the “X” button on the touchscreen to close out of
the settings screen. Pressing the Up or Down Arrow
buttons on the right side of the screen will allow you to
toggle up or down through the available settings.
NOTE:All settings should be changed with the ignition
in the “AVV/ACC” position.
Display
After pressing the “Display” button on the touchscreen
the following settings will be available.
• Display Mode
When in this display you may select the “Auto” or
“Manual” display settings. To change Mode status, press
and release the “Auto” or “Manual” button on the
touchscreen. •
Brightness
When in this display, you may select the overall screen
brightness with the headlights on or off. Adjust the
brightness with the “+” and “–” setting buttons on the
touchscreen or by selecting any point on the scale be-
tween the “+” and “–” buttons on the touchscreen.
• Language
When in this display, you may select one of multiple
languages (English/Español/Français) for all display no-
menclature, including the trip functions and the naviga-
tion system (if equipped). Press the “Language” button
on the touchscreen, then press the desired language
button on the touchscreen.
• Touchscreen Beep
When in this display, you may turn on or shut off
the sound heard when a touchscreen button is pressed.
194 UNDERSTANDING YOUR INSTRUMENT PANEL
Page 197 of 442
Press the “Touchscreen Beep” button on the touchscreen
then “On” or “Off.”
Units
After pressing the “Units” button on the touchscreen you
may select each unit of measure independently displayed
in the Electronic Vehicle Information System (EVIC) or
Driver Information Display (DID). The following select-
able units of measure are listed below:
•US
Changes the EVIC/DID to US units of measure.
• Metric
Changes the EVIC/DID to Metric units of measure.
• Custom
• Fuel Consumption
Select from: “MPG” (US), “MPG” (UK), “L/100 km”
or “km/L.” •
Temperature
Select from: “°C,” or “°F.”
• Pressure
Select from: “psi” or “kPa.”Voice
After pressing the “Voice” button on the touchscreen the
following settings will be available:
• Voice Response Length
When in this display, you may change the Voice Re-
sponse Length settings. To change the Voice Response
Length, press the “Voice Response Length” button on the
touchscreen and select from “Brief” or “Long.”
• Show Command List
When in this display, you may change the Show Com-
mand List settings. To change the Show Command List4
UNDERSTANDING YOUR INSTRUMENT PANEL 195