tow FIAT 500C 2017 2.G Owner's Guide
[x] Cancel search | Manufacturer: FIAT, Model Year: 2017, Model line: 500C, Model: FIAT 500C 2017 2.GPages: 350, PDF Size: 3.01 MB
Page 264 of 350
WARNING!(Continued)
•Only use the jack in the positions indicated and
for lifting this vehicle during a tire change.
• If working on or near a roadway, be extremely
careful of motor traffic.
• To assure that spare tires, flat or inflated, are
securely stowed, spares must be stowed with the
valve stem facing the ground. NOTE:
Refer to the “Compact Spare Tire” section of the
“Tires-General Information” under “Starting And Op-
erating” for information about the spare tire, it’s use,
and operation.
CAUTION!
Do not attempt to raise the vehicle by jacking on
locations other than those indicated in the Jacking
Instructions for this vehicle.
1. Remove the scissors jack and tool bag from under the driver’s seat.
2. Remove center cap.
Jack Warning Label
262 WHAT TO DO IN EMERGENCIES
Page 267 of 350
6. Remove the wheel bolts and pull the wheel off thehub. For vehicles equipped with aluminum wheels,
the center caps must be removed to remove the
wheel bolts. For vehicles equipped with steel wheels
the wheel covers must be removed to remove the
wheel bolts.
WARNING!
•To avoid the risk of forcing the vehicle off the
jack, do not fully tighten the wheel bolts until the
vehicle has been lowered. Failure to follow this
warning may result in serious injury.
• To avoid possible personal injury, handle the
wheel covers with care to avoid contact with any
sharp edges.
CAUTION!
Be sure to mount the spare tire with the valve stem
facing outward. The vehicle could be damaged if
the spare tire is mounted incorrectly.
7. Install the spare wheel and hand start the wheel bolts. Make sure to align the pins on the hub with the
small holes on the wheel. Lightly tighten the bolts. To avoid the risk of forcing the vehicle off the jack, do
not tighten the bolts fully until the vehicle has been
lowered.
8. Lower the vehicle by turning the jack screw to the left.
9. Finish tightening the wheel bolts. Push down on the wrench while at the end of the handle for increased
leverage. Tighten the wheel bolts in a star pattern
until each bolt has been tightened twice. For the
correct wheel bolt torque refer to Torque Specifica-
tions in this section. If in doubt about the correct
tightness, have them checked with a torque wrench
by your authorized dealership or service station.
10. Disassemble the jack and tools and place them in the bag. Stow it under the driver’s seat and secure
the bag to the floor with the straps attached to the
floor of the vehicle.
WARNING!
A loose tire or jack thrown forward in a collision or
hard stop could endanger the occupants of the
vehicle. Always stow the jack parts and the spare
tire in the places provided.
6
WHAT TO DO IN EMERGENCIES 265
Page 269 of 350
3. Lower the vehicle to the ground by turning the jackhandle counterclockwise.
4. Finish tightening the wheel bolts. Push down on the wrench while at the end of the handle for increased
leverage. Refer to “Torque Specifications” in this
section for correct wheel bolt torque.
5. After 25 miles (40 km) check the wheel bolt torque with a torque wrench to ensure that all wheel bolts
are properly seated against the wheel.
6. Align the valve notch in the wheel cover with the valve stem on the wheel. Install the cover by hand.
Do not use a hammer or excessive force to install the
cover.
Vehicles Without Wheel Covers
1. Mount the road tire on the axle.
2. Install the remaining wheel bolts with the coneshaped end of the nut toward the wheel. Lightly
tighten the wheel bolts.
WARNING!
To avoid the risk of forcing the vehicle off the jack,
do not fully tighten the lug nuts until the vehicle
has been lowered. Failure to follow this warning
may result in serious injury.
3. Lower the vehicle to the ground by turning the jack handle counterclockwise.
4. Finish tightening the wheel bolts. Push down on the wrench while at the end of the handle for increased
leverage. Refer to “Torque Specifications” in this
section for correct wheel bolt torque.
5. After 25 miles (40 km) check the wheel bolt torque with a torque wrench to ensure that all wheel bolts
are properly seated against the wheel.
6
WHAT TO DO IN EMERGENCIES 267
Page 270 of 350
Spare Tire Stowage
Reverse instructions of the spare removal section.
Rotate the jack wrench tool on the winch drive nut
clockwise until effort becomes heavy and an audible
click is heard indicating the spare is properly stowed.
CAUTION!
The winch mechanism is designed for use with the
jack wrench extension tool only. Use of air wrench
or power tool may damage the winch.
JUMP-STARTING PROCEDURE
If your vehicle has a discharged battery, it can be
jump-started using a set of jumper cables and a battery
in another vehicle or by using a portable battery booster
pack. Jump-starting can be dangerous if done improp-
erly so please follow the procedures in this section
carefully.NOTE:
When using a portable battery booster pack,
follow the manufacturer ’s operating instructions and
precautions.
WARNING!
Do not attempt jump-starting if the battery is fro-
zen. It could rupture or explode and cause personal
injury.
CAUTION!
Do not use a portable battery booster pack or any
other booster source with a system voltage greater
than 12 Volts or damage to the battery, starter motor,
alternator or electrical system may occur.
268 WHAT TO DO IN EMERGENCIES
Page 276 of 350
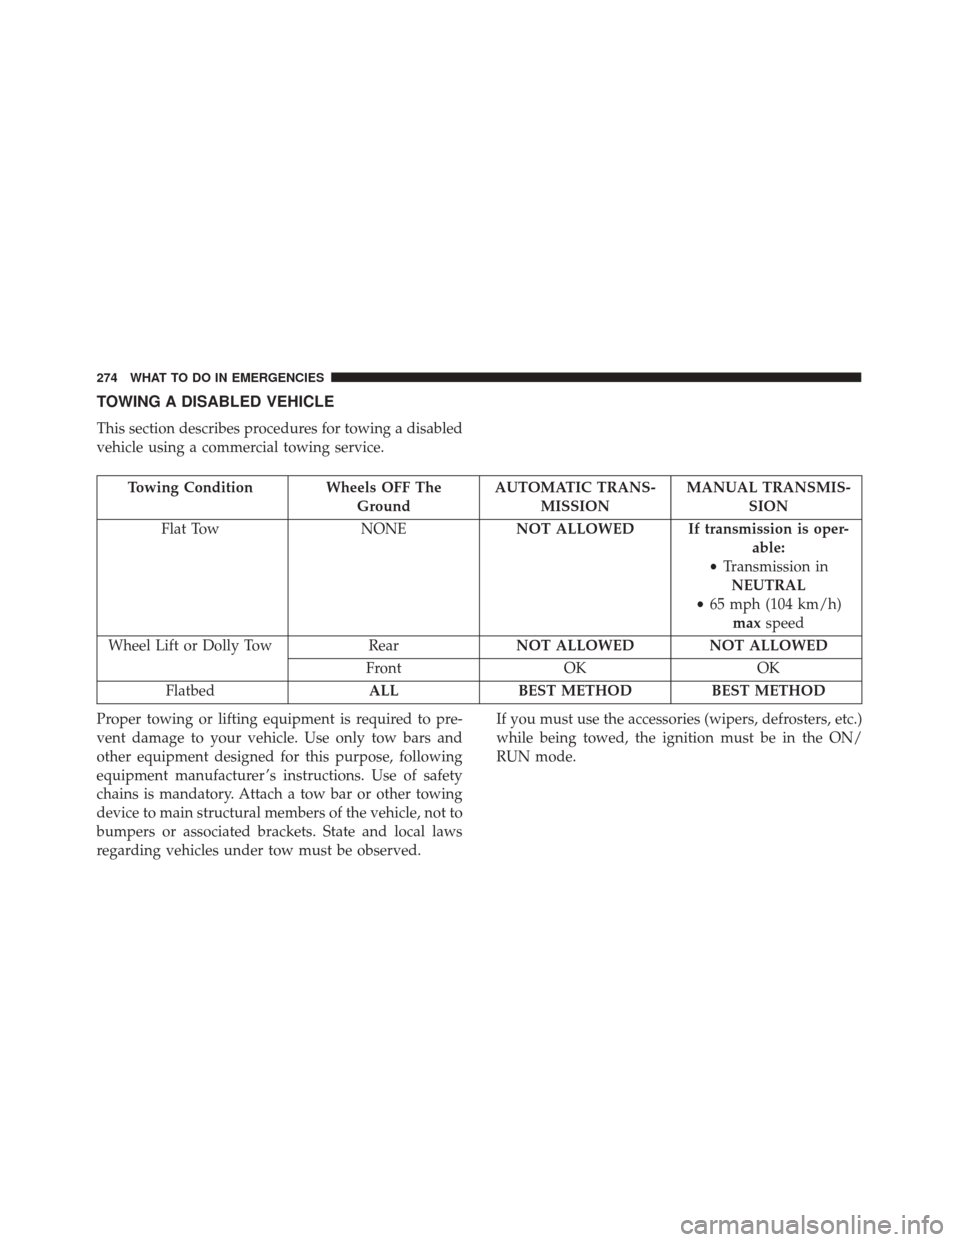
TOWING A DISABLED VEHICLE
This section describes procedures for towing a disabled
vehicle using a commercial towing service.
Towing Condition Wheels OFF TheGroundAUTOMATIC TRANS-
MISSION MANUAL TRANSMIS-
SION
Flat Tow NONENOT ALLOWED If transmission is oper-
able:
• Transmission in
NEUTRAL
• 65 mph (104 km/h)
max speed
Wheel Lift or Dolly Tow RearNOT ALLOWED NOT ALLOWED
Front OKOK
Flatbed ALLBEST METHOD BEST METHOD
Proper towing or lifting equipment is required to pre-
vent damage to your vehicle. Use only tow bars and
other equipment designed for this purpose, following
equipment manufacturer ’s instructions. Use of safety
chains is mandatory. Attach a tow bar or other towing
device to main structural members of the vehicle, not to
bumpers or associated brackets. State and local laws
regarding vehicles under tow must be observed. If you must use the accessories (wipers, defrosters, etc.)
while being towed, the ignition must be in the ON/
RUN mode.
274 WHAT TO DO IN EMERGENCIES
Page 277 of 350
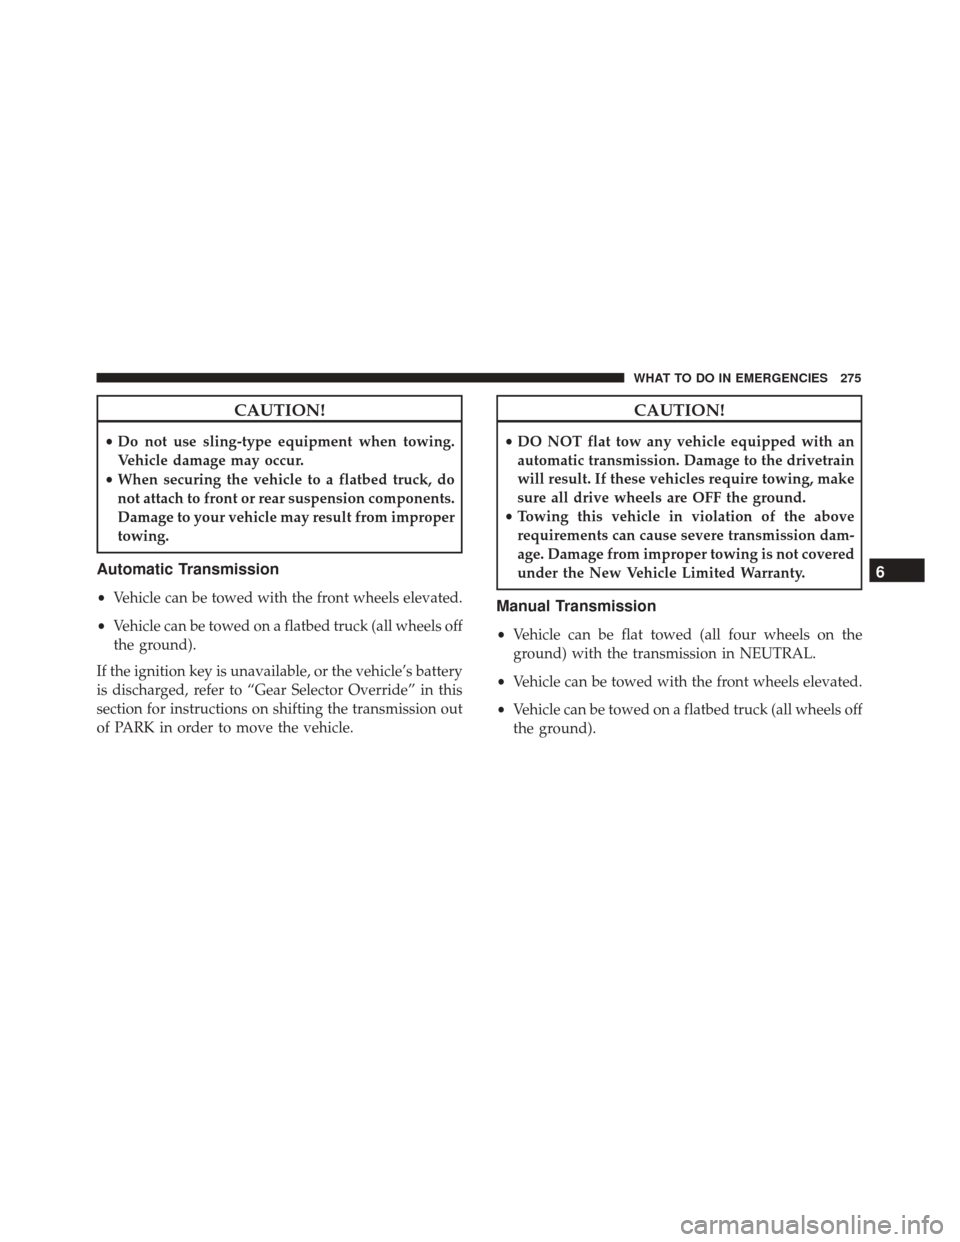
CAUTION!
•Do not use sling-type equipment when towing.
Vehicle damage may occur.
• When securing the vehicle to a flatbed truck, do
not attach to front or rear suspension components.
Damage to your vehicle may result from improper
towing.
Automatic Transmission
• Vehicle can be towed with the front wheels elevated.
• Vehicle can be towed on a flatbed truck (all wheels off
the ground).
If the ignition key is unavailable, or the vehicle’s battery
is discharged, refer to “Gear Selector Override” in this
section for instructions on shifting the transmission out
of PARK in order to move the vehicle.
CAUTION!
• DO NOT flat tow any vehicle equipped with an
automatic transmission. Damage to the drivetrain
will result. If these vehicles require towing, make
sure all drive wheels are OFF the ground.
• Towing this vehicle in violation of the above
requirements can cause severe transmission dam-
age. Damage from improper towing is not covered
under the New Vehicle Limited Warranty.
Manual Transmission
• Vehicle can be flat towed (all four wheels on the
ground) with the transmission in NEUTRAL.
• Vehicle can be towed with the front wheels elevated.
• Vehicle can be towed on a flatbed truck (all wheels off
the ground).
6
WHAT TO DO IN EMERGENCIES 275
Page 278 of 350
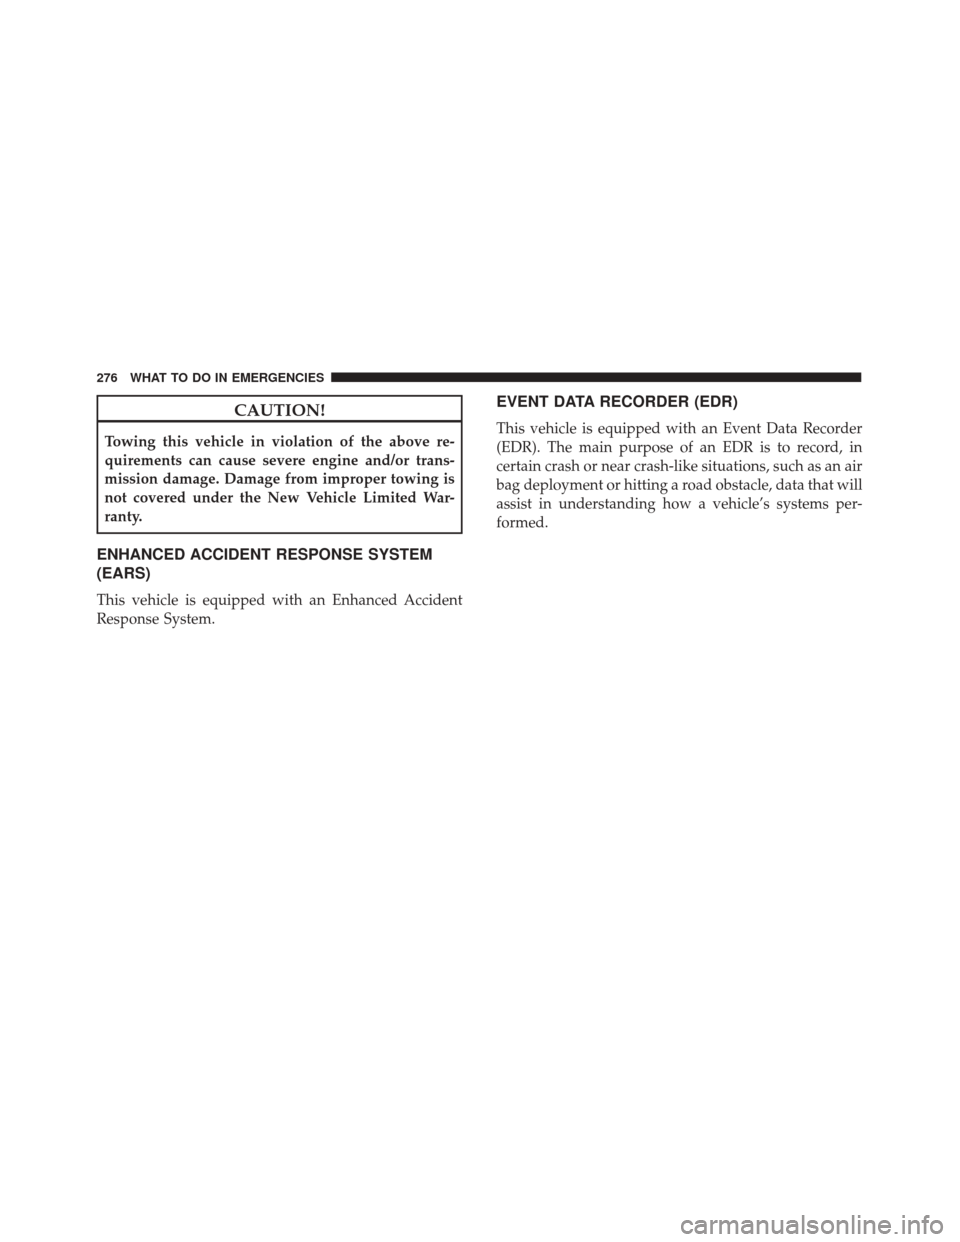
CAUTION!
Towing this vehicle in violation of the above re-
quirements can cause severe engine and/or trans-
mission damage. Damage from improper towing is
not covered under the New Vehicle Limited War-
ranty.
ENHANCED ACCIDENT RESPONSE SYSTEM
(EARS)
This vehicle is equipped with an Enhanced Accident
Response System.
EVENT DATA RECORDER (EDR)
This vehicle is equipped with an Event Data Recorder
(EDR). The main purpose of an EDR is to record, in
certain crash or near crash-like situations, such as an air
bag deployment or hitting a road obstacle, data that will
assist in understanding how a vehicle’s systems per-
formed.
276 WHAT TO DO IN EMERGENCIES
Page 282 of 350
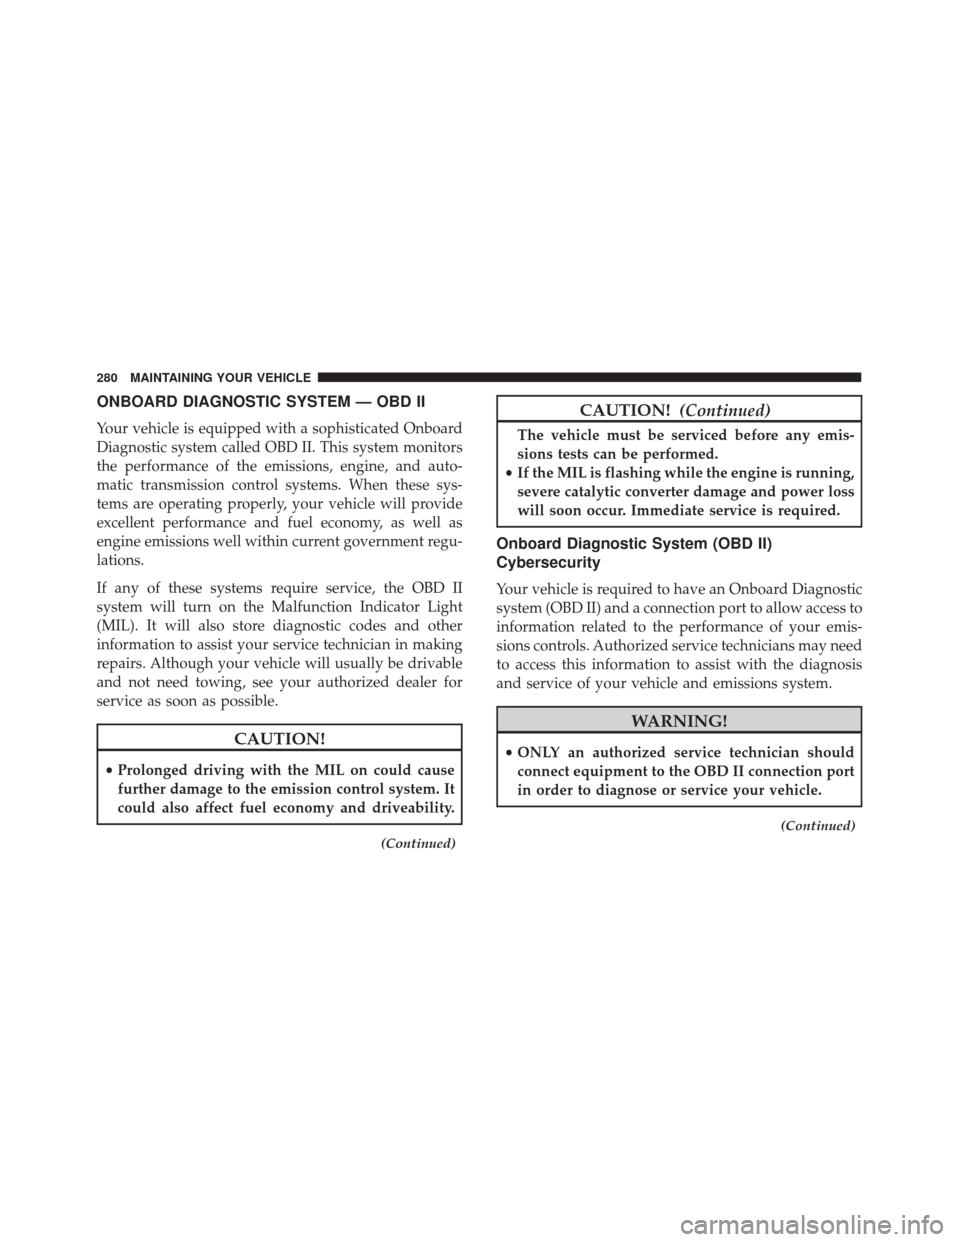
ONBOARD DIAGNOSTIC SYSTEM — OBD II
Your vehicle is equipped with a sophisticated Onboard
Diagnostic system called OBD II. This system monitors
the performance of the emissions, engine, and auto-
matic transmission control systems. When these sys-
tems are operating properly, your vehicle will provide
excellent performance and fuel economy, as well as
engine emissions well within current government regu-
lations.
If any of these systems require service, the OBD II
system will turn on the Malfunction Indicator Light
(MIL). It will also store diagnostic codes and other
information to assist your service technician in making
repairs. Although your vehicle will usually be drivable
and not need towing, see your authorized dealer for
service as soon as possible.
CAUTION!
•Prolonged driving with the MIL on could cause
further damage to the emission control system. It
could also affect fuel economy and driveability.
(Continued)
CAUTION! (Continued)
The vehicle must be serviced before any emis-
sions tests can be performed.
• If the MIL is flashing while the engine is running,
severe catalytic converter damage and power loss
will soon occur. Immediate service is required.
Onboard Diagnostic System (OBD II)
Cybersecurity
Your vehicle is required to have an Onboard Diagnostic
system (OBD II) and a connection port to allow access to
information related to the performance of your emis-
sions controls. Authorized service technicians may need
to access this information to assist with the diagnosis
and service of your vehicle and emissions system.
WARNING!
• ONLY an authorized service technician should
connect equipment to the OBD II connection port
in order to diagnose or service your vehicle.
(Continued)
280 MAINTAINING YOUR VEHICLE
Page 297 of 350
In unusual situations involving grossly malfunctioning
engine operation, a scorching odor may suggest severe
and abnormal catalyst overheating. If this occurs, stop
the vehicle, turn off the engine and allow it to cool.
Service, including a tune-up to manufacturer’s specifi-
cations, should be obtained immediately.
To minimize the possibility of catalytic converter dam-
age:
•Do not shut off the engine or interrupt the ignition,
when the transmission is in gear and the vehicle is in
motion.
• Do not try to start the engine by pushing or towing
the vehicle.
• Do not idle the engine with any spark plug wires
disconnected or removed, such as when diagnostic
testing, or for prolonged periods during very rough
idle or malfunctioning operating conditions.Cooling System
WARNING!
• Turn vehicle off and disconnect the fan motor
lead before working near the radiator cooling fan.
• You or others can be badly burned by hot engine
coolant (antifreeze) or steam from your radiator. If
you see or hear steam coming from under the
hood, do not open the hood until the radiator has
had time to cool. Never open a cooling system
pressure cap when the radiator or coolant bottle is
hot.
• Keep hands, tools, clothing, and jewelry away
from the radiator cooling fan when the hood is
raised. The fan starts automatically and may start
at any time, whether the engine is running or not.
• When working near the radiator cooling fan,
disconnect the fan motor lead or turn the ignition
switch to the OFF position. The fan is temperature
controlled and can start at any time the ignition
switch is in the ON position.
• You or others can be badly burned by hot engine
coolant (antifreeze) or steam from your radiator.
(Continued)
7
MAINTAINING YOUR VEHICLE 295
Page 308 of 350

CAUTION!
Do not use scouring pads, steel wool, a bristle
brush, or metal polishes. Do not use oven cleaner.
These products may damage the wheel’s protective
finish. Avoid automatic car washes that use acidic
solutions or harsh brushes that may damage the
wheel’s protective finish. Only MOPAR Wheel
Cleaner or equivalent is recommended.
Stain Repel Fabric Cleaning Procedure — If
Equipped
Stain Repel seats may be cleaned in the following
manner:
•Remove as much of the stain as possible by blotting
with a clean, dry towel.
• Blot any remaining stain with a clean, damp towel.
• For tough stains, apply MOPAR Total Clean, or a
mild soap solution to a clean, damp cloth and remove
stain. Use a fresh, damp towel to remove soap
residue. •
For grease stains, apply MOPAR Multi-Purpose
Cleaner to a clean, damp cloth and remove stain. Use
a fresh, damp towel to remove soap residue.
• Do not use any harsh solvents or any other form of
protectants on Stain Repel products.
Interior Care
Use MOPAR Total Clean to clean fabric upholstery and
carpeting.
Use MOPAR Total Clean to clean vinyl upholstery.
MOPAR Total Clean is specifically recommended for
leather upholstery.
Your leather upholstery can be best preserved by regular
cleaning with a damp soft cloth. Small particles of dirt can
act as an abrasive and damage the leather upholstery and
should be removed promptly with a damp cloth. Stub-
born soils can be removed easily with a soft cloth and
MOPAR Total Clean. Care should be taken to avoid
soaking your leather upholstery with any liquid. Please
do not use polishes, oils, cleaning fluids, solvents, deter-
gents, or ammonia-based cleaners to clean your leather
upholstery. Application of a leather conditioner is not
required to maintain the original condition.
306 MAINTAINING YOUR VEHICLE