window FIAT 500E 2017 2.G Owner's Manual
[x] Cancel search | Manufacturer: FIAT, Model Year: 2017, Model line: 500E, Model: FIAT 500E 2017 2.GPages: 300, PDF Size: 2.58 MB
Page 166 of 300
IconDescription
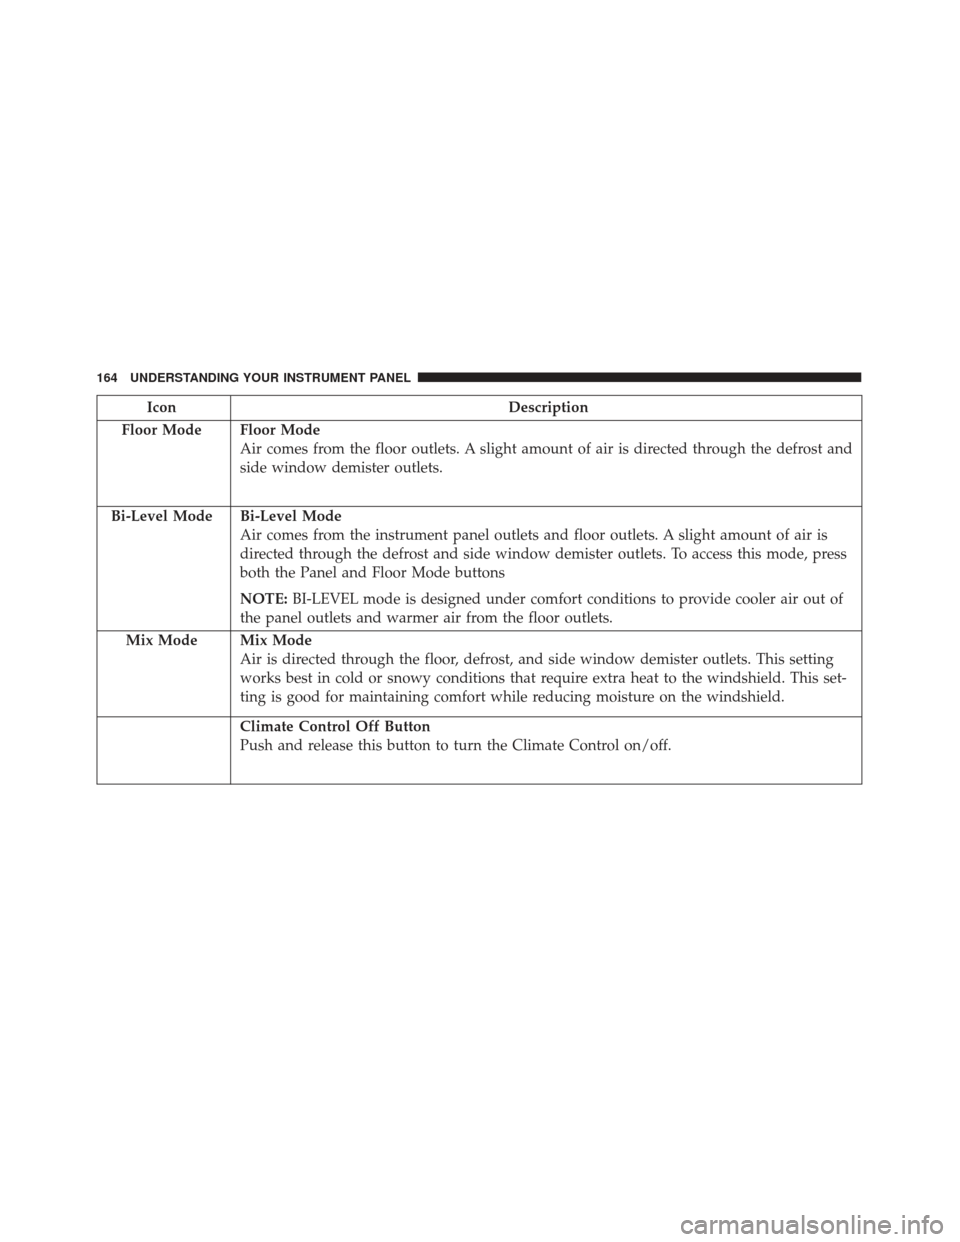
Floor Mode
Floor Mode
Air comes from the floor outlets. A slight amount of air is directed through the defrost and
side window demister outlets.
Bi-Level Mode
Bi-Level Mode
Air comes from the instrument panel outlets and floor outlets. A slight amount of air is
directed through the defrost and side window demister outlets. To access this mode, press
both the Panel and Floor Mode buttons
NOTE: BI-LEVEL mode is designed under comfort conditions to provide cooler air out of
the panel outlets and warmer air from the floor outlets.
Mix Mode
Mix Mode
Air is directed through the floor, defrost, and side window demister outlets. This setting
works best in cold or snowy conditions that require extra heat to the windshield. This set-
ting is good for maintaining comfort while reducing moisture on the windshield.
Climate Control Off Button
Push and release this button to turn the Climate Control on/off.
164 UNDERSTANDING YOUR INSTRUMENT PANEL
Page 167 of 300
IconDescription
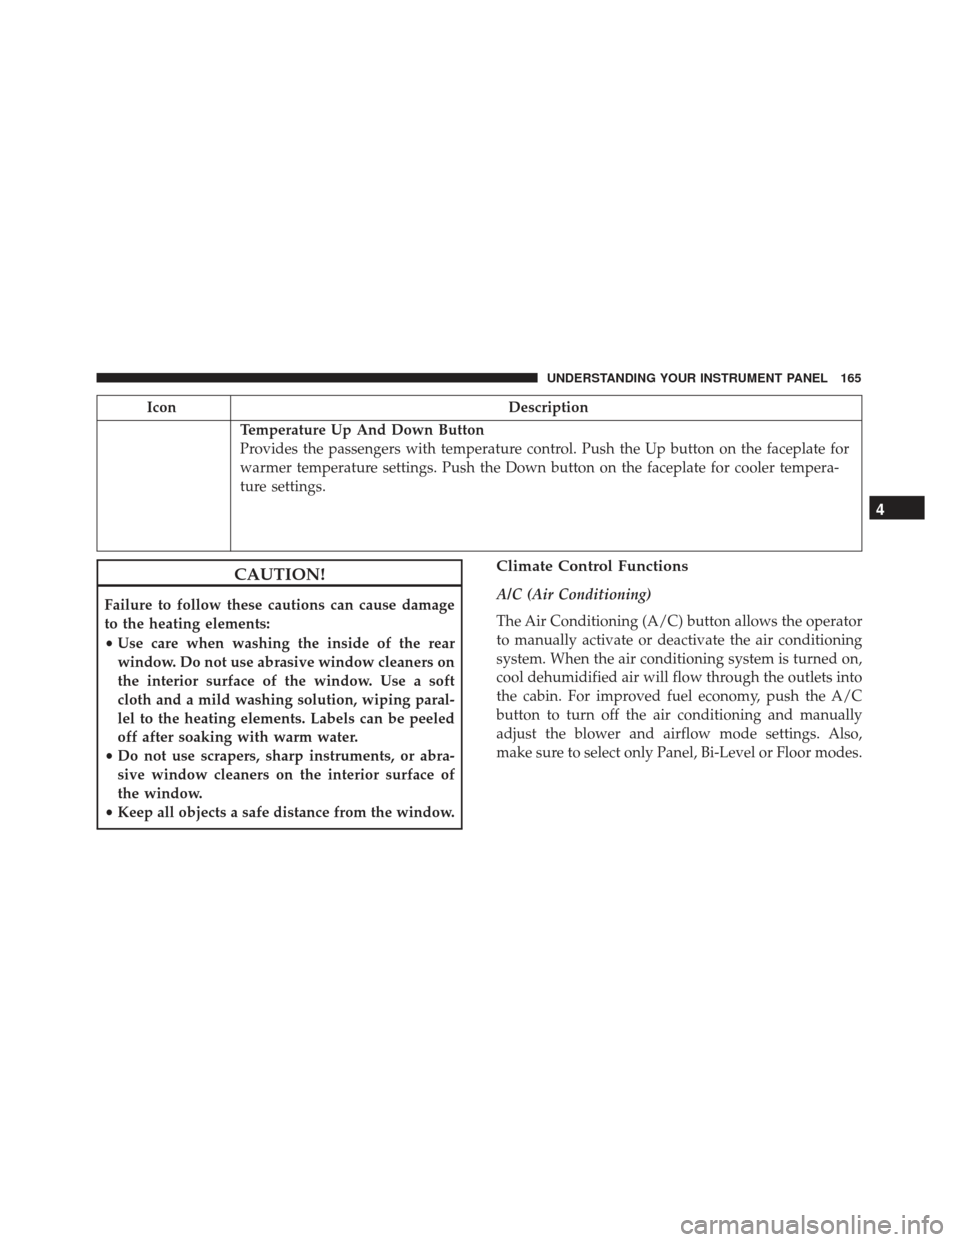
Temperature Up And Down Button
Provides the passengers with temperature control. Push the Up button on the faceplate for
warmer temperature settings. Push the Down button on the faceplate for cooler tempera-
ture settings.
CAUTION!
Failure to follow these cautions can cause damage
to the heating elements:
•Use care when washing the inside of the rear
window. Do not use abrasive window cleaners on
the interior surface of the window. Use a soft
cloth and a mild washing solution, wiping paral-
lel to the heating elements. Labels can be peeled
off after soaking with warm water.
• Do not use scrapers, sharp instruments, or abra-
sive window cleaners on the interior surface of
the window.
• Keep all objects a safe distance from the window.
Climate Control Functions
A/C (Air Conditioning)
The Air Conditioning (A/C) button allows the operator
to manually activate or deactivate the air conditioning
system. When the air conditioning system is turned on,
cool dehumidified air will flow through the outlets into
the cabin. For improved fuel economy, push the A/C
button to turn off the air conditioning and manually
adjust the blower and airflow mode settings. Also,
make sure to select only Panel, Bi-Level or Floor modes.
4
UNDERSTANDING YOUR INSTRUMENT PANEL 165
Page 168 of 300
NOTE:
•If fog or mist appears on the windshield or side glass,
select Defrost mode and increase blower speed if
needed.
• If your air conditioning performance seems lower
than expected, check the front of the A/C condenser
(located in front of the radiator), for an accumulation
of dirt or insects. Clean with a gentle water spray
from the front of the radiator and through the
condenser.
Recirculation
When outside air contains smoke, odors, or high hu-
midity, or if rapid cooling is desired, you may wish to
recirculate interior air by pushing the Recirculation
control button. The recirculation indicator will illumi-
nate when this button is selected. Push the button a
second time to turn off the Recirculation mode and
allow outside air into the vehicle. NOTE:
In cold weather, use of recirculation mode may
lead to excessive window fogging. The recirculation
feature may be unavailable (button on the touchscreen
greyed out) if conditions exist that could create fogging
on the inside of the windshield. On systems with
Manual Climate Controls, the Recirculation mode is not
allowed in Defrost mode to improve window clearing
operation. Recirculation will be disabled automatically
if this mode is selected. Attempting to use Recirculation
while in this mode will cause the LED in the control
button to blink and then turn off.
Automatic Temperature Control (ATC) — If
Equipped
Automatic Operation
1. Push the AUTO button on the faceplate.
2. Next, adjust the temperature you would like the system to maintain by adjusting the driver and
passenger temperature control buttons. Once the
desired temperature is displayed, the system will
achieve and automatically maintain that comfort
level.
166 UNDERSTANDING YOUR INSTRUMENT PANEL
Page 170 of 300
coolant selection. Use of the air Recirculation mode
during Winter months is not recommended because it
may cause window fogging.
Vacation/Storage
Before you store your vehicle, or keep it out of service
(i.e., vacation) for two weeks or more, run the air
conditioning system at idle for about five minutes, in
fresh air with the blower setting on high. This will
ensure adequate system lubrication to minimize the
possibility of compressor damage when the system is
started again.
Window Fogging
Vehicle windows tend to fog on the inside in mild, rainy
and/or humid weather. To clear the windows, select
Defrost or Mix mode and increase the front blower
speed. Do not use the Recirculation mode without A/C
for long periods, as fogging may occur.
Outside Air Intake
Make sure the air intake, located directly in front of the
windshield, is free of obstructions such as leaves.
Leaves collected in the air intake may reduce airflow,
and if they enter the plenum, they could plug the water
drains. In winter months, make sure the air intake is
clear of ice, slush, and snow.
A/C Air Filter
The climate control system filters out dust and pollen
from the air. Contact your authorized dealer to service
your A/C air filter, and to have it replaced when
needed.
168 UNDERSTANDING YOUR INSTRUMENT PANEL
Page 175 of 300
STARTING PROCEDURES
Before starting your vehicle, adjust your seat, adjust
both inside and outside mirrors, and fasten your seat
belts.
WARNING!
•Never leave children alone in a vehicle, or with
access to an unlocked vehicle.
• Allowing children to be in a vehicle unattended is
dangerous for a number of reasons. A child or
others could be seriously or fatally injured. Chil-
dren should be warned not to touch the parking
brake, brake pedal or the gear selector.
• Do not leave the key fob in or near the vehicle (or
in a location accessible to children). A child could
operate power windows, other controls, or move
the vehicle.
Single-Speed Transmission
The transmission must be in the PARK or NEUTRAL
position before you can start the vehicle. Apply the
brakes when selecting a transmission gear from Park.
NOTE: You must press the brake pedal before selecting
a transmission gear.
Normal Starting
Turn the key to the START position while your vehicle
is in PARK. When the ignition key is turned to the
START and then released to the RUN position, a chime
will sound and the “READY” indicator in the instru-
ment cluster display will illuminate to indicate the
500e’s Electric Drive System has started. When the
“READY” indicator is illuminated your 500e is ready to
be driven.
“READY” Indicator
5
STARTING AND OPERATING 173
Page 177 of 300
NOTE:
•You must press and hold the brake pedal while
shifting in or out of PARK.
• If all push-button LEDs are on when the key is ON,
see your authorized dealer.
WARNING!
• Only place the transmission into gear when your
foot is firmly pressing the brake pedal.
• Unintended movement of a vehicle could injure
those in or near the vehicle. As with all vehicles,
you should never exit a vehicle while the vehicle
is in “READY” mode. Before exiting a vehicle,
always apply the parking brake, shift the trans-
mission into PARK, and remove the ignition key.
Once the key is removed, the transmission is
locked in PARK, securing the vehicle against
unwanted movement.
• When leaving the vehicle, always remove the
ignition key and lock your vehicle.
• Never leave children alone in a vehicle, or with
access to an unlocked vehicle. Allowing children
(Continued)
WARNING! (Continued)
to be in a vehicle unattended is dangerous for a
number of reasons. A child or others could be
seriously or fatally injured. Children should be
warned not to touch the parking brake, brake
pedal or the transmission range buttons.
• Do not leave the ignition key in or near the
vehicle (or in a location accessible to children). A
child could operate power windows, other con-
trols, or move the vehicle.
Key Ignition Park Interlock
This vehicle is equipped with a Key Ignition Park
Interlock which requires the transmission to be in PARK
before the ignition can be turned to the OFF position.
The key can only be removed from the ignition when
the ignition is in the OFF position, and once removed,
the transmission is locked in PARK.
5
STARTING AND OPERATING 175
Page 179 of 300
WARNING!(Continued)
always apply the parking brake, shift the trans-
mission into PARK, and remove the ignition key.
Once the key is removed, the transmission is
locked in PARK, securing the vehicle against
unwanted movement.
• When leaving the vehicle, always remove the
ignition key and lock your vehicle.
• Never leave children alone in a vehicle, or with
access to an unlocked vehicle. Allowing children
to be in a vehicle unattended is dangerous for a
number of reasons. A child or others could be
seriously or fatally injured. Children should be
warned not to touch the parking brake, brake
pedal or the transmission range buttons.
• Do not leave the ignition key in or near the
vehicle (or in a location accessible to children). A
child could operate power windows, other con-
trols, or move the vehicle.
REVERSE (R)
This gear is for moving the vehicle backward. Shift into
REVERSE only after the vehicle has come to a complete
stop.
NEUTRAL (N)
The vehicle may be started in this gear. Apply the
parking brake and place the transmission into PARK if
you must leave the vehicle.
WARNING!
Do not coast in NEUTRAL and never turn off the
ignition to coast down a hill. These are unsafe
practices that limit your response to changing traf-
fic or road conditions. You might lose control of the
vehicle and have a collision.
CAUTION!
Towing the vehicle, coasting, or driving for any
other reason with the transmission in NEUTRAL
can cause severe transmission damage. Refer to
“Recreational Towing” in “Starting And Operating”
and “Towing A Disabled Vehicle” in “What To Do
In Emergencies” for further information.
DRIVE (D)
Use this gear for all city and highway driving.
5
STARTING AND OPERATING 177
Page 184 of 300
When the parking brake is applied with the ignition
switch in the MAR (ACC/ON/RUN) position, the
Brake Warning Light in the instrument cluster will
illuminate.
When parking on a hill, it is important to turn the front
wheels toward the curb on a downhill grade and away
from the curb on an uphill grade. The parking brake
should always be applied whenever the driver is not in
the vehicle.
WARNING!
•Never leave children alone in a vehicle, or with
access to an unlocked vehicle.
• Allowing children to be in a vehicle unattended is
dangerous for a number of reasons. A child or
others could be seriously or fatally injured. Chil-
dren should be warned not to touch the parking
brake, brake pedal or the transmission push but-
tons.
• Do not leave the key fob in or near the vehicle (or
in a location accessible to children). A child could
operate power windows, other controls, or move
the vehicle.
• Be sure the parking brake is fully disengaged
before driving; failure to do so can lead to brake
failure and a collision.
• Always fully apply the parking brake when leav-
ing your vehicle, or it may roll and cause damage
or injury.
Parking Brake
182 STARTING AND OPERATING
Page 216 of 300
TPMS Warning
When a system fault is detected, the “Tire Pressure
Monitoring Telltale Light” will flash on and off for 75
seconds and then remain on solid. The system fault will
sound a chime and also display a “Service Tire Pressure
Monitoring System” message in the instrument cluster
for approximately 5 seconds.
If the ignition switch is cycled, this sequence will repeat,
providing the system fault still exists. If the system fault
no longer exists, the “Tire Pressure Monitoring Telltale
Light” will no longer flash, and the “Service TPM
System” message will no longer display.A system fault can occur due to any of the following:
1. Signal interference due to electronic devices or driv-
ing next to facilities emitting the same radio frequen-
cies as the TPM sensors.
2. Installing aftermarket window tinting that contains materials that may block radio wave signals.
3. Accumulation of snow or ice around the wheels or wheel housings.
4. Using tire chains on the vehicle.
5. Using wheels/tires not equipped with TPM sensors.
NOTE:
• The TPMS will not monitor the pressure in a replace-
ment tire installed without a tire pressure sensor.
• If you install a replacement tire in place of a road tire
that has a pressure below the low-pressure warning
limit, upon the next ignition switch cycle, the “Tire
Pressure Monitoring Telltale Light” will remain on
and a chime will sound. In addition, the highlighted
graphic in the instrument cluster will still display a
low pressure text message and a pressure value in a
different color.
Service TPM System Message
214 STARTING AND OPERATING
Page 251 of 300
Body Lubrication
Locks and all body pivot points, including such items as
seat tracks, door hinge pivot points and rollers, liftgate,
tailgate, decklid, sliding doors and hood hinges, should
be lubricated periodically with a lithium based grease,
such as Mopar Spray White Lube to assure quiet, easy
operation and to protect against rust and wear. Prior to
the application of any lubricant, the parts concerned
should be wiped clean to remove dust and grit; after
lubricating excess oil and grease should be removed.
Particular attention should also be given to hood latch-
ing components to ensure proper function. When per-
forming other underhood services, the hood latch,
release mechanism and safety catch should be cleaned
and lubricated.
The external lock cylinders should be lubricated twice a
year, preferably in the Fall and Spring. Apply a small
amount of a high quality lubricant, such as Mopar Lock
Cylinder Lubricant directly into the lock cylinder.
Wiper Blades
Clean the rubber edges of the wiper blades and the
windshield and rear window periodically with a
sponge or soft cloth and a mild nonabrasive cleaner.This will remove accumulations of salt, waxes, or road
film, and help reduce streaking and smearing.
Operation of the wipers on dry glass for long periods
may cause deterioration of the wiper blades. Always
use washer fluid when using the wipers to remove salt
or dirt from a dry windshield or rear window.
Avoid using the wiper blades to remove frost or ice
from the windshield or rear window. Make sure that
they are not frozen to the glass before turning them on
to avoid damaging the blade. Keep the blade rubber out
of contact with petroleum products.
NOTE:
Life expectancy of wiper blades varies depend-
ing on geographical area and frequency of use. Poor
performance of blades may be present with chattering,
marks, water lines or wet spots. If any of these condi-
tions are present, clean the wiper blades or replace as
necessary.
Rear Wiper Blade Removal/Installation
1. Lift the pivot cap on the rear wiper arm upward, this will allow the rear wiper blade to be raised off of the
liftgate glass.
7
MAINTAINING YOUR VEHICLE 249