display FIAT 500L 2014 2.G Owner's Manual
[x] Cancel search | Manufacturer: FIAT, Model Year: 2014, Model line: 500L, Model: FIAT 500L 2014 2.GPages: 116, PDF Size: 4.53 MB
Page 57 of 116
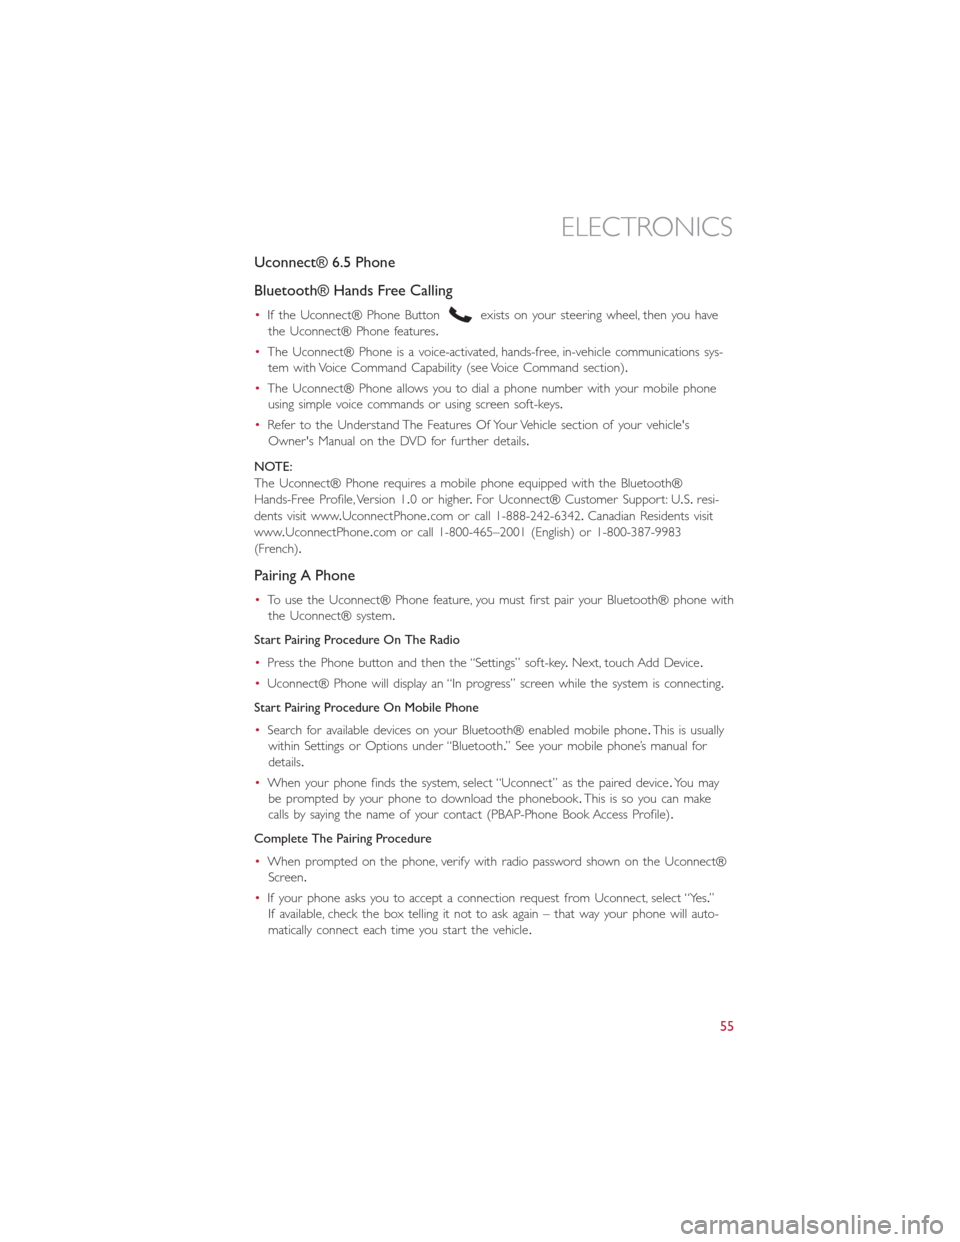
Uconnect® 6.5 Phone
Bluetooth® Hands Free Calling
•If the Uconnect® Phone Buttonexists on your steering wheel, then you have
the Uconnect® Phone features.
•The Uconnect® Phone is a voice-activated, hands-free, in-vehicle communications sys-
tem with Voice Command Capability (see Voice Command section).
•The Uconnect® Phone allows you to dial a phone number with your mobile phone
using simple voice commands or using screen soft-keys.
•Refer to the Understand The Features Of Your Vehicle section of your vehicle's
Owner's Manual on the DVD for further details.
NOTE:
The Uconnect® Phone requires a mobile phone equipped with the Bluetooth®
Hands-Free Profile, Version 1.0 or higher.For Uconnect® Customer Support: U.S.resi-
dents visit www.UconnectPhone.com or call 1-888-242-6342.Canadian Residents visit
www.UconnectPhone.com or call 1-800-465–2001 (English) or 1-800-387-9983
(French).
Pairing A Phone
•To use the Uconnect® Phone feature, you must first pair your Bluetooth® phone with
the Uconnect® system.
Start Pairing Procedure On The Radio
•Press the Phone button and then the “Settings” soft-key.Next, touch Add Device.
•Uconnect® Phone will display an “In progress” screen while the system is connecting.
Start Pairing Procedure On Mobile Phone
•Search for available devices on your Bluetooth® enabled mobile phone.This is usually
within Settings or Options under “Bluetooth.” See your mobile phone’s manual for
details.
•When your phone finds the system, select “Uconnect” as the paired device.Yo u m a y
be prompted by your phone to download the phonebook.This is so you can make
calls by saying the name of your contact (PBAP-Phone Book Access Profile).
Complete The Pairing Procedure
•When prompted on the phone, verify with radio password shown on the Uconnect®
Screen.
•If your phone asks you to accept a connection request from Uconnect, select “Yes.”
If available, check the box telling it not to ask again – that way your phone will auto-
matically connect each time you start the vehicle.
ELECTRONICS
55
Page 59 of 116
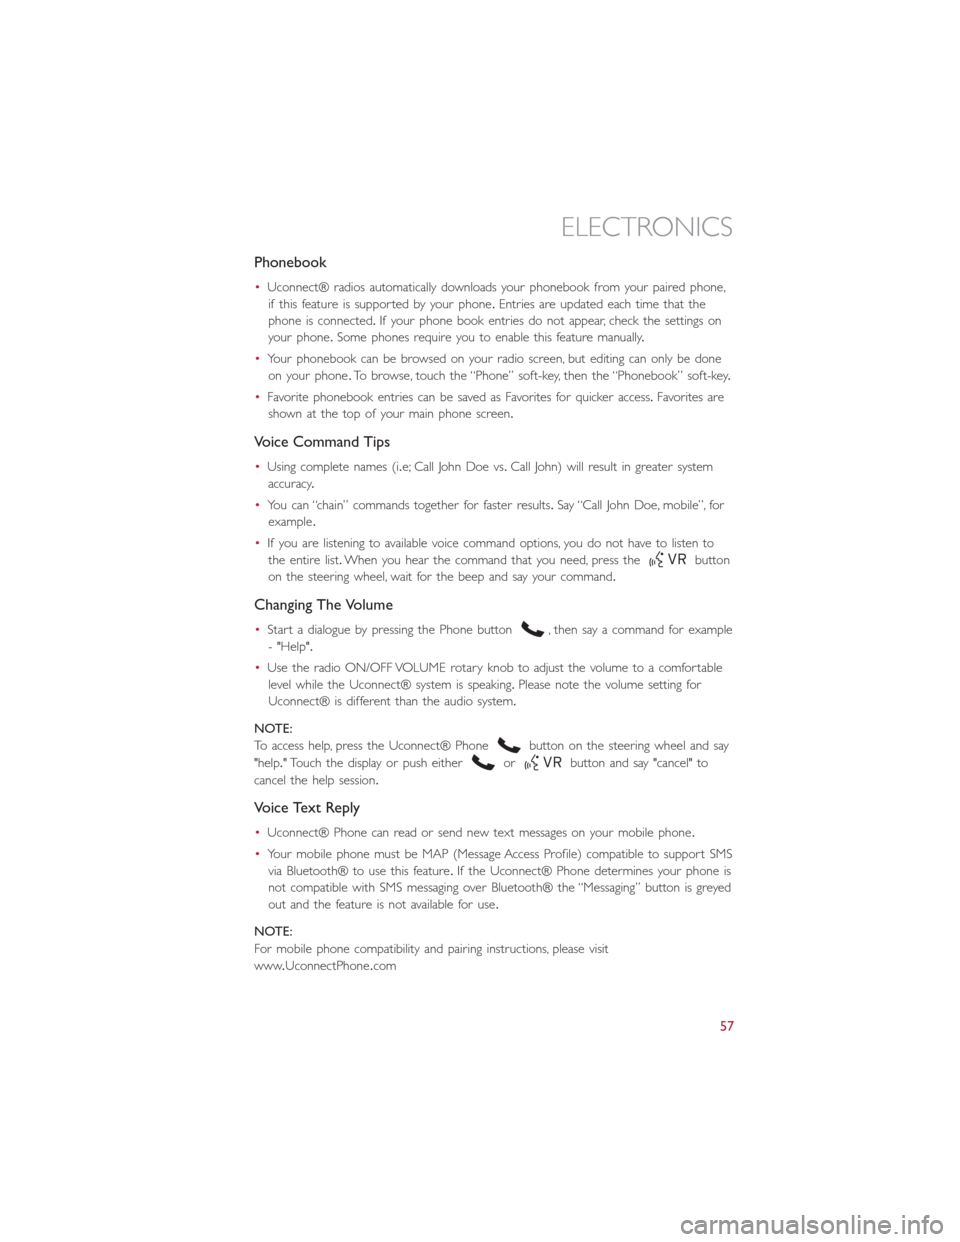
Phonebook
•Uconnect® radios automatically downloads your phonebook from your paired phone,
if this feature is supported by your phone.Entries are updated each time that the
phone is connected.If your phone book entries do not appear, check the settings on
your phone.Some phones require you to enable this feature manually.
•Your phonebook can be browsed on your radio screen, but editing can only be done
on your phone.To browse, touch the “Phone” soft-key, then the “Phonebook” soft-key.
•Favorite phonebook entries can be saved as Favorites for quicker access.Favorites are
shown at the top of your main phone screen.
Voice Command Tips
•Using complete names (i.e; Call John Doe vs.Call John) will result in greater system
accuracy.
•You can “chain” commands together for faster results.Say “Call John Doe, mobile”, for
example.
•If you are listening to available voice command options, you do not have to listen to
the entire list.When you hear the command that you need, press the
button
on the steering wheel, wait for the beep and say your command.
Changing The Volume
•Start a dialogue by pressing the Phone button, then say a command for example
- "Help".
•Use the radio ON/OFF VOLUME rotary knob to adjust the volume to a comfortable
level while the Uconnect® system is speaking.Please note the volume setting for
Uconnect® is different than the audio system.
NOTE:
To access help, press the Uconnect® Phone
button on the steering wheel and say
"help." Touch the display or push either
orbutton and say "cancel" to
cancel the help session.
Voice Text Reply
•Uconnect® Phone can read or send new text messages on your mobile phone.
•Your mobile phone must be MAP (Message Access Profile) compatible to support SMS
via Bluetooth® to use this feature.If the Uconnect® Phone determines your phone is
not compatible with SMS messaging over Bluetooth® the “Messaging” button is greyed
out and the feature is not available for use.
NOTE:
For mobile phone compatibility and pairing instructions, please visit
www.UconnectPhone.com
ELECTRONICS
57
Page 60 of 116
WARNING!
•Any voice commanded system should be used only in safe driving conditions fol-
lowing applicable laws regarding phone use.Your attention should be focused on
safely operating the vehicle.Failure to do so may result in a collision causing you
and others to be severely injured or killed.
•In an emergency, to use Uconnect® Phone, your mobile phone must be:
•turned on,
•paired to Uconnect® Phone,
•and have network coverage.
VOICE COMMAND QUICK REFERENCE
Uconnect® 6.5N Voice Command
If the Uconnect® Voice Commandbutton exists on your steering wheel, you have
the Voice Command feature, which is optimized for the driver.The Voice Command fea-
ture lets you keep your hands on the wheel, and your eyes on the road.
When you push the Voice Command
button located on the steering wheel, you
will hear a beep.After the beep, give your command.If you do not know what com-
mands to say, you can say “help” and the system will provide options to you.If you ever
wish to interrupt the system while it lists options, push the “Voice Command
”
button, after the beep, say your command.
NOTE:
All phone oriented voice commands are accessible by first pushing the “Phone Pick Up
” button, not the Voice Command button.To end a call, simply push the “Phone
Hang Up
” button.In some vehicles, the “Phone Pickup” button serves the
dual purpose of ending calls as well.
Voice Command (VR) User TIPs
•To hear available commands, push the Uconnect® Voice Command button and say
“Help”.You will hear available commands for the menu displayed.
•At any time, you can say the words “Cancel” or “Help”.These commands are universal
and can be used from virtually any menu.All other specific commands can be used
depending upon the active application.
•You can interrupt the system prompts at any time by pushing the Uconnect® Voice
Command button while the system is speaking.After the beep, you can say a com-
mand.
•You can ‘chain’ commands together for faster results.Say “Call Joe Doe mobile”, for
example.
ELECTRONICS
58
Page 63 of 116
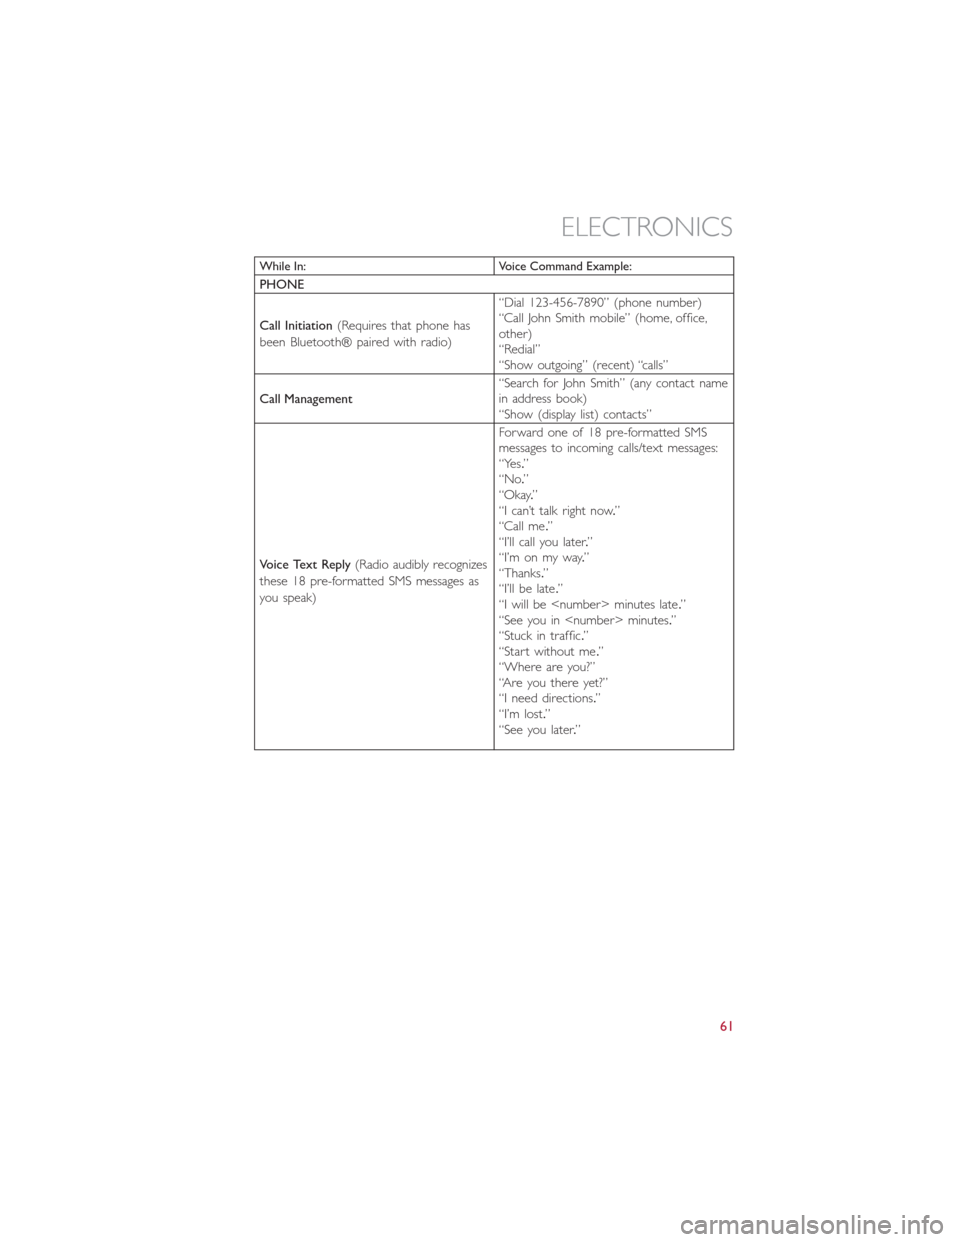
While In: Voice Command Example:
PHONE
Call Initiation(Requires that phone has
been Bluetooth® paired with radio)“Dial 123-456-7890” (phone number)
“Call John Smith mobile” (home, office,
other)
“Redial”
“Show outgoing” (recent) “calls”
Call Management“Search for John Smith” (any contact name
in address book)
“Show (display list) contacts”
Voice Text Reply(Radio audibly recognizes
these 18 pre-formatted SMS messages as
you speak)Forward one of 18 pre-formatted SMS
messages to incoming calls/text messages:
“Yes.”
“No.”
“Okay.”
“I can’t talk right now.”
“Call me.”
“I’ll call you later.”
“I’m on my way.”
“Thanks.”
“I’ll be late.”
“I will be
“See you in
“Stuck in traffic.”
“Start without me.”
“Where are you?”
“Are you there yet?”
“I need directions.”
“I’m lost.”
“See you later.”
ELECTRONICS
61
Page 64 of 116
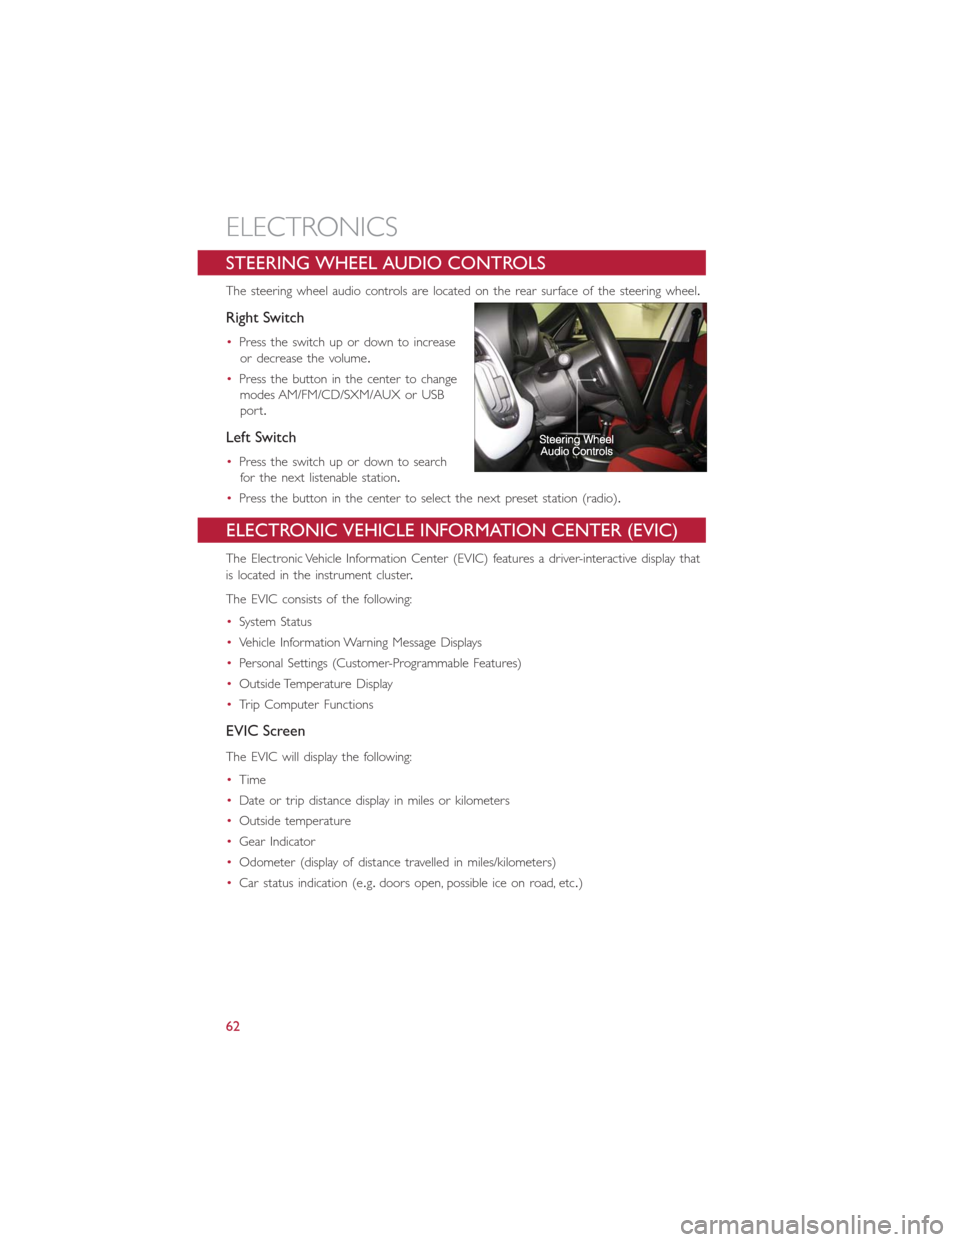
STEERING WHEEL AUDIO CONTROLS
The steering wheel audio controls are located on the rear surface of the steering wheel.
Right Switch
•Press the switch up or down to increase
or decrease the volume.
•Press the button in the center to change
modes AM/FM/CD/SXM/AUX or USB
port.
Left Switch
•Press the switch up or down to search
for the next listenable station.
•Press the button in the center to select the next preset station (radio).
ELECTRONIC VEHICLE INFORMATION CENTER (EVIC)
The Electronic Vehicle Information Center (EVIC) features a driver-interactive display that
is located in the instrument cluster.
The EVIC consists of the following:
•System Status
•Vehicle Information Warning Message Displays
•Personal Settings (Customer-Programmable Features)
•Outside Temperature Display
•Trip Computer Functions
EVIC Screen
The EVIC will display the following:
•Time
•Date or trip distance display in miles or kilometers
•Outside temperature
•Gear Indicator
•Odometer (display of distance travelled in miles/kilometers)
•Car status indication (e.g.doors open, possible ice on road, etc.)
ELECTRONICS
62
Page 65 of 116
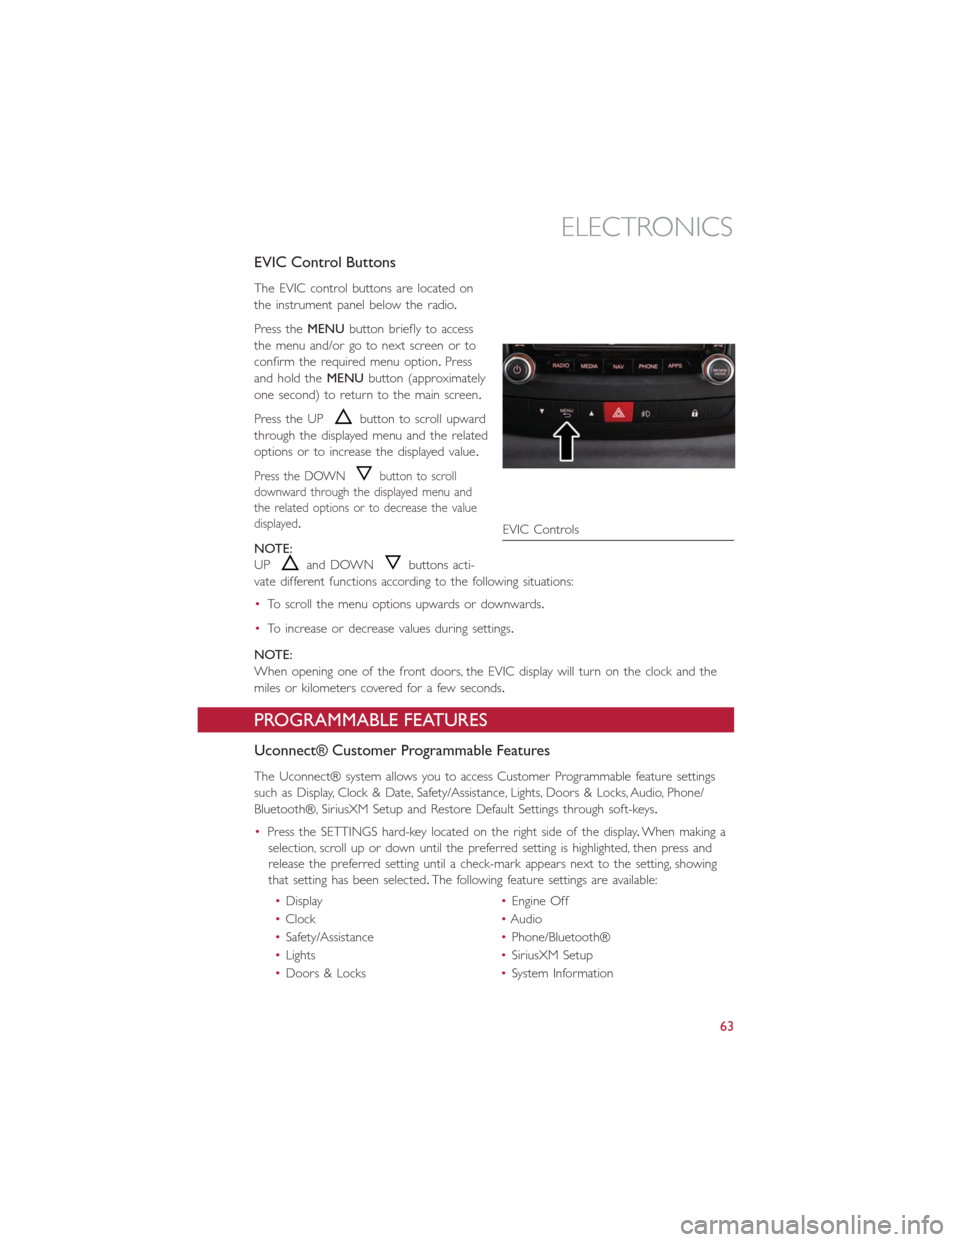
EVIC Control Buttons
The EVIC control buttons are located on
the instrument panel below the radio.
Press theMENUbutton briefly to access
the menu and/or go to next screen or to
confirm the required menu option.Press
and hold theMENUbutton (approximately
one second) to return to the main screen.
Press the UP
button to scroll upward
through the displayed menu and the related
options or to increase the displayed value.
Press the DOWNbutton to scroll
downward through the displayed menu and
the related options or to decrease the value
displayed.
NOTE:
UP
and DOWNbuttons acti-
vate different functions according to the following situations:
•To scroll the menu options upwards or downwards.
•To increase or decrease values during settings.
NOTE:
When opening one of the front doors, the EVIC display will turn on the clock and the
miles or kilometers covered for a few seconds.
PROGRAMMABLE FEATURES
Uconnect® Customer Programmable Features
The Uconnect® system allows you to access Customer Programmable feature settings
such as Display, Clock & Date, Safety/Assistance, Lights, Doors & Locks, Audio, Phone/
Bluetooth®, SiriusXM Setup and Restore Default Settings through soft-keys.
•Press the SETTINGS hard-key located on the right side of the display.When making a
selection, scroll up or down until the preferred setting is highlighted, then press and
release the preferred setting until a check-mark appears next to the setting, showing
that setting has been selected.The following feature settings are available:
•Display•Engine Off
•Clock•Audio
•Safety/Assistance•Phone/Bluetooth®
•Lights•SiriusXM Setup
•Doors & Locks•System Information
EVIC Controls
ELECTRONICS
63
Page 72 of 116
WARNING!
A hot engine cooling system is dangerous.You or others could be badly burned by
steam or boiling coolant.
- Electronic Throttle Control (ETC) Indicator Light
This light informs you of a problem with the system.
If a problem is detected, the light will come on while the engine is running.Cycle the
ignition when the vehicle has completely stopped and the shift lever is placed in the
PARK position; the light should turn off.
If the light remains lit with the engine running, your vehicle will usually be drivable; how-
ever, see an authorized dealer immediately.If the light is flashing when the engine is run-
ning, immediate service is required and you may experience reduced performance, an
elevated/rough idle or engine stall and your vehicle may require towing.
- Electronic Stability Control (ESC) OFF Indicator Light
This light indicates the ESC system has been turned off by the driver.
Partial Off
This mode is entered by momentarily pressing the ESC Off switch.This mode is intended
for times when a more spirited driving experience is desired.It is also intended for driv-
ing in deep snow, sand or gravel conditions, when more wheel spin than ESC would nor-
mally allow is required to gain traction.To turn ESC on again, momentarily press the
switch again.This will restore the normal ESC On mode of operation.
Full Off
This mode is intended for off-highway or off-road use only and should not be used on
public roadways.In this mode, all TCS and ESC stability features are turned OFF, except
for the limited slip feature described in the TCS section.To enter the “Full Off ” mode,
depress and hold the ESC OFF switch for five seconds.After five seconds, the ESC OFF
Indicator Light will illuminate, and the “ESC OFF” message will display in the EVIC.To turn
ESC ON again, momentarily press the ESC OFF switch.
- Electronic Stability Control (ESC) Activation / Malfunction
Indicator Light
The “ESC Activation/Malfunction Indicator Light” in the instrument cluster will come on
for four seconds when the ignition switch is turned to the ON/RUN position.If the
“ESC Activation/Malfunction Indicator Light” comes on continuously with the engine run-
ning, a malfunction has been detected in the ESC system.If this light remains on, see your
authorized dealer as soon as possible to have the problem diagnosed and corrected.
WHAT TO DO IN EMERGENCIES
70
Page 98 of 116
MAINTENANCE SCHEDULE
Your vehicle is equipped with an automatic oil change indicator system.The oil change
indicator system will remind you that it is time to take your vehicle in for scheduled
maintenance.
Based on engine operation conditions, the oil change indicator message will illuminate in
the instrument cluster.This means that service is required for your vehicle.Operating
conditions such as frequent short-trips, trailer tow and extremely hot or cold ambient
temperatures will influence when the “Change Oil” or “Oil Change Required” message is
displayed.Severe Operating Conditions can cause the change oil message to illuminate as
early as 3,500 miles (5,600 km) since last reset.Have your vehicle serviced as soon as
possible, within the next 500 miles (805 km).
Your authorized dealer will reset the oil change indicator message after completing the
scheduled oil change.If a scheduled oil change is performed by someone other than your
authorized dealer, the message can be reset by referring to the steps described under
“Electronic Vehicle Information Center (EVIC)” in “Understanding Your Instrument Panel”
in your Owners Manual on the DVD for further information.
NOTE:
Under no circumstances should oil change intervals exceed 10,000 miles (16,000 km) or
twelve months, whichever comes first.
Severe Duty All Models
Change Engine Oil at 4000 miles (6,500 km) if the vehicle is operated in a dusty and off
road environment.This type of vehicle use is considered Severe Duty
Once A Month Or Before A Long Trip:
•Check engine oil level
•Check windshield washer fluid level
•Check the tire inflation pressures and look for unusual wear or damage
•Check the fluid levels of the coolant reservoir, brake master cylinder reservoir, and
transmission as needed
•Check function of all interior and exterior lights
MAINTAINING YOUR VEHICLE
96