FIAT 500L 2015 2.G Owners Manual
500L 2015 2.G
FIAT
FIAT
https://www.carmanualsonline.info/img/10/4517/w960_4517-0.png
FIAT 500L 2015 2.G Owners Manual
Trending: low oil pressure, headlamp, oil additives, dimensions, snow chains, jacking, glove box
Page 161 of 438
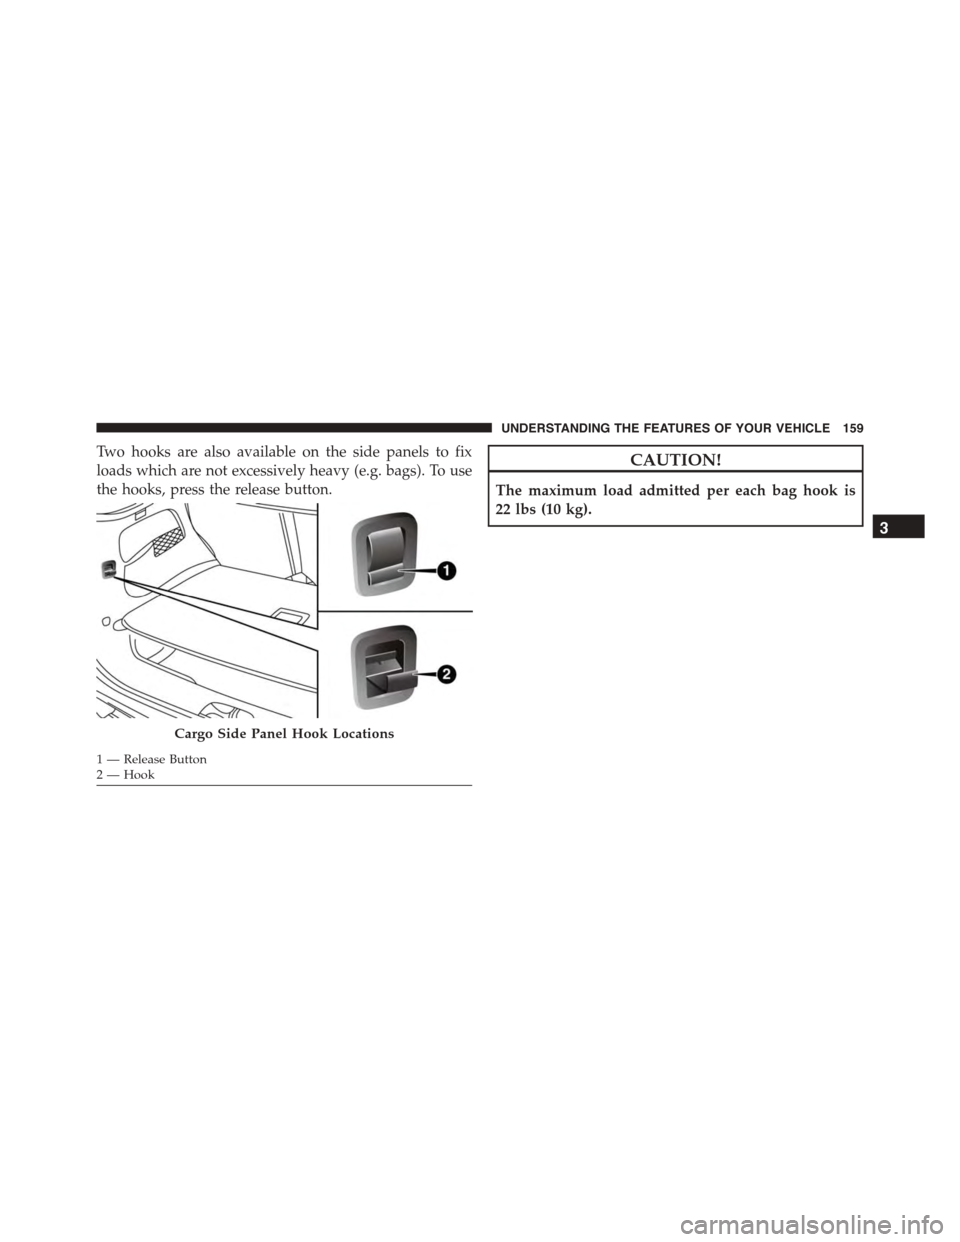
Two hooks are also available on the side panels to fix
loads which are not excessively heavy (e.g. bags). To use
the hooks, press the release button.
CAUTION!
The maximum load admitted per each bag hook is
22 lbs (10 kg).
Cargo Side Panel Hook Locations
1 — Release Button2—Hook
3
UNDERSTANDING THE FEATURES OF YOUR VEHICLE 159
Page 162 of 438
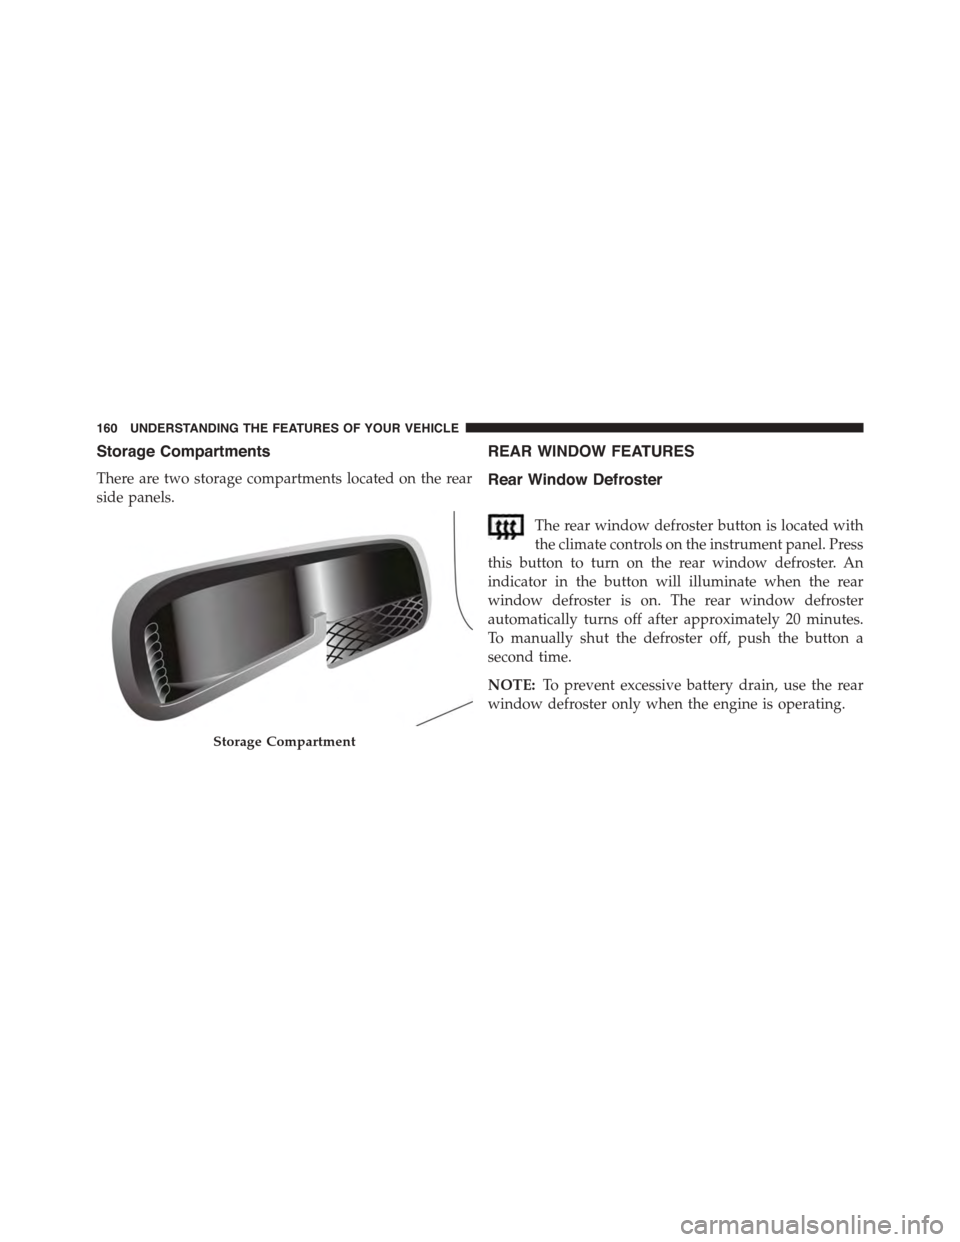
Storage Compartments
There are two storage compartments located on the rear
side panels.
REAR WINDOW FEATURES
Rear Window Defroster
The rear window defroster button is located with
the climate controls on the instrument panel. Press
this button to turn on the rear window defroster. An
indicator in the button will illuminate when the rear
window defroster is on. The rear window defroster
automatically turns off after approximately 20 minutes.
To manually shut the defroster off, push the button a
second time.
NOTE:To prevent excessive battery drain, use the rear
window defroster only when the engine is operating.
Storage Compartment
160 UNDERSTANDING THE FEATURES OF YOUR VEHICLE
Page 163 of 438
CAUTION!
Failure to follow these cautions can cause damage to
the heating elements:
•Use care when washing the inside of the rear
window. Do not use abrasive window cleaners on
the interior surface of the window. Use a soft cloth
and a mild washing solution, wiping parallel to the
heating elements. Labels can be peeled off after
soaking with warm water.
•Do not use scrapers, sharp instruments, or abrasive
window cleaners on the interior surface of the
window.
•Keep all objects a safe distance from the window.
ROOF LUGGAGE RACK-IF EQUIPPED
The crossbars and siderails are designed to carry the
weight on vehicles equipped with a luggage rack. The
load must not exceed 110 lbs (50 kg), and should be
uniformly distributed over the luggage rack crossbars.
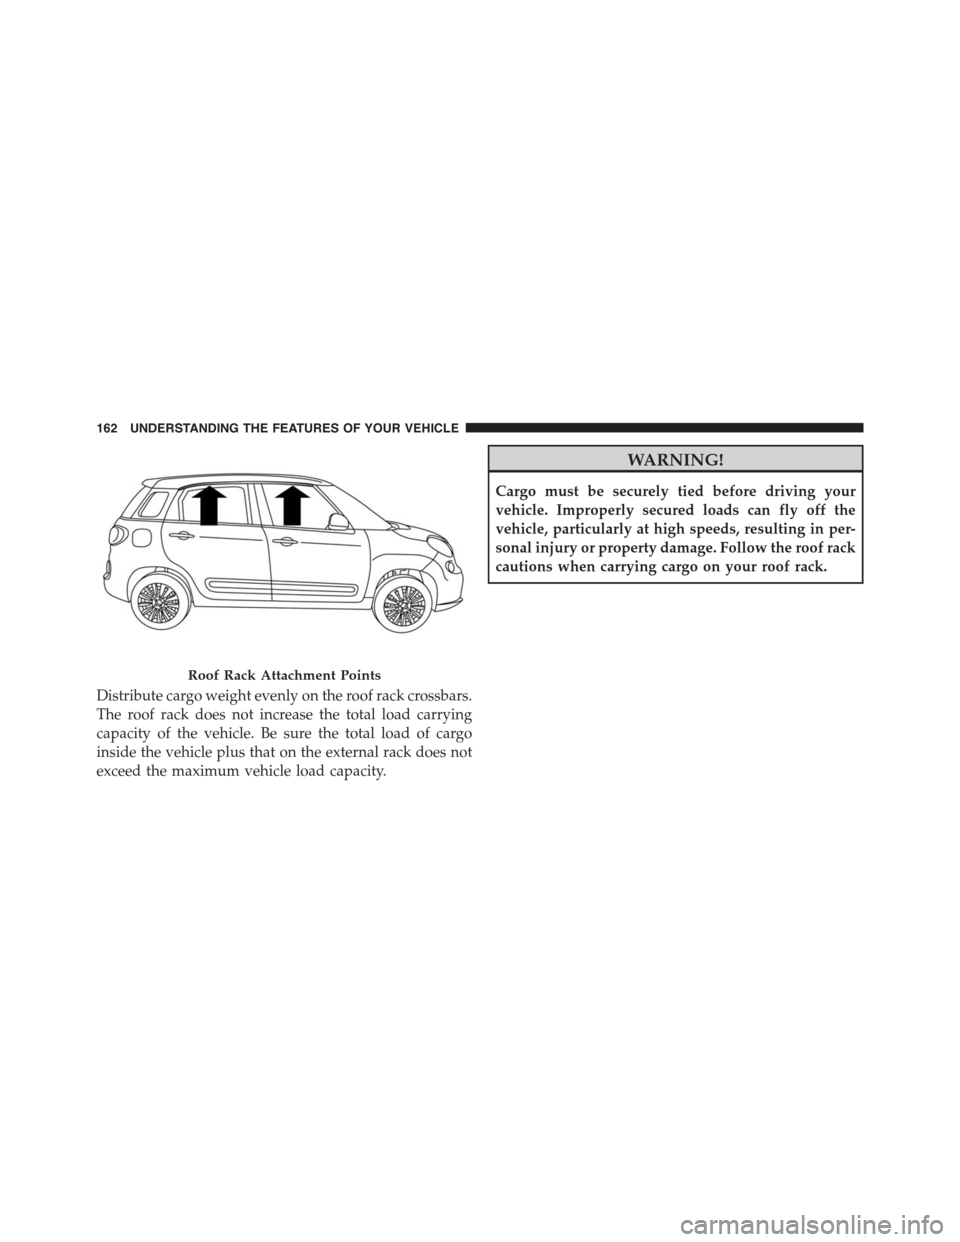
Their are two attachment points inside the door jambs
that the Roof Rack crossbars attach to.
3
UNDERSTANDING THE FEATURES OF YOUR VEHICLE 161
Page 164 of 438
Distribute cargo weight evenly on the roof rack crossbars.
The roof rack does not increase the total load carrying
capacity of the vehicle. Be sure the total load of cargo
inside the vehicle plus that on the external rack does not
exceed the maximum vehicle load capacity.
WARNING!
Cargo must be securely tied before driving your
vehicle. Improperly secured loads can fly off the
vehicle, particularly at high speeds, resulting in per-
sonal injury or property damage. Follow the roof rack
cautions when carrying cargo on your roof rack.
Roof Rack Attachment Points
162 UNDERSTANDING THE FEATURES OF YOUR VEHICLE
Page 165 of 438
UNDERSTANDING YOUR INSTRUMENT PANEL
CONTENTS
!INSTRUMENT PANEL FEATURES..........165
!INSTRUMENT CLUSTER.................166
!INSTRUMENT CLUSTER DESCRIPTIONS.....167
!ELECTRONIC VEHICLE INFORMATION
CENTER (EVIC).......................177
▫EVIC Screen.........................177
▫EVIC Control Buttons..................178
▫Electronic Vehicle Information Center (EVIC)
Setup Menu.........................179
▫Change Engine Oil Indicator System........180
▫Trip Computer.......................181
▫Trip Button..........................181
▫Trip Functions........................182
▫Values Displayed......................183
▫Personal Settings (Customer-Programmable
Features)............................184
!Uconnect® RADIOS.....................187
!iPod®/USB/MEDIA PLAYER CONTROL.....187
!STEERING WHEEL AUDIO CONTROLS......188
▫Radio Operation......................189
4
Page 166 of 438
▫Player Operation......................189
!CD/DVD DISC MAINTENANCE...........190
!RADIO OPERATION AND MOBILE PHONES . .190
!CLIMATE CONTROLS...................191
▫Manual Climate Control System...........191
▫Automatic Dual Zone Climate Control System
(If Equipped).........................197
!Uconnect® VOICE RECOGNITION
QUICK TIPS..........................209
▫Introducing Uconnect®.................209
▫Get Started..........................211
▫Basic Voice Commands..................212
▫Radio..............................213
▫Media..............................215
▫Phone..............................216
▫Navigation (6.5A/6.5AN)................218
▫Voice Text Reply......................219
▫Additional Information.................220
164 UNDERSTANDING YOUR INSTRUMENT PANEL
Page 167 of 438
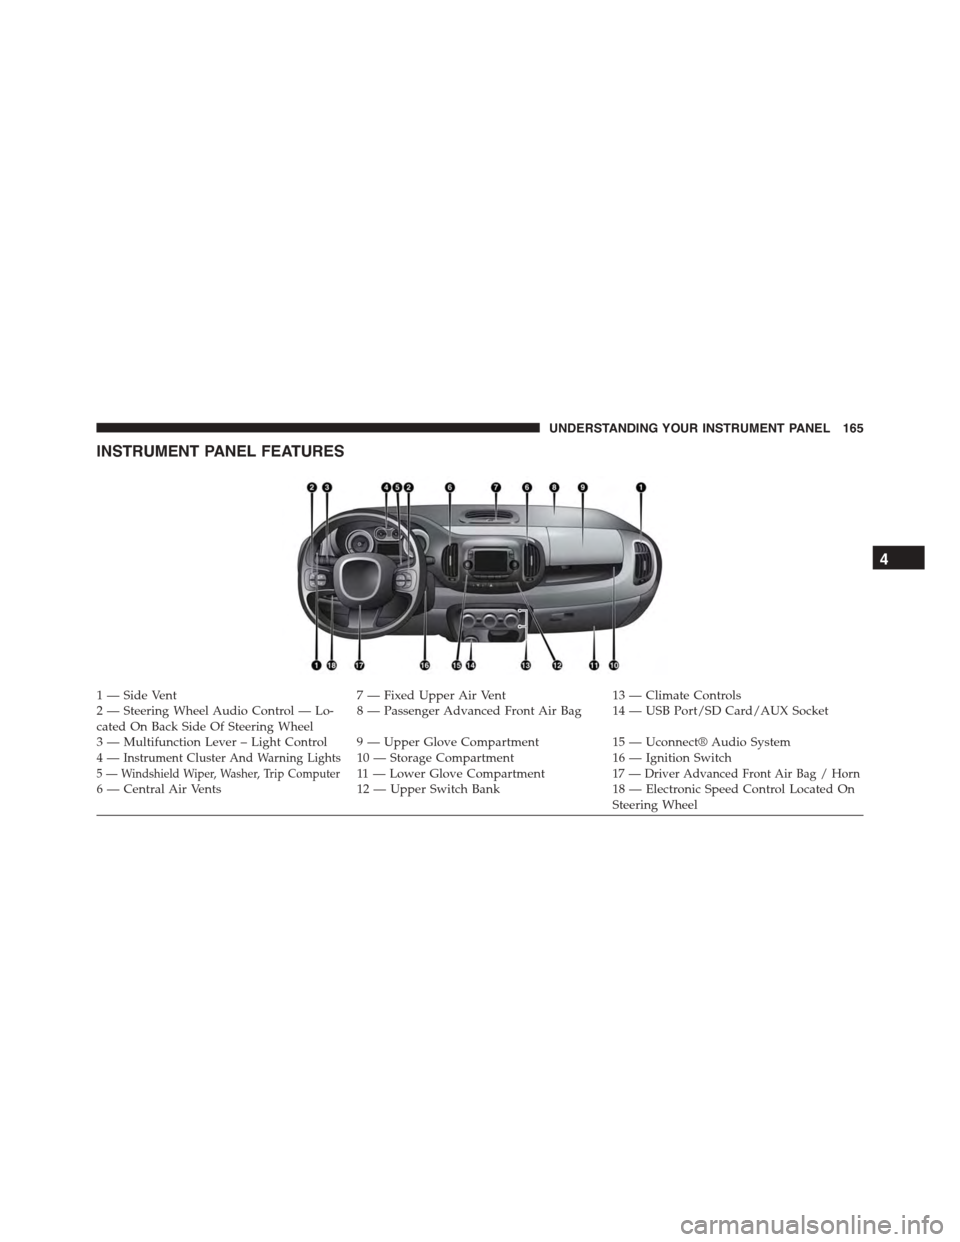
INSTRUMENT PANEL FEATURES
1 — Side Vent7 — Fixed Upper Air Vent13 — Climate Controls2—SteeringWheelAudioControl—Lo-cated On Back Side Of Steering Wheel8—PassengerAdvancedFrontAirBag 14—USBPort/SDCard/AUXSocket
3—MultifunctionLever–LightControl 9—UpperGloveCompartment15 — Uconnect® Audio System4—Instrument Cluster And Warning Lights10 — Storage Compartment16 — Ignition Switch5 — Windshield Wiper, Washer, Trip Computer11 — L o w e r G l o v e C o m p a r t m e n t17 — Driver Advanced Front Air Bag / Horn6 — Central Air Vents12 — Upper Switch Bank18 — Electronic Speed Control Located OnSteering Wheel
4
UNDERSTANDING YOUR INSTRUMENT PANEL 165
Page 168 of 438
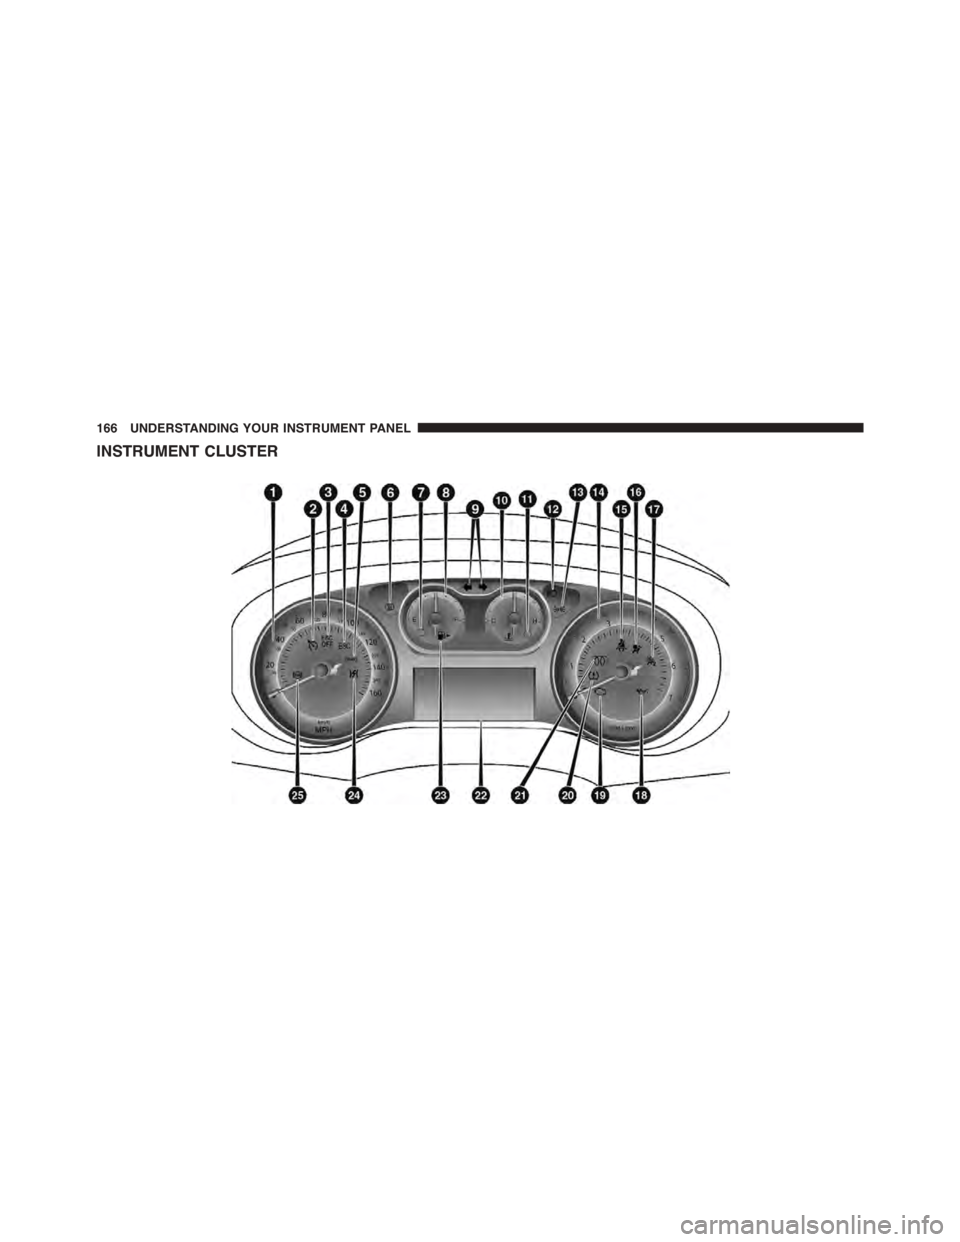
INSTRUMENT CLUSTER
166 UNDERSTANDING YOUR INSTRUMENT PANEL
Page 169 of 438
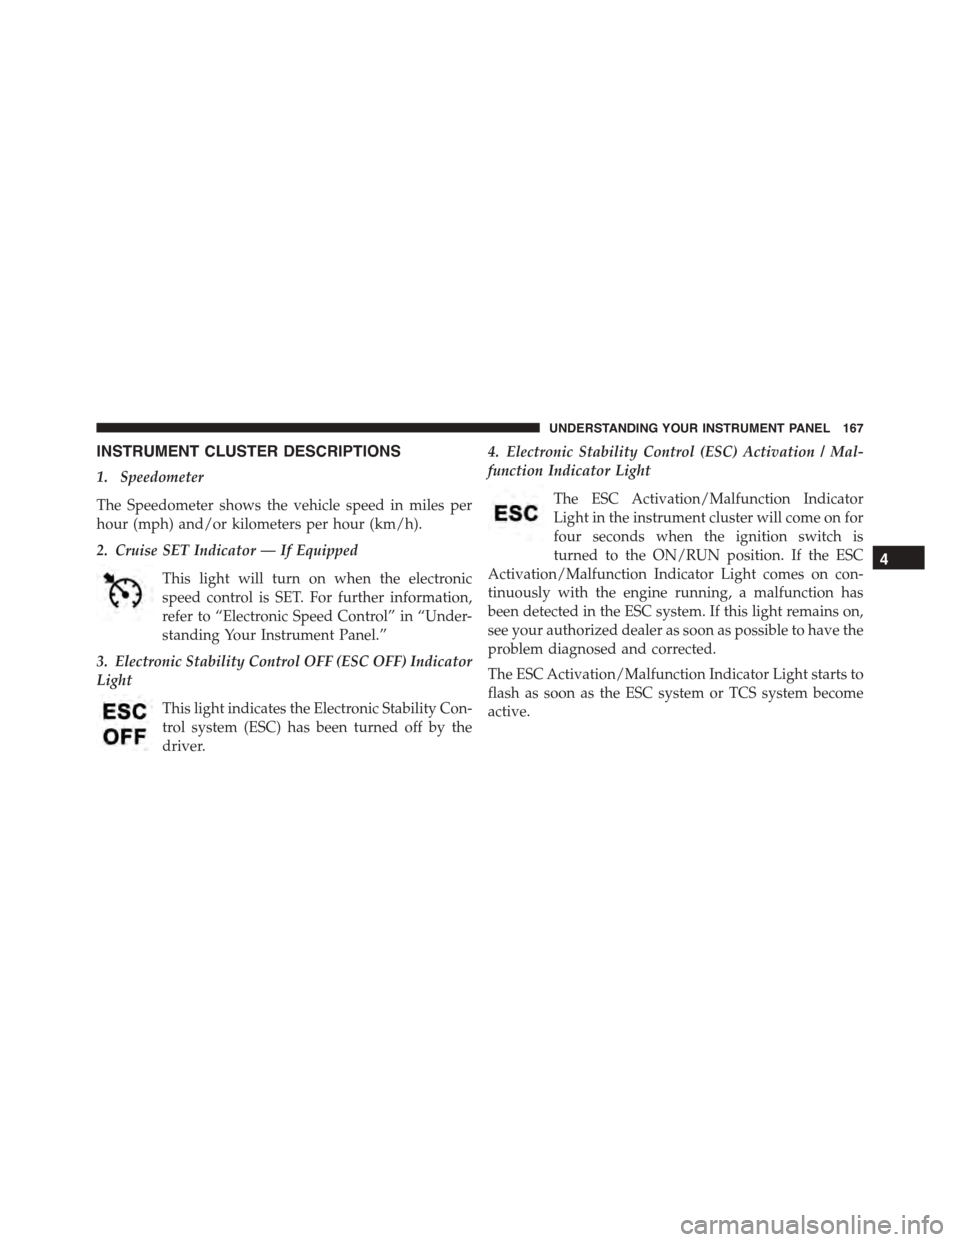
INSTRUMENT CLUSTER DESCRIPTIONS
1. Speedometer
The Speedometer shows the vehicle speed in miles per
hour (mph) and/or kilometers per hour (km/h).
2. Cruise SET Indicator — If Equipped
This light will turn on when the electronic
speed control is SET. For further information,
refer to “Electronic Speed Control” in “Under-
standing Your Instrument Panel.”
3. Electronic Stability Control OFF (ESC OFF) Indicator
Light
This light indicates the Electronic Stability Con-
trol system (ESC) has been turned off by the
driver.
4. Electronic Stability Control (ESC) Activation / Mal-
function Indicator Light
The ESC Activation/Malfunction Indicator
Light in the instrument cluster will come on for
four seconds when the ignition switch is
turned to the ON/RUN position. If the ESC
Activation/Malfunction Indicator Light comes on con-
tinuously with the engine running, a malfunction has
been detected in the ESC system. If this light remains on,
see your authorized dealer as soon as possible to have the
problem diagnosed and corrected.
The ESC Activation/Malfunction Indicator Light starts to
flash as soon as the ESC system or TCS system become
active.
4
UNDERSTANDING YOUR INSTRUMENT PANEL 167
Page 170 of 438
NOTE:
•The ESC Off Indicator Light and the ESC Activation/
Malfunction Indicator Light come on momentarily
each time the ignition switch is turned to ON/RUN.
•Each time the ignition is turned to ON/RUN, the
ESC system will be on, even if it was turned off
previously.
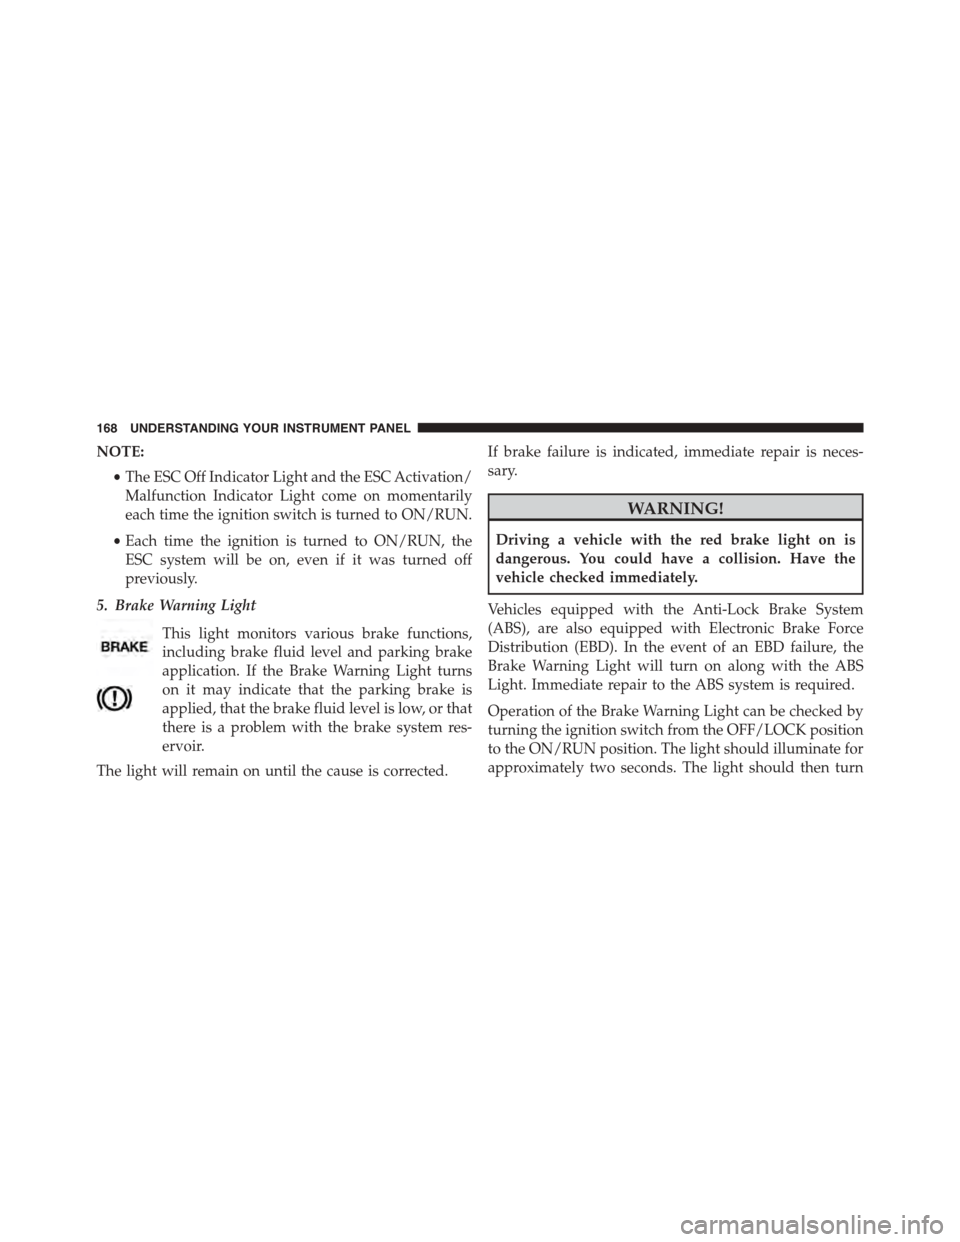
5. Brake Warning Light
This light monitors various brake functions,
including brake fluid level and parking brake
application. If the Brake Warning Light turns
on it may indicate that the parking brake is
applied, that the brake fluid level is low, or that
there is a problem with the brake system res-
ervoir.
The light will remain on until the cause is corrected.
If brake failure is indicated, immediate repair is neces-
sary.
WARNING!
Driving a vehicle with the red brake light on is
dangerous. You could have a collision. Have the
vehicle checked immediately.
Vehicles equipped with the Anti-Lock Brake System
(ABS), are also equipped with Electronic Brake Force
Distribution (EBD). In the event of an EBD failure, the
Brake Warning Light will turn on along with the ABS
Light. Immediate repair to the ABS system is required.
Operation of the Brake Warning Light can be checked by
turning the ignition switch from the OFF/LOCK position
to the ON/RUN position. The light should illuminate for
approximately two seconds. The light should then turn
168 UNDERSTANDING YOUR INSTRUMENT PANEL
Trending: alternator, charging, inflation pressure, fuel filter location, fuel cap, automatic transmission, radio antenna
