display FIAT 500L 2016 2.G Service Manual
[x] Cancel search | Manufacturer: FIAT, Model Year: 2016, Model line: 500L, Model: FIAT 500L 2016 2.GPages: 476, PDF Size: 3.67 MB
Page 245 of 476
If the AUTO button is pushed when the AUTO LED is on,
the system switches to completely manual mode; it
displays the current flow and distribution status, which
will no longer be managed automatically.
If a manual intervention is made on at least the air
distribution, on compressor button or on the fan speed,
the LED switches off to indicate that the system is no
longer controlling all functions automatically.
NOTE:Should the system no longer be able to guarantee
the required temperature set in various passenger com-
partment zones, the set temperature value will flash for a
few seconds on the display.
To restore automatic system control after one or more
manual adjustments, push the AUTO button.SYNC Button
Push the SYNC button (LED on button lit) to align the
passenger side air temperature with that of the driver
side.
This function makes temperature regulation easier when
the driver is travelling alone.
Turn the Passenger Temperature Control knob to set the
passenger side temperature and return to separate air
temperature management.
Air Recirculation
The Air Recirculation is managed according to the fol-
lowing operating logics:
• forced activation (air recirculation always on): indi-
cated by the LED on the Recirculation Control button
4
UNDERSTANDING YOUR INSTRUMENT PANEL 243
Page 247 of 476
The system remembers that the compressor has been
switched off, even after the engine has stopped.
When the compressor is switched off, the system deacti-
vates air recirculation to prevent the windows from
misting up.
Pushing the A/C button will stop the AUTO MODE (the
AUTO LED will switch off). To restore automatic control
of compressor engagement, push the AUTO button
again.
NOTE:With the compressor off, air cannot be introduced
to the passenger compartment with a temperature lower
than the outside temperature. Moreover, under certain
environmental conditions, windows could mist rapidly
since the air is not dehumidified.
Rapid Window Demisting (MAX-DEF function)
Push the MAX-DEF button to activate (LED on button
on) the windshield and side window demisting function. The climate control system carries out the following
operations:
•
switches on the air conditioning compressor when
environmental conditions are suitable;
• switches air recirculation off;
• sets fan speed according to the engine coolant tem-
perature;
• directs air flow to windshield and front side window
diffusers;
• activates the heated rear window;
• activates the heated windshield (if equipped);
• displays the fan speed (Blower Control Indicator LED
lit).
4
UNDERSTANDING YOUR INSTRUMENT PANEL 245
Page 251 of 476
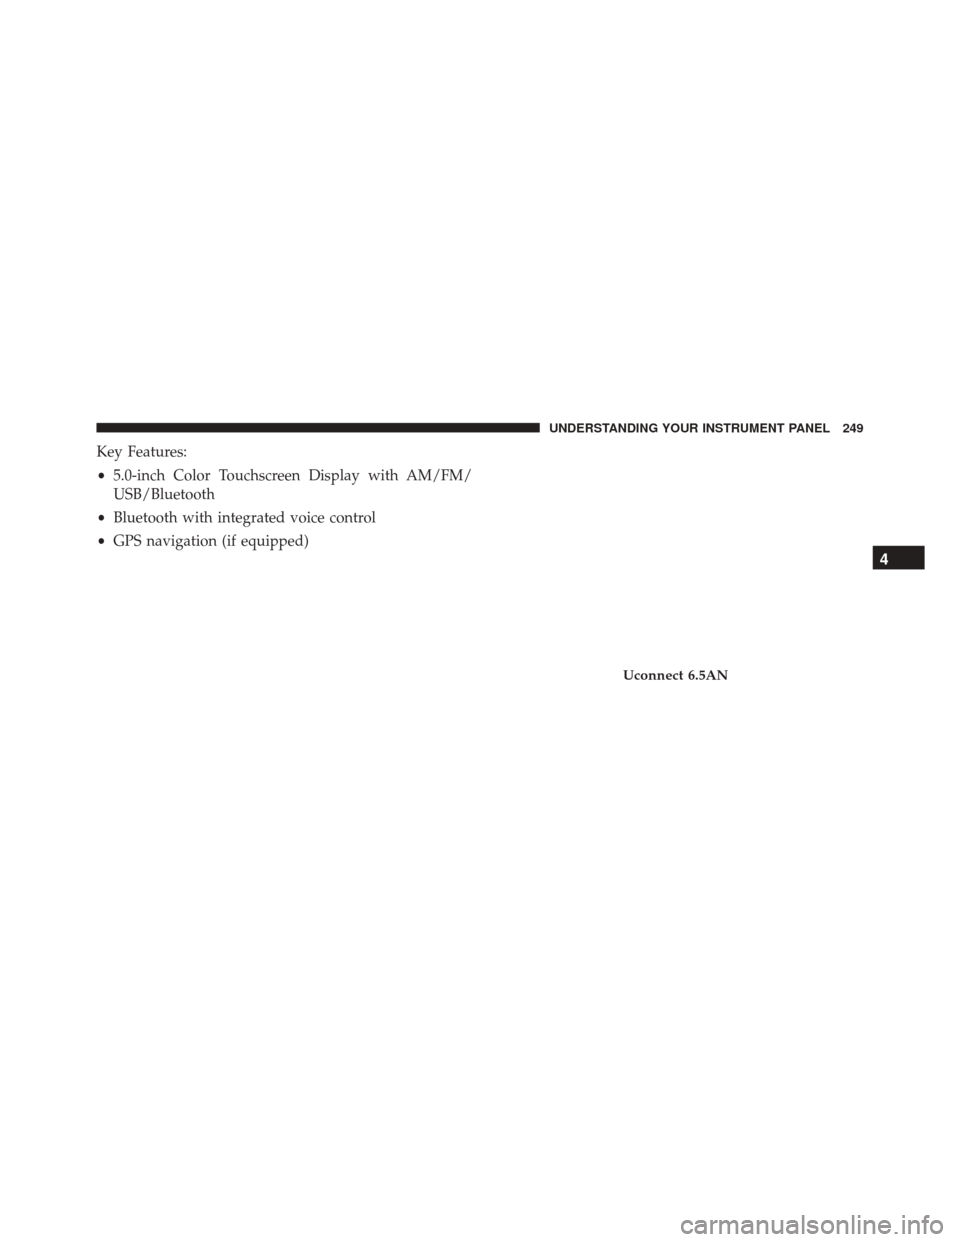
Key Features:
•5.0-inch Color Touchscreen Display with AM/FM/
USB/Bluetooth
• Bluetooth with integrated voice control
• GPS navigation (if equipped)
Uconnect 6.5AN
4
UNDERSTANDING YOUR INSTRUMENT PANEL 249
Page 252 of 476
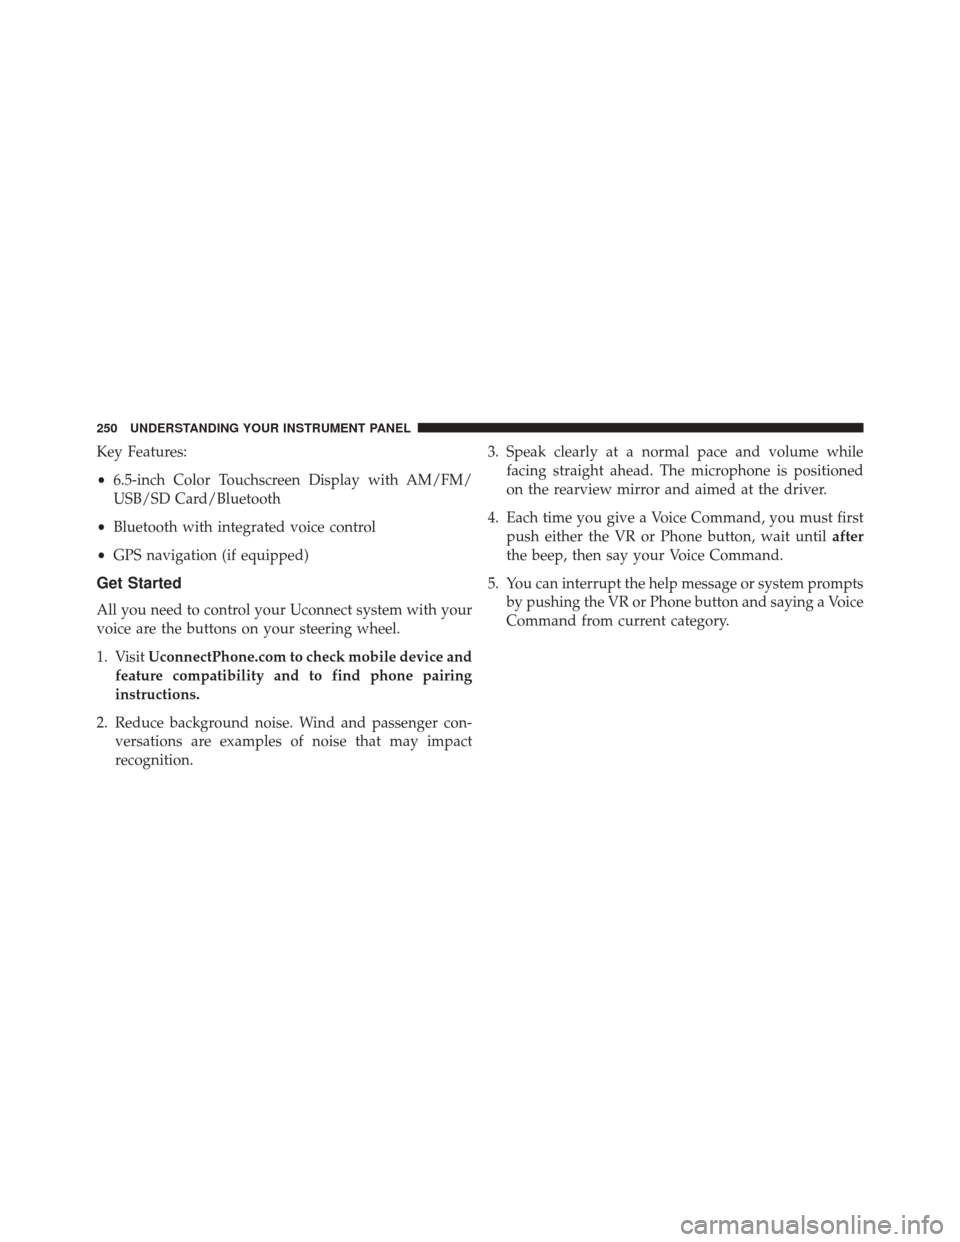
Key Features:
•6.5-inch Color Touchscreen Display with AM/FM/
USB/SD Card/Bluetooth
• Bluetooth with integrated voice control
• GPS navigation (if equipped)
Get Started
All you need to control your Uconnect system with your
voice are the buttons on your steering wheel.
1. Visit UconnectPhone.com to check mobile device and
feature compatibility and to find phone pairing
instructions.
2. Reduce background noise. Wind and passenger con- versations are examples of noise that may impact
recognition. 3. Speak clearly at a normal pace and volume while
facing straight ahead. The microphone is positioned
on the rearview mirror and aimed at the driver.
4. Each time you give a Voice Command, you must first push either the VR or Phone button, wait until after
the beep, then say your Voice Command.
5. You can interrupt the help message or system prompts by pushing the VR or Phone button and saying a Voice
Command from current category.
250 UNDERSTANDING YOUR INSTRUMENT PANEL
Page 257 of 476
TIP:Press the Browse button on the touchscreen to see all
of the music on your iPod or USB device. Your Voice
Command must match exactlyhow the artist, album,
song and genre information is displayed.
Uconnect 5.0 Media
Uconnect 6.5A/6.5AN Media
4
UNDERSTANDING YOUR INSTRUMENT PANEL 255
Page 268 of 476
Turn the ignition switch to the AVV/ACC (START)
position and release it when the engine starts. If the
engine fails to start within 10 seconds, turn the ignition
switch to the STOP (OFF/LOCK) position, wait 10 to 15
seconds, then repeat the “Normal Starting” procedure.
Cold Weather Operation
To prevent possible engine damage while starting at low
temperatures, this vehicle will inhibit engine cranking
when the ambient temperature is less than –22°F (–30°C)
and the oil temperature sensor reading indicates an
engine block heater has not been used. An externally
powered electric engine block heater is available as a
factory installed option.
The message “plug in engine heater” will be displayed in
the instrument cluster when the ambient temperature is
below 5°F (–15°C) at the time the engine is shut off as areminder to avoid possible crank delays at the next cold
start.
CAUTION!
Use of the recommended SAE 5W-40 Synthetic oil
and adhering to the prescribed oil change intervals is
important to prevent engine damage and ensure
satisfactory starting in cold conditions.
Extended Park Starting
NOTE:
Extended Park condition occurs when the vehicle
has not been started or driven for at least 30 days.
1. Install a battery charger or jumper cables to the battery to ensure a full battery charge during the crank cycle.
2. Cycle the ignition in the START position and release it when the engine starts.
266 STARTING AND OPERATING
Page 274 of 476
Key Ignition Park Interlock
This vehicle is equipped with a Key Ignition Park Inter-
lock which requires the transmission to be in PARK
before the ignition switch can be turned to the LOCK/
OFF (key removal) position. The key can only be re-
moved from the ignition when the ignition is in the
LOCK/OFF position, and once removed, the transmis-
sion is locked in PARK.
Brake/Transmission Shift Interlock System
This vehicle is equipped with a Brake Transmission Shift
Interlock System (BTSI) that holds the shift lever in PARK
unless the brakes are applied. To shift the transmission
out of PARK, the ignition switch must be turned to the
ON/RUN position (engine running or not), and the
brake pedal (and the lock button on the shift lever) must
be pressed.
Six-Speed Euro Twin Clutch Transmission — If
Equipped
The transmission gear position display (located in the
instrument cluster) indicates the transmission gear range.
You must push the brake pedal and the lock button on
the shift lever to move the shift lever out of PARK (refer
to “Brake/Transmission Shift Interlock System” in this
section). To drive, push the lock button on the front of the
shift lever and move the shift lever from PARK or
NEUTRAL to the DRIVE position.
The electronically-controlled transmission provides a
precise shift schedule. The transmission electronics are
self-calibrating; therefore, the first few shifts on a new
vehicle may be somewhat abrupt. This is a normal
condition, and precision shifts will develop within a few
hundred miles (kilometers).
272 STARTING AND OPERATING
Page 275 of 476
This transmission is programmed to prevent shifting
from REVERSE to DRIVE or DRIVE to REVERSE, if
vehicle speed is above 6 mph (10 km/h). This safety
feature helps protect your transmission from damage.
Only shift from DRIVE to PARK or REVERSE when theaccelerator pedal is released and the vehicle is stopped.
Be sure to keep your foot on the brake pedal when
shifting between these gears.
The transmission shift lever has PARK, REVERSE, NEU-
TRAL, DRIVE, and AutoStick (+/-) shift positions.
Manual shifts can be made using the AutoStick shift
control (refer to “AutoStick” in this section for further
information). Moving the shift lever into the Autostick
(-/+) position (beside the DRIVE position) activates
Autostick mode, providing manual shift control and
displaying the current gear in the instrument cluster (as
1, 2, 3, etc.). Toggling the shift lever forward (-) or
rearward (+) while in the Autostick position will manu-
ally select the transmission gear.
Transmission Shift Lever
5
STARTING AND OPERATING 273
Page 276 of 476
NOTE:If the shift lever cannot be moved to the PARK,
REVERSE, or NEUTRAL position (when pushed for-
ward) it is probably in the AutoStick (+/-) position
(beside the DRIVE position). In AutoStick mode, the
transmission gear (1, 2, 3, etc.) is displayed in the
instrument cluster. Move the shift lever to the right (into
the DRIVE [D] position) for access to PARK, REVERSE,
and NEUTRAL.
Gear Ranges
DO NOT race the engine when shifting from PARK or
NEUTRAL into another gear range.
NOTE: After selecting any gear range, wait a moment to
allow the selected gear to engage before accelerating.
This is especially important when the engine is cold. PARK (P)
This range supplements the parking brake by locking the
transmission. The engine can be started in this range.
Never attempt to use PARK while the vehicle is in
motion. Apply the parking brake when leaving the
vehicle in this range.
When parking on a level surface, you may shift the
transmission into PARK first, and then apply the parking
brake.
When parking on a hill, apply the parking brake before
shifting the transmission to PARK, otherwise the load on
the transmission locking mechanism may make it diffi-
cult to move the shift lever out of PARK. As an added
precaution, turn the front wheels toward the curb on a
downhill grade and away from the curb on an uphill
grade.
274 STARTING AND OPERATING
Page 278 of 476
WARNING!(Continued)
number of reasons. A child or others could be
seriously or fatally injured. Children should be
warned not to touch the parking brake, brake pedal
or the gear selector.
• Do not leave the ignition key in or near the vehicle
(or in a location accessible to children). A child
could operate power windows, other controls, or
move the vehicle.
CAUTION!
• Before moving the shift lever out of PARK, you
must turn the ignition switch from the LOCK/OFF
position to the ON/RUN position, and also press
the brake pedal. Otherwise, damage to the shift
lever could result.
(Continued)
CAUTION! (Continued)
•DO NOT race the engine when shifting from
PARK or NEUTRAL into another gear range, as this
can damage the drivetrain.
The following indicators should be used to ensure that
you have engaged the transmission into the PARK posi-
tion:
• When shifting into PARK, push the lock button on the
shift lever and firmly move the lever all the way
forward until it stops and is fully seated.
• Look at the transmission gear position display and
verify that it indicates the PARK position (P).
• With brake pedal released, verify that the shift lever
will not move out of PARK.
276 STARTING AND OPERATING