start stop button FIAT DUCATO BASE CAMPER 2016 Owner handbook (in English)
[x] Cancel search | Manufacturer: FIAT, Model Year: 2016, Model line: DUCATO BASE CAMPER, Model: FIAT DUCATO BASE CAMPER 2016Pages: 387, PDF Size: 20.76 MB
Page 159 of 387

What it means What to do
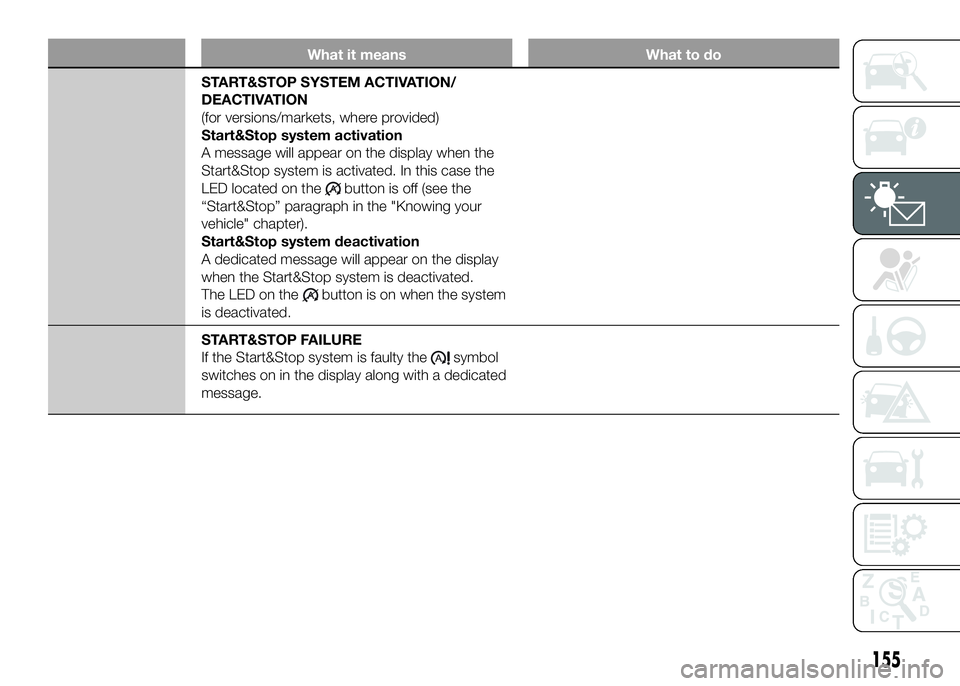
START&STOP SYSTEM ACTIVATION/
DEACTIVATION
(for versions/markets, where provided)
Start&Stop system activation
A message will appear on the display when the
Start&Stop system is activated. In this case the
LED located on the
button is off (see the
“Start&Stop” paragraph in the "Knowing your
vehicle" chapter).
Start&Stop system deactivation
A dedicated message will appear on the display
when the Start&Stop system is deactivated.
The LED on the
button is on when the system
is deactivated.
START&STOP FAILURE
If the Start&Stop system is faulty the
symbol
switches on in the display along with a dedicated
message.
155
Page 189 of 387

30) Remember that the brake servo
and power steering are not
operational until the engine has
been started, so you need to apply
much more force than usual to
the brake pedal and steering
wheel.
31) Never start the engine by
pushing, towing or driving
downhill. This could cause fuel to
flow into the catalytic converter
and damage it beyond repair.
32) A quick burst on the accelerator
before turning off the engine
serves absolutely no practical
purpose; it wastes fuel and is
especially damaging to
turbocharged engines.
33) In some cases, when the engine
switches off, the fan could
activate for max. 120 seconds.
WARNING
134) It is dangerous to run the
engine in enclosed areas. The
engine takes in oxygen and
releases carbon dioxide, carbon
monoxide and other toxic gases.
PARKING
Proceed as follows:
❒stop the engine and engage the
handbrake;
❒engage a gear (on a slope, engage
first gear if the car is facing uphill or
reverse if it is facing downhill) and
leave the wheels steered.
If the vehicle is parked on a steep
slope, it is advisable to block the
wheels with a wedge or stone.
Do not leave the key in the ignition as
this drains the battery. Always remove
the key when you leave the car.
135)
HANDBRAKE
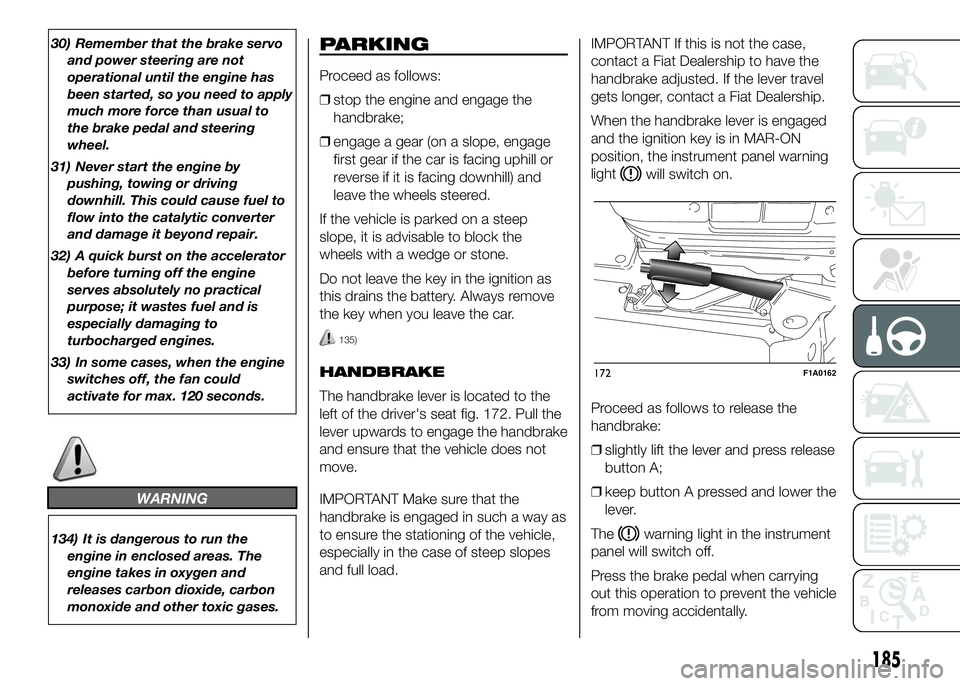
The handbrake lever is located to the
left of the driver's seat fig. 172. Pull the
lever upwards to engage the handbrake
and ensure that the vehicle does not
move.
IMPORTANT Make sure that the
handbrake is engaged in such a way as
to ensure the stationing of the vehicle,
especially in the case of steep slopes
and full load.IMPORTANT If this is not the case,
contact a Fiat Dealership to have the
handbrake adjusted. If the lever travel
gets longer, contact a Fiat Dealership.
When the handbrake lever is engaged
and the ignition key is in MAR-ON
position, the instrument panel warning
light
will switch on.
Proceed as follows to release the
handbrake:
❒slightly lift the lever and press release
button A;
❒keep button A pressed and lower the
lever.
The
warning light in the instrument
panel will switch off.
Press the brake pedal when carrying
out this operation to prevent the vehicle
from moving accidentally.
172F1A0162
185
Page 214 of 387

❒if after this operation you still cannot
reach at least 3 bar after 10 minutes,
do not resume driving because the
tyre is too damaged and the quick
tyre repair kit cannot guarantee
suitable sealing. Contact a Fiat
Dealership;
❒if the tyre reaches the pressure
specified in “Inflation pressure”
paragraph in the "Technical Data"
section, start driving immediately;
❒after having driven for about
10 minutes, stop and recheck the
tyre pressure; remember to apply the
handbrake;❒if a pressure value of at least 3 bar is
detected, restore the correct
pressure prescribed in the paragraph
“Inflation pressure” in “Technical
specification” (with the engine
running and the handbrake
engaged), resume driving and drive
with care to nearest Fiat Dealership.
FOR CHECKING AND
RESTORING PRESSURE
ONLY
The compressor can also be used
solely for restoring pressure.
❒Pull the handbrake.
❒Undo the cap for the tyre valve,
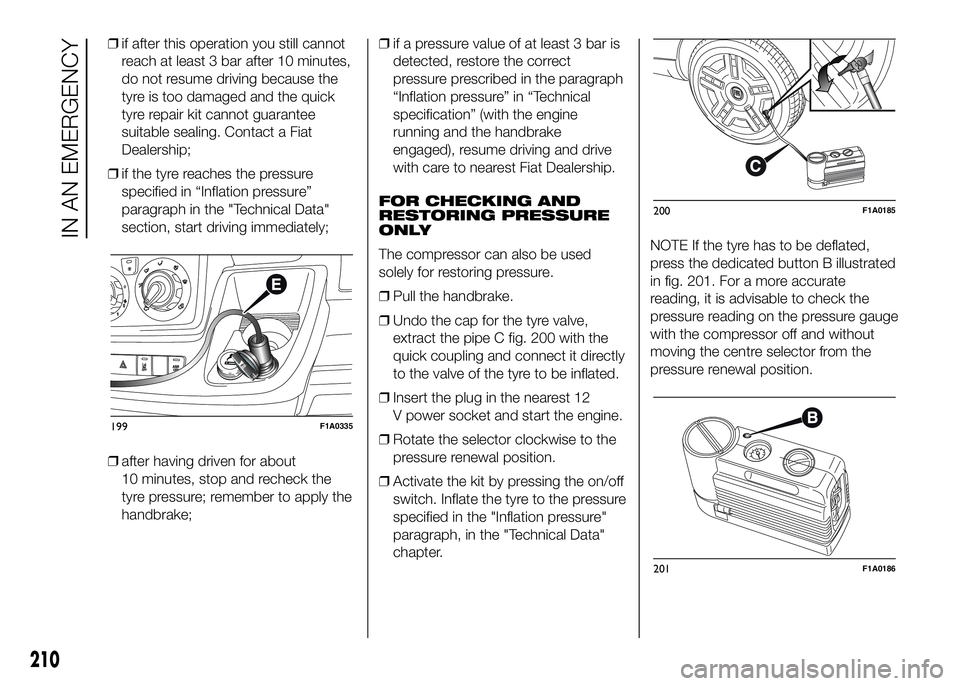
extract the pipe C fig. 200 with the
quick coupling and connect it directly
to the valve of the tyre to be inflated.
❒Insert the plug in the nearest 12
V power socket and start the engine.
❒Rotate the selector clockwise to the
pressure renewal position.
❒Activate the kit by pressing the on/off
switch. Inflate the tyre to the pressure
specified in the "Inflation pressure"
paragraph, in the "Technical Data"
chapter.NOTE If the tyre has to be deflated,
press the dedicated button B illustrated
in fig. 201. For a more accurate
reading, it is advisable to check the
pressure reading on the pressure gauge
with the compressor off and without
moving the centre selector from the
pressure renewal position.
199F1A0335
200F1A0185
201F1A0186
210
IN AN EMERGENCY
Page 236 of 387

BATTERY
RECHARGING
IMPORTANT The battery recharging
procedure is given as information only.
You are advised to contact a Fiat
Dealership to have this operation
carried out.
IMPORTANT After turning the ignition
key to STOP and having closed the
driver side door, wait at least one
minute before disconnecting the
electrical supply from the battery. When
reconnecting the electrical supply to
the battery, make sure that the ignition
key is in the STOP position and the
driver side door is closed.
Charging should be slow at a low
ampere rating for approximately 24
hours. Charging for a longer time may
damage the battery.
174) 175)
IN THE ABSENCE OF
START&STOP SYSTEM
To recharge, proceed as follows:
❒disconnect the negative battery
terminal;
❒connect the charger cables to the
battery terminals, observing the
polarity;
❒turn on the charger;
❒when it is recharged, turn the charger
off before disconnecting it from the
battery;
❒reconnect the negative battery
terminal.
WITH START&STOP
SYSTEM
To recharge, proceed as follows:
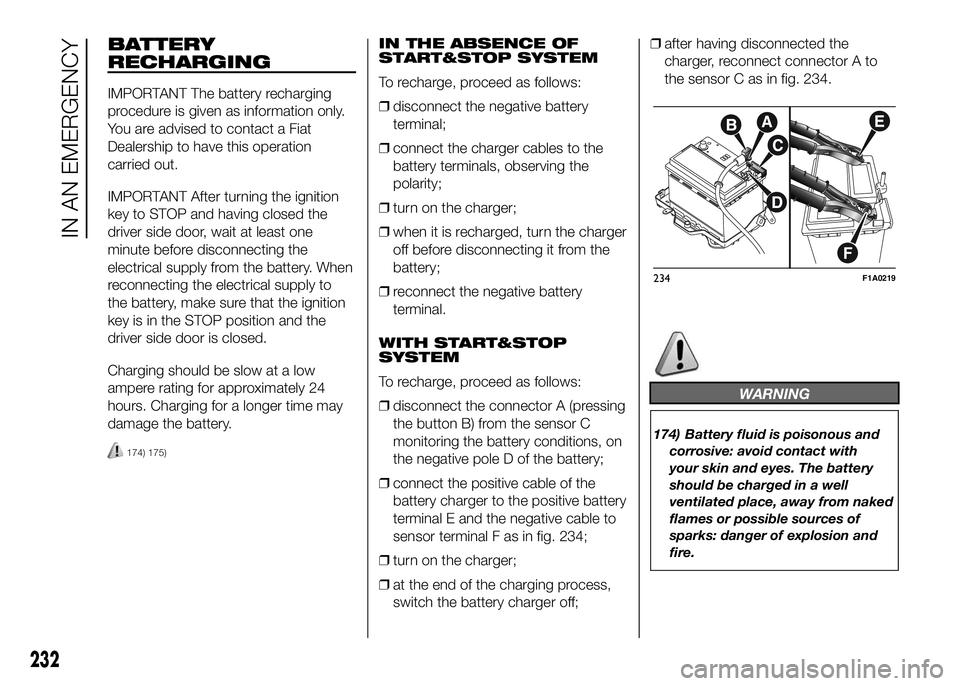
❒disconnect the connector A (pressing
the button B) from the sensor C
monitoring the battery conditions, on
the negative pole D of the battery;
❒connect the positive cable of the
battery charger to the positive battery
terminal E and the negative cable to
sensor terminal F as in fig. 234;
❒turn on the charger;
❒at the end of the charging process,
switch the battery charger off;❒after having disconnected the
charger, reconnect connector A to
the sensor C as in fig. 234.
WARNING
174) Battery fluid is poisonous and
corrosive: avoid contact with
your skin and eyes. The battery
should be charged in a well
ventilated place, away from naked
flames or possible sources of
sparks: danger of explosion and
fire.
234F1A0219
232
IN AN EMERGENCY