engine FIAT IDEA 2007 1.G User Guide
[x] Cancel search | Manufacturer: FIAT, Model Year: 2007, Model line: IDEA, Model: FIAT IDEA 2007 1.GPages: 314, PDF Size: 4.78 MB
Page 66 of 314

65
SAFETY
DEVICES
CORRECT USE
OF THE CAR
WARNING
LIGHTS AND
MESSAGES
IN AN
EMERGENCY
CAR
MAINTENANCE
TECHNICAL
SPECIFICATIONS
INDEX
DASHBOARD
AND CONTROLS
Cruising range= Shows the distance in km (or mi)
that the car can still cover before needing fuel,
assuming that driving conditions are kept unvaried.
The display will show “- - - -” in the following cases:
❒value for range to empty lower than 50 km or fuel
level below 4 litres; in this event before “- - - -”
the message “Warning, limited range” will be
displayed (this message will be displayed also if not
in TRIP COMPUTER mode);
❒in case of car parked with engine running for a
long period, when the car moves off the range to
empty indication will be displayed again.
Travelled distance= shows the km (or miles)
covered from last reset (*).
Average fuel consumption= shows the average
consumption calculated from last reset (*), this value
can be expressed in l/100 km, km/l or mpg.
Instant consumption= shows the fuel consumption
variation updated every second, it can be expressed in
l/100 km or mpg. In case of car parked with engine
running the display will show “- - - -”. When the car
moves off the instant consumption indication will be
displayed again.
Average speed= shows the average speed of the
car in relation with total time elapsed from last reset
(*) and it can be expressed in km/h or in mph.Travel time= time elapsed from last reset (*).
(*) Reset can be:
– “manual”, reset is performed by the driver by
pressing the relevant button (see paragraph
“Control buttons”)
– “automatic”, reset is performed when the travelled
distance reaches 9999.9 km or when Travel time
reaches 99:59 (99 hours and 59 minutes)
– after reconnecting the battery.
IMPORTANT Lacking information, Trip computer
values are displayed with “- - - -”. When normal
operating condition is reset, calculation of different
units will restart regularly. Values displayed before the
failure will not be reset (*).
IMPORTANT After battery disconnection/connection
certain displayed values are equal to “- - - -” until
significant data for calculation are available.
Page 69 of 314
WARNINGAny adjustment of the steering wheel position must be carried out only with the
car stationary and the engine turned off.
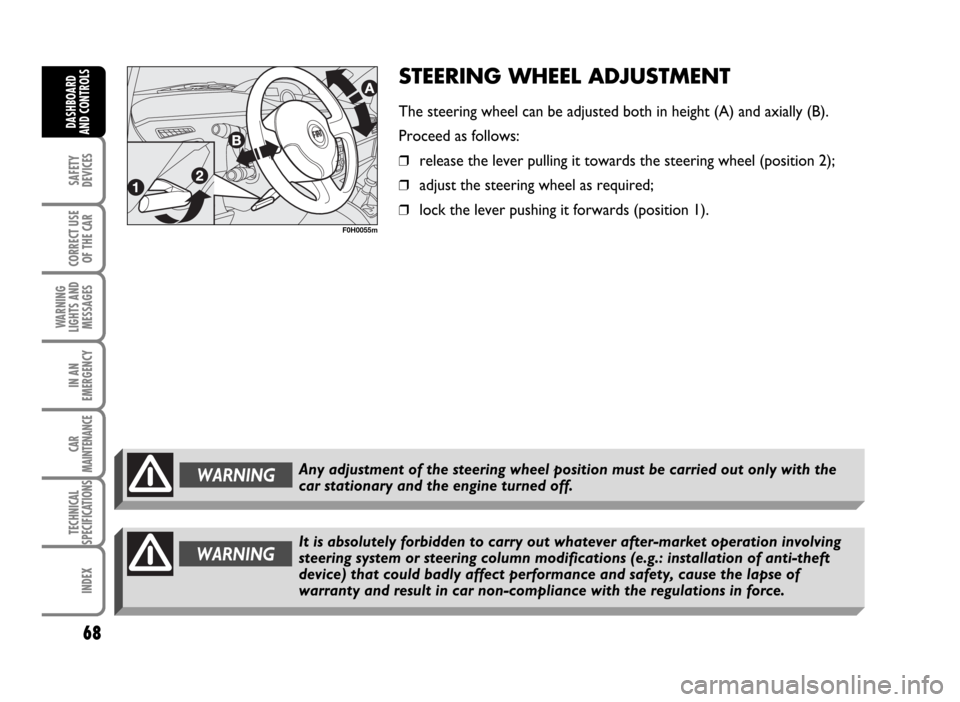
STEERING WHEEL ADJUSTMENT
The steering wheel can be adjusted both in height (A) and axially (B).
Proceed as follows:
❒release the lever pulling it towards the steering wheel (position 2);
❒adjust the steering wheel as required;
❒lock the lever pushing it forwards (position 1).
68
SAFETY
DEVICES
CORRECT USE
OF THE CAR
WARNING
LIGHTS AND
MESSAGES
IN AN
EMERGENCY
CAR
MAINTENANCE
TECHNICAL
SPECIFICATIONS
INDEX
DASHBOARD
AND CONTROLS
F0H0055m
WARNINGIt is absolutely forbidden to carry out whatever after-market operation involving
steering system or steering column modifications (e.g.: installation of anti-theft
device) that could badly affect performance and safety, cause the lapse of
warranty and result in car non-compliance with the regulations in force.
Page 98 of 314
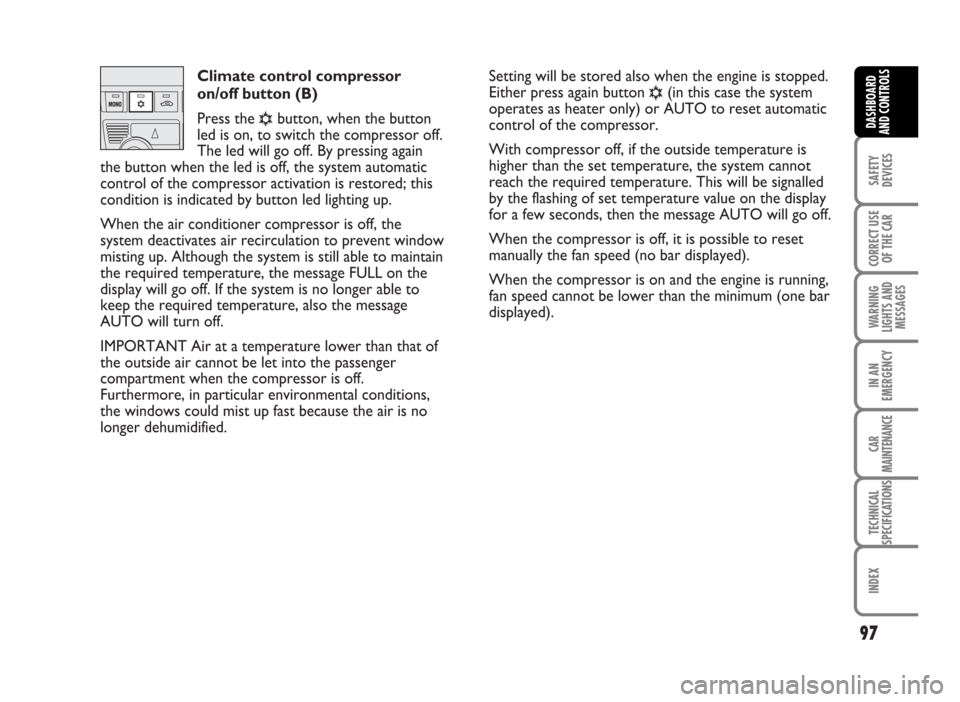
Climate control compressor
on/off button (B)
Press the
√button, when the button
led is on, to switch the compressor off.
The led will go off. By pressing again
the button when the led is off, the system automatic
control of the compressor activation is restored; this
condition is indicated by button led lighting up.
When the air conditioner compressor is off, the
system deactivates air recirculation to prevent window
misting up. Although the system is still able to maintain
the required temperature, the message FULL on the
display will go off. If the system is no longer able to
keep the required temperature, also the message
AUTO will turn off.
IMPORTANT Air at a temperature lower than that of
the outside air cannot be let into the passenger
compartment when the compressor is off.
Furthermore, in particular environmental conditions,
the windows could mist up fast because the air is no
longer dehumidified.Setting will be stored also when the engine is stopped.
Either press again button
√(in this case the system
operates as heater only) or AUTO to reset automatic
control of the compressor.
With compressor off, if the outside temperature is
higher than the set temperature, the system cannot
reach the required temperature. This will be signalled
by the flashing of set temperature value on the display
for a few seconds, then the message AUTO will go off.
When the compressor is off, it is possible to reset
manually the fan speed (no bar displayed).
When the compressor is on and the engine is running,
fan speed cannot be lower than the minimum (one bar
displayed).
97
SAFETY
DEVICES
CORRECT USE
OF THE CAR
WARNING
LIGHTS AND
MESSAGES
IN AN
EMERGENCY
CAR
MAINTENANCE
TECHNICAL
SPECIFICATIONS
INDEX
DASHBOARD
AND CONTROLS
Page 99 of 314
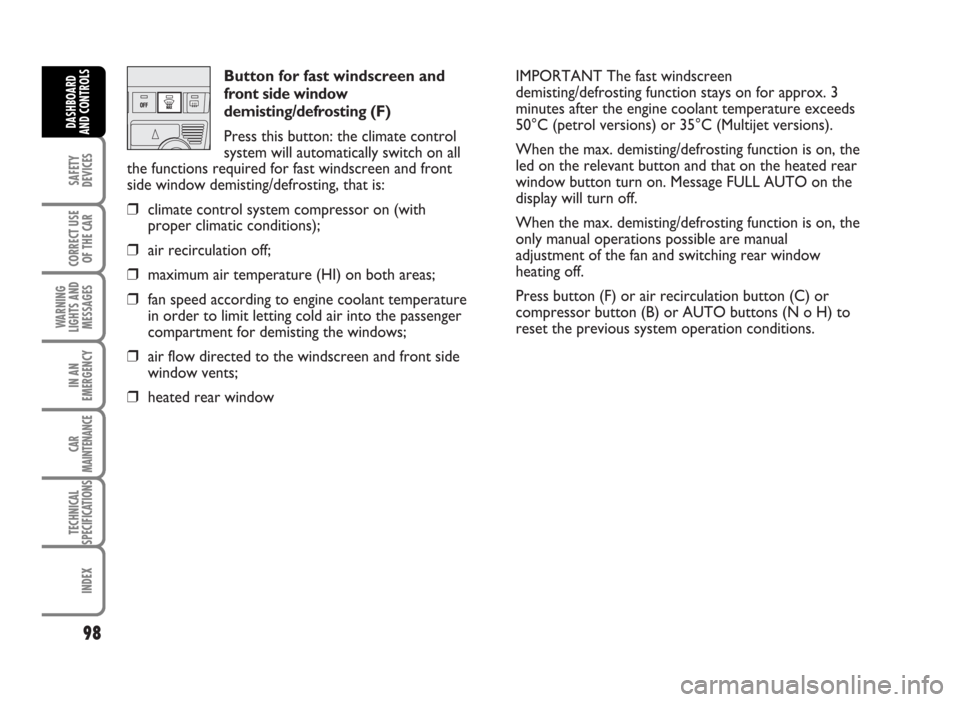
Button for fast windscreen and
front side window
demisting/defrosting (F)
Press this button: the climate control
system will automatically switch on all
the functions required for fast windscreen and front
side window demisting/defrosting, that is:
❒climate control system compressor on (with
proper climatic conditions);
❒air recirculation off;
❒maximum air temperature (HI) on both areas;
❒fan speed according to engine coolant temperature
in order to limit letting cold air into the passenger
compartment for demisting the windows;
❒air flow directed to the windscreen and front side
window vents;
❒heated rear windowIMPORTANT The fast windscreen
demisting/defrosting function stays on for approx. 3
minutes after the engine coolant temperature exceeds
50°C (petrol versions) or 35°C (Multijet versions).
When the max. demisting/defrosting function is on, the
led on the relevant button and that on the heated rear
window button turn on. Message FULL AUTO on the
display will turn off.
When the max. demisting/defrosting function is on, the
only manual operations possible are manual
adjustment of the fan and switching rear window
heating off.
Press button (F) or air recirculation button (C) or
compressor button (B) or AUTO buttons (N o H) to
reset the previous system operation conditions.
98
SAFETY
DEVICES
CORRECT USE
OF THE CAR
WARNING
LIGHTS AND
MESSAGES
IN AN
EMERGENCY
CAR
MAINTENANCE
TECHNICAL
SPECIFICATIONS
INDEX
DASHBOARD
AND CONTROLS
Page 100 of 314
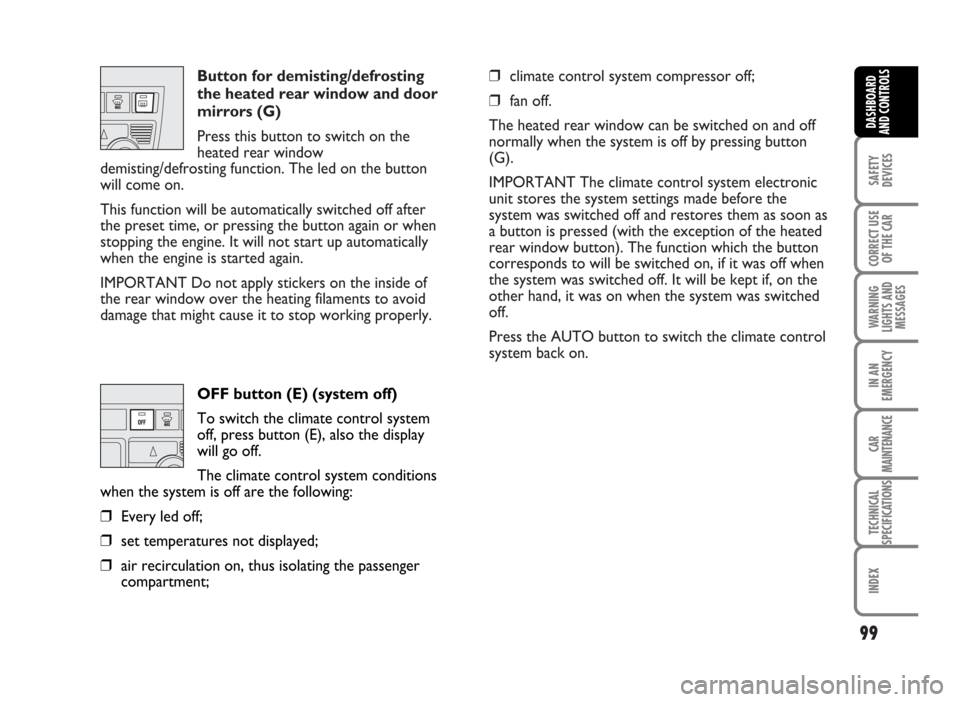
Button for demisting/defrosting
the heated rear window and door
mirrors (G)
Press this button to switch on the
heated rear window
demisting/defrosting function. The led on the button
will come on.
This function will be automatically switched off after
the preset time, or pressing the button again or when
stopping the engine. It will not start up automatically
when the engine is started again.
IMPORTANT Do not apply stickers on the inside of
the rear window over the heating filaments to avoid
damage that might cause it to stop working properly.❒climate control system compressor off;
❒fan off.
The heated rear window can be switched on and off
normally when the system is off by pressing button
(G).
IMPORTANT The climate control system electronic
unit stores the system settings made before the
system was switched off and restores them as soon as
a button is pressed (with the exception of the heated
rear window button). The function which the button
corresponds to will be switched on, if it was off when
the system was switched off. It will be kept if, on the
other hand, it was on when the system was switched
off.
Press the AUTO button to switch the climate control
system back on.
99
SAFETY
DEVICES
CORRECT USE
OF THE CAR
WARNING
LIGHTS AND
MESSAGES
IN AN
EMERGENCY
CAR
MAINTENANCE
TECHNICAL
SPECIFICATIONS
INDEX
DASHBOARD
AND CONTROLS
OFF button (E) (system off)
To switch the climate control system
off, press button (E), also the display
will go off.
The climate control system conditions
when the system is off are the following:
❒Every led off;
❒set temperatures not displayed;
❒air recirculation on, thus isolating the passenger
compartment;
Page 103 of 314
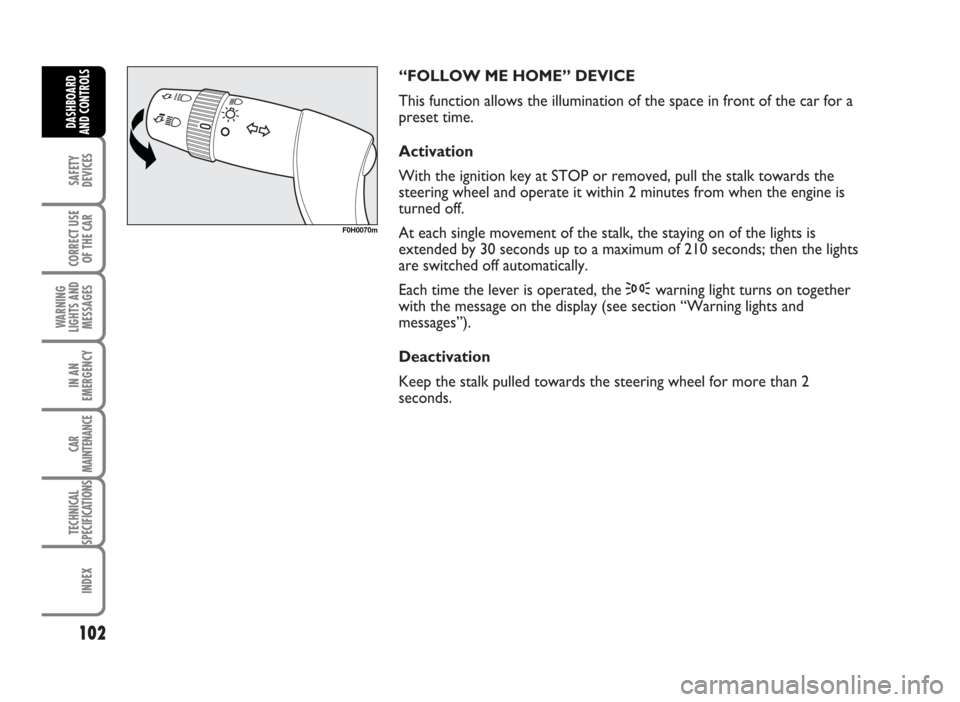
“FOLLOW ME HOME” DEVICE
This function allows the illumination of the space in front of the car for a
preset time.
Activation
With the ignition key at STOP or removed, pull the stalk towards the
steering wheel and operate it within 2 minutes from when the engine is
turned off.
At each single movement of the stalk, the staying on of the lights is
extended by 30 seconds up to a maximum of 210 seconds; then the lights
are switched off automatically.
Each time the lever is operated, the 3warning light turns on together
with the message on the display (see section “Warning lights and
messages”).
Deactivation
Keep the stalk pulled towards the steering wheel for more than 2
seconds.
102
SAFETY
DEVICES
CORRECT USE
OF THE CAR
WARNING
LIGHTS AND
MESSAGES
IN AN
EMERGENCY
CAR
MAINTENANCE
TECHNICAL
SPECIFICATIONS
INDEX
DASHBOARD
AND CONTROLS
F0H0070m
Page 112 of 314
111
SAFETY
DEVICES
CORRECT USE
OF THE CAR
WARNING
LIGHTS AND
MESSAGES
IN AN
EMERGENCY
CAR
MAINTENANCE
TECHNICAL
SPECIFICATIONS
INDEX
DASHBOARD
AND CONTROLS
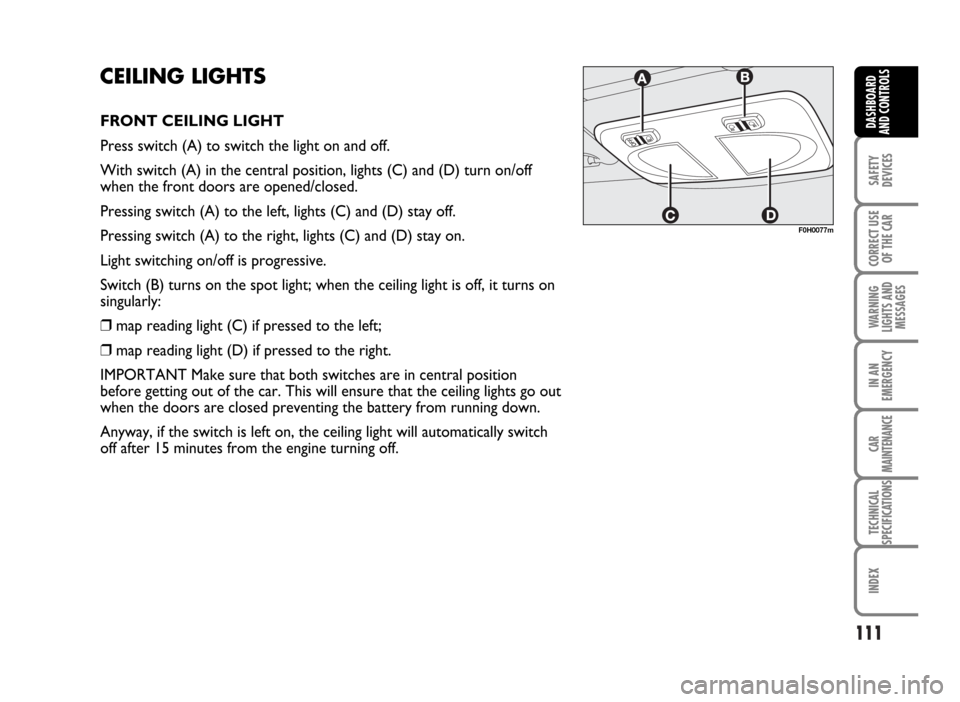
CEILING LIGHTS
FRONT CEILING LIGHT
Press switch (A) to switch the light on and off.
With switch (A) in the central position, lights (C) and (D) turn on/off
when the front doors are opened/closed.
Pressing switch (A) to the left, lights (C) and (D) stay off.
Pressing switch (A) to the right, lights (C) and (D) stay on.
Light switching on/off is progressive.
Switch (B) turns on the spot light; when the ceiling light is off, it turns on
singularly:
❒map reading light (C) if pressed to the left;
❒map reading light (D) if pressed to the right.
IMPORTANT Make sure that both switches are in central position
before getting out of the car. This will ensure that the ceiling lights go out
when the doors are closed preventing the battery from running down.
Anyway, if the switch is left on, the ceiling light will automatically switch
off after 15 minutes from the engine turning off.
F0H0077m
Page 113 of 314
Ceiling light timing
Two timing strategies are available in order to facilitate
getting in and out of the car, especially at night in dark
areas:
T
IMING FOR GETTING INTO THE CAR
The ceiling lights will come on as follows:
❒for about 10 seconds when a door is unlocked;
❒for about 3 minutes when a door is opened;
❒for about 10 seconds when a door is closed (within
the 3 minutes).
Timing will be stopped when the ignition key is turned
to MAR.T
IMING FOR GETTING OUT OF THE CAR
The ceiling lights will come on as follows when the key
is removed from the ignition switch:
❒for about 10 seconds within 2 minutes after
stopping the engine;
❒for about 3 minutes when a door is opened;
❒for about 10 seconds when a door is closed (within
the three minutes).
The timeout will automatically end when the doors are
locked.
112
SAFETY
DEVICES
CORRECT USE
OF THE CAR
WARNING
LIGHTS AND
MESSAGES
IN AN
EMERGENCY
CAR
MAINTENANCE
TECHNICAL
SPECIFICATIONS
INDEX
DASHBOARD
AND CONTROLS
Page 117 of 314
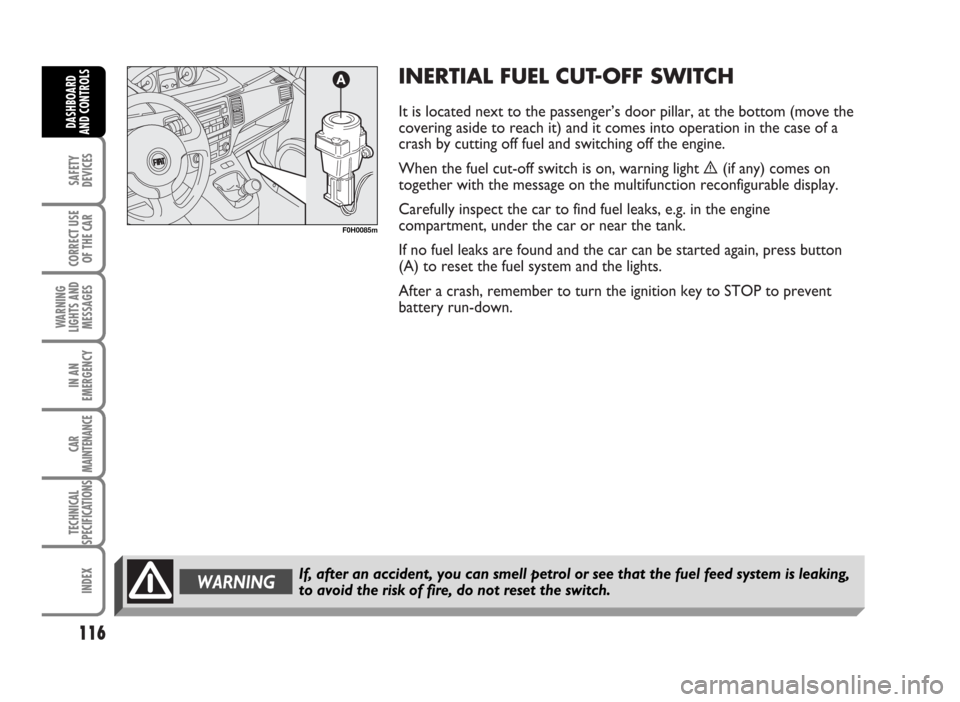
INERTIAL FUEL CUT-OFF SWITCH
It is located next to the passenger’s door pillar, at the bottom (move the
covering aside to reach it) and it comes into operation in the case of a
crash by cutting off fuel and switching off the engine.
When the fuel cut-off switch is on, warning light è(if any) comes on
together with the message on the multifunction reconfigurable display.
Carefully inspect the car to find fuel leaks, e.g. in the engine
compartment, under the car or near the tank.
If no fuel leaks are found and the car can be started again, press button
(A) to reset the fuel system and the lights.
After a crash, remember to turn the ignition key to STOP to prevent
battery run-down.
116
SAFETY
DEVICES
CORRECT USE
OF THE CAR
WARNING
LIGHTS AND
MESSAGES
IN AN
EMERGENCY
CAR
MAINTENANCE
TECHNICAL
SPECIFICATIONS
INDEX
DASHBOARD
AND CONTROLS
WARNINGIf, after an accident, you can smell petrol or see that the fuel feed system is leaking,
to avoid the risk of fire, do not reset the switch.
F0H0085m
Page 136 of 314
135
SAFETY
DEVICES
CORRECT USE
OF THE CAR
WARNING
LIGHTS AND
MESSAGES
IN AN
EMERGENCY
CAR
MAINTENANCE
TECHNICAL
SPECIFICATIONS
INDEX
DASHBOARD
AND CONTROLS
TO CLOSE THE BONNET
Proceed as follows:
❒hold the bonnet up with one hand and with the
other remove rod (C) from recess (D) and replace
it in its locking device (E);
❒lower the bonnet at approx. 20 centimetres from
the engine compartment and then let it drop,
ensuring that it is fully closed and not just held in
position by the safety catch. If the bonnet does not
close properly, do not push it down but open it
again and repeat the above procedure.IMPORTANT Always check that the bonnet is closed
properly to avoid its opening while the car is travelling.
WARNINGIf the supporting rod is not positioned correctly the bonnet may fall violently.
WARNINGCarry out operations when the vehicle is stationary.