Meter FIAT PUNTO 1994 176 / 1.G User Guide
[x] Cancel search | Manufacturer: FIAT, Model Year: 1994, Model line: PUNTO, Model: FIAT PUNTO 1994 176 / 1.GPages: 225, PDF Size: 18.54 MB
Page 88 of 225
2D»1
Chapter 2 Part D:
Engine removal and overhaul procedures
Contents
Crankshaft - refitting and main bearing running clearance check... 12 Engine overhaul • dismantling sequence 5 Crankshaft • removal and inspection 8 Engine overhaul • general Information .. Cylinder block/crankcase - cleaning and Inspection 9 Engine overhaul - reassembly sequence Cylinder head - dismantling, cleaning inspection and reassembly .. 6 General Information Engine and transmission - removal, separation, connection and refitting 4 Engine and transmission removal • methods and precautions 3 Engine * Initial start-up after overhaul and reassembly 13
Degrees of difficulty
Engine overhaul - general Information 2 11 1 Main and big-end bearings - Inspection and selection 10 Pistons and connecting rods - removal, inspection, refitting and big-end bearing running clearance check 7
Easy, suftable for FaHy easy, suitable ^ FaMy difficult, ^ Difficult, suitable for % Very difficult, ^ novice with littla | for beginner with suitable for competent ^ experienced DIY suitable for expert DIY « experience | some experience ^ HYmechanic mechanic or professional ^
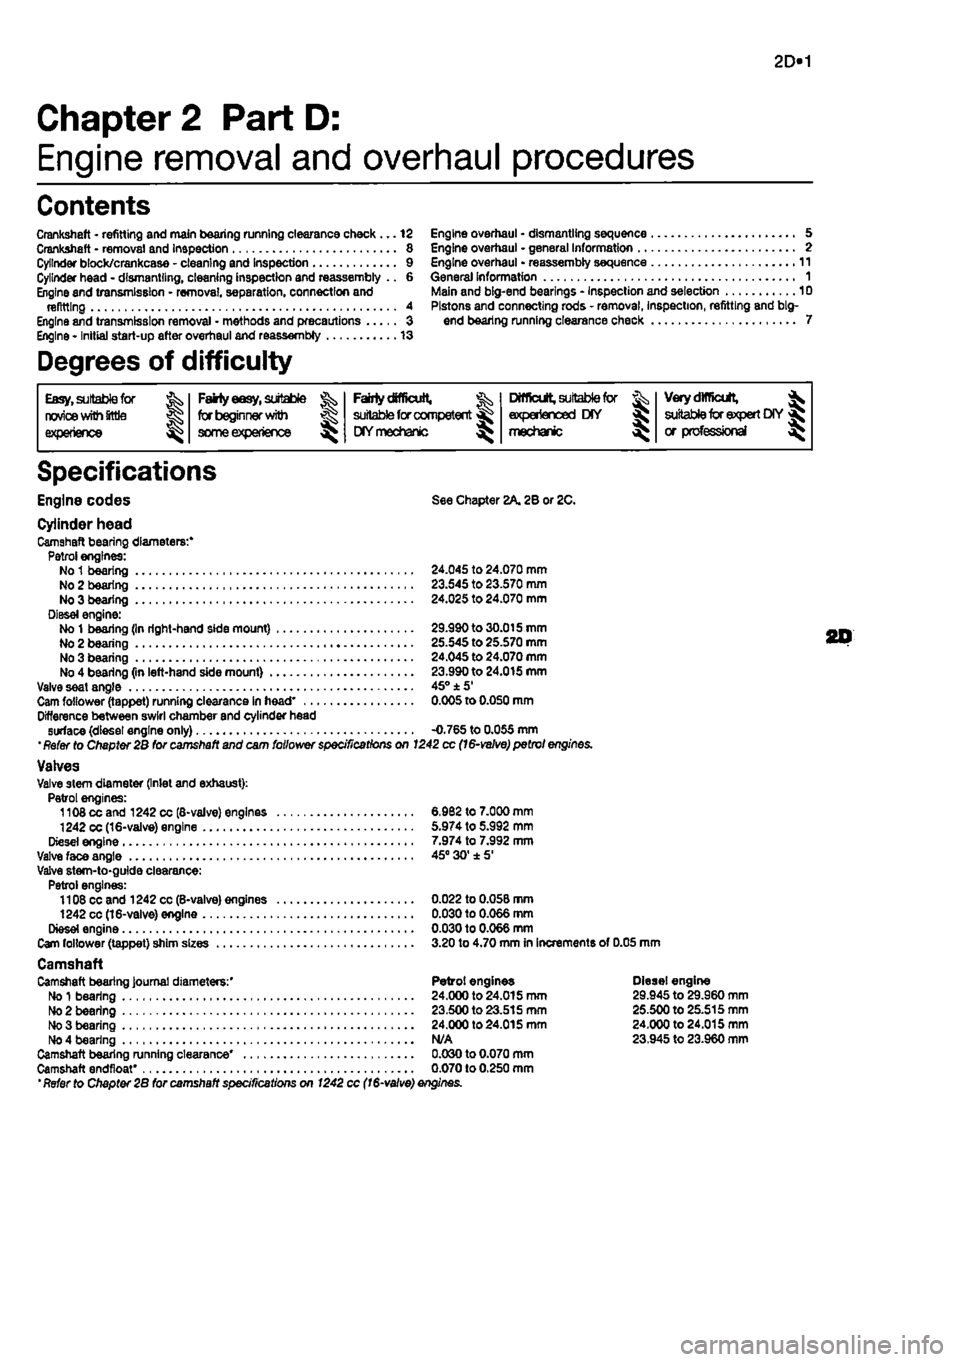
Specifications
Engine codes See Chapter 2A. 2B or ZC.
Cylinder head Camshaft bearing diameters:* Petrol engines: No
1
bearing 24.045 to 24.070 mm No 2 bearing 23.S45 to 23.570 mm No 3 bearing 24.025 to 24.070 mm Diesel engine: No
1
bearing (In right-hand side mount) 29.990to30.015mm No 2 bearing 25.545 to 25.570 mm No 3 bearing 24.045 to 24.070 mm No 4 bearing (in left-hand side mount) 23.990 to 24.015 mm Valve seat angle 45° ±5' Cam follower (tappet) running clearance In head' 0.005 to 0.050 mm Difference between swirl chamber and cylinder head surface (diesel engine only) -0.765 to 0.055 mm '
Refer
to Chapter 2B for camshaft and cam follower specifications on 1242 cc
(16-velve)
petrol engines. Valves Valve stem diameter (Inlet and exhaust): Petrol engines: 1108 cc and 1242 cc (8-valve) engines 6.982 to 7.000 mm 1242
CC
(16-valve) engine 5.974 to 5.992 mm Diesel engine 7.974 to 7.992 mm Valve face angle 45° 30'±5' Valve stem-to-guide clearance: Petrol engines: 1108 cc and 1242 cc(B-valve) engines 0.022 to 0.05B mm 1242 cc (16-valve) engine 0.030 to 0.066 mm Diesel engine 0.030 to 0.066 mm Cam follower (tappet) sJiim sizes 3.20 to 4.70 mm In Increments of 0.05 mm Camshaft Camshaft bearing Journal diameters:' Petrol engines Diesel engine No
1
bearing 24.000 to 24.015 mm 29.945 to 29.960 mm No 2 bearing 23.500 to 23.515 mm 25.500 to 25.515 mm No 3 bearing 24.000 to 24.015 mm 24.000 to 24.015 mm No 4 bearing N/A 23.945 to 23.960 mm Camshaft bearing running clearance* 0.030 to 0.070 mm Camshaft endfloat* 0.070 to 0.250 mm 'Refer to Chapter 2B for camshaft specifications on 1242 cc
(16-valve)
enginss.
20
Page 89 of 225
2D*10 Engine removal and overhaul procedures
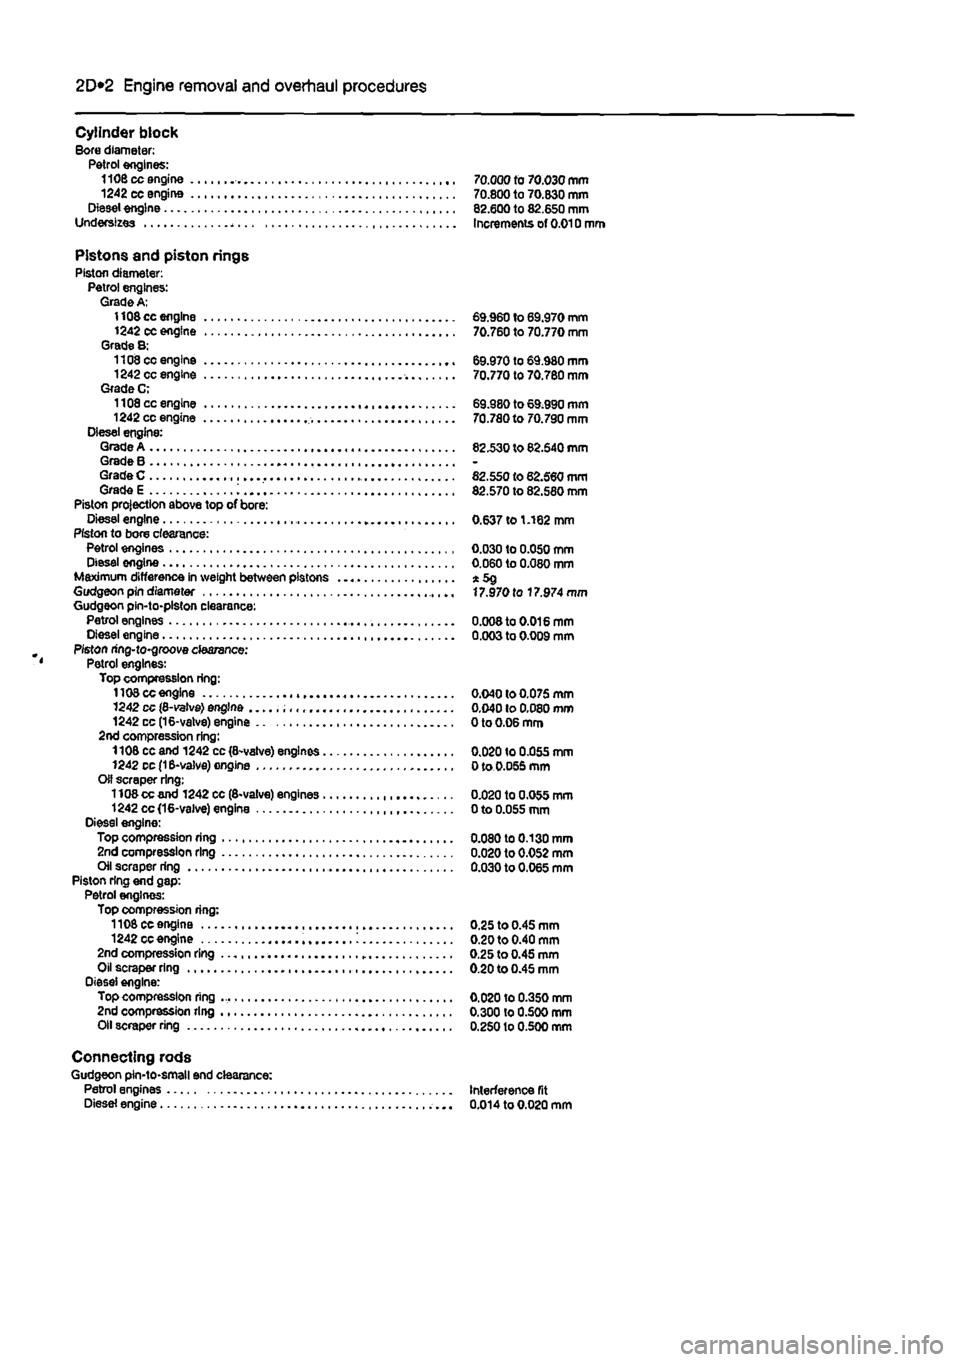
Cylinder block Bore diameter: Petrol engines: 1106 cc engine 70.000 to 70.030 mm 1242 cc engine 70.800 to 70.630 mm Diesel engine 82.600 to 82.650 mm Underslzes * Increments of 0.010 mm
Pistons and piston rings Piston diameter: Petrol engines: Grade A; 1108 cc engine 69.960 to 69.970 mm 1242 cc engine 70.760 to 70.770 mm Grade 8: 1108 cc engine 69.970 to 69.980 mm 1242 cc engine 70.770 to 70.780 mm Grade C; 1108 cc engine 69.980 to 69;990 mm 1242 cc engine 70.780 to 70.790 mm Diesel engine: Grade A 82.530 to 82.640 mm GradeB GradeC , 82.550 to 62.560 mm Grade E ; 82.570 to 82.580 mm Piston projection above top of bore: Diesel engine 0.637 to 1.162 mm Piston to bore clearance: Petrol engines 0.030 to 0.050 mm Diesel engine 0.060 to 0.080 mm Maximum difference in weight between pistons x 5g Gudgeon pin diameter 17.970 fo 17.974 mm Gudgeon pin-to-plston clearance: Petrol engines 0.008 to 0.016 mm Diesel engine 0.003 to 0.009 mm Piston ring-to-groove clearance: Petrol engines: Top compression ring: 1108 cc engine 0.040 to 0.075 mm 1242 cc (8-valve) engine 0,040 lo 0,080 mm 1242 cc (16-valve) engine 0 to 0.06 mm 2nd compression ring: 1108 cc and 1242 cc (8-valve) engines 0.020 to 0.055 mm 1242 cc
(1
B-valve) engine 0 to 0.055 mm Oil scraper ring: 1108 cc and 1242 cc (8-valve) engines 0.020 to 0.055 mm 1242 cc (16-valve) engine 0 to 0.055 mm Diesel engine: Top compression ring 0.080 to 0.130 mm 2nd compression ring 0.020 to 0.052 mm Oil scraper ring 0.030 to 0.065 mm Piston ring end gap: Petrol engines: Top compression ring: 1108 cc engine 0.25 to 0.45 mm 1242ccengine : 0.20to0.40mm 2nd compression ring 0.25 to 0.45 mm Oil scraper ring 0.20 to 0.45 mm Diesel engine: Top compression ring 0.020 to 0.350 mm 2nd compression ring 0.300 to 0.500 mm Oil scraper ring 0.250 lo 0.500 mm
Connecting rods Gudgeon pin-to-small end clearance: Petrol engines Interference fit Diesel engine 0.014 to 0.020 mm
Page 90 of 225
2D*10 Engine removal and overhaul procedures
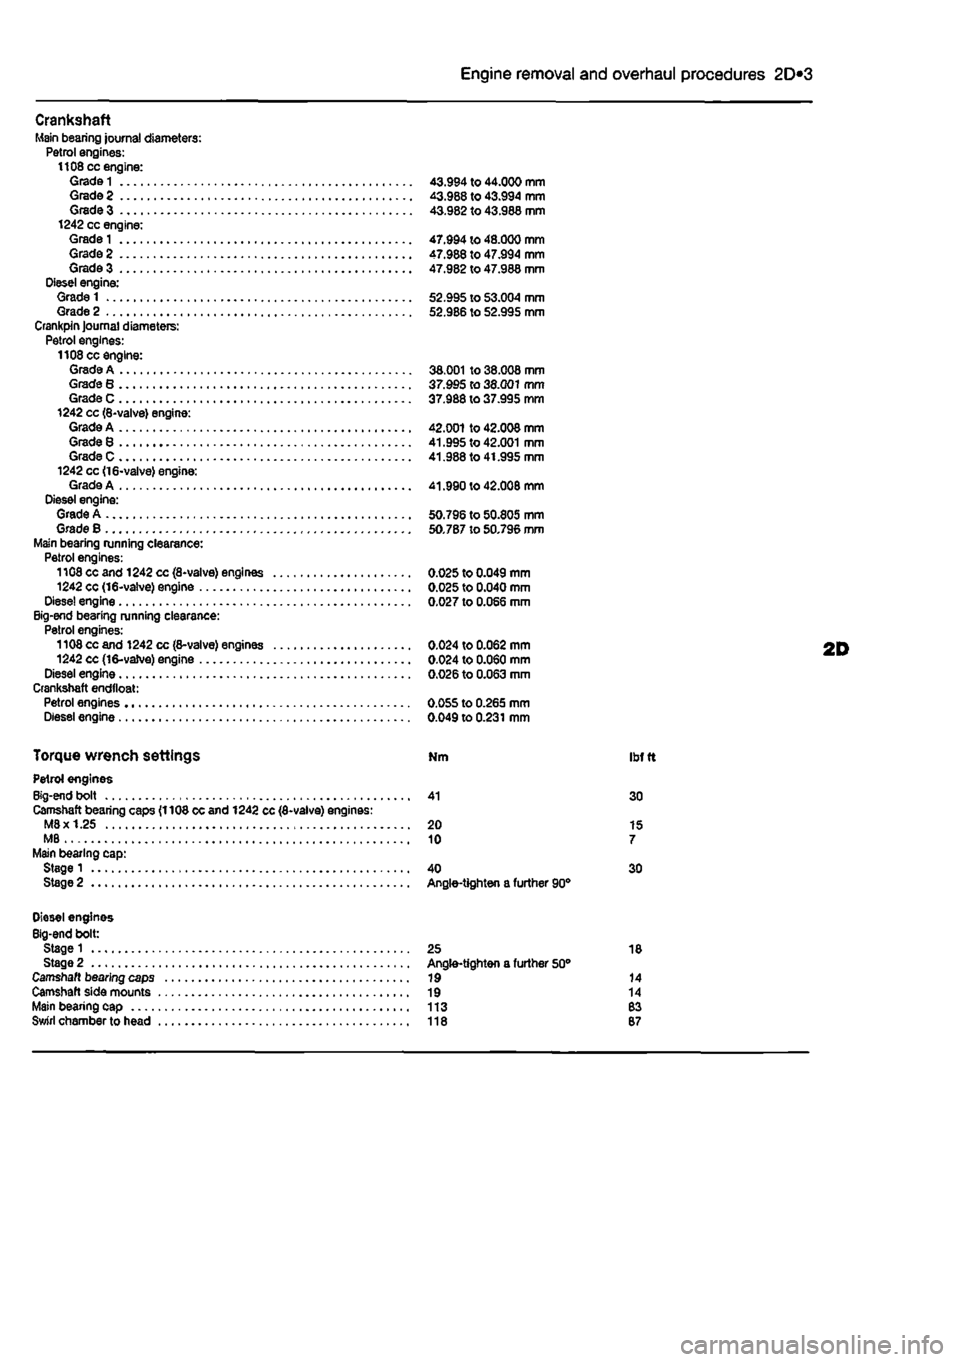
Crankshaft Main bearing journal diameters: Petrol engines: 1108 cc engine: Grade
1
43.994 to 44.000 mm Grade 2 43.988 to 43.994 mm Grade 3 43.982 to 43.988 mm 1242 cc engine: Grade
1
47.994 to 48.000 mm Grade 2 47.988 to 47.994 mm Grade 3 47.982 to 47.988 mm Diesel engine: Grade 1 52.995 to 53.004 mm Grade 2 52.986 to 52.995 mm Crankpin Journal diameters: Petrol engines: 1108 cc engine: Grade A 38.001 to 38.008 mm Grade 8 37.995 to 38.001 mm Grade C 37.988 to 37.995 mm 1242 cc (8-valve) engine: Grade A 42.001 to 42.008 mm Grade 8 41.995 to 42.001 mm Grade C 41.988 to 41.995 mm 1242 cc <16-valve) engine: Grade A 41.990 to 42.008 mm Diesel engine: Grade A 50.796 to 50.805 mm Grade B 50.787 to 50.796 mm Main bearing running clearance: Petrol engines: 1108 cc and 1242 cc (8-valve) engines 0.025 to 0.049 mm 1242 cc (16-valve) engine 0.025 to 0.040 mm Dlese! engine 0.027 to 0.066 mm Big-end bearing running clearance: Petrol engines: 1108 cc and 1242 cc (8-valve) engines 0.024 to 0.062 mm 1242 cc (16-vaJve) engine 0.024 to 0.060 mm Diesel engine 0.026 to 0.063 mm Crankshaft endtloat: Petrol engines 0.055 to 0.265 mm Diesel engine 0.049 to 0.231 mm
Torque wrench settings Nm ibf
t
Petrol engines Big-end bolt 41 30 Camshaft bearing caps (1108 cc and 1242 cc (8-valve) engines: M8x 1.25 20 15 MB 10 7 Main bearing cap: Stage 1 40 30 Stage 2 Angle-tighten a further 90°
Diesel engines Big-end bolt: Stage 1 25 18 Stage 2 Angle-tighten a further 50° Camshaft bearing caps 19 14 Camshaft side mounts 19 14 Main bearing cap 113 83 Swirl chamber to head 118 87
Page 94 of 225
2D*10 Engine removal and overhaul procedures
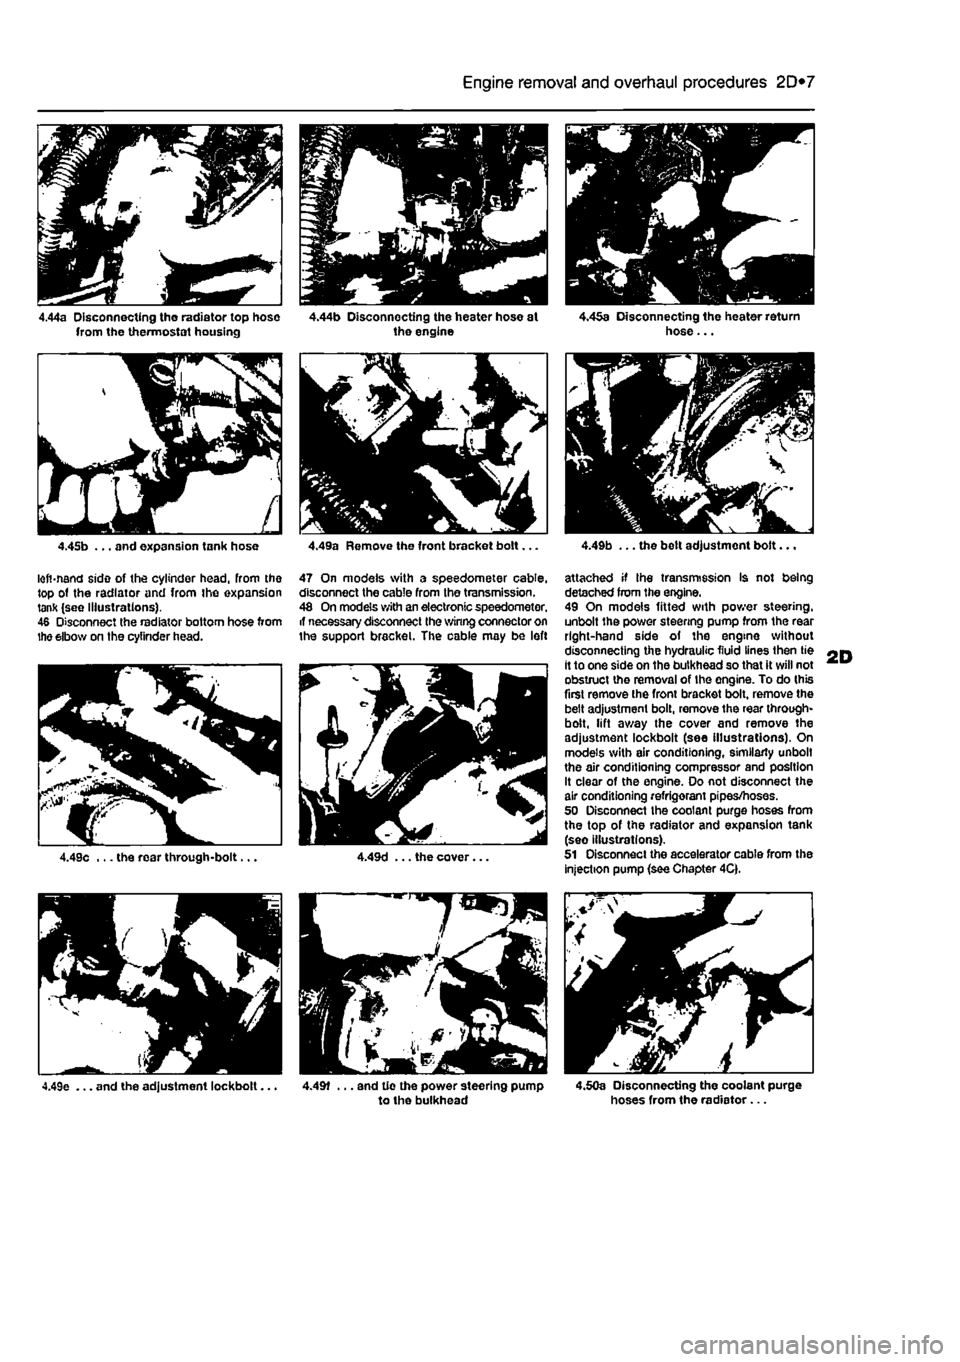
4.44a Disconnecting tho radiator top hose from the thermostat housing
4.45b ... and expansion tank hose
lofi-nand side of the cylinder head, From the top ot the radiator and from the expansion tank (see Illustrations). 46 Disconnect the radiator bottom hose from the elbow on the cylinder head.
4.49e ... and the adjustment lockbolt...
4.44b Disconnecting the heater hose st the engine
4.49a Remove the front bracket bolt...
47 On models with a speedometer cable, disconnect the cable from the transmission. 48 On models with an electronic speedometer, if necessary disconnect the winng connector on the support bracket. The cable may be left
4.49f ... and tie the power steering pump to the bulkhead
. m " • V;
<4
4.45a Disconnecting the heater return hose...
4.49b ... the belt adjustment bolt...
attached if Ihe transmission Is not being detached from the engine. 49 On models fitted with power steering, unbolt the power steering pump from the rear right-hand side of the engine without disconnecting the hydraulic fluid lines then tie it to one side on the bulkhead so that it will not obstruct the removal of the engine. To do (his first remove the front bracket bolt, remove the belt adjustment bolt, remove the rear through-bolt, lift away the cover and remove the adjustment lockbolt (see illustrations). On models with air conditioning, similarly unbolt the air conditioning compressor and position It clear of the engine. Do not disconnect the air conditioning refrigerant pipes/hoses. 50 Disconnect the coolant purge hoses from the top of the radiator and expansion tank (seo illustrations). 51 Disconnect the accelerator cable from the injection pump (see Chapter 4Q.
4.50a Disconnecting the coolant purge hoses from the radiator...
Page 102 of 225
2D*10 Engine removal and overhaul procedures
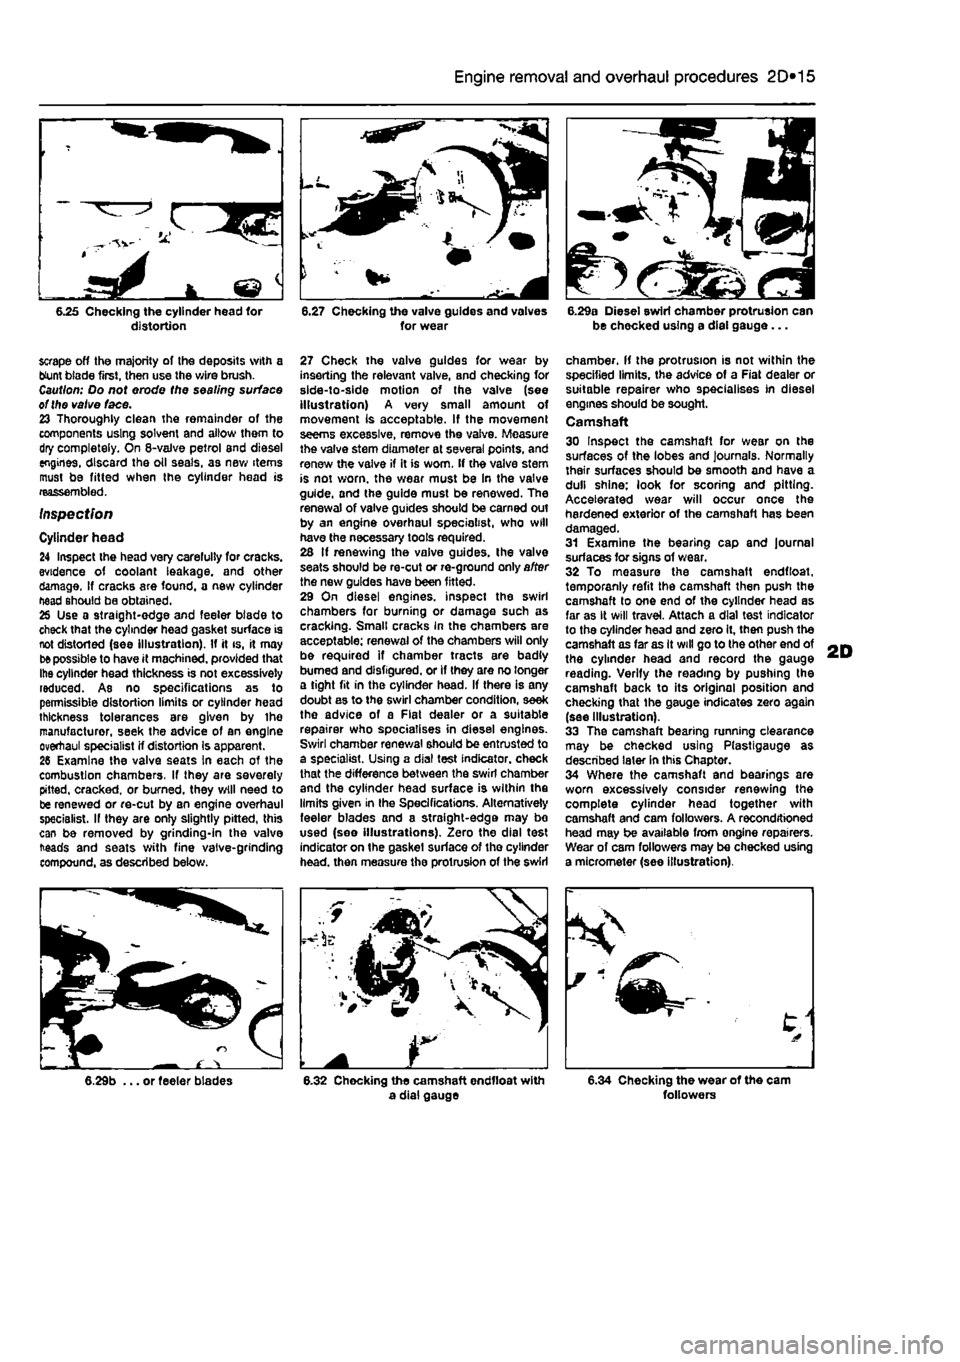
6.25 Checking the cylinder head for distortion 6.27 Checking the valve guides and valves for wear B.29a Diesel swirl chamber protrusion can be checked using a dial gauge...
scrape off the majority of the deposits with a blunt biade first, then use the wire brush. Caution: Do not erode the sealing surface ot the valve face. 23 Thoroughly clean the remainder of the components using solvent and allow them to dry completely. On 6-valve petrol and diesel engines, discard the oil seals, as new items must be fitted when the cylinder head is reassembled.
Inspection
Cylinder head 24 Inspect the head very carelully for cracks, evidence of coolant leakage, and other damage. If cracks are found, a new cylinder head should be obtained. 25 Use a straight-edge and feeler blade to check that the cylinder head gasket surface is not distorted (see illustration). If it is, it may
be
possible to have it machined, provided that Ihe cylinder head thickness is not excessively reduced. As no specifications as to permissible distortion limits or cylinder head thickness tolerances are given by ihe manufacturer, seek the advice of an engine overhaul specialist if distortion Is apparent. 26 Examine the valve seats In each of the combustion chambers, If they are severely pitted, cracked, or burned, they will need to be renewed or re-cut by an engine overhaul specialist. If they are only slightly pitted, this can be removed by grinding-in the valve heads and seats with fine valve-grinding compound, as described below.
27 Check the valve guides for wear by inserting the relevant valve, and checking for side-to-side motion of the valve (see illustration) A very small amount of movement Is acceptable. If the movement seems excessive, remove the valve. Measure the valve stem diameter at several points, and renew the valve if it is worn. If the valve stem is not worn, the wear must be In the valve guide, and the guide must be renewed. The renewal of valve guides should be earned out by an engine overhaul specialist, who will have the necessary tools required. 26 If renewing the vaive guides, the valve seats should be re-cut or re-ground only after the new guides have been fitted. 29 On diesel engines, inspect the swirl chambers for burning or damage such as cracking. Smalt cracks in the chambers are acceptable: renewal of the chambers will only be required if chamber tracts are badly burned and disfigured, or if they are no longer a tight fit in the cylinder head. If there is any doubt as to the swirl chamber condition, seek the advice of a Flat dealer or a suitable repairer who specialises in diesel engines. Swirl chamber renewal should be entrusted to a specialist. Using a dial test indicator, check that the difference between the swirl chamber and the cylinder head surface is within the limits given in Ihe Specifications. Alternatively feeler blades and a straight-edge may bo used (see illustrations). Zero the dial test indicator on the gaskel surface of tho cylinder head, then measure the protrusion of the swirl
chamber, if the protrusion is not within the specified limits, the advice of a Fiat dealer or suitable repairer who specialises in diesel engines should be sought. Camshaft 30 Inspect the camshaft for wear on the surfaces of the lobes and journals. Normally their surfaces should be smooth and have a dull shine: look for scoring and pitting. Accelerated wear will occur once the hardened exterior of the camshaft has been damaged. 31 Examine the bearing cap and journal surfaces for signs of wear. 32 To measure the camshaft endfloat, temporanly refit the camshaft then push the camshaft lo one end of the cylinder head as far as It will travel. Attach a dial test indicator to the cylinder head and zero it, then push the camshaft as far as It will go to the other end of the cylinder head and record the gauge reading. Verify the reading by pushing the camshaft back to its original position and checking that the gauge indicates zero again (see Illustration). 33 The camshaft bearing running clearance may be checked using Plastigauge as described later in this Chapter. 34 Where the camshaft and bearings are worn excessively consider renewing the complete cylinder head together with camshaft and cam followers. A reconditioned head may be available from ongine repairers. Wear of cam followers may be checked using a micrometer (see illustration).
6.29b ... or feeler blades 6.32 Chocking the camshaft endfloat with a dial gauge 6.34 Checking the wear of the cam followers
Page 103 of 225
2D*10 Engine removal and overhaul procedures
Valves and associated components 35 Examine the head of each vaive for pitting, burning, cracks, and general wear. Check the valve stem for scoring and wear ridges. Rotate the valve, and check lor any obvious indication that it Is bent. Look tor pits or excessive wear on the tip of each valve stem. Renew any valve that shows any such signs of wear or damage. 36 if the valve appears satisfactory at this stage, measure the vaive stem diameter at several points using a micrometer. Any significant difference in the readings obtained Indicates wear of the valve stem. Should any of these conditions be apparent, the valve(s) must be renewed. 37 If the valves are In satisfactory condition, they should be ground (lapped) into their respective seats, to ensure a smooth, gas-tight seal. If the seat is only tightly pitted, or if it has been re-cut, fine grinding compound only should be used to produce the required finish. Coarse valve-grinding compound should nor be used, unless a seat is badly bumed or deeply pitted, If this is the case, the cylinder head and valves should be Inspected by an expert, to decldo whether seat re-cutting, or even the renewal of the valve or seat insert (where possible) is required. 38 Valve grinding Is carried out as follows. Place the cylinder head upside-down on blocks on a bench. 39 Smear a trace of (the appropriate grade of) valve-gnndtng compound on the seat face, and press a suction grinding tool onto the valve head. With a semi-rotary action, grind
6.48 Compressing the vaive spring and fitting the split collets
them
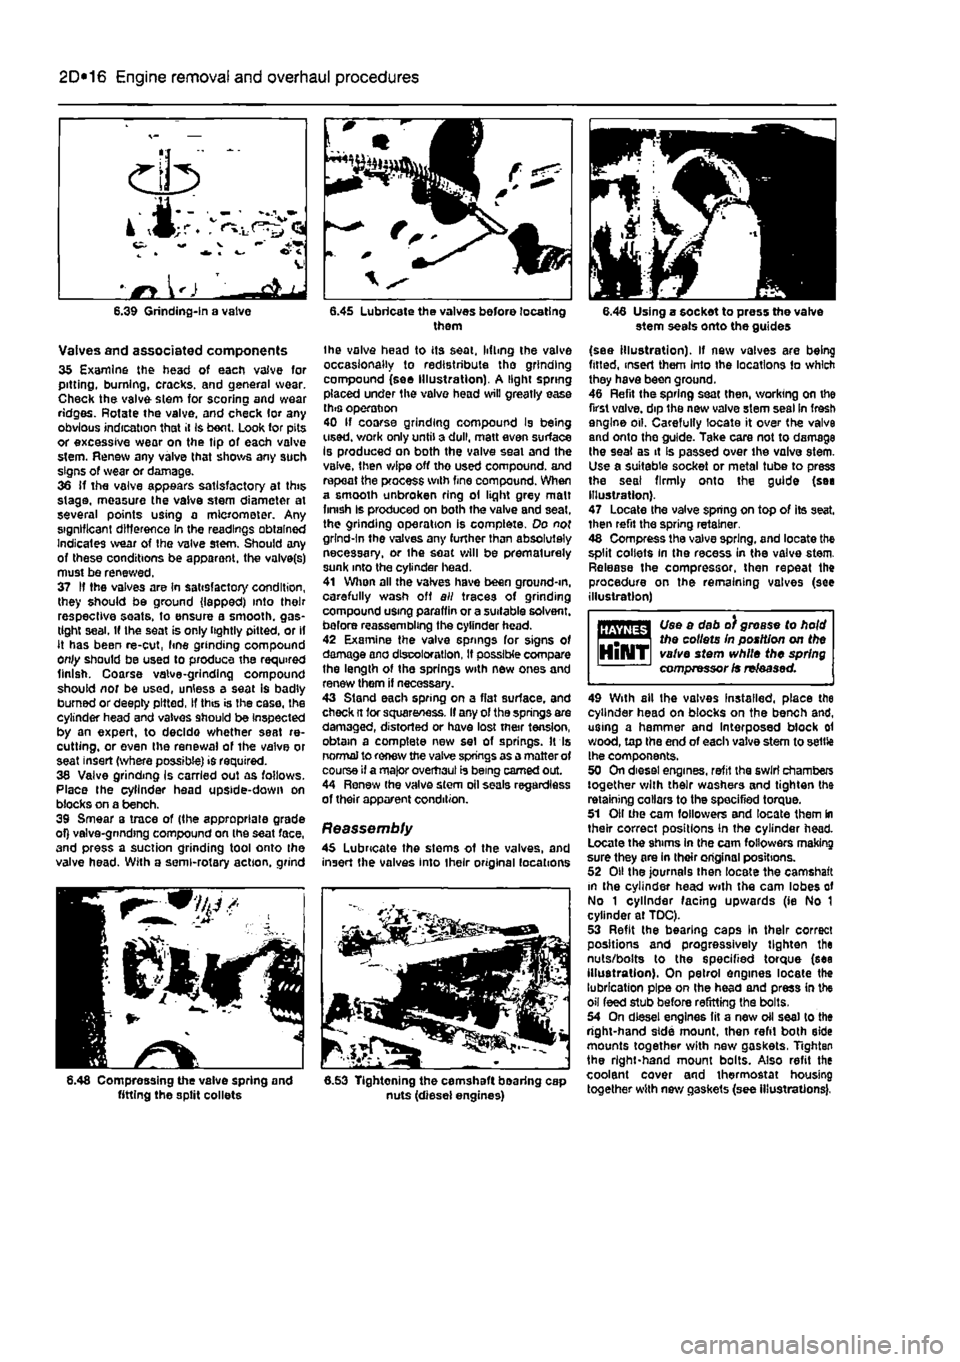
the valve head to its seat, lifting the valve occasionally to redistribute tho grinding compound (see Illustration). A light spring placed under the valve head will greatly ease this operation 40 If coarse grinding compound Is being used, v/ork only until a dull, matt even surface Is produced on both the valve seal and the valve, then wipe off tho used compound, and repeat the process with fine compound. When a smooth unbroken ring ol light grey malt finish Is produced on both the valve and seat, the grinding operation is complete. Do not grind-In the valves any further than absolutely necessary, or the seat will be prematurely sunk into the cylinder head. 41 When all the valves have been ground-m, carefully wash off all traces of grinding compound using paraffin or a suitable solvent, before reassembling the cylinder head. 42 Examine the valve springs for signs of damage ano discoloration, If possible compare the length of the springs with new ones and renew them if necessary. 43 Stand each spring on a flat surface, and check ft tor squareness. If any of the springs are damaged, distorted or have lost mar tension, obtain a complete new set of springs. It Is normal to renew the valve springs as a matter of course if a major overhaul is being earned out. 44 Renew (he valve stem oil seals regardless of their apparent condition.
Reassembly 45 Lubricate the stems of the valves, and insert the valves into their original locations
6.53 Tightening the camshaft bearing cap nuts (diesel engines)
6.46 Using a socket to press the valve stem seals onto the guides
(see illustration). If new valves are being fitted, insert them Into the locations to which they have been ground. 46 Refit the spring sea( then, working on the first valve, dip the new valve stem sesl in fresh engine oil. Carefully locate it over the valve and onto the guide. Take care not to damage the seal as it Is passed over the valve stem. Use a suitable socket or metal tube to press the seal firmly onto the guide (sea Illustration). 47 Locate the valve spring on top of its seat, then refit the spring retainer. 48 Compress the valve spring, and locate the split collets in the recess in the valve stem. Release the compressor, then repeat the procedure on the remaining valves (see illustration)
Use a dab o) grease to hold Uiejitts* the collets In position on the HlNT valve stem while the spring compressor is released.
49 With ail the valves Installed, place the cylinder head on blocks on the bench and, using a hammer and Interposed block ol wood, top the end of each valve stem to settle the components. 50 On diesel engines, refit the swirl chambers together with their washers and tighten the retaining collars to the specified torque. 51 Oil the cam followers and locate them In their correct positions in the cylinder head. Locate the shims In the cam followers making sure they are in their original positions. 52 Oil the journals then locate the camshaft m the cylinder head with the cam lobes of No 1 cylinder facing upwards (ie No 1 cylinder at TDC). 53 Refit the bearing caps In their correct positions and progressively tighten the nuts/bolts to the specified torque (sea illustration). On petrol engines locate the lubrication pipe on Ihe head and press in the oil feed stub before refitting the bolts. 54 On diesel engines fit a new oil sea) to the right-hand side mount, then refit both side mounts together with new gaskets, Tighten the right-hand mount bolts. Also refit the coolant cover and thermostat housing together with new gaskets (see illustrations).
Page 106 of 225
Apply a smear of clean engine oil to the gudgeon pin. Slide it Into the piston and through the connecting rod small-end. Check that the piston pivots freely on the rod. then secure the gudgeon pin in position with two new circlips. Ensure that each circlip is correctly located In Its groove in the piston.
Refitting and big-end bearing running ciearance check 27 Prior to refitting the piston/connecting rod assemblies, it Is recommended that the big-end bearing running clearance is checked as follows. Big-end bearing running clearance check 28 Clean the backs of the bearing shells, and the bearing locations in both the connecting rod and bearing cap. 29 Press the bearing shells into their locations, ensuring that the tab on each shell engages in the notch In the connecting rod and cap. Take care not to touch any shell's bearing surface with your fingers. If the onginal bearing shells are being used for the check, ensure that they are refitted in their original locations. The clearance can be checked in either of two ways. 30 One method is to refit the big-end bearing cap to Ihe connecting rod, ensuring that they are litted the correct way around, with the bearing shells in place. Wilh the cap retaining bolls correctly tightened, use an internal micrometer or vernier caliper to measure the internal diameter of each assembled pair of bearing shells. If the diameter of each corresponding crankshaft journal is measured and Ihen subtracted from the bearing internal diameter, the result will be the big-end beanng running clearance. 31 The second, and more accurate method is to use a product called Plasligauge. Ensure that the bearing shells are correctly fitted then place a strand of Plastlgauge on each (cleaned) crankpin journal. 32 Refit the (clean) piston/connecting rod assemblies to the crankshaft, and refit the bg-end bearing caps, using the marks made or noted on removal to ensure that they are fitted the correct way around. 33 Tighten the beanng cap bolts taking care not to disturb the Plastlgauge or rotate the connecting rod dunng the tightening sequence. 34 Dismantle the assemblies without rotating the connecting rods. Use the scale pnnted on the Plastigauge envelope to obtain the big-end bearing running clearance. 35 If the clearance is significantly different from that expected, the bearing shells may be Ihe wrong size (or excessively worn. If the original shells are being re-used). Make sure mat no dirt or oil was trapped between Ihe bearing shells and the caps or block when the clearance was measured. If the Plastigauge was wider al one end than at the other, the crankshaft journal may be tapered.
2D*10 Engine removal and overhaul procedures
7.40a The arrow on the piston crown must point towards the timing belt end of the engine (petrol engine) 36 On completion, carefully scrape away all traces of the Plastigauge material from the crankshaft and bearing shells. Use your fingernail, or some other object which is unlikely to score the beanng surfaces.
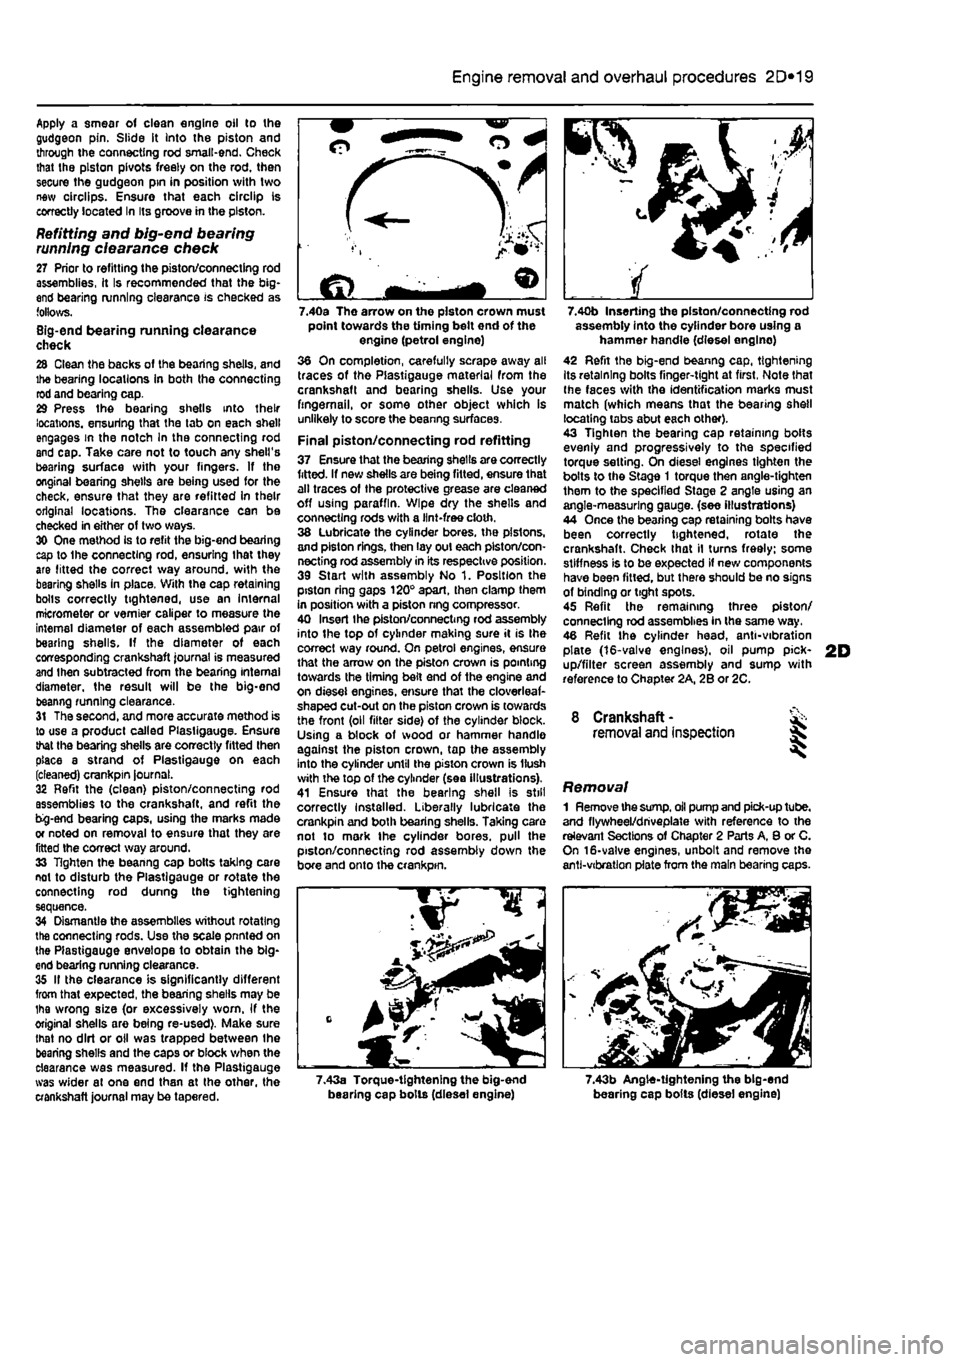
Final piston/connecting rod refitting 37 Ensure that the bearing shells are correctly fitted. If new shells are being fitted, ensure that alt traces of the protective grease are cleaned off using paraffin. Wipe dry the shells and connecting rods with a lint-free cloth. 38 Lubricate the cylinder bores, the pistons, and piston rings, then lay out each piston/con-necting rod assembly in its respective position. 39 Start with assembly No 1. Position the piston ring gaps 120° apart, then clamp them in position with a piston nng compressor. 40 Insert Ihe piston/connecting rod assembly into the top of cylinder making sure it is Ihe correct way round. On petrol engines, ensure that the arrow on the piston crown is pointing towards the timing belt end of the engine and on diesel engines, ensure that the cloverleaf-shaped cut-out on the piston crown is towards the front (oil filter side) of the cylinder block. Using a block of wood or hammer handle against the piston crown, tap the assembly into the cylinder until the piston crown is Hush with the top of the cylinder (sea illustrations). 41 Ensure that the bearing shell is still correctly Installed. Liberally lubricate the crankpin and both bearing shells. Taking care not to mark the cylinder bores, pull the piston/connecting rod assembly down the bore and onto the crankpin.
7.40b Inserting the piston/connecting rod assembly into the cylinder bore using a hammer handle (diesel englno) 42 Refit the big-end beanng cap, tightening Its retaining bolts finger-tight at first, Note that Ihe faces with the identification marks must match (which means that the bearing shell locating tabs abut each other). 43 Tighten the bearing cap retaining bolts evenly and progressively to the specified torque setting. On diesel engines tighten the bolts to the Stage 1 torque then angle-tighten them to the specified Stage 2 angle using an angle-measuring gauge, (see illustrations) 44 Once the bearing cap retaining bolts have been correctly tightened, rotate the crankshaft. Check that il turns freely; some stiffness is to be expected if new components have been fitted, but there should be no signs of binding or tight spots. 45 Refit the remaining three piston/ connecting rod assemblies in the same way. 46 Refit the cylinder head, anti-vibration plate (16-valve engines), oil pump pick-up/filter screen assembly and sump with reference to Chapter 2A, 2B or 2C.
8 Crankshaft -removal and inspection 35
Removal 1 Remove the
sump,
oil pump and pick-up tube, and flywheel/driveplate with reference to the relevant Sections of Chapter 2 Parts A, 8 or C. On 16-valve engines, unbolt and remove the anti-vibration plate from the main bearing caps.
7.43a Torque-tightening the big-end bearing cap bolls (diesel engine) 7.43b Angle-tightening the big-end bearing cap bolts (diesel engine)
Page 107 of 225
2D*10 Engine removal and overhaul procedures
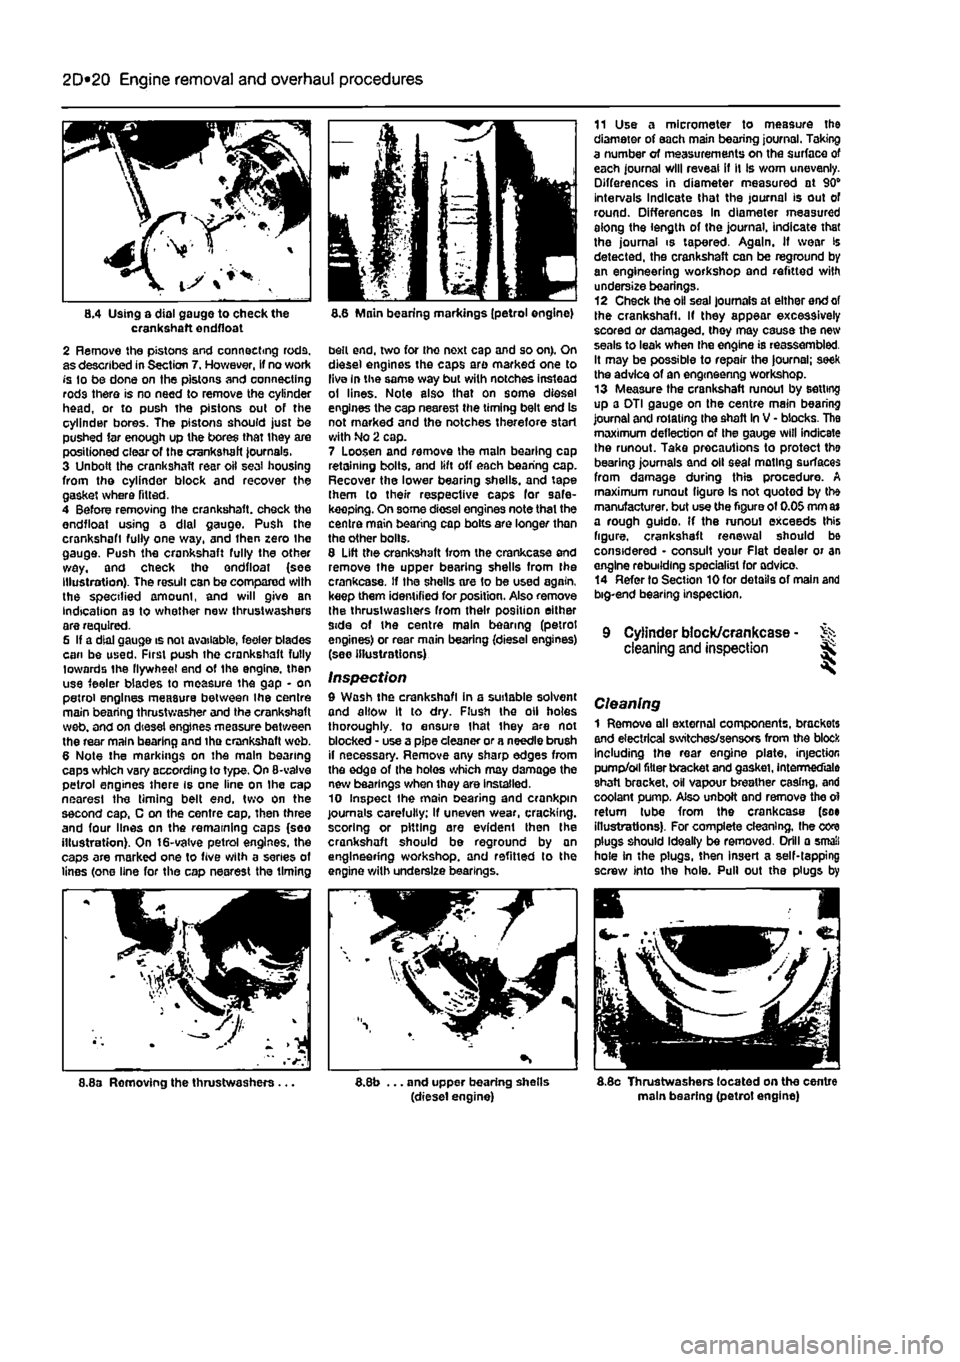
8.4 Using a dial gauge to check the crankshaft endfloat 2 Remove the pistons and connecting rods, as described in Section 7. However, If no work fs to be done on the pistons and connecting rods there is no need to remove the cylinder head, or to push the pistons out of the cylinder bores. The pistons should just be pushed far enough up the bores that they are positioned clear of the crankshaft Journals. 3 Unbolt the crankshaft rear oil seal housing from the cylinder block and recover the gasket where fitted. 4 Before removing the crankshaft, check the endfloat using a dial gauge. Push the crankshaft fully one way, and then zero Ihe gauge. Push the crankshaft fully the other way, and check tho endfloat (see Illustration). The result can be compared with the specified amount, and will give an indication as to whether new thrustwashers are required. 6 If a dial gauge is not available, feeler blades can be used. First push the crankshaft fully towards the flywheel end of the engine, then use feeler blades to measure the gap - on petrol engines measure between the centre main bearing thrust washer and the crankshaft web. and on diesel engines measure between the rear main bearing and tha crankshaft web. 6 Note the markings on the main bearing caps which vary according to type. On 8-valve petrol engines there is one line on Ihe cap nearest the timing belt end, two on the second cap, C on the centre cap, then three and four lines on the remaining caps (soo illustration). On 16-valve petrol engines, the caps are marked one to five with a series of lines (one line for the cap nearest the timing
8.6 Main bearing markings (petrol engine)
belt end, two for tho next cap and so on). On diesel engines the caps are marked one to live In the same way but with notches instead ol lines. Note also that on some diesel engines the cap nearest the timing belt end Is not marked and the notches therefore start with No 2 cap. 7 Loosen and remove the main bearing cop retaining bolts, and lift off each bearing cap. Recover the lower bearing shells, and tape them to their respective caps for safe-keeping. On some diesel engines note that the centre main bearing cap botts are longer than the other bolls. 8 Lift the crankshaft Irom the crankcase and remove the upper bearing shells from the crankcase. If the shells are 1o be used again, keep them identified for position. Also remove the thrustwashers from their position either side of the centre main bearing (petrol engines) or rear main bearing (diesel engines) (see illustrations)
Inspection 9 Wash the crankshaft in a suitable solvent and allow It to dry. Flush the oil holes thoroughly, to ensure that ihey are not blocked - use a pipe cleaner or a needle brush il necessary. Remove any sharp edges from the edge of the holes which may damage the new bearings when they are installed. 10 Inspect the main searing and crankpin journals carefully; if uneven wear, cracking, scoring or pitting are evident then the crankshaft should be reground by an engineering workshop, and refitted to the engine with underslze bearings.
11 Use a micrometer to measure the diameter of each main bearing journal. Taking a number of measurements on the surface of each journal will reveal if it Is worn unevenly. Differences in diameter measured at 90" intervals Indicate that the journal is out of round. Differences In diameter measured aiong the length of the journal, indicate that the journal is tapered. Again. If wear is detected, the crankshaft can be reground by an engineering workshop and refitted with undersize bearings. 12 Check the oil seal journals at either end of the crankshaft. If they appear excessively scored or damaged, they may cause the new seals to leak when the engine is reassembled. It may be possible to repair the |ournal; seek the advice of an engmeenng workshop. 13 Measure the crankshaft runoul by setting up a DTI gauge on the centre main bearing journal and rotating the shaft In V - blocks. The maximum deflection of the gauge will indicate Ihe runout. Take precautions to protect the bearing journals and oil seal mating surfaces from damage during this procedure. A maximum runout figure Is not quoted by the manufacturer, but use the figure of 0.05 mm
a»
a rough guido. If the runoul exceeds this figure, crankshaft renewal should be considered • consult your Flat dealer or an engine rebuilding specialist for advico. 14 Refer to Section 10 for details of main and big-end bearing inspection.
9 Cylinder block/crankcase - % cleaning and inspection Sk
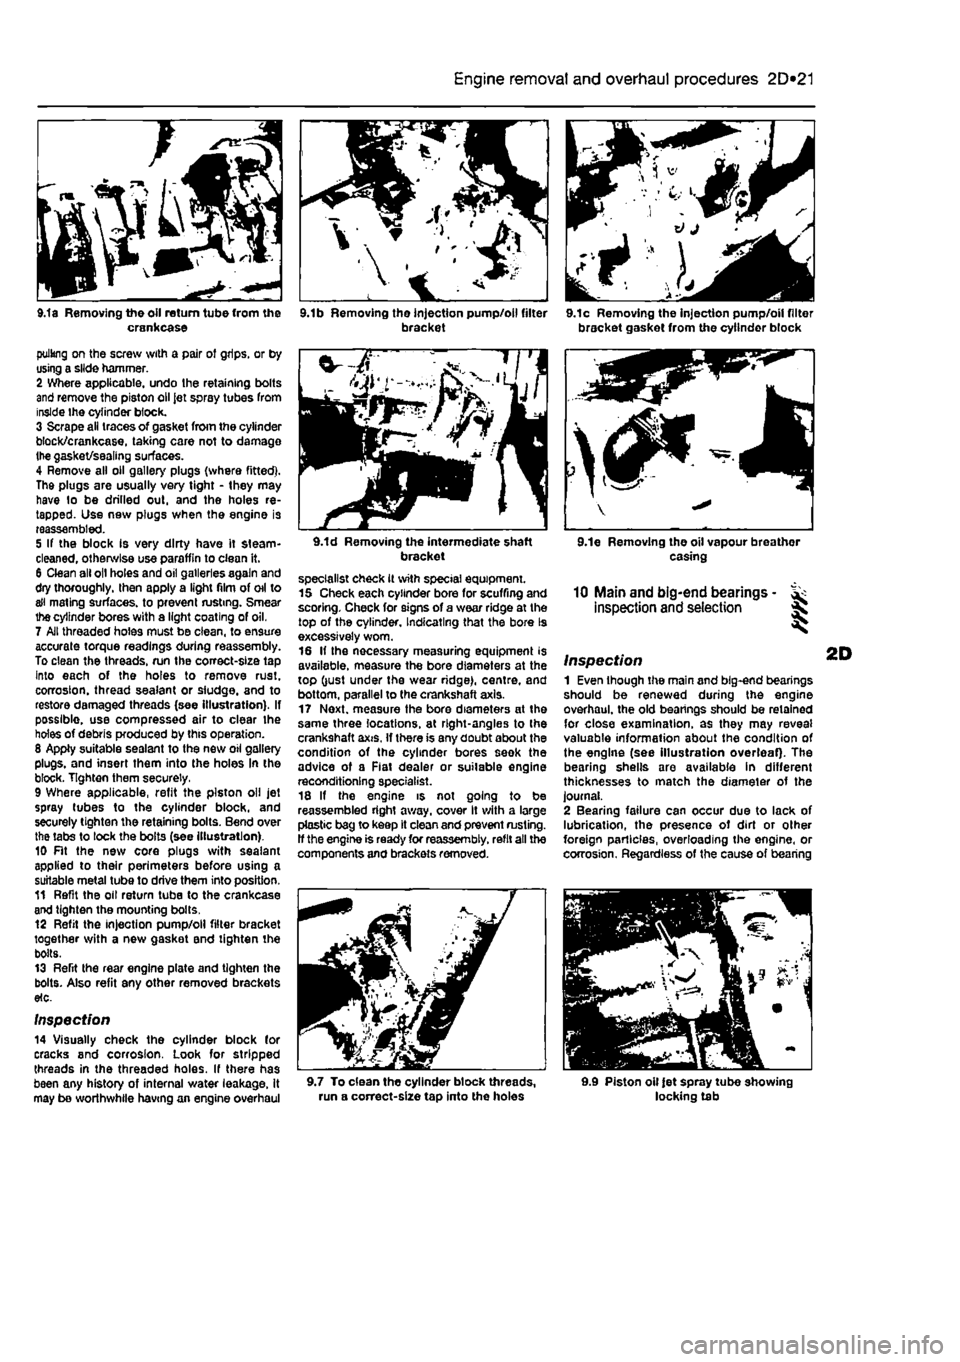
Cleaning 1 Remove all external components, brackets and electrical switches/sensors from the block Including the rear engine plate, injection pump/oil filter bracket and gasket, Intermediate shaft bracket, oH vapour breather casing, and coolant pump. Also unboit and remove the ol return tube from the crankcase (see illustrations). For complete cleaning, the core plugs should Ideally be removed. Drill a small hole in the plugs, then insert a self-tapping screw into the hole. Pull out the plugs by
8.8a Removing the thrustwashers.. ... and upper bearing shells (diesel engine) 8.8o Thrustwashers located on the centre main bearing (petrol engine)
Page 108 of 225
2D*10 Engine removal and overhaul procedures
9.1a Removing the oil return tube from the crankcase
pulling on the screw with a pair of grips, or by using a slide hammer. 2 Where applicable, undo Ihe retaining bolts and remove the piston oil Jet spray tubes from inside Ihe cylinder block. 3 Scrape all traces of gasket from the cylinder block/crankcase, taking care not to damage ihe gasket/sealing surfaces. 4 Remove all oil gallery plugs (where fitted). The plugs are usually very tight - they may have to be drilled out, and the holes re-tapped. Use new plugs when the engine is reassembled. 5 If the block is very dirty have it steam-cleaned, otherwise use paraffin to clean it. 6 Clean all oil holes and oil galleries again and dry thoroughly, then apply a light film of oil to all mating surfaces, to prevent rusting. Smear the cylinder bores with a light coating of oil. 7 All threaded holes must be clean, to ensure accurate torque readings during reassembly. To clean the threads, run the correct-size tap Into each of the holes to remove rust, corrosion, thread sealant or sludge, and to restore damaged threads (see illustration). If possible, use compressed air to clear the holes of debris produced by this operation. 8 Apply suitable sealant to the new oil gallery plugs, and insert them into the holes In the block. Tighten them securely, 9 Where applicable, refit the piston oil jet spray tubes to the cylinder block, and securely tighten the retaining bolts. Bend over the tabs to lock the bolts (see illustration). 10 Fit the new core plugs with sealant applied to their perimeters before using a suitable metal tube to drive them into position. 11 Refit the oil return tube to the crankcase and tighten the mounting bolts. 12 Refit the Injection pump/oil filter bracket together with a new gasket and lighten the bolts. 13 Refit the rear engine plate and tighten the bolts. Also refit 8ny other removed brackets etc.
Inspection 14 Visually check the cylinder block (or cracks and corrosion. Look for stripped threads in the threaded holes. If there has been any history of internal water leakage, it may bo worthwhile having on engine overhaul
9.1b Removing tho injection pump/oil filter bracket 9.1c Removing the injection pump/oil filter bracket gasket from the cyilndor block
9.1 d Removing the intermediate shaft bracket specialist check it with special equipment. 15 Check each cylinder bore for scuffing and scoring. Check for signs of a wear ridge at the top of the cylinder. Indicating that the bore Is excessively worn. 16 If the necessary measuring equipment is available, measure the bore diameters at the top Oust under the wear ridge), centre, and bottom, parallel to the crankshaft axis. 17 Next, measure the bore diameters at the same three locations, at right-angles to the crankshaft axis. If there is any doubt about the condition of the cylinder bores seek the advice of a Fiat dealer or suitable engine reconditioning specialist. 18 If the engine is not going to be reassembled right away, cover It with a large plastic bag to keep it clean and prevent rusting. If the engine is ready for reassembly, refit all the components and brackets removed.
9.1e Removing the oil vapour breather casing
10 Main and big-end bearings - ^ inspection and selection 5
Inspection 1 Even though the main and big-end bearings should be renewed during the engine overhaul, the old bearings should be retained for close examination, as they may reveal valuable information about the condition of the engine (see illustration overleaf). The bearing shells are available in different thicknesses to match the diameter of the Journal. 2 Bearing failure can occur due to lack of lubrication, the presence of dirt or other foreign particles, overloading the engine, or corrosion. Regardless of the cause of bearing
Page 110 of 225
2D*10 Engine removal and overhaul procedures
12.5 Lowering the crankshaft into the crankcase
12.9 Fit tho main bearing caps...
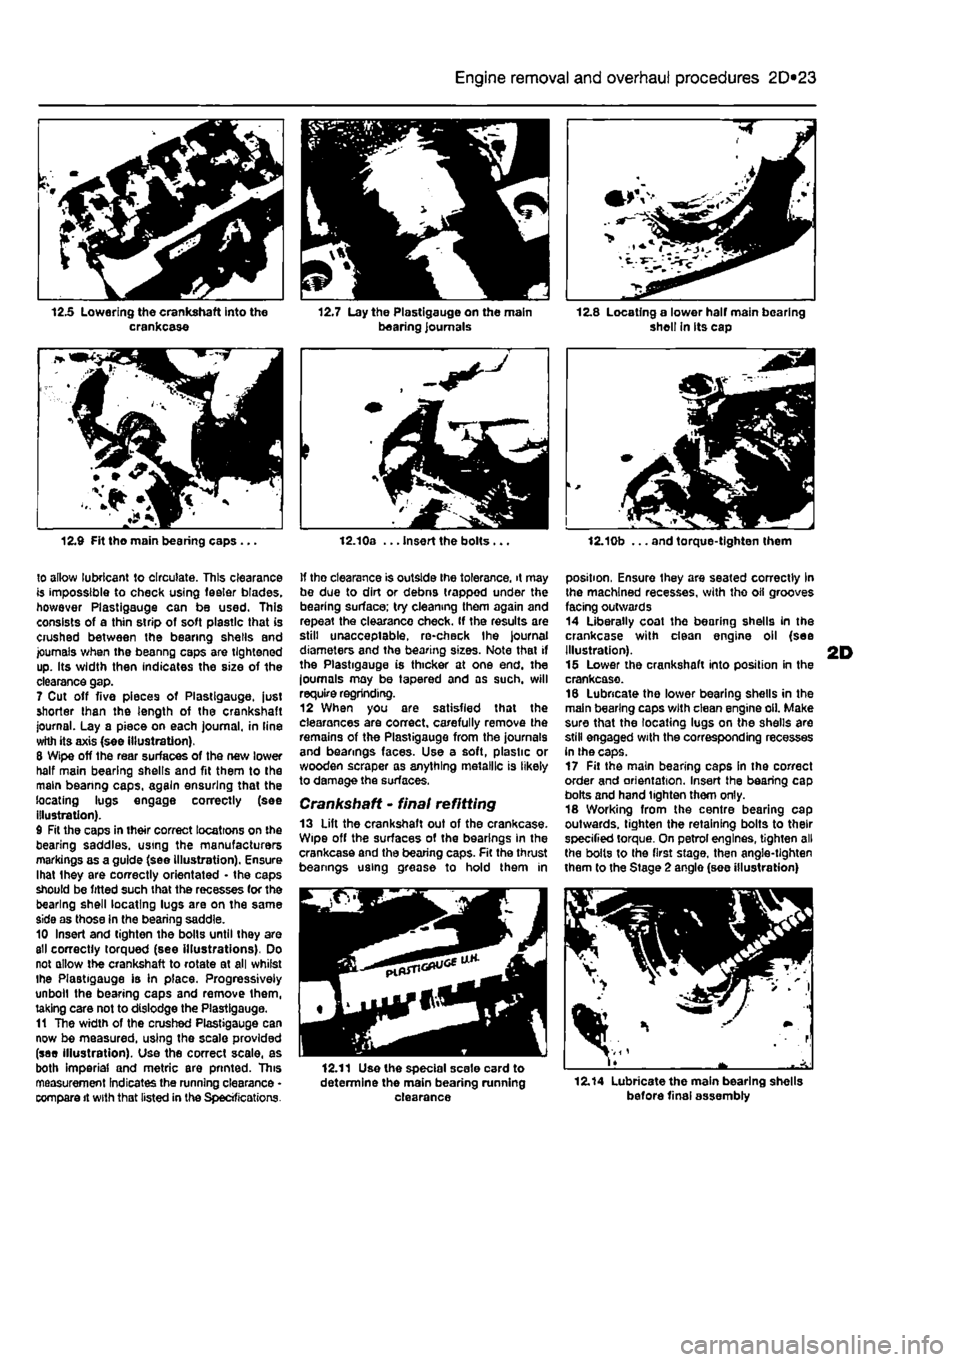
to allow lubricant to circulate. This clearance is impossible to check using feeler blades, however Plastlgauge can be used. This consists of a thin strip of soft plastic that is crushed between the bearing shells and journals when the beanng caps are tightened up. Its width then indicates the size of the clearance gap. 7 Cut off five pieces of Plastlgauge. just shorter than the length of the crankshaft journal. Lay a piece on each journal, in line with its axis (see Illustration). 8 Wipe off the rear surfaces of the new lower half main bearing shells and fit them to the main beanng caps, again ensuring that the locating lugs engage correctly (see illustration). 9 Fit the caps in their correct locations on the bearing saddles, using the manufacturers markings as a guide (see illustration). Ensure lhat Ihey are correctly orientated • the caps should be fitted such that the recesses (or the bearing shell locating lugs are on the same side as those in the bearing saddle. 10 Insert and tighten the bolls until they are
811
correctly torqued (see illustrations). Do not allow the crankshaft to rotate at all whilst ihe Plastlgauge is in place. Progressively unbolt the bearing caps and remove them, taking care not to dislodge the Plastlgauge. 11 The width of the crushed Plastigauge can now be measured, using the scale provided (see illustration). Use the correct scale, as both Imperial and metric are printed. This measurement Indicates the running clearance • compare it with that listed in the Specifications.
21 \ „ 12.7 Lay the Plastigauge on the main bearing journals
t
12.10a ... Insert the bolts...
If tho clearance is outside ihe tolerance, it may be due to dirt or debns trapped under the bearing surface; try cleaning them again and repeat the clearance check. If the results are still unacceptable, re-check Ihe journal diameters and the bearing sizes. Note that if the Plastigauge is thicker at one end. the loumals may be tapered and as such, will require regrinding. 12 When you are satisfied that the clearances are correct, carefully remove the remains of the Plastigauge from the journals and bearings faces. Use a soft, plastic or wooden scraper as anything metallic is likely to damage the surfaces.
Crankshaft • final refitting 13 Lift the crankshaft out of the crankcase. Wipe off the surfaces of the bearings in the crankcase and the bearing caps. Fit the thrust beanngs using grease to hold them in
12.11 Use the special scale card to determine the main bearing running clearance
shell In its cap
12.10b ... and torque-tighten them
position, Ensure they are seated correctly in the machined recesses, with tho oil grooves facing outwards 14 Liberally coat the bearing shells in the crankcase with dean engine oil (see Illustration). 15 Lower the crankshaft into position in the crankcase. 16 Lubricate the lower bearing shells in the main bearing caps with clean engine oil. Make sure that the locating lugs on the shells are still engaged with the corresponding recesses in the caps. 17 Fit the main bearing caps in the correct order and orientation. Insert the bearing cap bolts and hand tighten them only. 18 Working from the centre bearing cap outwards, tighten the retaining bolts to their specified torque. On petrol engines, tighten all the bolts to the first stage, then angle-tighten them to the Stage 2 anglo (see illustration)
12.14 Lubricate the main bearing shells before final assembly