wheel size FIAT PUNTO 1995 176 / 1.G Workshop Manual
[x] Cancel search | Manufacturer: FIAT, Model Year: 1995, Model line: PUNTO, Model: FIAT PUNTO 1995 176 / 1.GPages: 225, PDF Size: 18.54 MB
Page 58 of 225
2A*10 SOHC (8-valve) petrol engine in-car repair procedures
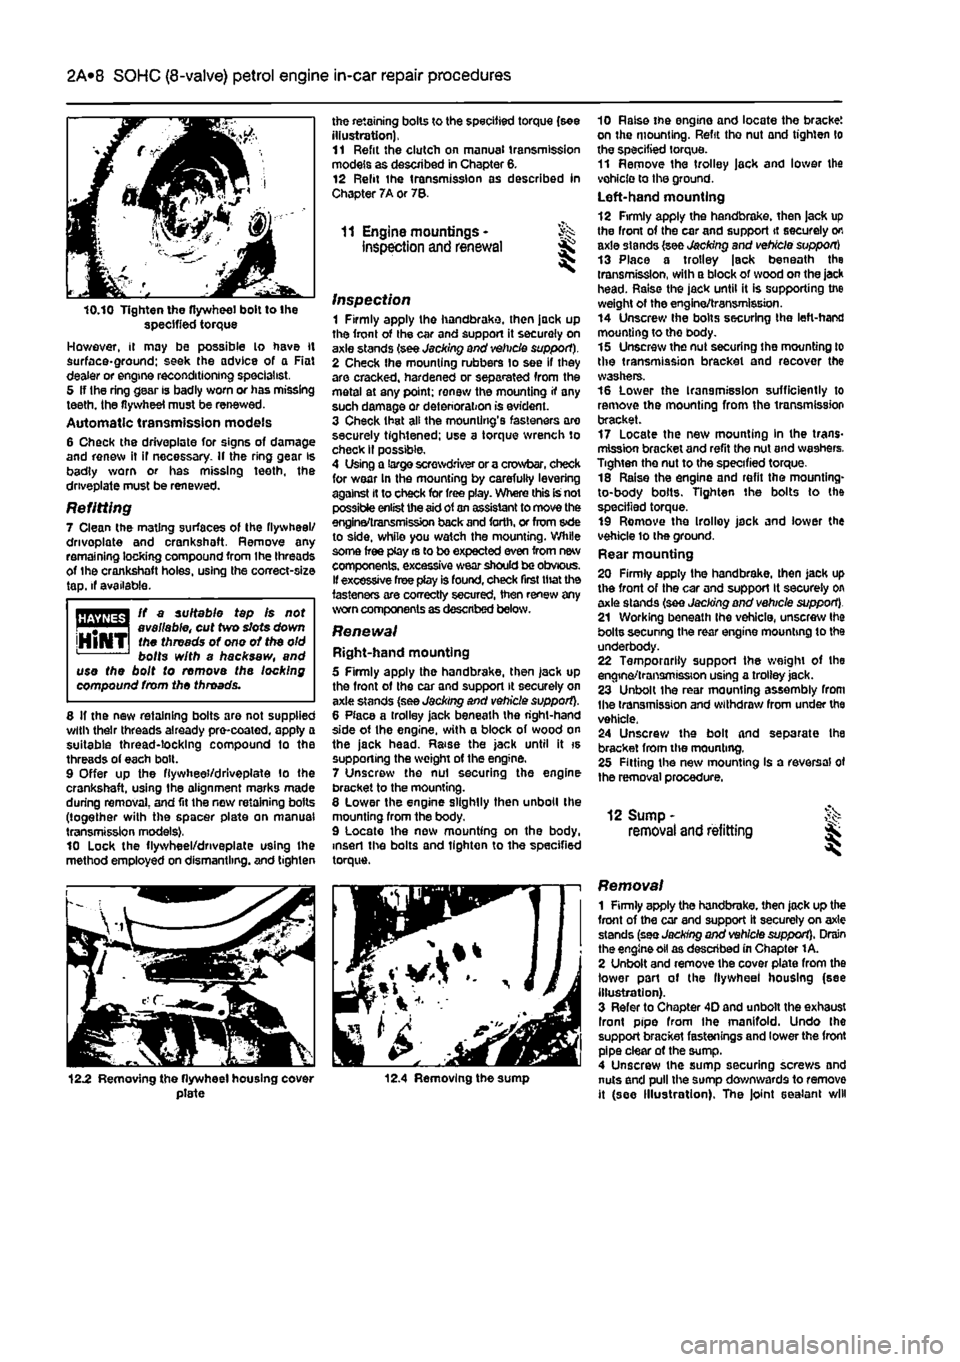
10.10 Tighten the flywheel bolt to the specified torque However, it may be possible lo have it surface*ground; seek (he advice of a Rat dealer or engine reconditioning specialist, 5 If Ihe ring gear is badly worn or has missing teeth, the flywheel must be renewed. Automatic transmission models 6 Check the driveplate for signs of damage and renew it if necessary. If the ring gear is badly worn or has missing teeth, the driveplate must be renewed.
Refitting 7 Clean the mating surfaces of the flywheel/ drivoplate and crankshoft. Remove any remaining locking compound from the threads of the crankshaft holes, using the correct-size tap. if available.
ft a suitable tap fs not . # | available, cut two slots down jHlNTI
toe
threads of ono of the old bolts with a hacksaw, and use the bolt to remove the locking compound from the throads.
8 If the new retaining bolts are not supplied with their threads already pre-coated, apply a suitable thread-locking compound to the threads of each bolt. 9 Offer up the fiywhee'/drlveplate lo the crankshaft, using the alignment marks made during removal, and fit the new retaining bolts (together with the spacer plate on manual transmission models), 10 Lock the flywheel/dnveplate using Ihe method employed on dismantling, and tighten
the retaining bolts to the specified torque (see illustration), 11 Refit the clutch on manual transmission models as described in Chapter 6. 12 Relit the transmission as described In Chapter 7A or 78.
11 Engine mountings • inspection and renewal
inspection 1 Firmly apply the handbrake, then jack up the front of the car and support it securely on axle stands (see Jacking and vehicle support). 2 Check Ihe mounting rubbers to see if they are cracked, hardened or separated from the metal at any point; renew the mounting if any such damage or deterioration is evident. 3 Check that all the mounting's fasteners are securely tightened; use a torque wrench to check II possible. 4 Using a large screwdriver or a crowbar, check for wear In the mounting by carefuliy levering against It to check for free play. Where this is not possible enlist the
aid
of
an
assistant to move the engina/transmission back
and
forth, or from s»de to side, while you watch the mounting. While some free play rs to bo expected even from new components, excessive wear
should
be obvious. If excessive free play is found, check first that the fasteners are correctly secured, then renew any worn components as described below.
Renewal Right-hand mounting 5 Firmly apply the handbrake, then jack up the front of the car and support it securely on axle stands (see Jacking and vehicle support). 8 Place a trolley jack beneath the right-hand side of Ihe engine, with a block of wood on the jack head. Raise the jack until it is supporting the weight of the engine. 7 Unscrew the nut securing the engine bracket to the mounting. 8 Lower the engine slightly then unboll the mounting from the body. 9 Locate the new mounting on the body, insert the bolts and tighten to the specified torque.
10 Raise tne engine and locate the bracket on the mounting. Refit tho nut and tighten lo the specified torque. 11 Remove the trolley jack and lower the vehicle to the ground. Left-hand mounting 12 Firmly apply the handbrake, then jack up the front of the car and support it securely on axle stands (see Jacking and vehicle support) 13 Place a trolley |sck beneath the transmission, with a block of wood on the jack head. Raise the jack until it is supporting tne weight of the engine/transmission. 14 Unscrew Ihe bolts securing the left-hand mounting to tho body. 15 Unscrew the nut securing ihe mounting to the transmission bracket and recover the washers. 16 Lower the transmission sufficiently to remove the mounting from the transmission bracket. 17 Locate the new mounting In the trans-mission bracket and refit the nut and washers. Tighten the nut to the specified torque. 18 Raise the engine and refit the mounting-to-body bolts. Tighten the bolts to the specified torque. 19 Remove the Irolloy jack and lower the vehicle lo the ground. Rear mounting 20 Firmly apply the handbrake, then Jack up the front of the car and support It securely on axle stands (see Jacking and vehicle support). 21 Working beneath Ihe vehicle, unscrew Ihe bolts secunng the rear engine mounting to the underbody. 22 Temporarily support the weight of the engine/transmission using a trolley jack. 23 Unbolt the rear mounting assembly from Ihe transmission and withdraw from under the vehicle. 24 Unscrew the bolt and separate Ihe bracket from tlve mounting. 28 Fitting the new mounting Is a reversal of the removal procedure.
12 Sump -removal and refitting
12.2 Removing the flywheel housing cover plate 12.4 Removing the sump
Removal 1 Firmly apply the handbrake, then jack up the front of the car and support it securely on axle stands (see Jacking and vehicle support). Drain the engine oil as described in Chapter 1 A. 2 Unbolt and remove the cover plate from the lower pari of the llywheel housing (see illustration). 3 Refer to Chapter 4D and unbolt the exhaust Iront pipe from Ihe manifold. Undo Ihe support bracket fastenings and lower the front pipe clear of the sump. 4 Unscrew the sump securing screws and nuts and pull the sump downwards to remove it (see Illustration). The joint sealant will
Page 84 of 225
2C*2 Diesel engine in-car repair procedures
10.2 Locking the flywheel using a homo* made tool
10 Flywheel - £ removal, inspection § and refitting ^
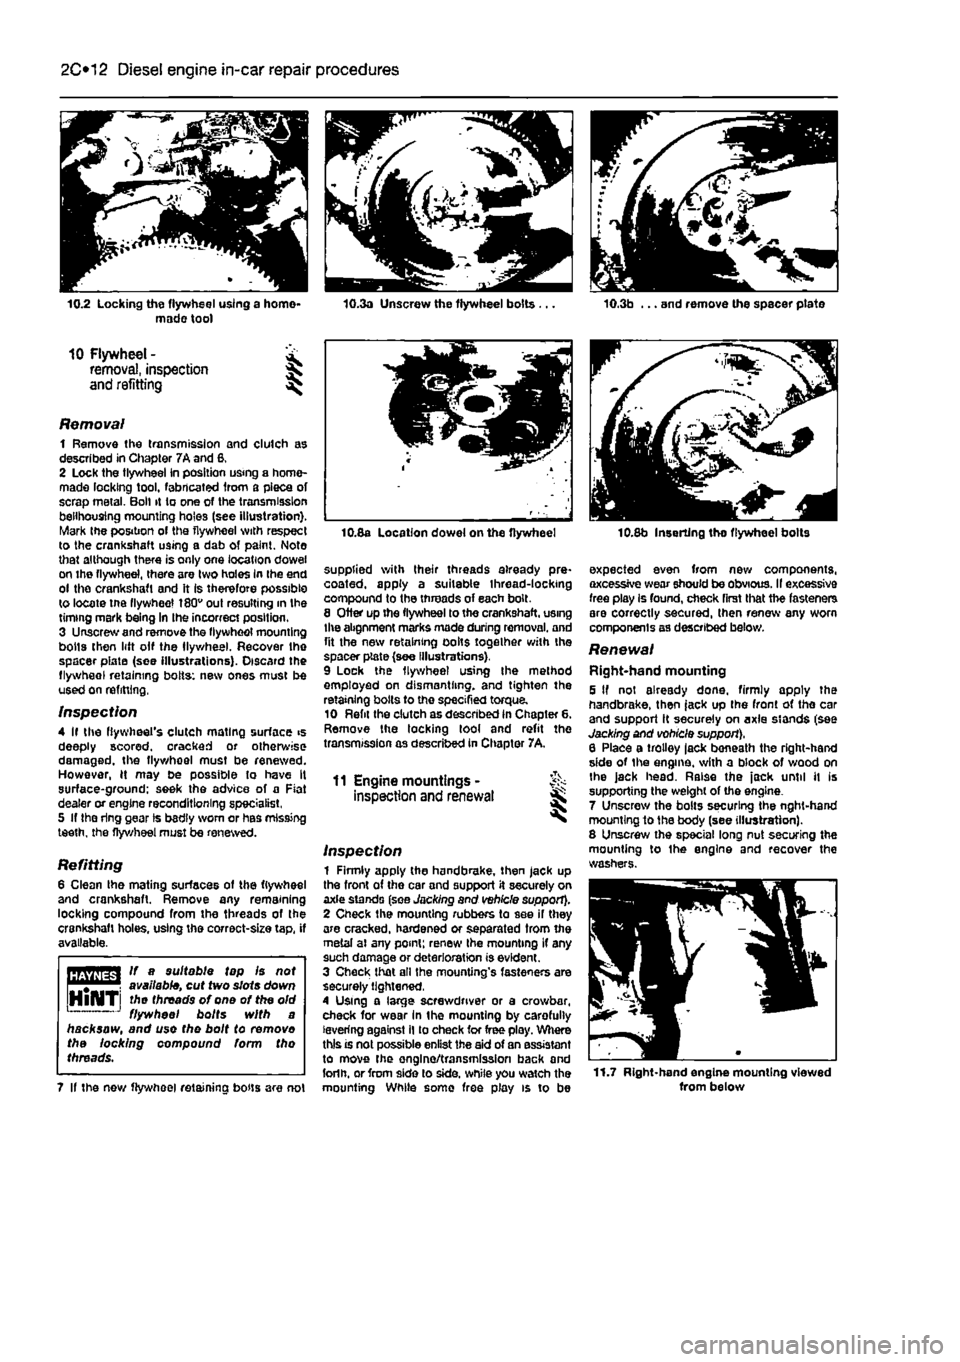
Removal 1 Remove the transmission and clutch as described in Chapter 7A and 6, 2 Lock the tlywheei in position using a home-made locking tool, fabricated from a piece of scrap metal. Boll it to one of the transmission belihousing mounting holes (see illustration). Mark the position of the flywheel with respect to the crankshaft using a dab of paint. Note that although there is only one location dowel on the flywheel, there are two holes In the end ol the crankshaft and it Is therefore possible to locate tne flywheel 180v out resulting in the timing mark being In Ihe incorrect position. 3 Unscrew and remove the flywheol mounting bolts then lift olf the llywheel. Recover the spacer piate (see illustrations). Discard the flywheol retaining bolts: new ones must be used on refitting,
Inspection 4 If the flywheel's clutch mating surface >s deeply scored, cracked or otherwise damaged, the flywhoel must be renewed. However, H may be possible to have It surface-ground: seek the advice of a Fiat dealer or engine reconditioning specialist, 5 If the ring gear Is bsdly worn or has missing teeth, the flywheel must be renewed.
Refitting 6 Clean the mating surfaces of the flywheel and crankshaft. Remove any remaining locking compound from the threads of the crankshaft holes, using the correct-size tap, if available.
HBTiffSrl If a suitable tap Is not
Wijlilfil
available, cut two slots down HlNTi threads of one of the old 1 J flywheel bolts with a hacksaw, and use the bolt to removo the locking compound form tho threads.
7 If the now flywheel retaining bous are not
10.8a Location dowel on the flywheel
supplied with their threads already pre* coated, apply a suitable thread-locking compound to the threads of each bolt. 8 Otter up the flywheel to the crankshaft, using the abgnment marks made during removal, and fit the new retaining oolts together with the spacer plate (see Illustrations). 9 Lock the flywheel using Ihe method employed on dismantling, and tighten the retaining bolts to the specified torque. 10 Refit the clutch as described in Chapter 6. Remove the locking tool and refit the transmission as described in Chapter 7A,
11 Engine mountings -inspection and renewal
Inspection 1 Firmly apply the handbrake, then jack up the front of the car and support it securely on axle stands (see Jacking and vehicle support). 2 Check the mounting rubbers to see if they are cracked, hardened or separated from the metal ai any point; renew Ihe mounting if any such damage or deterioration is evident. 3 Check that all the mounting's fasteners are securely tightened, 4 Using a large screwdriver or a crowbar, check for wear In the mounting by carefully levering against il to check for free ploy. Where this is not possible enlist the aid of an assistant to move the onglno/transmission back and forlh. or from side lo side, while you watch the mounting While some free play is to be
10.8b Inserting tho flywheel bolts
expected even from new components, axcessive wear should be obvious. II excessive free play Is found, check first that the fasteners are correctly secured, then renew any worn components as described below.
Renewal Right-hand mounting 5 If not already done, firmly apply the handbrake, then jack up the front ot tho car and support it securely on axle stands (see Jacking and vohicle support), 6 Place a trolley lack beneath the right-hand side of the engine, with a block of wood on Ihe jack head. Raise the jack until it is supporting the weight of the engine. 7 Unscrew the bolts securing the nght-hand mounting to the body (see illustration). 8 Unscrew the special long nut securing the mounting to Ihe engine and recover the washers.
11.7 Right-hand engine mounting viewed from below
Page 106 of 225
Apply a smear of clean engine oil to the gudgeon pin. Slide it Into the piston and through the connecting rod small-end. Check that the piston pivots freely on the rod. then secure the gudgeon pin in position with two new circlips. Ensure that each circlip is correctly located In Its groove in the piston.
Refitting and big-end bearing running ciearance check 27 Prior to refitting the piston/connecting rod assemblies, it Is recommended that the big-end bearing running clearance is checked as follows. Big-end bearing running clearance check 28 Clean the backs of the bearing shells, and the bearing locations in both the connecting rod and bearing cap. 29 Press the bearing shells into their locations, ensuring that the tab on each shell engages in the notch In the connecting rod and cap. Take care not to touch any shell's bearing surface with your fingers. If the onginal bearing shells are being used for the check, ensure that they are refitted in their original locations. The clearance can be checked in either of two ways. 30 One method is to refit the big-end bearing cap to Ihe connecting rod, ensuring that they are litted the correct way around, with the bearing shells in place. Wilh the cap retaining bolls correctly tightened, use an internal micrometer or vernier caliper to measure the internal diameter of each assembled pair of bearing shells. If the diameter of each corresponding crankshaft journal is measured and Ihen subtracted from the bearing internal diameter, the result will be the big-end beanng running clearance. 31 The second, and more accurate method is to use a product called Plasligauge. Ensure that the bearing shells are correctly fitted then place a strand of Plastlgauge on each (cleaned) crankpin journal. 32 Refit the (clean) piston/connecting rod assemblies to the crankshaft, and refit the bg-end bearing caps, using the marks made or noted on removal to ensure that they are fitted the correct way around. 33 Tighten the beanng cap bolts taking care not to disturb the Plastlgauge or rotate the connecting rod dunng the tightening sequence. 34 Dismantle the assemblies without rotating the connecting rods. Use the scale pnnted on the Plastigauge envelope to obtain the big-end bearing running clearance. 35 If the clearance is significantly different from that expected, the bearing shells may be Ihe wrong size (or excessively worn. If the original shells are being re-used). Make sure mat no dirt or oil was trapped between Ihe bearing shells and the caps or block when the clearance was measured. If the Plastigauge was wider al one end than at the other, the crankshaft journal may be tapered.
2D*10 Engine removal and overhaul procedures
7.40a The arrow on the piston crown must point towards the timing belt end of the engine (petrol engine) 36 On completion, carefully scrape away all traces of the Plastigauge material from the crankshaft and bearing shells. Use your fingernail, or some other object which is unlikely to score the beanng surfaces.
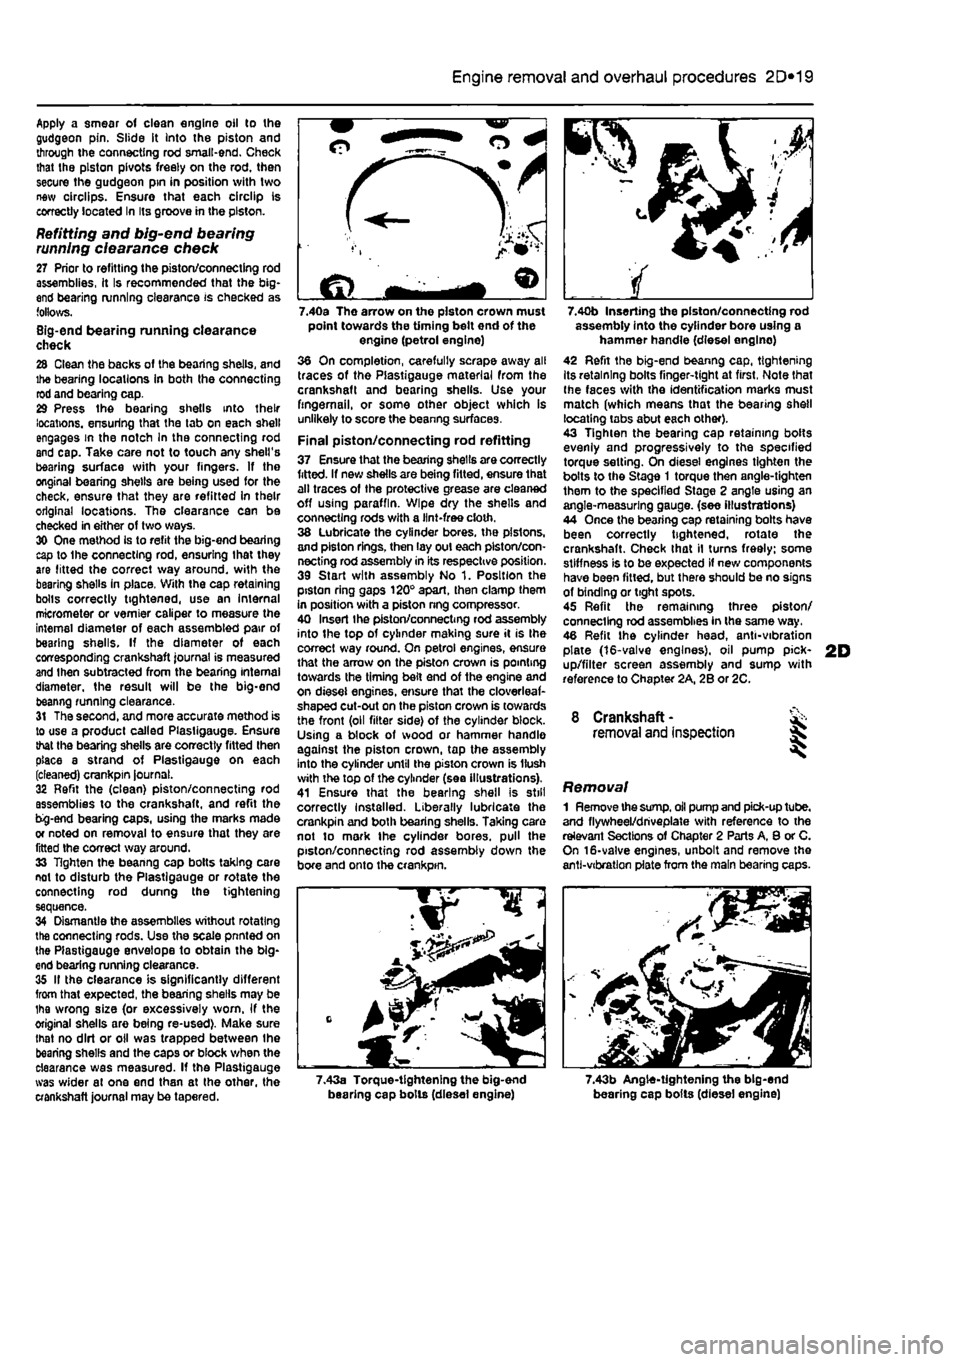
Final piston/connecting rod refitting 37 Ensure that the bearing shells are correctly fitted. If new shells are being fitted, ensure that alt traces of the protective grease are cleaned off using paraffin. Wipe dry the shells and connecting rods with a lint-free cloth. 38 Lubricate the cylinder bores, the pistons, and piston rings, then lay out each piston/con-necting rod assembly in its respective position. 39 Start with assembly No 1. Position the piston ring gaps 120° apart, then clamp them in position with a piston nng compressor. 40 Insert Ihe piston/connecting rod assembly into the top of cylinder making sure it is Ihe correct way round. On petrol engines, ensure that the arrow on the piston crown is pointing towards the timing belt end of the engine and on diesel engines, ensure that the cloverleaf-shaped cut-out on the piston crown is towards the front (oil filter side) of the cylinder block. Using a block of wood or hammer handle against the piston crown, tap the assembly into the cylinder until the piston crown is Hush with the top of the cylinder (sea illustrations). 41 Ensure that the bearing shell is still correctly Installed. Liberally lubricate the crankpin and both bearing shells. Taking care not to mark the cylinder bores, pull the piston/connecting rod assembly down the bore and onto the crankpin.
7.40b Inserting the piston/connecting rod assembly into the cylinder bore using a hammer handle (diesel englno) 42 Refit the big-end beanng cap, tightening Its retaining bolts finger-tight at first, Note that Ihe faces with the identification marks must match (which means that the bearing shell locating tabs abut each other). 43 Tighten the bearing cap retaining bolts evenly and progressively to the specified torque setting. On diesel engines tighten the bolts to the Stage 1 torque then angle-tighten them to the specified Stage 2 angle using an angle-measuring gauge, (see illustrations) 44 Once the bearing cap retaining bolts have been correctly tightened, rotate the crankshaft. Check that il turns freely; some stiffness is to be expected if new components have been fitted, but there should be no signs of binding or tight spots. 45 Refit the remaining three piston/ connecting rod assemblies in the same way. 46 Refit the cylinder head, anti-vibration plate (16-valve engines), oil pump pick-up/filter screen assembly and sump with reference to Chapter 2A, 2B or 2C.
8 Crankshaft -removal and inspection 35
Removal 1 Remove the
sump,
oil pump and pick-up tube, and flywheel/driveplate with reference to the relevant Sections of Chapter 2 Parts A, 8 or C. On 16-valve engines, unbolt and remove the anti-vibration plate from the main bearing caps.
7.43a Torque-tightening the big-end bearing cap bolls (diesel engine) 7.43b Angle-tightening the big-end bearing cap bolts (diesel engine)
Page 107 of 225
2D*10 Engine removal and overhaul procedures
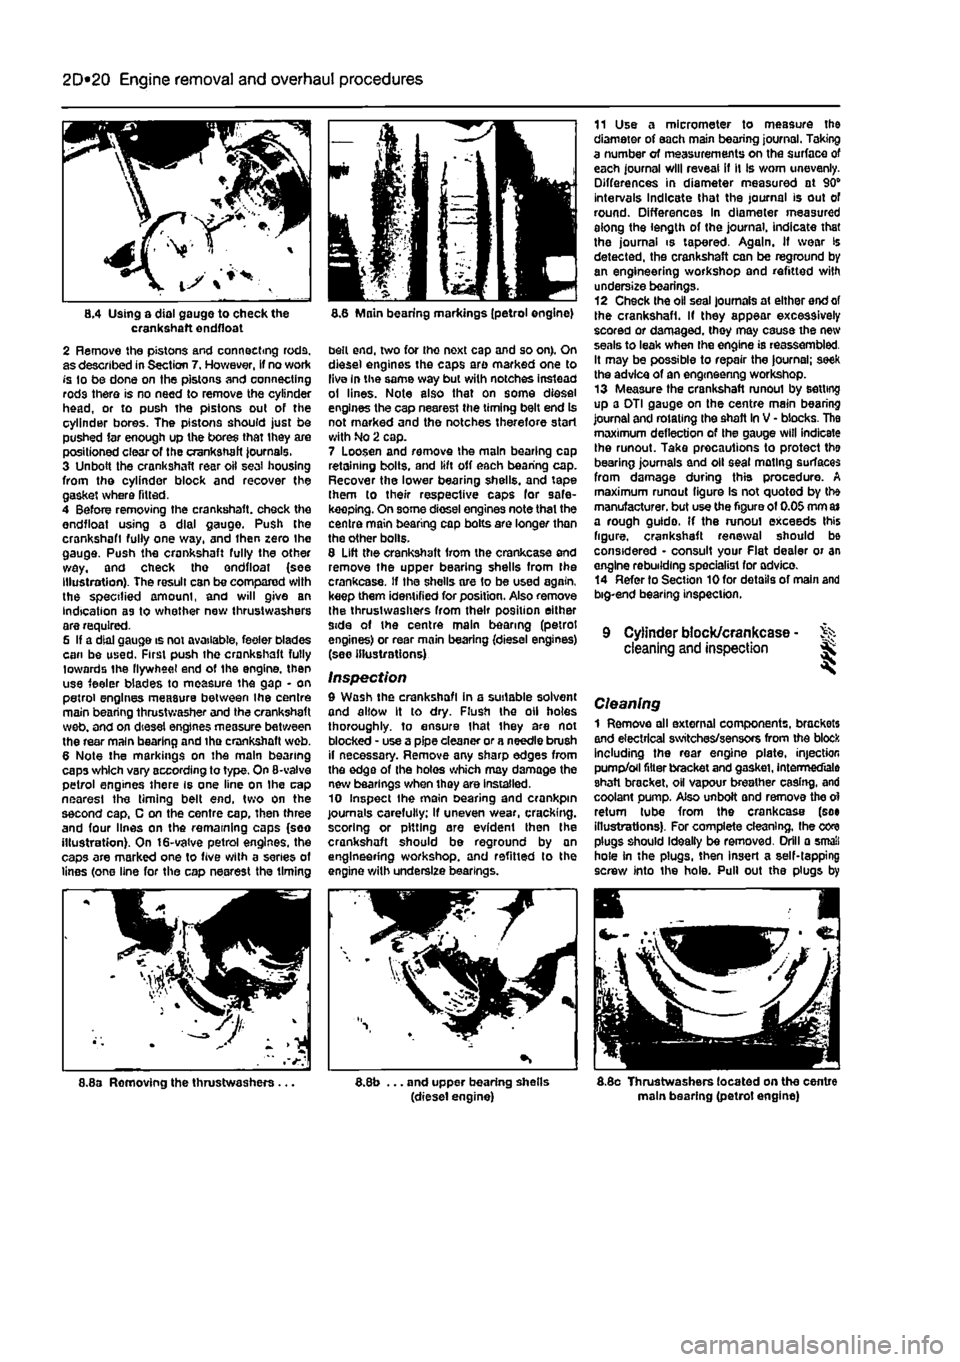
8.4 Using a dial gauge to check the crankshaft endfloat 2 Remove the pistons and connecting rods, as described in Section 7. However, If no work fs to be done on the pistons and connecting rods there is no need to remove the cylinder head, or to push the pistons out of the cylinder bores. The pistons should just be pushed far enough up the bores that they are positioned clear of the crankshaft Journals. 3 Unbolt the crankshaft rear oil seal housing from the cylinder block and recover the gasket where fitted. 4 Before removing the crankshaft, check the endfloat using a dial gauge. Push the crankshaft fully one way, and then zero Ihe gauge. Push the crankshaft fully the other way, and check tho endfloat (see Illustration). The result can be compared with the specified amount, and will give an indication as to whether new thrustwashers are required. 6 If a dial gauge is not available, feeler blades can be used. First push the crankshaft fully towards the flywheel end of the engine, then use feeler blades to measure the gap - on petrol engines measure between the centre main bearing thrust washer and the crankshaft web. and on diesel engines measure between the rear main bearing and tha crankshaft web. 6 Note the markings on the main bearing caps which vary according to type. On 8-valve petrol engines there is one line on Ihe cap nearest the timing belt end, two on the second cap, C on the centre cap, then three and four lines on the remaining caps (soo illustration). On 16-valve petrol engines, the caps are marked one to five with a series of lines (one line for the cap nearest the timing
8.6 Main bearing markings (petrol engine)
belt end, two for tho next cap and so on). On diesel engines the caps are marked one to live In the same way but with notches instead ol lines. Note also that on some diesel engines the cap nearest the timing belt end Is not marked and the notches therefore start with No 2 cap. 7 Loosen and remove the main bearing cop retaining bolts, and lift off each bearing cap. Recover the lower bearing shells, and tape them to their respective caps for safe-keeping. On some diesel engines note that the centre main bearing cap botts are longer than the other bolls. 8 Lift the crankshaft Irom the crankcase and remove the upper bearing shells from the crankcase. If the shells are 1o be used again, keep them identified for position. Also remove the thrustwashers from their position either side of the centre main bearing (petrol engines) or rear main bearing (diesel engines) (see illustrations)
Inspection 9 Wash the crankshaft in a suitable solvent and allow It to dry. Flush the oil holes thoroughly, to ensure that ihey are not blocked - use a pipe cleaner or a needle brush il necessary. Remove any sharp edges from the edge of the holes which may damage the new bearings when they are installed. 10 Inspect the main searing and crankpin journals carefully; if uneven wear, cracking, scoring or pitting are evident then the crankshaft should be reground by an engineering workshop, and refitted to the engine with underslze bearings.
11 Use a micrometer to measure the diameter of each main bearing journal. Taking a number of measurements on the surface of each journal will reveal if it Is worn unevenly. Differences in diameter measured at 90" intervals Indicate that the journal is out of round. Differences In diameter measured aiong the length of the journal, indicate that the journal is tapered. Again. If wear is detected, the crankshaft can be reground by an engineering workshop and refitted with undersize bearings. 12 Check the oil seal journals at either end of the crankshaft. If they appear excessively scored or damaged, they may cause the new seals to leak when the engine is reassembled. It may be possible to repair the |ournal; seek the advice of an engmeenng workshop. 13 Measure the crankshaft runoul by setting up a DTI gauge on the centre main bearing journal and rotating the shaft In V - blocks. The maximum deflection of the gauge will indicate Ihe runout. Take precautions to protect the bearing journals and oil seal mating surfaces from damage during this procedure. A maximum runout figure Is not quoted by the manufacturer, but use the figure of 0.05 mm
a»
a rough guido. If the runoul exceeds this figure, crankshaft renewal should be considered • consult your Flat dealer or an engine rebuilding specialist for advico. 14 Refer to Section 10 for details of main and big-end bearing inspection.
9 Cylinder block/crankcase - % cleaning and inspection Sk
Cleaning 1 Remove all external components, brackets and electrical switches/sensors from the block Including the rear engine plate, injection pump/oil filter bracket and gasket, Intermediate shaft bracket, oH vapour breather casing, and coolant pump. Also unboit and remove the ol return tube from the crankcase (see illustrations). For complete cleaning, the core plugs should Ideally be removed. Drill a small hole in the plugs, then insert a self-tapping screw into the hole. Pull out the plugs by
8.8a Removing the thrustwashers.. ... and upper bearing shells (diesel engine) 8.8o Thrustwashers located on the centre main bearing (petrol engine)
Page 109 of 225
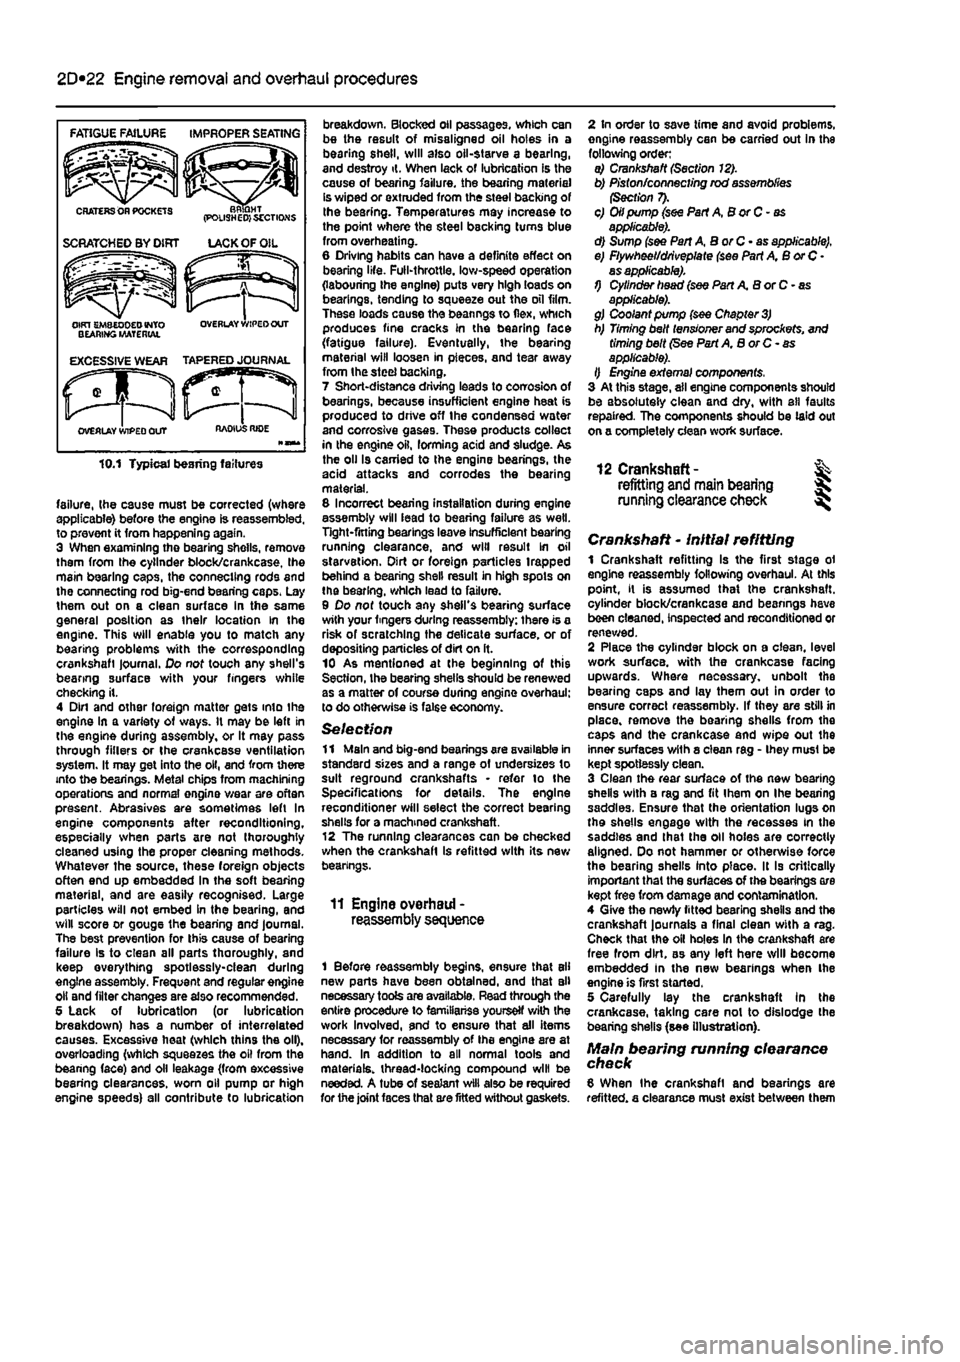
2D*10 Engine removal and overhaul procedures
failure, (he cause must be corrected (where applicable) before the engine is reassembled, to prevent it from happening again. 3 When examining the bearing shells, remove them from the cylinder block/crankcase, Ihe main bearing caps, the connecting rods and the connecting rod big-end bearing caps. Lay them out on a clean surface in the same general position as their location in the engine. This will enable you to match any bearing problems with the corresponding crankshaft journal. Do not touch any shell's bearing surface with your fingers while checking it. 4 Din and other foreign matter gets into the engine in a variety of ways. It may be left in the engine during assembly, or It may pass through fillers or the crankcase ventilation system. It may get into the oil, and from there into the bearings. Metal chips from machining operations and normal engine wear are often present. Abrasives are sometimes left In engine components after reconditioning, especially when parts are not thoroughly cleaned using the proper cleaning methods. Whatever the source, these foreign objects often end up embedded In the soft bearing material, and are easily recognised. Large particles will not embed in the bearing, and will score or gouge the bearing and journal. The best prevention for this cause of bearing failure Is to clean all parts thoroughly, and keep everything spotlessly-clean during engine assembly. Frequent and regular engine oil and filter changes are also recommended. 5 Lack of lubrication (or lubrication breakdown) has a number of interrelated causes. Excessive heat (which thins the oil), overloading (which squeezes the oil from the bearing face) and oil leakage (from excessive bearing clearances, worn oil pump or high engine speeds) all contribute to lubrication
breakdown. Blocked oil passages, which can be the result of misaligned oil holes in a bearing shell, will also oil-starve a bearing, and destroy it. When lack of lubrication is the cause of bearing failure, the bearing materiel is wiped or extruded from the steel backing of Ihe bearing. Temperatures may increase to the point where the steel backing turns blue from overheating. 6 Driving habits can have a definite effect on bearing life. Full-throttle, low-speed operation (labouring ihe engine) puts very high loads on bearings, tending to squeeze out the oil film. These loads cause the beanngs to flex, which produces fine cracks in the bearing face (fatigue failure). Eventually, the bearing material will loosen in pieces, and tear away from Ihe steel backing. 7 Short-distance driving leads to corrosion of bearings, because insufficient engine heat is produced to drive off the condensed water and corrosive gases. These products collect in the engine oil, forming acid and sludge. As the oil Is carried to the engine bearings, the acid attacks and corrodes the bearing material. 8 Incorrect bearing installation during engine assembly will lead to bearing failure as well. Tight-fitting bearings leave insufficient bearing running clearance, and will result in oil starvation. Dirt or foreign particles trapped behind a bearing shell result in high spots on the bearing, which lead to failure. 9 Do not touch any shell's bearing surface with your fingers during reassembly: there is a risk of scratching the delicate surface, or of depositing particles of dirt on ft. 10 As mentioned at the beginning of this Section, the bearing shells should be renewed as a matter of course during engine overhaul; to do otherwise is false economy.
Selection 11 Main and big-end bearings are available in standard sizes and a range of undersizes to suit reground crankshafts • refer to the Specifications for details. The engine reconditioner will select the correct bearing shells for a machined crankshaft. 12 The running clearances can be checked when the crankshaft is refitted with its new bearings.
11 Engine overhaul -reassembly sequence
1 Before reassembly begins, ensure that all new parts have been obtained, and that all necessary tools are available. Read through the entire procedure to familiariss yourself with the work Involved, and to ensure that ail items necessary for reassembly of the engine are at hand. In addition to all normal tools and materials, thread-locking compound will be needed. A tube of sealant will also be required for the joint faces that are fitted without gaskets.
2 In order to save time and avoid problems, engine reassembly can be carried out in the following order: a) Crankshaft (Section 12). b) Piston/connecting rod assemblies (Section 7). c) Oil pump (see Part A, B or C - as applicable). d) Sump (see Pan A, BorC-as applicable). e) Flywheel/driveplate (see Part A, B or C • as applicable). 1) Cylinder head (see Part A B or C - as applicable). g) Coolant pump (see Chapter
3)
h) Timing belt tensioner and sprockets, and timing belt (See Part A, B or C- as applicable). I) Engine external components, 3 At this stage, ail engine components should be absolutely clean and dry, with all faults repaired. The components should be laid out on a completely clean work surface.
12 Crankshaft- % refitting and main bearing S running clearance check ^
Crankshaft - initial refitting 1 Crankshaft refitting Is the first stage ol engine reassembly following overhaul. At this point, it is assumed that the crankshaft, cylinder block/crankcase and beanngs have been cleaned, inspected and reconditioned or renewed. 2 Place the cylinder block on a clean, level work surface, with the crankcase facing upwards. Where necessary, unbolt the bearing caps and lay them out in order to ensure correct reassembly. If they are still in place, remove the bearing shells from the caps and the crankcase and wipe out the inner surfaces wilh a clean rag - they musl be kept spotlessly clean. 3 Clean the rear surface of the new bearing shells with a rag and fit ihem on Ihe bearing saddles. Ensure that the orientation lugs on the shells engage with the recesses in the saddles and lhat the oil holes are correctly aligned. Do not hammer or otherwise force the bearing shells into place. It Is critically important that the surfaces of the bearings ore kept free from damage and contamination. 4 Give the newly fitted bearing shells and the crankshaft journals a final clean with a rag. Check that the oil holes In the crankshaft are free from dirt, as any left here will become embedded In the new bearings when Ihe engine is first started. 5 Carefully lay the crankshaft In the crankcase, taking care not to dislodge the bearing shells (see illustration}.
Main bearing running clearance check 8 When Ihe crankshaft and bearings are refitted, a clearance must exist between them
Page 199 of 225
Suspension and steering 10*11
13.11b ... and left-hand steering gear-to-subframe bolts
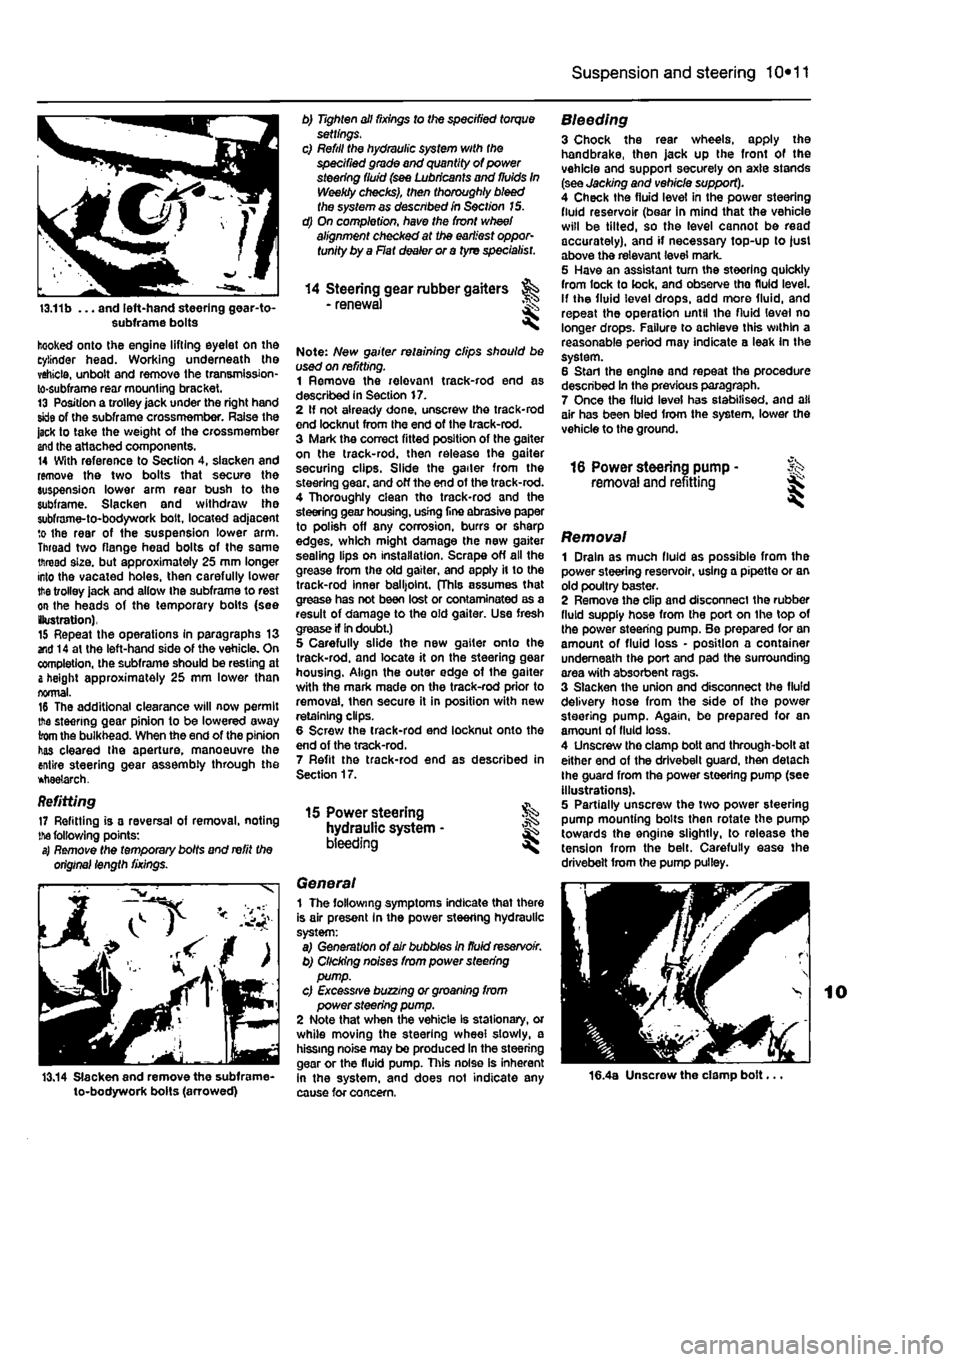
hooked onto the engine lifting eyelet on the cylinder head. Working underneath the vehicle, unbolt and remove the transmission-lo-subframe rear mounting bracket. 13 Position a trolley jack under the right hand skle of the subframe crossmember. Raise the jack to take the weight of the crossmember
and
the attached components. 14 With reference to Section 4, slacken and remove the two bolts that secure the suspension lower arm rear bush to the subframe. Slacken and withdraw the subframe-to-bodywork bolt, located adjacent to the rear of the suspension lower arm. Throad two flange head bolts of the same thread size, but approximately 25 mm longer into the vacated holes, then carefully lower
the
trolley jack and allow ihe subframe to rest on the heads of the temporary bolts (see (lustration), 15 Repeat the operations in paragraphs 13 end 14 at the left-hand side of the vehicle. On completion, the subframe should be resting at
&
height approximately 25 mm lower than normal. 16 The additional clearance will now permit the steering gear pinion to be lowered away from the bulkhead. When the end of the pinion has cleared Ihe aperture, manoeuvre the entire steering gear assembly through the *tiae?arch.
Refitting 17 Refitting is a reversal of removal, noting
the
following points: s) Remote the temporary bolts and refit the original length fixings.
13.14 Slacken and remove the subframe-to-bodywork bolts (arrowed)
b) Tighten all fixings to the specified torque settings. c) Refill the hydraulic system with the specified grade and quantity of power steering fluid (see Lubricants and fluids In Weekly checks), then thoroughly bleed the system as described in Section 15. d) On completion, have the front wheel alignment checked at the earliest oppor-tunity by a Flat dealer or a tyre specialist.
14 Steering gear rubber gaiters - renewal <
Note: New gaiter retaining clips should be used on refitting. 1 Remove the relevant track-rod end as described in Section 17. 2 If not already done, unscresv the track-rod end locknut from Ihe end of the track-rod. 3 Mark the correct fitted position of the gaiter on the track-rod, then release the gaiter securing clips. Slide the gailer from the steering gear, and off the end of the track-rod. 4 Thoroughly clean tho track-rod and the steering gear housing, usrng fine abrasive paper to polish off any corrosion, burrs or sharp edges, which might damage the new gaiter sealing lips on installation. Scrape off all the grease from the old gaiter, and apply it to the track-rod inner balljoint. (This assumes that grease has not been lost or contaminated as a result of damage to the old gaiter. Use fresh crease if In doubt.) 5 Carefully slide the new gaiter onto the track-rod. and locate it on the steering gear housing. Align the outer edge of the gaiter with the mark made on the track-rod prior to removal, then secure it in position with new retaining clips. 6 Screw the track-rod end locknut onto the end of the track-rod. 7 Refit the track-rod end as described in Section 17.
15 Power steering hydraulic system • bleeding ^
General 1 The following symptoms indicate that there is air present In the power steering hydraulic system: a) Generation of air bubbles in fluid reservoir. b) Clicking noises from power steering pump. c) Excessive buzzing or groaning from power steering pump. 2 Note that when the vehicle Is stationary, or while moving the steering wheel slowly, a hissing noise may be produced In the steering gear or the fluid pump. This noise is inherent in the system, and does not indicate any cause for concern.
Bleeding 3 Chock the rear wheels, apply the handbrake, then jack up the front of the vehicle and support securely on axle stands (see Jacking and vehicle support). 4 Check the fluid level in the power steering fluid reservoir (bear in mind that the vehicle will be tilted, so the level cannot be read accurately), and if necessary top-up to just above the relevant level mark. 5 Have an assistant tum the steering quickly from lock to lock, and observe tho fluid level, if the fluid level drops, add more fluid, and repeat the operation until the fluid level no longer drops. Failure to achieve this within a reasonable period may indicate a leak in the system. 6 Stan the engine and repeat the procedure described In the previous paragraph. 7 Once the fluid level has stabilised, and all air has been bled from the system, lower the vehicle to the ground.
16 Power steering pump - Sk removal and refitting ^
Removal 1 Drain as much fluid as possible from the power steering reservoir, using a pipette or an old poultry baster. 2 Remove the clip and disconnect the rubber fluid supply hose from the port on the top of the power steering pump. Be prepared for an amount of fluid loss • position a container underneath the port and pad the surrounding area with absorbent rags. 3 Slacken the union and disconnect the fluid delivery hose from the side of the power steering pump. Again, be prepared for an amount of fluid loss. 4 Unscrew tho clamp bolt and through-bolt at either end of the drivebelt guard, then detach Ihe guard from the power steering pump (see illustrations). 5 Partially unscresv the two power steering pump mounting bolts then rotate the pump towards the engine slightly, to release the tension from the belt. Carefully ease the drivebelt from the pump pulley.
16.4a Unscrew the clamp bolt...
Page 201 of 225
Suspension and steering 10*13
the skill required to use It properly, the checking and adjustment of these settings Is best left to a Fiat dealer or similar expert. Most tyre-fitting shops now possess sophisticated checking equipment. 3 For accurate checking, the vehicle must be at the kerb weight specified in Dimensions and weights. 4 Before starting work, check first that the tyre sizes and types are as specified (see Tyre pressures in Weekly checks), then check tyre pressures and tread wear. Also check roadwheel run-out, the condition of the hub bearings, the steering wheel free play and the condition of the front suspension components (Steering and suspension check in Chapter 1A or
1B).
Correct any faults found. 6 Park the vehicle on level ground, with the front roadwheeis in the straight-ahead position. Rock the rear and front ends to settle the suspension. Release the handbrake and roll the vehicle backwards approximately 1 metre, then forwards again, to relieve any stresses in the steering and suspension components. 6 Two methods are available to the home mechanic for checking the front wheel toe setting. One method is to use a gauge to measure the distance between the front and rear inside edges of the roadwheeis. The other method is to use a scuff plate, in which each front wheel is rolled across a movable plate which records any deviation, or scuff, of the tyre from the straight-ahead position as It moves across the plate. Such gauges are available in relatively-inexpensive form from accessory outlets. It Is up to the owner to decide whether the expense is justified, In view of the small amount of use such equipment would normally receive. 7 Prepare the vehicle 8S described in paragraphs 3 to 5 above.
8 If the measurement procedure is being used, carefully measure the distance between the front edges of the roadwheel rims and the rear edges of the rims. Subtract the front measurement from the rear measurement, and check that the result is within the specified range. If not, adjust the toe setting as described in paragraph 10. 9 If scuff plates are to be used, roll the vehicle backwards, check that the roadwheeis are in the straight-ahead position, then roll it across the scuff plates so that each front roadwheel passes squarely over the centre of its respective plate. Note the angle recorded by the scuff plates. To ensure accuracy, repeat the check three times, and take the average of the three readings, if the roadwheeis are running parallel, there will of course be no angle recorded; If a deviation value Is shown on the scuff plates, compare the reading obtained for each wheel with that supplied by the scuff plate manufacturers. If the value recorded is outside Ihe specified tolerance, the toe setting is incorrect, and must be adjusted as follows. Adjustment 10 Apply the handbrake, then jack up the front of the vehicle and support it securely on axle stands (see Jacking and vehicle support). Turn the steering wheel onto full-left lock, and record the number of exposed threads on the right-hand track-rod. Now turn the steering onto full-right lock, and record the number of threads on the left-hand side. If there are the same number of threads visible on both sides, then subsequent adjustment should be made equally on both sides. If there are more threads visible on one side than the other, it will be necessary to compensate for this during adjustment Note: It is important to ensure that, after adjustment, the same number of threads are visible on the end of each track-rod.
11 First clean the track-rod threads; If they are corroded, apply penetrating fluid before starting adjustment. Release the steering gear rubber gaiter outboard clips, then peel back the gaiters and apply a smear of grease, so that both gaiters are free and will not be twisted or strained as their respective track-rods are rotated. 12 Use a straight-edge and a scriber or similar to mark the relationship of each track-rod to the track-rod end. Working on each track-rod end in tum, unscrew its locking nut. 13 Alter the length of the track-rods, bearing In mind the note in paragraph 10, by screwing them into or out of the track-rod ends. Rotate the track-rod using an open-ended spanner fitted to the flats provided. If necessary, counterhold the track-rod end using a second spanner. Shortening the track-rods (screwing them Into their track-rod ends) will reduce toe-in and increase toe-out. 14 When the setting Is correct, hold the track-rods and securely tighten the locking nuts. Check that the balljoints are seated correctly In their sockets, and count the exposed threads on the ends of the track-rods. If the number of threads exposed is not the same on both sides, then the adjustment has not been made equally, and problems will be encountered with tyre scrubbing in turns; also, the steering wheel spokes will no longer be horizontal when the wheels are in the straight-ahead position. 15 When the track-rod lengths are the same, lower the vehicle to the ground and re-check the toe setting; readjust if necessary. When the setting is correct, tighten the locking nuts. Ensure that the steering gear rubber gaiters are seated correctly and are not twisted or strained, then secure them In position with new retaining clips.
10