locks FIAT PUNTO 1998 176 / 1.G User Guide
[x] Cancel search | Manufacturer: FIAT, Model Year: 1998, Model line: PUNTO, Model: FIAT PUNTO 1998 176 / 1.GPages: 225, PDF Size: 18.54 MB
Page 97 of 225
2D*10 Engine removal and overhaul procedures
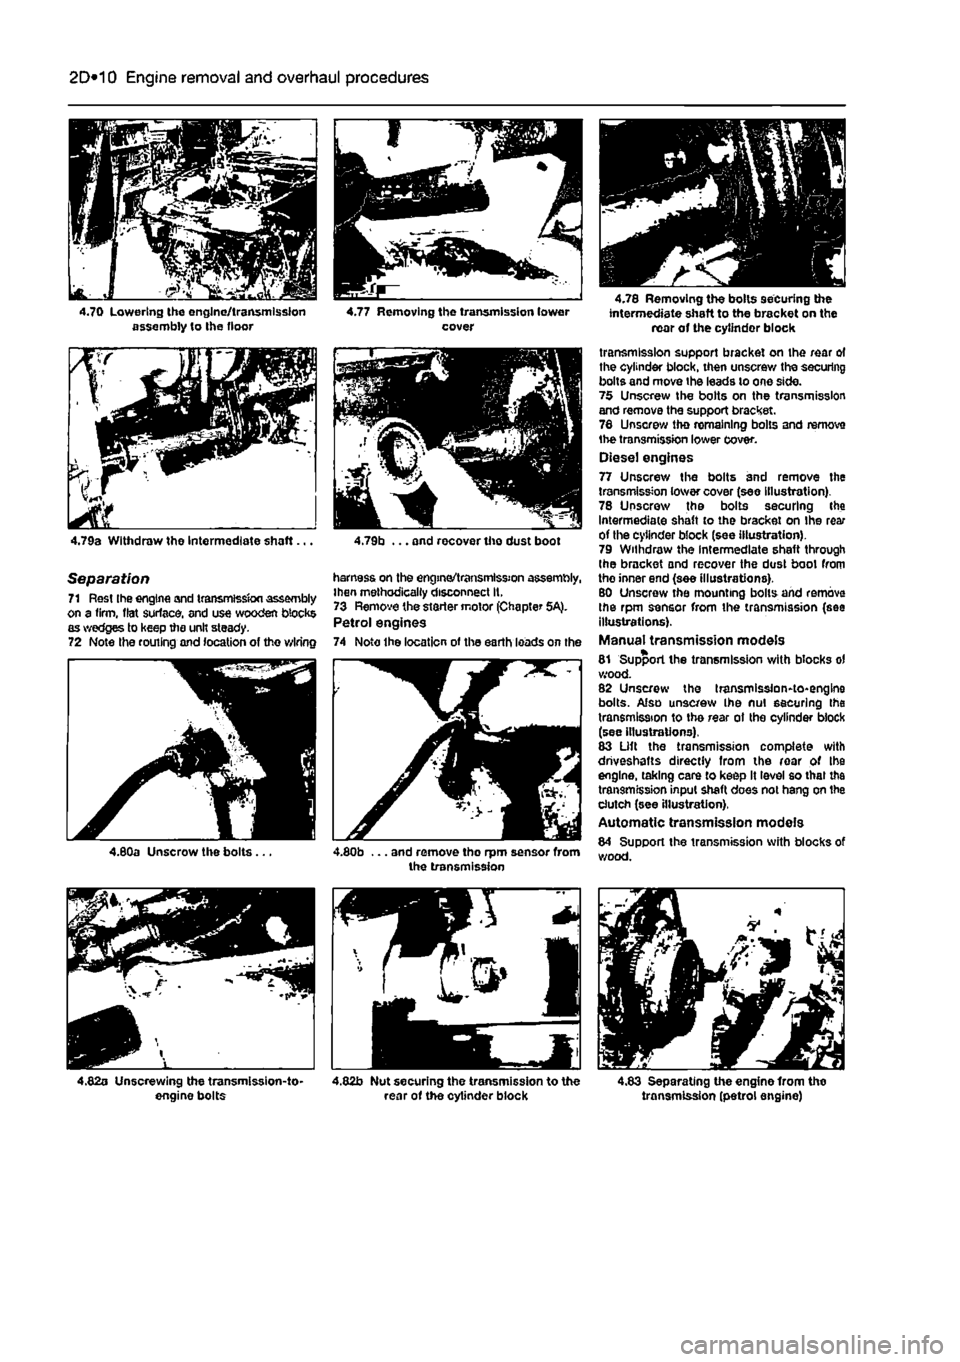
4.70 Lowering the engine/transmission assembly to Ihe floor
4.79a Withdraw the Intermediate shaft...
Separation 71 Rest Ihe engine and transmission assembly on a firm, flat surface, and use wooden blocks as wedges to keep the unit steady. 72 Note the routing and location of the wiring
4.77 Removing the transmission lower cover
4.79b ... and recover the dust boot
harness on the engine/transmission assembly, Ihen methodically disconnect It. 73 Remove the starter motor (Chapter 5A). Petrol engines 74 Noto the location of the earth loads on the
4.78 Removing the bolts securing the intermediate shaft to the bracket on the rear of the cylinder block
transmission support bracket on the rear of the cylinder block, then unscrew the securing bolts and move the leads to one side. 75 Unscrew the bolts on the transmission and remove the support bracket. 78 Unscrew tho remaining bolts and remove the transmission lower cover. Diesel engines 77 Unscrew the bolts and remove the transmission lower cover (see Illustration). 78 Unscrew the bolts securing the Intermediate shaft to the bracket on Ihe rear of the cylinder block (see illustration). 79 Withdraw the Intermediate shaft through the bracket and recover the dust boot from tho inner end (see illustrations). 80 Unscrew the mounting bolts and remove the rpm sensor from the transmission (see illustrations). Manual transmission models 81 Support the transmission with blocks ol wood. 82 Unscrew the transmission-to-engine bolts. Also unscrew Ihe nut securing the transmission to the rear ot the cylinder block (see illustrations). 83 Lift the transmission complete with driveshafts directly from the roar of Ihe engine, taking care to keep It level so that the transmission input shaft does not hang on the clutch (see illustration), Automatic transmission models 84 Support the transmission with blocks of wood.
4.83 Separating the engine from tho transmission (petrol engine)
Page 98 of 225
2D*10 Engine removal and overhaul procedures
05 Remove the brush holder assembly from the automatic transmission as described in Chapter 7B, Section 4. The brushes bear on the slip rings at the rear of the electro-magnetic clutch housing and they may be damaged when the transmission is removed. 86 Unscrew and remove the transmission-to-engine bolts then carefully draw the transmission away from the engine, resting It securely on wooden blocks. Collect the locating dowels If they are loose enough to be extracted, 87 If the oil pump driveshaft remains engaged with the crankshaft, remove it and reert Into the transmission to protect It from damage.
Connection 86 If the engine and transmission have not been separated, go to paragraph 104. Manual transmission models 89 Smear a little high-melting-point grease
on
the splines of the transmission input shaft. Do not use an excessive amount as there Is the risk of contaminating the clutch friction plate. 90 Carefully offer up the transmission to the engine cylinder block, guiding the input shaft through the clutch friction plate. 91 Refit the transmission-to-engine bolts and
the
single nut. hand^jghtenlng 1hem to secure the transmission in position. Note: Do not hghten them to force the engine and transmission together. Ensure that the beilhousing and cylinder block mating faces will butt together evenly without obstruction, before finally tightening the bolts and nut securely. Automatic transmission models 92 Check that the oil pump driveshaft is correctly engaged with the oil pump in the transmission. 93 Carefully offer up the transmission to Ihe rear of the engine and insert the oil pump driveshaft In the centre of the electro-magnetic clutch housing. Locate the transmission on the locating dowels then Insert the bolts and tighten them securely. 94 Refit the brush holder assembly to the automatic transmission with reference to Chapter 7B, Section 4. Petrol engines 96 Refit the transmission lower cover and tighten the bolts. 96 Locate the support bracket on the lower cover, then insert the bolts hand-tight. Also Insert the bolts securing the bracket lo the rear of Ihe cylinder block. With all the bolts Inserted, tighten them securely. 97 Refit the earth leads and tighten the bolts. Diesel engines 98 Refit the rpm sensor and tighten the bolts. 99 Insert the Intermediate shaft through the bracket then locate the dust boot on it and insert the Inner end in the transmission.
100 Refit and tighten the bolts securing the Intermediate shaft to the bracket on the rear of the cylinder block. 101 Refit the transmission lower cover and tighten the bolts. Ail models 102 Refit the starter motor (see Chapter 5A). 103 Refit the wiring harness to the components on the engine/transmission assembly making sure it is routed correctly.
Refitting 104 Locate the engine/transmission assembly beneath the engine compartment and attach the hoist to the lifting eyes. 105 Carefully lift the assembly up into the engine compartment taking care not to damage the surrounding components. 106 Reconnect the left-hand engine/trans-mission mounting to the body and tighten the bolts. 107 Reconnect Ihe right-hand engine mounting to the body and tighten the bolts. 108 Working beneath the vehicle, refit the rear engine mounting and tighten the bolts. 109 Disconnect the hoist from the engine and transmission lifting eyes and remove the hoist from under the vehicle. 110 The remainder of the refitting procedure is the direct reverse of the removal procedure, noting the following points:
a) Ensure that alf sections of the wiring harness follow their original routing; use new cable-ties to secure the harness In position, keeping it away from sources
of
heat and abrasion. b) On vehicles with manual transmission check and if necessary adjust the gearchenge cable and rod with reference to Chapter 7A. c) On vehicles with automatic transmission use new ro//p/ns fo secure the driveshafts to the transmission output stubs. Also check and if necessary adjust the kickdown end selector cables with reference to Chapter 78. d) Ensure that afi hoses are correctly routed and are secured with the correct hose clips, where applicable. If the hose clips cannot be used again; proprietary worm drive clips should be fitted
In
their place. e) Refill the cooling system as described in Chapter 1A or 18. f) Refill the engine with appropriate grades and quantities of oil (Chapter
1A
or 1B). g) Refit and adjust the auxiliary drivebelt(s) wfth reference fo Chapter 1A or 1B. h) Check and If necessary adjust the accelerator cable with reference to Chapter
AA,
48 or
AC.
i) When the engine is started for the first time, check for
air,
coolant, lubricant and fuel leaks from manifolds, hoses etc. If
the
engine has been overhauled, read
the
notes In Section 13 before attempting to starlit.
5 Engine overhaul • dismantling sequence
1 It is much easier to dismantle and work on the engine if it is mounted on a portable engine stand. These stands can often be hired from a tool hire shop. Before the engine is mounted on a stand, the flywheel should be removed, so that the stand bolts can be tightened Into the end of the cylinder block/crankcase. 2 If a stand Is not available, it Is possible to dismantle the engine with it blocked up on a sturdy workbench, or on the floor, Be very careful not to tip or drop the engine when working without a stand. 3 If you intend to obtain a reconditioned engine, all anclllarles must be removed first, to be transferred to the replacement engine (just as they will If you are doing a complete engine overhaul yourself). These components Include the following:
Petroi engines a) Power steering pump if removed with the engine (Chapter
10).
b) Alternator fmcluding mounting brackets) and starter motor (Chapter
SA).
c) The Ignition system and HT components including ail sensors, HT leads and
spark
plugs (Chapters 1A and
SB).
d) The fuel injection system components (Chapters A A and
AB).
e) All electrical switches, actuators and sensors, and the engine wiring harness (Chapters 4A, AB, SB). f) Inlet and exhaust manifolds (Chapters 4A, AB end
AD).
g) Engine oil dipstick and tube. h) Engine mountings (Chapter
2A).
i) Flywheef/driveptate (Chapter
2A).
j) Clutch components (Chapter
6)
- manual transmission. k) Electro-magnetic clutch components (Chapter 7B) - automatic transmission. I) Cooling system components (Chapter
3).
Diesei engines a) Power steering pump //removed with the engine (Chapter
10).
b) Alternator (Including mounting brackets) and starter motor (Chapter 5A). c) The glow plugfpre-heatlng system components (Chapter
SC).
d) Ait fuel system components, including the fuel injection pump, all sensors and actuators (Chapter
AC).
e) The vacuum pump. f) Ail electrical switches, actuators and sensors, and the engine wiring harness (Chapter 4C and 5C). g) Inlet and exhaust manifolds and, where applicable, the turbocharger (Chapter
AC
and 4D). h) The engine oil level dipstick and its tube. i) Engine mountings (Chapter
2C).
Page 103 of 225
2D*10 Engine removal and overhaul procedures
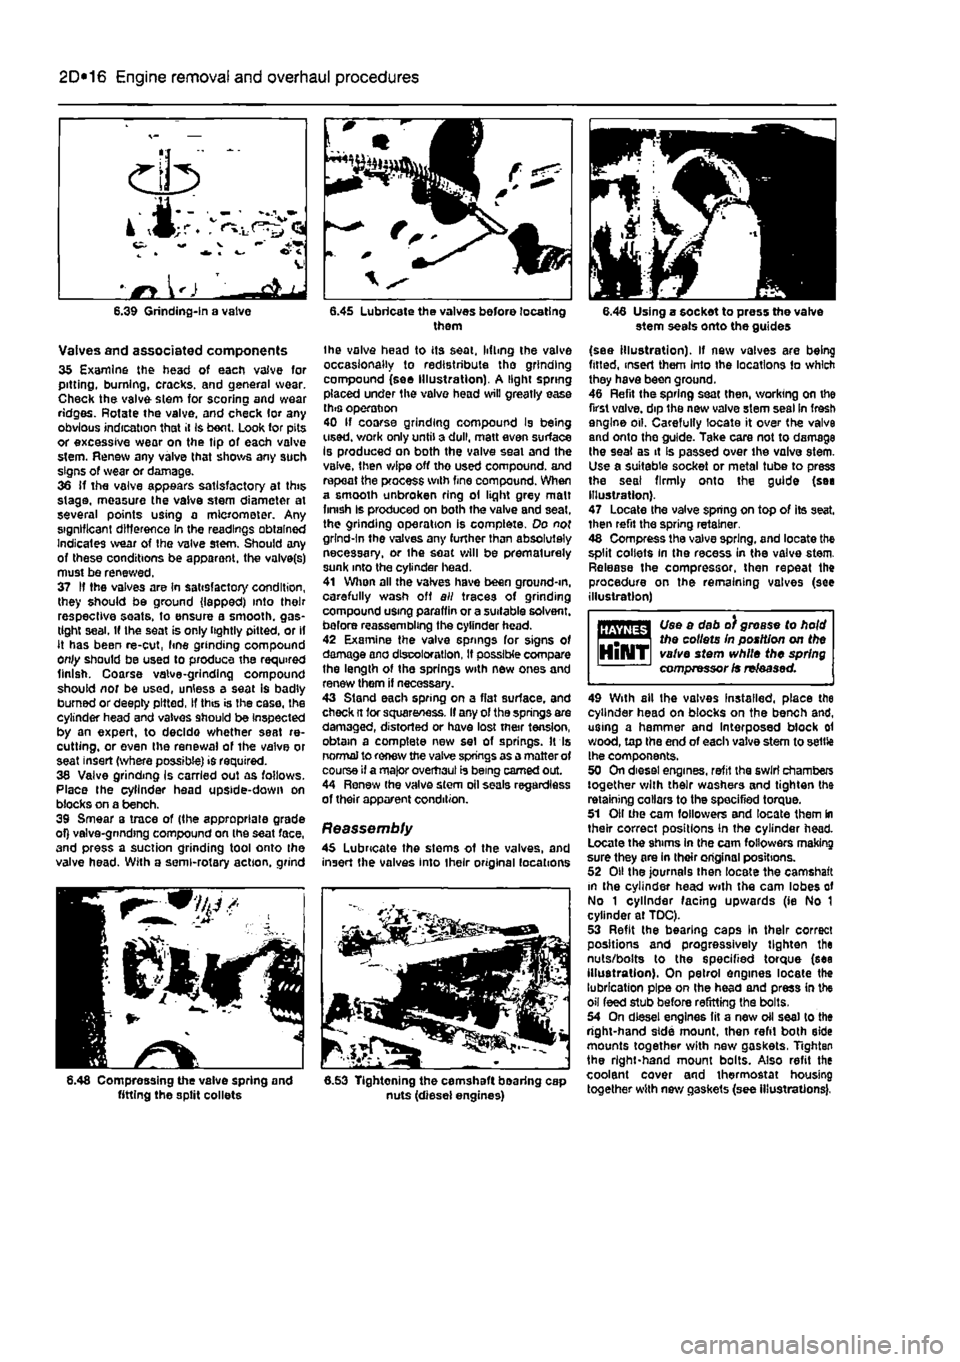
Valves and associated components 35 Examine the head of each vaive for pitting, burning, cracks, and general wear. Check the valve stem for scoring and wear ridges. Rotate the valve, and check lor any obvious indication that it Is bent. Look tor pits or excessive wear on the tip of each valve stem. Renew any valve that shows any such signs of wear or damage. 36 if the valve appears satisfactory at this stage, measure the vaive stem diameter at several points using a micrometer. Any significant difference in the readings obtained Indicates wear of the valve stem. Should any of these conditions be apparent, the valve(s) must be renewed. 37 If the valves are In satisfactory condition, they should be ground (lapped) into their respective seats, to ensure a smooth, gas-tight seal. If the seat is only tightly pitted, or if it has been re-cut, fine grinding compound only should be used to produce the required finish. Coarse valve-grinding compound should nor be used, unless a seat is badly bumed or deeply pitted, If this is the case, the cylinder head and valves should be Inspected by an expert, to decldo whether seat re-cutting, or even the renewal of the valve or seat insert (where possible) is required. 38 Valve grinding Is carried out as follows. Place the cylinder head upside-down on blocks on a bench. 39 Smear a trace of (the appropriate grade of) valve-gnndtng compound on the seat face, and press a suction grinding tool onto the valve head. With a semi-rotary action, grind
6.48 Compressing the vaive spring and fitting the split collets
them
the valve head to its seat, lifting the valve occasionally to redistribute tho grinding compound (see Illustration). A light spring placed under the valve head will greatly ease this operation 40 If coarse grinding compound Is being used, v/ork only until a dull, matt even surface Is produced on both the valve seal and the valve, then wipe off tho used compound, and repeat the process with fine compound. When a smooth unbroken ring ol light grey malt finish Is produced on both the valve and seat, the grinding operation is complete. Do not grind-In the valves any further than absolutely necessary, or the seat will be prematurely sunk into the cylinder head. 41 When all the valves have been ground-m, carefully wash off all traces of grinding compound using paraffin or a suitable solvent, before reassembling the cylinder head. 42 Examine the valve springs for signs of damage ano discoloration, If possible compare the length of the springs with new ones and renew them if necessary. 43 Stand each spring on a flat surface, and check ft tor squareness. If any of the springs are damaged, distorted or have lost mar tension, obtain a complete new set of springs. It Is normal to renew the valve springs as a matter of course if a major overhaul is being earned out. 44 Renew (he valve stem oil seals regardless of their apparent condition.
Reassembly 45 Lubricate the stems of the valves, and insert the valves into their original locations
6.53 Tightening the camshaft bearing cap nuts (diesel engines)
6.46 Using a socket to press the valve stem seals onto the guides
(see illustration). If new valves are being fitted, insert them Into the locations to which they have been ground. 46 Refit the spring sea( then, working on the first valve, dip the new valve stem sesl in fresh engine oil. Carefully locate it over the valve and onto the guide. Take care not to damage the seal as it Is passed over the valve stem. Use a suitable socket or metal tube to press the seal firmly onto the guide (sea Illustration). 47 Locate the valve spring on top of its seat, then refit the spring retainer. 48 Compress the valve spring, and locate the split collets in the recess in the valve stem. Release the compressor, then repeat the procedure on the remaining valves (see illustration)
Use a dab o) grease to hold Uiejitts* the collets In position on the HlNT valve stem while the spring compressor is released.
49 With ail the valves Installed, place the cylinder head on blocks on the bench and, using a hammer and Interposed block ol wood, top the end of each valve stem to settle the components. 50 On diesel engines, refit the swirl chambers together with their washers and tighten the retaining collars to the specified torque. 51 Oil the cam followers and locate them In their correct positions in the cylinder head. Locate the shims In the cam followers making sure they are in their original positions. 52 Oil the journals then locate the camshaft m the cylinder head with the cam lobes of No 1 cylinder facing upwards (ie No 1 cylinder at TDC). 53 Refit the bearing caps In their correct positions and progressively tighten the nuts/bolts to the specified torque (sea illustration). On petrol engines locate the lubrication pipe on Ihe head and press in the oil feed stub before refitting the bolts. 54 On diesel engines fit a new oil sea) to the right-hand side mount, then refit both side mounts together with new gaskets, Tighten the right-hand mount bolts. Also refit the coolant cover and thermostat housing together with new gaskets (see illustrations).
Page 107 of 225
2D*10 Engine removal and overhaul procedures
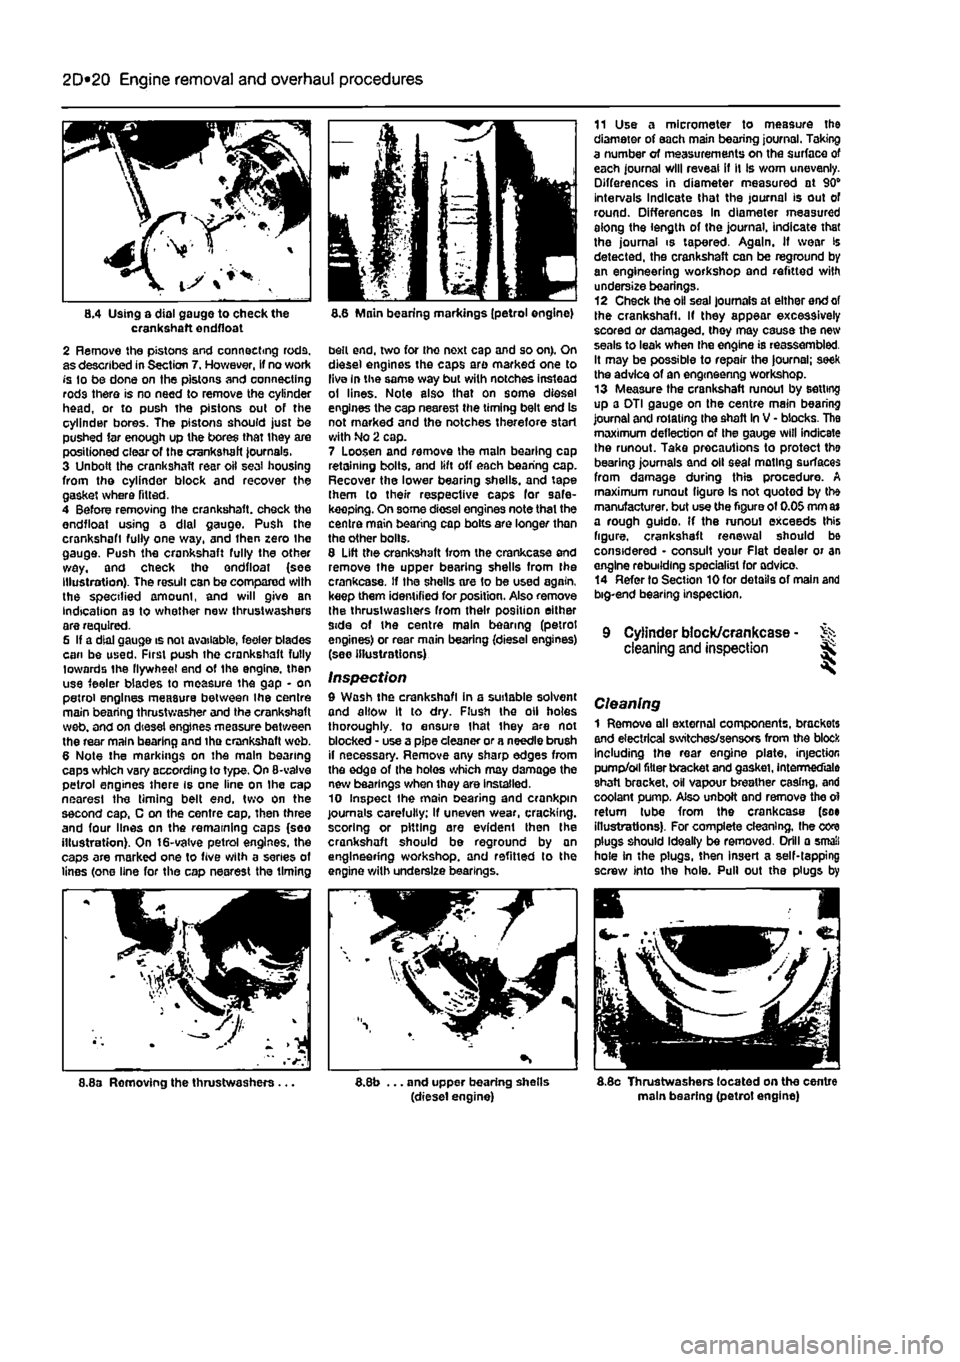
8.4 Using a dial gauge to check the crankshaft endfloat 2 Remove the pistons and connecting rods, as described in Section 7. However, If no work fs to be done on the pistons and connecting rods there is no need to remove the cylinder head, or to push the pistons out of the cylinder bores. The pistons should just be pushed far enough up the bores that they are positioned clear of the crankshaft Journals. 3 Unbolt the crankshaft rear oil seal housing from the cylinder block and recover the gasket where fitted. 4 Before removing the crankshaft, check the endfloat using a dial gauge. Push the crankshaft fully one way, and then zero Ihe gauge. Push the crankshaft fully the other way, and check tho endfloat (see Illustration). The result can be compared with the specified amount, and will give an indication as to whether new thrustwashers are required. 6 If a dial gauge is not available, feeler blades can be used. First push the crankshaft fully towards the flywheel end of the engine, then use feeler blades to measure the gap - on petrol engines measure between the centre main bearing thrust washer and the crankshaft web. and on diesel engines measure between the rear main bearing and tha crankshaft web. 6 Note the markings on the main bearing caps which vary according to type. On 8-valve petrol engines there is one line on Ihe cap nearest the timing belt end, two on the second cap, C on the centre cap, then three and four lines on the remaining caps (soo illustration). On 16-valve petrol engines, the caps are marked one to five with a series of lines (one line for the cap nearest the timing
8.6 Main bearing markings (petrol engine)
belt end, two for tho next cap and so on). On diesel engines the caps are marked one to live In the same way but with notches instead ol lines. Note also that on some diesel engines the cap nearest the timing belt end Is not marked and the notches therefore start with No 2 cap. 7 Loosen and remove the main bearing cop retaining bolts, and lift off each bearing cap. Recover the lower bearing shells, and tape them to their respective caps for safe-keeping. On some diesel engines note that the centre main bearing cap botts are longer than the other bolls. 8 Lift the crankshaft Irom the crankcase and remove the upper bearing shells from the crankcase. If the shells are 1o be used again, keep them identified for position. Also remove the thrustwashers from their position either side of the centre main bearing (petrol engines) or rear main bearing (diesel engines) (see illustrations)
Inspection 9 Wash the crankshaft in a suitable solvent and allow It to dry. Flush the oil holes thoroughly, to ensure that ihey are not blocked - use a pipe cleaner or a needle brush il necessary. Remove any sharp edges from the edge of the holes which may damage the new bearings when they are installed. 10 Inspect the main searing and crankpin journals carefully; if uneven wear, cracking, scoring or pitting are evident then the crankshaft should be reground by an engineering workshop, and refitted to the engine with underslze bearings.
11 Use a micrometer to measure the diameter of each main bearing journal. Taking a number of measurements on the surface of each journal will reveal if it Is worn unevenly. Differences in diameter measured at 90" intervals Indicate that the journal is out of round. Differences In diameter measured aiong the length of the journal, indicate that the journal is tapered. Again. If wear is detected, the crankshaft can be reground by an engineering workshop and refitted with undersize bearings. 12 Check the oil seal journals at either end of the crankshaft. If they appear excessively scored or damaged, they may cause the new seals to leak when the engine is reassembled. It may be possible to repair the |ournal; seek the advice of an engmeenng workshop. 13 Measure the crankshaft runoul by setting up a DTI gauge on the centre main bearing journal and rotating the shaft In V - blocks. The maximum deflection of the gauge will indicate Ihe runout. Take precautions to protect the bearing journals and oil seal mating surfaces from damage during this procedure. A maximum runout figure Is not quoted by the manufacturer, but use the figure of 0.05 mm
a»
a rough guido. If the runoul exceeds this figure, crankshaft renewal should be considered • consult your Flat dealer or an engine rebuilding specialist for advico. 14 Refer to Section 10 for details of main and big-end bearing inspection.
9 Cylinder block/crankcase - % cleaning and inspection Sk
Cleaning 1 Remove all external components, brackets and electrical switches/sensors from the block Including the rear engine plate, injection pump/oil filter bracket and gasket, Intermediate shaft bracket, oH vapour breather casing, and coolant pump. Also unboit and remove the ol return tube from the crankcase (see illustrations). For complete cleaning, the core plugs should Ideally be removed. Drill a small hole in the plugs, then insert a self-tapping screw into the hole. Pull out the plugs by
8.8a Removing the thrustwashers.. ... and upper bearing shells (diesel engine) 8.8o Thrustwashers located on the centre main bearing (petrol engine)
Page 146 of 225
4D*3 Exhaust and emission control systems
Refitting 8 Refitting is a reversal of the removal pro-cedure but fit new gaskets. Tighten the nuts lo the specified torque.
Diesel models Note: On diesel models the inlet and exhaust
manifolds
are located on the rear of the engine
end
share the same securing nuts and gasket. Removal 8 Remove the inlet manifold as described In Part
C
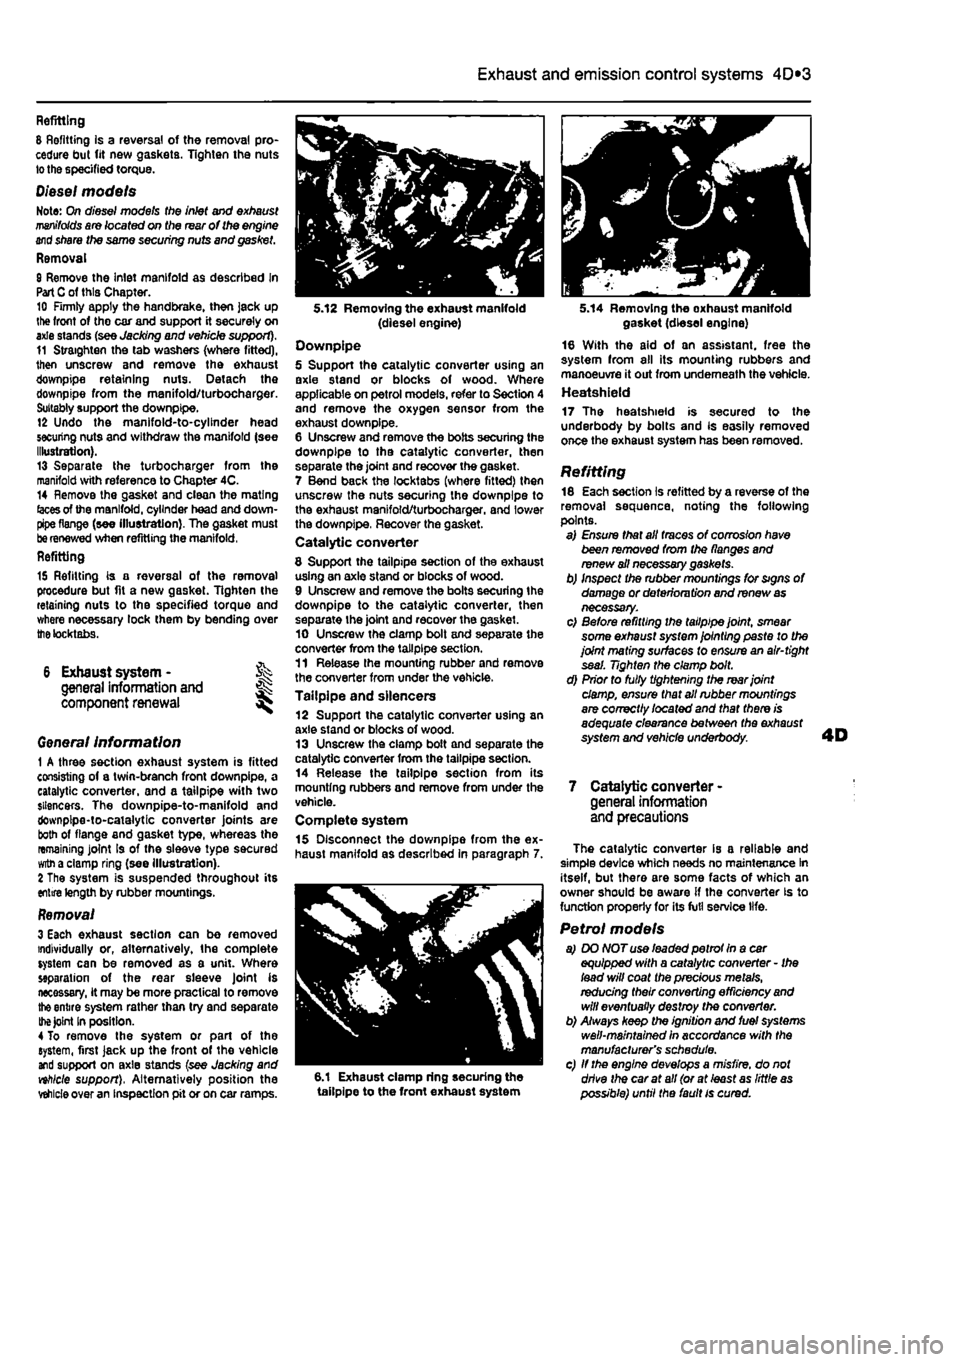
of this Chapter. 10 Firmly apply the handbrake, then jack up lite front of tho car and support it securely on axle stands (see Jacking and vehicle support). 11 Straighten the tab washers (where fitted), then unscrew and remove the exhaust downpipe retaining nuts. Detach the downpipe from the manifold/turbocharger. Suitably support the downpipe. 12 Undo the manifold-to-cylinder head securing nuts and withdraw the manifold (see Illustration). 13 Separate the turbocharger from the manifold with reference to Chapter 4C. 14 Remove the gasket and clean the mating
(aces
of the manifold, cylinder head and down-pipe flange (see illustration). The gasket must
be
renewed when refitting the manifold, Refitting
15 Refitting is a reversal of the removal procedure but fit a new gasket. Tighten the retaining nuts to the specified torque and where necessary lock them by bending over
the
tocktabs.
6 Exhaust system - % general information and ^ component renewal
Genera/ Information 1 A three section exhaust system is fitted consisting of a twin-branch front downpipe, a catalytic converter, and a tailpipe with two silencers. The downpipe-to-manifold and downpipe-to-catalytic converter joints are both of flange and gasket type, whereas the remaining joint Is of the sleeve type secured
witn
a clamp ring (see illustration). 2 The system is suspended throughout its entire length by rubber mountings.
Removal 3 Each exhaust section can be removed individually or, alternatively, the complete system can be removed as a unit. Where separation of the rear sleeve Joint is necessary, it may be more practical to remove
the
entire system rather than try and separate
the Joint
In position. 4 To remove the system or part of the system, first jack up the front of the vehicle and support on axle stands (see Jacking and nhlcle support), Alternatively position the
vehicle
over an inspection pit or on car ramps.
5.12 Removing the exhaust manifold (diesel engine) Downpipe 5 Support the catalytic converter using an axle stand or blocks of wood. Where applicable on petrol models, refer to Section 4 and remove the oxygen sensor from the exhaust downpipe. 6 Unscrew and remove the bolts securing the downpipe to tha catalytic converter, then separate the joint and recover the gasket. 7 Bend back the locktabs (where fitted) then unscrew the nuts securing the downpipe to the exhaust manifold/turbocharger. and lower the downpipe, Recover the gasket. Catalytic converter
8 Support the tailpipe section of the exhaust using an axle stand or blocks of wood. 9 Unscrew and remove the bolts securing the downpipe to the catalytic converter, then separate the joint and recover the gasket. 10 Unscrew the clamp bolt and separate the converter from the tailpipe section. 11 Release the mounting rubber and remove the converter from under the vehicle. Tailpipe and silencers 12 Support the catalytic converter using an axle stand or blocks of wood. 13 Unscrew the clamp bolt and separate the catalytic converter from the tailpipe section. 14 Release the tailpipe section from its mounting rubbers and remove from under the vehicle. Complete system 15 Disconnect the downpipe from the ex-haust manifold as described in paragraph 7.
6.1 Exhaust clamp ring securing the tailpipe to the front exhaust system
5.14 Removing the oxhaust manifold gasket (diesel engine) 16 With the aid of an assistant, free the system from all its mounting rubbers and manoeuvre it out from underneath the vehicle. Heatshield 17 The heatshield is secured to the underbody by bolts and Is easily removed once the exhaust system has been removed.
Refitting 18 Each section is refitted by a reverse of the removal sequence, noting the following points. a) Ensure that all traces of corrosion have been removed from the flanges and renew ail necessary gaskets. b) Inspect the rubber mountings for signs of damage or deterioru tion and renew
as
necessary. c) Before refitting the tailpipe joint, smear some exhaust system jointing paste to the joint mating surfaces to ensure an air-tight seal. Tighten the clamp bolt. d) Prior to fully tightening the rear joint damp, ensure that all rubber mountings are correctly /ocafed and that there is adequate clearance between the exhaust system and vehicle underbody.
7 Catalytic converter -general information and precautions
The catalytic converter is a reliable and simple device which needs no maintenance In itself, but there are some facts of which an owner should be aware if the converter is to function properly for its full service life.
Petrol models a) DO NOT use leaded petrot In a car equipped with a catalytic converter - Ihe lead will coat the precious metals, redudng their converting efficiency
and
will eventually destroy the converter. b) Always keep the ignition and fuel systems well-maintained in accordance with the manufacturer's schedule. c) If the engine develops a misfire, do not drive the car at all (or at least as little
as
possible) until the fault is cured.
Page 163 of 225
7A*2 Manual transmission
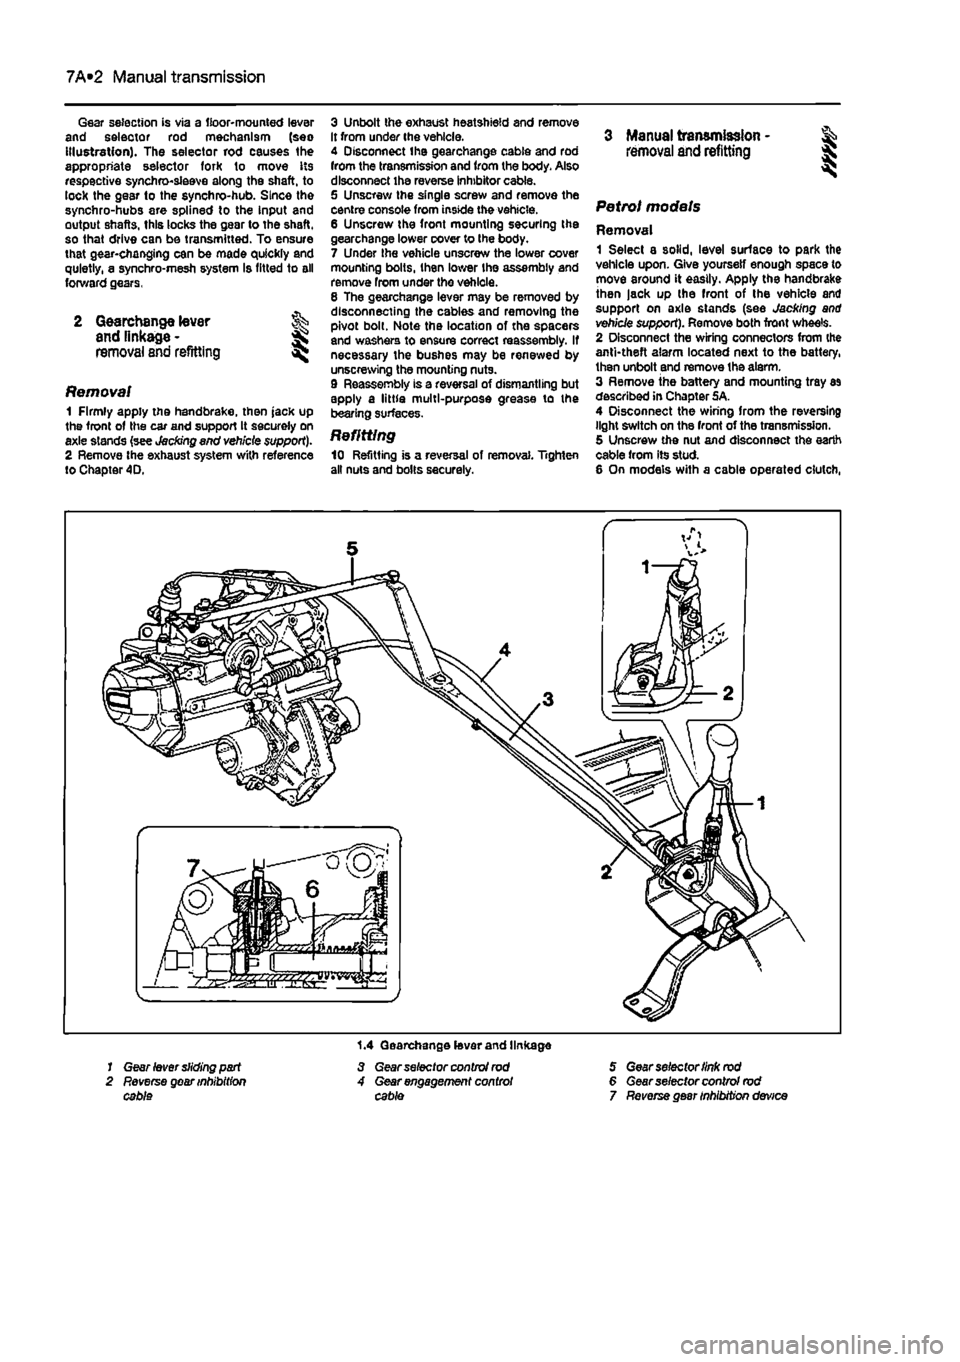
Gear selection is via a floor-mounted lever and selector rod mechanism (seo Illustration). The selector rod causes the appropriate selector fork to move its respective synchro-sleeve along the shaft, to lock the gear to the synchro-hub. Since the synchro-hubs are splined to the Input and output shafts, this locks the gear to the shaft, so that drive can be transmitted. To ensure that gear-changing can be made quickly and quietly, a synchro-mesh system Is fitted to all forward gears,
2 Gearchange lever and linkage -
removal and refitting ^
Removal 1 Firmly apply the handbrake, then jack up the front of the car and support It securely on axle stands {see Jacking and veh/cte support). 2 Remove the exhaust system with reference to Chapter 4D.
3 Unbolt the exhaust heatshield and remove It from under the vehicle. 4 Disconnect the gearchange cable and rod from the transmission and from the body. Also disconnect the reverse inhibitor cable. 5 Unscrew the single screw and remove the centre console from inside the vehicle. 6 Unscrew the front mounting securing the gearchange lower cover to the body. 7 Under Ihe vehicle unscrew the lower cover mounting bolts, then lower Ihe assembly and remove from under the vehlole. 8 The gearchange lever may be removed by disconnecting the cables and removing the pivot bolt. Note the location of the spacers and washers to ensure correct reassembly. If necessary the bushes may be renewed by unscrewing the mounting nuts. 9 Reassembly is a reversal of dismantling but apply a little multi-purpose grease to the bearing surfaces.
Refitting 10 Refitting is a reversal of removal. Tighten all nuts and bolts securely.
3 Manual transmission - & removal and refitting § S
Petrol models
Removal 1 Select a solid, level surlace to park the vehicle upon. Give yourself enough space to move around it easily. Apply the handbrake then jack up the front of the vehicle and support on axle stands (see Jacking and vehicle support). Remove both front wheels. 2 Disconnect the wiring connectors from (he anti-theft alarm located next to the battery, then unbolt and remove the alarm. 3 Remove the battery and mounting tray as described in Chapter 5A. 4 Disconnect the wiring from the reversing light switch on the front of the transmission. 5 Unscrew the nut and disconnect the earth cable from its stud. 6 On models with a cable operated clutch,
1.4 Gearchange lever and linkage 1 Gear lever sliding part 3 Gear selector control rod 5 Gear selector link rod 2 Reverse gear inhibition 4 Gear engagement control 6 Gear selector control rod cable cable 7 Reverse gear inhibition device
Page 185 of 225
Braking system 9®9
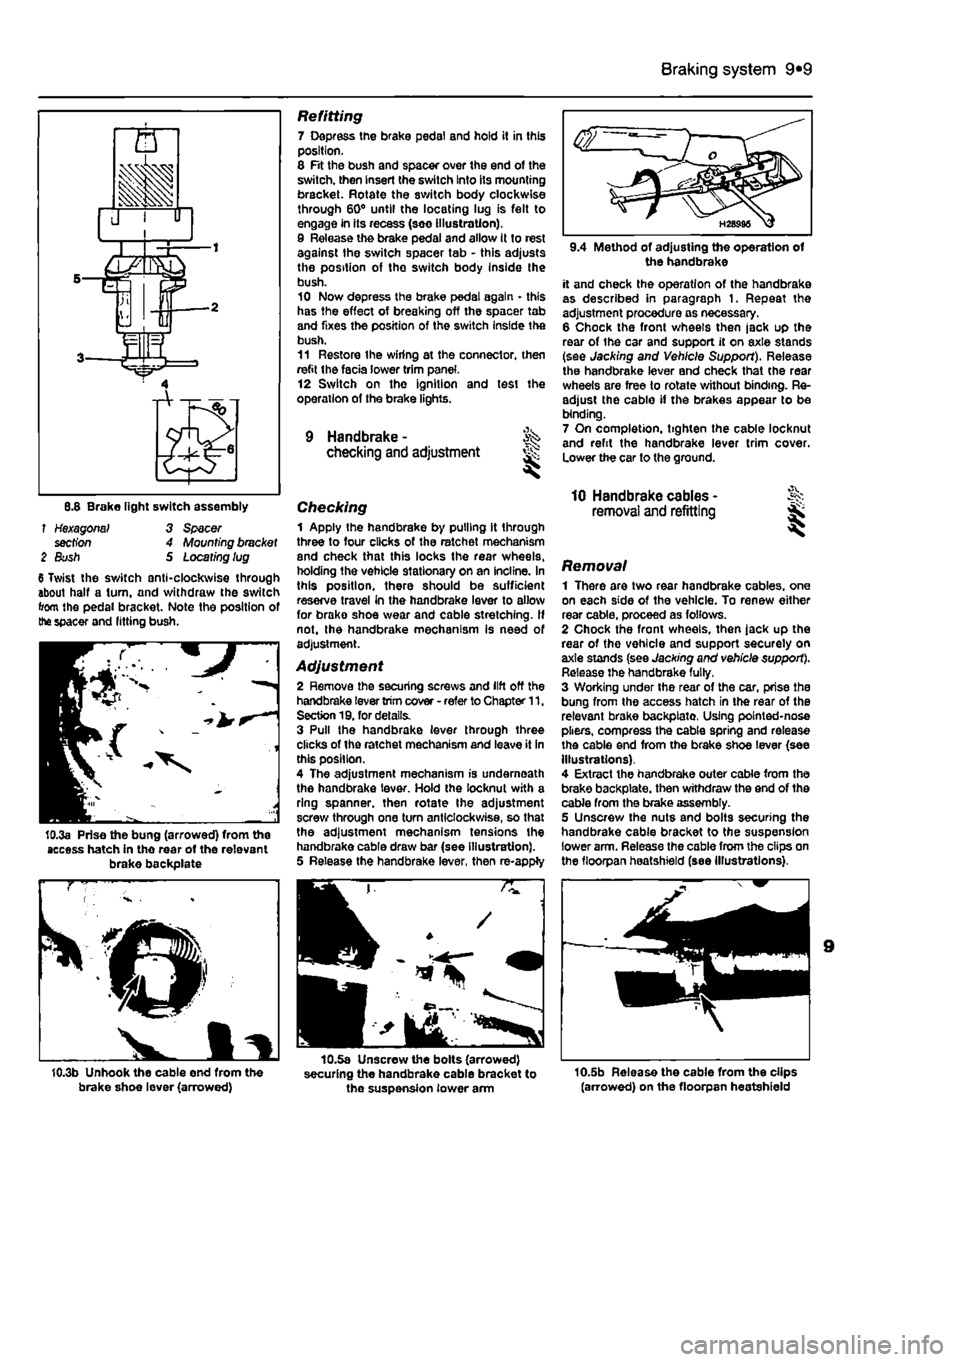
6.8 Brake light switch assembly f Hexagonal' 3 Spacer section 4 Mounting bracket 2 Bush S Locating lug 6 Twist the switch anti-clockwise through about half a turn, and withdraw the switch from the pedal bracket. Note the position of the spacer and fitting bush.
10.3a Prise the bung (arrowed) from the access hatch in the rear of the relevant brake backplate
10.3b Unhook the cable end from the brake shoe lever (arrowed)
Refitting 7 Depress the brake pedal and hold it in this position. 8 Fit the bush and spacer over the end of the switch, then Insert the switch Into its mounting bracket. Rotate the switch body clockwise through 60° until the locating lug is felt to engage in its recess (seo illustration). 9 Release the brake pedal and allow It to rest against the switch spacer tab - this adjusts the position of the switch body Inside Ihe bush. 10 Now depress the brake pedal again - this has the effect of breaking off the spacer tab and fixes the position of the switch Inside the bush. 11 Restore Ihe wiring at the connector, then refit the facia lower trim panel. 12 Switch on the ignition and test the operation of the brake lights.
9 Handbrake - ^ checking and adjustment
Checking 1 Apply the handbrake by pulling it through three to four clicks of the ratchet mechanism and check that this locks the rear wheels, holding the vehicle stationary on an incline. In this position, there should be sufficient reserve travel in the handbrake lever to allow for brako shoe wear and cable stretching. If not. Ihe handbrake mechanism Is need of adjustment.
Adjustment 2 Remove the securing screws and lift off the handbrake lever trim cover - refer to Chapter 11. Section 19. for details. 3 Pull the handbrake lever through three clicks of the ratchet mechanism and leave it in this position. 4 The adjustment mechanism is underneath the handbrake lever. Hold the locknut with a ring spanner, then rotate the adjustment screw through one turn anticlockwise, so that the adjustment mechanism tensions the handbrake cable draw bar (see illustration). 5 Release the handbrake lever, then re-apply
10.5a Unscrew the bolts (arrowed) securing the handbrake cable bracket to the suspension lower arm
the handbrake it and check the operation of the handbrake as described in paragraph 1. Repeat the adjustment procedure as necessary. 6 Chock the front wheels then |ack up the rear of the car and support it on axle stands (see Jacking and Vehicle Support). Release the handbrake lever and check that the rear wheels are free to rotate v/ithout binding. Re-adjust the cable if the brakes appear to be binding. 7 On completion, tighten the cable locknut and refit the handbrake lever trim cover. Lower the car to the ground.
10 Handbrake cables -removal and refitting
Removal 1 There are two rear handbrake cables, one on each side of the vehicle. To renew either rear cable, proceed as follows. 2 Chock the front wheels, then jack up the rear of tho vehicle and support securely on axle stands (see Jacking and vehicle support). Release the handbrake fully, 3 Working under the rear of the car, prise the bung from the access hatch in the rear of the relevant brake backplato, Using pointed-nose pliers, compress the cable spring and release the cable end from the brake shoe lever (see Illustrations). 4 Extract the handbrake outer cable from the brake backplate. then withdraw the end of the cable from the brake assembly. 5 Unscrew the nuts and bolts securing the handbrake cable bracket to the suspension lower arm. Release the cable from the clips on the floorpan heatshield (see Illustrations).
10.5b Release the cable from the clips (arrowed) on the floorpsn heatshield
Page 198 of 225
10*10 Suspension and steering
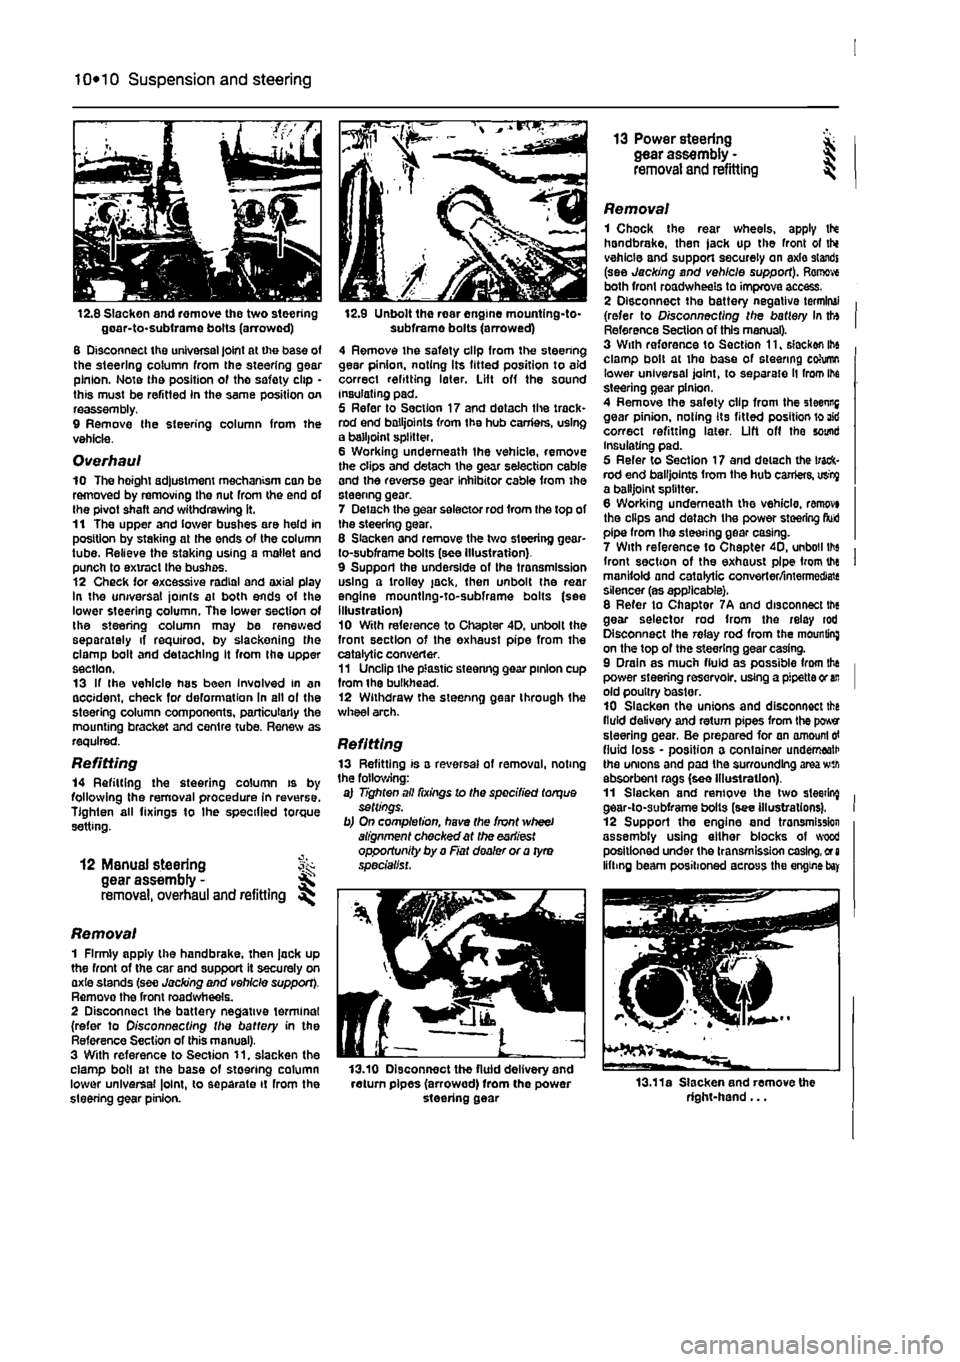
12.8 Slacken and remove the two steering goar-to-subirame bolts (arrowed) 8 Disconnect the universal joint at the base of the steering column from the steering gear pinion. Note the position of tho safety clip • this must be refitted In the same position on reassembly. 9 Remove Ihe steering column from the vehicle.
Overhaul 10 The hoight adjustment mechanism can be removed by removing the nut from the end of the pivot shaft and withdrawing it. 11 The upper and lower bushes are held in position by staking at the ends of the column tube. Relieve the staking using a mallet and punch to extract the bushes. 12 Check for excessive radial and axial play In the universal joints at both ends of the lower steering column. The lower section of the steering column may be renewed separately if required, by slackening the clamp bolt and detaching It from the upper section. 13 If the vehicle has been Involved in an accident, check for deformation In all ol the steering column components, particularly the mounting bracket and centre tube. Renew as required.
Refitting 14 Refitting the steering column is by following the removal procedure in reverse. Tighten all fixings to Ihe specified torque setting.
12 ManuaJ steering fk gear assembly -removal, overhaul and refitting
Removal 1 Firmly apply the handbrake, then jack up the front of the car and support it securely on axie stands (see Jacking and vehicle support). Remove the front road wheels. 2 Disconnect the battery negative terminal (refer to Disconnecting the battery in the Reference Section of this manual). 3 With reference to Section 11. slacken the clamp boil at the base of steering column lower universal |o!nt, to separate it rrom the steering gear pinion.
12.9 Unbolt the rear engine mountlng-to-subframe bolts (arrowed) 4 Remove the safety clip from the steering gear pinion, noting Its fitted position to aid correct refitting later. Lift off the sound insulating pad. 5 Refer to Section 17 and dotach the track* rod end bailjoints from the hub carriers, using a balljoint splitter. 6 Working underneath the vehicle, remove the clips and detach the gear selection cable and the reverse gear inhibitor cable from the steenng gear. 7 Delach the gear selector rod from the top of the steering gear, 8 Slacken and remove the two steering gear-to-subframe bolts (see Illustration) 9 Support the underside of the transmission using a trolley jack, then unbolt the rear engine mountlng-to-subframe bolts (see illustration) 10 With reference to Chapter 4D. unbolt the front section of the exhaust pipe from the catalytic converter. 11 Unclip the plastic steenng gear pinion cup from ihe bulkhead. 12 Withdraw the steenng gear through the wheel arch.
Refitting 13 Refitting is a reversal of removal, noting the following: a) Tighten all fixings lo the specified torque settings. b) On completion, have the front wheel alignment checked at the earliest opportunity by a Fiat dealer or a tyro specialist.
13.10 Disconnect the fluid delivery and return pipes (arrowed) from the power steering gear
13 Power steering * gear assembly - J removal and refitting ^
Removal 1 Chock the rear wheels, apply tN handbrake, then jack up the front ot thi vehicle and support securely on axle standi (see Jacking and vehicle support). Remove both front roadwheels to improve access. 2 Disconnect the battery negative terminal (refer to Disconnecting the battery In tto Reference Section of this manual). 3 With reforence to Section 11, slacken ihe clamp bolt at the base of steering cohimn lower universal joint, to separate ll from Ihe steering gear pinion. 4 Remove the safety clip from the steenng gear pinion, noting its fitted position lo aid correct refitting later. Lift off the sound Insulating pad. 5 Refer to Section 17 and detach the track-rod end bailjoints from the hub carriers, usty a balljoint splitter. 6 Working underneath the vehicle, ranwvi the clips and detach the power steering fluid pipe from the steering gear casing. 7 With reference to Chapter 40, unboil lbs front section of the exhaust pipe from the manifold and catalytic converter/intermediate silencer (as applicable). 8 Refer to Chaptor 7A and disconnect the gear selector rod from the relay rod Disconnect the relay rod from the mounting on the top of the steering gear casing. 9 Drain as much fluid as possible from the power steering reservoir, using a pipette or
an
old poultry baster. 10 Slacken the unions and disconnect the fluid delivery and return pipes from the power steering gear. Be prepared for an amount
erf
fluid loss - position a container underneath the unions and pad the surrounding area wth absorbent rags (see Illustration). 11 Slacken and remove the two sleeting gear-to-subframe bolts (see illustrations). 12 Support the engine and tronsmission assembly using either blocks of wood positioned under the transmission casing,
or a
lifting beam positioned across the engine
bay
13.11a Slacken and remove the right-hand...
Page 208 of 225
Bodywork and fittings
11
*7
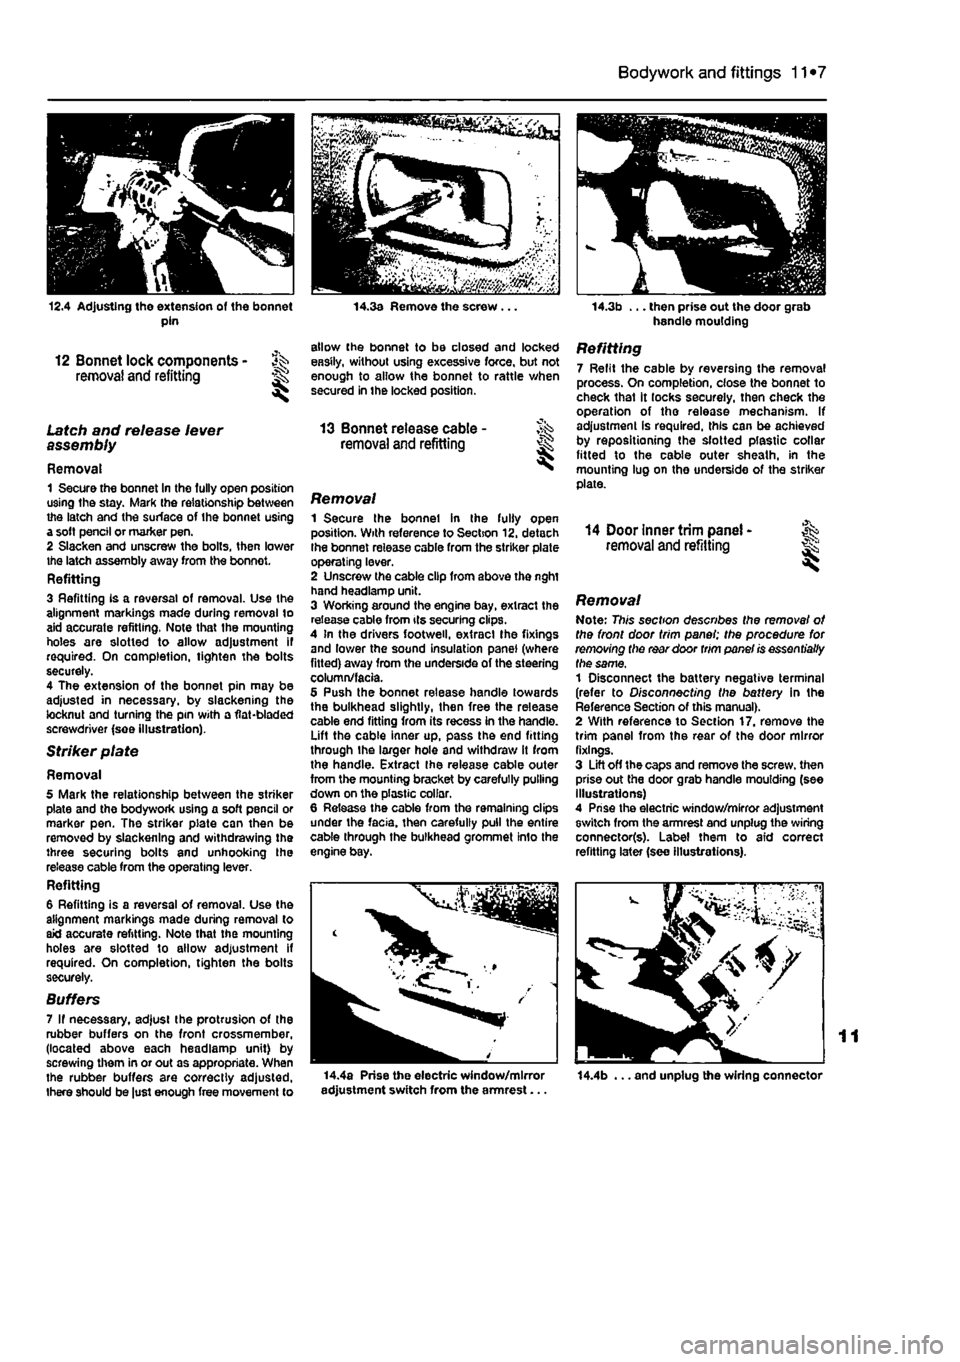
12.4 Adjusting the extension of the bonnet pin
12 Bonnet lock components - ^ removal and refitting H
Latch and release lever assembly
Removal 1 Secure the bonnet In the fully open position using the stay. Mark the relationship between the latch and the surface of the bonnet using a soft pencil or marker pen. 2 Slacken and unscrew the bolts, then lower the latch assembly away from the bonnot. Refitting 3 Refitting is a reversal of removal. Use the alignment markings made during removal to aid accurate refitting. Note that the mounting holes are slotted to allow adjustment if required. On completion, tighten the bolts securely. 4 The extension of the bonnet pin may be adjusted in necessary, by slackening the locknut and turning the pin with a flat-bladed screwdriver (see illustration).
Striker plate
Removal 5 Mark the relationship between the striker plate and the bodywork using a soft pencil or marker pen. The striker plate can then be removed by slackening and withdrawing the three securing bolts and unhooking the release cable from the operating lever. Refitting 6 Refitting is a reversal of removal. Use the alignment markings made during removal to aid accurate refitting. Note that the mounting holes are slotted to allow adjustment if required. On completion, tighten the bolts securely.
Suffers 7 If necessary, adjust the protrusion of the rubber buffers on the front crossmember, (located above each headlamp unit) by screwing them in or out as appropriate. When the rubber buffers are correctly adjusted, there should be just enough free movement to
14.3a Remove the screw .
allow the bonnet to be closed and locked easily, without using excessive force, but not enough to allow the bonnet to rattle when secured in the locked position.
13 Bonnet release cable -removal and refitting I
Removal 1 Secure the bonnet in the fully open position. With reference to Section 12, detach Ihe bonnet release cable from the striker plate operating lever. 2 Unscrew the cable clip from above the nght hand headlamp unit. 3 Working around the engine bay, extract the release cable from its securing clips. 4 In the drivers footweil, extracl Ihe fixings and lower the sound insulation panel (where fitted) away from the underside of the steering column/facia. 5 Push the bonnet release handle towards the bulkhead slightly, then free the release cable end fitting from its recess in the handle. Lift the cable inner up, pass the end fitting through the larger hole and withdraw it from the handle. Extract the release cable outer from the mounting bracket by carefully pulling down on the plastic collar. 6 Release the cable from the remaining clips under the facia, then carefully pull the entire cable through the bulkhead grommet Info the engine bay.
14.3b ... then prise out the door grab handle moulding
Refitting 7 Refit the cable by reversing the removal process. On completion, close the bonnet to check that it locks securely, then check the operation of tho release mechanism. If adjustment is required, this can be achieved by repositioning the slotted plastic collar fitted to the cable outer sheath, in the mounting lug on the underside of the striker plate.
14 Door inner trim panel -removal and refitting I
Removal Note: This section describes the removal of the front door trim panel; the procedure for removing the rear door trim panel is essentially the same, 1 Disconnect the battery negative terminal (refer to Disconnecting the battery in the Reference Section of this manual). 2 With reference to Section 17. remove the trim panel from the rear of the door mirror fixings. 3 Lift off the caps and remove the screw, then prise out the door grab handle moulding (see Illustrations) 4 Prise the electric window/mirror adjustment switch from the armrest and unplug the wiring connector(s). Label them to aid correct refitting later (see illustrations).
14.4a Prise the electric window/mirror adjustment switch from the armrest... 14.4b ... and unplug the wiring connector