Tacho FIAT PUNTO 1998 176 / 1.G Workshop Manual
[x] Cancel search | Manufacturer: FIAT, Model Year: 1998, Model line: PUNTO, Model: FIAT PUNTO 1998 176 / 1.GPages: 225, PDF Size: 18.54 MB
Page 28 of 225

Every 10 000 miles - petrol models ia.q
10 Pollen filter renewal
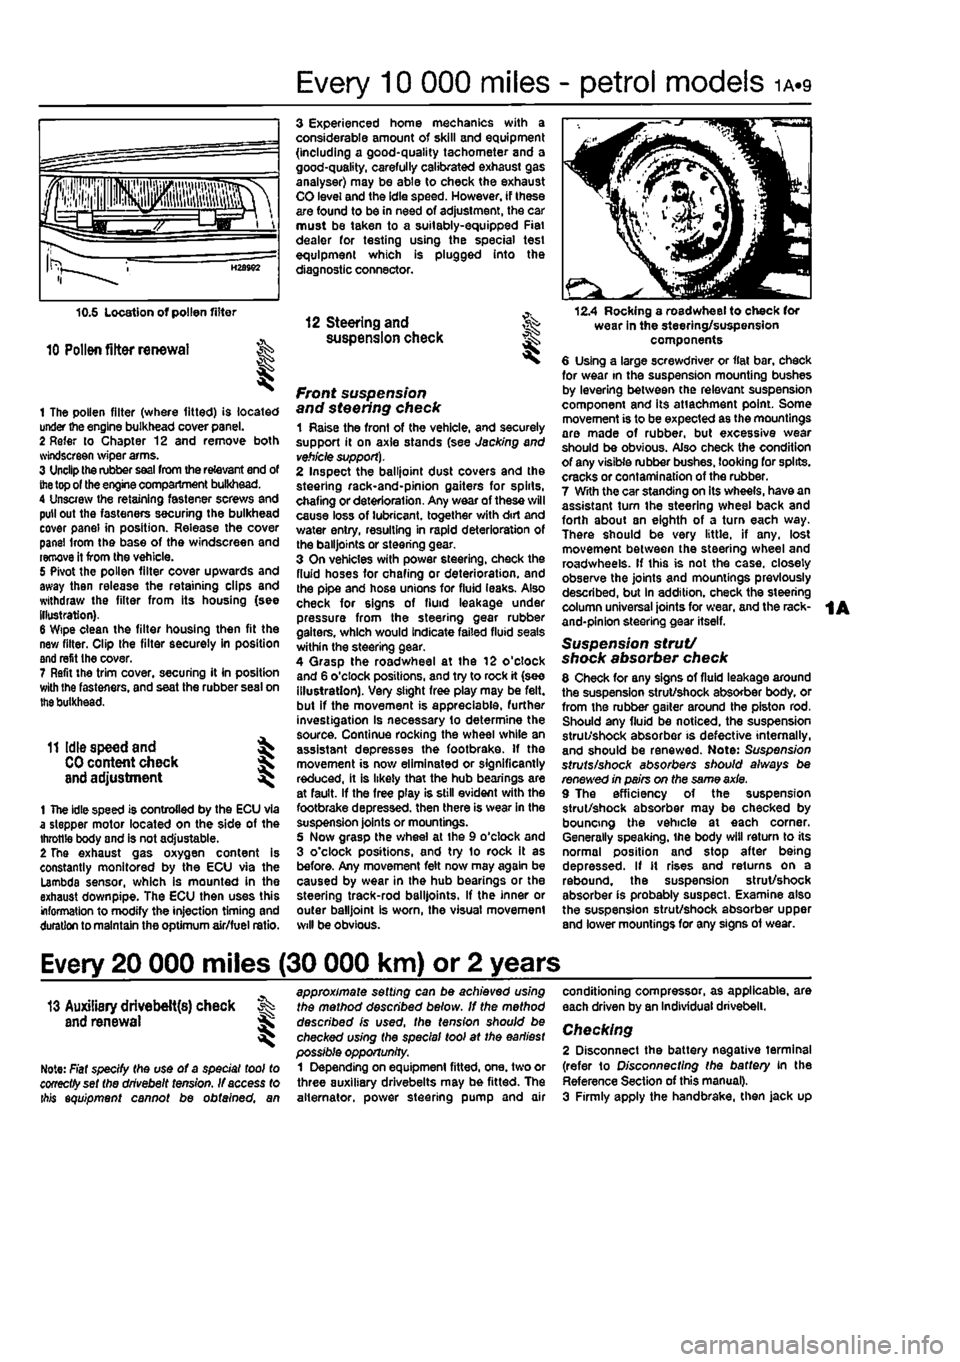
1 The pollen filter (where fitted) is located under the engine bulkhead cover panel. 2 Refer to Chapter 12 and remove both svindscreen wiper arms. 3 Unclip the rubber
seal
from the relevant end of
the
top of the engine compartment bulkhead. 4 Unscrew the retaining fastener screws and pull out the fasteners securing the bulkhead cover panel in position. Release the cover panel Irom the base of the windscreen and remove it from the vehicle. 5 Pivot the pollen filter cover upwards and away then release the retaining clips and withdraw the filter from its housing (see illustration). 6 Wipe clean the filter housing then fit the new filter. Clip the filter securely in position and refit the cover. 7 Refit the trim cover, securing it in position with Ihe fasteners, and seat the rubber seal on
the
bulkhead.
11 Idle speed and ^
CO
content check J and adjustment ^
1 The idle speed is controlled by the ECU via a stepper motor located on the side of the throttle body and is not adjustable. 2 The exhaust gas oxygen content is constantly monitored by the ECU via the Lambda sensor, which is mounted in the exhaust down pipe. The ECU then uses this information to modify the injection timing and duration to maintain the optimum air/fuel ratio.
3 Experienced home mechanics with a considerable amount of skill and equipment (including a good-quality tachometer and a good-quality, carefully calibrated exhaust gas analyser) may be able to check the exhaust CO level and the idle speed. However, if these are found to be in need of adjustment, the car must be taken to a suitably-equipped Fiat dealer for testing using the special test equipment which is plugged into the diagnostic connector.
12 Steering and ^ suspension check
front suspension and steering check 1 Raise the front of the vehicle, and securely support it on axle stands (see Jacking and
vehicle support).
2 Inspect the balljoint dust covers and the steehng rack-and-pinion gaiters for spirts, chafing or deterioration. Any wear of these will cause loss of lubricant, together with dirt and water entry, resulting in rapid deterioration of the balljoints or steering gear. 3 On vehicles with power steering, check the fluid hoses for chafing or deterioration, and the pipe and hose unions for fluid leaks. Also check for signs of fluid leakage under pressure from the steering gear rubber gaiters, which would indicate failed fluid seals within the steering gear. 4 Qrasp the roadwheel at the 12 o'clock and 6 o'clock positions, and try to rock it (see illustration). Very slight free play may be felt, but if the movement is appreciable, further investigation Is necessary to determine the source. Continue rocking the wheel while an assistant depresses the footbrake. If the movement is now eliminated or significantly reduced, it is likely that the hub bearings are at fault. If the free play is still evident with the footbrake depressed, then there is wear in the suspension joints or mountings. 5 Now grasp the wheel at the 9 o'clock and 3 o'clock positions, and try to rock it as before. Any movement felt now may again be caused by wear in the hub bearings or the steering track-rod balljoints. If the inner or outer balljoint is worn, the visual movement will be obvious.
12.4 Rocking a roadwheel to check for wear in the steering/suspension components 6 Using a large screwdriver or flat bar, check for wear in the suspension mounting bushes by levering between the relevant suspension component and its attachment point. Some movement is to be expected as the mountings are made of rubber, but excessive wear should be obvious. Also check the condition of any visible rubber bushes, looking for splits, cracks or contamination of the rubber. 7 With the car standing on its wheels, have an assistant tum the steering wheel back and forth about sn eighth of a turn each way. There should be very little, if any. lost movement between the steering wheel and roadwheels. If this is not the case, closely observe the joints and mountings previously described, but in addition, check the steering column universal joints for wear, and the rack-and-pinion steering gear itself.
Suspension strut/ shock absorber check 8 Check for any signs of fluid leakage around the suspension strut/shock absorber body, or from the rubber gaiter around the piston rod. Should any fluid be noticed, the suspension strut/shock absorber is defective internally, and should be renewed. Note: Suspension struts/shock absorbers should always be renewed in pairs on the same axle. 9 The efficiency of the suspension strut/shock absorber may be checked by bouncing the vehicle at each corner. Generally speaking, ihe body will return to its normal position and stop after being depressed. If it rises and returns on a rebound, the suspension strut/shock absorber is probably suspect. Examine also the suspension strut/shock absorber upper and lower mountings for any signs of wear.
Every 20 000 miles (30 000 km) or 2 years
13 Auxiliary drivebelt{s) check % and renewal ^
Note: Fiat specify the use of a special tool to cooectfyset the drivebelt tension. If access to ibis equipment cannot be obtained, an
approximate setting can be achieved using the method described below. If the method described is used, the tension should be checked using the special tool at the earliest possible opportunity. 1 Depending on equipment fitted, one. two or three auxiliary drivebelts may be fitted. The alternator, power steering pump and air
conditioning compressor, as applicable, are each driven by an Individual drivebelt.
Checking 2 Disconnect the battery negative terminal (refer to Disconnecting the battery in the Reference Section of this manual). 3 Firmly apply the handbrake, then jack up
Page 44 of 225

ib-8 Every 10 000 miles - diesel models
10.1 Checking the condition of a driveshaft gaiter
9 Exhaust system check
1 With the engine cold {at least an hour after tho vehicle has been driven), check ihe complete exhaust system from the engine to the end of the tailpipe. The exhaust system Is most easily checked with the vehicle raised on a hoist, or suitably supported on axle stands (see Jacking and vehicle support), so that the exhaust components are readily visible and accessible. 2 Check the exhaust pipes and connections for evidence of leaks, severe oorrosion and damage. Make sure that all brackets and mountings are In good condition, and that all relevant nuts and bolts are tight, Leakage at any of the joints or in other parts of tho system will usually show up as a black sooty stain in the vicinity ot the leak. 3 Rattles and other noises can often be Iracod to the exhaust system, especially the brackets and mountings. Try to move the pipes and silencers. If the components are able to come into contact with the body or
suspension parts, secure the system with new mountings. Otherwise separate the joints (if possible) and twist the pipes as necessary to provide additional clearance.
10 Driveshaft gaiter check
I
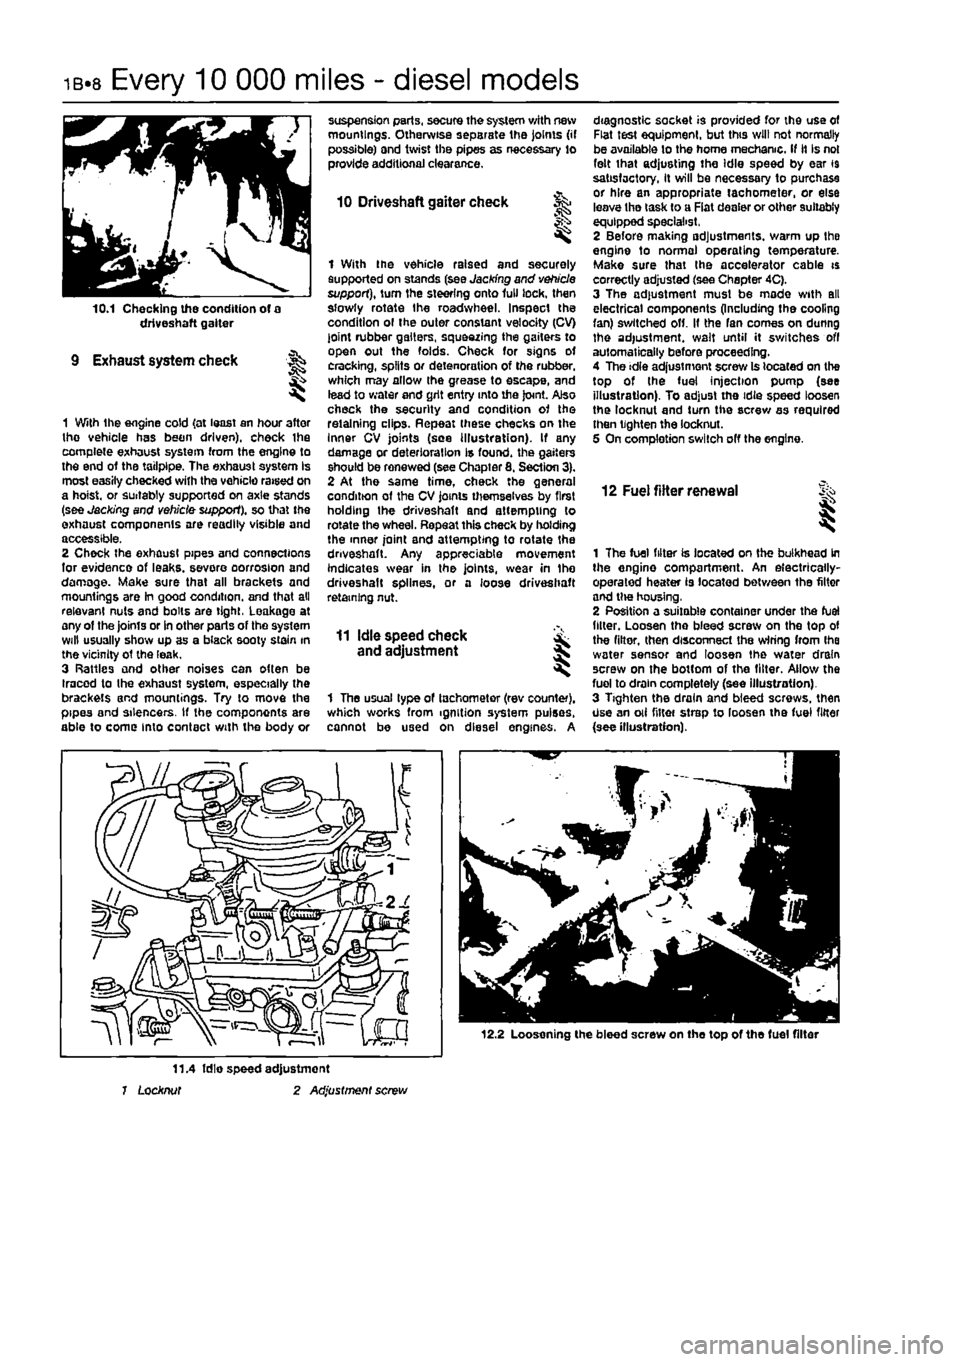
1 With the vehicle raised and securely supported on stands (see Jacking and vehicle support), turn the steering onto lull lock, then slowly rotate the roadwheel. Inspect the condition ol the outer constant velocity (CV) joint rubber gaiters, squeezing the gaiters to open out the folds. Check for signs ot cracking, splits or detenoration of the rubber, which may allow the grease to escape, and lead to water and grit entry into the joint. Also check the security and condition of the retaining clips. Repeat these checks on the Inner CV joints (see illustration). If any damage or deterioration is found, the gaiters should be renewed (see Chapter 8. Section 3). 2 At the same time, check the general condition of the CV joints themselves by first holding the driveshaft and attempting to rotate the wheel. Repeat this check by holding the inner joint and attempting to rotate the driveshaft. Any appreciable movement indicates wear in the joints, wear in Ihe driveshaft splines, or a loose driveshaft retaining nut.
11 Idle speed check and adjustment
1 The usual type of tachometer (rev counter), which works from ignition system pulses, cannot be used on diesel engines. A
diagnostic socket is provided for the use of Flat test equipment, but this will not normally be available to the home mechanic. If it Is not felt that adjusting the Idle speed by ear 19 satisfactory, It will be necessary to purchase or hire an appropriate tachometer, or else leave tho task to a Fiat dealer or other suitably equipped specialist, 2 Before making adjustments, warm up the engine to normal operating temperature. Make sure that the accelerator cable is correctly adjusted (see Chapter 4C). 3 The adjustment must be made with all electrical components (Including the cooling fan) switched off. It the fan comes on dunng the adjustment, wait until it switches off automatically before proceeding. 4 The idle adjustment screw Is located on the top of the fuel injection pump (see illustration). To adjust the idie speed loosen the locknut and turn the screw as required then tighten the locknut. 5 On completion switch off the engine.
12 Fuel filter renewal i
1 The fuel filter is located on the bulkhead in the engine compartment. An electrically-operated heater is located between the filter and tlw housing, 2 Position a suitable container under the fuel filler. Loosen tho bleed screw on the top of the filter, then disconnect the wiring from Ihe water sensor and loosen the water drain screw on the bottom of the filter. Allow the fuel to drain completely (see illustration). 3 Tighten the drain and bleed screws, then Use an oii niter strep to loosen the fuel filter {see illustration).
12.2 Loosening the bleed screw on the top of the fuel filter
11.4 fdie speed adjustment 1 Locknut 2 Adjustment screw
Page 126 of 225

4A*2 Fuel system - single-point petrol Injection models
1 The luel system referred to In this Section is defined as the tank-mounted fuel pump, the fuel litter, the throttle body and pressure regulator components, and the metal pipes and flexible hoses of the fuel lines between these components. All ihese contain fuel which will be under pressure while the engine Is running and/or while tha Ignition is switched on. The pressure will remain for some time after tho ignition has been switched off, and must be relieved before any of these components are disturbed (or servicing work. 2 Disconnect the battery negative terminal (refer to D/sconnecf/ngr the battery in the Reference Section of this manual), 3 Place a container beneath the relevant connection/union to be disconnected, and have a large rag ready to soak up any escaping fuel not being caught by the container. 4 Slowly loosen the connection or union nut (as applicable) to avoid a sudden release of pressure, and wrap tho rag around the connection to catch any fuel spray which may be expelled. Once the pressure is released, disconnect the fuel line, and Insert plugs to minimise fuel loss and prevent the entry of dirt Into the fuel system.
9 Inlet manifold -removal and refitting ^
Note: Refer to the warning given In Section 1 before proceeding.
Removal 1 Remove the throttle body assembly as described in Section 5. 2 Drain the cooling system as described in Chapter 1A. 3 Disconnect the winng connector from the coolanl temperature sensor (situated on the left-hand sidB of the manifold). 4 Undo the bolt securing the accelerator cable mounting bracket to the manifold, and position it clear of the manifold. 5 Slacken the retaining clip and disconnect tha coolant hose from the rear of the manifold. 6 Disconnect the brake vacuum hose. 7 Undo the seven manifold retaining nuts and
10.2 The diagnostic connector la located behind the ECU bolts, and remove (he manifold from the engine. Remove the gasket and discard It; a new one should be used on refitting.
Refitting 8 Refitting is a reverse of the removal procedure, noting the following points: a) Ensure that the manifold and cylinder head mating surfaces are clean and dry, and fit a nev/ manifold gasket. Refit the manifold and securely tighten Its retaining nuts. b) Ensure that all relevant hoses are reconnected fo their original positions and are securely held (where necessary) by the retaining clips. c) Refit the throttle body assembly with reference to Section S. d) On completion, refill the cooling system as described In Chapter 1A.
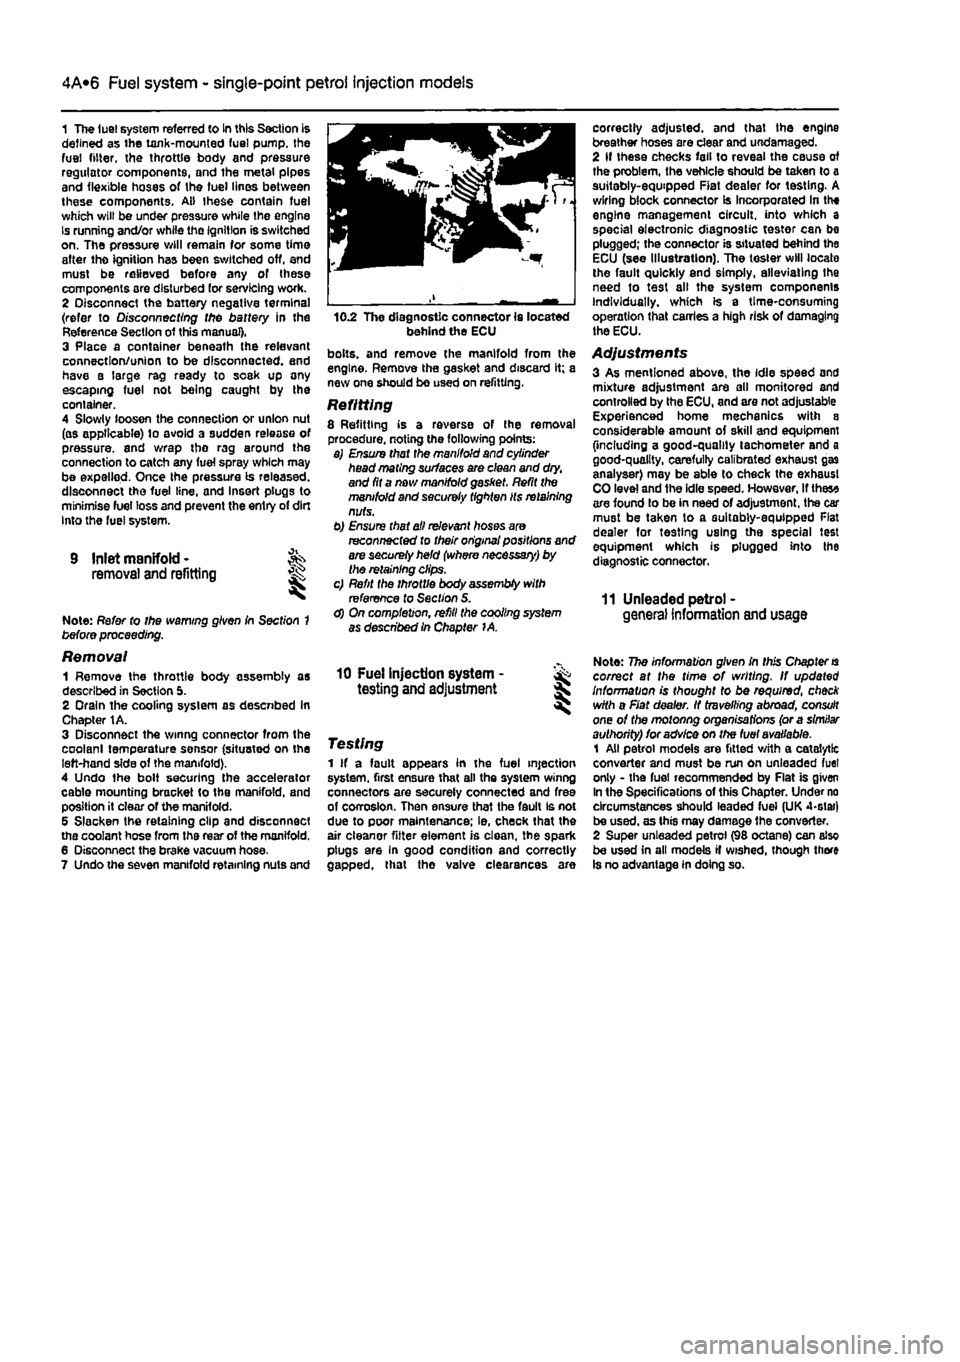
correctly adjusted, and that the engine breather hoses are clear and undamaged. 2 If these checks fall to reveal the cause of the problem, the vehicle should be taken to a suitably-equipped Fiat dealer for testing. A wiring block connector Is Incorporated In the engine management circuit, into which a special electronic diagnostic tester can be plugged; the connector is situated behind the ECU (see Illustration). The tester will locate the fault quickly and simply, alleviating the need to test all the system components Individually, which is a time-consuming operation that carries a high risk of damaging the ECU.
Adjustments 3 As mentioned above, the idle speed and mixture adjustment are all monitored and controlled by the ECU, and are not adjustable Experienced home mechanics with a considerable amount of skill and equipment (including a good-quality tachometer and a good-quality, carefully calibrated exhaust gas analyser) may be able to check the exhaust CO level and ihe idle speed. However, If thes* are found lo be in need of adjustment, the car must be taken to a suitably-equipped Flat dealer for testing using the special test equipment which is plugged into the diagnostic connector.
11 Unleaded petrol -general Information and usage
10 Fuel injection system - & testing and adjustment S
Testing 1 If a fault appears in the fuel injection system, first ensure that all the system winng connectors are securely connected and free of corrosion. Then ensure that the fault Is not due to poor maintenance; ie, check that the air cleanor fitter element is clean, the spark plugs are In good condition and correctly gapped, that tho valve clearances are
Note: The information given in this Chapter
is
correct at the time of writing. If updated Information is thought to be required, check with a Fiat dealer. If travelling abroad, consult one of the motonng organisations (or a similar authority) for advice on the fuel available. 1 All petrol models are fitted with a catalytic converter and must be run on unleaded fuel only - the fuel recommended by Flat is given In the Specifications of this Chapter. Under no circumstances should leaded fuei (UK 4-slar) be used, as this may damage the converter. 2 Super unleaded petrol (98 octane) can also be used in all models if wished, though there is no advantage in doing so.