Counter FIAT PUNTO 1999 176 / 1.G User Guide
[x] Cancel search | Manufacturer: FIAT, Model Year: 1999, Model line: PUNTO, Model: FIAT PUNTO 1999 176 / 1.GPages: 225, PDF Size: 18.54 MB
Page 141 of 225
Fuel system - diesel models 4C*3
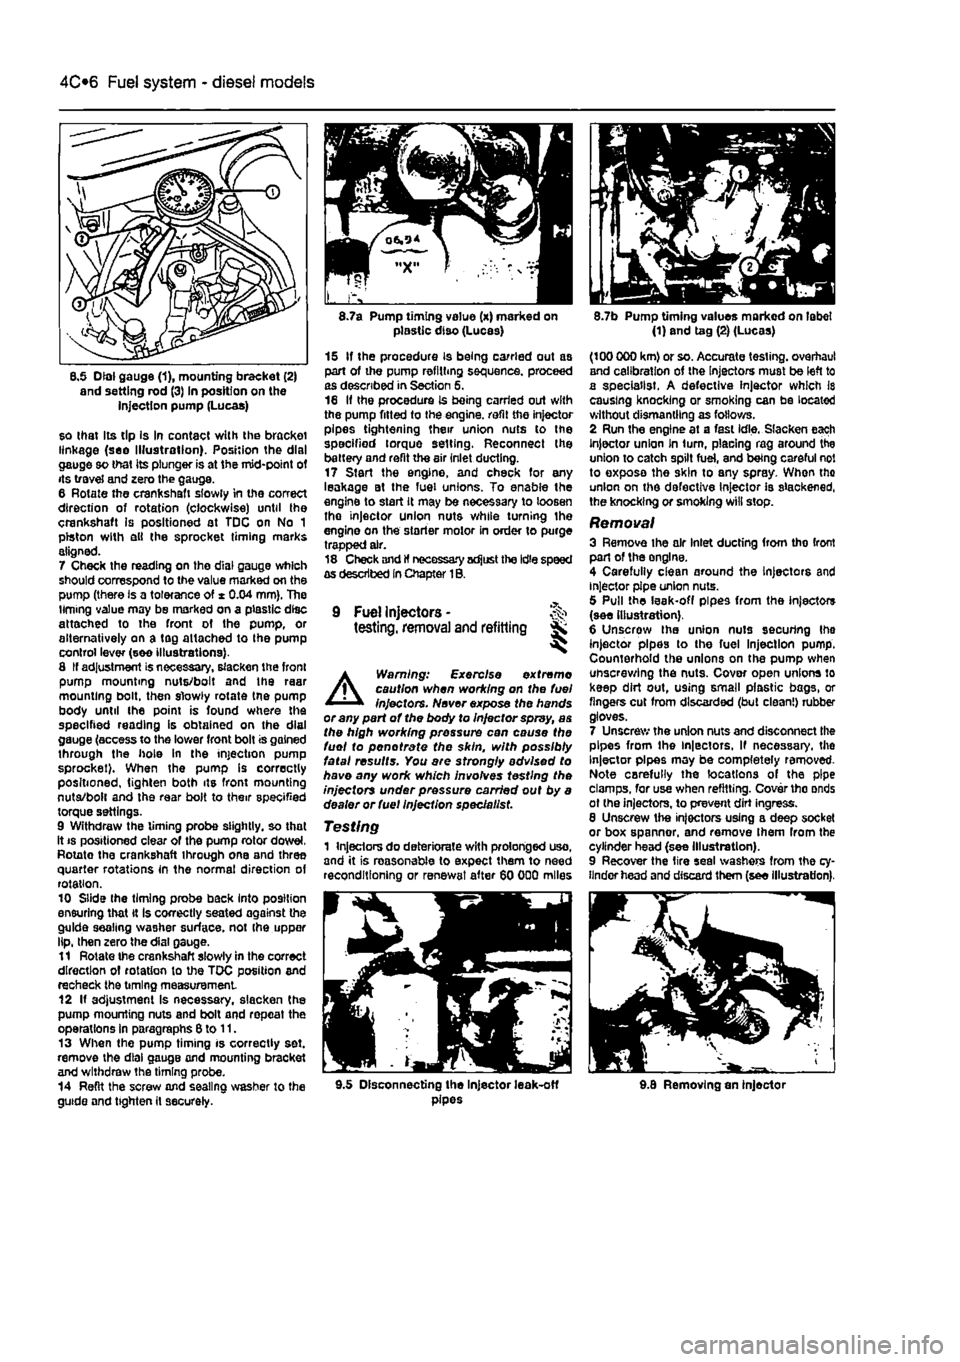
8.5 Dial gauge (1), mounting bracket (2) and setting rod (3) In position on the injection pump (Lucas)
so that Its tip Is In contact with the bracket linkage (see Illustration). Position the dial gauge so that its plunger is at the mid-point of its travel and zero the gauge. 6 Rotate the crankshaft slowly in the correct direction of rotation (clockwise) until the crankshaft is positioned at TDC on No 1 piston with ell the sprocket timing marks aligned. 7 Check the reading on the dial gauge which should correspond to the value marked on the pump (there is a tolerance of * 0.04 mm). The timing value may be marked on a plastic disc attached to the front of the pump, or alternatively on a tag attached to Ihe pump control lever (see illustrations). 8 If adjustment is necessary, slacken the front pump mounting nuts/bolt and the raar mounting bolt, then slowly rotate tne pump body until the point is found where the specified reading is obtained on the dial gauge (access to the lower front bolt is gained through the hole in the injection pump sprocket). When the pump Is correctly positioned, tighten both its front mounting nuta/bolt and the rear bolt to their specified torque settings. 9 Withdraw the timing probe slightly, so that it
8.7a Pump timing value (x) marked on plastic diso (Lucas)
15 If the procedure is being carried out as part of the pump refilling sequence, proceed as described in Section 5. 16 If the procedure is being carried out with the pump fitted to the engine, refit the injector pipes tightening their union nuts to the specified torque setting. Reconnect the battery and refit the air inlet ducting. 17 Start the engine, and check for any leakage at the fuel unions. To enable the engine to start it may be necessary to loosen tho injector union nuts while turning the engine on the starter motor in order to purge trapped air. 18 Check and If necessary adjust the Idle speed as described In Chapter 1B.
9 Fuel Injectors -testing, removal and refitting Sk ^
A
Warning: Exercise extreme caution when working on the fuel injectors. Never expose the hands or any part of the body to Injector spray, as the high working pressure can cause the fuel to pen ot rate the skin, with possibly fatal results. You are strongly advised to have any work which involves testing the injectors under pressure carried out by a dealer or fuel Injection specie list.
Testing 1 Injectors do deteriorate with prolonged uso, and it is reasonable to expect them to need reconditioning or renewal after 60 000 miles
8.7b Pump timing values marked on label (1) and tag (2) (Lucas)
(100 000 km) or so. Accurate testing, overhaul and calibration of the Injectors must be left to a specialist. A defective injector which Is causing knocking or smoking can be located without dismantling as follows. 2 Run the engine at a fast idle. Slacken each Injector union In turn, placing rag around the union to catch spilt fuel, and being careful not to exposa the skin to any spray. When tho union on the defective Injector is slackened, the knocking or smoking will stop.
Removal 3 Remove ihe air Inlet ducting from tho front part of the onglne. 4 Carefully clean around the Injectors and injector pipe union nuts. 5 Pull the leak-off pipes from the injectors (see illustration). 6 Unscrow the union nuts securing Ihe injector pipes to the fuel Injection pump. Counterhold the unions on the pump when unscrewing the nuts. Cover open unions lo keep dirt out, using small plastic bags, or fingers cut from discarded (but clean!) rubber gloves. 7 Unscrew the union nuts and disconnect the pipes from the ln|ectors, If necessary, the Injector pipes may be completely removed-Note carefully the locations of the pipe clamps, for use when refitting. Cover tho onds ot (he injectors, to prevent dirt ingress. 8 Unscrew the injectors using a deep socket or box spanner, and remove Ihem from the cylinder head (see Illustration). 9 Recover the tire seal washers from the cy-linder head and discard them (see illustration).
9.5 Disconnecting the Injector leak-off pipes 9.8 Removing an injector
Page 164 of 225
Manual transmission 7A*3
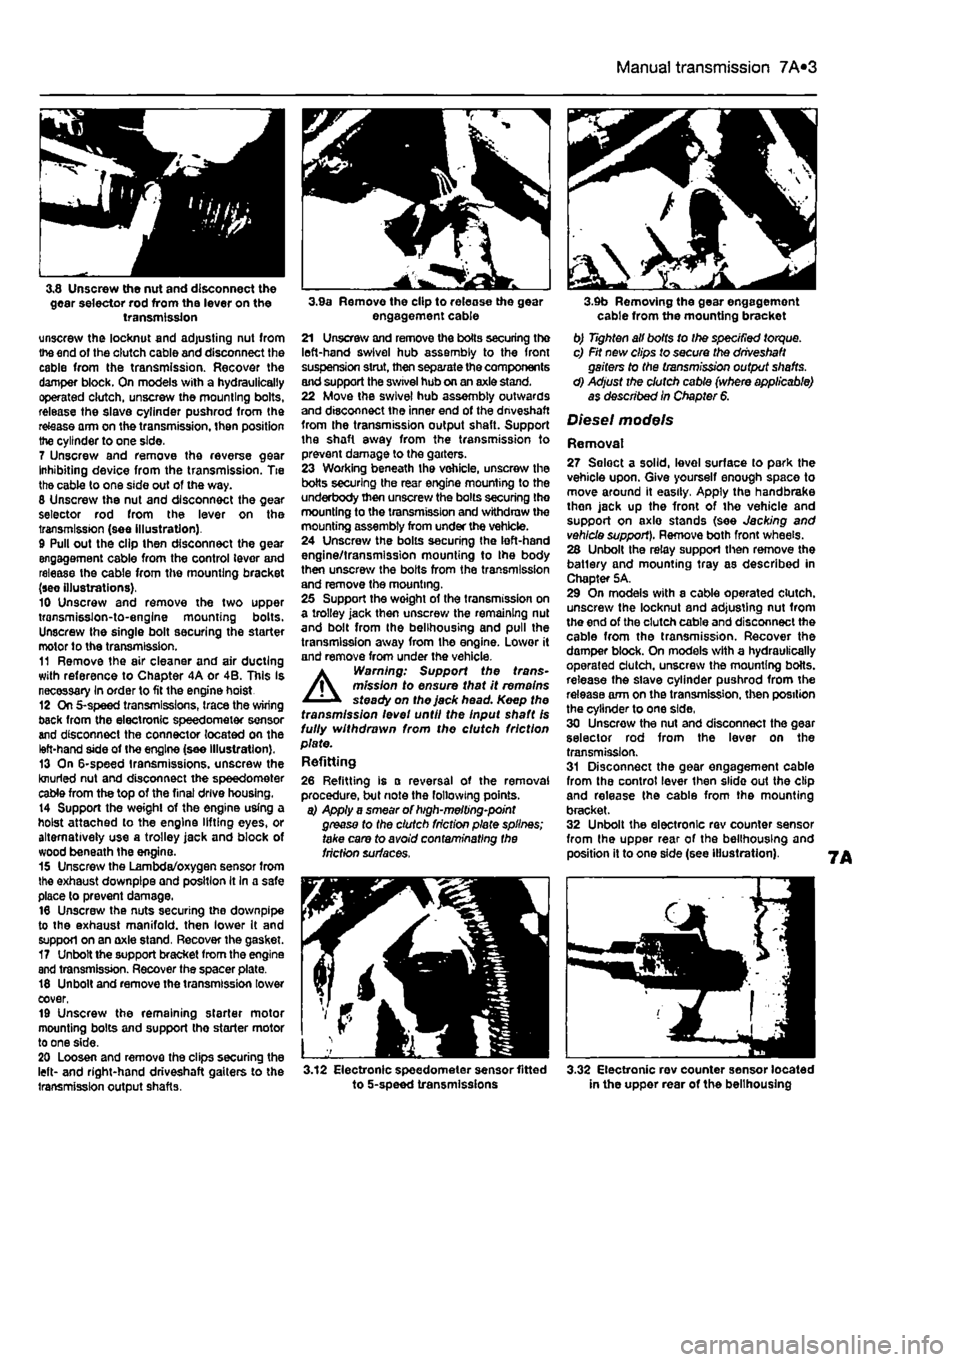
3,8 Unscrew the nut and disconnect the gear selector rod from the lever on the transmission unscrew the locknut and adjusting nut from the end of the clutch cable and disconnect the cable from the transmission. Recover the damper block. On models with a hydraulically operated clutch, unscrew the mounting bolts, release the slave cylinder pushrod from the re&ase arm on the transmission, then position the cylinder to one side.
7 Unscrew and remove the reverse gear Inhibiting device from the transmission. Tie the cable to one side out of the way. 8 Unscrew the nut and disconnect the gear selector rod from the lever on the transmission (see illustration). 9 Pull out the clip then disconnect the gear engagement cable from the control lever and release the cable from the mounting bracket (see illustrations). 10 Unscrew and remove the two upper transmisslon-to-englne mounting bolts. Unscrew the single bolt securing the starter motor to the transmission. 11 Remove the air cleaner and air ducting with reference to Chapter 4A or 4B. This Is necessary In order to fit the engine hoist 12 On 5-speed transmissions, trace the wiring back from the electronic speedometer sensor and disconnect the connector located on the left-hand side of the engine (see illustration). 13 On 6-speed transmissions, unscrew the knurled nut and disconnect the speedometer cable from the top of the final drive housing. 14 Support the weight of the engine using a hoist attached to the engine lifting eyes, or alternatively use a trolley jack and block of wood beneath Ihe engine. 15 Unscrew the Lambda/oxygen sensor from the exhaust downpipe and position It In a safe place to prevent damage. 16 Unscrew the nuts securing the downpipe to the exhaust manifold, then lower It and support on an axle stand. Recover the gasket. 17 Unbolt the support bracket from the engine and transmission. Recover the spacer plate. 18 Unbolt and remove the transmission lower cover, 19 Unscrew the remaining starter motor mounting bolts and support tho starter motor to one side. 20 Loosen and remove the clips securing the left- and right-hand driveshaft gaiters to the transmission output shafts.
3.9a Remove the clip to release the gear engagement cable 21 Unscrew and remove the boils securing the left-hand swivel hub assembly to the front suspension strut, then separate the components and support the swivel hub on an axle stand. 22 Move the swivel hub assembly outwards and disconnect the inner end of the dnveshaft from the transmission output shaft. Support the shaft away from the transmission to prevent damage to the garters. 23 Working beneath the vehicle, unscrew the botts securing the rear engine mounting to the underbody then unscrew the bolts securing the mounting to the transmission and withdraw the mounting assembly from under the vehicle. 24 Unscrew the bolts securing the left-hand engine/transmission mounting to Ihe body then unscrew the bolts from the transmission and remove the mounting. 25 Support the woight of the transmission on a trolley jack then unscrew the remaining nut and bolt from the belihousing and pull the transmission away from the engine. Lower it and remove from under the vehicle. A Warning: Support the trans-mission to ensure that it remains steady on the jack head. Keep the transmission levet until the Input shaft Is fully withdrawn from the clutch friction plate. Refitting
26 Refitting is a reversal of the removal procedure, but note the following points. a) Apply a smear of high-melting-point grease to the clutch friction plate splines; take care to avoid contaminating the friction surfaces.
3.12 Electronic speedometer sensor fitted to 5-speed transmissions
3.9b Removing the gear engagement cable from the mounting bracket b) Tighten all bolts to Ihe specified torque. c) Fit new clips to secure the driveshaft gaiters to the transmission output shafts. d) Adjust the clutch cable (where applicable) as described In Chapter 6.
Diesel models
Removal 27 Seloct a solid, level surface to park the vehicle upon. Give yourself enough space to move around it easily. Apply the handbrake then jack up the front of tho vehicle and support on axlo stands (see Jacking and vehicle support). Remove both front wheels. 28 Unbolt the relay support then remove the batlery and mounting tray as described in Chapter 5A. 29 On models with a cable operated clutch, unscrew the locknut and adjusting nut from the end of the clutch cable and disconnect the cable from the transmission. Recover the damper block. On models with a hydraulically operated clutch, unscrew the mounting botts. release the slave cylinder pushrod from the release arm on the transmission, then position the cylinder to one side, 30 Unscrew the nut and disconnect the gear selector rod from the lever on the transmission. 31 Disconnect the gear engagement cable from the control lever then slide out the clip and release the cable from the mounting bracket. 32 Unbolt the electronic rev counter sensor from the upper rear of the belihousing and position it to one side (see illustration).
3.32 Electronic rev counter sensor located in the upper rear of the belihousing
Page 179 of 225
Braking system 9®3
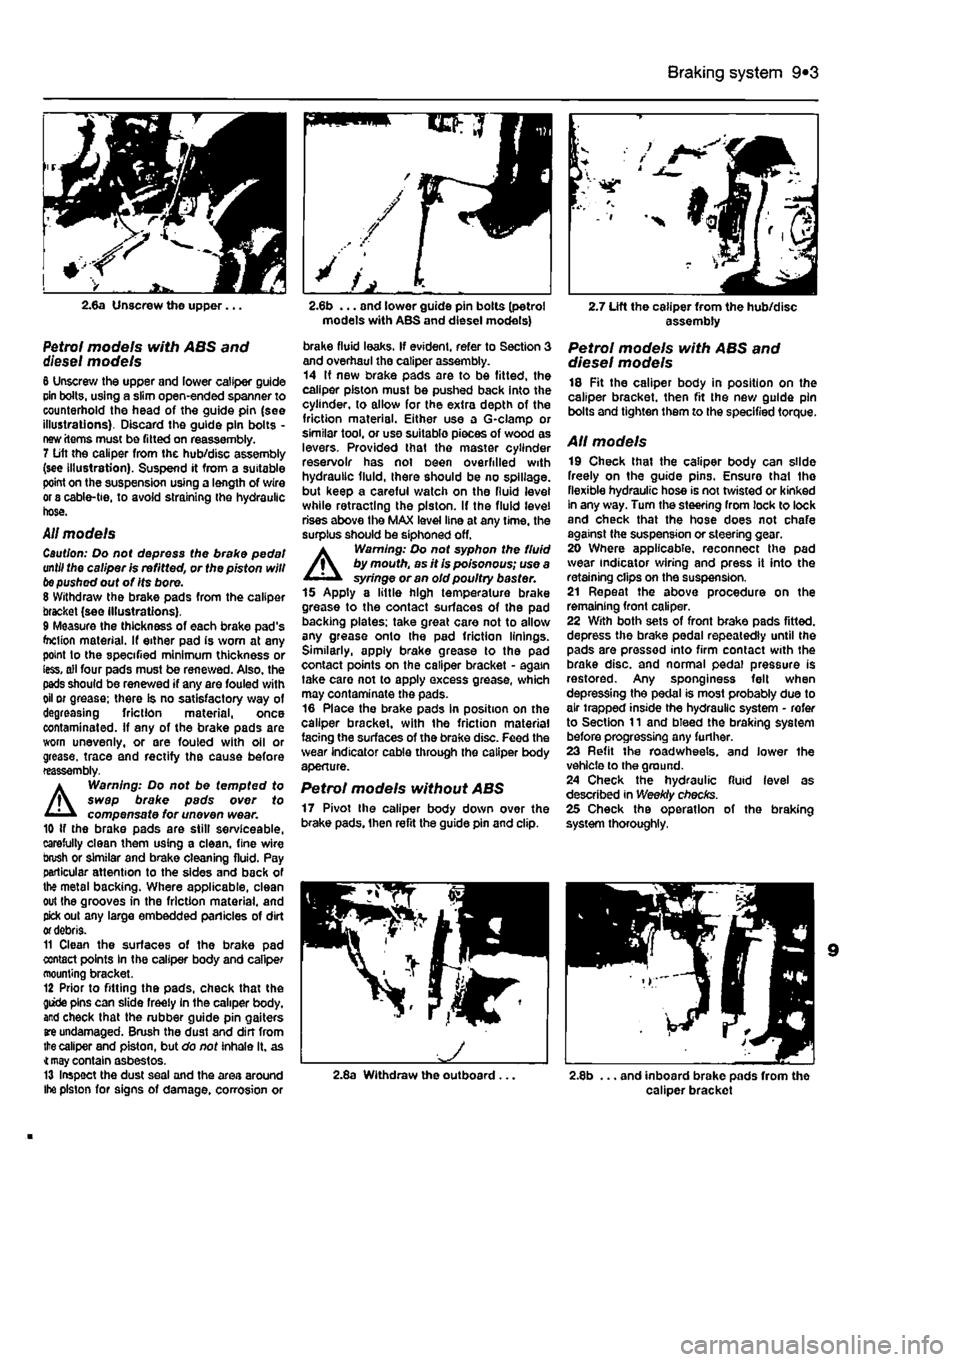
2.6a Unscrew the upper...
Petrol models with ABS and diesel models 6 Unscrew the upper and lower caliper guide cin bolts, using a slim open-ended spanner to counterhold the head of the guide pin (see illustrations). Discard the guide pin bolts -new items must be fitted on reassembly. 7 Lift the caliper from the hub/disc assembly (see illustration). Suspend it from a suitable point on the suspension using a length of wire or 8 cable-tie, to avoid straining the hydraulic hose.
All models Caution: Do not depress the brake pedal until the caliper is refitted, or the piston will
be
pushed out of Its bore. 8 Withdraw the brake pads from the caliper bracket (see illustrations). 9 Measure the thickness of each brake pad's foclion material. If either pad is worn at any point to the specified minimum thickness or less, all four pads must be renewed. Also, the pads should be renewed if any are fouled with oil or grease; there is no satisfactory way of degreasing friction material, once contaminated. If any of the brake pads are worn unevenly, or are fouled with oil or grease, trace and rectify the cause before reassembly.
A
Warning: Do not be tempted to swap brake pads over to compensate for uneven wear. 10 if the brake pads are still serviceable, carefully clean them using a clean, fine wire brush or similar and brake cleaning fluid. Pay particular attention to the sides and back of the metal backing. Where applicable, clean out the grooves in the friction material, and pick out any large embedded panicles of dirt
or
debris. 11 Clean the surfaces of the brake pad contact points In the caliper body and caliper mounting bracket. 12 Prior to fitting the pads, check that the giide pins can slide freely in the caliper body, and check that the rubber guide pin gaiters
are
undamaged. Brush the dust and din from
the
caliper and piston, but do not inhale it. as
4 may
contain asbestos. 13 Inspect the dust seal and the area around Ihe piston for signs of damage, corrosion or
models with ABS and diesel models)
brake fluid leaks. If evident, refer to Section 3 and overhaul the caliper assembly. 14 If new brake pads are to be fitted, the caliper piston must be pushed back into the cylinder, to allow for the extra depth of the friction material. Either use a G-clamp or similar tool, or use suitable pieces of wood as levers. Provided that the master cylinder reservoir has not oeen overfilled with hydraulic fluid, there should be no spillage, but keep a careful watch on the fluid level while retracting the piston. If the fluid level rises above the MAX level line at any time, the surplus should be siphoned off. A Warning: Do not syphon the fluid by mouth, as it is poisonous; use a syringe or an old poultry baster. 15 Apply a little high temperature brake grease to the contact surfaces of the pad backing plates: take great care not to allow any grease onto the pad friction linings. Similarly, apply brake grease to the pad contact points on the caliper bracket - again take care not to apply excess grease, which may contaminate the pads. 16 Place the brake pads in position on the caliper bracket, with the friction material facing the surfaces of the brake disc. Feed the wear indicator cable through the caliper body aperture.
Petrol models without ABS 17 Pivot the caliper body down over the brake pads, then refit the guide pin and clip.
2.7 Lift the caliper from the hub/disc assembly
Petrol models with ABS and diesel models 18 Fit the caliper body in position on the caliper bracket, then fit the new guide pin bolts and tighten them to the specified torque.
AH models 19 Check that the caliper body can slide freely on the guide pins. Ensure that the flexible hydraulic hose is not twisted or kinked In any way. Turn the steering from lock to lock and check that the hose does not chafe against the suspension or steering gear. 20 Where applicable, reconnect the pad wear indicator wiring and press it into the retaining clips on the suspension. 21 Repeat the above procedure on the remaining front caliper. 22 With both sets of front brake pads fitted, depress the brake pedal repeatedly until the pads are pressed into firm contact with the brake disc, and normal pedal pressure is restored. Any sponginess felt when depressing the pedal is most probably due to air trapped inside the hydraulic system - refer to Section 11 and bleed the braking system before progressing any further. 23 Refit the roadwheels. and lower the vehicle to the ground. 24 Check the hydraulic fluid level as described in Weekly checks. 25 Check the operation of the braking system thoroughly,
2.8a Withdraw the outboard... 2.8b ... and inboard brake pads from the caliper bracket
Page 193 of 225
Suspension and steering 10*5
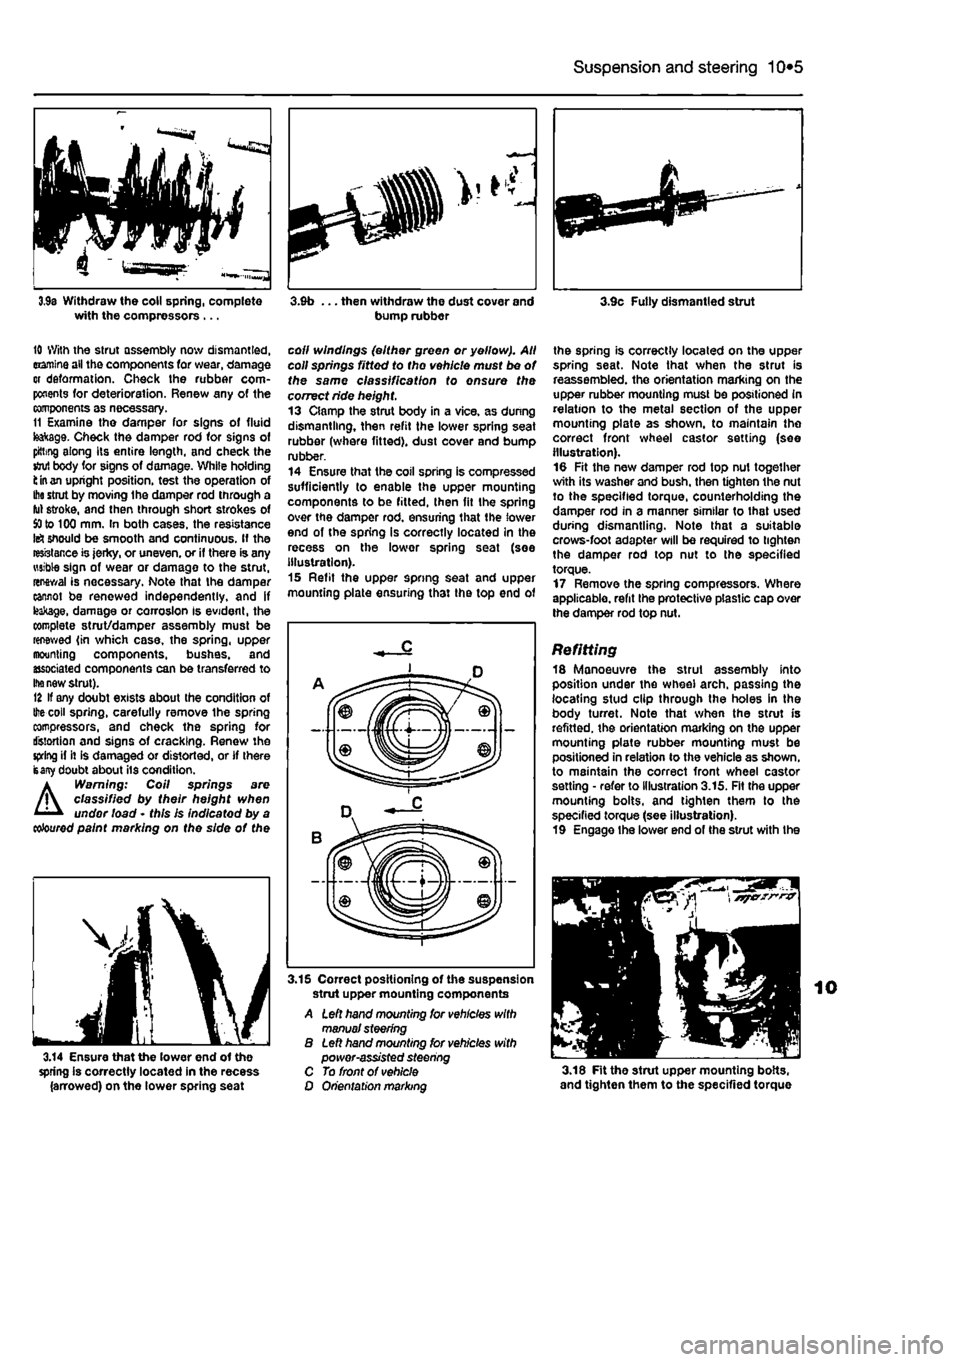
3,9s Withdraw the coll spring, complete with the compressors ... 3.9b ... then withdraw the dust cover and bump rubber 3.9c Fully dismantled strut
10 With the strut assembly now dismantled, examine all the components tor wear, damage or deformation. Check the rubber com-ponents for deterioration. Renew any of the components as necessary. 11 Examine tho damper for signs of fluid teakage. Check the damper rod for signs of pitting along its entire length, and check the stjul body for signs of damage. White holding fc
in an
upright position, test the operation of
Ihe
stmt by moving Ihe damper rod through a fut stroke, and then through short strokes of
SO
to 100 mm. In both cases, the resistance Id should be smooth and continuous. If the resistance is jerky, or uneven, or if there is any wsible sign of wear or damage to the strut, renewal is necessary. Note that the damper cannot be renewed independently, and if leakage, damage or corrosion Is evident, the complete strut/damper assembly must be renewed {in which case, the spring, upper mounting components, bushes, and associated components can be transferred to
Ihe
new strut). 12 If any doubt exists about the condition of
Ihe
coil spring, carefully remove the spring compressors, and check the spring for distortion and signs of cracking. Renew the spring if it is damaged or distorted, or if there isany doubt about its condition. a Warning: Coil springs are /j\ classified by their height when '
11
• undor load • this Is indicatod by a
coloured
paint marking on the side of the
coll windings (either green or yellow). All coll springs fitted to tho vehicle must be of the same classification to ensure the correct ride height. 13 Clamp the strut body in a vice, as dunng dismantling, then refit the lower spring seat rubber (where fitted), dust cover and bump rubber. 14 Ensure that the coil spring is compressed sufficiently to enable the upper mounting components to be fitted, then fit the spring over the damper rod. ensuring that the lower end of the spring is correctly located In the recess on the lower spring seat (soe illustration). 15 Refit the upper spring seat and upper mounting plate ensuring that the top end of
the spring is correctly located on the upper spring seat. Note that when the strut is reassembled, the orientation marking on the upper rubber mounting must be positioned in relation to the metal section of the upper mounting plate as shown, to maintain the correct front wheel castor setting (see illustration). 10 Fit the new damper rod top nut together with its washer and bush, then tighten the nut to the specified torque, counterholding the damper rod in a manner similar to that used during dismantling. Note that a suitable crows-foot adapter will be required to tighten the damper rod top nut to the specified torque. 17 Remove the spring compressors. Where applicable, refit the protective plastic cap over the damper rod top nut.
Refitting 18 Manoeuvre the strut assembly into position under the wheel arch, passing the locating stud clip through the holes in the body turret. Note that when the strut is refitted, the orientation marking on the upper mounting plate rubber mounting must be positioned in relation to the vehicle as shown, to maintain the correct front wheel castor setting • refer to illustration 3.15. Fit the upper mounting bolts, and tighten them to the specified torque (see illustration). 19 Engage Ihe lower end of the strut with the
3.14 Ensure that the lower end of the spring is correctly located in the recess (arrowed) on the lower spring seat
3.15 Correct positioning of the suspension strut upper mounting components A Left hand mounting for vehicles with manual steering B Left hand mounting tor vehicles with power-assisted steering C To front of vehicle O Orientation marking 3.18 Fit the strut upper mounting bolts, and tighten them to the specified torque
Page 200 of 225
10*12 Suspension and steering
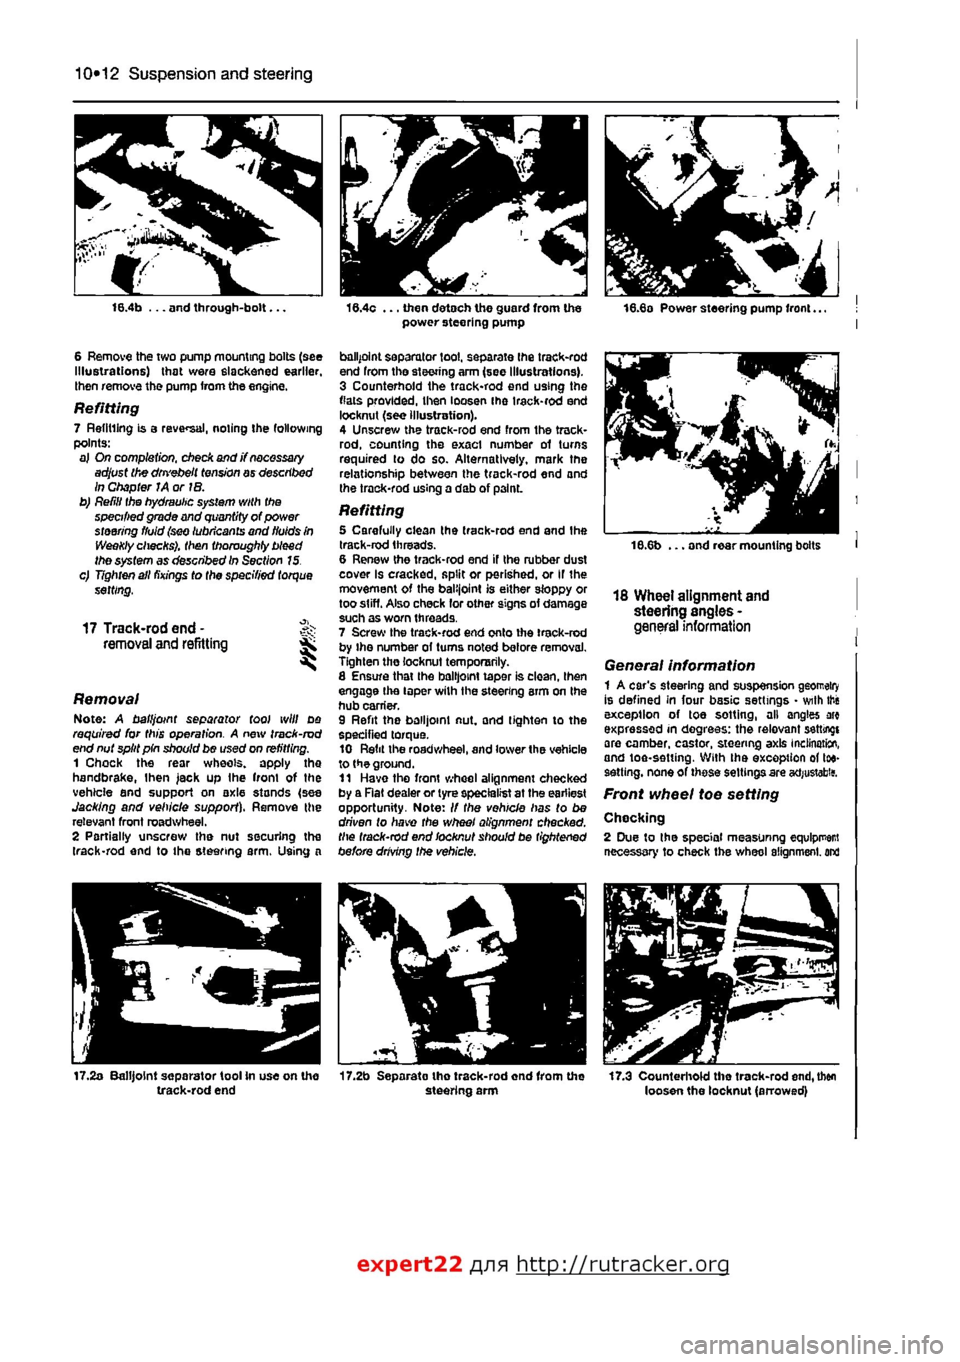
16.4b ... and through-bolt...
6 Remove the two pump mounting bolts (see Illustrations) that were slackened earlier, then remove the pump from the engine.
Refitting 7 Refilling is a reversal, noting the following points: a) On completion, check and j? necessary adjust the dm'ebelt tension ay described In Chapter JA or IB. b) Refill the hydraulic system with the specified grade and quantity of power steering fluid (sw lubricants and fluids in Weekly checks), then thoroughly bleed the system as described In Section 15. c) Tighten all fixings to the specified torque setting,
17 Track-rod end -removal and refitting ^ S
Removal Note: A ball joint separator tool will do required for this operation. A new track-rod end nut split pin should be used on refitting. 1 Chock the rear wheels, apply the handbrake,
I
hen jack up Ihe front of the vehicle and support on axle stands (see Jacking and vehicle support). Remove the relevant front roadwheel. 2 Partially unscrew the nut securing the (rack-rod end to the steering arm. Using a
17.2a Balljoint separator tool In use on the track-rod end
16.4c ... then detach the guard from the power steering pump
ballpoint separator tool, separate Ihe track-rod end from tho steering arm (see Illustrations). 3 Counterhold the track-rod end using the flats provided, then loosen ihe irack-rod end locknut (see illustration). 4 Unscrew the track-rod end from the track-rod, counting the exact number of turns required to do so. Alternatively, mark the relationship between the track-rod end and the trock-rod using a dab of p3lnL
Refitting 5 Carefully clean the track-rod end and the track-rod threads. 6 Renew the track-rod end if the rubber dust cover Is cracked, split or perished, or If the movement of the balijoint is either sloppy or too stiff. Also check lor other signs of damage such as worn threads. 7 Screw the track-rod end onto ihe track-rod by ihe number ol turns noted before removal. Tighten the locknut temporarily. 8 Ensure that Ihe balljoint taper is clean, then engage the taper wilh the steering arm on the hub carrier. 9 Refit the balljoint nut, and tighten to the specified torque. 10 Refit the roadwheel, and lower the vehicle to the ground. 11 Have tho front wheel alignment checked by a Rat dealer or tyre specialist at the earliest opportunity. Note: // the vehicle has to be driven to have the wheel alignment checked, the track-rod end locknut should be tightened before drMng the vehicle.
17.2b Separato tho track-rod end from the steering arm
18.6b ... and rear mounting bolts
18 Wheel alignment and steering angles -general information
General information 1 A car's steering and suspension geomeiry Is defined in four basic settings • with this exception of toe sotting, all angles arc expressed in degrees: the relevant setting! are camber, castor, steering axis inclination, and toe-setting. With ihe exception of toe-sett ing, none of these settings are acfjustabitf.
Front wheel toe setting
Chocking 2 Due to the special measuring equlpr
expert22 fl/m http://rutracker.org
Page 201 of 225
Suspension and steering 10*13
the skill required to use It properly, the checking and adjustment of these settings Is best left to a Fiat dealer or similar expert. Most tyre-fitting shops now possess sophisticated checking equipment. 3 For accurate checking, the vehicle must be at the kerb weight specified in Dimensions and weights. 4 Before starting work, check first that the tyre sizes and types are as specified (see Tyre pressures in Weekly checks), then check tyre pressures and tread wear. Also check roadwheel run-out, the condition of the hub bearings, the steering wheel free play and the condition of the front suspension components (Steering and suspension check in Chapter 1A or
1B).
Correct any faults found. 6 Park the vehicle on level ground, with the front roadwheeis in the straight-ahead position. Rock the rear and front ends to settle the suspension. Release the handbrake and roll the vehicle backwards approximately 1 metre, then forwards again, to relieve any stresses in the steering and suspension components. 6 Two methods are available to the home mechanic for checking the front wheel toe setting. One method is to use a gauge to measure the distance between the front and rear inside edges of the roadwheeis. The other method is to use a scuff plate, in which each front wheel is rolled across a movable plate which records any deviation, or scuff, of the tyre from the straight-ahead position as It moves across the plate. Such gauges are available in relatively-inexpensive form from accessory outlets. It Is up to the owner to decide whether the expense is justified, In view of the small amount of use such equipment would normally receive. 7 Prepare the vehicle 8S described in paragraphs 3 to 5 above.
8 If the measurement procedure is being used, carefully measure the distance between the front edges of the roadwheel rims and the rear edges of the rims. Subtract the front measurement from the rear measurement, and check that the result is within the specified range. If not, adjust the toe setting as described in paragraph 10. 9 If scuff plates are to be used, roll the vehicle backwards, check that the roadwheeis are in the straight-ahead position, then roll it across the scuff plates so that each front roadwheel passes squarely over the centre of its respective plate. Note the angle recorded by the scuff plates. To ensure accuracy, repeat the check three times, and take the average of the three readings, if the roadwheeis are running parallel, there will of course be no angle recorded; If a deviation value Is shown on the scuff plates, compare the reading obtained for each wheel with that supplied by the scuff plate manufacturers. If the value recorded is outside Ihe specified tolerance, the toe setting is incorrect, and must be adjusted as follows. Adjustment 10 Apply the handbrake, then jack up the front of the vehicle and support it securely on axle stands (see Jacking and vehicle support). Turn the steering wheel onto full-left lock, and record the number of exposed threads on the right-hand track-rod. Now turn the steering onto full-right lock, and record the number of threads on the left-hand side. If there are the same number of threads visible on both sides, then subsequent adjustment should be made equally on both sides. If there are more threads visible on one side than the other, it will be necessary to compensate for this during adjustment Note: It is important to ensure that, after adjustment, the same number of threads are visible on the end of each track-rod.
11 First clean the track-rod threads; If they are corroded, apply penetrating fluid before starting adjustment. Release the steering gear rubber gaiter outboard clips, then peel back the gaiters and apply a smear of grease, so that both gaiters are free and will not be twisted or strained as their respective track-rods are rotated. 12 Use a straight-edge and a scriber or similar to mark the relationship of each track-rod to the track-rod end. Working on each track-rod end in tum, unscrew its locking nut. 13 Alter the length of the track-rods, bearing In mind the note in paragraph 10, by screwing them into or out of the track-rod ends. Rotate the track-rod using an open-ended spanner fitted to the flats provided. If necessary, counterhold the track-rod end using a second spanner. Shortening the track-rods (screwing them Into their track-rod ends) will reduce toe-in and increase toe-out. 14 When the setting Is correct, hold the track-rods and securely tighten the locking nuts. Check that the balljoints are seated correctly In their sockets, and count the exposed threads on the ends of the track-rods. If the number of threads exposed is not the same on both sides, then the adjustment has not been made equally, and problems will be encountered with tyre scrubbing in turns; also, the steering wheel spokes will no longer be horizontal when the wheels are in the straight-ahead position. 15 When the track-rod lengths are the same, lower the vehicle to the ground and re-check the toe setting; readjust if necessary. When the setting is correct, tighten the locking nuts. Ensure that the steering gear rubber gaiters are seated correctly and are not twisted or strained, then secure them In position with new retaining clips.
10
Page 204 of 225
Bodywork and fittings
11
*3
several blobs of filler paste around its periphery. Aluminium tape should be used for small or very narrow holes. Pull a piece off the roll, trim it to the approximate size and shape required, then pull off the backing paper (if used) and stick the tape over the hole; it can be overlapped if the thickness of one piece is Insufficient. Burnish down the edges of the tape with the handle of a screwdriver or similar, to ensure that the tape is securely attached to the metal underneath.
Bodywork repairs -filling and respraying Before using this Section, see the Sections on dent, deep scratch, rust holes and gash repairs. Many types of bodyfiller are available, but generally speaking, those proprietary kits which contain a tin of filler paste and a tube of resin hardener are best for this type of repair. A wide, flexible plastic or nylon applicator will be found invaluable for imparting a smooth and well-contoured finish to the surface of the filler. Mix up a little filler on a clean piece of card or board • measure the hardener carefully (follow the maker's instructions on the pack), otherwise the filler will set too rapidly or too slowly. U3ing the applicator, apply the filler paste to the prepared area; draw the applicator across the surface of the filler to achieve the correct contour and to level the surface. As soon as a contour that approximates to the correct one is achieved, stop working the paste - if you carry on too long, the paste will become sticky and begin lo 'pick-up' on the applicator. Continue to add thin layers of filler paste at 20-minute Intervals, until the level of the filler is just proud of the surrounding bodywork. Once the filler has hardened, the excess can be removed using a metal plane or file. From then on, progressively-finer grades of abrasive paper should be used, starting with a 40-grade production paper, and finishing with a 400-grade wet-and-dry paper. Always wrap the abrasive paper around a flat rubber, cork, or wooden block • otherwise the surface of the filler will not be completely flat. During the smoothing of the filler surface, the wet-and-dry paper should be periodically rinsed in water. This will ensure that a very smooth finish is imparled to the filler at the final stage. At this stage, the dent should be surrounded by a ring of bare metal, which in turn should be encircled by the finely feathered' edge of the good paintwork. Rinse the repair area with clean water, until all of the dust produced by the rubbing-down operation has gone. Spray the whole area with a light coat of primer - this will show up any imperfections In the surface of the filler. Repair these imperfections with fresh filler paste or bodystopper, and once more smooth the surface with abrasive paper. Repeat this
spray-and-repair procedure until you are satisfied that the surface of the filler, and the feathered edge of the paintwork, are perfect. Clean the repair area with clean water, and allow to dry fully.
flflfl^gl tf txxfystopper is used, it can WiMiiBi be mixed with cellulose Hi NT thinners to form a really thin 1 1 paste which is Ideal for filling small holes.
The repair area Is now ready for final spraying. Paint spraying must be carried out in a warm, dry, windless and dust-free atmosphere. This condition can be created artificially if you have access to a large indoor working area, but If you are forced to work in the open, you will have to pick your day very carefully. If you are working indoors, dousing the floor In the work area with water will help to settle the dust which would otherwise be in the atmosphere. If the repair area is confined to one body panel, mask off the surrounding panels; this will help to minimise the effects of a slight mis-match in paint colours. Bodywork fittings (eg chrome strips, door handles etc) will also need to be masked off. Use genuine masking tape, and several thicknesses of newspaper, for the masking operations. Before commencing to spray, agitate the aerosol can thoroughly, then spray a test area (an old tin. or similar) until the technique is mastered. Cover the repair area with a thick coat of primer; the thickness should be built up using several thin layers of paint, rather than one thick one. Using 400-grade wet-and-dry paper, rub down the surface of the pnmer until it is really smooth. While doing this, the work area should be thoroughly doused with water, and the wet-and-dry paper periodically rinsed in water. Allow to dry before spraying on more paint. Spray on the top coat, again building up the thickness by using several thin layers of paint. Start spraying at one edge of the repair area, and then, using a side-to-side motion, work until the whole repair area and about 2 inches of the surrounding original paintwork is covered. Remove all masking material 10 to 15 minutes after spraying on the final coat of paint. Allow the new paint at least two weeks to harden, then, using a paintwork renovator, or a very fine cutting paste, blend the edges of the paint into the existing paintwork. Finally, apply wax polish.
Plastic components With the use of more and more plastic body components by the vehicle manufacturers (eg bumpers, spoilers, and in some cases major body panels), rectification of more serious damage to such items has become a matter of either entrusting repair work to a specialist in this field, or renewing complete components. Repair of such damage by the
DIY owner is not really feasible, owing to the cost of the equipment and materials required for effecting such repairs. The basic technique involves making a groove along the line of the crack in the plastic, using a rotary burr In a power drill. The damaged part is then welded back together, using a hot-air gun to heat up and fuse a plastic filler rod Into the groove. Any excess plastic is then removed, and the area rubbed down to a smooth finish. It is important that a filler rod of the correct plastic is used, as body components can be made of a variety of different types (eg polycarbonate, ABS, polypropylene). Damage of a less senous nature (abrasions, minor cracks etc) can be repaired by the DIY owner using a two-part epoxy filler repair material. Once mixed in equal proportions, this is used in similar fashion to the bodywork filler used on metal panels. The filler is usually cured in twenty to thirty minutes, ready for sanding and painting. If the owner is renewing a complete component himself, or If he has repaired it with epoxy filler, he will be left with the problem of finding a suitable paint for finishing which is compatible with the type of plastic used. At one time, the use of a universal paint was not possible, owing to the complex range of plastics encountered In body component applications. Standard paints, generally speaking, will not bond to plastic or rubber satisfactorily. However, it is now possible to obtain a plastic body parts finishing kit which consists of a pre-pnmer treatment, a primer and coloured top coat. Full Instructions are normally supplied with a kit, but basically, the method of use is to first apply the pre-pnmer to the component concerned, and allow It to dry for up to 30 minutes. Then the primer is applied, and left to dry for about an hour before finally applying the special-coloured top coat. The result is a correctly-coloured component, where the paint will flex with the plastic or rubber, a property that standard paint does not normally possess.
5 Major body damage -repair
Where serious damage has occurred, or large areas need renewal due to neglect, it means that complete new panels will need welding-in, and this is best left to professionals. If the damage is due to Impact, it will also be necessary to check completely the alignment of the bodyshell, and this can only be carried out accurately by a Fiat dealer using special jigs. If the alignment of the bodyshell is not corrected, the car's handling may be seriously affected. In addition, excessive stress may be Imposed on the steering, suspension, tyres or transmission, causing abnormal wear or even complete failure.