set clock FIAT SCUDO 2015 Owner handbook (in English)
[x] Cancel search | Manufacturer: FIAT, Model Year: 2015, Model line: SCUDO, Model: FIAT SCUDO 2015Pages: 227, PDF Size: 4.46 MB
Page 20 of 227

16SAFETY
DEVICESCORRECT USE
OF THE VEHICLE
WARNING
LIGHTS AND
MESSAGESIN AN
EMERGENCYVEHICLE
MAINTENANCETECHNICAL
SPECIFICATIONSINDEXDASHBOARD
AND CONTROLS
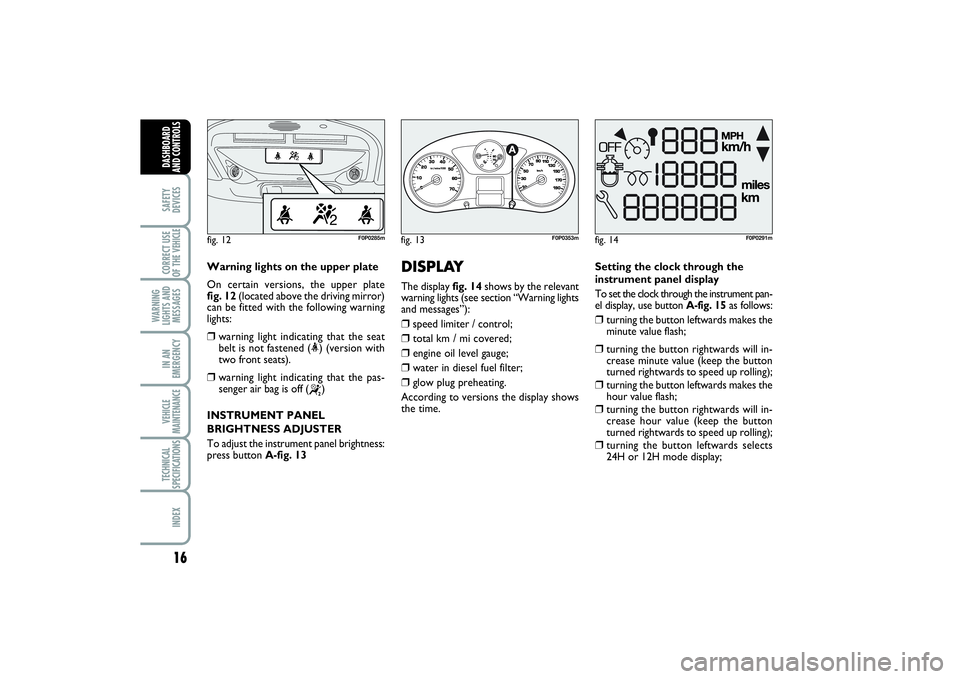
Warning lights on the upper plate
On certain versions, the upper plate
fig. 12(located above the driving mirror)
can be fitted with the following warning
lights:❒
warning light indicating that the seat
belt is not fastened (<) (version with
two front seats).
❒
warning light indicating that the pas-
senger air bag is off (
“
)
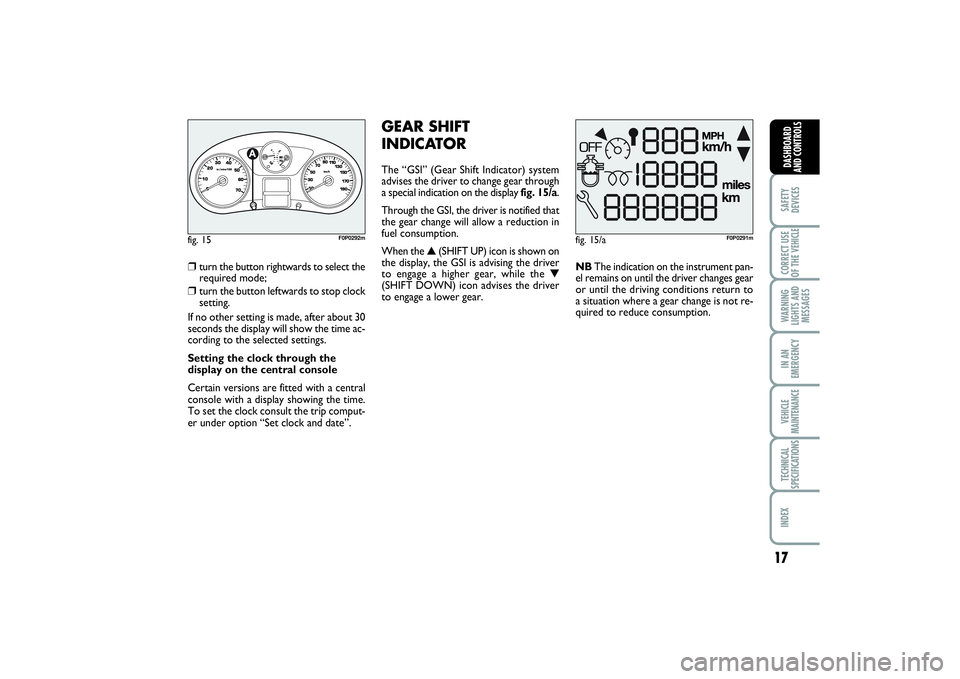
INSTRUMENT PANEL
BRIGHTNESS ADJUSTER
To adjust the instrument panel brightness:
press button A-fig. 13
fig. 12
F0P0285m
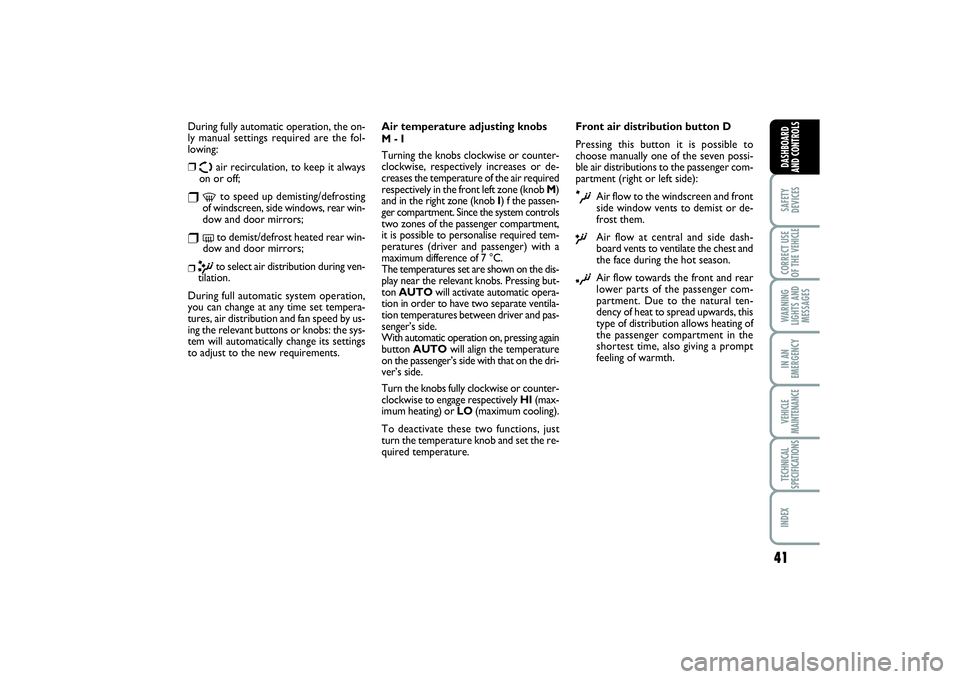
DISPLAY The display fig. 14shows by the relevant
warning lights (see section “Warning lights
and messages”):❒
speed limiter / control;
❒
total km / mi covered;
❒
engine oil level gauge;
❒
water in diesel fuel filter;
❒
glow plug preheating.
According to versions the display shows
the time. Setting the clock through the
instrument panel display
To set the clock through the instrument pan-
el display, use button A-fig. 15as follows:
❒
turning the button leftwards makes the
minute value flash;
❒
turning the button rightwards will in-
crease minute value (keep the button
turned rightwards to speed up rolling);
❒
turning the button leftwards makes the
hour value flash;
❒
turning the button rightwards will in-
crease hour value (keep the button
turned rightwards to speed up rolling);
❒
turning the button leftwards selects
24H or 12H mode display;
fig. 14
F0P0291m
fig. 13
1/2
F0P0353m
001-019 SCUDO LUM GB 27/03/14 10:10 Pagina 16
Page 21 of 227

17
SAFETY
DEVICESCORRECT USE
OF THE VEHICLE WARNING
LIGHTS AND
MESSAGESIN AN
EMERGENCYVEHICLE
MAINTENANCETECHNICAL
SPECIFICATIONSINDEX DASHBOARD
AND CONTROLS
❒
turn the button rightwards to select the
required mode;
❒
turn the button leftwards to stop clock
setting.
If no other setting is made, after about 30
seconds the display will show the time ac-
cording to the selected settings.
Setting the clock through the
display on the central console
Certain versions are fitted with a central
console with a display showing the time.
To set the clock consult the trip comput-
er under option “Set clock and date”.
GEAR SHIFT
INDICATORThe “GSI” (Gear Shift Indicator) system
advises the driver to change gear through
a special indication on the display fig. 15/a.
Through the GSI, the driver is notified that
the gear change will allow a reduction in
fuel consumption.
When the ▲(SHIFT UP) icon is shown on
the display, the GSI is advising the driver
to engage a higher gear, while the ▼
(SHIFT DOWN) icon advises the driver
to engage a lower gear.NBThe indication on the instrument pan-
el remains on until the driver changes gear
or until the driving conditions return to
a situation where a gear change is not re-
quired to reduce consumption.
fig. 15/a
F0P0291m
fig. 15
1/2
F0P0292m
001-019 SCUDO LUM GB 27/03/14 10:10 Pagina 17
Page 45 of 227

41
SAFETY
DEVICESCORRECT USE
OF THE VEHICLE WARNING
LIGHTS AND
MESSAGESIN AN
EMERGENCYVEHICLE
MAINTENANCETECHNICAL
SPECIFICATIONSINDEX DASHBOARD
AND CONTROLS
During fully automatic operation, the on-
ly manual settings required are the fol-
lowing:❒
Ω
air recirculation, to keep it always
on or off;
❒
-
to speed up demisting/defrosting
of windscreen, side windows, rear win-
dow and door mirrors;
❒
(
to demist/defrost heated rear win-
dow and door mirrors;
❒π
to select air distribution during ven-
tilation.
During full automatic system operation,
you can change at any time set tempera-
tures, air distribution and fan speed by us-
ing the relevant buttons or knobs: the sys-
tem will automatically change its settings
to adjust to the new requirements.Air temperature adjusting knobs
M - I
Turning the knobs clockwise or counter-
clockwise, respectively increases or de-
creases the temperature of the air required
respectively in the front left zone (knob M)
and in the right zone (knob I) f the passen-
ger compartment. Since the system controls
two zones of the passenger compartment,
it is possible to personalise required tem-
peratures (driver and passenger) with a
maximum difference of 7 °C.
The temperatures set are shown on the dis-
play near the relevant knobs. Pressing but-
ton AUTOwill activate automatic opera-
tion in order to have two separate ventila-
tion temperatures between driver and pas-
senger’s side.
With automatic operation on, pressing again
button AUTOwill align the temperature
on the passenger’s side with that on the dri-
ver’s side.
Turn the knobs fully clockwise or counter-
clockwise to engage respectively HI(max-
imum heating) or LO(maximum cooling).
To deactivate these two functions, just
turn the temperature knob and set the re-
quired temperature.Front air distribution button D
Pressing this button it is possible to
choose manually one of the seven possi-
ble air distributions to the passenger com-
partment (right or left side):
æ
Air flow to the windscreen and front
side window vents to demist or de-
frost them.
ø
Air flow at central and side dash-
board vents to ventilate the chest and
the face during the hot season.
¿
Air flow towards the front and rear
lower parts of the passenger com-
partment. Due to the natural ten-
dency of heat to spread upwards, this
type of distribution allows heating of
the passenger compartment in the
shortest time, also giving a prompt
feeling of warmth.
020-082 SCUDO LUM GB 19/11/13 09.54 Pagina 41