To go back to the preceding mode,
repeat the same operation.
NOTE After disconnecting the battery,
the on-board computer automatically
returns to the original unit of measure.
Time and outside temperature
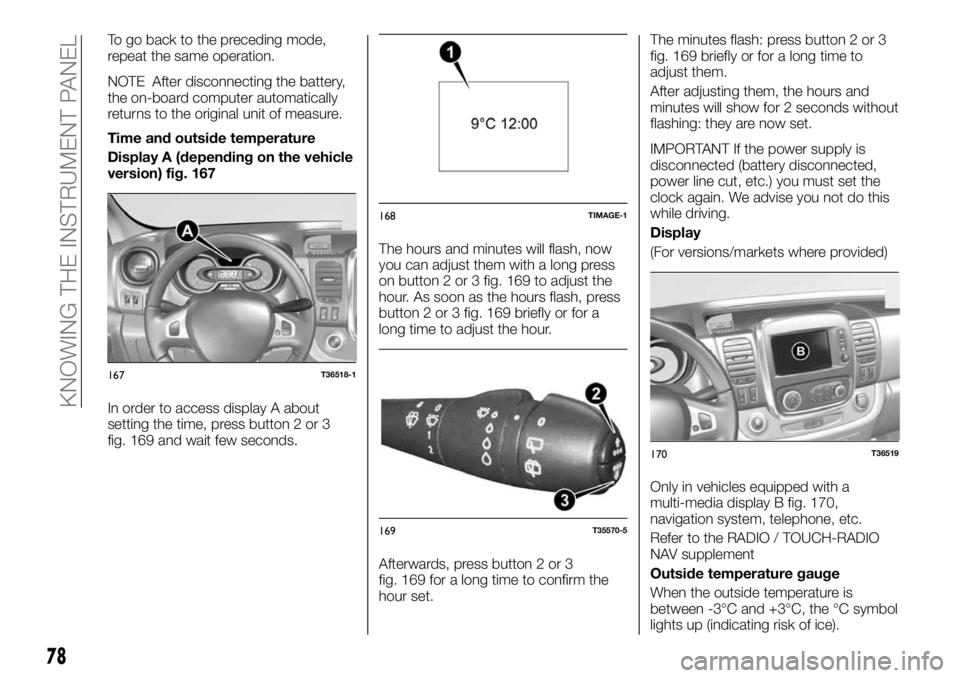
Display A (depending on the vehicle
version) fig. 167
In order to access display A about
setting the time, press button 2 or 3
fig. 169 and wait few seconds.The hours and minutes will flash, now
you can adjust them with a long press
on button 2 or 3 fig. 169 to adjust the
hour. As soon as the hours flash, press
button 2 or 3 fig. 169 briefly or for a
long time to adjust the hour.
Afterwards, press button 2 or 3
fig. 169 for a long time to confirm the
hour set.The minutes flash: press button 2 or 3
fig. 169 briefly or for a long time to
adjust them.
After adjusting them, the hours and
minutes will show for 2 seconds without
flashing: they are now set.
IMPORTANT If the power supply is
disconnected (battery disconnected,
power line cut, etc.) you must set the
clock again. We advise you not do this
while driving.
Display
(For versions/markets where provided)
Only in vehicles equipped with a
multi-media display B fig. 170,
navigation system, telephone, etc.
Refer to the RADIO / TOUCH-RADIO
NAV supplement
Outside temperature gauge
When the outside temperature is
between -3°C and +3°C, the °C symbol
lights up (indicating risk of ice).
167T36518-1
168TIMAGE-1
169T35570-5
170T36519
78
KNOWING THE INSTRUMENT PANEL
