warning lights FORD BRONCO SPORT 2021 Owners Manual
[x] Cancel search | Manufacturer: FORD, Model Year: 2021, Model line: BRONCO SPORT, Model: FORD BRONCO SPORT 2021Pages: 471, PDF Size: 7 MB
Page 142 of 471
5. If you have folding head restraints,
make sure they do not interfere with
the seat cushion when folded. This
allows the seat backrest to be properly
stowed.
Unfolding the Seat Backrest WARNING: Do not place cargo or
any objects behind the seat backrest
before returning it to the original position.
Pull on the seat backrest to make sure
that it has fully latched after returning
the seat backrest to its original position.
An unlatched seat may become
dangerous if you stop suddenly or have
a crash.
Pull the seat backrest up to unfold it. When
raising the seat backrest, make sure the
seat latch engages.
HEATED SEATS
(IF EQUIPPED) WARNING: Use caution when using
the heated seat if you are unable to feel
pain to your skin because of advanced
age, chronic illness, diabetes, spinal cord
injury, medication, alcohol use,
exhaustion or other physical conditions.
The heated seat could cause burns even
at low temperatures, especially if used
for long periods of time. Failure to follow
this instruction could result in personal
injury. WARNING:
Do not place anything
on the seat that blocks the heat, for
example a seat cover or a cushion. This
could cause the seat to overheat. Failure
to follow this instruction could result in
personal injury. WARNING:
Do not poke sharp
objects into the seat cushion or seat
backrest. This could damage the heated
seat element and cause it to overheat.
Failure to follow this instruction could
result in personal injury.
Do not:
• Place heavy objects on the seat.
• Operate the heated seat if water or any
other liquid spills on the seat. Allow the
seat to dry thoroughly.
The engine must be running to use this
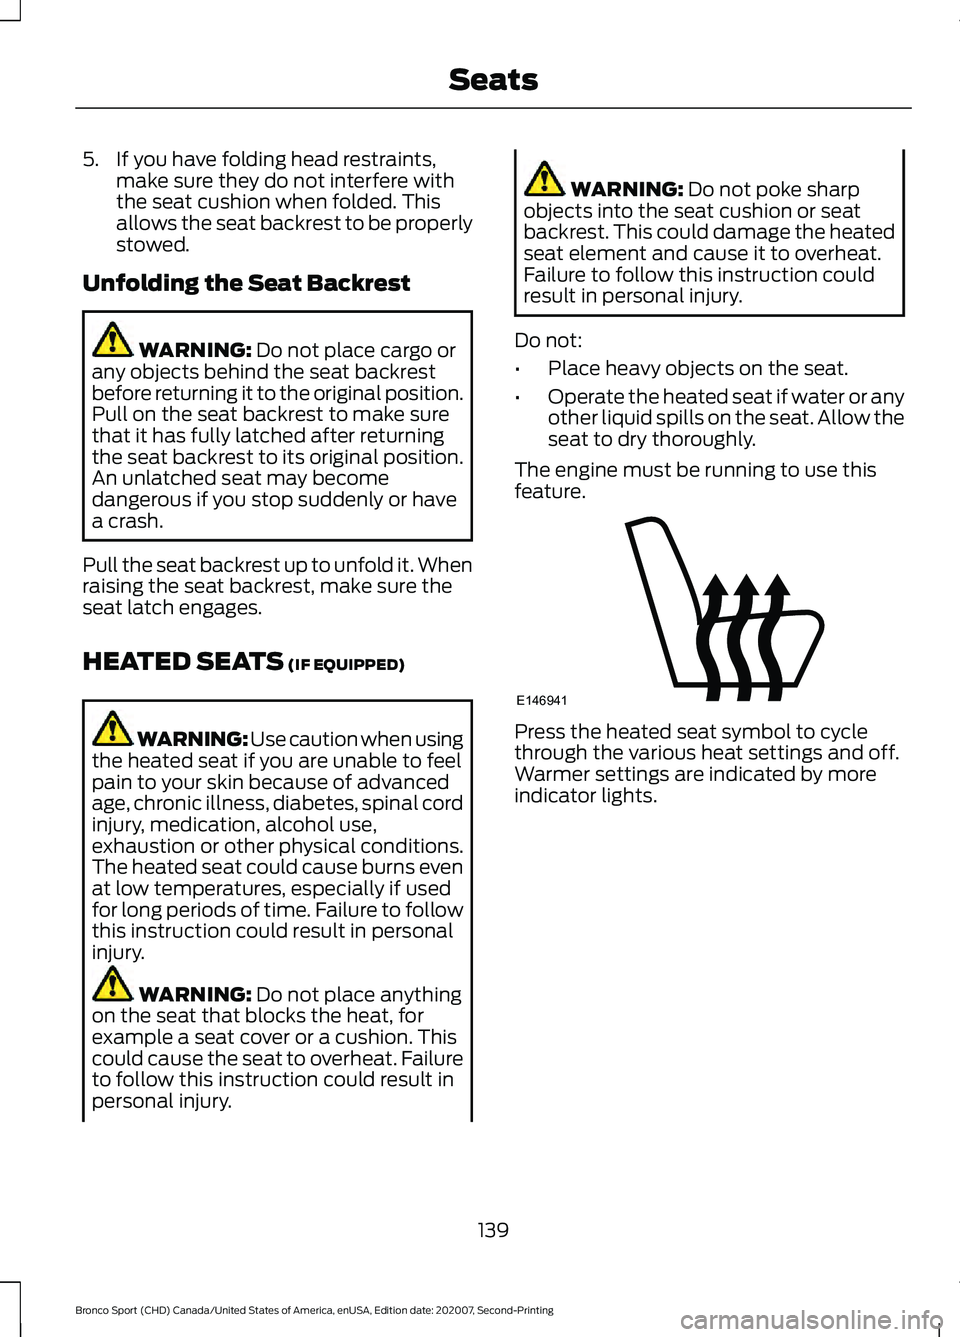
feature. Press the heated seat symbol to cycle
through the various heat settings and off.
Warmer settings are indicated by more
indicator lights.
139
Bronco Sport (CHD) Canada/United States of America, enUSA, Edition date: 202007, Second-Printing SeatsE146941
Page 182 of 471
developed sufficient torque to prevent your
vehicle from rolling down the slope. This
is an advantage when pulling away on a
slope, for example from a car park ramp,
traffic lights or when reversing uphill into
a parking space.
The system activates on any slope that
causes your vehicle to roll.
Note:
There is no warning light to indicate
the system is either on or off.
Using Hill Start Assist
1. Press the brake pedal to bring your vehicle to a complete standstill. Keep
the brake pedal pressed and shift into
first gear when facing uphill or reverse
(R) when facing downhill.
2. If the sensors detect that your vehicle is on a slope, the system activates
automatically.
3. When you remove your foot from the brake pedal, your vehicle remains on
the slope without rolling away for
about two to three seconds. This hold
time automatically extends if you are
in the process of driving off.
4. Drive off in the normal manner. The system releases the brakes
automatically.
Note: When you remove your foot from the
brake pedal and press the pedal again when
the system is active, you will experience
significantly reduced brake pedal travel. This
is normal.
Switching the System On and Off
When you switch the ignition on, the
system automatically turns on. You cannot
turn the system on or off. AUTO HOLD WARNING: The system does not
replace the parking brake. When you
leave your vehicle, always apply the
parking brake. WARNING:
You must remain in
your vehicle when the system turns on.
At all times, you are responsible for
controlling your vehicle, supervising the
system and intervening, if required.
Failure to take care may result in the loss
of control of your vehicle, serious
personal injury or death. WARNING:
The system turns off if
there is a malfunction or if you
excessively rev the engine.
The system applies the brakes to hold your
vehicle at a standstill after you stop your
vehicle and release the brake pedal. This
could be beneficial in certain situations, for
example when waiting on a hill or in traffic.
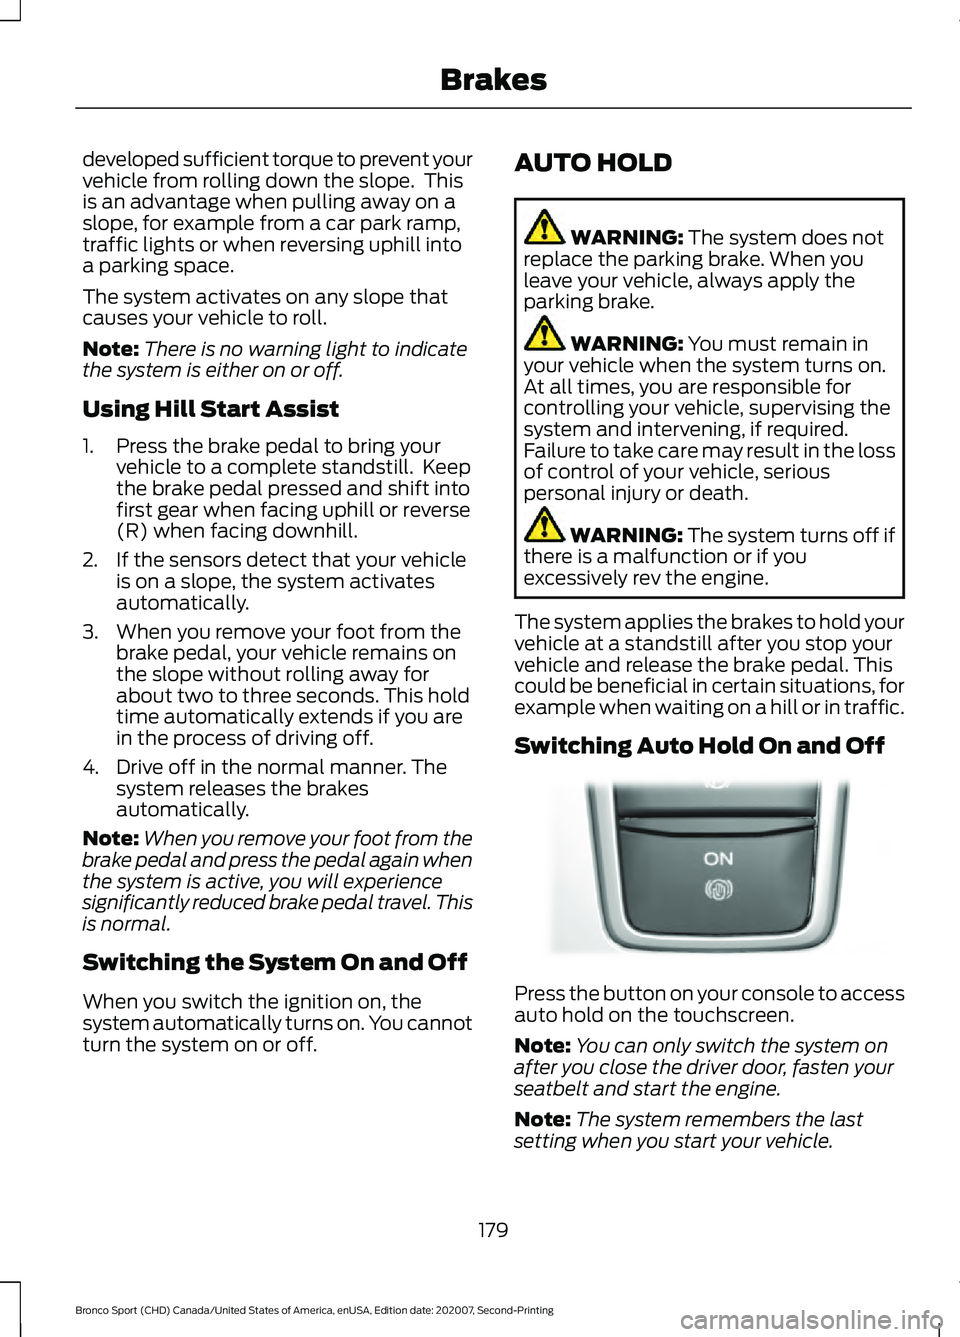
Switching Auto Hold On and Off Press the button on your console to access
auto hold on the touchscreen.
Note:
You can only switch the system on
after you close the driver door, fasten your
seatbelt and start the engine.
Note: The system remembers the last
setting when you start your vehicle.
179
Bronco Sport (CHD) Canada/United States of America, enUSA, Edition date: 202007, Second-Printing BrakesE319161
Page 184 of 471
PRINCIPLE OF OPERATION
The traction control system helps avoid
drive wheel spin and loss of traction.
If your vehicle begins to slide, the system
applies the brakes to individual wheels
and, when needed, reduces engine power
at the same time. If the wheels spin when
accelerating on slippery or loose surfaces,
the system reduces engine power in order
to increase traction.
USING TRACTION CONTROL
WARNING: The stability and
traction control light illuminates steadily
if the system detects a failure. Make sure
you did not manually disable the traction
control system using the information
display controls or the switch. If the
stability control and traction control light
is still illuminating steadily, have the
system serviced by an authorized dealer
immediately. Operating your vehicle with
the traction control disabled could lead
to an increased risk of loss of vehicle
control, vehicle rollover, personal injury
and death.
The system automatically turns on each
time you switch the ignition on.
If your vehicle is stuck in mud or snow,
switching traction control off may be
beneficial as this allows the wheels to spin.
Note: When you switch traction control off,
stability control remains fully active.
Switching the System Off
When you switch the system off or on, a
message appears in the information
display showing system status. You can switch the system off by either
using the information display controls or
the switch.
Using the Information Display
Controls
You can switch this feature off or on in the
information display. See
General
Information (page 99).
Using a Switch
(If Equipped)
Using the traction control switch on the
center console to turn this feature off or
on.
System Indicator Lights and
Messages The stability and traction control
light:
• Temporarily illuminates on engine
start-up.
• Flashes when a driving condition
activates either of the systems.
• Illuminates if a problem occurs in either
of the systems. The stability and traction control
off light temporarily illuminates
on engine start-up and stays on
when you switch the traction control
system off.
181
Bronco Sport (CHD) Canada/United States of America, enUSA, Edition date: 202007, Second-Printing Traction ControlE138639 E130458
Page 194 of 471
Camera System Settings
The rear view camera system settings can
be accessed through the display screen.
See General Information (page 99).
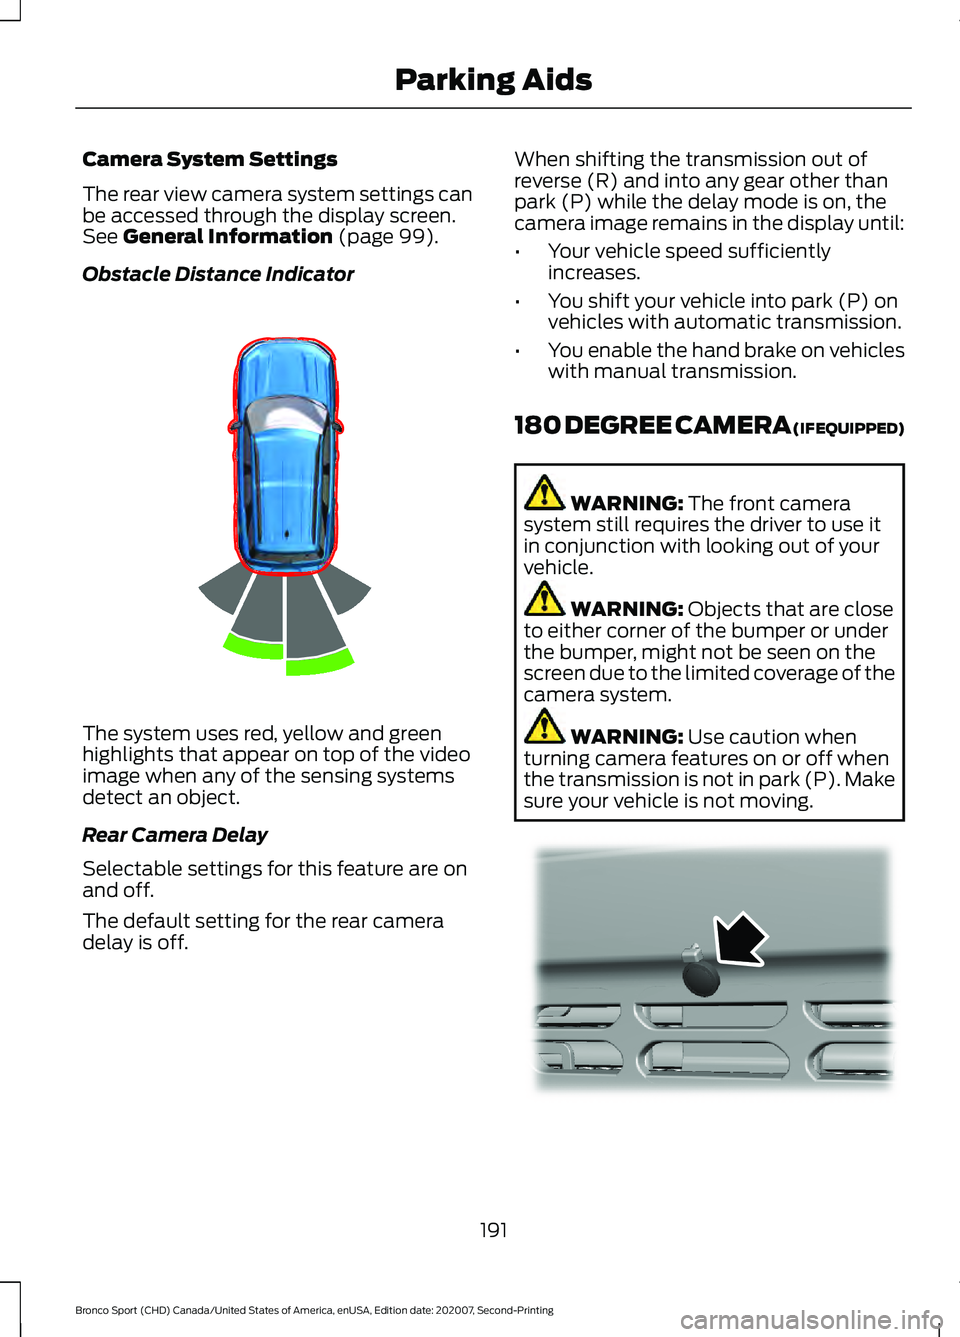
Obstacle Distance Indicator The system uses red, yellow and green
highlights that appear on top of the video
image when any of the sensing systems
detect an object.
Rear Camera Delay
Selectable settings for this feature are on
and off.
The default setting for the rear camera
delay is off. When shifting the transmission out of
reverse (R) and into any gear other than
park (P) while the delay mode is on, the
camera image remains in the display until:
•
Your vehicle speed sufficiently
increases.
• You shift your vehicle into park (P) on
vehicles with automatic transmission.
• You enable the hand brake on vehicles
with manual transmission.
180 DEGREE CAMERA (IF EQUIPPED) WARNING:
The front camera
system still requires the driver to use it
in conjunction with looking out of your
vehicle. WARNING:
Objects that are close
to either corner of the bumper or under
the bumper, might not be seen on the
screen due to the limited coverage of the
camera system. WARNING:
Use caution when
turning camera features on or off when
the transmission is not in park (P). Make
sure your vehicle is not moving. 191
Bronco Sport (CHD) Canada/United States of America, enUSA, Edition date: 202007, Second-Printing Parking AidsE322352 E321541
Page 200 of 471
WARNING: The system only warns
of vehicles detected by the radar and
camera sensors. In some cases there
may be no warning or a delayed warning.
Apply the brakes when necessary. Failure
to follow this instruction could result in
personal injury or death. WARNING:
The system may not
detect stationary or slow moving
vehicles below
6 mph (10 km/h). WARNING:
The system does not
detect pedestrians or objects in the road. WARNING:
The system does not
detect oncoming vehicles in the same
lane. WARNING:
The system may not
operate properly if the sensor is blocked.
Keep the windshield free from
obstruction. WARNING:
The sensor may
incorrectly track lane markings as other
structures or objects. This can result in
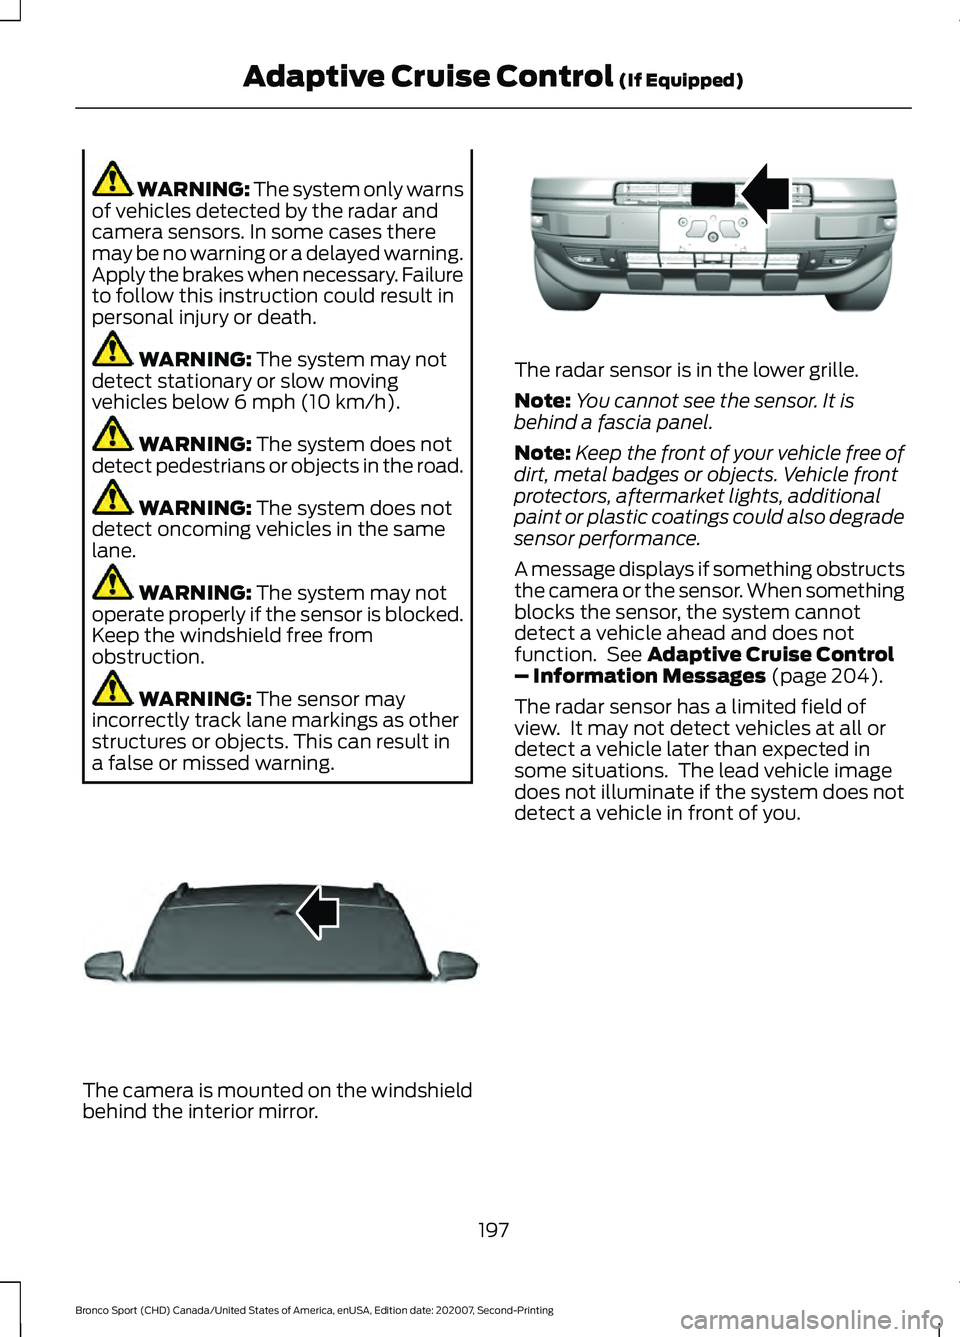
a false or missed warning. The camera is mounted on the windshield
behind the interior mirror. The radar sensor is in the lower grille.
Note:
You cannot see the sensor. It is
behind a fascia panel.
Note: Keep the front of your vehicle free of
dirt, metal badges or objects. Vehicle front
protectors, aftermarket lights, additional
paint or plastic coatings could also degrade
sensor performance.
A message displays if something obstructs
the camera or the sensor. When something
blocks the sensor, the system cannot
detect a vehicle ahead and does not
function. See
Adaptive Cruise Control
– Information Messages (page 204).
The radar sensor has a limited field of
view. It may not detect vehicles at all or
detect a vehicle later than expected in
some situations. The lead vehicle image
does not illuminate if the system does not
detect a vehicle in front of you.
197
Bronco Sport (CHD) Canada/United States of America, enUSA, Edition date: 202007, Second-Printing Adaptive Cruise Control
(If Equipped)E307893 E321483
Page 241 of 471
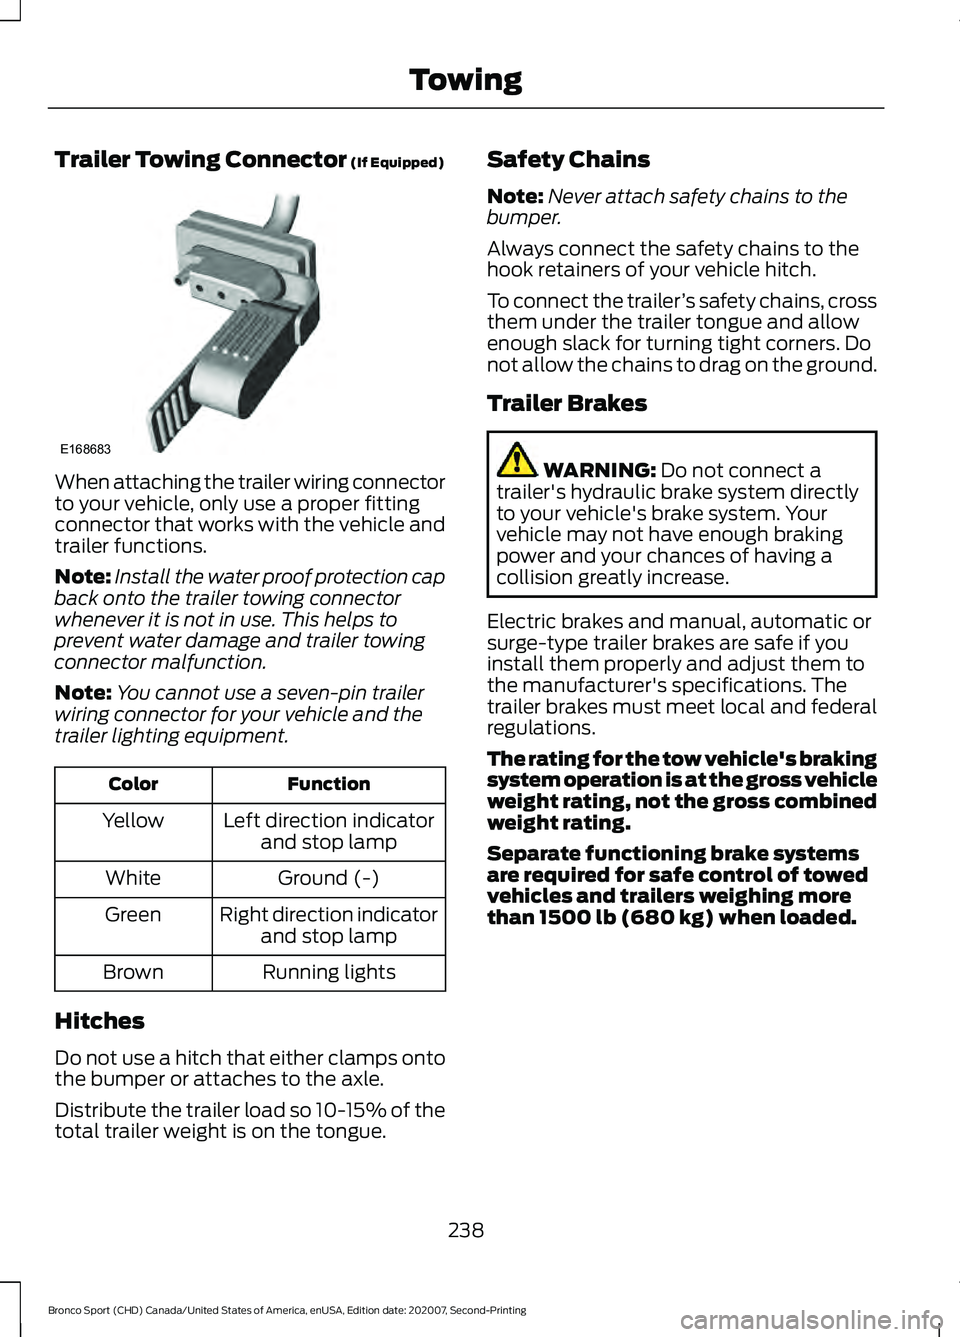
Trailer Towing Connector (If Equipped)
When attaching the trailer wiring connector
to your vehicle, only use a proper fitting
connector that works with the vehicle and
trailer functions.
Note:
Install the water proof protection cap
back onto the trailer towing connector
whenever it is not in use. This helps to
prevent water damage and trailer towing
connector malfunction.
Note: You cannot use a seven-pin trailer
wiring connector for your vehicle and the
trailer lighting equipment. Function
Color
Left direction indicatorand stop lamp
Yellow
Ground (-)
White
Right direction indicatorand stop lamp
Green
Running lights
Brown
Hitches
Do not use a hitch that either clamps onto
the bumper or attaches to the axle.
Distribute the trailer load so 10-15% of the
total trailer weight is on the tongue. Safety Chains
Note:
Never attach safety chains to the
bumper.
Always connect the safety chains to the
hook retainers of your vehicle hitch.
To connect the trailer ’s safety chains, cross
them under the trailer tongue and allow
enough slack for turning tight corners. Do
not allow the chains to drag on the ground.
Trailer Brakes WARNING:
Do not connect a
trailer's hydraulic brake system directly
to your vehicle's brake system. Your
vehicle may not have enough braking
power and your chances of having a
collision greatly increase.
Electric brakes and manual, automatic or
surge-type trailer brakes are safe if you
install them properly and adjust them to
the manufacturer's specifications. The
trailer brakes must meet local and federal
regulations.
The rating for the tow vehicle's braking
system operation is at the gross vehicle
weight rating, not the gross combined
weight rating.
Separate functioning brake systems
are required for safe control of towed
vehicles and trailers weighing more
than 1500 lb (680 kg) when loaded.
238
Bronco Sport (CHD) Canada/United States of America, enUSA, Edition date: 202007, Second-Printing TowingE168683
Page 242 of 471
Trailer Lamps
WARNING: Never connect any
trailer lamp wiring to the vehicle's tail
lamp wiring; this may damage the
electrical system resulting in fire. Contact
your authorized dealer as soon as
possible for assistance in proper trailer
tow wiring installation. Additional
electrical equipment may be required.
Trailer lamps are required on most towed
vehicles. Make sure all running lights, brake
lights, turn signals and hazard lights are
working.
Before Towing a Trailer
Practice turning, stopping and backing up
to get the feel of your vehicle-trailer
combination before starting on a trip.
When turning, make wider turns so the
trailer wheels clear curbs and other
obstacles.
When Towing a Trailer
• Do not drive faster than
70 mph
(113 km/h) during the first 500 mi
(800 km).
• Do not make full-throttle starts.
• Check your hitch, electrical connections
and trailer wheel lug nuts thoroughly
after you have traveled 50 mi (80 km).
• When stopped in congested or heavy
traffic during hot weather, place the
transmission in park (P) to aid engine
and transmission cooling and to help
A/C performance.
• Turn off the speed control with heavy
loads or in hilly terrain. The speed
control may turn off automatically
when you are towing on long, steep
grades. •
Shift to a lower gear when driving down
a long or steep hill. Do not apply the
brakes continuously, as they may
overheat and become less effective.
• If your transmission is equipped with a
Grade Assist or Tow/Haul feature, use
this feature when towing. This provides
engine braking and helps eliminate
excessive transmission shifting for
optimum fuel economy and
transmission cooling.
• Allow more distance for stopping with
a trailer attached. Anticipate stops and
brake gradually.
• Avoid parking on a grade. However, if
you must park on a grade:
1. Turn the steering wheel to point your vehicle tires away from traffic flow.
2. Set your vehicle parking brake.
3. Place the automatic transmission in park (P).
4. Place wheel chocks in front and back of the trailer wheels. Chocks are not
included with your vehicle.
Launching or Retrieving a Boat or
Personal Watercraft (PWC)
Note: Disconnect the wiring to the trailer
before
backing the trailer into the water.
Note: Reconnect the wiring to the trailer
after
removing the trailer from the water.
When backing down a ramp during boat
launching or retrieval:
• Do not allow the static water level to
rise above the bottom edge of the rear
bumper.
• Do not allow waves to break higher
than
6 in (15 cm) above the bottom
edge of the rear bumper.
239
Bronco Sport (CHD) Canada/United States of America, enUSA, Edition date: 202007, Second-Printing Towing
Page 248 of 471
Ease off the accelerator as you reach the
other side to diminish the front wave. Apply
the accelerator slowly and as necessary
to climb out of the other side.
Muddy waters can reduce the cooling
system effectiveness by depositing debris
into the radiator.
Extra care must be taken crossing any type
of water. Do not drive into water unless
necessary. You should only drive through
areas that are designated and approved.
High currents even in shallow water can
wash the dirt out from around your tires or
push your vehicle across slippery rocks or
surfaces.
Never attempt to cross flowing water that
is deeper than your vehicles ground
clearance. Even in low currents your
vehicles body surface area can be pushed
downstream and out of control.
Do not cross any body of water that is fast
flowing and rising, wait for the flow rate to
reduce.
Determine exit points that are downstream
of your entry point to allow for drifting.
If there are other vehicles ahead, wait until
they
’ve left the water. Unsettled water can
make a safe passage more challenging.
Know your vehicle ’s abilities and be able
to recover it if something goes wrong.
Keep the doors fully closed during a water
crossing.
Vehicles used to traverse water regularly
should be periodically inspected for signs
of water ingestion in all of the vehicle's
fluids. If water is found inside your vehicle
fluids, service your vehicle or see an
authorized dealer.
After driving through water and as soon as
it is safe to do so, check the brakes, horn,
lights, and steering wheel to make sure
everything is still in working order. Avoid Getting High-Centered
Always keep available ground clearance
in mind and pick a route that minimizes the
risk of catching the underside of the vehicle
on an obstacle and getting high-centered.
Freeing A Stuck Vehicle
WARNING: Do not spin the wheels
at over 34 mph (55 km/h). The tires may
fail and injure a passenger or bystander.
Recovery hooks are mounted to the
vehicle's structure and are used to pull out
the vehicle from a surface or location when
stuck. Recover your vehicle using various
towing apparatus attached to your
recovery hook such as winch, open hook,
or strap.
Note: Do not use recovery hooks to
recreationally tow your vehicle. See Towing
the Vehicle on Four Wheels
(page 240).
If your vehicle gets stuck in mud or snow,
you may rock it out by shifting between
forward and reverse gears, stopping
between shifts in a steady pattern. Press
the accelerator in each gear.
Note: Do not rock your vehicle if the engine
is not at normal operating temperature
damage to the transmission may occur.
Note: Do not rock your vehicle for more
than a minute damage to the transmission
and tires may occur or the engine may
overheat.
If you are unable to free your vehicle call
roadside assistance. See
Roadside
Assistance (page 250).
245
Bronco Sport (CHD) Canada/United States of America, enUSA, Edition date: 202007, Second-Printing Driving Hints