warning light FORD C MAX 2011 2.G Owner's Manual
[x] Cancel search | Manufacturer: FORD, Model Year: 2011, Model line: C MAX, Model: FORD C MAX 2011 2.GPages: 296, PDF Size: 7.87 MB
Page 146 of 296
Downloaded from www.Manualslib.com manuals search engine PRINCIPLE OF OPERATION
Note:
Depending on applicable laws and
regulations in the country for which your
vehicle was originally built, the brake lamps
may flash if you brake heavily.
Note: Occasional brake noise is normal and
often does not indicate a concern. In normal
operation, the system may emit occasional
or intermittent squeal or groan noises when
the brakes are applied. Such noises are
usually caused by environmental conditions
such as cold, heat, moisture, road dust, salt
or mud.
Disc brakes
Wet brake discs result in reduced braking
efficiency. Dab the brake pedal when
driving from a car wash to remove the film
of water.
ABS WARNING
The ABS does not relieve you of your
responsibility to drive with due care
and attention.
The ABS helps you to maintain full steering
and directional stability when you brake
heavily in an emergency, by preventing the
road wheels from locking.
HINTS ON DRIVING WITH
ANTI-LOCK BRAKES
When the ABS is operating, the brake pedal
will pulse. This is normal. Maintain pressure
on the brake pedal.
The ABS will not eliminate the dangers
inherent when:
•
you drive too close to the vehicle in
front of you.
• the vehicle is aquaplaning. •
you take corners too fast.
• the road surface is poor.
PARKING BRAKE WARNING
Vehicles with an automatic
transmission should always be left
with the selector lever in position P
(Park). •
Press the foot brake pedal firmly.
• Pull the parking brake lever up smartly
to its fullest extent.
• Do not press the release button while
pulling the lever up.
• If your vehicle is parked on a hill and
facing uphill, select first gear or P
(Park) and turn the steering wheel
away from the kerb.
• If your vehicle is parked on a hill and
facing downhill, select reverse gear or
P (Park) and turn the steering wheel
towards the kerb.
To release the parking brake, press the
brake pedal firmly, pull the lever up slightly,
depress the release button and push the
lever down.
144
Brakes
Page 148 of 296
Downloaded from www.Manualslib.com manuals search engine PRINCIPLE OF OPERATION
The system makes it easier to pull away
when the vehicle is on a slope without the
need to use the parking brake.
When the system is active, the vehicle will
remain stationary on the slope for a short
time after you release the brake pedal.
During this time, you have time to move
your foot from the brake to the accelerator
pedal and pull away. The brakes are
released automatically once the engine
has developed sufficient drive to prevent
the vehicle from rolling down the slope.
This is an advantage when pulling away
on a slope, for example from a car park
ramp, traffic lights or when reversing uphill
into a parking space.
WARNING
The system does not replace the
parking brake. When you leave the
vehicle, always apply the parking
brake and select first or reverse gear. USING HILL START ASSIST
The system is activated automatically
when you stop your vehicle on a slope
greater than 3%. The system operates with
the vehicle facing downhill if reverse gear
is selected and with the vehicle facing
uphill if any forward gear is selected.
Vehicles with manual
transmission only
The system can be switched on and off
using the information display. See General
Information (page 83).
Activating the system
WARNINGS
You must remain in the vehicle once
you have activated the system. WARNINGS
At all times you are responsible for
controlling the vehicle, supervising
the system and intervening, if
required. If a malfunction is detected when the
system is active, the system will be
deactivated and a message will be
shown in the display. See Information
Messages (page 90). You can activate the system only if the
following conditions have been met:
•
The engine is running.
• The system is switched on.
• On vehicles with manual transmission,
the clutch pedal is pressed.
• No failure mode is present.
To activate the system:
1. Press the brake pedal to bring the vehicle to a complete standstill. Keep
the brake pedal depressed.
2. If the sensors detect that the vehicle is
on a slope the system will be activated
automatically.
3. When you remove your foot from the brake pedal, the vehicle will remain on
the slope without rolling away for a
short time. This hold time will
automatically be extended if you are
in the process of driving off.
4. Drive off in the normal manner. The brakes will be released automatically.
Deactivating the system
To deactivate the system, perform one of
the following:
146
Hill Start Assist
Page 150 of 296
Downloaded from www.Manualslib.com manuals search engine PRINCIPLE OF OPERATION
WARNING
The system does not relieve you of
your responsibility to drive with due
care and attention.
CAUTIONS
Vehicles fitted with a trailer tow
module not approved by us may not
correctly detect obstacles.
The sensors may not detect objects
in heavy rain or other conditions that
cause disruptive reflections.
The sensors may not detect objects
with surfaces that absorb ultrasonic
waves.
The parking aid does not detect
obstacles moving away from the
vehicle. They will only be detected
shortly after they start to move towards
the vehicle again. If you use a high pressure spray to
wash your vehicle, only spray the
sensors briefly from a distance not
less than 20 centimetres (8 inches). Parking aid sends tones via the audio
system fitted and approved by us. If
this is not working the parking aid
system will not work. Note:
On vehicles fitted with a tow ball
arm, the rear parking aid is deactivated
automatically when any trailer lamps (or
lighting boards) are connected to the 13-pin
socket via a trailer tow module we have
approved.
Note: Keep the sensors free from dirt, ice
and snow. Do not clean with sharp objects.
Note: The parking aid may emit false tones
if it detects a signal using the same
frequency as the sensors or if the vehicle is
fully laden. Note:
The outer sensors may detect the
side walls of a garage. If the distance
between the outer sensor and the side wall
remains constant for three seconds, the
tone will switch off. As you continue, the
inner sensors will detect rearward objects.
USING THE PARKING AID -
VEHICLES WITH: REAR
PARKING AID WARNING
The parking aid does not relieve you
of your responsibility to drive with
due care and attention.
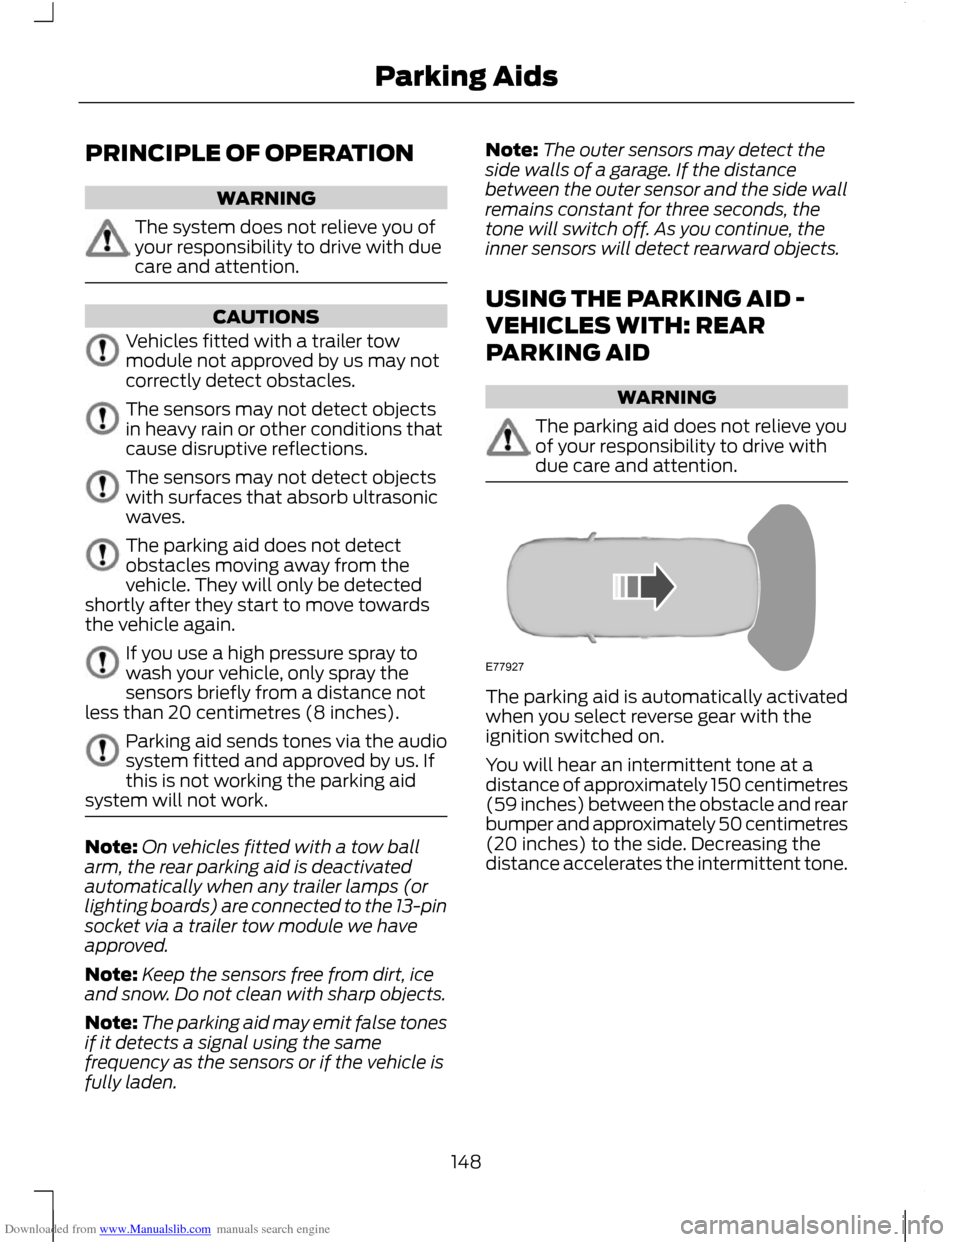
The parking aid is automatically activated
when you select reverse gear with the
ignition switched on.
You will hear an intermittent tone at a
distance of approximately 150 centimetres
(59 inches) between the obstacle and rear
bumper and approximately 50 centimetres
(20 inches) to the side. Decreasing the
distance accelerates the intermittent tone.
148
Parking AidsE77927
Page 151 of 296
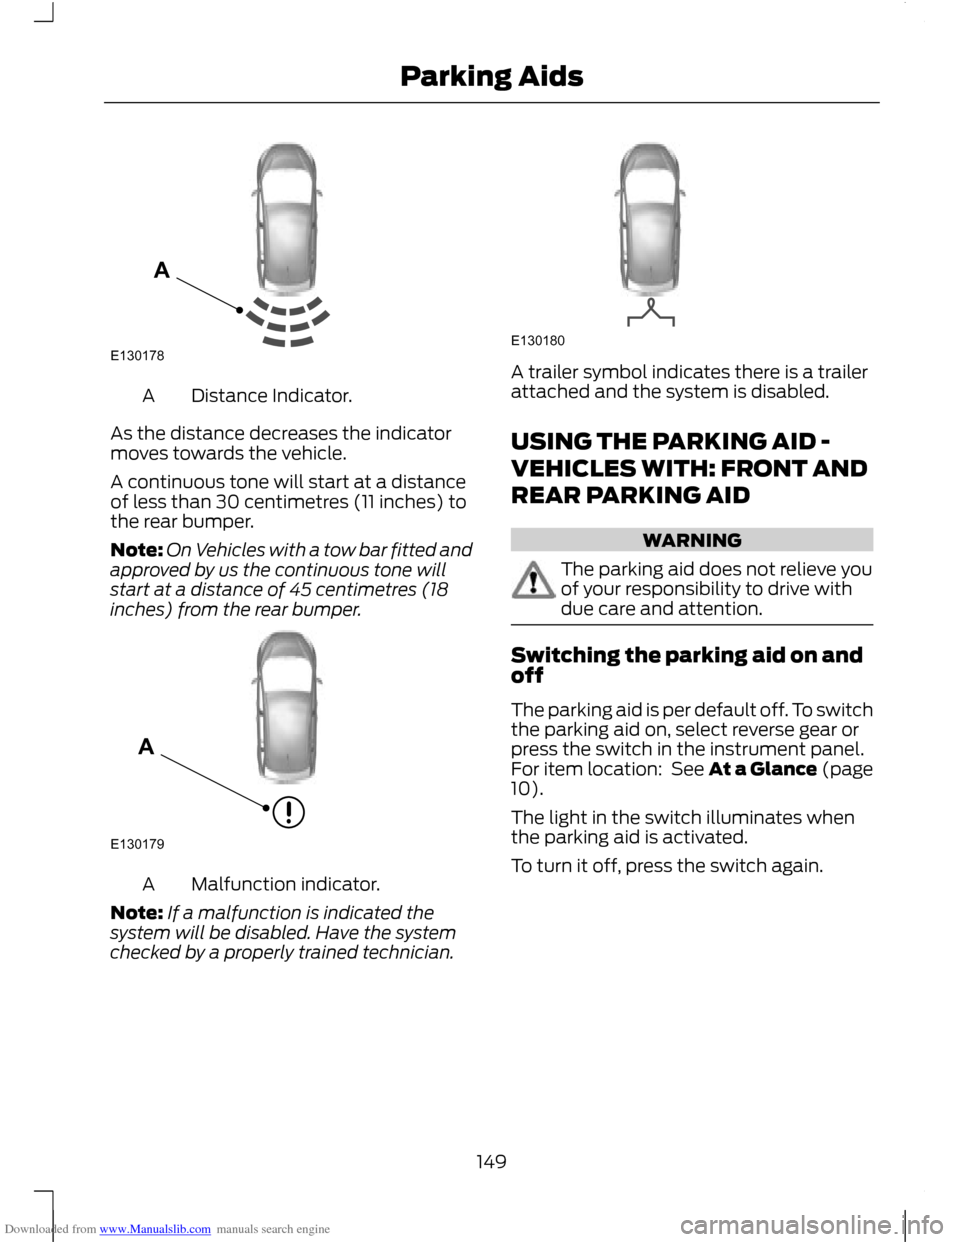
Downloaded from www.Manualslib.com manuals search engine Distance Indicator.
A
As the distance decreases the indicator
moves towards the vehicle.
A continuous tone will start at a distance
of less than 30 centimetres (11 inches) to
the rear bumper.
Note: On Vehicles with a tow bar fitted and
approved by us the continuous tone will
start at a distance of 45 centimetres (18
inches) from the rear bumper. Malfunction indicator.
A
Note: If a malfunction is indicated the
system will be disabled. Have the system
checked by a properly trained technician. A trailer symbol indicates there is a trailer
attached and the system is disabled.
USING THE PARKING AID -
VEHICLES WITH: FRONT AND
REAR PARKING AID
WARNING
The parking aid does not relieve you
of your responsibility to drive with
due care and attention.
Switching the parking aid on and
off
The parking aid is per default off. To switch
the parking aid on, select reverse gear or
press the switch in the instrument panel.
For item location: See At a Glance (page
10).
The light in the switch illuminates when
the parking aid is activated.
To turn it off, press the switch again.
149
Parking AidsE130178A E130179A E130180
Page 157 of 296
Downloaded from www.Manualslib.com manuals search engine PRINCIPLE OF OPERATION
The camera is a visual aid for use when
reversing.
WARNING
The system does not relieve you of
your responsibility to drive with due
care and attention.
CAUTIONS
If you use a high pressure spray to
wash your vehicle, only spray the
camera briefly from a distance not
less than 20 centimetres (8 inches). Do not apply pressure to the camera.
Note:
Keep the camera free from dirt, ice
and snow. Do not clean with sharp objects,
degreaser, wax or organic products. Use only
a soft cloth.
During operation, guide lines appear in the
display which represent your vehicle's path
and approximate distance from rearward
objects.
USING THE REAR VIEW
CAMERA WARNINGS
The operation of the camera may
vary depending on the ambient
temperature, vehicle and road
conditions. The distances shown in the display
may differ from the actual distance.
Do not place objects in front of the
camera.
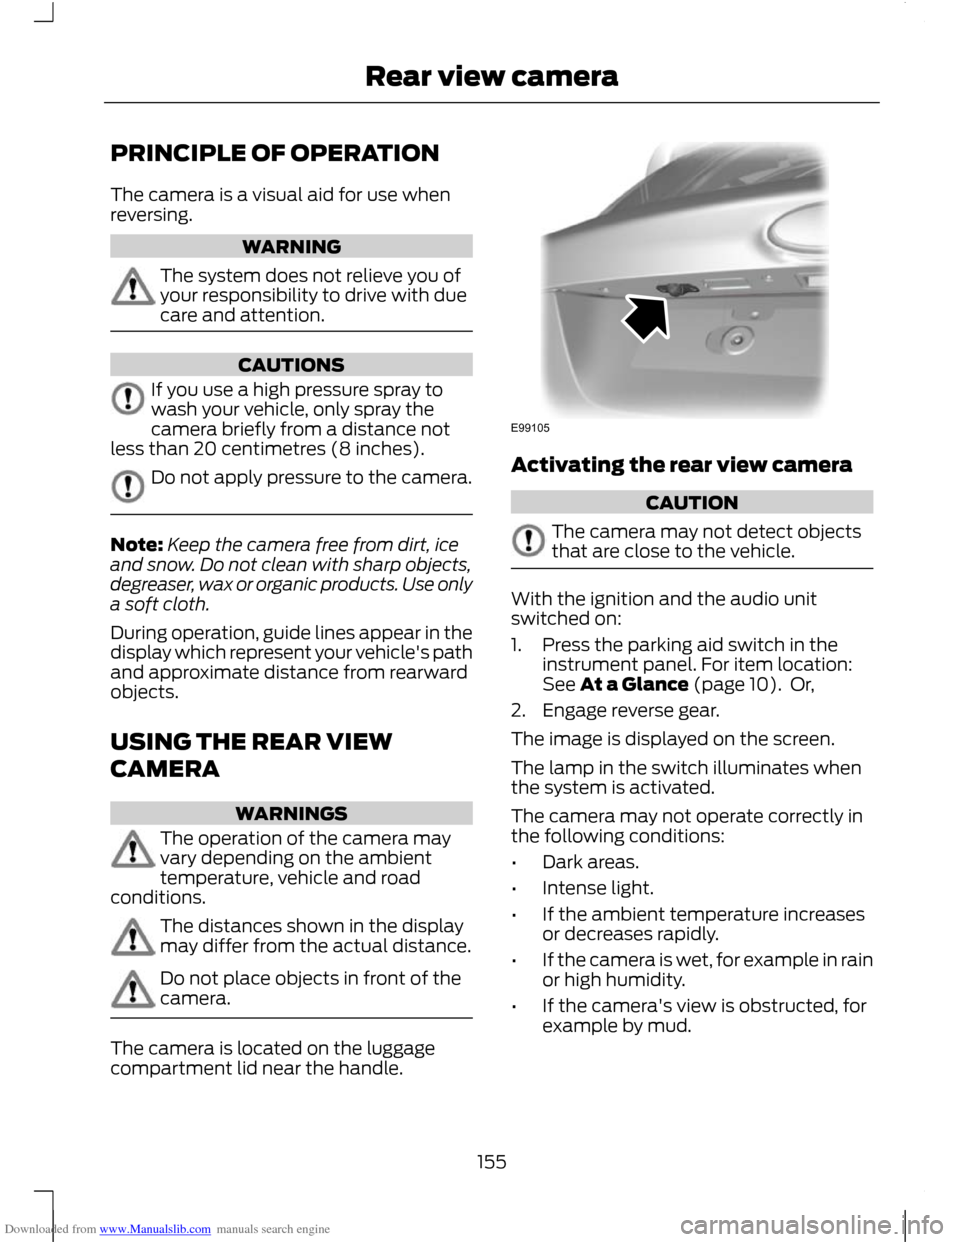
The camera is located on the luggage
compartment lid near the handle. Activating the rear view camera
CAUTION
The camera may not detect objects
that are close to the vehicle.
With the ignition and the audio unit
switched on:
1. Press the parking aid switch in the
instrument panel. For item location:
See At a Glance (page 10). Or,
2. Engage reverse gear.
The image is displayed on the screen.
The lamp in the switch illuminates when
the system is activated.
The camera may not operate correctly in
the following conditions:
• Dark areas.
• Intense light.
• If the ambient temperature increases
or decreases rapidly.
• If the camera is wet, for example in rain
or high humidity.
• If the camera's view is obstructed, for
example by mud.
155
Rear view cameraE99105
Page 174 of 296
Downloaded from www.Manualslib.com manuals search engine RUNNING-IN
Tyres
WARNING
New tyres need to be run-in for
approximately 500 kilometres (300
miles). During this time, you may
experience different driving characteristics. Brakes and clutch
WARNING
Avoid heavy use of the brakes and
clutch if possible for the first 150
kilometres (100 miles) in town and
for the first 1500 kilometres (1000 miles)
on motorways. Engine
CAUTION
Avoid driving too fast during the first
1500 kilometres (1000 miles). Vary
your speed frequently and change up
through the gears early. Do not labour the
engine. COLD WEATHER
PRECAUTIONS
The functional operation of some
components and systems can be affected
at temperatures below -30°C (-22°F).
DRIVING THROUGH WATER
Driving through water
CAUTIONS
Drive through water in an emergency
only, and not as part of normal driving.
Engine damage can occur if water
enters the air filter. In an emergency, the vehicle can be driven
through water to a maximum depth of 200
millimetres (8 inches) and at a maximum
speed of 10 km/h (6 mph). Extra caution
should be exercised when driving through
flowing water.
When driving in water, maintain a low
speed and do not stop the vehicle. After
driving through water, and as soon as it is
safe to do so:
•
Depress the brake pedal lightly and
check that full brake function is
achieved.
• Check that the horn works.
• Check that the vehicle's lights are fully
operational.
• Check the power assistance
of the steering system.
172
Driving Hints
Page 208 of 296
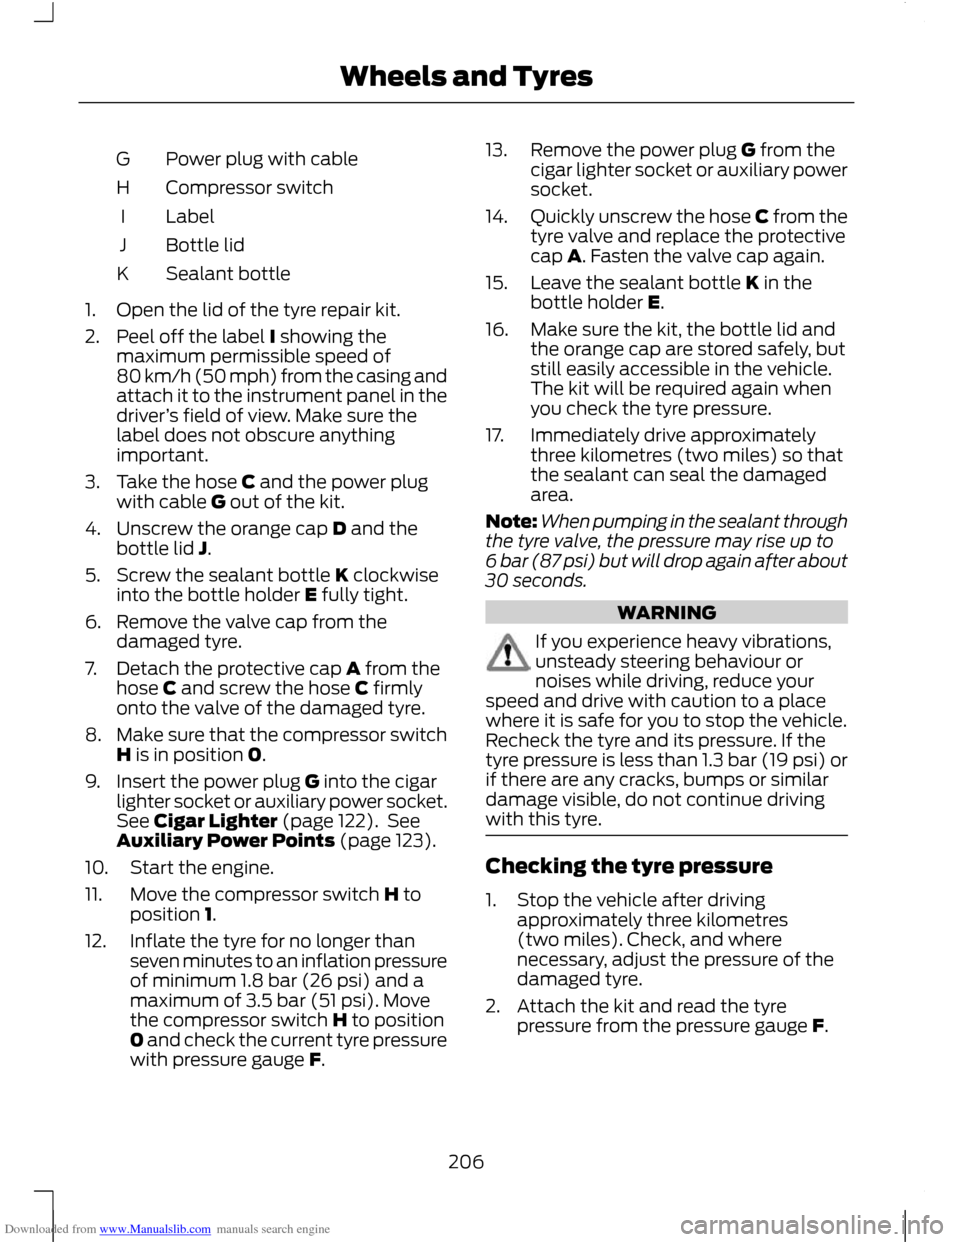
Downloaded from www.Manualslib.com manuals search engine Power plug with cable
G
Compressor switch
H
Label
I
Bottle lid
J
Sealant bottle
K
1. Open the lid of the tyre repair kit.
2. Peel off the label I showing the maximum permissible speed of
80 km/h (50 mph) from the casing and
attach it to the instrument panel in the
driver ’s field of view. Make sure the
label does not obscure anything
important.
3. Take the hose C and the power plug with cable G out of the kit.
4. Unscrew the orange cap D and the bottle lid J.
5. Screw the sealant bottle K clockwise into the bottle holder E fully tight.
6. Remove the valve cap from the damaged tyre.
7. Detach the protective cap A from the hose C and screw the hose C firmly
onto the valve of the damaged tyre.
8. Make sure that the compressor switch
H is in position 0.
9. Insert the power plug G into the cigar lighter socket or auxiliary power socket.
See Cigar Lighter (page 122). See
Auxiliary Power Points (page 123).
10. Start the engine.
11. Move the compressor switch H to position 1.
12. Inflate the tyre for no longer than seven minutes to an inflation pressure
of minimum 1.8 bar (26 psi) and a
maximum of 3.5 bar (51 psi). Move
the compressor switch H to position
0 and check the current tyre pressure
with pressure gauge F. 13. Remove the power plug G from the
cigar lighter socket or auxiliary power
socket.
14. Quickly unscrew the hose C from the
tyre valve and replace the protective
cap A. Fasten the valve cap again.
15. Leave the sealant bottle K in the bottle holder E.
16. Make sure the kit, the bottle lid and the orange cap are stored safely, but
still easily accessible in the vehicle.
The kit will be required again when
you check the tyre pressure.
17. Immediately drive approximately three kilometres (two miles) so that
the sealant can seal the damaged
area.
Note: When pumping in the sealant through
the tyre valve, the pressure may rise up to
6 bar (87 psi) but will drop again after about
30 seconds. WARNING
If you experience heavy vibrations,
unsteady steering behaviour or
noises while driving, reduce your
speed and drive with caution to a place
where it is safe for you to stop the vehicle.
Recheck the tyre and its pressure. If the
tyre pressure is less than 1.3 bar (19 psi) or
if there are any cracks, bumps or similar
damage visible, do not continue driving
with this tyre. Checking the tyre pressure
1. Stop the vehicle after driving
approximately three kilometres
(two miles). Check, and where
necessary, adjust the pressure of the
damaged tyre.
2. Attach the kit and read the tyre pressure from the pressure gauge F.
206
Wheels and Tyres
Page 264 of 296
Downloaded from www.Manualslib.com manuals search engine GENERAL INFORMATION
Press the relevant button on the unit bezel
to access the system functions. This will
take you into the selected mode.
One hour mode
To conserve battery power, the system can
be operated in one hour mode. If the
ignition is off, press the ON/OFF button to
switch the system on. The system will
automatically switch off after one hour.
System notes
WARNINGS
The front glass on the liquid crystal
display may break if hit with a hard
object. If the glass breaks, do not
touch the liquid crystalline material. In case
of contact with the skin, wash immediately
with soap and water. The unit is a highgrade laser product
which uses an invisible laser beam.
If this is handled incorrectly it can
emit dangerous rays. Do not attempt to
look through any openings in the unit. CAUTIONS
Irregular shaped CDs and CDs with a
scratch protection film or self
adhesive labels attached should not
be used. Warranty claims, where this type
of disc is found to be inside an audio unit
returned for repair, will not be accepted. Do not clean the unit with solvents or
aerosol cleaning agents. Use only a
damp cloth.
Do not insert foreign objects into any
of the unit disc drives or media card
slots.
Do not insert more than one disc into
the unit disc drive. CAUTIONS
Use only 12 cm (4.7 inches) discs or 8
cm (3.1 inches) discs with a suitable
adaptor.
Do not attempt to open the unit. If the
unit malfunctions consult your dealer.
Improper use of settings and
connections, other than those
explained in this handbook, can
damage the unit. Do not turn the ignition key or attempt
to start the engine while the software
is updating.
The system is recommended for use when
the ignition key is turned to the accessory
position or when the engine is running. If
the system is used extensively when the
engine is not running, care needs to be
taken to avoid draining the battery.
ROAD SAFETY
WARNINGS
The system provides you with
information designed to help you
reach your destination quickly and
safely. For reasons of safety, the driver
should only program the system
when the vehicle is stationary.
The system provides no assistance
with respect to stop signs, traffic
lights, areas under construction or
other important safety information. Do not use the system until you have
familiarised yourself with its
operation.
Only view the system display when
driving conditions permit.
262
Navigation introduction
Page 278 of 296
Downloaded from www.Manualslib.com manuals search engine Seasonal roads
When switched on the system will look for
seasonal roads on your route and
automatically update your route distance
and timings.
Note:
This feature can be useful in avoiding
delays or hold ups on journeys.
Toll sticker
When switched on the system will
automatically select toll roads and update
your route distance and timings.
ROUTE DISPLAYS
Map display
Press the MAP button for a map view.
This view will show your current location
with your vehicle in the centre shown as
an arrow surrounded by a circle. The arrow
will face in the direction of travel.
The information on the top line gives the
name of the current road, or the next road
to take if a turn is approaching.
You can change the way the map is
displayed by altering the zoom and
orientation settings. Press the relevant
function buttons to change the map scale
and using the left and right arrow buttons
zoom in or out. The current map scale is
shown on the display.
Map scale settings may be set between
50 metres to 500 kilometres or 0.05 miles
to 500 miles, with an auto setting to the
far left. The auto setting continuously
changes the map scale according to the
road type being driven. Junction zoom
This feature will automatically increase
the zoom on the map display at times
when you are required to make a turn, or
perform more complex manoeuvres.
Shortly after the zoom scale will return to
the previous level.
Select AUTO to activate junction zoom.
Navigation display
After commencing a navigation route, the
default screen is the main navigation
screen:
Once an active route is underway, guidance
will be given by on-screen information and
voice prompts. Whichever audio source
you wish to leave the unit in, basic turn by
turn and distance information will remain
on the screen in the form of a graphic inset.
You do not need to leave the unit on the
main navigation screen when you are
navigating a route. Slightly more detailed
information on your route may be available
via the main navigation screen if required.
WARNING
Do not rely on the screen prompts
when navigating. Always listen to the
navigation voice and take care not
be distracted from the road ahead. 276
Navigation system
Page 285 of 296
Downloaded from www.Manualslib.com manuals search engine A
A/C
See: Climate Control........................................ 100
About This Manual...........................................7
ABS See: Brakes........................................................... 144
ABS driving hints See: Hints on Driving With Anti-Lock
Brakes................................................................ 144
Accessories See: Parts and Accessories................................. 7
Active Park Assist.........................................152 Principle of Operation....................................... 152
Adjusting the Headlamps - Vehicles With: Adaptive Front Lighting/Xenon
Headlamps....................................................59
Adjusting the Steering Wheel...................50
Air Conditioning See: Climate Control........................................ 100
Air Vents..........................................................100 Centre air vents................................................... 100
Second row air vents.......................................... 101
Side air vent........................................................... 101
Alarm..................................................................48 Principle of Operation........................................ 48
Alternative frequencies.............................230
Appendices....................................................279
Arming the alarm...........................................49
Arming the engine immobiliser.................47 At a Glance........................................................10
........................................................................\
.............. 16
Adjusting the steering wheel............................ 13
Autolamps............................................................... 14
Automatic climate control................................. 15
Automatic transmission...................................... 17
Autowipers............................................................... 14
Diesel particulate filter (DPF).......................... 16
Electric folding mirrors........................................ 15
Electric windows................................................... 14
Fuel filler flap.......................................................... 16
Information displays............................................ 15
Instrument panel overview............................... 10
Keyless entry........................................................... 13
Keyless starting...................................................... 16
Locking the vehicle............................................... 13
Manual climate control....................................... 15
Manual transmission............................................ 17
Power liftgate.......................................................... 13
Speed limiter........................................................... 17
Towing the vehicle on four wheels.................18
Unlocking the vehicle........................................... 13
Audible Warnings and Indicators..............81 Automatic transmission..................................... 81
Frost........................................................................\
... 81
Key-in-ignition........................................................ 81
Key outside car....................................................... 81
Lights on................................................................... 81
Low fuel................................................................... 82
Luggage compartment lid - power liftgate................................................................. 82
Seat belt reminder............................................... 82
Switching the chimes on and off.................... 81
Audio Control..................................................50 Type 1........................................................................\
50
Type 2........................................................................\
51
Audio introduction.......................................219
Audio system security................................226
Audio troubleshooting...............................236
Audio unit commands...............................242 Auxiliary input..................................................... 246
CD Player............................................................... 242
External devices - iPod.................................... 248
External devices - USB.................................... 246
Radio ....................................................................... 243
Audio unit menus........................................230
Audio unit operation...................................227
Audio unit overview....................................220
283
Index