ignition FORD C MAX 2016 User Guide
[x] Cancel search | Manufacturer: FORD, Model Year: 2016, Model line: C MAX, Model: FORD C MAX 2016Pages: 395, PDF Size: 5.78 MB
Page 62 of 395
Autolock (If Equipped)
The autolock feature will lock all the doors
when:
• all doors are closed
• the ignition is on,
• you shift into any gear putting your
vehicle in motion, and
• your vehicle attains a speed greater
than 4 mph (7 km/h).
Autounlock (If Equipped)
The autounlock feature will unlock all the
doors when:
• the ignition is on, all the doors are
closed, and your vehicle has been in
motion at a speed greater than 4 mph
(7 km/h);
• your vehicle comes to a stop and you
switch the ignition off or to accessory;
and
• you open the driver door within 10
minutes of the switching the ignition
off or to accessory.
Note: The doors will not autounlock if you
electronically lock your vehicle after you
switch the ignition off and before you open
the driver door.
Enabling or Disabling Autolock and
Autounlock
Note: Your authorized dealer can perform
this procedure, or you can do the procedure
yourself.
To enable or disable these features, do the
following:
Note: You will have 30 seconds to
complete the procedure.
1. Switch the ignition on.
2. Press the power door unlock button three times.
3. Switch the ignition off. 4. Press the power door unlock button
three times.
5. Switch the ignition on. The horn will sound indicating your vehicle is in
programming mode.
Autolock:
Press the power door unlock
button then the lock button. The horn will
sound once if disabled or twice (one short
and one long) if enabled.
Autounlock:
Press the power door lock
button then the unlock button. The horn
will sound once if disabled or twice (one
short and one long) if enabled.
After programming the feature, switch the
ignition off. The horn will sound once
indicating programming is complete.
Note: You can enable or disable the
autounlock feature independently of the
autolock feature.
Illuminated Entry
The interior lamps and select exterior
lamps will illuminate when you unlock the
doors with the remote entry system.
The illuminated entry system will turn off
the lights if:
• you start your vehicle,
• you press the remote control lock
button, or
• after 25 seconds of illumination.
The lights will not turn off if:
• you turn them on with the lamp control,
or
• any door is open.
Illuminated Exit
The interior lamps and select exterior
lamps will illuminate when all doors are
closed and you switch the ignition off.
59
C-MAX (CCG) Canada/United States of America, enUSA, First Printing Locks
Page 63 of 395
The lamps will turn off if all the doors
remain closed and:
•
25 seconds elapse, or
• you lock your vehicle from the outside.
Battery Saver
If you leave the courtesy lamps or dome
lamps on and switch the ignition off, the
battery saver shuts them off after some
time.
Accessory Mode Battery Saver for
Intelligent Access Keys (If Equipped)
If you leave the ignition on after leaving
your vehicle, it will shut off 15 minutes after
you close all of the doors.
MANUAL LIFTGATE WARNINGS
It is extremely dangerous to ride in a
cargo area, inside or outside of a
vehicle. In a crash, people riding in
these areas are more likely to be seriously
injured or killed. Do not allow people to ride
in any area of your vehicle that is not
equipped with seats and safety belts. Be
sure everyone in your vehicle is in a seat
and using a safety belt properly. Failure to
follow this warning could result in serious
personal injury or death. Make sure to close and latch the
liftgate to prevent drawing exhaust
fumes into your vehicle. This will also
prevent passengers and cargo from falling
out. If you must drive with the liftgate open,
keep the vents or windows open so outside
air comes into your vehicle. Failure to
follow this warning could result in serious
personal injury. Note:
Be careful when opening or closing
the liftgate in a garage or other enclosed
area to avoid damaging the liftgate. Note:
Do not hang anything, for example a
bike rack, from the glass or liftgate. This
could damage the liftgate and its
components.
Note: Do not leave the liftgate open while
driving. This could damage the liftgate and
its components.
Opening the Liftgate
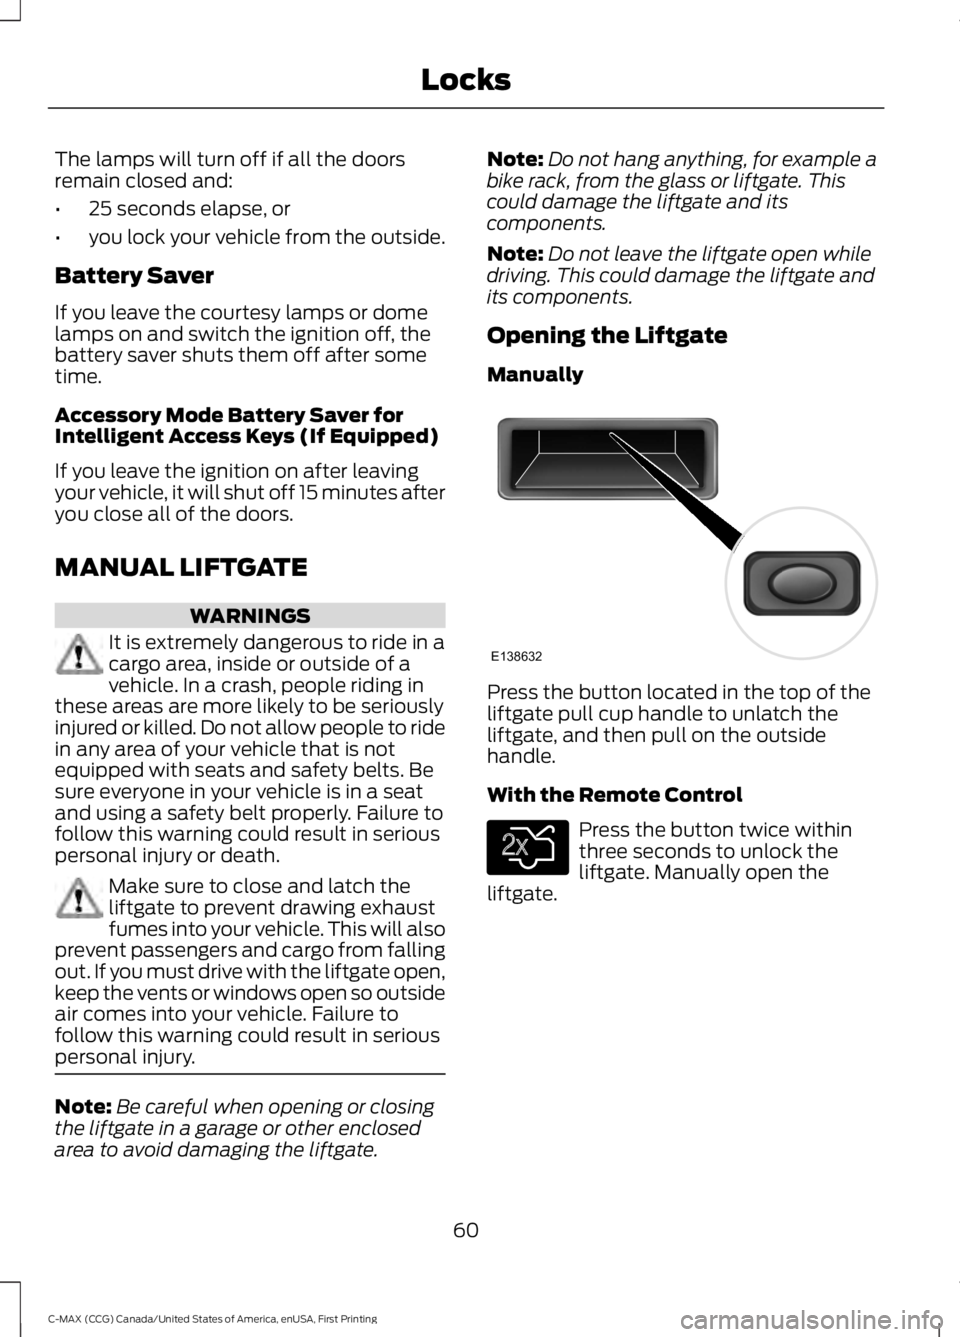
Manually Press the button located in the top of the
liftgate pull cup handle to unlatch the
liftgate, and then pull on the outside
handle.
With the Remote Control
Press the button twice within
three seconds to unlock the
liftgate. Manually open the
liftgate.
60
C-MAX (CCG) Canada/United States of America, enUSA, First Printing LocksE138632 E138630
Page 64 of 395
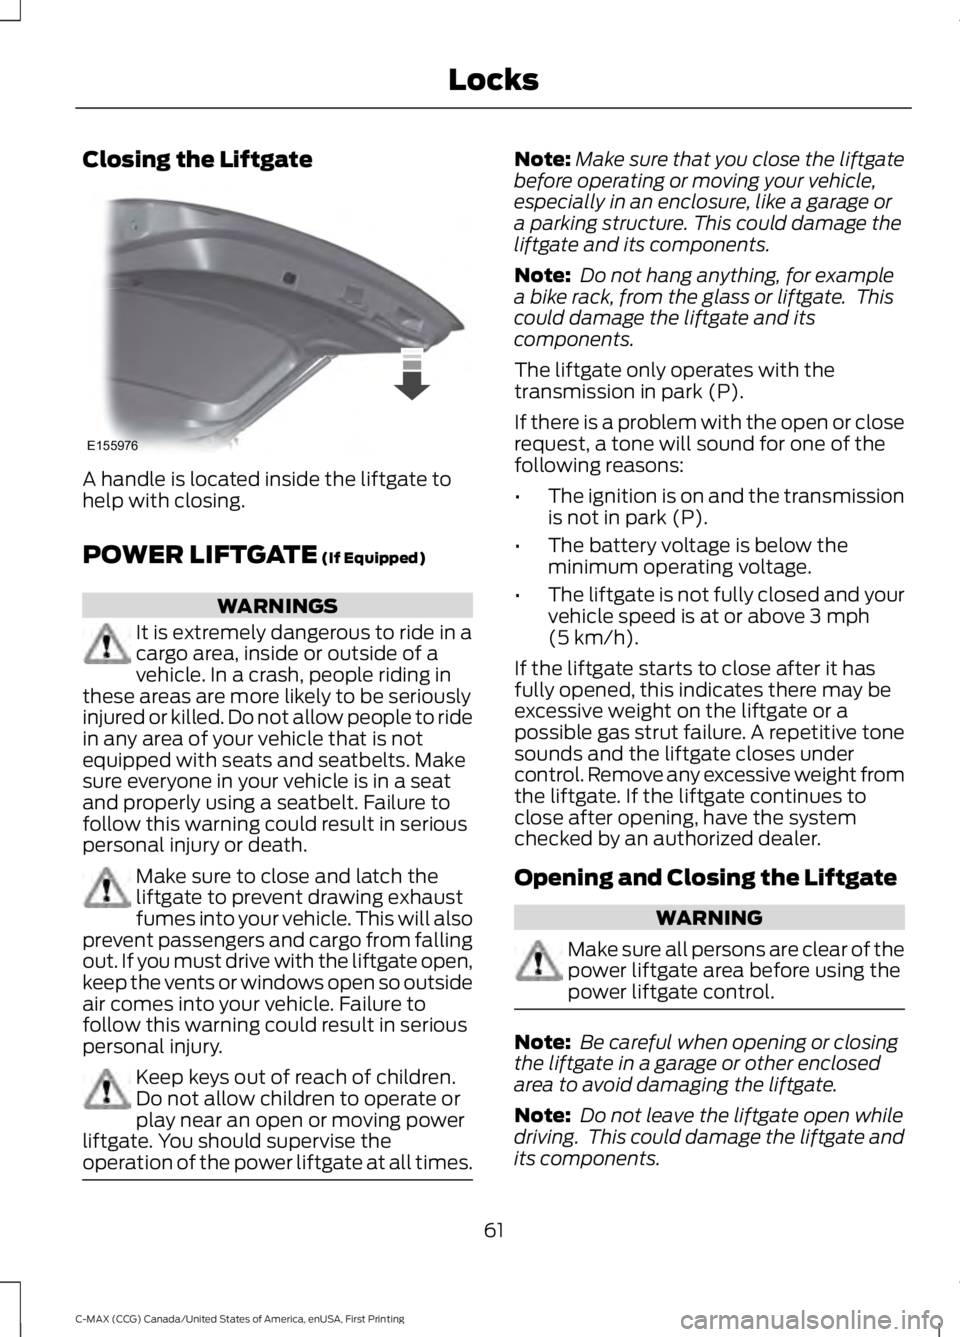
Closing the Liftgate
A handle is located inside the liftgate to
help with closing.
POWER LIFTGATE (If Equipped)
WARNINGS
It is extremely dangerous to ride in a
cargo area, inside or outside of a
vehicle. In a crash, people riding in
these areas are more likely to be seriously
injured or killed. Do not allow people to ride
in any area of your vehicle that is not
equipped with seats and seatbelts. Make
sure everyone in your vehicle is in a seat
and properly using a seatbelt. Failure to
follow this warning could result in serious
personal injury or death. Make sure to close and latch the
liftgate to prevent drawing exhaust
fumes into your vehicle. This will also
prevent passengers and cargo from falling
out. If you must drive with the liftgate open,
keep the vents or windows open so outside
air comes into your vehicle. Failure to
follow this warning could result in serious
personal injury. Keep keys out of reach of children.
Do not allow children to operate or
play near an open or moving power
liftgate. You should supervise the
operation of the power liftgate at all times. Note:
Make sure that you close the liftgate
before operating or moving your vehicle,
especially in an enclosure, like a garage or
a parking structure. This could damage the
liftgate and its components.
Note: Do not hang anything, for example
a bike rack, from the glass or liftgate. This
could damage the liftgate and its
components.
The liftgate only operates with the
transmission in park (P).
If there is a problem with the open or close
request, a tone will sound for one of the
following reasons:
• The ignition is on and the transmission
is not in park (P).
• The battery voltage is below the
minimum operating voltage.
• The liftgate is not fully closed and your
vehicle speed is at or above
3 mph
(5 km/h).
If the liftgate starts to close after it has
fully opened, this indicates there may be
excessive weight on the liftgate or a
possible gas strut failure. A repetitive tone
sounds and the liftgate closes under
control. Remove any excessive weight from
the liftgate. If the liftgate continues to
close after opening, have the system
checked by an authorized dealer.
Opening and Closing the Liftgate WARNING
Make sure all persons are clear of the
power liftgate area before using the
power liftgate control.
Note:
Be careful when opening or closing
the liftgate in a garage or other enclosed
area to avoid damaging the liftgate.
Note: Do not leave the liftgate open while
driving. This could damage the liftgate and
its components.
61
C-MAX (CCG) Canada/United States of America, enUSA, First Printing LocksE155976
Page 68 of 395
PASSIVE ANTI-THEFT
SYSTEM
SecuriLock®
The system helps prevent your vehicle
from starting unless you use a coded key
programmed to your vehicle. Using the
wrong key may prevent your vehicle from
starting. A message may appear in the
information display.
If you are unable to start your vehicle with
a correctly coded key, a malfunction has
happened. A message may appear in the
information display.
Note:
The system is not compatible with
non-Ford aftermarket remote start systems.
Use of these systems may result in vehicle
starting problems and a loss of security
protection.
Note: Metallic objects, electronic devices
or a second coded key on the same key
chain may cause vehicle starting issues if
they are too close to the key when starting
your vehicle. Prevent these objects from
touching the coded key while starting the
engine. Switch the ignition off, move all
objects on the key chain away from the
coded key and restart your vehicle if a
problem occurs.
Note: Do not leave a duplicate coded key
in your vehicle. Always take your keys and
lock all doors when leaving your vehicle.
Automatic Arming
Your vehicle arms immediately after you
switch the ignition off.
Automatic Disarming
Switching the ignition on with a coded key
disarms your vehicle. Replacement Keys
Note:
Your vehicle comes equipped with
two integrated keyhead transmitters or two
intelligent access keys.
The integrated keyhead transmitter
functions as a programmed ignition key
that operates all the locks and starts your
vehicle, as well as a remote control.
The intelligent access key functions as a
programmed key that operates the driver
door lock and activates the intelligent
access with push button start system, as
well as a remote control.
If your programmed transmitters or
standard SecuriLock coded keys
(integrated keyhead transmitters only) are
lost or stolen and you do not have an extra
coded key, you will need to have your
vehicle towed to an authorized dealer. You
need to erase the key codes from your
vehicle and program new coded keys.
Store an extra programmed key away from
your vehicle in a safe place to help prevent
any inconveniences. See your authorized
dealer to purchase additional spare or
replacement keys.
Programming a Spare Integrated
Keyhead Transmitter
Note: You can program a maximum of eight
coded keys to your vehicle. All eight can be
integrated keyhead transmitters.
You can program your own integrated
keyhead transmitter or standard
SecuriLock coded keys to your vehicle. This
procedure will program both the vehicle
immobilizer keycode and the remote entry
portion of the remote control to your
vehicle
Only use integrated keyhead transmitters
or standard SecuriLock keys.
65
C-MAX (CCG) Canada/United States of America, enUSA, First Printing Security
Page 69 of 395
You must have two previously
programmed coded keys and the new
unprogrammed key readily accessible. See
your authorized dealer to have the spare
key programmed if two previously
programmed coded keys are not available.
Read and understand the entire procedure
before you begin.
1.
Insert the first previously programmed
coded key into the ignition.
2. Switch the ignition from off to on. Keep
the ignition on for at least three
seconds, but no more than 10 seconds.
3. Switch the ignition off and remove the
first coded key from the ignition.
4. After three seconds but within 10 seconds of switching the ignition off,
insert the second previously coded key
into the ignition.
5. Switch the ignition from off to on. Keep
the ignition on for at least three
seconds, but no more than 10 seconds.
6. Switch the ignition off and remove the
second previously programmed coded
key from the ignition.
7. After three seconds but within 10 seconds of switching the ignition off
and removing the previously
programmed coded key, insert the new
unprogrammed key into the ignition.
8. Switch the ignition from off to on. Keep
the ignition on for at least six seconds.
9. Remove the newly programmed coded
key from the ignition.
If the key has been successfully
programmed it will start your vehicle and
operate the remote entry system (if the
new key is an integrated keyhead
transmitter).
If programming was not successful, wait
10 seconds and repeat Steps 1 through 8.
If you are still unsuccessful, take your
vehicle to your authorized dealer. Programming a Spare Intelligent
Access Key
See your authorized dealer to have
additional keys programmed to your
vehicle.
ANTI-THEFT ALARM (If Equipped)
The system warns you of an unauthorized
entry to your vehicle. It triggers if any door,
the luggage compartment or the hood
opens without using the key or remote
control.
The direction indicators flash and the horn
sounds if unauthorized entry is attempted
while the alarm is armed.
Take all remote controls to an authorized
dealer if there is any potential alarm
problem with your vehicle.
Arming the Alarm
The alarm is ready to arm when there is
not a key in the ignition. Electronically lock
the vehicle to arm the alarm.
Disarming the Alarm
Disarm the alarm by any of the following
actions:
• Unlock the doors or luggage
compartment with the remote control
or keyless entry keypad.
• Switch the ignition on or start the
vehicle.
• Use a key in the driver ’s door to unlock
the vehicle, then switch the ignition on
within 12 seconds.
Note: Pressing the panic button on the
remote control will stop the horn and signal
indicators, but will not disarm the system.
66
C-MAX (CCG) Canada/United States of America, enUSA, First Printing Security
Page 75 of 395
Note:
Check your wiper function in the
information display. See General
Information (page 93). The autowipers
feature functions only when you select the
menu choice in the information display and
you move the wiper lever up to the first
position. The autowipers feature then
remains on in the information display menu
until you change it to intermittent wipe.
Note: If you switch autolamps on in
conjunction with autowipers, your low beam
headlamps turn on automatically when the
rain sensor activates the windshield wipers
continuously. See
Autolamps (page 75).
Keep the outside of the windshield clean.
The rain sensor is very sensitive. If the area
around the mirror is dirty, then the wipers
may operate if dirt, mist or insects hit the
windshield.
Wet or winter driving conditions with ice,
snow or salty road mist can cause
inconsistent and unexpected wiping or
smearing. In these conditions, you can do
the following to help keep your windshield
clear:
• Lower the sensitivity of the autowipers
to reduce the amount of smearing.
• Switch to normal or high-speed wipe
by moving the wiper lever up.
• Switch the autowipers off and switch
intermittent mode on through the
information display. See
General
Information (page 93).
• Switch the autowipers off by moving
the wiper lever down.
Note: Clean the windshield and wiper
blades if they begin to leave streaks or
smears. If that does not resolve the issue,
install new wiper blades. See
Changing
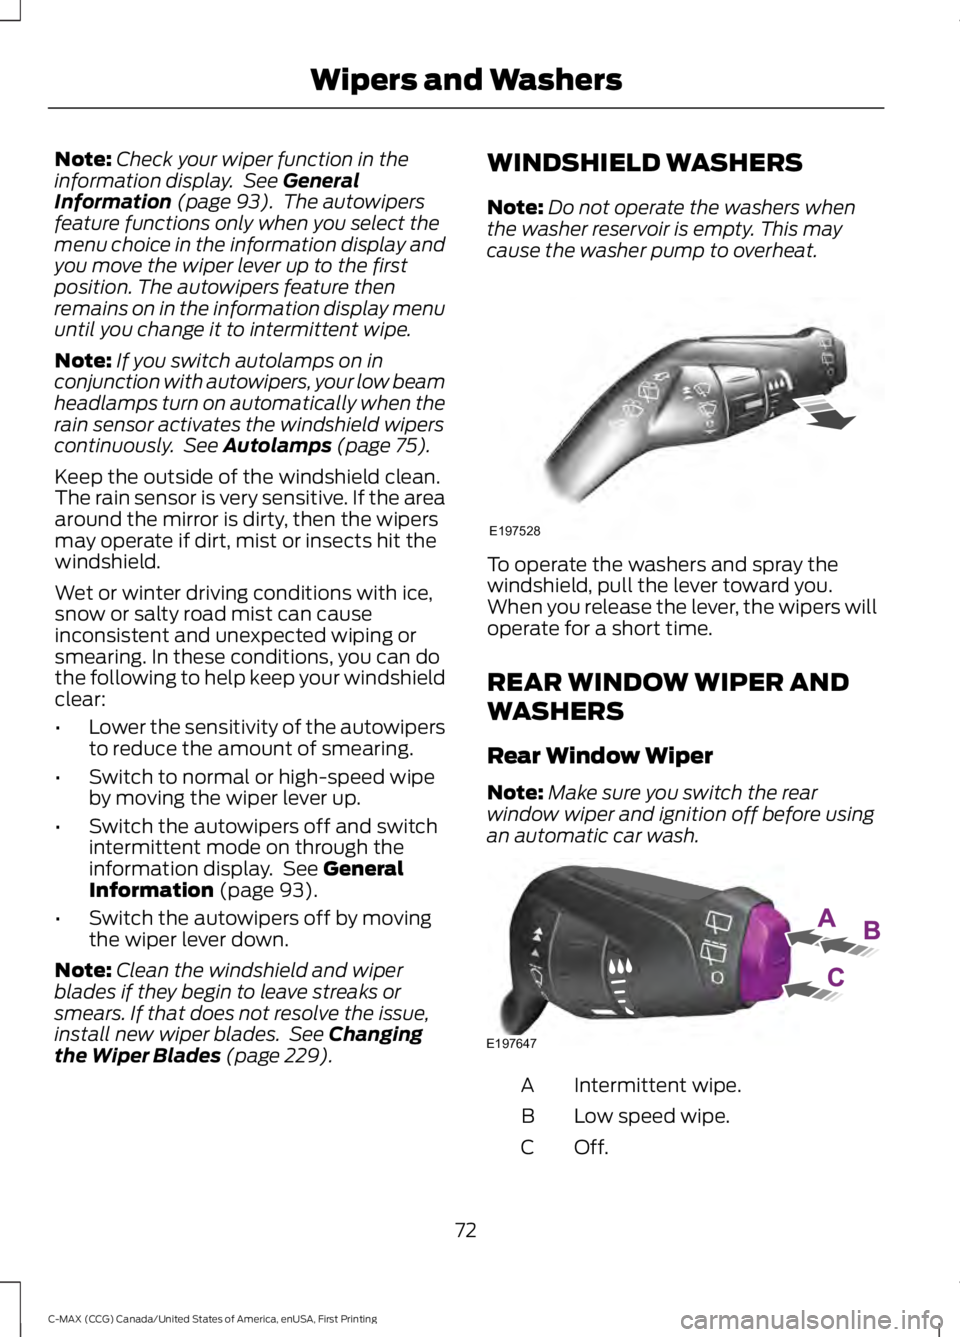
the Wiper Blades (page 229). WINDSHIELD WASHERS
Note:
Do not operate the washers when
the washer reservoir is empty. This may
cause the washer pump to overheat. To operate the washers and spray the
windshield, pull the lever toward you.
When you release the lever, the wipers will
operate for a short time.
REAR WINDOW WIPER AND
WASHERS
Rear Window Wiper
Note:
Make sure you switch the rear
window wiper and ignition off before using
an automatic car wash. Intermittent wipe.
A
Low speed wipe.
B
Off.C
72
C-MAX (CCG) Canada/United States of America, enUSA, First Printing Wipers and WashersE197528 E197647
Page 78 of 395
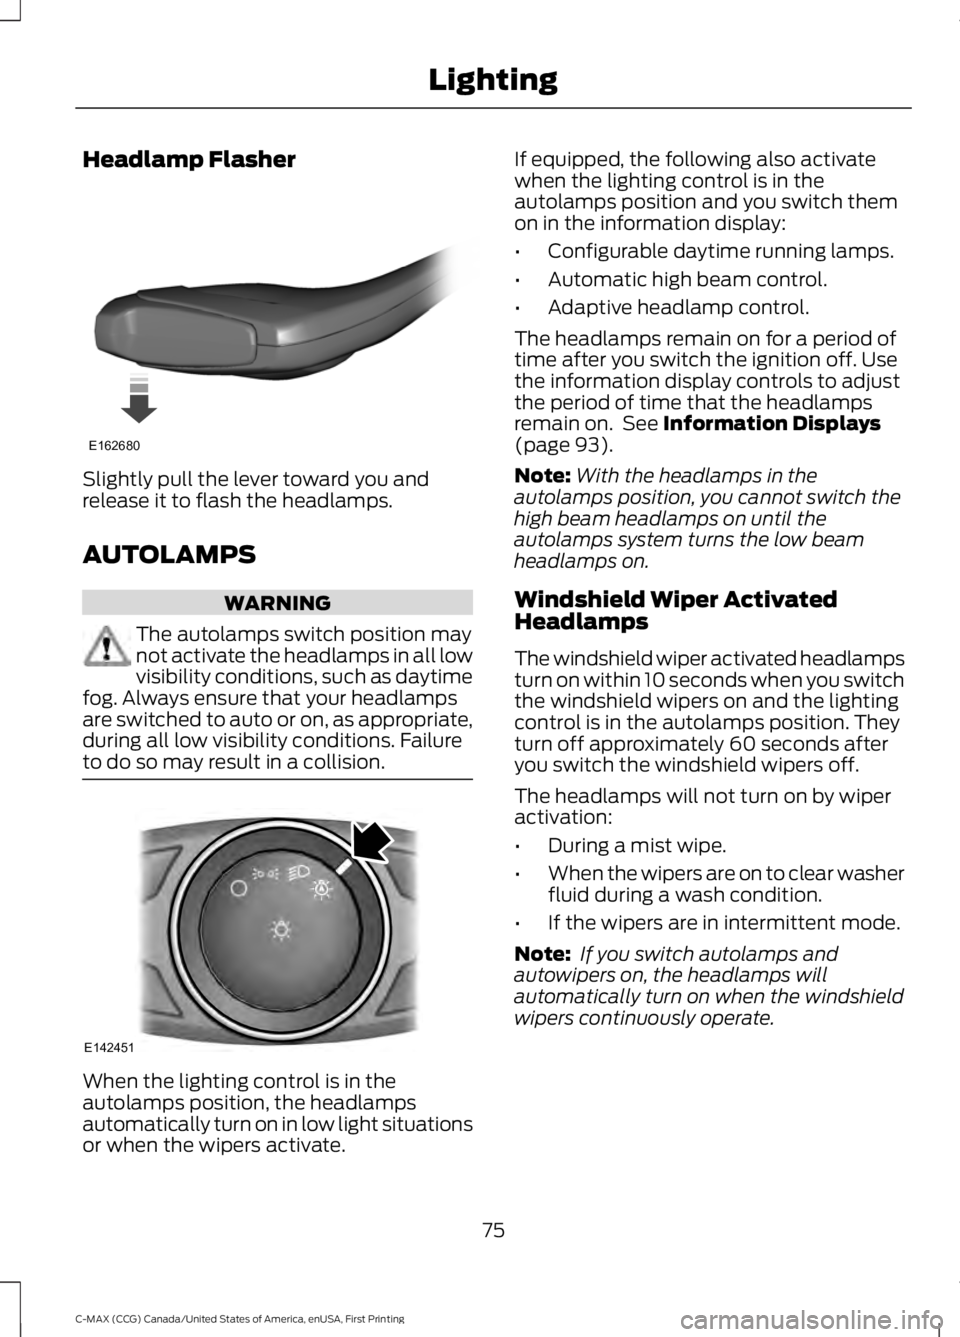
Headlamp Flasher
Slightly pull the lever toward you and
release it to flash the headlamps.
AUTOLAMPS
WARNING
The autolamps switch position may
not activate the headlamps in all low
visibility conditions, such as daytime
fog. Always ensure that your headlamps
are switched to auto or on, as appropriate,
during all low visibility conditions. Failure
to do so may result in a collision. When the lighting control is in the
autolamps position, the headlamps
automatically turn on in low light situations
or when the wipers activate. If equipped, the following also activate
when the lighting control is in the
autolamps position and you switch them
on in the information display:
•
Configurable daytime running lamps.
• Automatic high beam control.
• Adaptive headlamp control.
The headlamps remain on for a period of
time after you switch the ignition off. Use
the information display controls to adjust
the period of time that the headlamps
remain on. See Information Displays
(page 93).
Note: With the headlamps in the
autolamps position, you cannot switch the
high beam headlamps on until the
autolamps system turns the low beam
headlamps on.
Windshield Wiper Activated
Headlamps
The windshield wiper activated headlamps
turn on within 10 seconds when you switch
the windshield wipers on and the lighting
control is in the autolamps position. They
turn off approximately 60 seconds after
you switch the windshield wipers off.
The headlamps will not turn on by wiper
activation:
• During a mist wipe.
• When the wipers are on to clear washer
fluid during a wash condition.
• If the wipers are in intermittent mode.
Note: If you switch autolamps and
autowipers on, the headlamps will
automatically turn on when the windshield
wipers continuously operate.
75
C-MAX (CCG) Canada/United States of America, enUSA, First Printing LightingE162680 E142451
Page 79 of 395
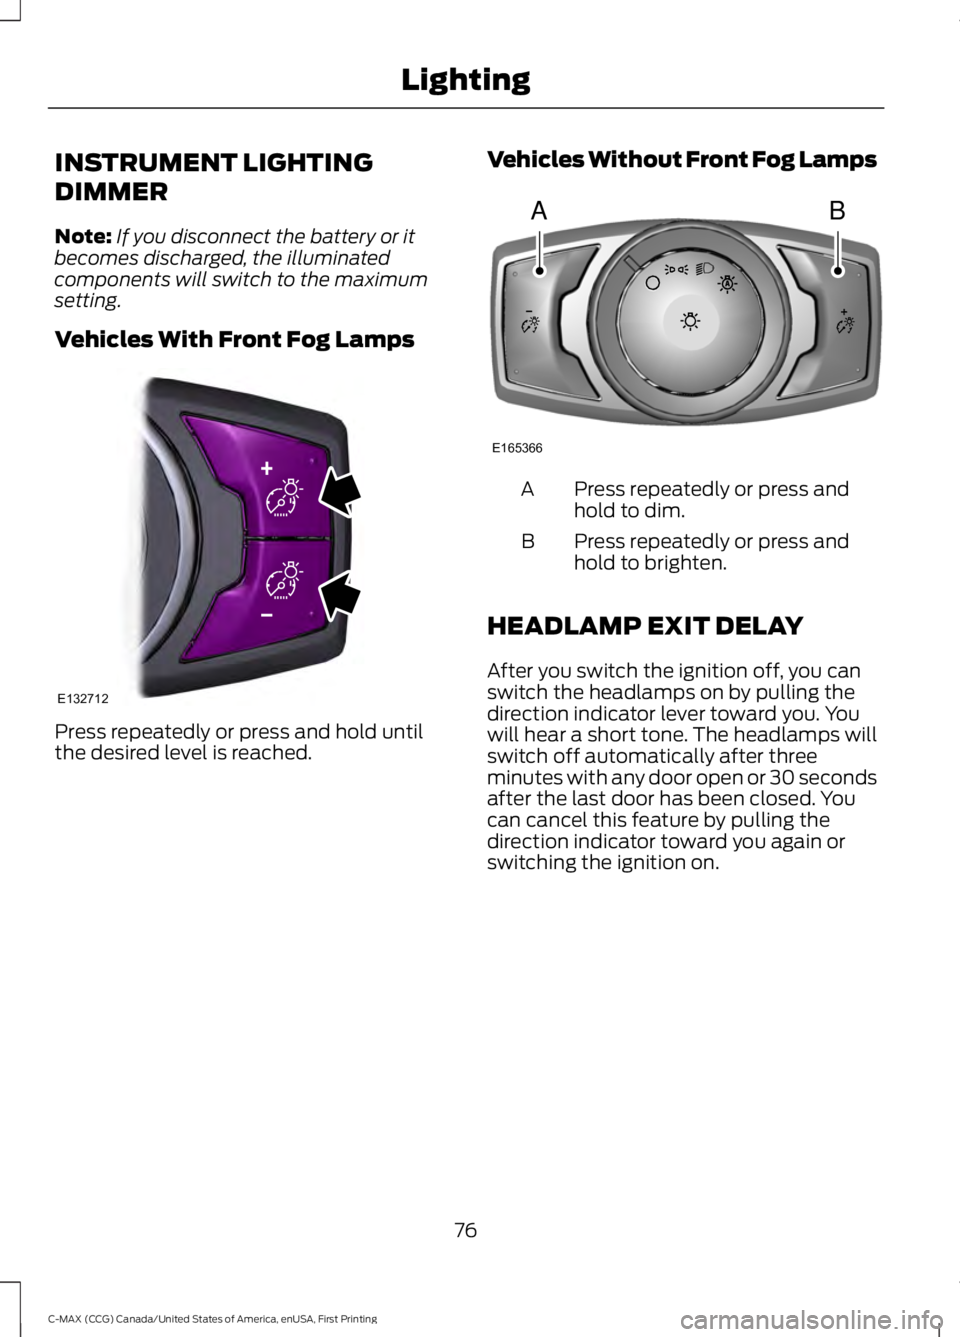
INSTRUMENT LIGHTING
DIMMER
Note:
If you disconnect the battery or it
becomes discharged, the illuminated
components will switch to the maximum
setting.
Vehicles With Front Fog Lamps Press repeatedly or press and hold until
the desired level is reached. Vehicles Without Front Fog Lamps Press repeatedly or press and
hold to dim.
A
Press repeatedly or press and
hold to brighten.
B
HEADLAMP EXIT DELAY
After you switch the ignition off, you can
switch the headlamps on by pulling the
direction indicator lever toward you. You
will hear a short tone. The headlamps will
switch off automatically after three
minutes with any door open or 30 seconds
after the last door has been closed. You
can cancel this feature by pulling the
direction indicator toward you again or
switching the ignition on.
76
C-MAX (CCG) Canada/United States of America, enUSA, First Printing LightingE132712 AB
E165366
Page 80 of 395
DAYTIME RUNNING LAMPS
WARNING
The daytime running lamps system
does not activate the rear lamps and
may not provide adequate lighting
during low visibility driving conditions. Also,
the autolamps switch position may not
activate the headlamps in all low visibility
conditions, such as daytime fog. Make sure
the headlamps are switched to auto or on,
as appropriate, during all low visibility
conditions. Failure to do so may result in a
crash. Type 1 - Conventional (Non-
Configurable)
The daytime running lamps turn on when:
1. The ignition is switched to the on
position.
2. The transmission is not in park (P) for vehicles with automatic transmissions
or the parking brake is released for
vehicles with manual transmissions.
3. The lighting control is in the off, parking
lamp or autolamps positions.
4. The headlamps are off.
Type 2 - Configurable
Switch the daytime running lamps on or
off using the information display controls.
See Information Displays (page 93).
The daytime running lamps turn on when:
1. They are switched on in the information
display. See
Information Displays
(page 93).
2. The ignition is switched to the on position.
3. The transmission is not in park (P) for vehicles with automatic transmissions
or the parking brake is released for
vehicles with manual transmissions. 4.
The lighting control is in the autolamps
position.
5. The headlamps are off.
The other lighting control switch positions
do not activate the daytime running lamps,
and you can use them to temporarily
override autolamp control.
When switched off in the information
display, the daytime running lamps are off
in all lighting control switch positions.
FRONT FOG LAMPS
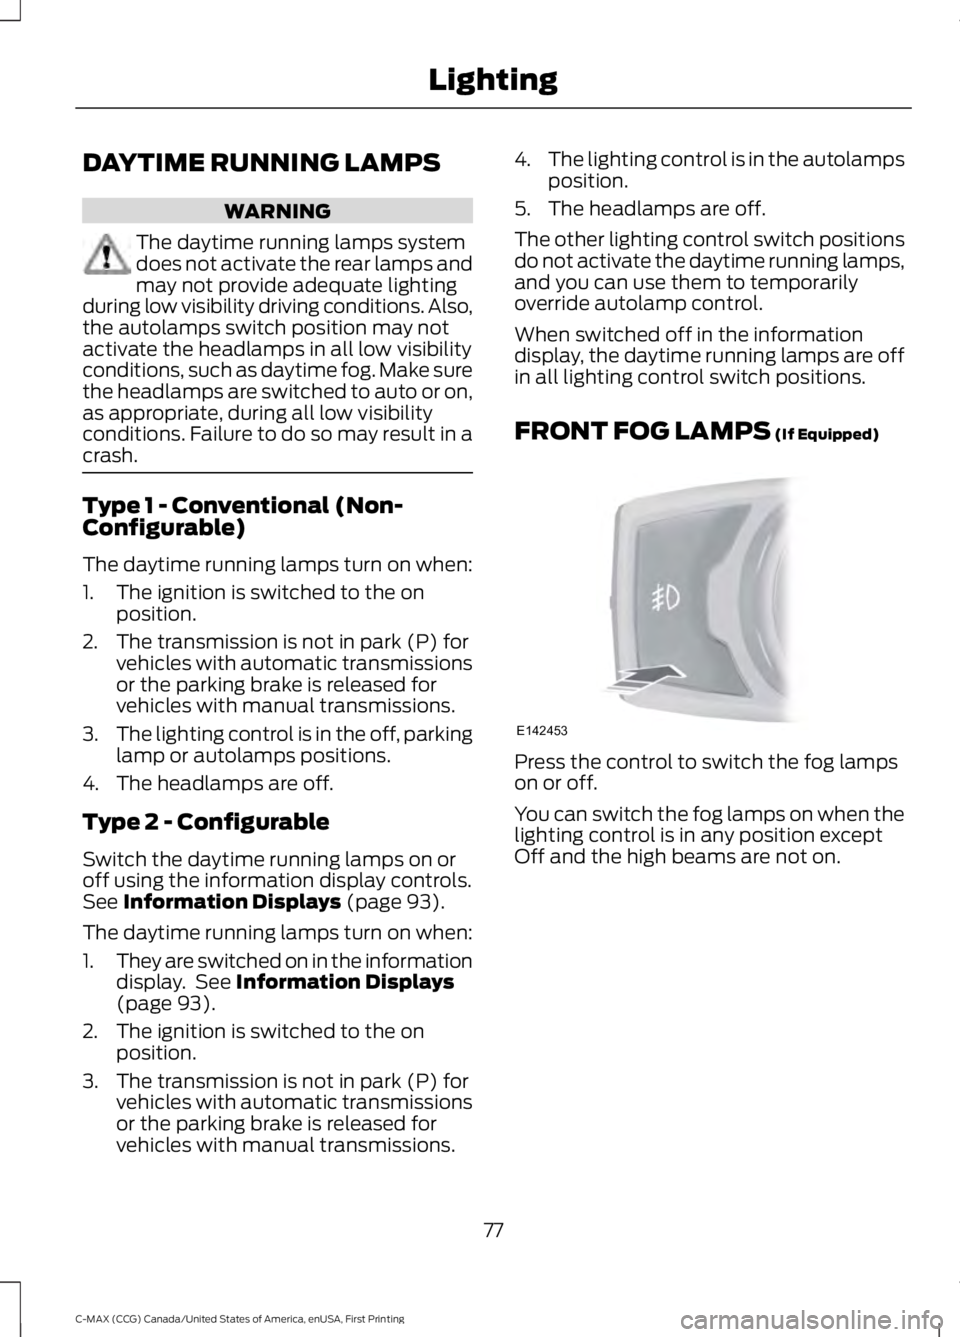
(If Equipped) Press the control to switch the fog lamps
on or off.
You can switch the fog lamps on when the
lighting control is in any position except
Off and the high beams are not on.
77
C-MAX (CCG) Canada/United States of America, enUSA, First Printing LightingE142453
Page 82 of 395
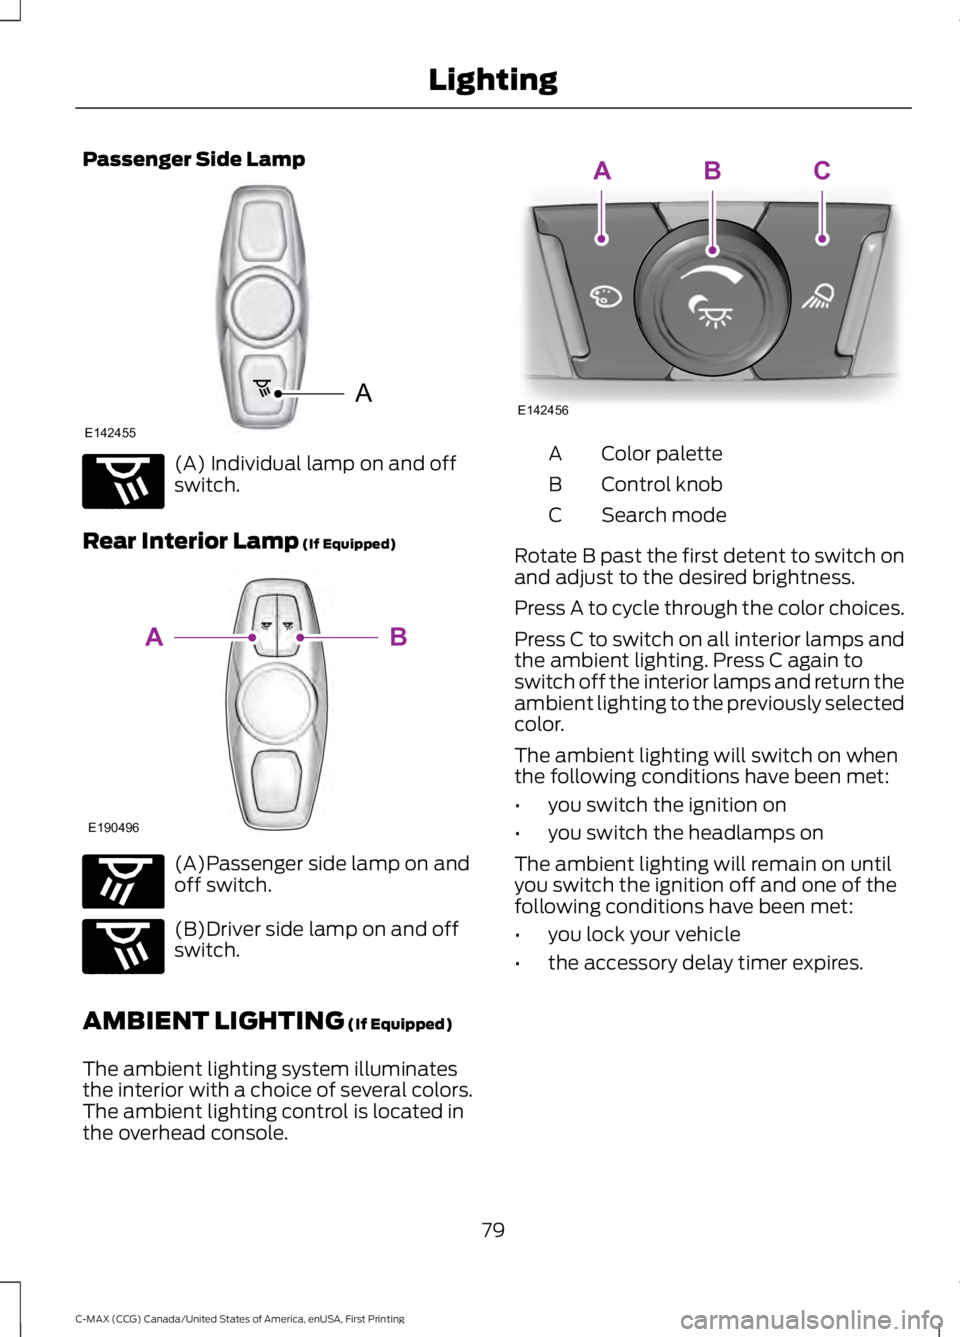
Passenger Side Lamp
(A) Individual lamp on and off
switch.
Rear Interior Lamp (If Equipped) (A)Passenger side lamp on and
off switch.
(B)Driver side lamp on and off
switch.
AMBIENT LIGHTING
(If Equipped)
The ambient lighting system illuminates
the interior with a choice of several colors.
The ambient lighting control is located in
the overhead console. Color palette
A
Control knob
B
Search mode
C
Rotate B past the first detent to switch on
and adjust to the desired brightness.
Press A to cycle through the color choices.
Press C to switch on all interior lamps and
the ambient lighting. Press C again to
switch off the interior lamps and return the
ambient lighting to the previously selected
color.
The ambient lighting will switch on when
the following conditions have been met:
• you switch the ignition on
• you switch the headlamps on
The ambient lighting will remain on until
you switch the ignition off and one of the
following conditions have been met:
• you lock your vehicle
• the accessory delay timer expires.
79
C-MAX (CCG) Canada/United States of America, enUSA, First Printing LightingA
E142455 E160818 E190496
B
A E160817 E160818 E142456
ABC