automatic transmission fluid FORD CAPRI 1974 Workshop Manual
[x] Cancel search | Manufacturer: FORD, Model Year: 1974, Model line: CAPRI, Model: FORD CAPRI 1974Pages: 205, PDF Size: 43.75 MB
Page 17 of 205

" ,
'6 Routine maintenance
)
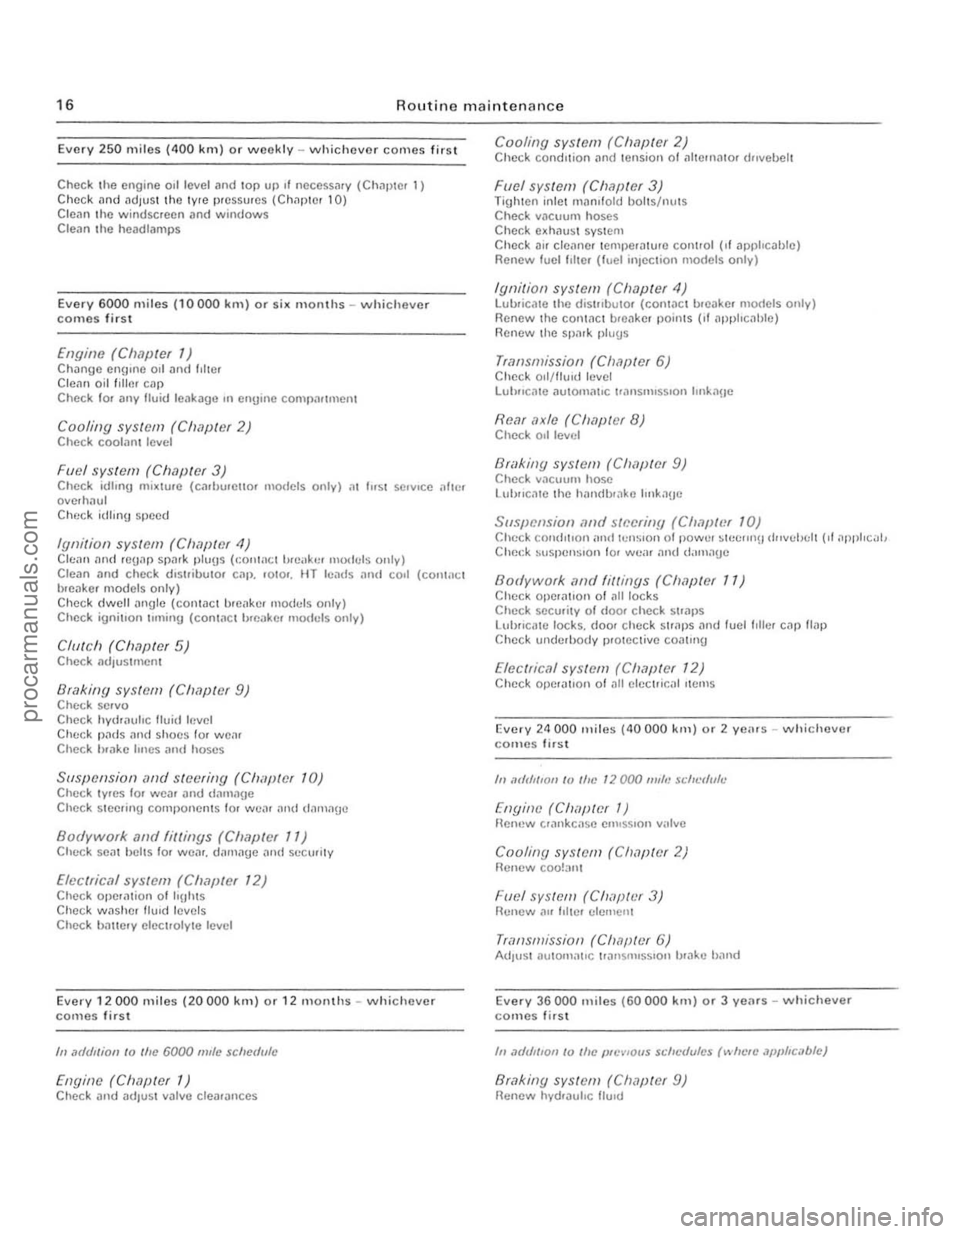
Every 250 miles (400 lUll) or weekly -whichever comes first
Check the engine 011 level and lOp up " OCCCSSJry (Chapler 1) Check and adlus t lhe IYIC pressures (Chilplcr 10) Clean the windscreen and windows C lean the hcadlamps
Every 6000 miles (10000 km) o r six Illonlhs - whichever comes fir s t
£II[1ille (Clwpter 1) Change engllle 011 and IIher
Cleiln oil flilm c"p Chcck 10 1 ,IllY fluid leaka!)e ,n enUme CO'llp:lnUlCIl1
Cooling syslem (Clwptet 2) Check cool:'lnt level
Fuel syslem (Clmpler 3) Check idh"U mi~lUle (cmiJUiello1 IllUdels onlv) al I"SI se.v,ce ollIe, overhaul C heck idllllg sj)ee d
Ignition sys/Cm (C/I,Wler 4) Clean ,1nd re!)"p Sl)".k plu!)s (.:on!nC ' breilkCl Illudels olllv) Cle an and check d'Shibu\o. C"I). '010'. HT lealls mId co.1 (COllWct
bleaker modcls only) Check elwell angle (cOntact b.e"ke. mo
Bri/king sys/Cm (Ch,1pter 9) Check selva
Che ck hydraulic flu id h,vel
Ch(: ck p"ds :'Illd sho(:s lor wear Check h.ake hllcs and hoses
Suspension .wel stvi'ring (Chi/pICr 10) Check tyres 10' w ear and dam:lge Check steering COmp{lIlCnlS l o r w e:l l "lid d.1nlilue
Bodywork. .111d fittings (Clwptef 11) C lu .. >ek se"t belts fa. we .... damage :lnd secwity
Elvc(ric.11 systcm (Ch,7jJ(ef 12 ) Check Ope.iltoon 01 "Uhts Check wilsher flUId levels Check b.1ltery eleclrolvle lev el
Every 12000 miles (20000 kill) or 12 mOll1hs - whichever comes first
III .1(/(lIlioll 10 Ihe 6000 m/le sciler/Ille
Engine (Ch.1f)ter 1) Check and adlUSI valve clearanc es
r"' .......... ~.~-.... ._ •• -.... __ .... . 3lii1&l •
Cooling system (Chapter 2) Check condition "net tension of 1111011)<1101 dflvehelt
Fllel sys tem (Chapter 3) Tighlcn inlel IIHlnl lold boits/nuts Check vacuum hoses Check e~hiluSI syst em Check ll1r ctonne. temperature cOllllol (,I applicable) Renew fuclllllC ' (fuel injec tion models only)
Ignilion system (Chapler 4) lubricate th e dis'flbulOf (conUlel br eake r models only) Renew the coninCt hu,akcr points (II nppllcJblc) Renew the spMk plugs
Transmission (Chapter 6) Check ool/th"d level Lulmc;ue automatIC 1.,'Insmlss,on IInk:'lue
Rcar axle (C/MplCt 8) Check 011 level
Bli/king system (Chaplet 9) Check v,lcuun' hose
llliJllc:'l1C Ihe handhlake Imk,loe
Suspensioll {//j(J swelill!J (C".1plt~( 10) Check condItIon and hlllSlon o f POWI.II ~I!'tllllli dllvthtl1 (II .1l1pllcal,
Check MlspenSlon 101 we;" ;111(1 d;1Il1.1!)e
Bodywork ,1I)d fillings (Clwpler 11) Check opera lion of all locks Check secu.ity 01 dOOf check sl.aps
LlIl)fIcalC locks. door c heck S\','P5 :'Ind fuel fdler cap flap
Check underbody pr olCctive coalm!)
Electrical system (Chapter 12) Check Opcra1l0n of all eleC111!:al IIcm5
Evcry 2<1 000 llIiles (40000 kill) or 2 yc;u s -\Nhichever comes firsl
III ,1(/111/'011 10 the 12000 111"'1 $d'~'f/u/e
[nyino (CIWpICf 1) f!ell'!W crankC:l $e e""5510l1 v;llve
Cooling syslofll (Clwptor 2) Renew COO!:1II1
Fllel SYS(CIII (Ch, '/pliJr 3) Renew"" II Ih!r elemenl
TrallsmissiOIl (ClwjJWr 6) AdjUSI aulom;1\IC trall5nll5SIOll h,ake b;'IIld
Every 36000 miles (60000 kill) o r 3 yenrs - whichever comes first
III .1(/{/I('01l 10 Illc JJIl'VlOUS schc(/ulcs (",lIc" JJJIJ"ci,bfc)
Brakillg system (Clwpter 9) Renew hyd,auhc flUId
procarmanuals.com
Page 124 of 205

Chapter 6 Manual gearbox and automatic transmission 123
When towing a vehic le wIth automl11ic uansmission it is impoltllllt to observe the precautIons gIven til ,he 'Jading and Towing' se<:,ion at the Iront 01 the manual. Due to the complexity of the au'oma',c tran smission unit. If performance IS not up 10 s tandard, or overhaul is necessary, it IS impera tive that this be left to the locallllain agents who will have the special equipment for fault diagnosis and rectiflcallon. The content of the following sections is thereforc confined to supplying gener", Informl11ion 1'Ind any service information and ins t.uc tion tha i cnn be used by the owner.
19 Routine Illilinte,wno
At the i!lle.vnls SI)CClfiecllll Iho ROllllne Milintennnce seCIlOll in the I.onl 01 th e Illanllal cnllY Oul Ihe follOWIng p'ocp.dwe
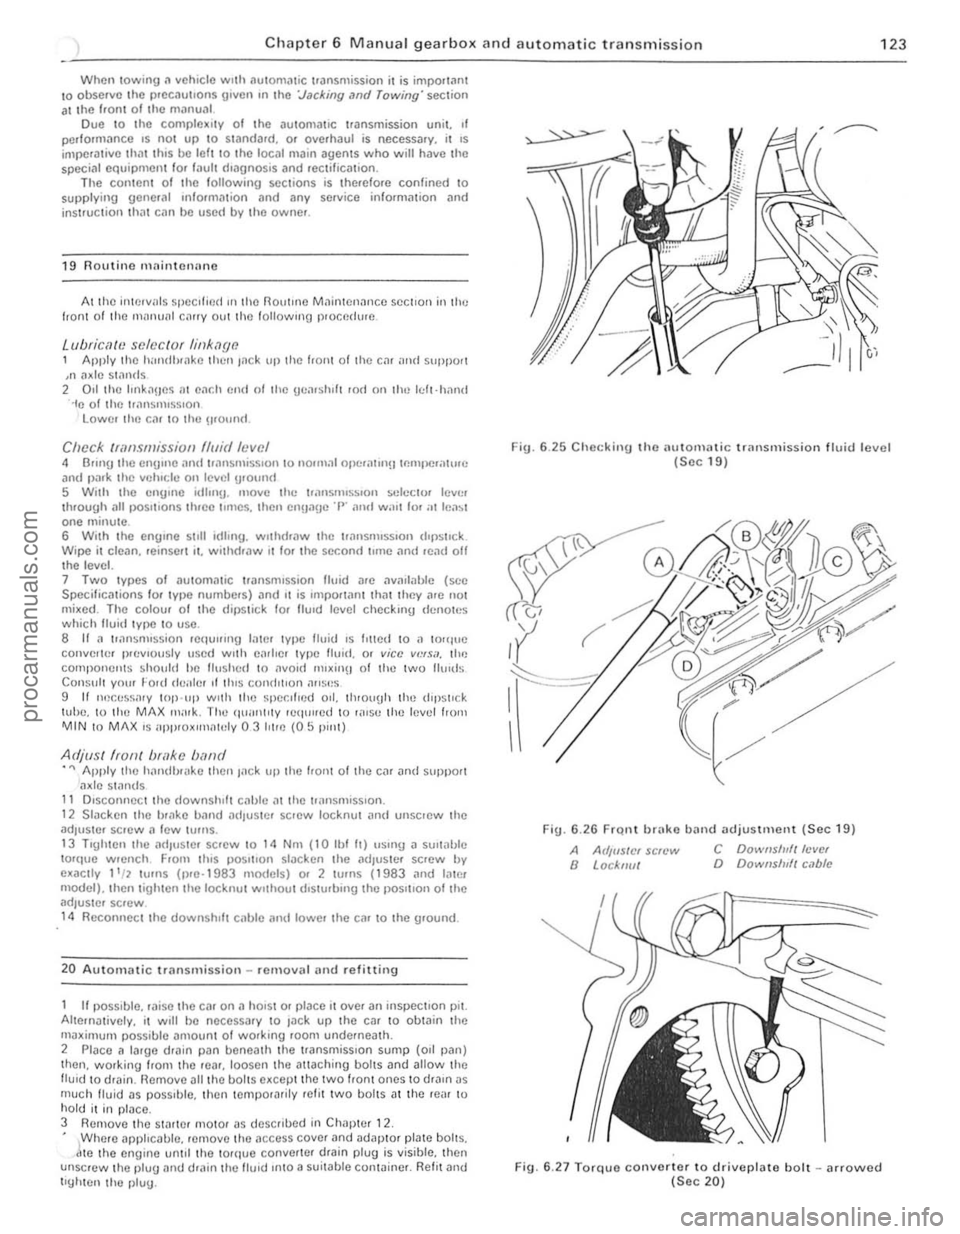
Luuricow selector link'1[}() , Applv the h;rrldh.,lke th(:n J,lck \lp the front of Ihc Cill ,'lid Support
,n nxle Slnnds
2 Orlthe Irnkn!JCs at cndl end 01 Ihe genrsh ,h rml on the Icfl·hnnd "le 01 Ihe Iransnll~s,on lowel the cnr \0 Iho wound,
Check /mn.Wllissioll fluid level 4 Elrlll!! the engIne and trnnsnllSSlon to nOllllal ope.IlIUl!IIp.llIperillllfe
and I)alk tho vehlchl on le vel grOllnd 5 Wi,h Ihe engIne idllll(l. move tht: 1.,lnsnllSj"on St:leclt>r lev!]r through ill! pOSlllons 1!lIee lImes. Ihen onuaue '1" ,11111 wall for ;rt lea~t one minute. 6 With ,he engine 51111 idling, wllhd.ilW Ihe lr.1nSnllSSIOll d,psllck.
Wipe it dean, reinsert II, wilhd •• 1W 11 for Ihe second !line nnd read off the levol. 7 Two tv pes 01 automatic transnllssion fluid a.e nvarlilblc (sec SpccifiCiltions 10' tv,>c numbe.s) .1nd It is ImpO,I,ln , Ihilt IheV 'lIe nOI mixed. The colour 01 the dipstick. 10' flUId level checklllg denotes which fluid tvpe to use , 8 If a tlr1nsnllssion requlII"U 1,1ter tvpe fluid IS I'lled 10 " to'
adjus'or screw n lew h,fIlS . 13 Tlghlolllhe adJuslo, sOcw to 14 Nm (10 Ihl II) IISIilU a SUItable lo,que wrcnch From Ih,s poSlllon slaCken the adJusle r screw bv exact Iv I'll \Urns (pre·1983 models) or 2 Iwns ( 1983 and late,
model), Ihen tighten Ihe locknut Wllhoul diSlUrblllg Ihe pOsition of Ihe adjuster sc,ow .
14 R econnec t the downshift cable and lowe' Ihe car 10 Ihe ground.
20 Automalic transmission -removal (HId refining
If l)Osslble, ,aise the car on a hOlsl o. place it over an inspectIon pit. Alternatively, it WIll ho necessary 10 Jack up Ihe car to obtain the Illaximum possible amount of wOlking room undernealh. 2 Place a large d.ain pan benealh the transmiss.on sump (011 pan)
Ihen. working horll the ,car, loosen the a!laching boilS and allow ,he lIuld to drain. nemove all thO bohs excep t tho two I.onl ones to draIn as mIlch fluid as pOSSIble, th on temporarilV .efit Iwo bolls at th e re,1I 10 hold it in place . 3 Remove tho Slilrte. moto. as desc.ibed in Chapter 12 . • jWhero apphcable, rernove the access cover Dnd ad3pto, plale bolts,
Ie the engine untrl the to.qu e converter drain plug is visible, then
unsc.ew Iho plug and d.ain Iho Ihud Into a suit3ble con winer. Refl! and l'Uh ten Iho plug.
Fig. 6 .25 Checkill{J tho au tomatic transmission lIuid lovel (Soc 19)
Fig. 6.2 6 FrQ,1 bn'ko band adjustment (Sec 19)
A Arllf/SICI sc/t'w a Locknut
C Downslu/t Icvel D Downs/u/t c.lblc
Fig. 6.27 Torquo convorter to driveplato boll -arrowod (Sec 20)
'I
.' i
!
,
{ ,
I , .::
.1 , I, , i:
i 'i; ; I
:1
procarmanuals.com
Page 128 of 205

Chapter 6 Manual gearbox and automatic transmissio n 127
2 Select position O' th en pri$e off the selector level escutcheon nnd. Irom under th e cnr. re move the plug in the side 01 the selector housing. 3 Adjust the inhibito r cnble locknut X to giv e a dimension of 0.1 to 0.2 mm (0.004 to 0 .008 in) (Fig. 6 .36). 4 Refit the plug nnd escutcheon. S With the trnn smission shih lever and the mnnunl selector lever in '0'. ndJust th e selector rod link until it cnll be reconnected without strain .
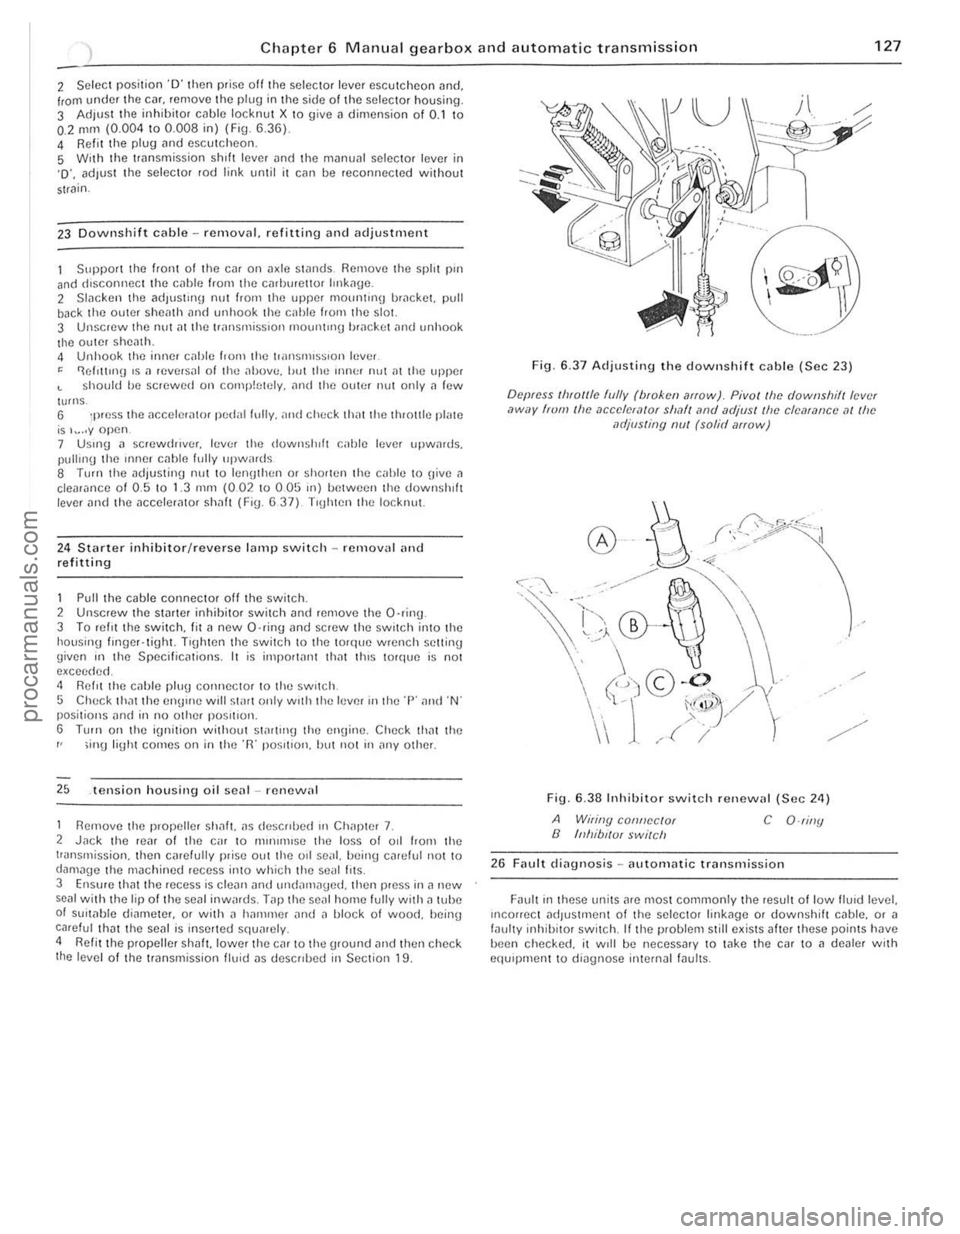
23 Downshift cable -removal. refitting and adjustment
Support till! front o f th e cm on Jxle Sl
24
S lnrter inhibitor/reverse Inml) switch -removal and re fitting
1 Pull the cable connector off the switch" 2 Unscrew the slnrter inhihitor swilch and remove the a"int[ 3 To rel'llhe swilCh. fil a new a·ring nnd screw the switch into lhe housing longer. tight. T'gh ten Ihe switch 10 the lorque wrench settin g
given ,n the Specilicntions. I t is imporlnl11 ,hn t thiS torque is not excee dud, 4 Ro::I't the cnhle plug conn ector to the sw,tch,
5 Chuc k th,ll th e en!J"'c will st",t only w,th the lever '" the '1" and "N' posilions and in no other POSlt'on. S TlIIn 0 " the ignition without startll1g th e engine, Check IhM the
r ' ;inU light comes 0 11 in th e "R" po~rtlon, but not in any other.
25 .tension housing o il senl-renew,,1
1 Remove the propeller shnl!. ns do::scrrhed III Chi,pter 7.
2 Jnck t he r enr of Ihe c,u to [1Hn",HSe the loss of 011 from the
transmission . then carefully pr ise out the od seill. being cJrtJIut not to (JamJ,Je the machined recess into which the sc,rI I,ts, 3 E'lslIfe that the recess is cle
6.37 Adjusting the downshift cable (Sec 23)
Depress Ihlollle hJlly (bloken arIOw). Pivol/he downshilllev,·( ,)wuy frum Ihe ,1ccelef,1{Qr sllMI lind UdjllS! Ih e clcarance at Ihe MljllSling nul (solid arrow)
~r:;0/,/5.;~··ll ~
Fig. 6,38 Inhibito r switc h renewal (Sec 24)
A Wiling connector B Inhibl/Ul swilch C O-riny
26 Fault dingl10sis -nutornatic Ir
"."
" , .
, ,
J
,
procarmanuals.com