low FORD E-350 2012 Manual Online
[x] Cancel search | Manufacturer: FORD, Model Year: 2012, Model line: E-350, Model: FORD E-350 2012Pages: 335, PDF Size: 2.63 MB
Page 128 of 335
Attaching child safety seats with tether straps
WARNING:When using forward-facing child safety seats in
vehicles with only two seating positions or the forward-facing
child safety seat cannot be placed in the rear of the vehicle, move the
passenger seat as far back from the instrument panel as possible.
Many forward-facing child safety seats include a tether strap which
extends from the back of the child safety seat and hooks to an anchoring
point called the top tether anchor. Tether straps are available as an
accessory for many older safety seats. Contact the manufacturer of your
child seat for information about ordering a tether strap, or to obtain a
longer tether strap if the tether strap on your safety seat does not reach
the appropriate top tether anchor in the vehicle.
The front passenger and rear seats of your vehicle are equipped with
built-in tether strap anchors located behind the seats as described below.
Attach the tether strap only to the appropriate tether anchor as shown.
The tether strap may not work properly if attached somewhere other
than the correct tether anchor.
Once the child safety seat has been installed using either the safety belt,
the lower anchors of the LATCH system, or both, you can attach the top
tether strap.
If you install a child seat with rigid LATCH attachments, and have
attached the top tether strap to the proper top tether anchor, do not
tighten the tether strap enough to lift the child seat off the vehicle seat
cushion when the child is seated in it. Keep the tether strap just snug
without lifting the front of the child seat. Keeping the child seat just
touching the vehicle seat gives the best protection in a severe crash.
Perform the following steps to install a child safety seat with tether
anchors:
Seating and Safety Restraints
128
2012 Econoline(eco)
Owners Guide, 1st Printing
USA(fus)
ProCarManuals.com
Page 134 of 335
Booster seats position a child so that vehicle lap/shoulder safety belts fit
better. They lift the child up so that the lap belt rests low across the hips
and the knees bend comfortably at the edge of the cushion, while
minimizing slouching. Booster seats may also make the shoulder belt fit
better and more comfortably. Try to keep the belt near the middle of the
shoulder and across the center of the chest. Moving the child closer (a
few centimeters or inches) to the center of the vehicle, but remaining in
the same seating position, may help provide a good shoulder belt fit.
When children should use booster seats
Children need to use booster seats from the time they outgrow the
toddler seat until they are big enough for the vehicle seat and
lap/shoulder belt to fit properly. Generally this is when they reach a
height of at least 4 feet 9 inches (1.45 meters) tall (around age eight to
age twelve and between 40 lb (18 kg) and 80 lb (36 kg) or upward to
100 lb (45 kg) if recommended by your child restraint manufacturer).
Many state and provincial laws require that children use approved
booster seats until they reach age eight, a height of 4 feet 9 inches
(1.45 meters) tall, or 80 lb (36 kg).
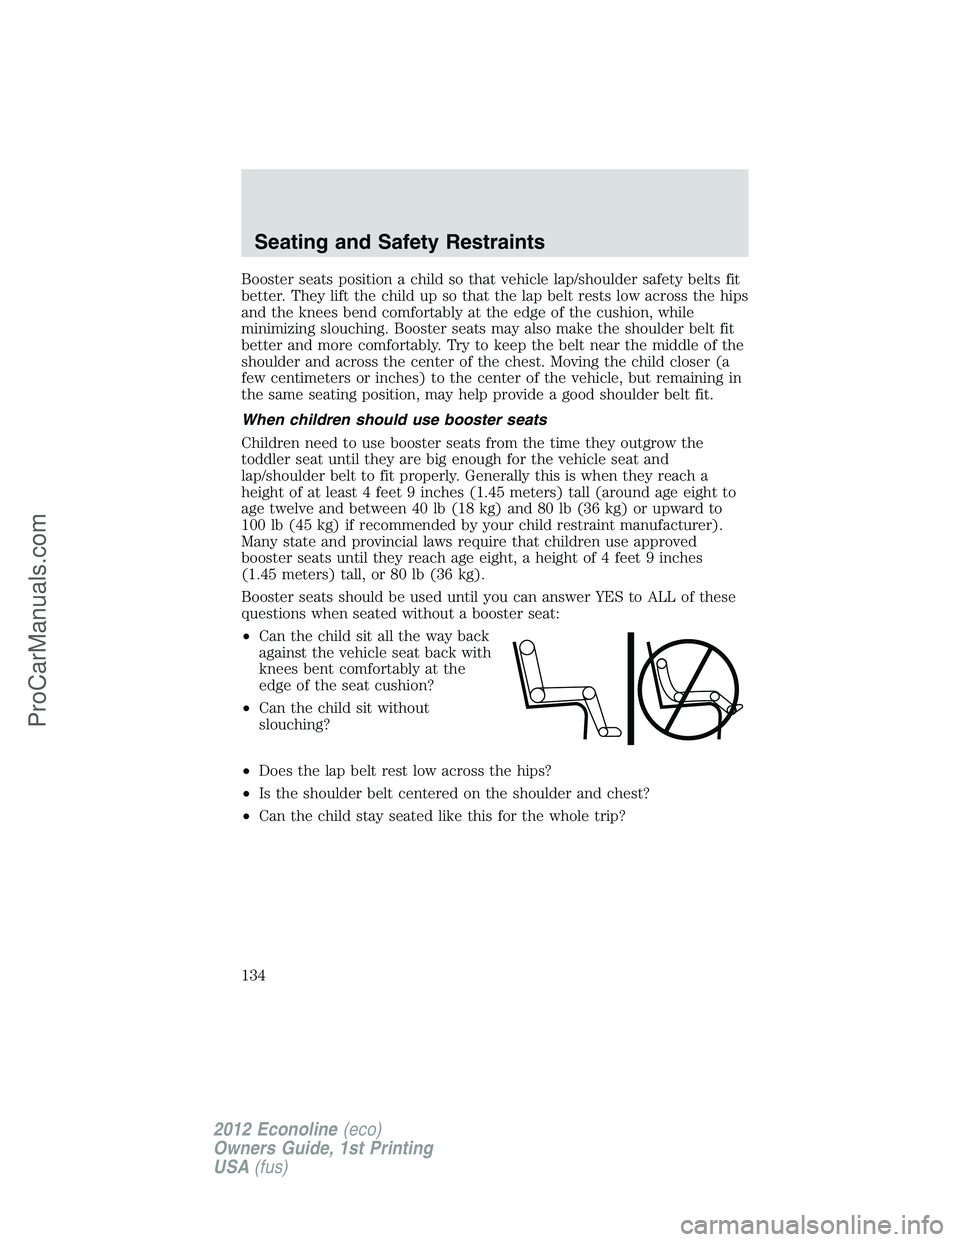
Booster seats should be used until you can answer YES to ALL of these
questions when seated without a booster seat:
•Can the child sit all the way back
against the vehicle seat back with
knees bent comfortably at the
edge of the seat cushion?
•Can the child sit without
slouching?
•Does the lap belt rest low across the hips?
•Is the shoulder belt centered on the shoulder and chest?
•Can the child stay seated like this for the whole trip?
Seating and Safety Restraints
134
2012 Econoline(eco)
Owners Guide, 1st Printing
USA(fus)
ProCarManuals.com
Page 135 of 335
Types of booster seats
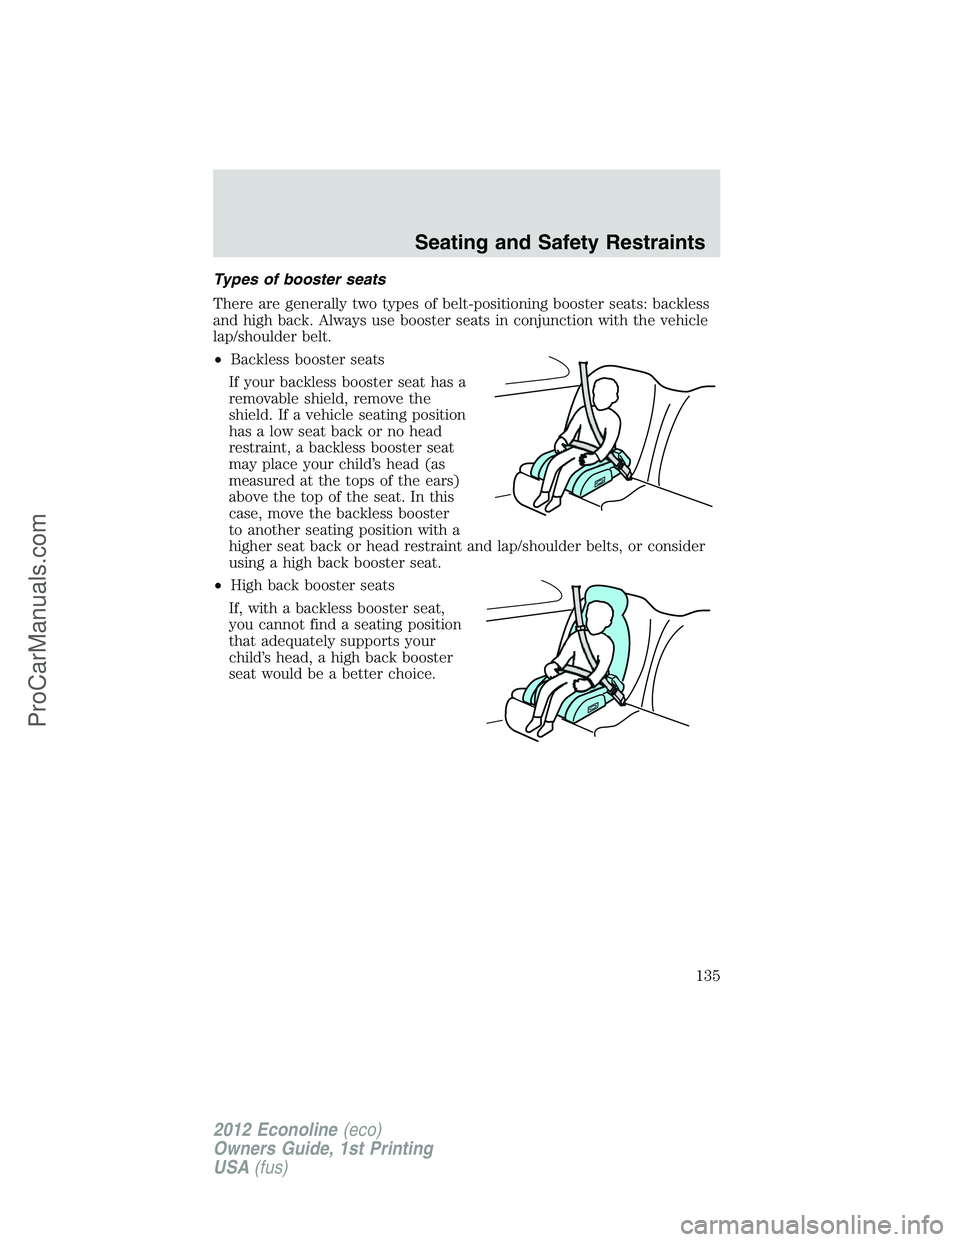
There are generally two types of belt-positioning booster seats: backless
and high back. Always use booster seats in conjunction with the vehicle
lap/shoulder belt.
•Backless booster seats
If your backless booster seat has a
removable shield, remove the
shield. If a vehicle seating position
has a low seat back or no head
restraint, a backless booster seat
may place your child’s head (as
measured at the tops of the ears)
above the top of the seat. In this
case, move the backless booster
to another seating position with a
higher seat back or head restraint and lap/shoulder belts, or consider
using a high back booster seat.
•High back booster seats
If, with a backless booster seat,
you cannot find a seating position
that adequately supports your
child’s head, a high back booster
seat would be a better choice.
Seating and Safety Restraints
135
2012 Econoline(eco)
Owners Guide, 1st Printing
USA(fus)
ProCarManuals.com
Page 136 of 335
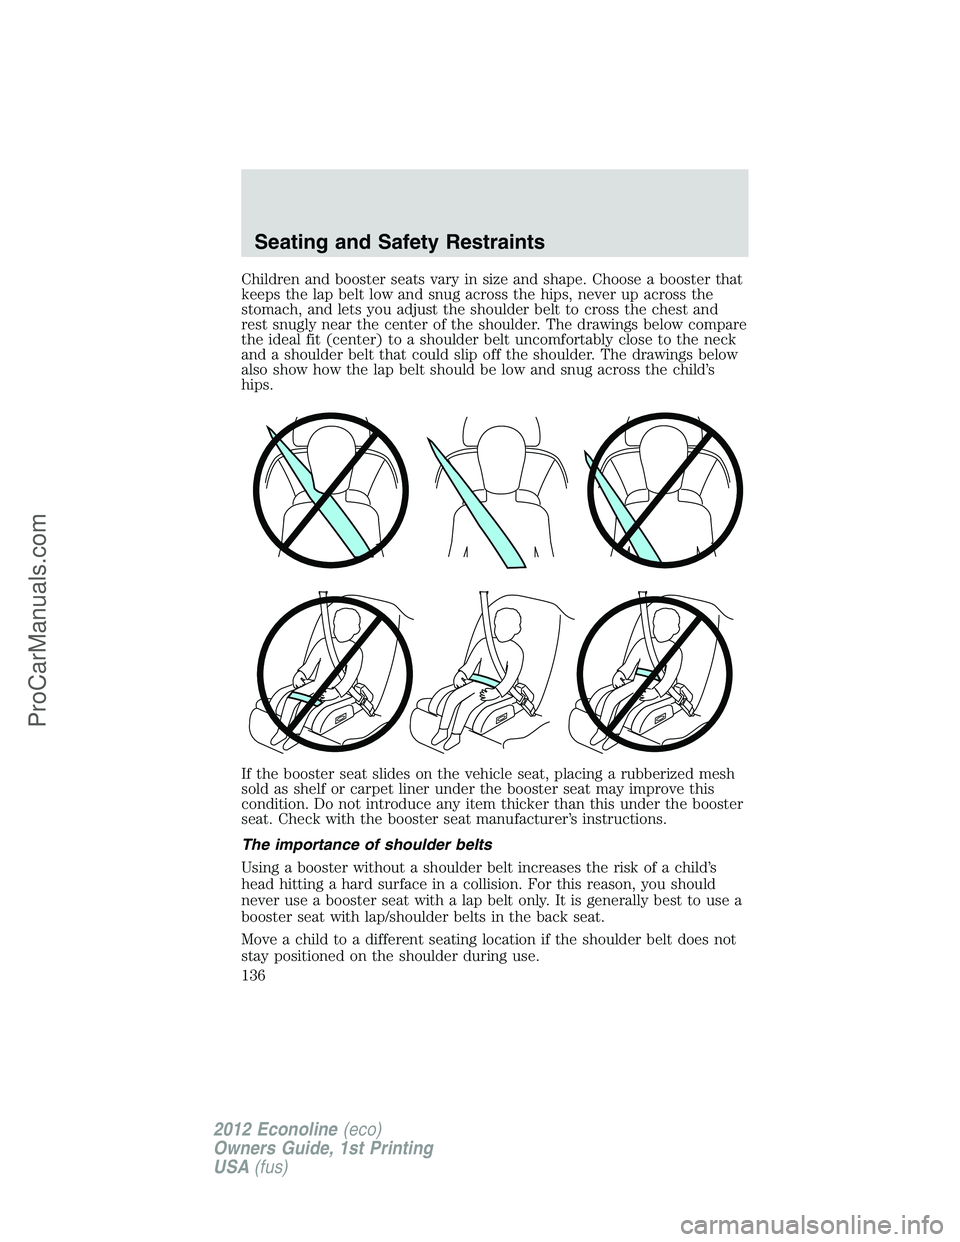
Children and booster seats vary in size and shape. Choose a booster that
keeps the lap belt low and snug across the hips, never up across the
stomach, and lets you adjust the shoulder belt to cross the chest and
rest snugly near the center of the shoulder. The drawings below compare
the ideal fit (center) to a shoulder belt uncomfortably close to the neck
and a shoulder belt that could slip off the shoulder. The drawings below
also show how the lap belt should be low and snug across the child’s
hips.
If the booster seat slides on the vehicle seat, placing a rubberized mesh
sold as shelf or carpet liner under the booster seat may improve this
condition. Do not introduce any item thicker than this under the booster
seat. Check with the booster seat manufacturer’s instructions.
The importance of shoulder belts
Using a booster without a shoulder belt increases the risk of a child’s
head hitting a hard surface in a collision. For this reason, you should
never use a booster seat with a lap belt only. It is generally best to use a
booster seat with lap/shoulder belts in the back seat.
Move a child to a different seating location if the shoulder belt does not
stay positioned on the shoulder during use.
Seating and Safety Restraints
136
2012 Econoline(eco)
Owners Guide, 1st Printing
USA(fus)
ProCarManuals.com
Page 137 of 335
Follow all instructions provided by the manufacturer of the booster seat.
WARNING:Never place, or allow a child to place, the shoulder
belt under a child’s arm or behind the back because it reduces
the protection for the upper part of the body and may increase the risk
of injury or death in a collision.
Child restraint and safety belt maintenance
Inspect the vehicle safety belts and child safety seat systems periodically
to make sure they work properly and are not damaged. Inspect the
vehicle and child seat safety belts to make sure there are no nicks, tears
or cuts. Replace if necessary. All vehicle safety belt assemblies, including
retractors, buckles, front safety belt buckle assemblies, buckle support
assemblies (slide bar-if equipped), shoulder belt height adjusters (if
equipped), shoulder belt guide on seatback (if equipped), child safety
seat LATCH and tether anchors, and attaching hardware, should be
inspected after a collision. Refer to the child restraint manufacturer’s
instructions for additional inspection and maintenance information
specific to the child restraint. Ford Motor Company recommends that all
safety belt assemblies in use in vehicles involved in a collision be
replaced. However, if the collision was minor and an authorized dealer
finds that the belts do not show damage and continue to operate
properly, they do not need to be replaced. Safety belt assemblies not in
use during a collision should also be inspected and replaced if either
damage or improper operation is noted.
For proper care of soiled safety belts, refer toInteriorin theCleaning
chapter.
WARNING:Failure to inspect and if necessary replace the
safety belt assembly or child restraint system under the above
conditions could result in severe personal injuries in the event of a
collision.
Seating and Safety Restraints
137
2012 Econoline(eco)
Owners Guide, 1st Printing
USA(fus)
ProCarManuals.com
Page 138 of 335
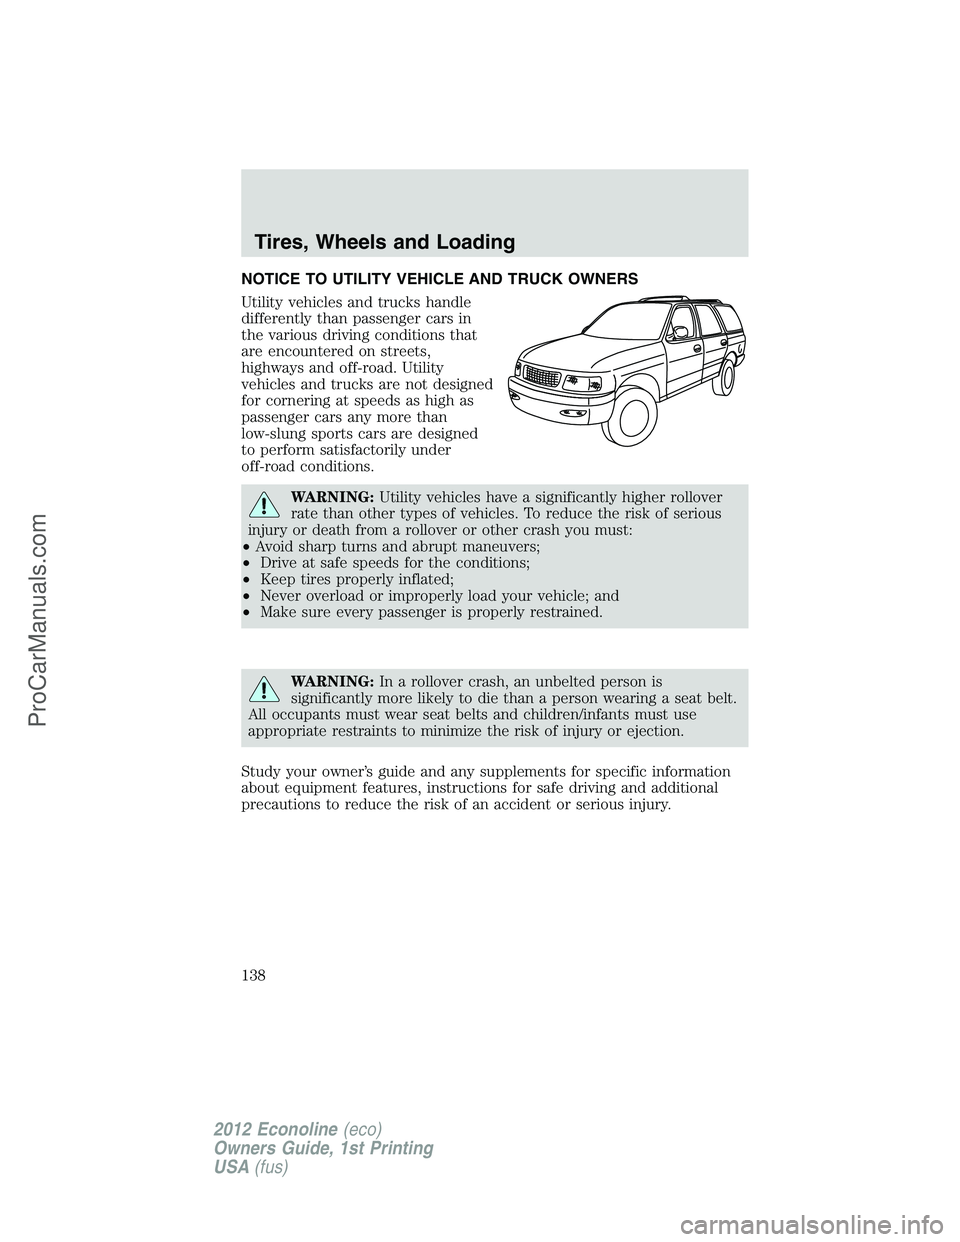
NOTICE TO UTILITY VEHICLE AND TRUCK OWNERS
Utility vehicles and trucks handle
differently than passenger cars in
the various driving conditions that
are encountered on streets,
highways and off-road. Utility
vehicles and trucks are not designed
for cornering at speeds as high as
passenger cars any more than
low-slung sports cars are designed
to perform satisfactorily under
off-road conditions.
WARNING:Utility vehicles have a significantly higher rollover
rate than other types of vehicles. To reduce the risk of serious
injury or death from a rollover or other crash you must:
•Avoid sharp turns and abrupt maneuvers;
•Drive at safe speeds for the conditions;
•Keep tires properly inflated;
•Never overload or improperly load your vehicle; and
•Make sure every passenger is properly restrained.
WARNING:In a rollover crash, an unbelted person is
significantly more likely to die than a person wearing a seat belt.
All occupants must wear seat belts and children/infants must use
appropriate restraints to minimize the risk of injury or ejection.
Study your owner’s guide and any supplements for specific information
about equipment features, instructions for safe driving and additional
precautions to reduce the risk of an accident or serious injury.
Tires, Wheels and Loading
138
2012 Econoline(eco)
Owners Guide, 1st Printing
USA(fus)
ProCarManuals.com
Page 139 of 335
VEHICLE CHARACTERISTICS
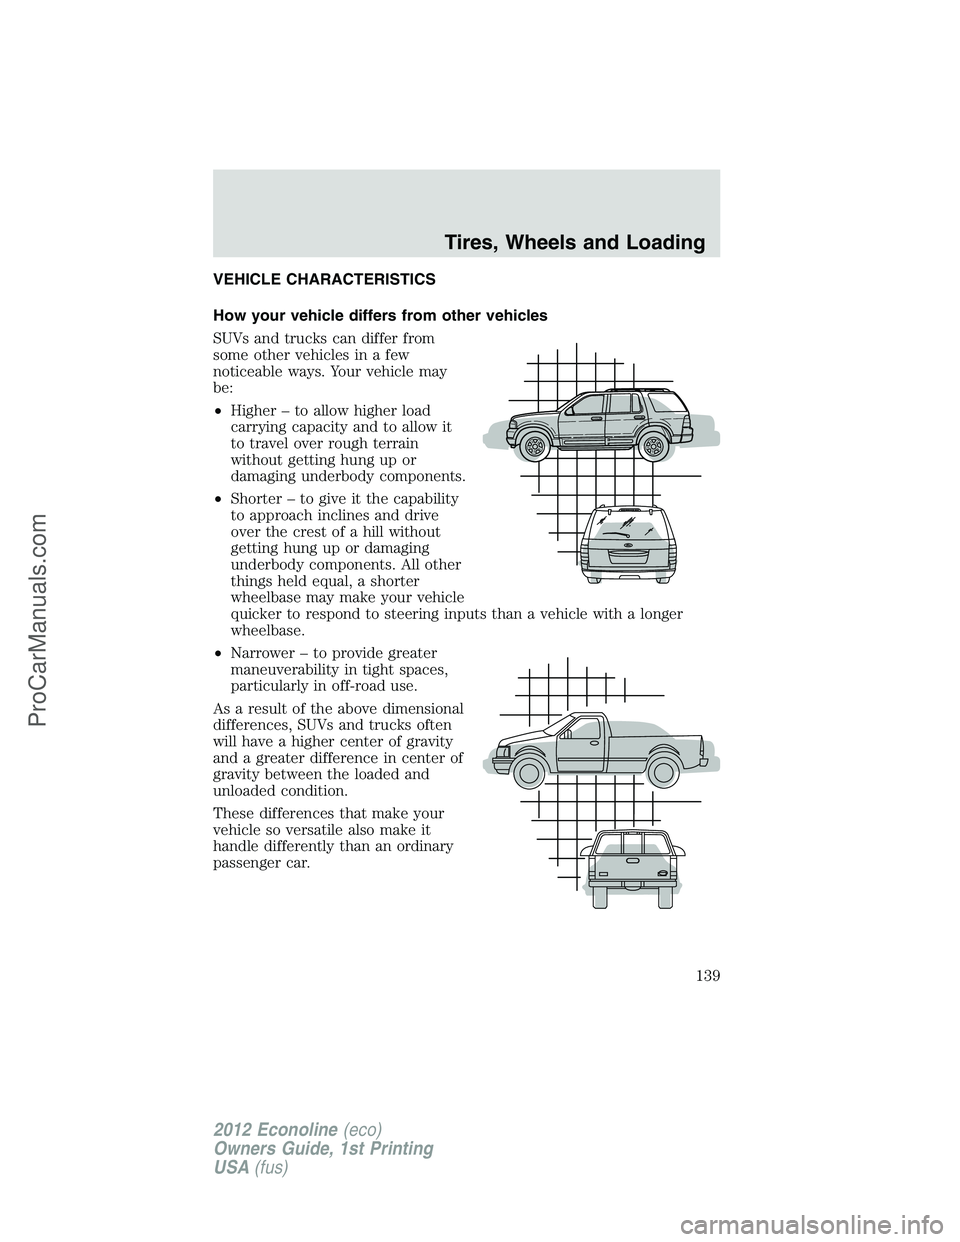
How your vehicle differs from other vehicles
SUVs and trucks can differ from
some other vehicles in a few
noticeable ways. Your vehicle may
be:
•Higher – to allow higher load
carrying capacity and to allow it
to travel over rough terrain
without getting hung up or
damaging underbody components.
•Shorter – to give it the capability
to approach inclines and drive
over the crest of a hill without
getting hung up or damaging
underbody components. All other
things held equal, a shorter
wheelbase may make your vehicle
quicker to respond to steering inputs than a vehicle with a longer
wheelbase.
•Narrower – to provide greater
maneuverability in tight spaces,
particularly in off-road use.
As a result of the above dimensional
differences, SUVs and trucks often
will have a higher center of gravity
and a greater difference in center of
gravity between the loaded and
unloaded condition.
These differences that make your
vehicle so versatile also make it
handle differently than an ordinary
passenger car.
Tires, Wheels and Loading
139
2012 Econoline(eco)
Owners Guide, 1st Printing
USA(fus)
ProCarManuals.com
Page 140 of 335
INFORMATION ABOUT UNIFORM TIRE QUALITY GRADING
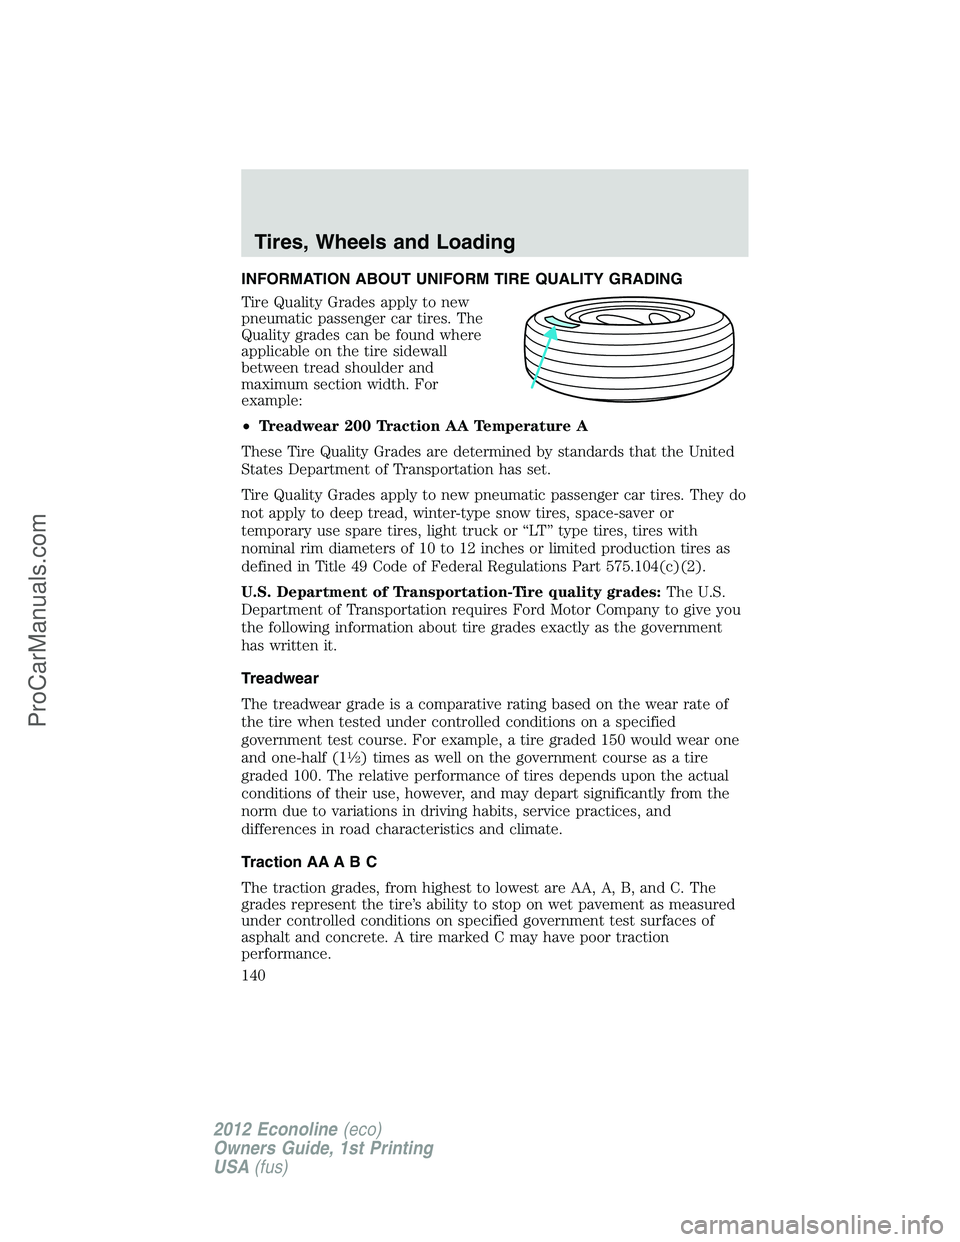
Tire Quality Grades apply to new
pneumatic passenger car tires. The
Quality grades can be found where
applicable on the tire sidewall
between tread shoulder and
maximum section width. For
example:
•Treadwear 200 Traction AA Temperature A
These Tire Quality Grades are determined by standards that the United
States Department of Transportation has set.
Tire Quality Grades apply to new pneumatic passenger car tires. They do
not apply to deep tread, winter-type snow tires, space-saver or
temporary use spare tires, light truck or “LT” type tires, tires with
nominal rim diameters of 10 to 12 inches or limited production tires as
defined in Title 49 Code of Federal Regulations Part 575.104(c)(2).
U.S. Department of Transportation-Tire quality grades:The U.S.
Department of Transportation requires Ford Motor Company to give you
the following information about tire grades exactly as the government
has written it.
Treadwear
The treadwear grade is a comparative rating based on the wear rate of
the tire when tested under controlled conditions on a specified
government test course. For example, a tire graded 150 would wear one
and one-half (1
12) times as well on the government course as a tire
graded 100. The relative performance of tires depends upon the actual
conditions of their use, however, and may depart significantly from the
norm due to variations in driving habits, service practices, and
differences in road characteristics and climate.
Traction AA A B C
The traction grades, from highest to lowest are AA, A, B, and C. The
grades represent the tire’s ability to stop on wet pavement as measured
under controlled conditions on specified government test surfaces of
asphalt and concrete. A tire marked C may have poor traction
performance.
Tires, Wheels and Loading
140
2012 Econoline(eco)
Owners Guide, 1st Printing
USA(fus)
ProCarManuals.com
Page 142 of 335
•Recommended inflation pressure:The cold inflation pressure found
on the Safety Compliance Certification Label or Tire Label located on
the B-Pillar or the edge of the driver’s door.
•B-pillar:The structural member at the side of the vehicle behind the
front door.
•Bead area of the tire:Area of the tire next to the rim.
•Sidewall of the tire:Area between the bead area and the tread.
•Tread area of the tire:Area of the perimeter of the tire that
contacts the road when mounted on the vehicle.
•Rim:The metal support (wheel) for a tire or a tire and tube assembly
upon which the tire beads are seated.
INFLATING YOUR TIRES
Safe operation of your vehicle requires that your tires are properly
inflated. Remember that a tire can lose up to half of its air pressure
without appearing flat.
Every day before you drive, check your tires. If one looks lower than the
others, use a tire gauge to check pressure of all tires and adjust if
required.
At least once a month and before long trips, inspect each tire and check
the tire pressure with a tire gauge (including spare, if equipped). Inflate
all tires to the inflation pressure recommended by Ford Motor Company.
You are strongly urged to buy a reliable tire pressure gauge, as automatic
service station gauges may be inaccurate. Ford recommends the use of a
digital or dial-type tire pressure gauge rather than a stick-type tire
pressure gauge.
Use the recommended cold inflation pressure for optimum tire
performance and wear. Under-inflation or over-inflation may cause
uneven treadwear patterns.
WARNING:Under-inflation is the most common cause of tire
failures and may result in severe tire cracking, tread separation
or “blowout”, with unexpected loss of vehicle control and increased
risk of injury. Under-inflation increases sidewall flexing and rolling
resistance, resulting in heat buildup and internal damage to the tire. It
also may result in unnecessary tire stress, irregular wear, loss of
vehicle control and accidents. A tire can lose up to half of its air
pressure and not appear to be flat!
Tires, Wheels and Loading
142
2012 Econoline(eco)
Owners Guide, 1st Printing
USA(fus)
ProCarManuals.com
Page 143 of 335
Always inflate your tires to the Ford recommended inflation pressure
even if it is less than the maximum inflation pressure information found
on the tire. The Ford recommended tire inflation pressure is found on
the Safety Compliance Certification Label or Tire Label which is located
on the B-Pillar or the edge of the driver’s door. Failure to follow the tire
pressure recommendations can cause uneven treadwear patterns and
adversely affect the way your vehicle handles.
Maximum Permissible Inflation Pressureis the tire manufacturer’s
maximum permissible pressure and/or the pressure at which the
maximum load can be carried by the tire. This pressure is normally
higher than the manufacturer’s recommended cold inflation pressure
which can be found on the Safety Compliance Certification Label or Tire
Label which is located on the B-Pillar or the edge of the driver’s door.
The cold inflation pressure should never be set lower than the
recommended pressure on the Safety Compliance Certification Label or
Tire Label.
When weather temperature changes occur, tire inflation pressures also
change. A 10°F (6°C) temperature drop can cause a corresponding drop
of 1 psi (7 kPa) in inflation pressure. Check your tire pressures
frequently and adjust them to the proper pressure which can be found
on the Safety Compliance Certification Label or Tire Label.
To check the pressure in your tire(s):
1. Make sure the tires are cool, meaning they are not hot from driving
even a mile.
If you are checking tire pressure when the tire is hot, (i.e. driven more
than 1 mile [1.6 km]), never “bleed” or reduce air pressure. The tires are
hot from driving and it is normal for pressures to increase above
recommended cold pressures. A hot tire at or below recommended cold
inflation pressure could be significantly under-inflated.
Note:If you have to drive a distance to get air for your tire(s), check
and record the tire pressure first and add the appropriate air pressure
when you get to the pump. It is normal for tires to heat up and the air
pressure inside to go up as you drive.
2. Remove the cap from the valve on one tire, then firmly press the tire
gauge onto the valve and measure the pressure.
3. Add enough air to reach the recommended air pressure.
Note:If you overfill the tire, release air by pressing on the metal stem in
the center of the valve. Then recheck the pressure with your tire gauge.
4. Replace the valve cap.
Tires, Wheels and Loading
143
2012 Econoline(eco)
Owners Guide, 1st Printing
USA(fus)
ProCarManuals.com