window FORD E-450 2019 Owners Manual
[x] Cancel search | Manufacturer: FORD, Model Year: 2019, Model line: E-450, Model: FORD E-450 2019Pages: 329, PDF Size: 6.24 MB
Page 4 of 329
Introduction
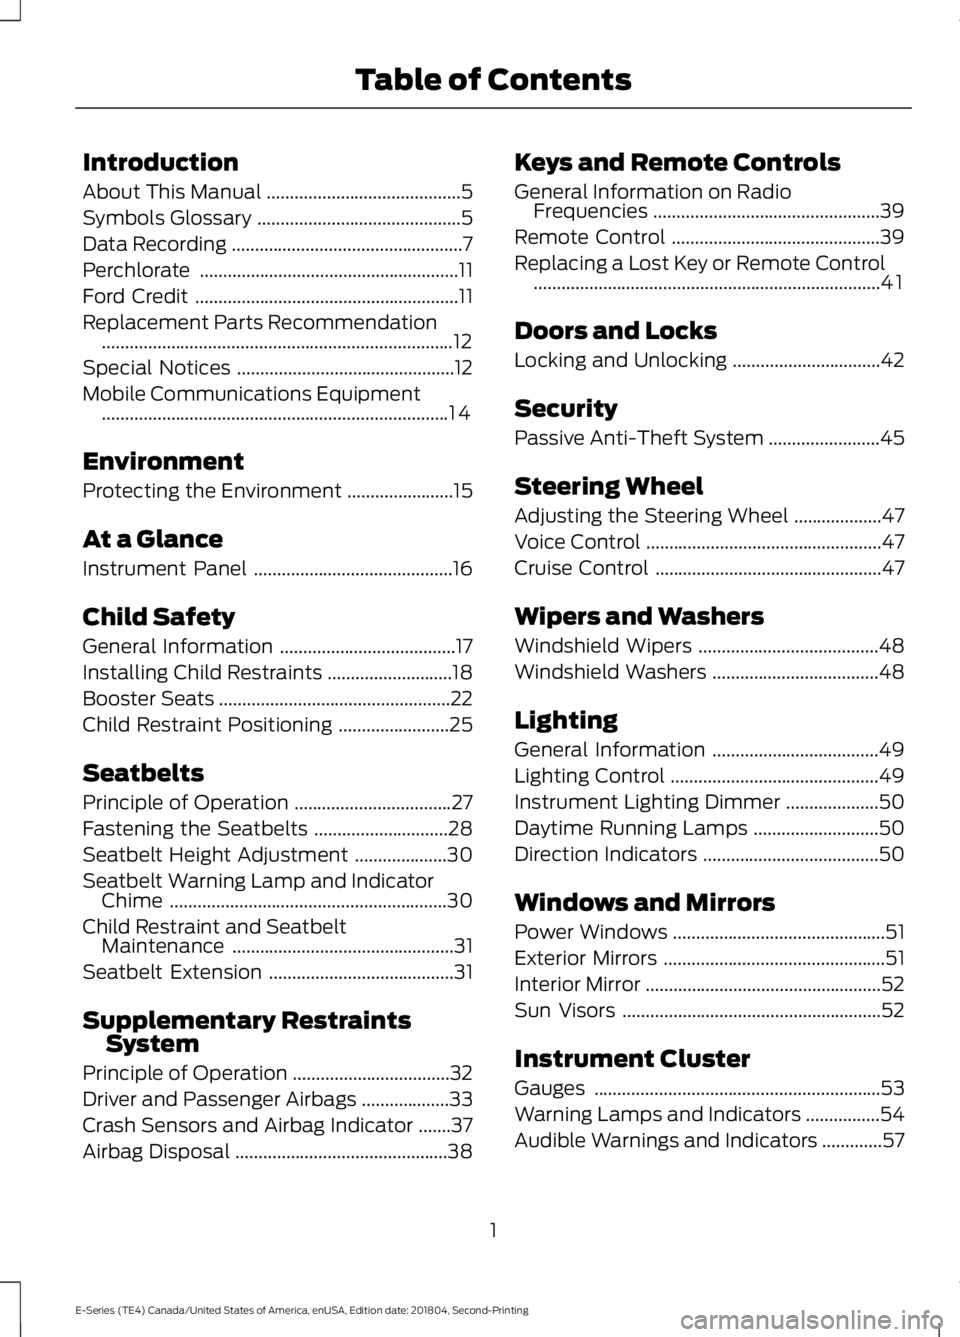
About This Manual
..........................................5
Symbols Glossary ............................................
5
Data Recording ..................................................
7
Perchlorate ........................................................
11
Ford Credit .........................................................
11
Replacement Parts Recommendation ........................................................................\
....
12
Special Notices ...............................................
12
Mobile Communications Equipment ........................................................................\
...
14
Environment
Protecting the Environment .......................
15
At a Glance
Instrument Panel ...........................................
16
Child Safety
General Information ......................................
17
Installing Child Restraints ...........................
18
Booster Seats ..................................................
22
Child Restraint Positioning ........................
25
Seatbelts
Principle of Operation ..................................
27
Fastening the Seatbelts .............................
28
Seatbelt Height Adjustment ....................
30
Seatbelt Warning Lamp and Indicator Chime ............................................................
30
Child Restraint and Seatbelt Maintenance ................................................
31
Seatbelt Extension ........................................
31
Supplementary Restraints System
Principle of Operation ..................................
32
Driver and Passenger Airbags ...................
33
Crash Sensors and Airbag Indicator .......
37
Airbag Disposal ..............................................
38Keys and Remote Controls
General Information on Radio
Frequencies .................................................
39
Remote Control .............................................
39
Replacing a Lost Key or Remote Control ........................................................................\
...
41
Doors and Locks
Locking and Unlocking ................................
42
Security
Passive Anti-Theft System ........................
45
Steering Wheel
Adjusting the Steering Wheel ...................
47
Voice Control ...................................................
47
Cruise Control .................................................
47
Wipers and Washers
Windshield Wipers .......................................
48
Windshield Washers ....................................
48
Lighting
General Information ....................................
49
Lighting Control .............................................
49
Instrument Lighting Dimmer ....................
50
Daytime Running Lamps ...........................
50
Direction Indicators ......................................
50
Windows and Mirrors
Power Windows ..............................................
51
Exterior Mirrors ................................................
51
Interior Mirror ...................................................
52
Sun Visors ........................................................
52
Instrument Cluster
Gauges ..............................................................
53
Warning Lamps and Indicators ................
54
Audible Warnings and Indicators .............
57
1
E-Series (TE4) Canada/United States of America, enUSA, Edition date: 201804, Second-Printing Table of Contents
Page 6 of 329
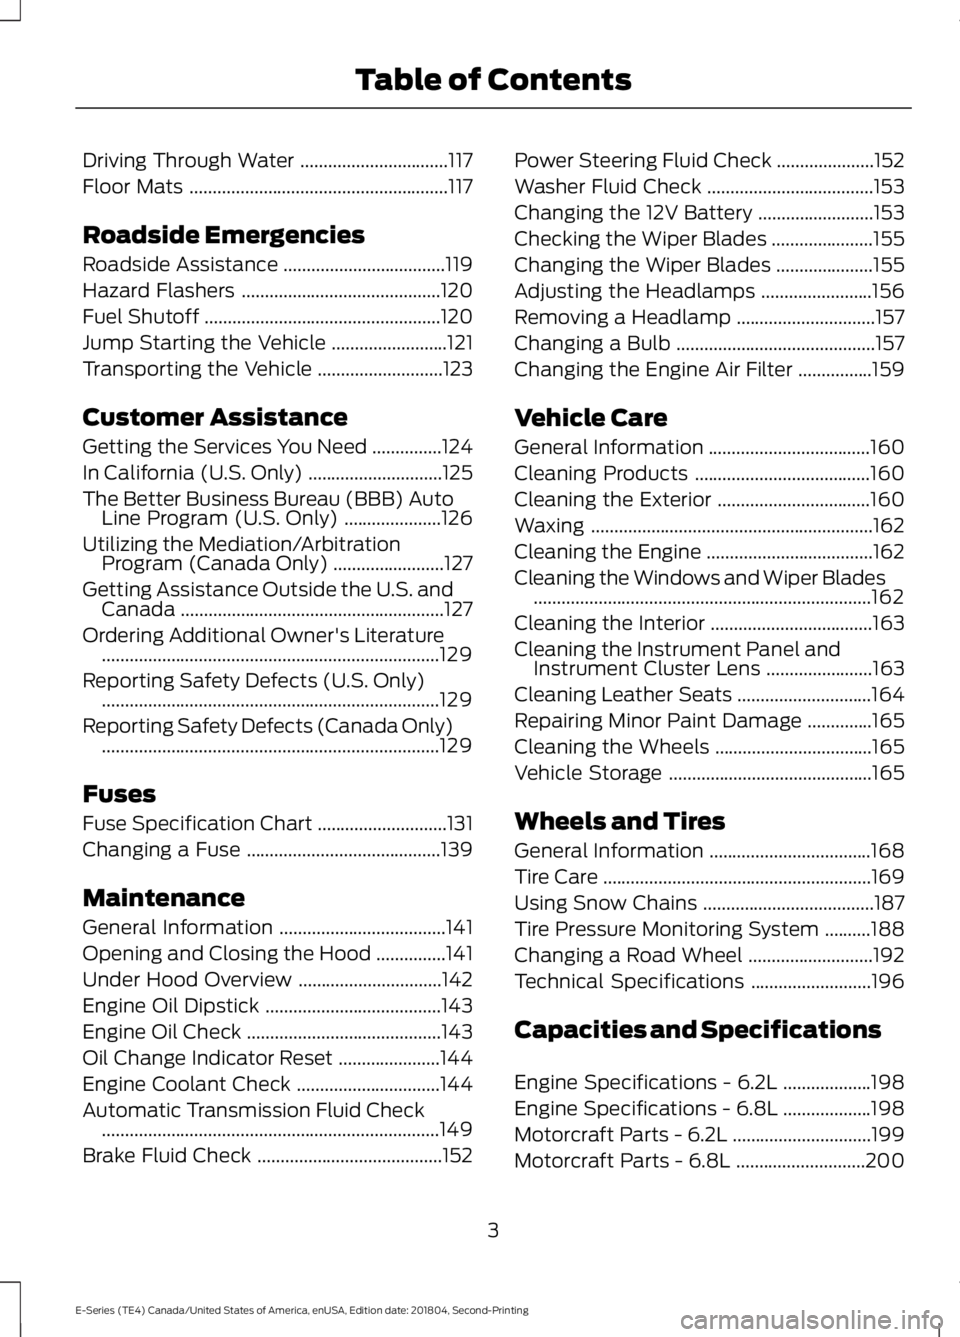
Driving Through Water
................................117
Floor Mats ........................................................
117
Roadside Emergencies
Roadside Assistance ...................................
119
Hazard Flashers ...........................................
120
Fuel Shutoff ...................................................
120
Jump Starting the Vehicle .........................
121
Transporting the Vehicle ...........................
123
Customer Assistance
Getting the Services You Need ...............
124
In California (U.S. Only) .............................
125
The Better Business Bureau (BBB) Auto Line Program (U.S. Only) .....................
126
Utilizing the Mediation/Arbitration Program (Canada Only) ........................
127
Getting Assistance Outside the U.S. and Canada .........................................................
127
Ordering Additional Owner's Literature ........................................................................\
.
129
Reporting Safety Defects (U.S. Only) ........................................................................\
.
129
Reporting Safety Defects (Canada Only) ........................................................................\
.
129
Fuses
Fuse Specification Chart ............................
131
Changing a Fuse ..........................................
139
Maintenance
General Information ....................................
141
Opening and Closing the Hood ...............
141
Under Hood Overview ...............................
142
Engine Oil Dipstick ......................................
143
Engine Oil Check ..........................................
143
Oil Change Indicator Reset ......................
144
Engine Coolant Check ...............................
144
Automatic Transmission Fluid Check ........................................................................\
.
149
Brake Fluid Check ........................................
152Power Steering Fluid Check
.....................
152
Washer Fluid Check ....................................
153
Changing the 12V Battery .........................
153
Checking the Wiper Blades ......................
155
Changing the Wiper Blades .....................
155
Adjusting the Headlamps ........................
156
Removing a Headlamp ..............................
157
Changing a Bulb ...........................................
157
Changing the Engine Air Filter ................
159
Vehicle Care
General Information ...................................
160
Cleaning Products ......................................
160
Cleaning the Exterior .................................
160
Waxing .............................................................
162
Cleaning the Engine ....................................
162
Cleaning the Windows and Wiper Blades ........................................................................\
.
162
Cleaning the Interior ...................................
163
Cleaning the Instrument Panel and Instrument Cluster Lens .......................
163
Cleaning Leather Seats .............................
164
Repairing Minor Paint Damage ..............
165
Cleaning the Wheels ..................................
165
Vehicle Storage ............................................
165
Wheels and Tires
General Information ...................................
168
Tire Care ..........................................................
169
Using Snow Chains .....................................
187
Tire Pressure Monitoring System ..........
188
Changing a Road Wheel ...........................
192
Technical Specifications ..........................
196
Capacities and Specifications
Engine Specifications - 6.2L ...................
198
Engine Specifications - 6.8L ...................
198
Motorcraft Parts - 6.2L ..............................
199
Motorcraft Parts - 6.8L ............................
200
3
E-Series (TE4) Canada/United States of America, enUSA, Edition date: 201804, Second-Printing Table of Contents
Page 9 of 329
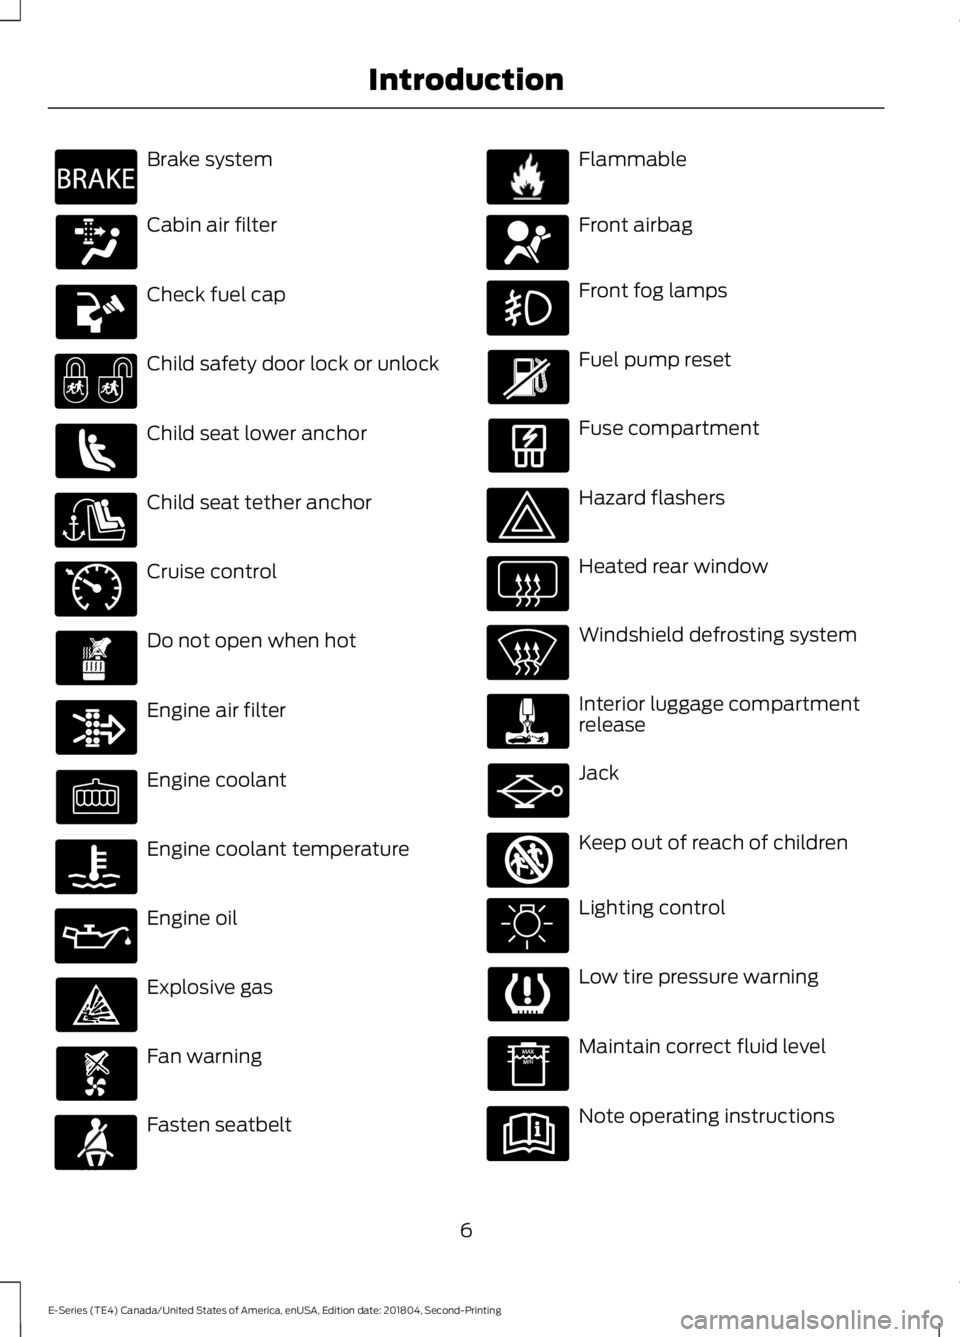
Brake system
Cabin air filter
Check fuel cap
Child safety door lock or unlock
Child seat lower anchor
Child seat tether anchor
Cruise control
Do not open when hot
Engine air filter
Engine coolant
Engine coolant temperature
Engine oil
Explosive gas
Fan warning
Fasten seatbelt Flammable
Front airbag
Front fog lamps
Fuel pump reset
Fuse compartment
Hazard flashers
Heated rear window
Windshield defrosting system
Interior luggage compartment
release
Jack
Keep out of reach of children
Lighting control
Low tire pressure warning
Maintain correct fluid level
Note operating instructions
6
E-Series (TE4) Canada/United States of America, enUSA, Edition date: 201804, Second-Printing IntroductionE270480 E71340 E71880 E231160 E67017 E161353
Page 10 of 329
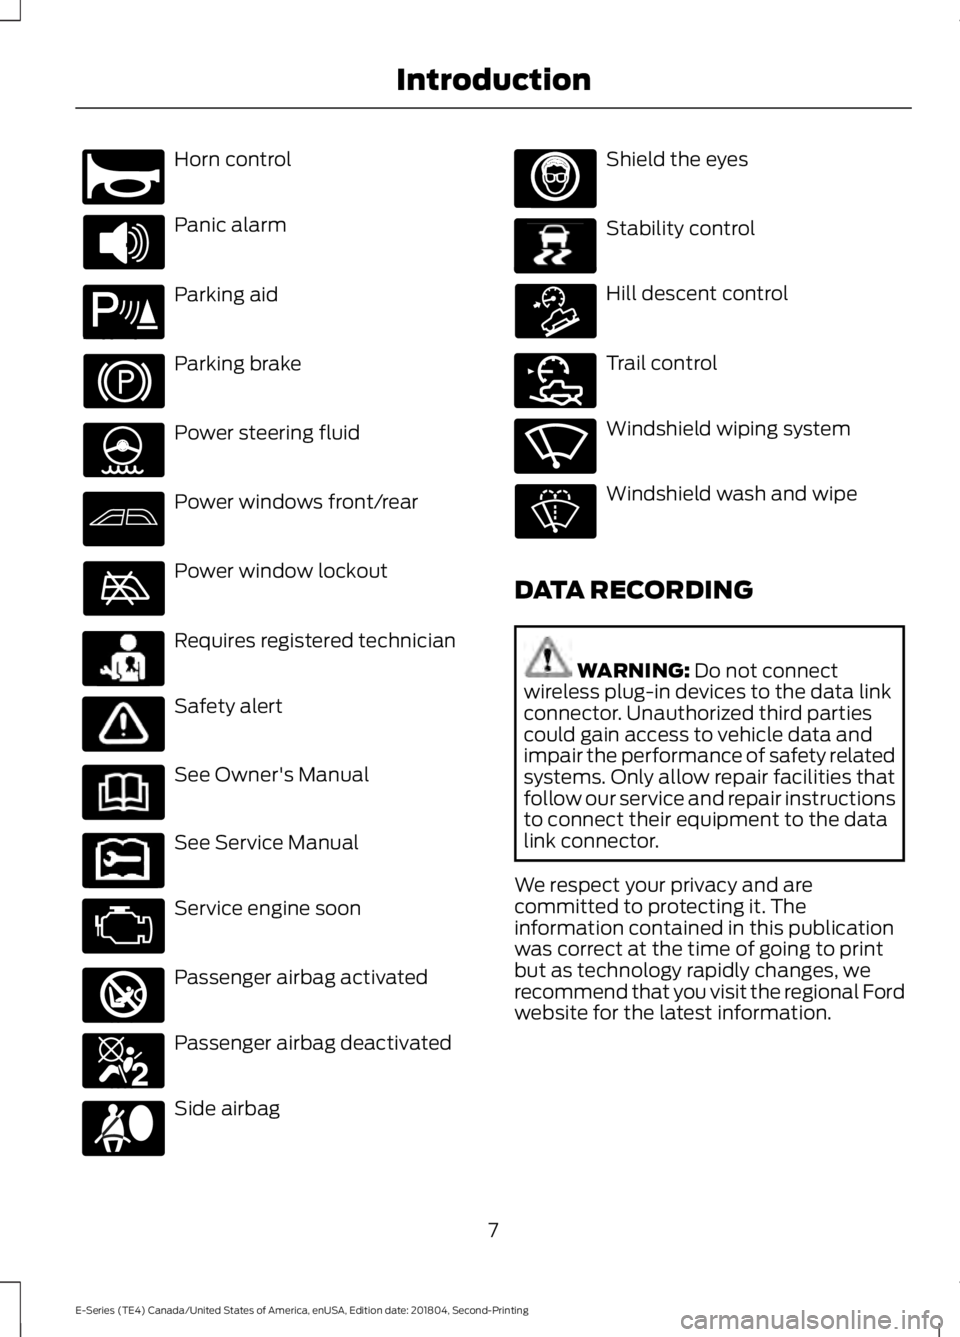
Horn control
Panic alarm
Parking aid
Parking brake
Power steering fluid
Power windows front/rear
Power window lockout
Requires registered technician
Safety alert
See Owner's Manual
See Service Manual
Service engine soon
Passenger airbag activated
Passenger airbag deactivated
Side airbag Shield the eyes
Stability control
Hill descent control
Trail control
Windshield wiping system
Windshield wash and wipe
DATA RECORDING WARNING: Do not connect
wireless plug-in devices to the data link
connector. Unauthorized third parties
could gain access to vehicle data and
impair the performance of safety related
systems. Only allow repair facilities that
follow our service and repair instructions
to connect their equipment to the data
link connector.
We respect your privacy and are
committed to protecting it. The
information contained in this publication
was correct at the time of going to print
but as technology rapidly changes, we
recommend that you visit the regional Ford
website for the latest information.
7
E-Series (TE4) Canada/United States of America, enUSA, Edition date: 201804, Second-Printing IntroductionE270945 E139213 E231159 E231158 E270849 E270850 E167012 E138639 E163957 E272858 E270969
Page 54 of 329
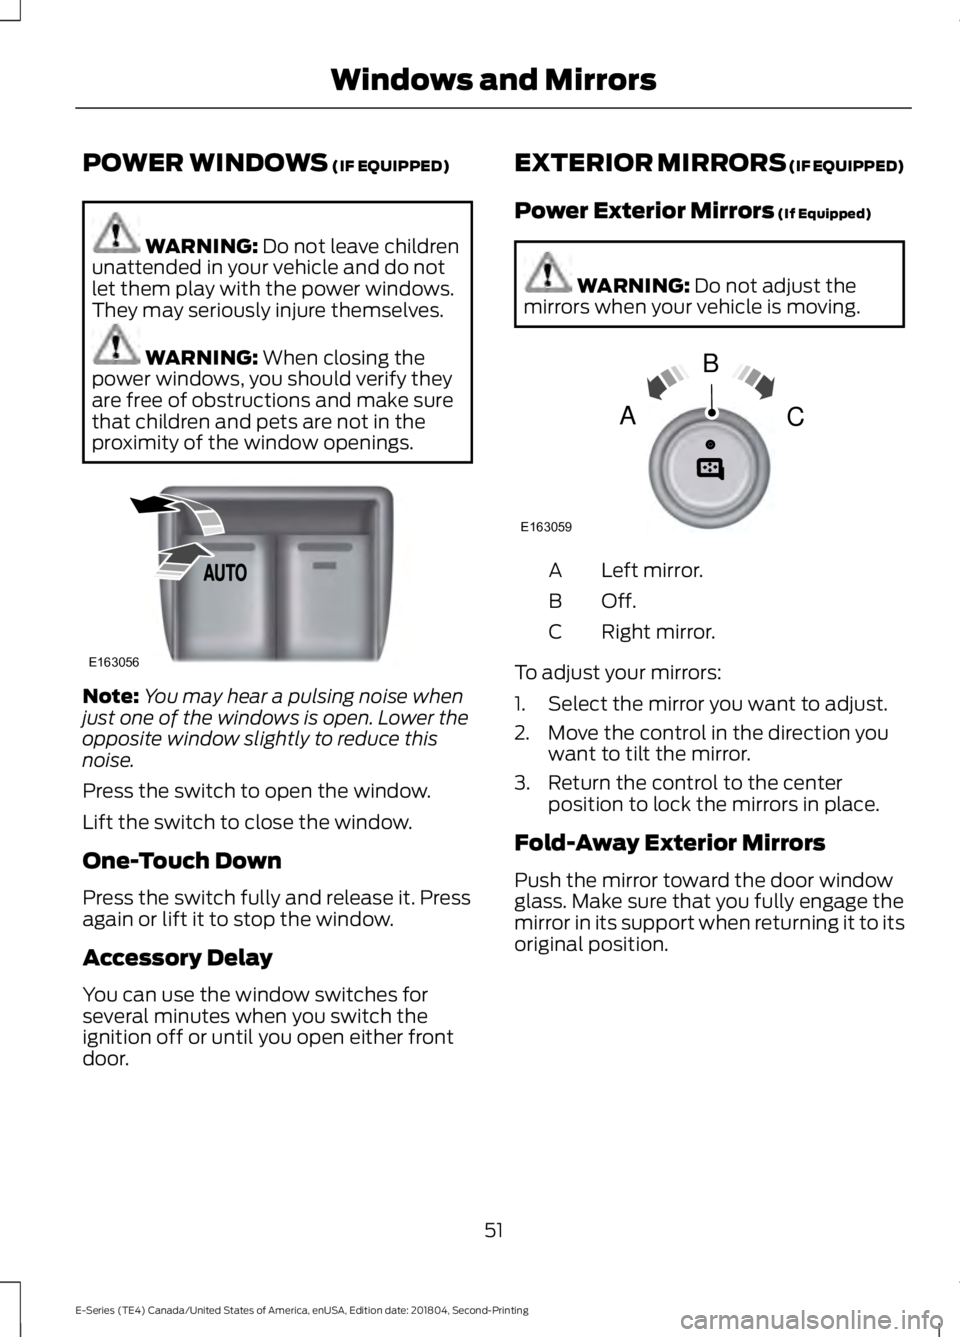
POWER WINDOWS (IF EQUIPPED)
WARNING:
Do not leave children
unattended in your vehicle and do not
let them play with the power windows.
They may seriously injure themselves. WARNING:
When closing the
power windows, you should verify they
are free of obstructions and make sure
that children and pets are not in the
proximity of the window openings. Note:
You may hear a pulsing noise when
just one of the windows is open. Lower the
opposite window slightly to reduce this
noise.
Press the switch to open the window.
Lift the switch to close the window.
One-Touch Down
Press the switch fully and release it. Press
again or lift it to stop the window.
Accessory Delay
You can use the window switches for
several minutes when you switch the
ignition off or until you open either front
door. EXTERIOR MIRRORS
(IF EQUIPPED)
Power Exterior Mirrors
(If Equipped) WARNING:
Do not adjust the
mirrors when your vehicle is moving. Left mirror.
A
Off.B
Right mirror.
C
To adjust your mirrors:
1. Select the mirror you want to adjust.
2. Move the control in the direction you want to tilt the mirror.
3. Return the control to the center position to lock the mirrors in place.
Fold-Away Exterior Mirrors
Push the mirror toward the door window
glass. Make sure that you fully engage the
mirror in its support when returning it to its
original position.
51
E-Series (TE4) Canada/United States of America, enUSA, Edition date: 201804, Second-Printing Windows and MirrorsE163056 E163059
B
AC
Page 55 of 329
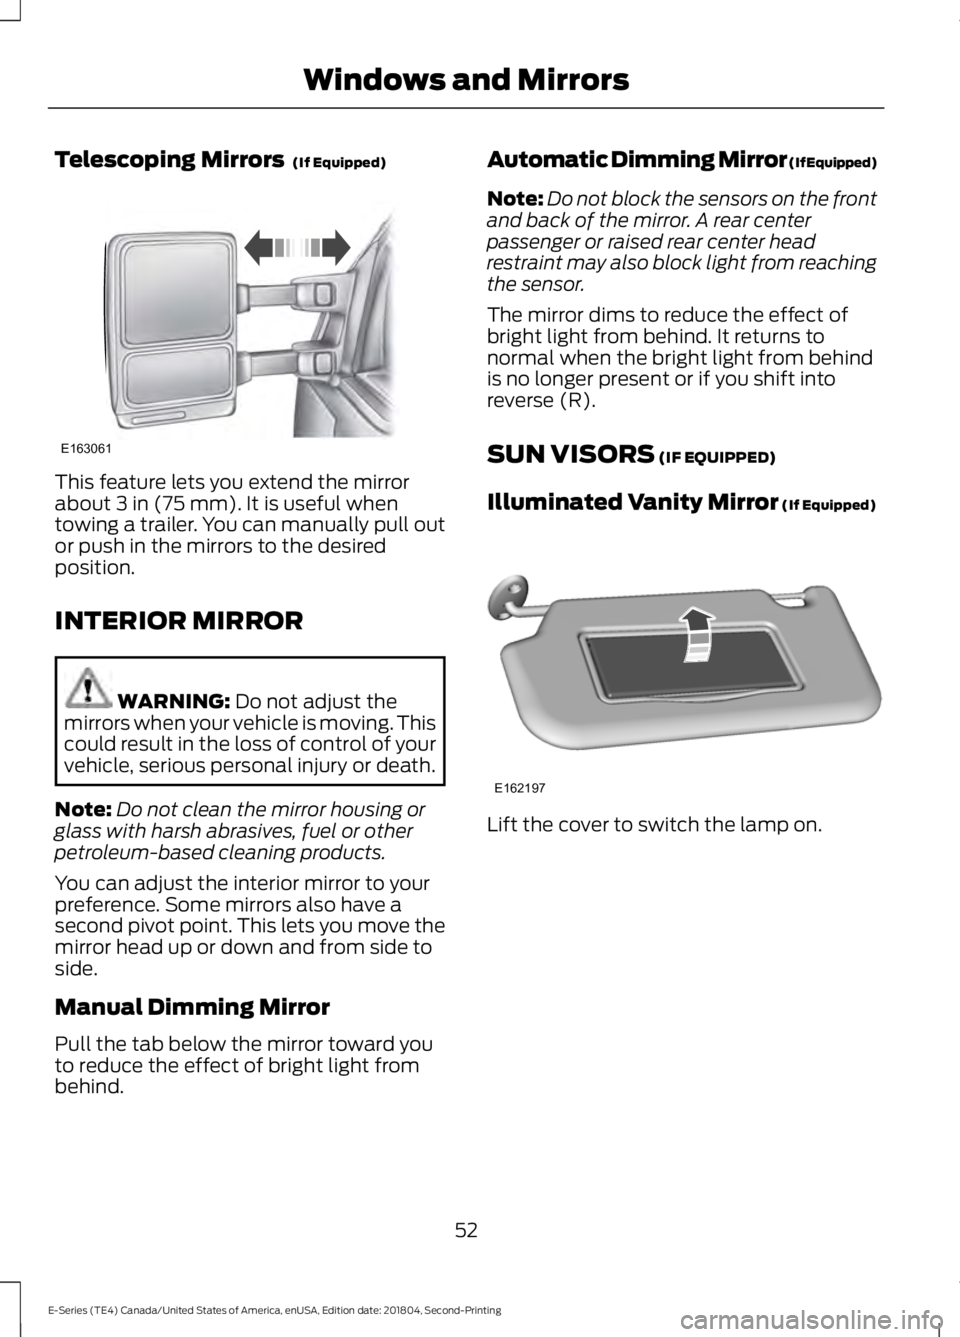
Telescoping Mirrors (If Equipped)
This feature lets you extend the mirror
about
3 in (75 mm). It is useful when
towing a trailer. You can manually pull out
or push in the mirrors to the desired
position.
INTERIOR MIRROR WARNING:
Do not adjust the
mirrors when your vehicle is moving. This
could result in the loss of control of your
vehicle, serious personal injury or death.
Note: Do not clean the mirror housing or
glass with harsh abrasives, fuel or other
petroleum-based cleaning products.
You can adjust the interior mirror to your
preference. Some mirrors also have a
second pivot point. This lets you move the
mirror head up or down and from side to
side.
Manual Dimming Mirror
Pull the tab below the mirror toward you
to reduce the effect of bright light from
behind. Automatic Dimming Mirror (If Equipped)
Note:
Do not block the sensors on the front
and back of the mirror. A rear center
passenger or raised rear center head
restraint may also block light from reaching
the sensor.
The mirror dims to reduce the effect of
bright light from behind. It returns to
normal when the bright light from behind
is no longer present or if you shift into
reverse (R).
SUN VISORS
(IF EQUIPPED)
Illuminated Vanity Mirror
(If Equipped) Lift the cover to switch the lamp on.
52
E-Series (TE4) Canada/United States of America, enUSA, Edition date: 201804, Second-Printing Windows and MirrorsE163061 E162197
Page 65 of 329
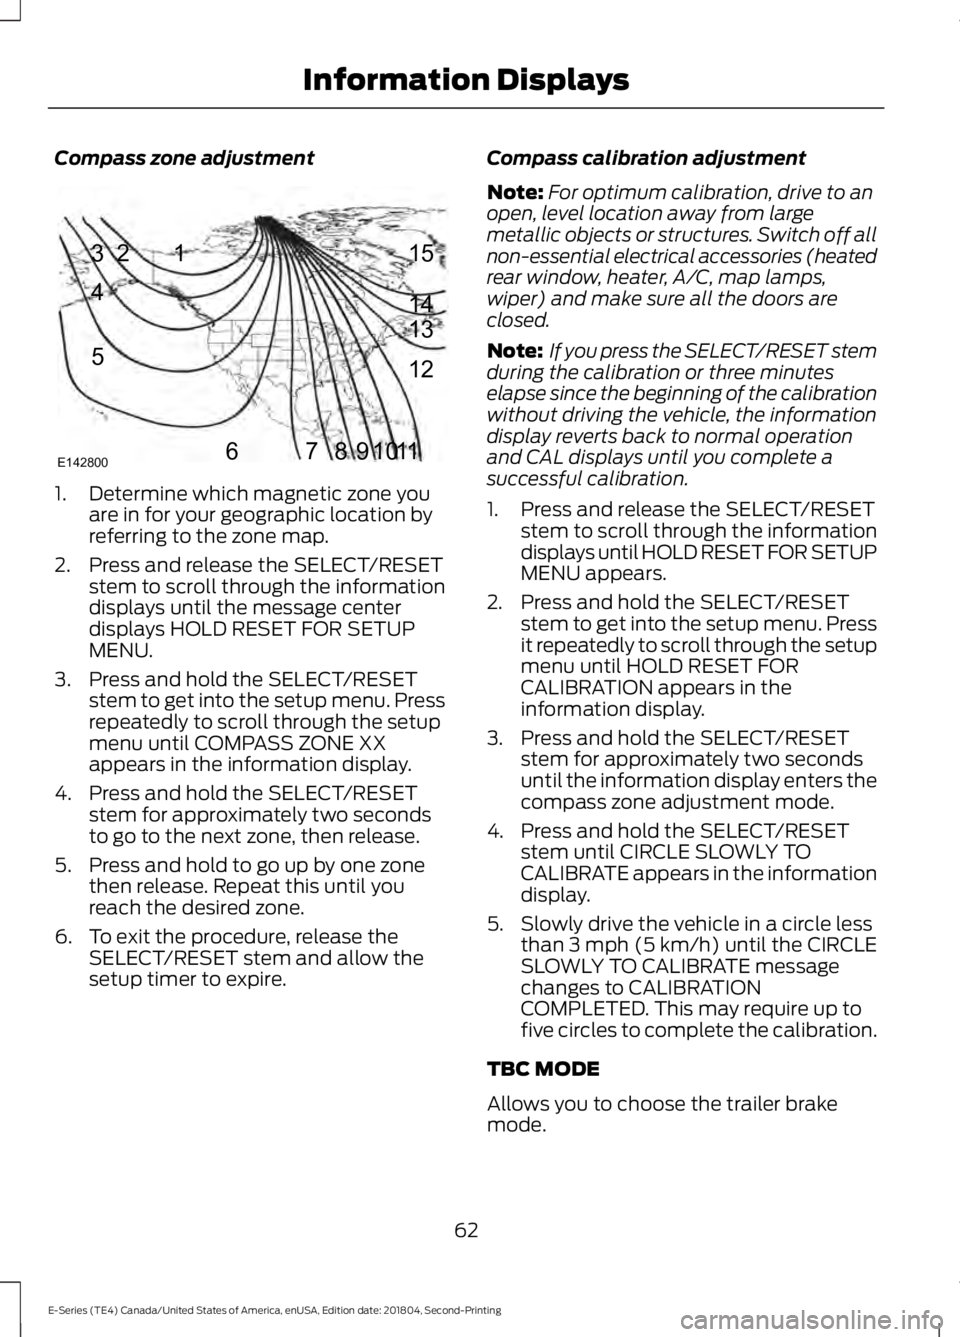
Compass zone adjustment
1. Determine which magnetic zone you
are in for your geographic location by
referring to the zone map.
2. Press and release the SELECT/RESET stem to scroll through the information
displays until the message center
displays HOLD RESET FOR SETUP
MENU.
3. Press and hold the SELECT/RESET stem to get into the setup menu. Press
repeatedly to scroll through the setup
menu until COMPASS ZONE XX
appears in the information display.
4. Press and hold the SELECT/RESET stem for approximately two seconds
to go to the next zone, then release.
5. Press and hold to go up by one zone then release. Repeat this until you
reach the desired zone.
6. To exit the procedure, release the SELECT/RESET stem and allow the
setup timer to expire. Compass calibration adjustment
Note:
For optimum calibration, drive to an
open, level location away from large
metallic objects or structures. Switch off all
non-essential electrical accessories (heated
rear window, heater, A/C, map lamps,
wiper) and make sure all the doors are
closed.
Note: If you press the SELECT/RESET stem
during the calibration or three minutes
elapse since the beginning of the calibration
without driving the vehicle, the information
display reverts back to normal operation
and CAL displays until you complete a
successful calibration.
1. Press and release the SELECT/RESET stem to scroll through the information
displays until HOLD RESET FOR SETUP
MENU appears.
2. Press and hold the SELECT/RESET stem to get into the setup menu. Press
it repeatedly to scroll through the setup
menu until HOLD RESET FOR
CALIBRATION appears in the
information display.
3. Press and hold the SELECT/RESET stem for approximately two seconds
until the information display enters the
compass zone adjustment mode.
4. Press and hold the SELECT/RESET stem until CIRCLE SLOWLY TO
CALIBRATE appears in the information
display.
5. Slowly drive the vehicle in a circle less than 3 mph (5 km/h) until the CIRCLE
SLOWLY TO CALIBRATE message
changes to CALIBRATION
COMPLETED. This may require up to
five circles to complete the calibration.
TBC MODE
Allows you to choose the trailer brake
mode.
62
E-Series (TE4) Canada/United States of America, enUSA, Edition date: 201804, Second-Printing Information Displays1
2
3
4
5
678910 1112 13 14 15
E142800
Page 70 of 329
Recirculated air flows through the
instrument panel vents and air conditioning
turns on.
HINTS ON CONTROLLING THE
INTERIOR CLIMATE
General Hints
Note:
Prolonged use of recirculated air may
cause the windows to fog up.
Note: You may feel a small amount of air
from the footwell air vents regardless of the
air distribution setting.
Note: To reduce humidity build-up inside
your vehicle, do not drive with the system
switched off or with recirculated air always
switched on.
Note: To reduce fogging of the windshield
during humid weather, adjust the air
distribution control to the windshield air
vents position.
Note: Do not place objects under the front
seats as this may interfere with the airflow
to the rear seats.
Note: Remove any snow, ice or leaves from
the air intake area at the base of the
windshield.
Note: To improve the time to reach a
comfortable temperature in hot weather,
drive with the windows open until you feel
cold air through the air vents.
Quickly Heating the Interior
1. Adjust the fan speed to the highest speed setting.
2. Adjust the temperature control to the full heat setting.
3. Direct air to the footwell air vents. Recommended Settings for
Heating
1. Adjust the fan speed to the center
setting.
2. Adjust the temperature control to the midway point of the hot settings.
3. Direct air to the footwell air vents.
Quickly Cooling the Interior
1. Turn to MAX A/C.
2. Drive with the windows open until you feel cold air through the air vents.
Recommended Settings for
Cooling
1. Adjust the fan speed to the center setting.
2. Adjust the temperature control to the midway point of the cold settings.
3. Direct air to the instrument panel air vents.
Vehicle Stationary for Extended
Periods During Extreme High
Ambient Temperatures
1. Apply the parking brake.
2. Place your vehicle in park (P) or neutral.
3. Turn to
MAX A/C.
4. Adjust the fan speed to the lowest speed setting.
Defogging the Side Windows in
Cold Weather
1. Direct air to the instrument panel and windshield vents.
2. Turn to
NORM A/C.
3. Adjust the temperature control to the desired setting.
4. Adjust the fan speed to the highest setting.
67
E-Series (TE4) Canada/United States of America, enUSA, Edition date: 201804, Second-Printing Climate Control
Page 71 of 329
5. Direct air toward the side windows.
6. Close the instrument panel vents.
REAR PASSENGER CLIMATE
CONTROLS (IF EQUIPPED)
Setting the Blower Motor Speed Turn the control to adjust the
volume of air circulated in the
vehicle.
Switching the Rear Climate
Control On and Off Turn the control.
68
E-Series (TE4) Canada/United States of America, enUSA, Edition date: 201804, Second-Printing Climate Control E265297
Page 78 of 329
Before starting the engine check the
following:
•
Make sure all occupants have fastened
their safety belts.
• Make sure the headlamps and
electrical accessories are off.
• Make sure the parking brake is on.
• Make sure the transmission is in park
(P) or neutral (N).
• Turn the ignition key to the on position.
Note: Do not touch the accelerator pedal.
1. Fully press the brake pedal.
2. Turn the key to the start position to start the engine. Release the key when
the engine starts.
Note: The engine may continue cranking
for up to 15 seconds or until it starts.
Note: If you cannot start the engine on the
first try, wait for a short period and try again.
Failure to Start
If you cannot start the engine after three
attempts, wait 10 seconds and follow this
procedure:
1. Fully press the brake pedal.
2. Fully press the accelerator pedal and hold it there.
3. Start the engine.
Stopping the Engine When Your
Vehicle is Stationary
1. Shift into park (P) or neutral (N).
2. Turn the key to the off position.
3. Apply the parking brake. Stopping the Engine When Your
Vehicle is Moving WARNING: Switching off the
engine when the vehicle is still moving
will result in a loss of brake and steering
assistance. The steering will not lock, but
higher effort will be required. When the
ignition is switched off, some electrical
circuits, including air bags, warning lamps
and indicators may also be off. If the
ignition was turned off accidentally, you
can shift into neutral (N) and re-start the
engine.
1. Put the transmission into neutral (N) and use the brakes to bring your vehicle
to a safe stop.
2. When your vehicle has stopped, shift into park (P) or neutral (N) and switch
the ignition off.
3. Apply the parking brake.
Guarding Against Exhaust Fumes WARNING:
If you smell exhaust
fumes inside your vehicle, have your
vehicle checked by your authorized
dealer immediately. Do not drive your
vehicle if you smell exhaust fumes.
Carbon monoxide is present in exhaust
fumes. Take precautions to avoid its
dangerous effects.
Important Ventilating Information
If you stop your vehicle and then leave the
engine idling for long periods of time, we
recommend that you do one of the
following:
• Open the windows at least 1 in (3 cm).
• Set your climate control to outside air.
75
E-Series (TE4) Canada/United States of America, enUSA, Edition date: 201804, Second-Printing Starting and Stopping the Engine