set clock FORD E SERIES 1999 4.G Owners Manual
[x] Cancel search | Manufacturer: FORD, Model Year: 1999, Model line: E SERIES, Model: FORD E SERIES 1999 4.GPages: 208, PDF Size: 1.93 MB
Page 27 of 208
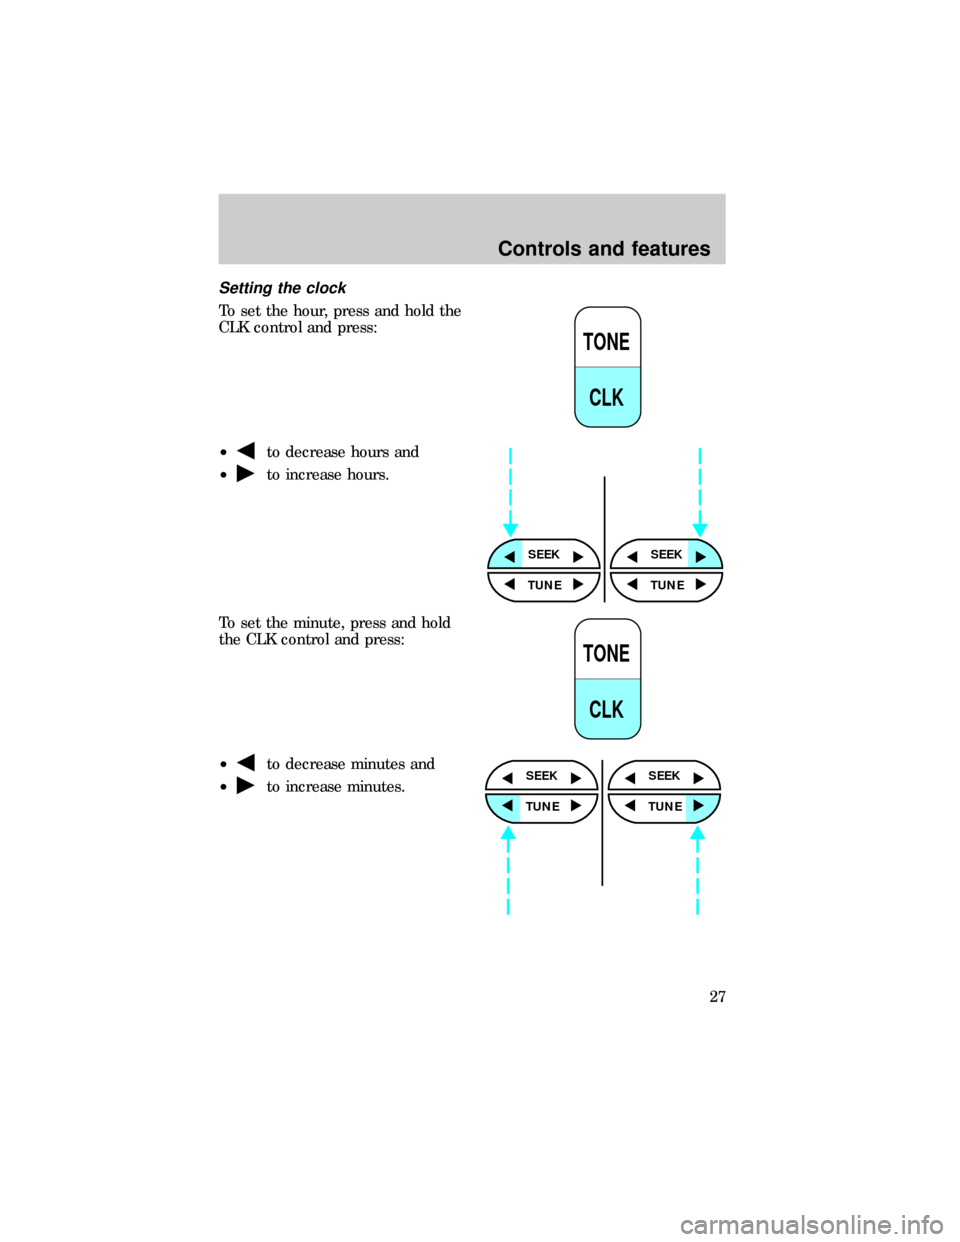
Setting the clock
To set the hour, press and hold the
CLK control and press:
²
to decrease hours and
²
to increase hours.
To set the minute, press and hold
the CLK control and press:
²
to decrease minutes and
²
to increase minutes.
TONE
CLK
SEEKSEEK
TUNE TUNE
TONE
CLK
SEEK
TUNE
SEEK
TUNE
Controls and features
27
Page 33 of 208
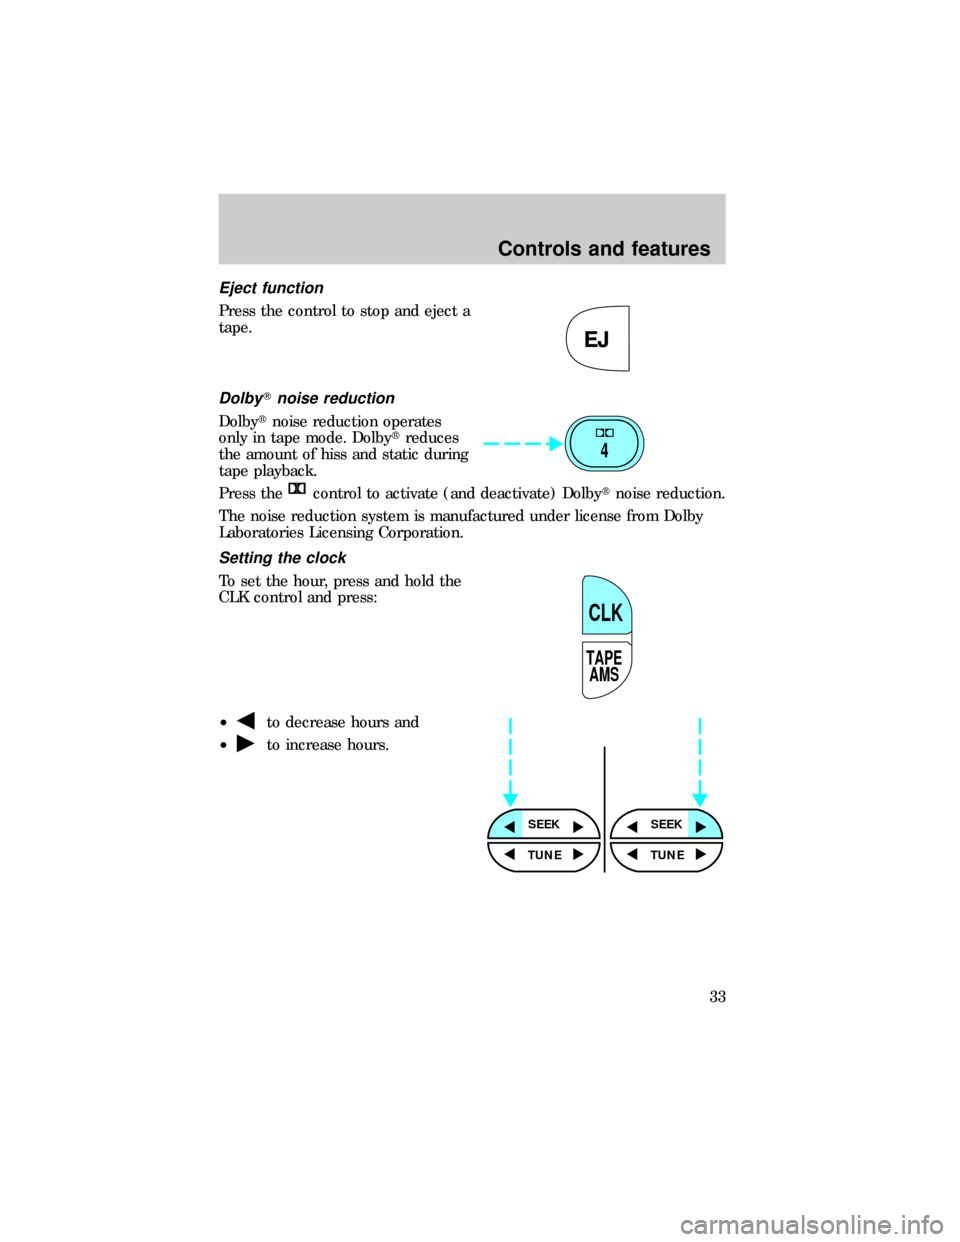
Eject function
Press the control to stop and eject a
tape.
DolbyTnoise reduction
Dolbytnoise reduction operates
only in tape mode. Dolbytreduces
the amount of hiss and static during
tape playback.
Press the
control to activate (and deactivate) Dolbytnoise reduction.
The noise reduction system is manufactured under license from Dolby
Laboratories Licensing Corporation.
Setting the clock
To set the hour, press and hold the
CLK control and press:
²
to decrease hours and
²
to increase hours.
EJ
4
TAPE
AMS
CLK
SEEKSEEK
TUNE TUNE
Controls and features
33
Page 42 of 208
Compression feature
Compression adjust brings soft and
loud CD passages together for a
more consistent listening level.
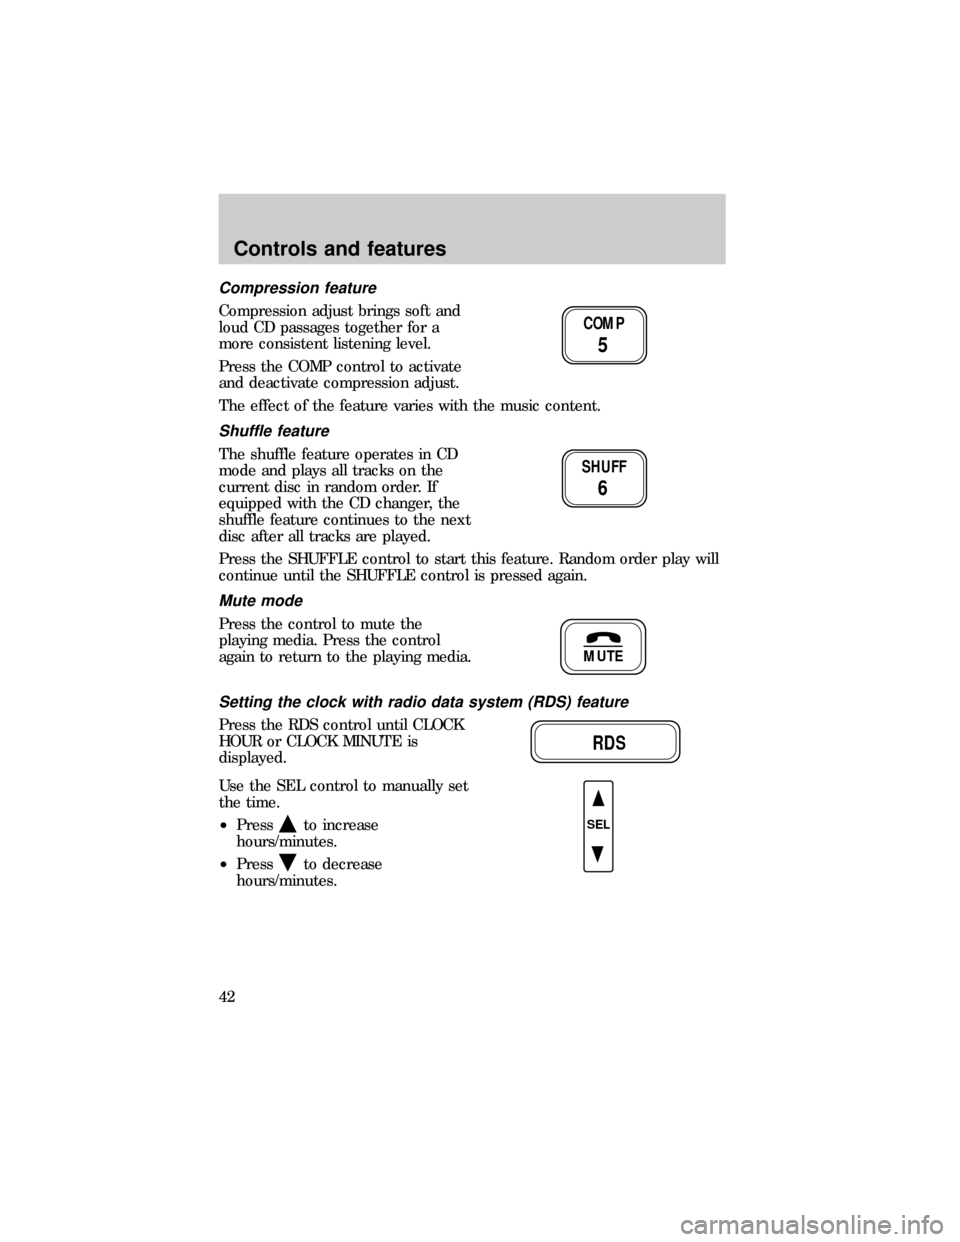
Press the COMP control to activate
and deactivate compression adjust.
The effect of the feature varies with the music content.
Shuffle feature
The shuffle feature operates in CD
mode and plays all tracks on the
current disc in random order. If
equipped with the CD changer, the
shuffle feature continues to the next
disc after all tracks are played.
Press the SHUFFLE control to start this feature. Random order play will
continue until the SHUFFLE control is pressed again.
Mute mode
Press the control to mute the
playing media. Press the control
again to return to the playing media.
Setting the clock with radio data system (RDS) feature
Press the RDS control until CLOCK
HOUR or CLOCK MINUTE is
displayed.
Use the SEL control to manually set
the time.
²Press
to increase
hours/minutes.
²Press
to decrease
hours/minutes.
COMP
5
SHUFF
6
MUTE
RDS
SEL
Controls and features
42
Page 51 of 208
Dolby noise reduction manufactured under license from Dolby
Laboratories Licensing Corporation. ªDolbyº and the double-D symbol
are trademarks of Dolby Laboratories Licensing Corporation.
Compression adjust
Compression adjust brings soft and
loud CD passages together for a
more consistent listening level.
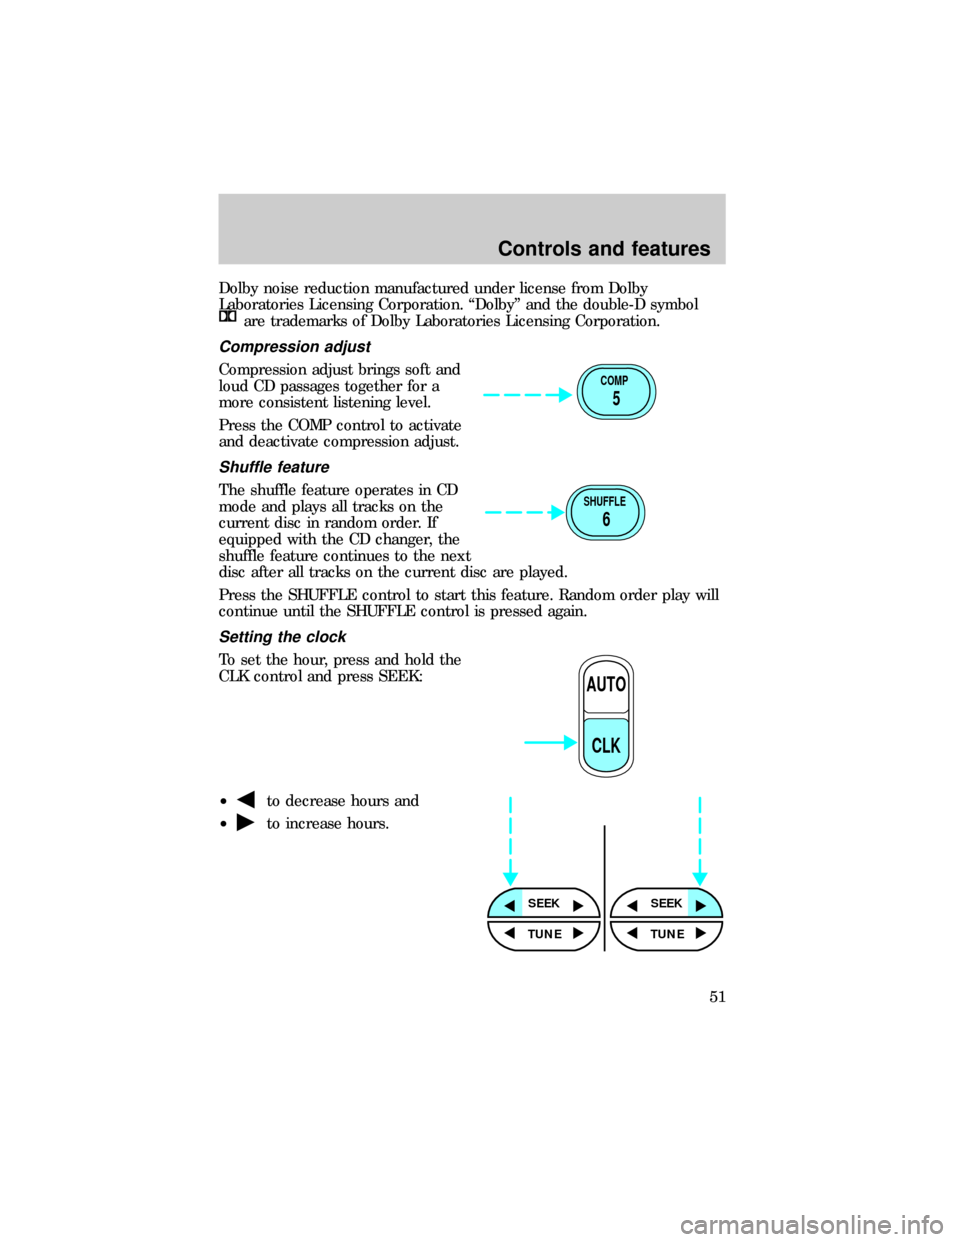
Press the COMP control to activate
and deactivate compression adjust.
Shuffle feature
The shuffle feature operates in CD
mode and plays all tracks on the
current disc in random order. If
equipped with the CD changer, the
shuffle feature continues to the next
disc after all tracks on the current disc are played.
Press the SHUFFLE control to start this feature. Random order play will
continue until the SHUFFLE control is pressed again.
Setting the clock
To set the hour, press and hold the
CLK control and press SEEK:
²
to decrease hours and
²
to increase hours.
COMP
5
SHUFFLE
6
AUTO
CLK
SEEKSEEK
TUNE TUNE
Controls and features
51
Page 52 of 208
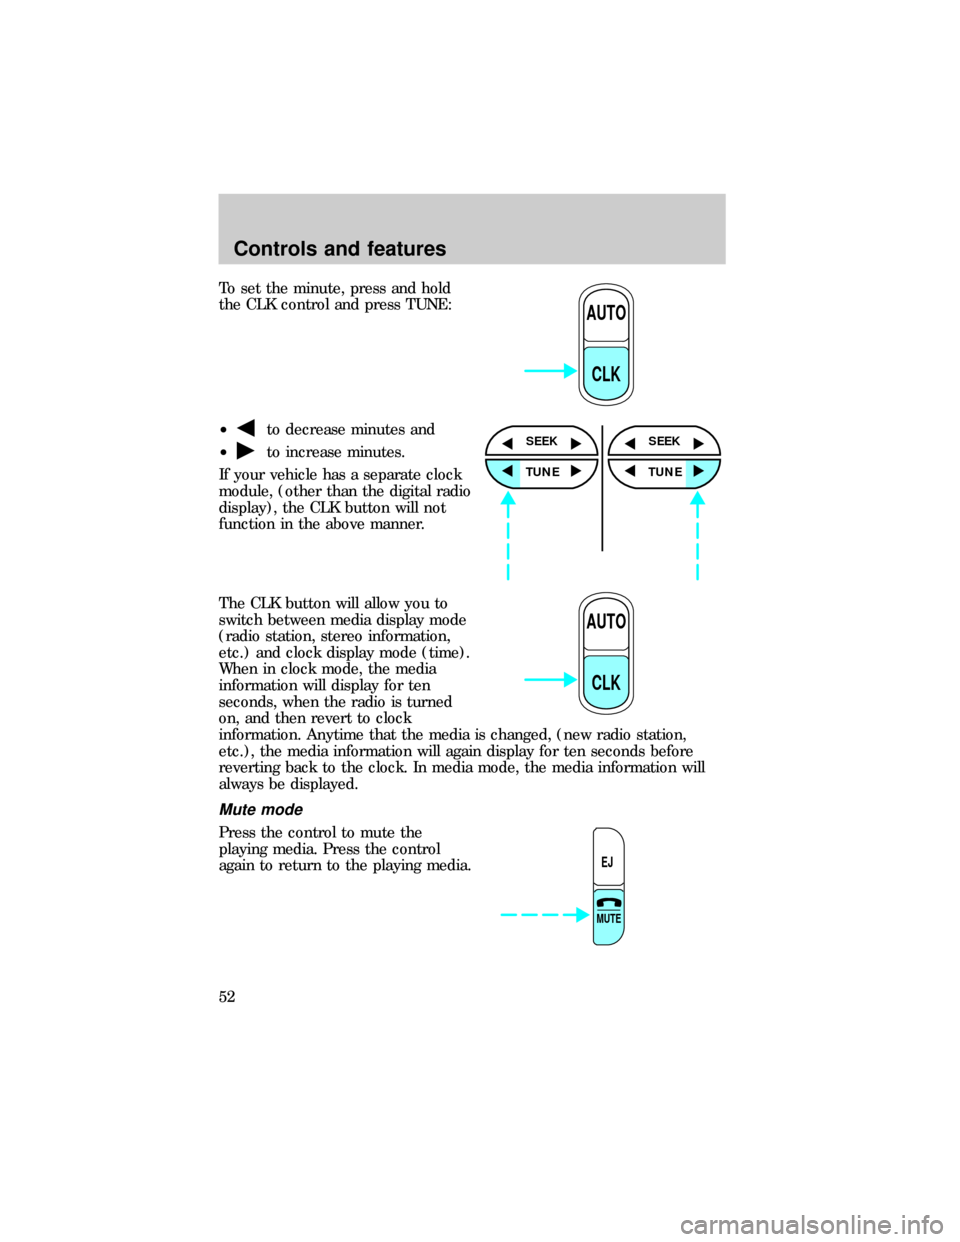
To set the minute, press and hold
the CLK control and press TUNE:
²
to decrease minutes and
²
to increase minutes.
If your vehicle has a separate clock
module, (other than the digital radio
display), the CLK button will not
function in the above manner.
The CLK button will allow you to
switch between media display mode
(radio station, stereo information,
etc.) and clock display mode (time).
When in clock mode, the media
information will display for ten
seconds, when the radio is turned
on, and then revert to clock
information. Anytime that the media is changed, (new radio station,
etc.), the media information will again display for ten seconds before
reverting back to the clock. In media mode, the media information will
always be displayed.
Mute mode
Press the control to mute the
playing media. Press the control
again to return to the playing media.
AUTO
CLK
SEEK
TUNE
SEEK
TUNE
AUTO
CLK
EJ
MUTE
Controls and features
52
Page 133 of 208
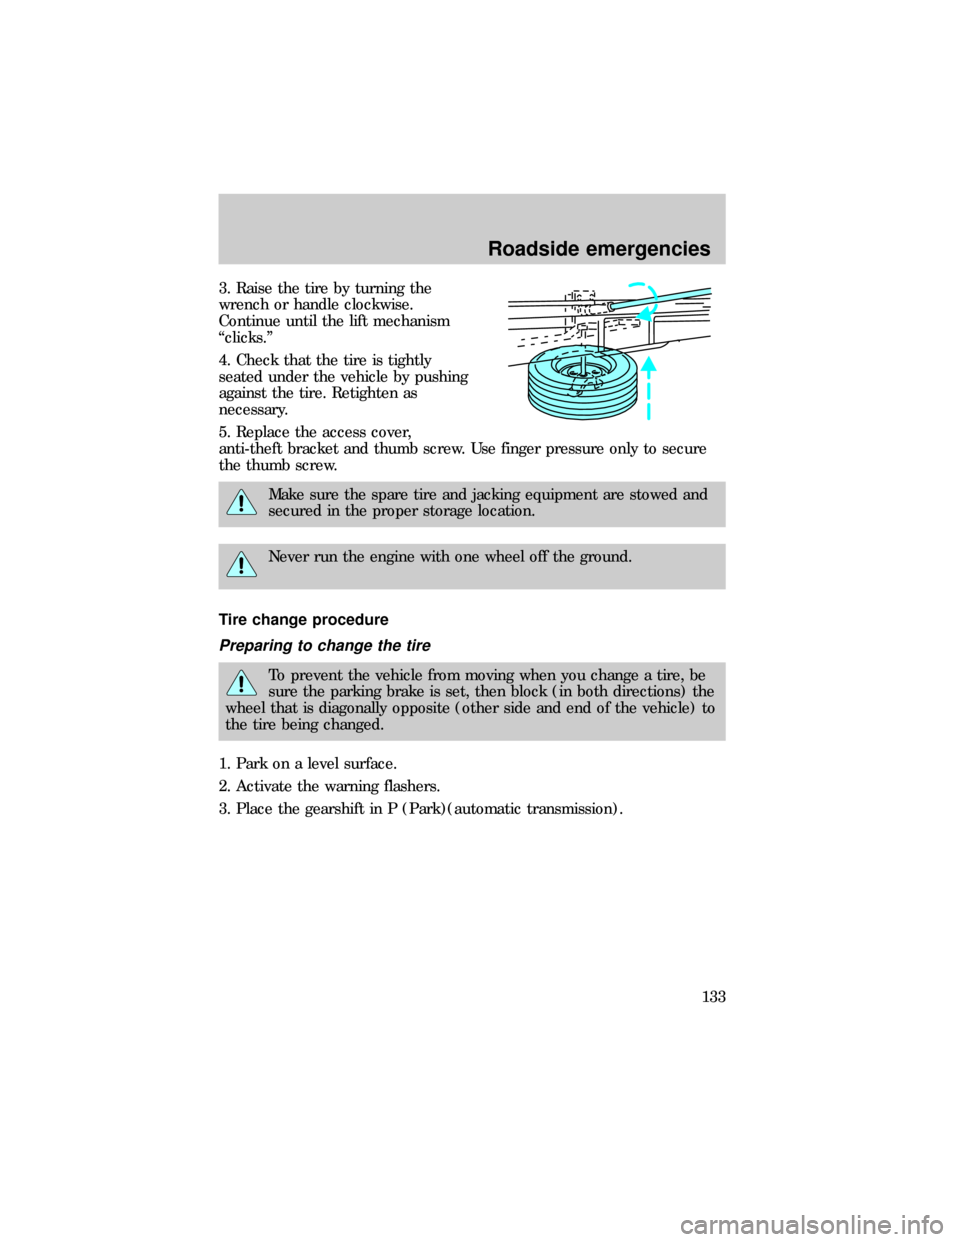
3. Raise the tire by turning the
wrench or handle clockwise.
Continue until the lift mechanism
ªclicks.º
4. Check that the tire is tightly
seated under the vehicle by pushing
against the tire. Retighten as
necessary.
5. Replace the access cover,
anti-theft bracket and thumb screw. Use finger pressure only to secure
the thumb screw.
Make sure the spare tire and jacking equipment are stowed and
secured in the proper storage location.
Never run the engine with one wheel off the ground.
Tire change procedure
Preparing to change the tire
To prevent the vehicle from moving when you change a tire, be
sure the parking brake is set, then block (in both directions) the
wheel that is diagonally opposite (other side and end of the vehicle) to
the tire being changed.
1. Park on a level surface.
2. Activate the warning flashers.
3. Place the gearshift in P (Park)(automatic transmission).
Roadside emergencies
133
Page 161 of 208
If the battery has been disconnected or a new battery has been installed,
the clock and the preset radio stations must be reset once the battery is
reconnected.
²Always dispose of automotive
batteries in a responsible manner.
Follow your local authorized
standards for disposal. Call your
local authorized recycling center
to find out more about recycling
automotive batteries.
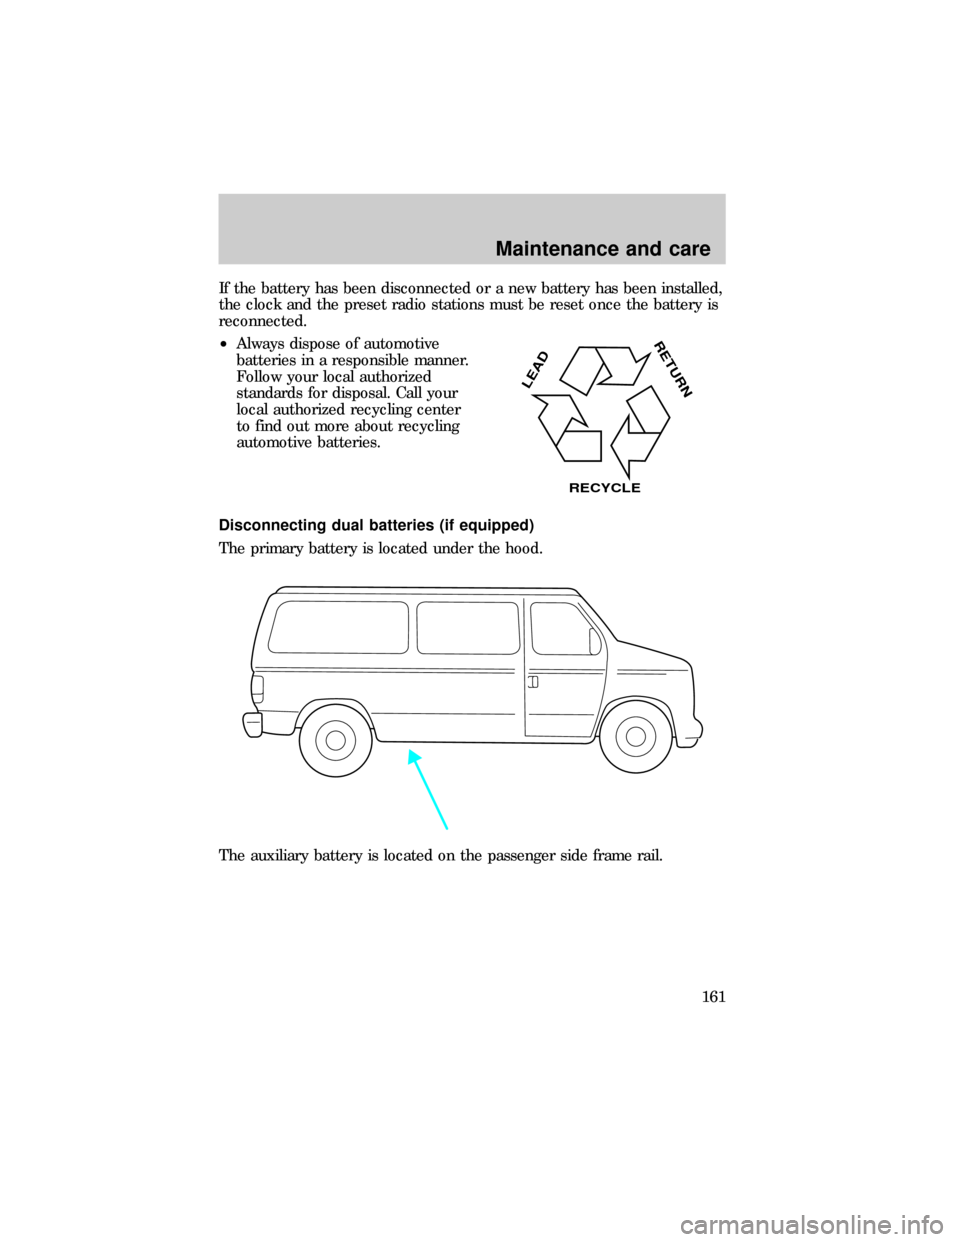
Disconnecting dual batteries (if equipped)
The primary battery is located under the hood.
The auxiliary battery is located on the passenger side frame rail.
LEAD
RETURN
RECYCLE
Maintenance and care
161