ECU FORD E SERIES 2002 4.G User Guide
[x] Cancel search | Manufacturer: FORD, Model Year: 2002, Model line: E SERIES, Model: FORD E SERIES 2002 4.GPages: 272, PDF Size: 2.6 MB
Page 112 of 272
Illuminated entry
The interior lamps illuminate when the remote entry system is used to
unlock the door(s) or sound the personal alarm.
The system automatically turns off after 25 seconds or when the ignition
is turned to the RUN or ACC position. The dome lamp control (if
equipped) mustnotbe set to the OFF position for the illuminated entry
system to operate.
The inside lights will not turn off if:
²they have been turned on with the dimmer control or
²any door is open
Locks and security
112
Page 117 of 272
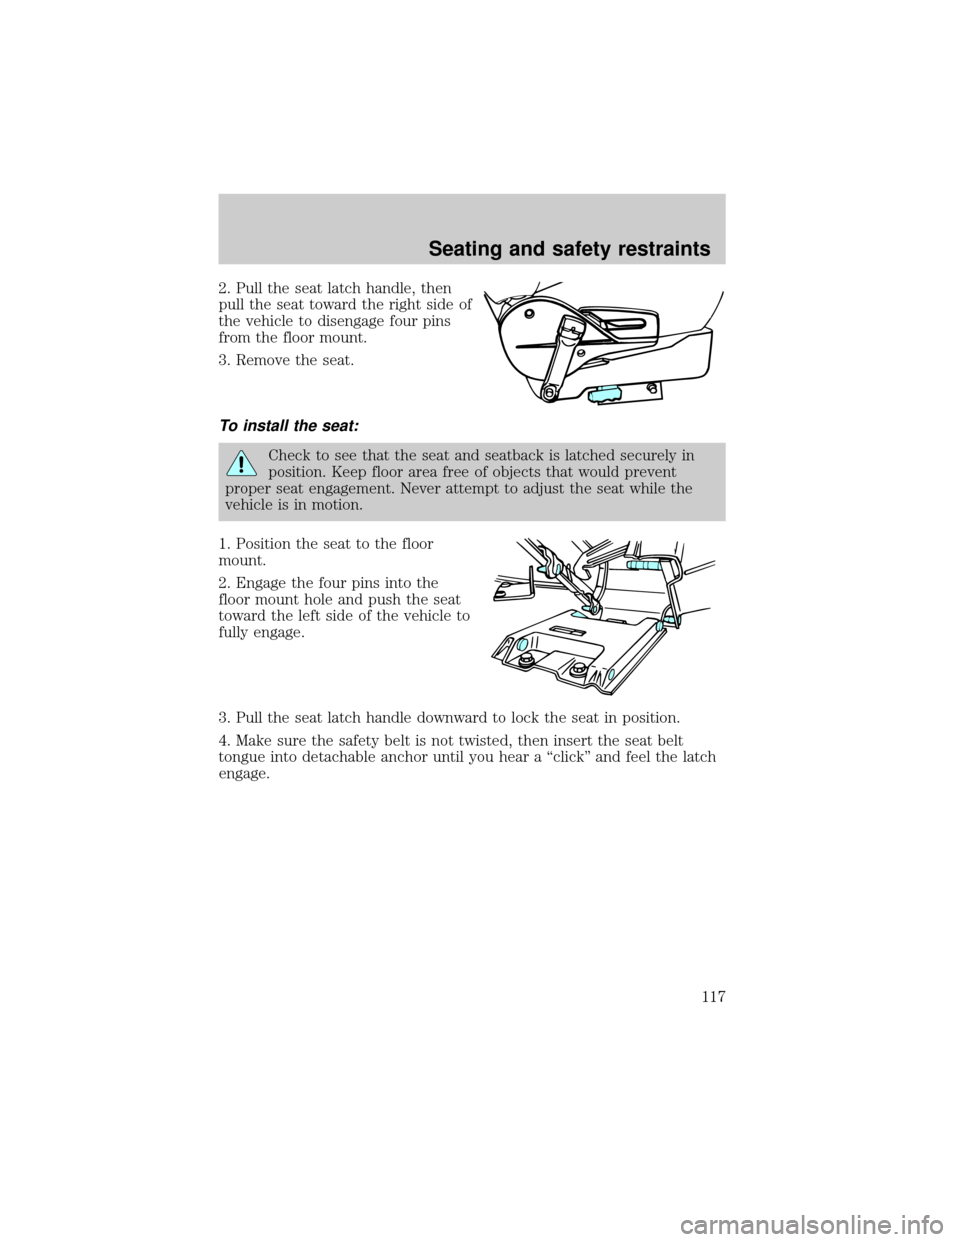
2. Pull the seat latch handle, then
pull the seat toward the right side of
the vehicle to disengage four pins
from the floor mount.
3. Remove the seat.
To install the seat:
Check to see that the seat and seatback is latched securely in
position. Keep floor area free of objects that would prevent
proper seat engagement. Never attempt to adjust the seat while the
vehicle is in motion.
1. Position the seat to the floor
mount.
2. Engage the four pins into the
floor mount hole and push the seat
toward the left side of the vehicle to
fully engage.
3. Pull the seat latch handle downward to lock the seat in position.
4. Make sure the safety belt is not twisted, then insert the seat belt
tongue into detachable anchor until you hear a ªclickº and feel the latch
engage.
Seating and safety restraints
117
Page 122 of 272
Always transport children 12 years old and under in the back
seat and always properly use appropriate child restraints.
Combination lap and shoulder belts
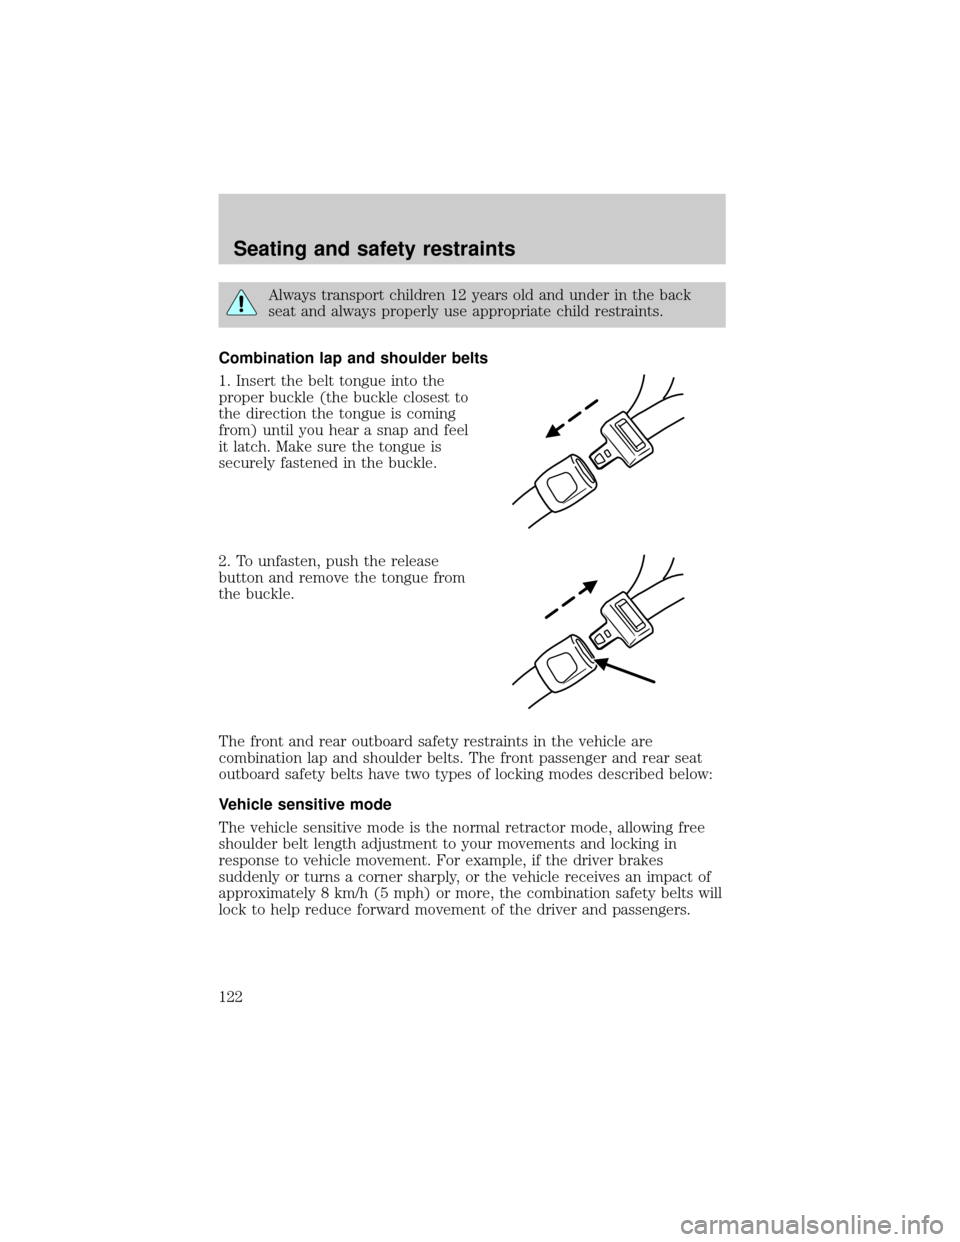
1. Insert the belt tongue into the
proper buckle (the buckle closest to
the direction the tongue is coming
from) until you hear a snap and feel
it latch. Make sure the tongue is
securely fastened in the buckle.
2. To unfasten, push the release
button and remove the tongue from
the buckle.
The front and rear outboard safety restraints in the vehicle are
combination lap and shoulder belts. The front passenger and rear seat
outboard safety belts have two types of locking modes described below:
Vehicle sensitive mode
The vehicle sensitive mode is the normal retractor mode, allowing free
shoulder belt length adjustment to your movements and locking in
response to vehicle movement. For example, if the driver brakes
suddenly or turns a corner sharply, or the vehicle receives an impact of
approximately 8 km/h (5 mph) or more, the combination safety belts will
lock to help reduce forward movement of the driver and passengers.
Seating and safety restraints
122
Page 139 of 272
SAFETY SEATS FOR CHILDREN
Child and infant or child safety seats
Use a safety seat that is recommended for the size and weight of the
child. Carefully follow all of the manufacturer's instructions with the
safety seat you put in your vehicle. If you do not install and use the
safety seat properly, the child may be injured in a sudden stop or
collision.
When installing a child safety seat:
²Review and follow the information
presented in theAir Bag
Supplemental Restraint System
section in this chapter.
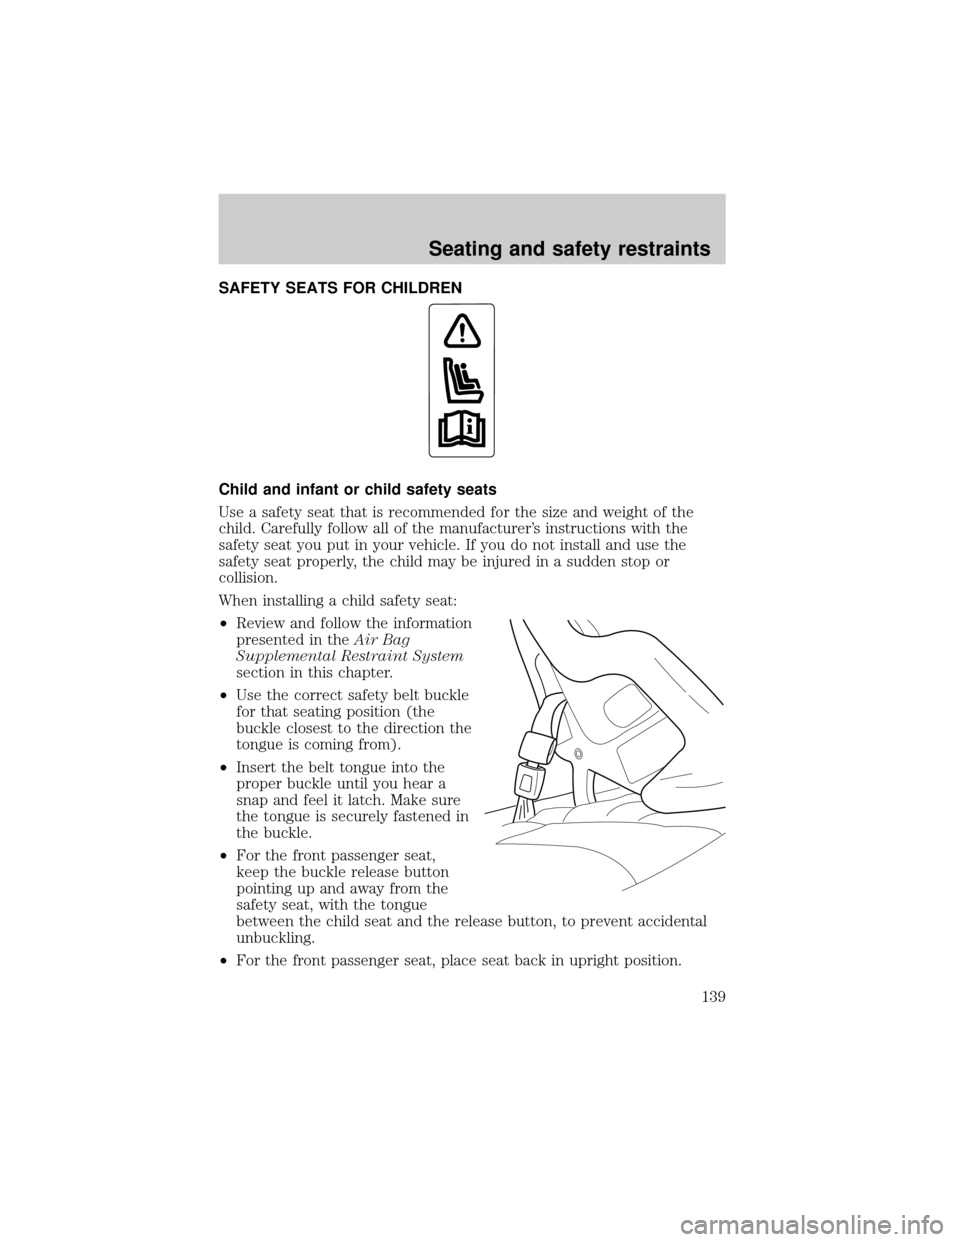
²Use the correct safety belt buckle
for that seating position (the
buckle closest to the direction the
tongue is coming from).
²Insert the belt tongue into the
proper buckle until you hear a
snap and feel it latch. Make sure
the tongue is securely fastened in
the buckle.
²For the front passenger seat,
keep the buckle release button
pointing up and away from the
safety seat, with the tongue
between the child seat and the release button, to prevent accidental
unbuckling.
²For the front passenger seat, place seat back in upright position.
Seating and safety restraints
139
Page 141 of 272
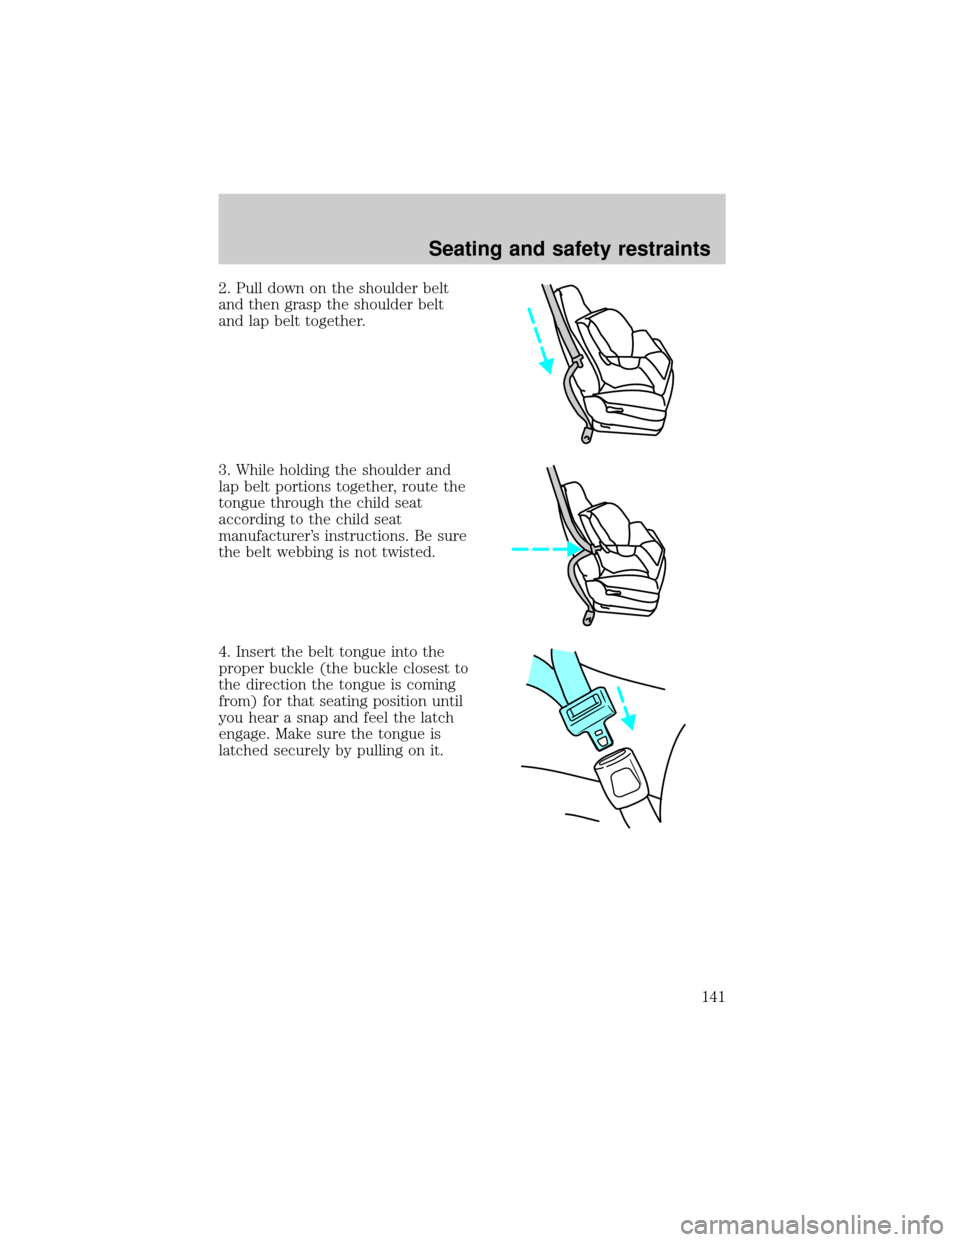
2. Pull down on the shoulder belt
and then grasp the shoulder belt
and lap belt together.
3. While holding the shoulder and
lap belt portions together, route the
tongue through the child seat
according to the child seat
manufacturer's instructions. Be sure
the belt webbing is not twisted.
4. Insert the belt tongue into the
proper buckle (the buckle closest to
the direction the tongue is coming
from) for that seating position until
you hear a snap and feel the latch
engage. Make sure the tongue is
latched securely by pulling on it.
Seating and safety restraints
141
Page 142 of 272
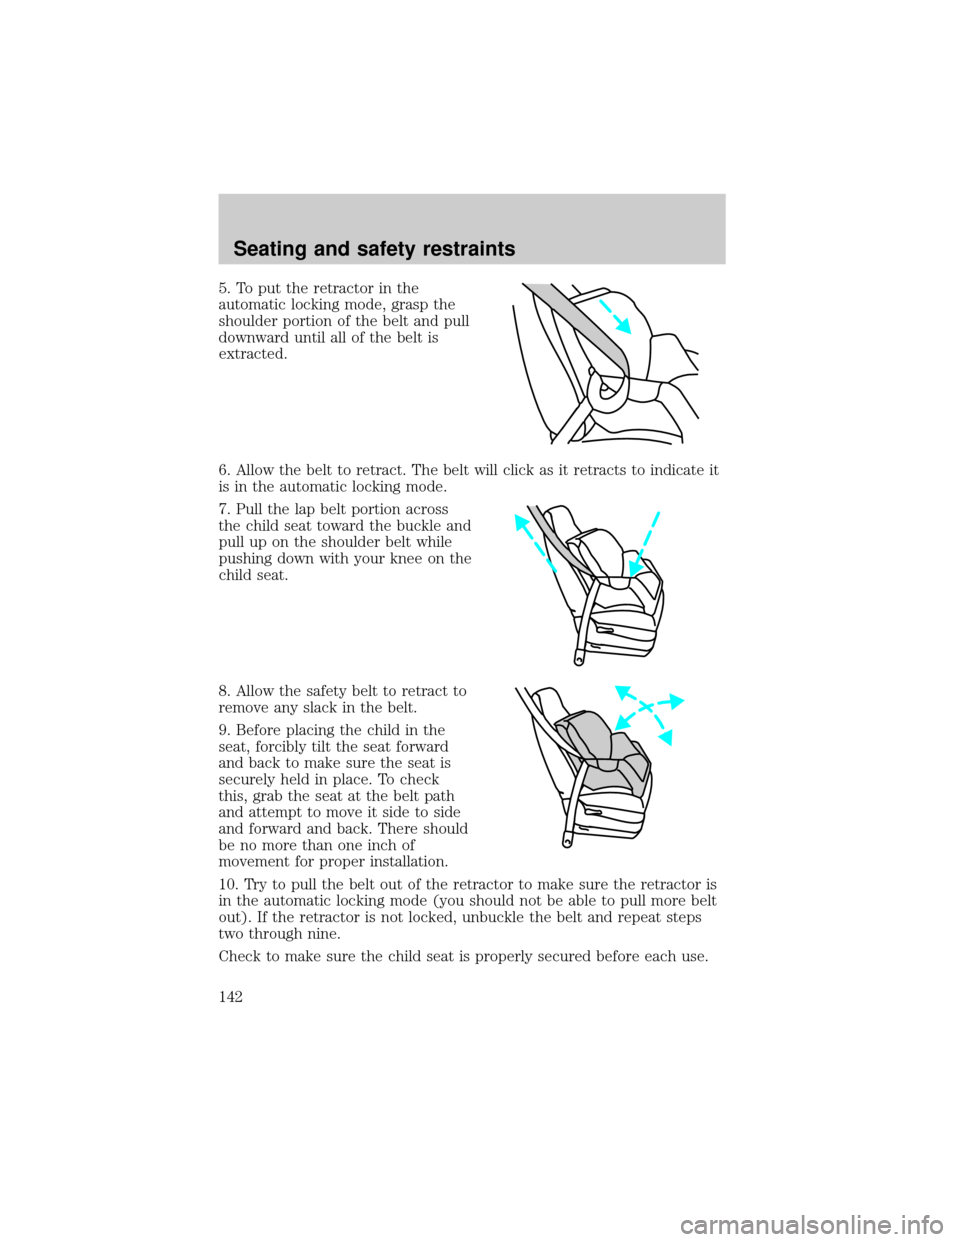
5. To put the retractor in the
automatic locking mode, grasp the
shoulder portion of the belt and pull
downward until all of the belt is
extracted.
6. Allow the belt to retract. The belt will click as it retracts to indicate it
is in the automatic locking mode.
7. Pull the lap belt portion across
the child seat toward the buckle and
pull up on the shoulder belt while
pushing down with your knee on the
child seat.
8. Allow the safety belt to retract to
remove any slack in the belt.
9. Before placing the child in the
seat, forcibly tilt the seat forward
and back to make sure the seat is
securely held in place. To check
this, grab the seat at the belt path
and attempt to move it side to side
and forward and back. There should
be no more than one inch of
movement for proper installation.
10. Try to pull the belt out of the retractor to make sure the retractor is
in the automatic locking mode (you should not be able to pull more belt
out). If the retractor is not locked, unbuckle the belt and repeat steps
two through nine.
Check to make sure the child seat is properly secured before each use.
Seating and safety restraints
142
Page 143 of 272
Attaching safety seats with tether straps
Children should be placed in the rear in an appropriate child
safety seat that is properly secured to the vehicle.
When using forward-facing child safety seats in vehicles with
only two seating positions so the forward-facing child safety seat
cannot be placed in the rear of the vehicle, move the passenger seat as
far back from the instrument panel as possible.
Rear-facing child seats or infant carriers should never be placed
in the front seats.
Front passenger seating position
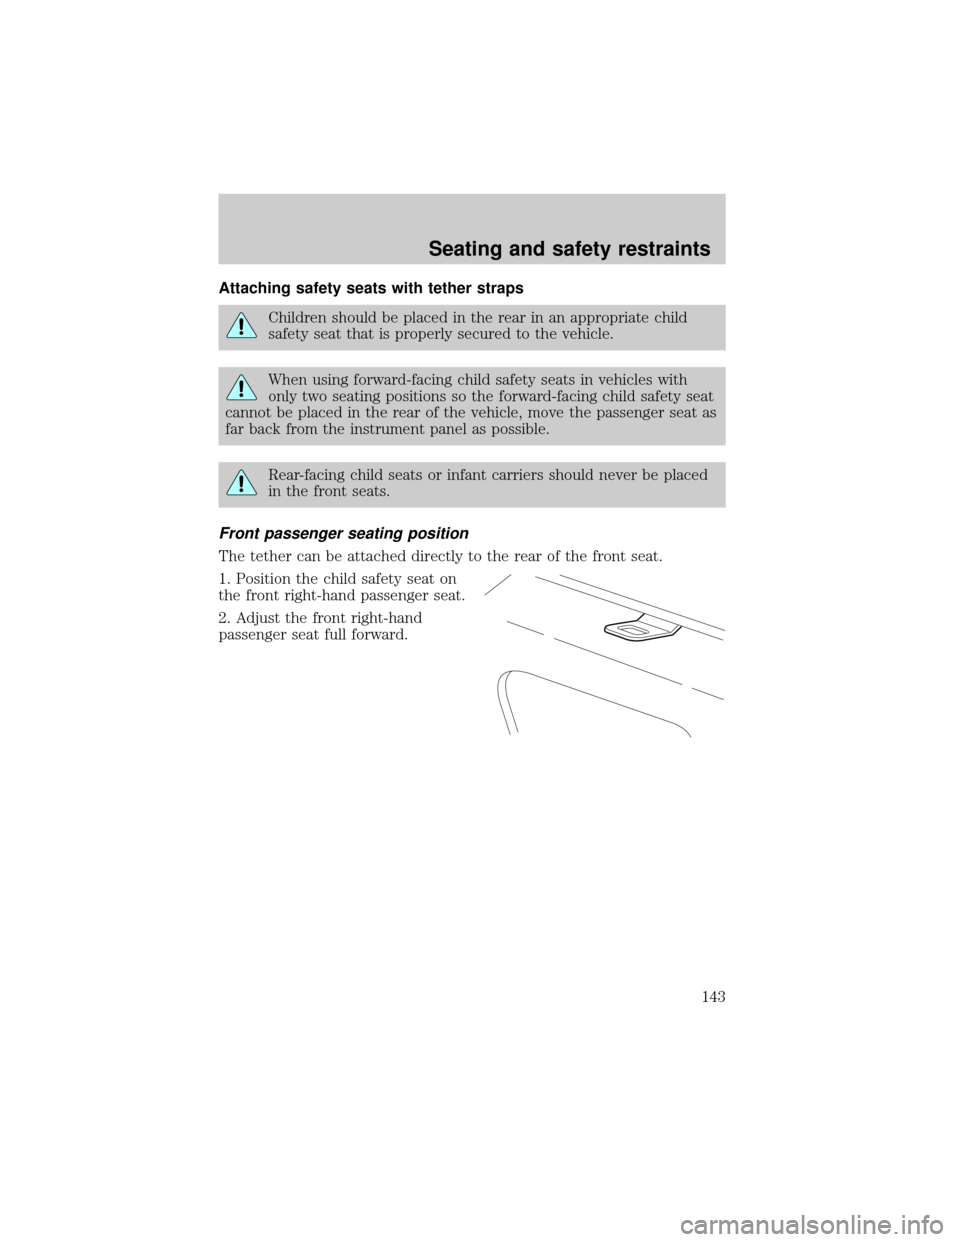
The tether can be attached directly to the rear of the front seat.
1. Position the child safety seat on
the front right-hand passenger seat.
2. Adjust the front right-hand
passenger seat full forward.
Seating and safety restraints
143
Page 145 of 272
6. Refer to the instructions in this section underInstalling child safety
seats in combination lap and shoulder belt seating positionsto
secure the child safety seat.
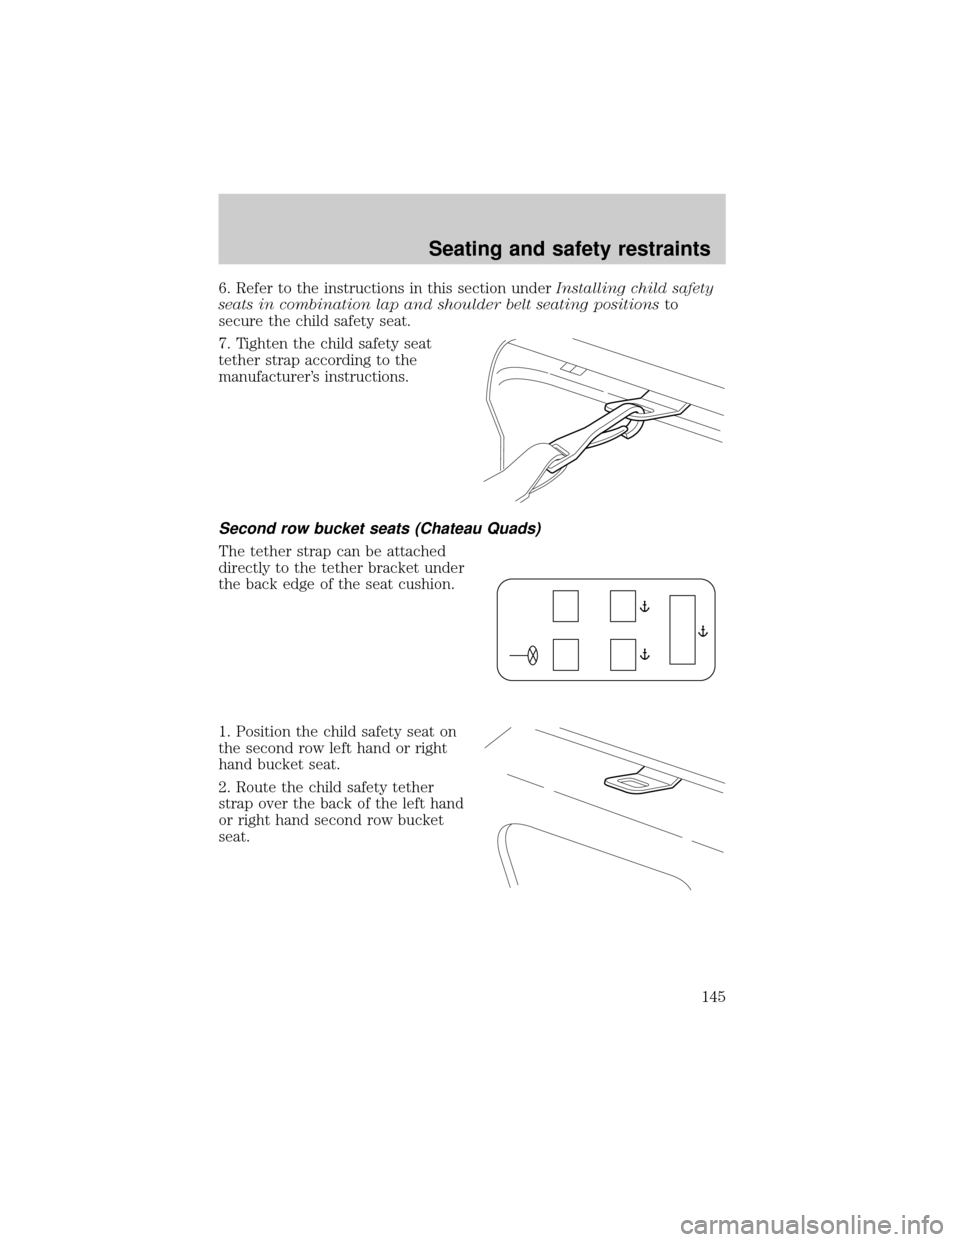
7. Tighten the child safety seat
tether strap according to the
manufacturer's instructions.
Second row bucket seats (Chateau Quads)
The tether strap can be attached
directly to the tether bracket under
the back edge of the seat cushion.
1. Position the child safety seat on
the second row left hand or right
hand bucket seat.
2. Route the child safety tether
strap over the back of the left hand
or right hand second row bucket
seat.
Seating and safety restraints
145
Page 146 of 272

3. Clip the tether strap hook to the
seat pedestal at the location shown.
4. Refer to the instructions in this section underInstalling child safety
seats in combination lap and shoulder belt seating positionsto
secure the child safety seat.
5. Tighten the child safety seat tether strap according to the
manufacturer's instructions.
Second, Third and Fourth row three passenger bench seats
The tether strap can be attached
directly to the tether bracket
provided under the back edge of the
seat cushion.
1. For second row 3±Passenger bench seat, place the child safety seat on
the left hand outboard position, the center position, or the right hand
outboard position as desired.
For third row or fourth row 3±Passenger bench seat, place the child
safety seat on the center position.
Seating and safety restraints
146
Page 147 of 272
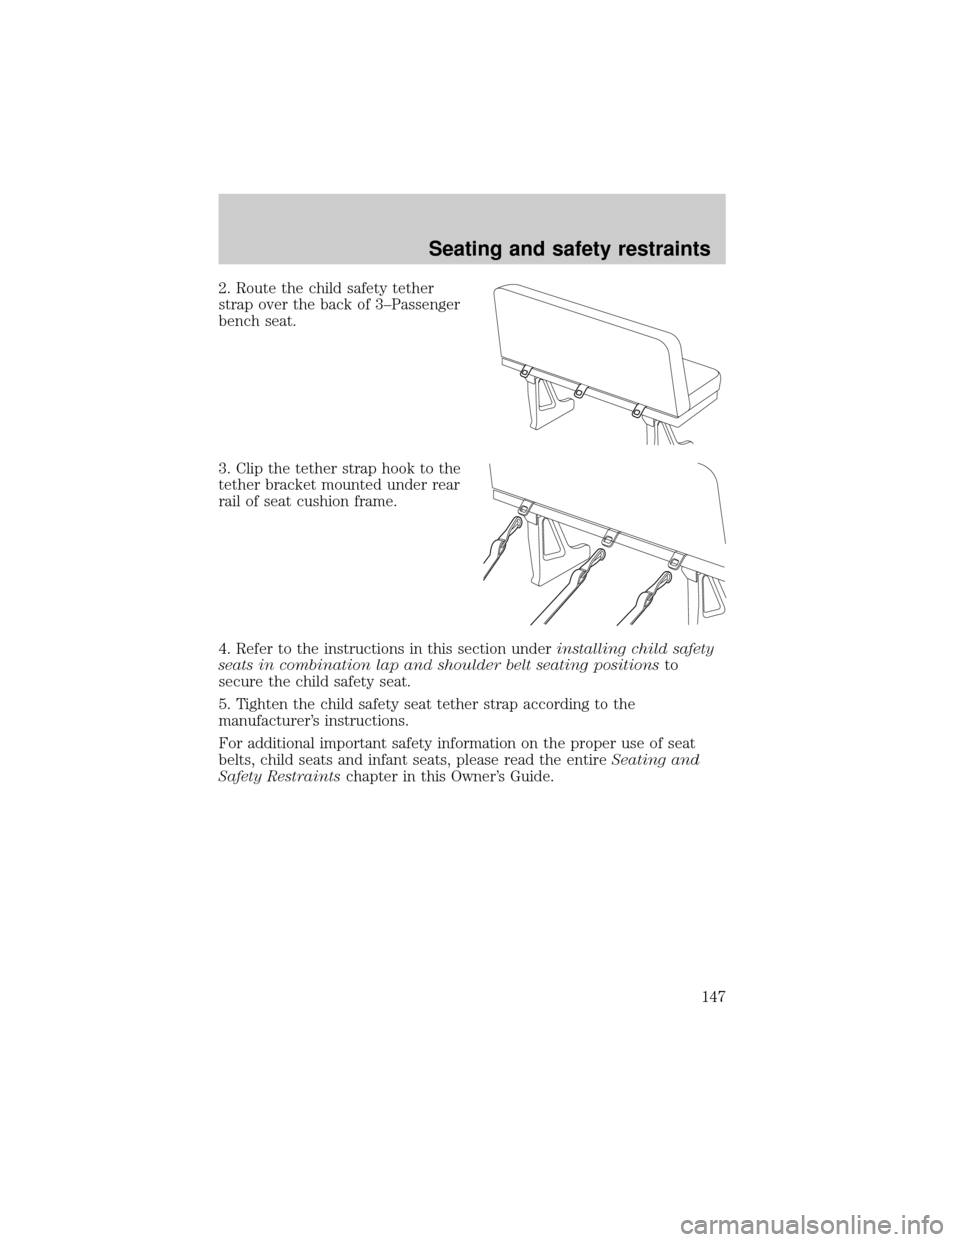
2. Route the child safety tether
strap over the back of 3±Passenger
bench seat.
3. Clip the tether strap hook to the
tether bracket mounted under rear
rail of seat cushion frame.
4. Refer to the instructions in this section underinstalling child safety
seats in combination lap and shoulder belt seating positionsto
secure the child safety seat.
5. Tighten the child safety seat tether strap according to the
manufacturer's instructions.
For additional important safety information on the proper use of seat
belts, child seats and infant seats, please read the entireSeating and
Safety Restraintschapter in this Owner's Guide.
Seating and safety restraints
147