ESP FORD E SERIES 2002 4.G Owners Manual
[x] Cancel search | Manufacturer: FORD, Model Year: 2002, Model line: E SERIES, Model: FORD E SERIES 2002 4.GPages: 272, PDF Size: 2.6 MB
Page 5 of 272
Fuel pump shut-off switchIn the event of an accident the
safety switch will automatically cut off the fuel supply to the
engine. The switch can also be activated through sudden vibration (e.g.
collision when parking). To reset the switch, refer to theFuel pump
shut-off switchin theRoadside emergencieschapter.
SAFETY AND ENVIRONMENT PROTECTION
Warning symbols in this guide
How can you reduce the risk of personal injury and prevent possible
damage to others, your vehicle and its equipment? In this guide, answers
to such questions are contained in comments highlighted by the warning
triangle symbol. These comments should be read and observed.
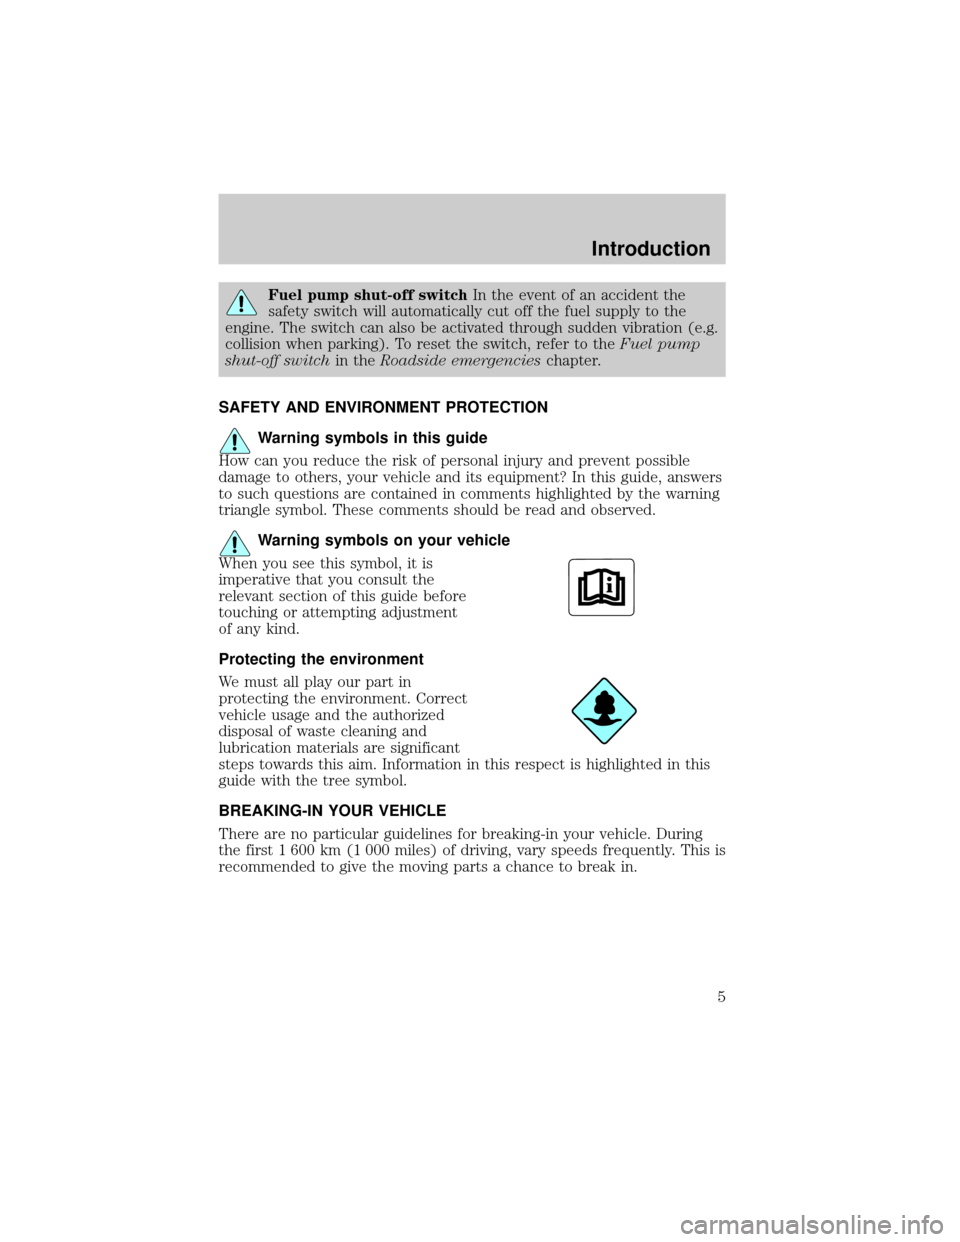
Warning symbols on your vehicle
When you see this symbol, it is
imperative that you consult the
relevant section of this guide before
touching or attempting adjustment
of any kind.
Protecting the environment
We must all play our part in
protecting the environment. Correct
vehicle usage and the authorized
disposal of waste cleaning and
lubrication materials are significant
steps towards this aim. Information in this respect is highlighted in this
guide with the tree symbol.
BREAKING-IN YOUR VEHICLE
There are no particular guidelines for breaking-in your vehicle. During
the first 1 600 km (1 000 miles) of driving, vary speeds frequently. This is
recommended to give the moving parts a chance to break in.
Introduction
5
Page 12 of 272
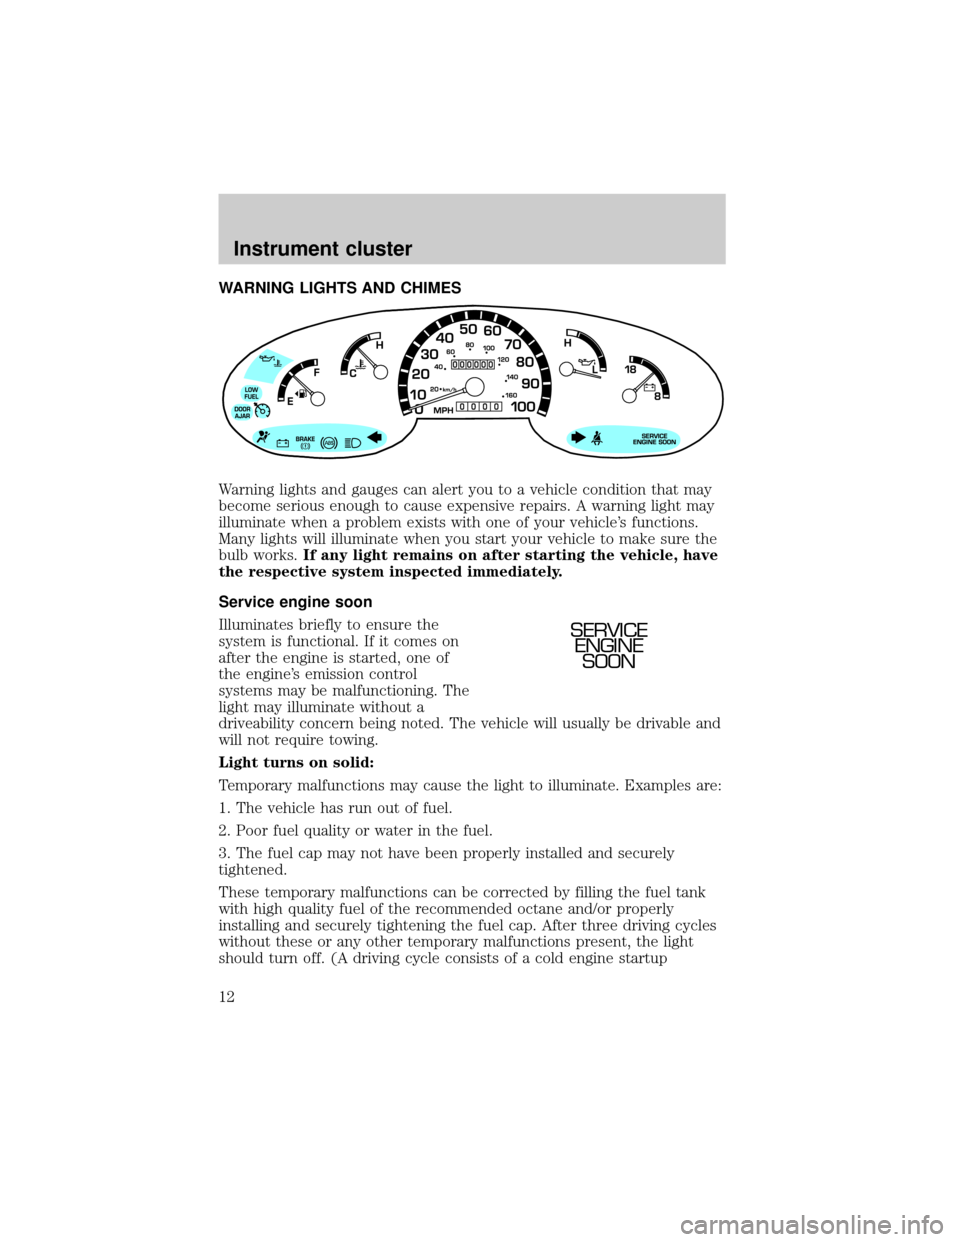
WARNING LIGHTS AND CHIMES
Warning lights and gauges can alert you to a vehicle condition that may
become serious enough to cause expensive repairs. A warning light may
illuminate when a problem exists with one of your vehicle's functions.
Many lights will illuminate when you start your vehicle to make sure the
bulb works.If any light remains on after starting the vehicle, have
the respective system inspected immediately.
Service engine soon
Illuminates briefly to ensure the
system is functional. If it comes on
after the engine is started, one of
the engine's emission control
systems may be malfunctioning. The
light may illuminate without a
driveability concern being noted. The vehicle will usually be drivable and
will not require towing.
Light turns on solid:
Temporary malfunctions may cause the light to illuminate. Examples are:
1. The vehicle has run out of fuel.
2. Poor fuel quality or water in the fuel.
3. The fuel cap may not have been properly installed and securely
tightened.
These temporary malfunctions can be corrected by filling the fuel tank
with high quality fuel of the recommended octane and/or properly
installing and securely tightening the fuel cap. After three driving cycles
without these or any other temporary malfunctions present, the light
should turn off. (A driving cycle consists of a cold engine startup
SERVICE
ENGINE
SOON
Instrument cluster
12
Page 46 of 272
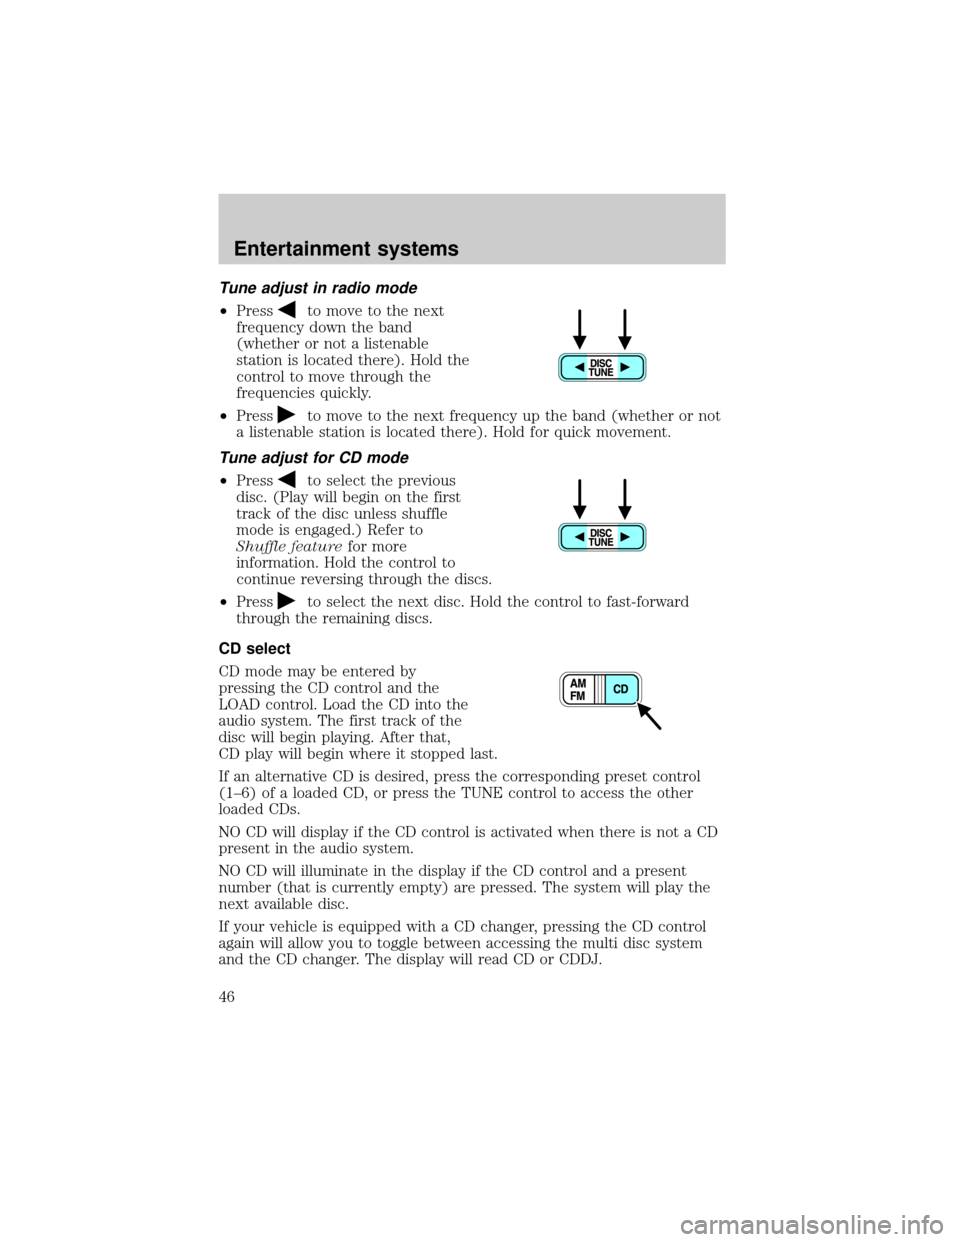
Tune adjust in radio mode
²Pressto move to the next
frequency down the band
(whether or not a listenable
station is located there). Hold the
control to move through the
frequencies quickly.
²Press
to move to the next frequency up the band (whether or not
a listenable station is located there). Hold for quick movement.
Tune adjust for CD mode
²Pressto select the previous
disc. (Play will begin on the first
track of the disc unless shuffle
mode is engaged.) Refer to
Shuffle featurefor more
information. Hold the control to
continue reversing through the discs.
²Press
to select the next disc. Hold the control to fast-forward
through the remaining discs.
CD select
CD mode may be entered by
pressing the CD control and the
LOAD control. Load the CD into the
audio system. The first track of the
disc will begin playing. After that,
CD play will begin where it stopped last.
If an alternative CD is desired, press the corresponding preset control
(1±6) of a loaded CD, or press the TUNE control to access the other
loaded CDs.
NO CD will display if the CD control is activated when there is not a CD
present in the audio system.
NO CD will illuminate in the display if the CD control and a present
number (that is currently empty) are pressed. The system will play the
next available disc.
If your vehicle is equipped with a CD changer, pressing the CD control
again will allow you to toggle between accessing the multi disc system
and the CD changer. The display will read CD or CDDJ.
Entertainment systems
46
Page 57 of 272

Humidity and moisture condensation
Moisture in the air will condense in the VCP under extremely humid
conditions or when moving from a cold place to a warm one. Moisture
condensation on the tape playback head drum may damage the
videocassette and/or drum. If moisture condensation occurs, do not
insert a videocassette into the player. If a videocassette is already in the
player, remove it. Turn the VCP power ON to dry the moisture before
inserting a videocassette. This could take an hour or more.
Dew sensor circuit
²Under high moisture (dewed) conditions, the tape heads and cassette
tape may be damaged if the VCP is operated.
²When the vehicle's cabin temperature is very low and then is heated
quickly, or the humidity is very high within the vehicle, the inside of
the windows most likely will be fogged. Under these conditions, the
inside of the VCP most likely is dewed.
²When a dewed condition exists, the dew sensor circuit stops machine
operation, ejects the cassette and the WAIT indicator illuminates. The
lamp will remain illuminated until the system is dry enough to operate
safely.
Cleaning video heads
Magnetic video heads convert the videocassette into pictures on the
screen during playback. Over a period of time, particles rub off the tape
and are left on the heads. Using an old or poor quality tape together with
dust and air particles, high temperature and humidity cause dirty heads.
Dirty heads generally cause ªsnowyº pictures and, in some severe cases,
blurred or interrupted pictures. A variety of products are available at
video stores to clean tape heads. Use these products sparingly, because
some are abrasive to the video heads. If normal head cleaning
procedures do not resolve the problem, have the system checked by a
service technician.
Foreign substances
Exercise care to prevent dirt and foreign objects from entering the VCP
compartment. Be especially careful not to spill liquids of any kind onto
the media controls or into the videocassette player. If liquid is
accidentally spilled onto the system, immediately turn the system OFF
and consult a qualified service technician.
Entertainment systems
57
Page 68 of 272

²When the ignition is turned ON, audio is through the headphones as
LOW volume. Press the (+) control to increase volume. To listen
through the vehicle's speaker system, press the speaker button (
)
on the media control panel.
Inserting/removing cassette
Inserting cassette
²Open the AutoVisiontconsole cover.
²Insert the videocassette into the cassette compartment.
Inserting a videocassette into the VCP automatically turns the power ON
(the indicator lamp will illuminate) and the tape will begin playback.
If the vehicle is traveling over rough terrain, it may be difficult to insert
the cassette because the machine attempts to hold the cassette firmly to
prevent vibration. If this condition is encountered, either press firmly or
remove the cassette and insert it again.
The system will not allow a cassette to be inserted in the wrong position.
²Once the cassette is completely inserted, close the VCP and console
covers.
Removing cassette
1. Open the console cover, open the VCP cover and press the STOP
button.
2. Press the EJECT button.
Do not insert any foreign substances into the cassette compartment.
After removing the cassette from the VCP, close the door.
When the engine is turned OFF, the cassette is ejected from the
compartment.
To play a video game
1. Connect the video line from your video game device to the YELLOW
jack.
2. Connect the left and right audio cables to the WHITE and RED jacks
respectively.
3. Ensure that the system is in AUX mode. The LCD screen will turn on
and the AUX indicator will illuminate.
Entertainment systems
68
Page 109 of 272
REMOTE ENTRY SYSTEM (IF EQUIPPED)
This device complies with part 15 of the FCC rules and with RS-210 of
Industry Canada. Operation is subject to the following two conditions:
(1) This device may not cause harmful interference, and (2) This device
must accept any interference received, including interference that may
cause undesired operation.
Changes or modifications not expressly approved by the party
responsible for compliance could void the user's authority to
operate the equipment.
The remote entry system allows you to lock or unlock all vehicle doors
without a key.
The remote entry features only operate with the ignition in the LOCK
position.
If there is any potential remote keyless entry problem with your vehicle,
ensureALL key fobs(remote entry transmitters) are brought to the
dealership, to aid in troubleshooting.
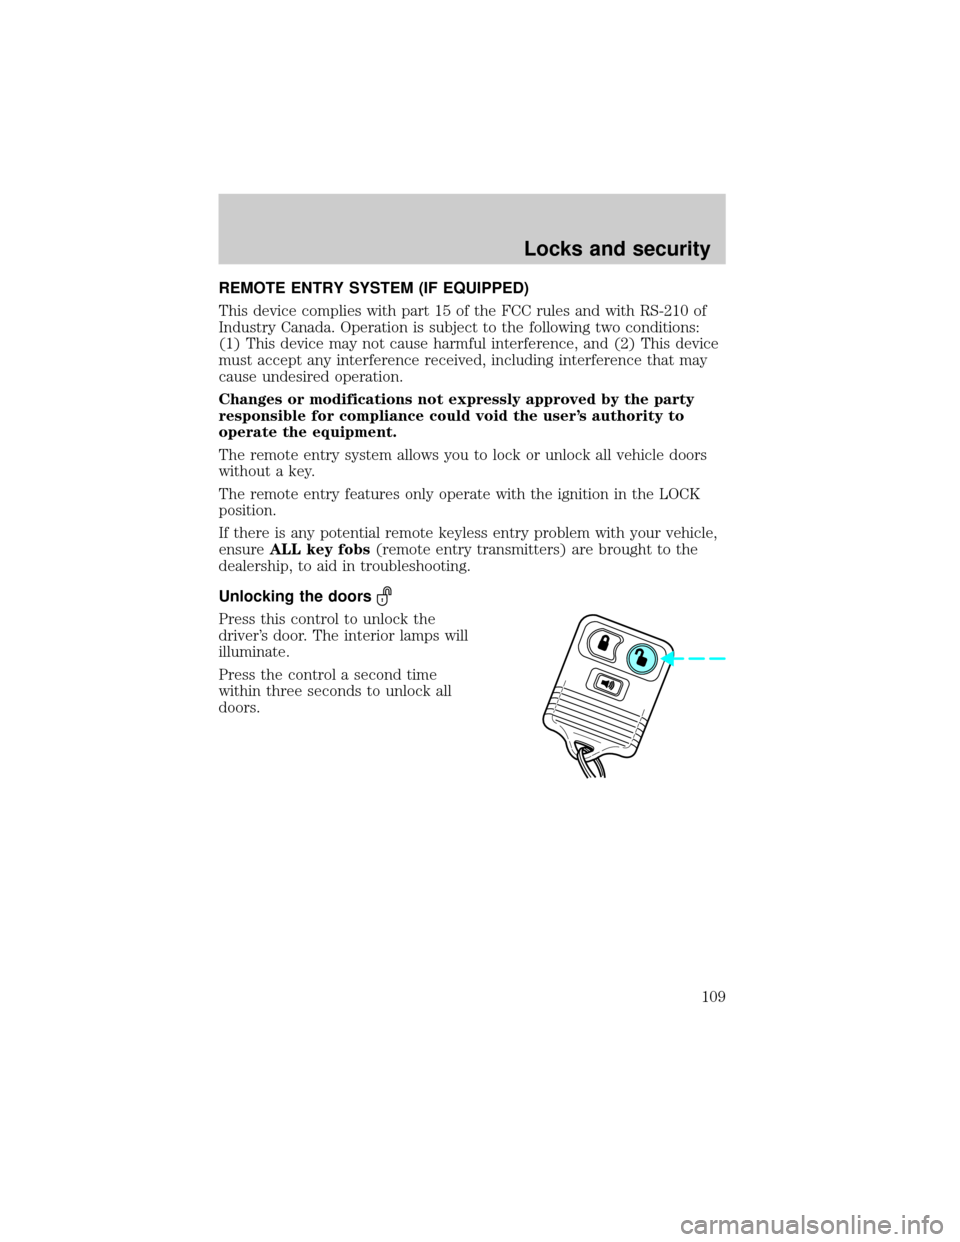
Unlocking the doors
Press this control to unlock the
driver's door. The interior lamps will
illuminate.
Press the control a second time
within three seconds to unlock all
doors.
Locks and security
109
Page 122 of 272
Always transport children 12 years old and under in the back
seat and always properly use appropriate child restraints.
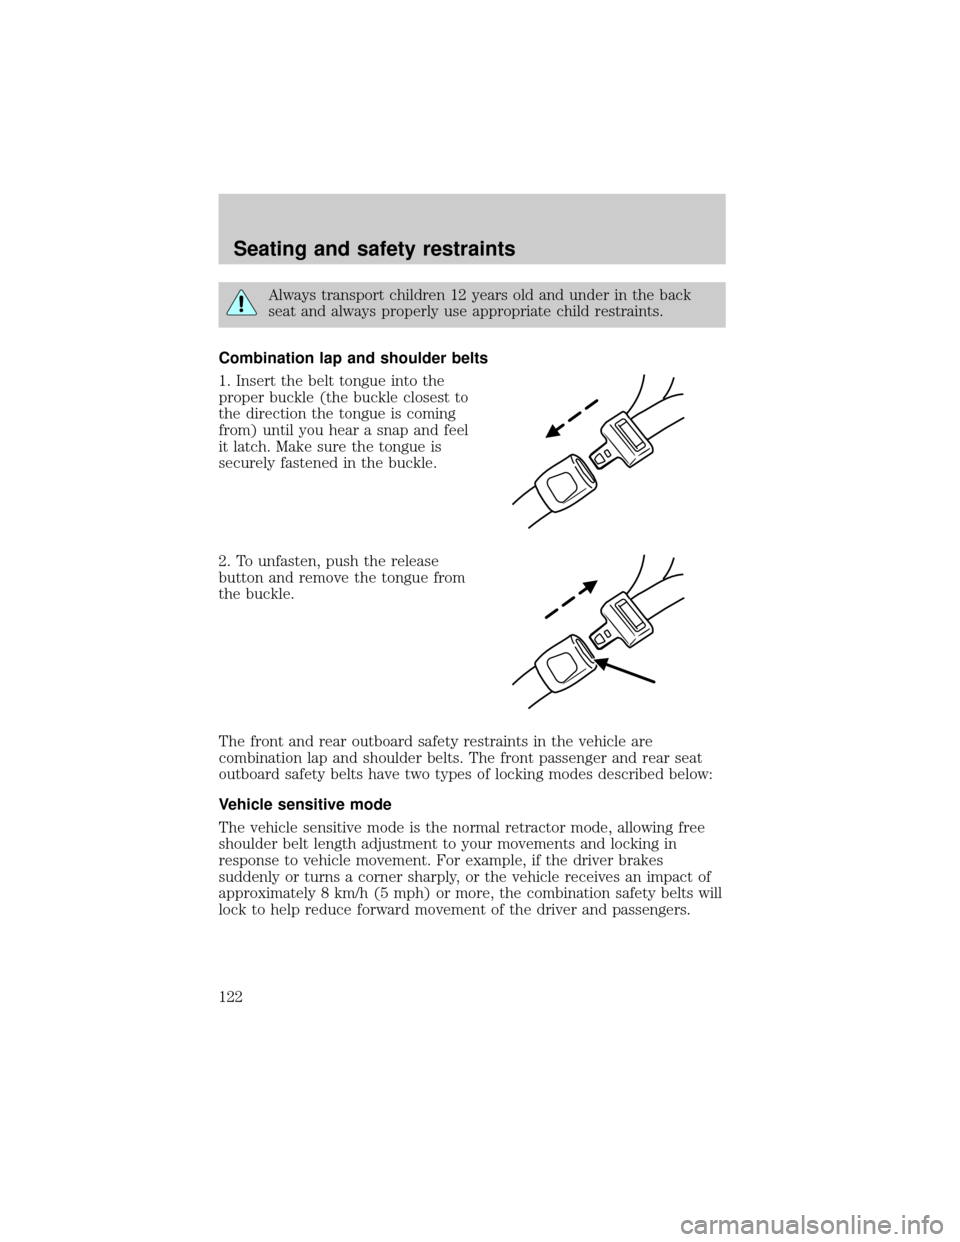
Combination lap and shoulder belts
1. Insert the belt tongue into the
proper buckle (the buckle closest to
the direction the tongue is coming
from) until you hear a snap and feel
it latch. Make sure the tongue is
securely fastened in the buckle.
2. To unfasten, push the release
button and remove the tongue from
the buckle.
The front and rear outboard safety restraints in the vehicle are
combination lap and shoulder belts. The front passenger and rear seat
outboard safety belts have two types of locking modes described below:
Vehicle sensitive mode
The vehicle sensitive mode is the normal retractor mode, allowing free
shoulder belt length adjustment to your movements and locking in
response to vehicle movement. For example, if the driver brakes
suddenly or turns a corner sharply, or the vehicle receives an impact of
approximately 8 km/h (5 mph) or more, the combination safety belts will
lock to help reduce forward movement of the driver and passengers.
Seating and safety restraints
122
Page 137 of 272

Disposal of air bags and air bag equipped vehicles (including
pretensioners)
For disposal of air bags or air bag equipped vehicles, see your local
dealership or qualified technician. Air bags MUST BE disposed of by
qualified personnel.
SAFETY RESTRAINTS FOR CHILDREN
See the following sections for directions on how to properly use safety
restraints for children. Also seeAir bag supplemental restraint system
(SRS)in this chapter for special instructions about using air bags.
Important child restraint precautions
You are required by law to use safety restraints for children in the U.S.
and Canada. If small children ride in your vehicle (generally children who
are four years old or younger and who weigh 18 kg [40 lbs] or less), you
must put them in safety seats made especially for children. Check your
local and state or provincial laws for specific requirements regarding the
safety of children in your vehicle.
Never let a passenger hold a child on his or her lap while the
vehicle is moving. The passenger cannot protect the child from
injury in a collision.
Always follow the instructions and warnings that come with any infant or
child restraint you might use.
When possible, always place children under age 12 in the rear seat of
your vehicle. Accident statistics suggest that children are safer when
properly restrained in the rear seating positions than in the front seating
position.
Install forward-facing convertible safety seats only in vehicle seating
positions equipped with lap-shoulder belts. Forward facing convertible
safety seats can be used in the center of the three-passenger second row
bench seat only if a top tether strap is used. Ford recommends placing
forward-facing safety seats in the second row and using safety seats with
top tether straps for added protection. For more information on top
tether straps, seeAttaching safety seats with tether strapsin this
section.
Seating and safety restraints
137
Page 150 of 272
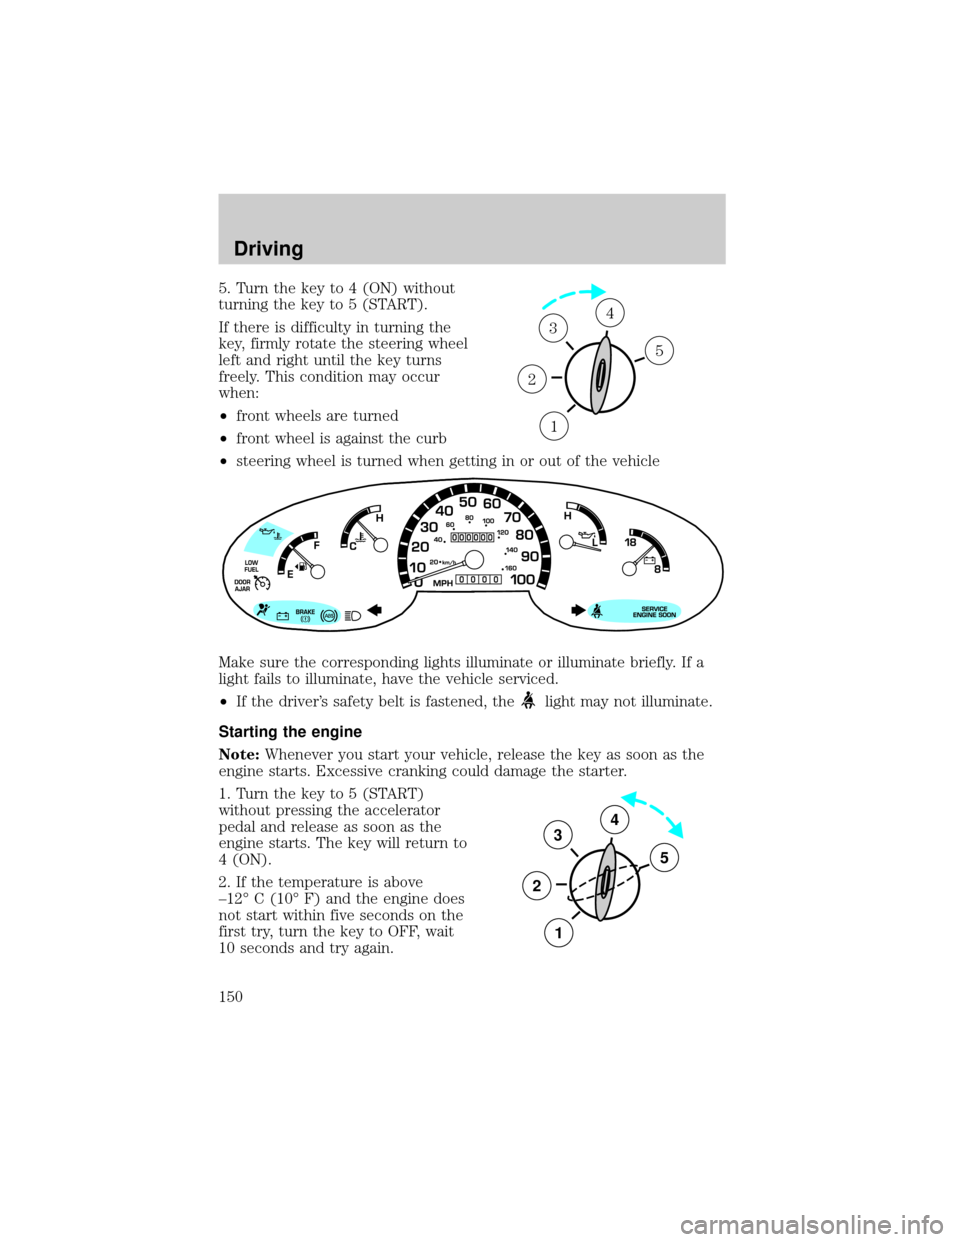
5. Turn the key to 4 (ON) without
turning the key to 5 (START).
If there is difficulty in turning the
key, firmly rotate the steering wheel
left and right until the key turns
freely. This condition may occur
when:
²front wheels are turned
²front wheel is against the curb
²steering wheel is turned when getting in or out of the vehicle
Make sure the corresponding lights illuminate or illuminate briefly. If a
light fails to illuminate, have the vehicle serviced.
²If the driver's safety belt is fastened, the
light may not illuminate.
Starting the engine
Note:Whenever you start your vehicle, release the key as soon as the
engine starts. Excessive cranking could damage the starter.
1. Turn the key to 5 (START)
without pressing the accelerator
pedal and release as soon as the
engine starts. The key will return to
4 (ON).
2. If the temperature is above
±12É C (10É F) and the engine does
not start within five seconds on the
first try, turn the key to OFF, wait
10 seconds and try again.
1
2
34
5
3
2
1
5
4
Driving
150
Page 151 of 272
3. If the temperature is below -12É C (10É F) and the engine does not
start in 15 seconds on the first try, turn the key OFF and wait
10 seconds and try again. If the engine does not start in two attempts,
press the accelerator pedal all the way to floor and hold. Turn the key to
START position.
4. When the engine starts, release the key, then release the accelerator
pedal gradually as the engine speeds up.
5. After idling for a few seconds, apply the brake and release the parking
brake.
Using the engine block heater (if equipped)
An engine block heater warms the engine coolant, which improves
starting, warms up the engine faster and allows the heater-defroster
system to respond quickly. Use of an engine block heater is strongly
recommended if you live in a region where temperatures reach -23É C
(-10É F) or below.
For best results, plug the heater in at least three hours before starting
the vehicle. Using the heater for longer than three hours will not harm
the engine, so the heater can be plugged in the night before starting the
vehicle.
To prevent electrical shock, do not use your heater with
ungrounded electrical systems or two-pronged (cheater)
adapters.
Guarding against exhaust fumes
Although odorless and colorless, carbon monoxide is present in exhaust
fumes. Take precautions to avoid its dangerous effects.
If you ever smell exhaust fumes of any kind inside your vehicle,
have your dealer inspect and fix your vehicle immediately. Do
not drive if you smell exhaust fumes. These fumes are harmful and
could kill you.
Have the exhaust and body ventilation systems checked whenever:
²the vehicle is raised for service
²the sound of the exhaust system changes
²the vehicle has been damaged in a collision
Driving
151