radio controls FORD E SERIES 2002 4.G Owners Manual
[x] Cancel search | Manufacturer: FORD, Model Year: 2002, Model line: E SERIES, Model: FORD E SERIES 2002 4.GPages: 272, PDF Size: 2.6 MB
Page 23 of 272
Radio station memory preset
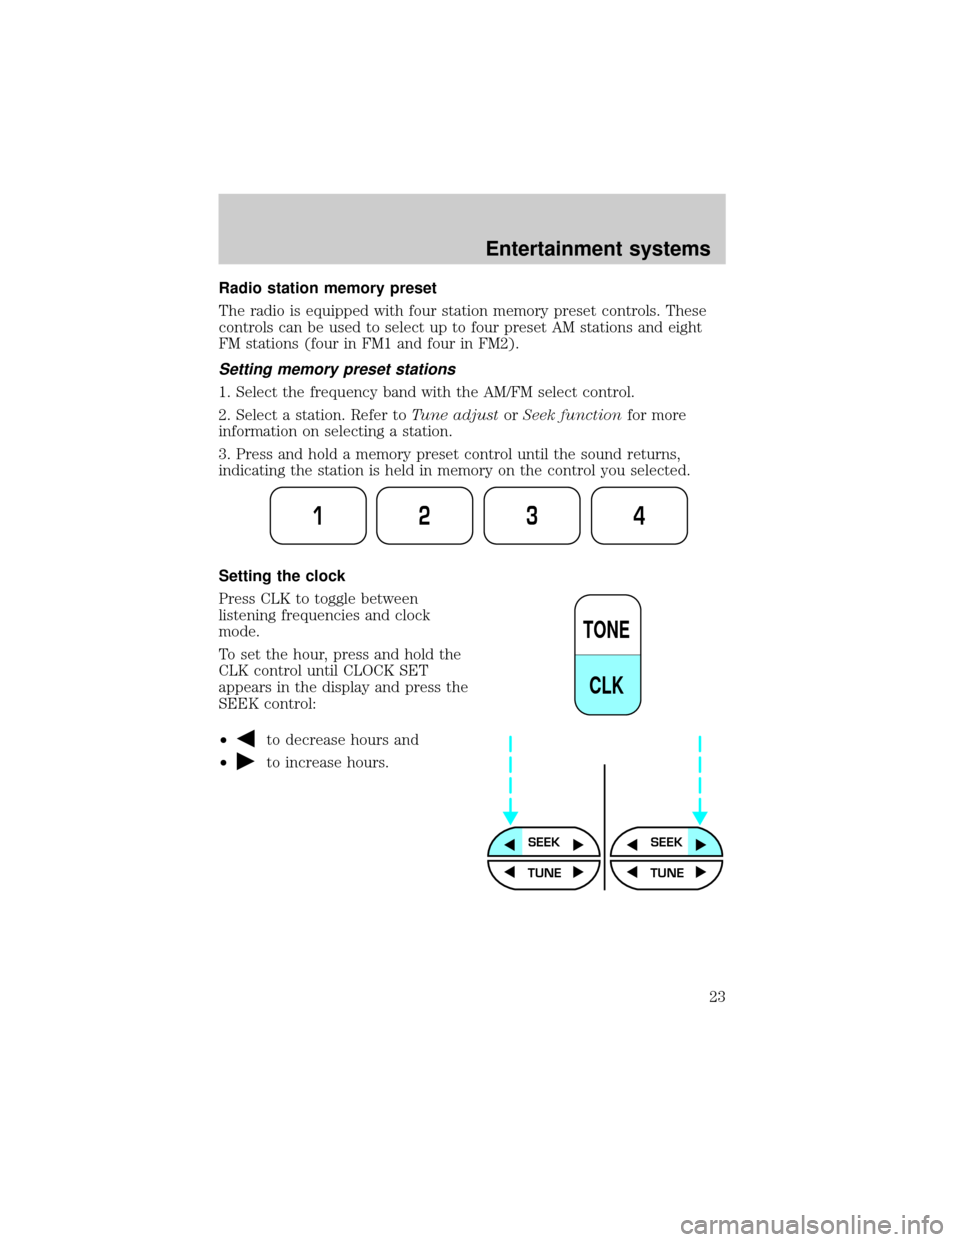
The radio is equipped with four station memory preset controls. These
controls can be used to select up to four preset AM stations and eight
FM stations (four in FM1 and four in FM2).
Setting memory preset stations
1. Select the frequency band with the AM/FM select control.
2. Select a station. Refer toTune adjustorSeek functionfor more
information on selecting a station.
3. Press and hold a memory preset control until the sound returns,
indicating the station is held in memory on the control you selected.
Setting the clock
Press CLK to toggle between
listening frequencies and clock
mode.
To set the hour, press and hold the
CLK control until CLOCK SET
appears in the display and press the
SEEK control:
²
to decrease hours and
²
to increase hours.
1234
TONE
CLK
SEEKSEEK
TUNE TUNE
Entertainment systems
23
Page 28 of 272
AM/FM select in radio mode
This control allows you to select AM or FM frequency bands. Press the
AM control to select from AM selections, and press the FM control to
select from FM1 or FM2 memory preset stations.
AM/FM select in tape mode
Press this control to stop tape play and begin radio play.
Radio station memory preset
The radio is equipped with six station memory preset controls. These
controls can be used to select up to six preset AM stations and twelve
FM stations (six in FM1 and six in FM2).
Setting memory preset stations
1. Select the frequency band with the AM or the FM select control.
2. Select a station. Refer toTune adjustorSeek functionfor more
information on selecting a station.
3. Press and hold a memory preset control until the sound returns,
indicating the station is held in memory on the control you selected.
Setting the clock
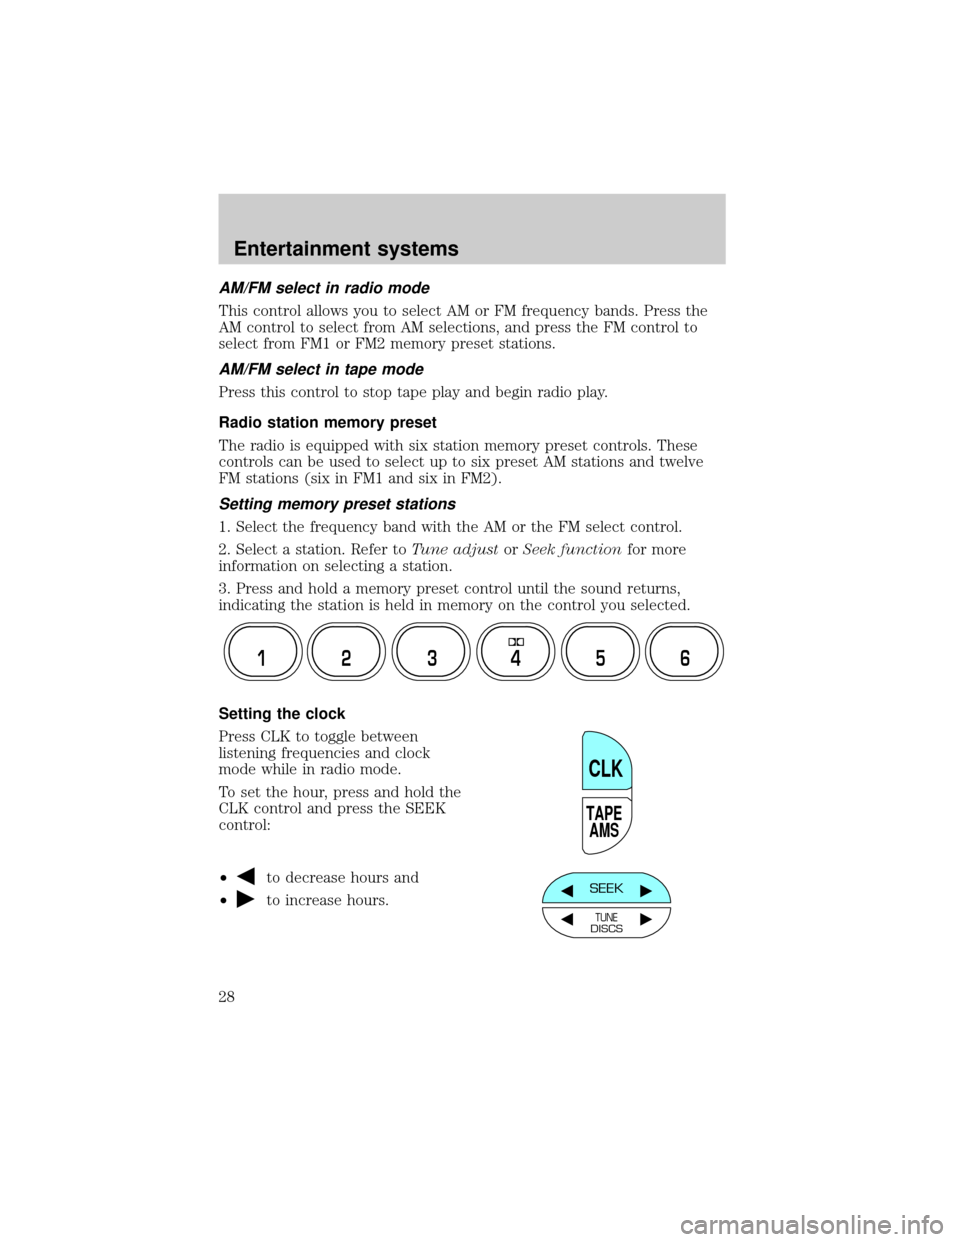
Press CLK to toggle between
listening frequencies and clock
mode while in radio mode.
To set the hour, press and hold the
CLK control and press the SEEK
control:
²
to decrease hours and
²
to increase hours.
12 3456
TAPE
AMS
CLK
SEEK
TUNEDISCS
Entertainment systems
28
Page 35 of 272
Scan function in radio mode
Press the SCAN control to hear a brief sampling of all listenable stations
on the frequency band. Press the control again to stop the scan mode.
Scan function in tape mode
Press the SCAN control to hear a short sampling of all selections on the
tape. (The tape scans in a forward direction. At the end of the tape's
first side, direction automatically reverses to the opposite side of the
tape.) To stop on a particular selection, press the control again.
Scan function in CD mode
Press the SCAN control to hear a short sampling of all selections on the
CD. (The CD scans in a forward direction, wrapping back to the first
track at the end of the CD.) To stop on a particular selection, press the
control again.
AM/FM select
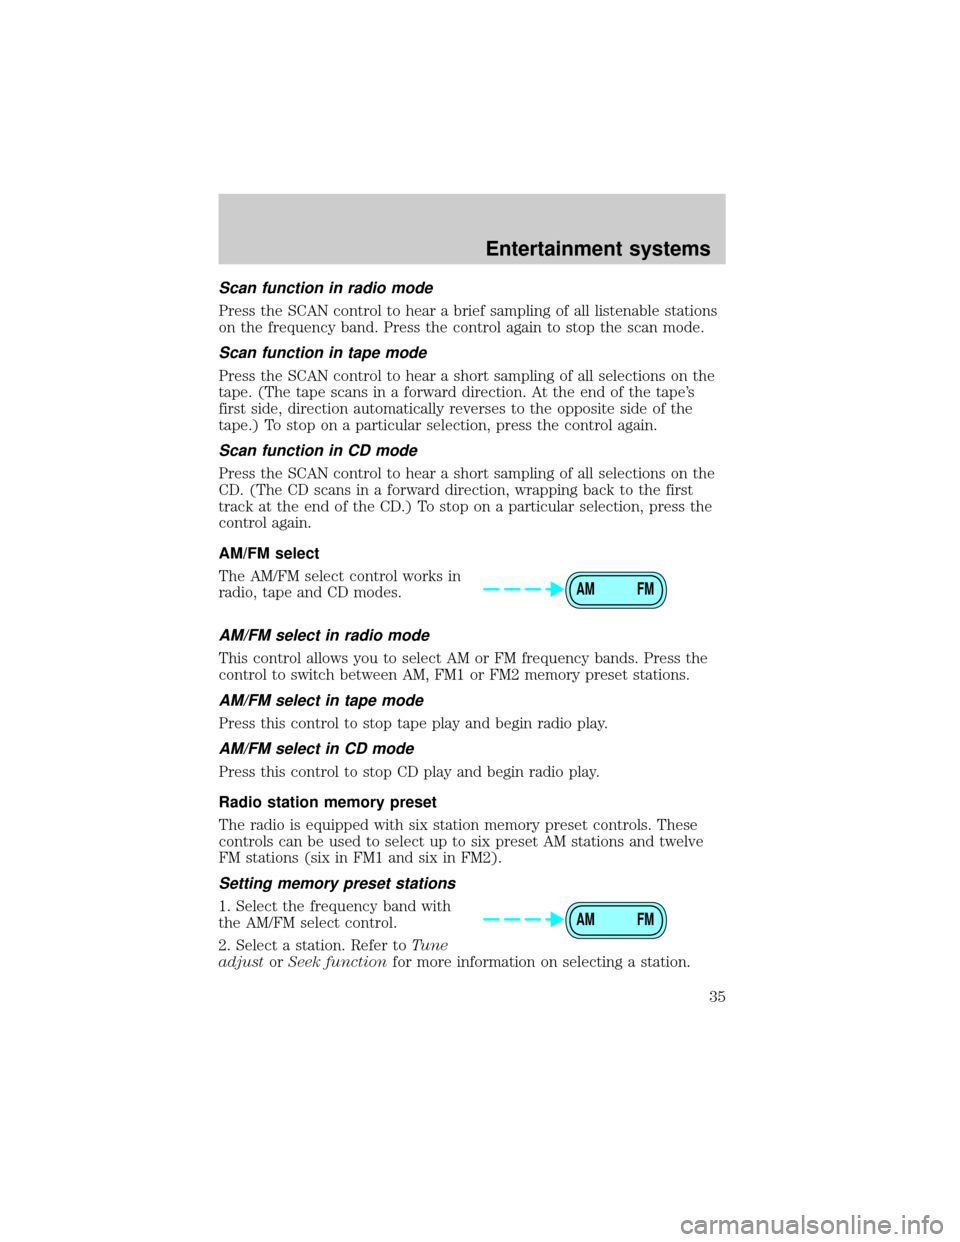
The AM/FM select control works in
radio, tape and CD modes.
AM/FM select in radio mode
This control allows you to select AM or FM frequency bands. Press the
control to switch between AM, FM1 or FM2 memory preset stations.
AM/FM select in tape mode
Press this control to stop tape play and begin radio play.
AM/FM select in CD mode
Press this control to stop CD play and begin radio play.
Radio station memory preset
The radio is equipped with six station memory preset controls. These
controls can be used to select up to six preset AM stations and twelve
FM stations (six in FM1 and six in FM2).
Setting memory preset stations
1. Select the frequency band with
the AM/FM select control.
2. Select a station. Refer toTune
adjustorSeek functionfor more information on selecting a station.
AM FM
AM FM
Entertainment systems
35
Page 36 of 272
3. Press and hold a memory preset control until the sound returns,
indicating the station is held in memory on the control you selected.
Autoset memory preset
Autoset allows you to set strong radio stations without losing your
original manually set preset stations. This feature is helpful on trips
when you travel between cities with different radio stations.
Starting autoset memory preset
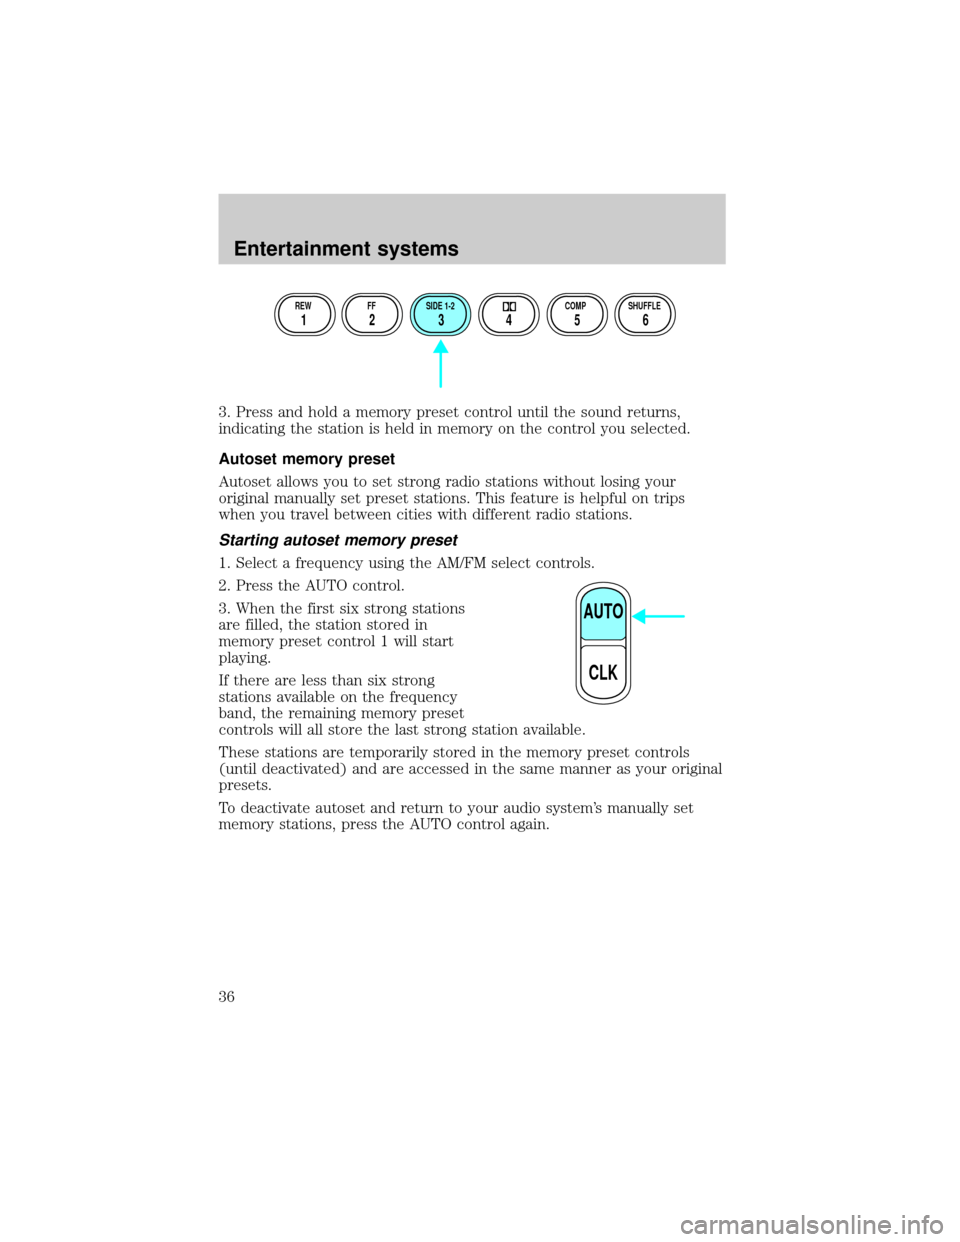
1. Select a frequency using the AM/FM select controls.
2. Press the AUTO control.
3. When the first six strong stations
are filled, the station stored in
memory preset control 1 will start
playing.
If there are less than six strong
stations available on the frequency
band, the remaining memory preset
controls will all store the last strong station available.
These stations are temporarily stored in the memory preset controls
(until deactivated) and are accessed in the same manner as your original
presets.
To deactivate autoset and return to your audio system's manually set
memory stations, press the AUTO control again.
REW FF SIDE 1-2 COMP SHUFFLE
12 3456
AUTO
CLK
Entertainment systems
36
Page 44 of 272
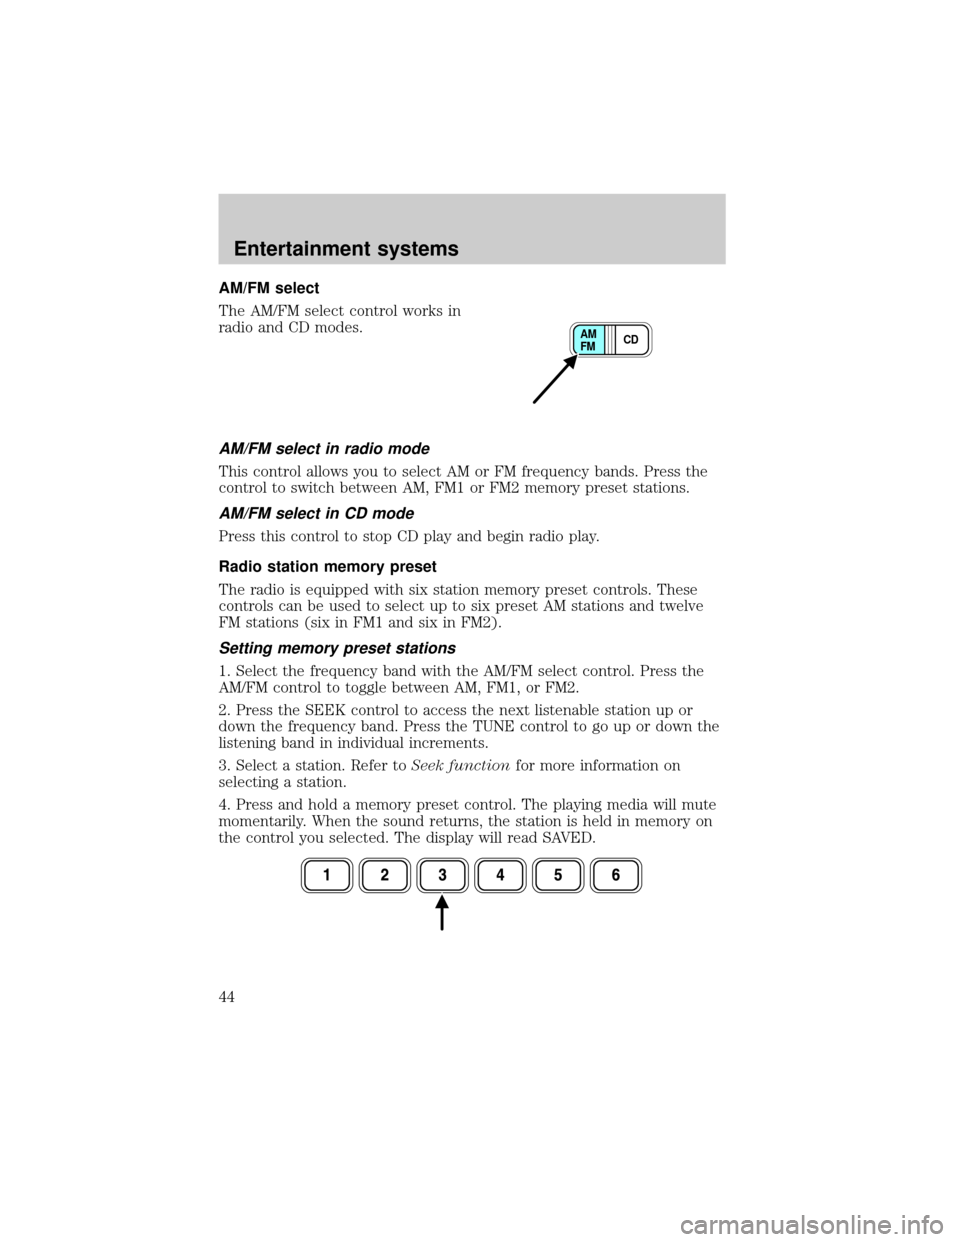
AM/FM select
The AM/FM select control works in
radio and CD modes.
AM/FM select in radio mode
This control allows you to select AM or FM frequency bands. Press the
control to switch between AM, FM1 or FM2 memory preset stations.
AM/FM select in CD mode
Press this control to stop CD play and begin radio play.
Radio station memory preset
The radio is equipped with six station memory preset controls. These
controls can be used to select up to six preset AM stations and twelve
FM stations (six in FM1 and six in FM2).
Setting memory preset stations
1. Select the frequency band with the AM/FM select control. Press the
AM/FM control to toggle between AM, FM1, or FM2.
2. Press the SEEK control to access the next listenable station up or
down the frequency band. Press the TUNE control to go up or down the
listening band in individual increments.
3. Select a station. Refer toSeek functionfor more information on
selecting a station.
4. Press and hold a memory preset control. The playing media will mute
momentarily. When the sound returns, the station is held in memory on
the control you selected. The display will read SAVED.
CD AM
FM
Entertainment systems
44
Page 45 of 272
Autostore
Autostore allows you to set the strongest local radio stations without
losing your original manually set preset stations. This feature is helpful
on trips when you travel between cities with different radio stations.
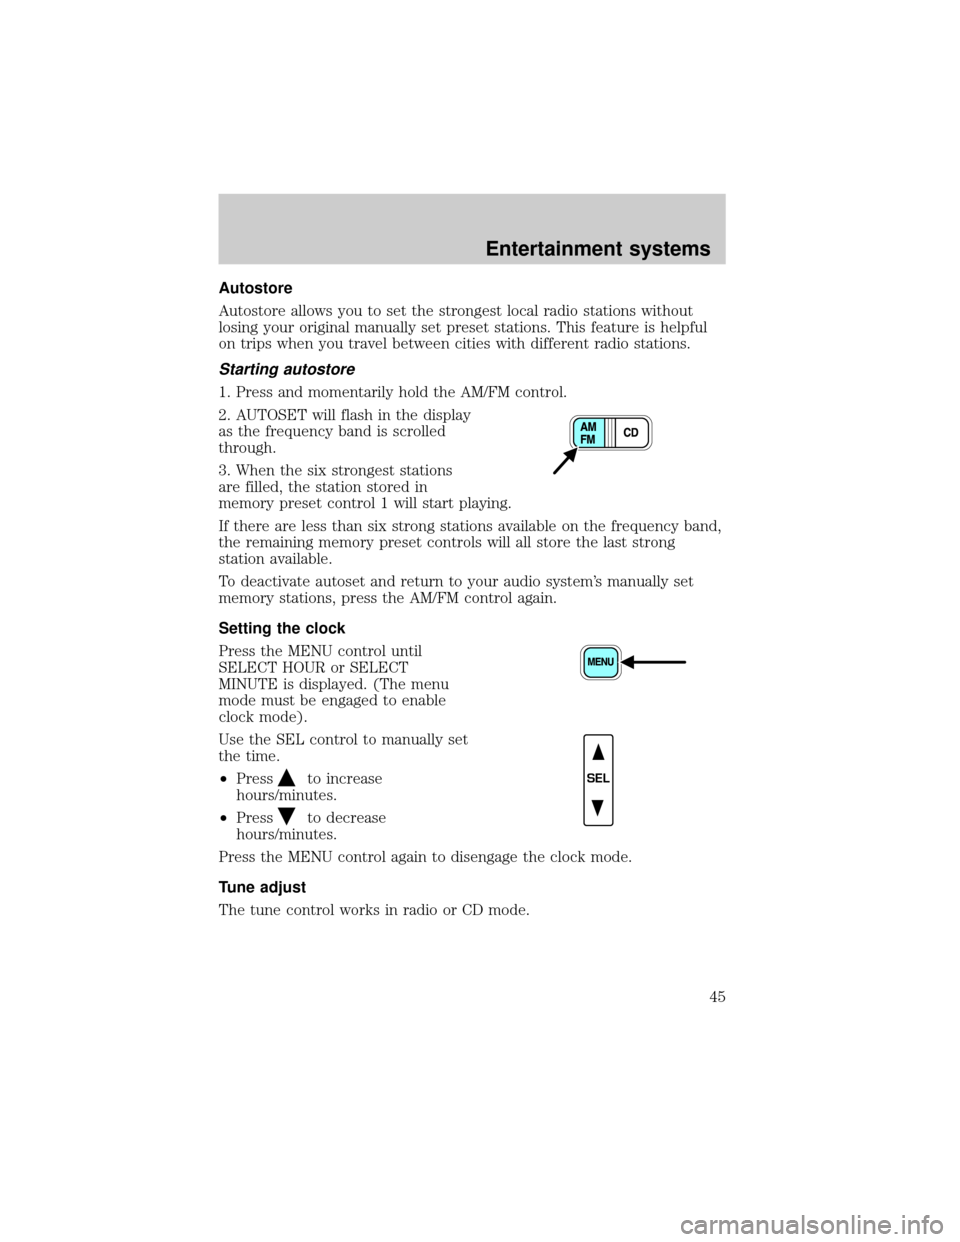
Starting autostore
1. Press and momentarily hold the AM/FM control.
2. AUTOSET will flash in the display
as the frequency band is scrolled
through.
3. When the six strongest stations
are filled, the station stored in
memory preset control 1 will start playing.
If there are less than six strong stations available on the frequency band,
the remaining memory preset controls will all store the last strong
station available.
To deactivate autoset and return to your audio system's manually set
memory stations, press the AM/FM control again.
Setting the clock
Press the MENU control until
SELECT HOUR or SELECT
MINUTE is displayed. (The menu
mode must be engaged to enable
clock mode).
Use the SEL control to manually set
the time.
²Press
to increase
hours/minutes.
²Press
to decrease
hours/minutes.
Press the MENU control again to disengage the clock mode.
Tune adjust
The tune control works in radio or CD mode.
SEL
Entertainment systems
45
Page 62 of 272
The remote control unit uses two AAA batteries.
The need for battery replacement is usually indicated if the remote
control only functions at extremely close distances to the entertainment
center or not at all.
When replacing batteries, use two new batteries (alkaline recommended)
and install with correct orientation (+ and þ polarities). Ensure that you
use only new batteries of the same brand.
If you will not be using the remote control for a considerably long time,
remove the batteries.
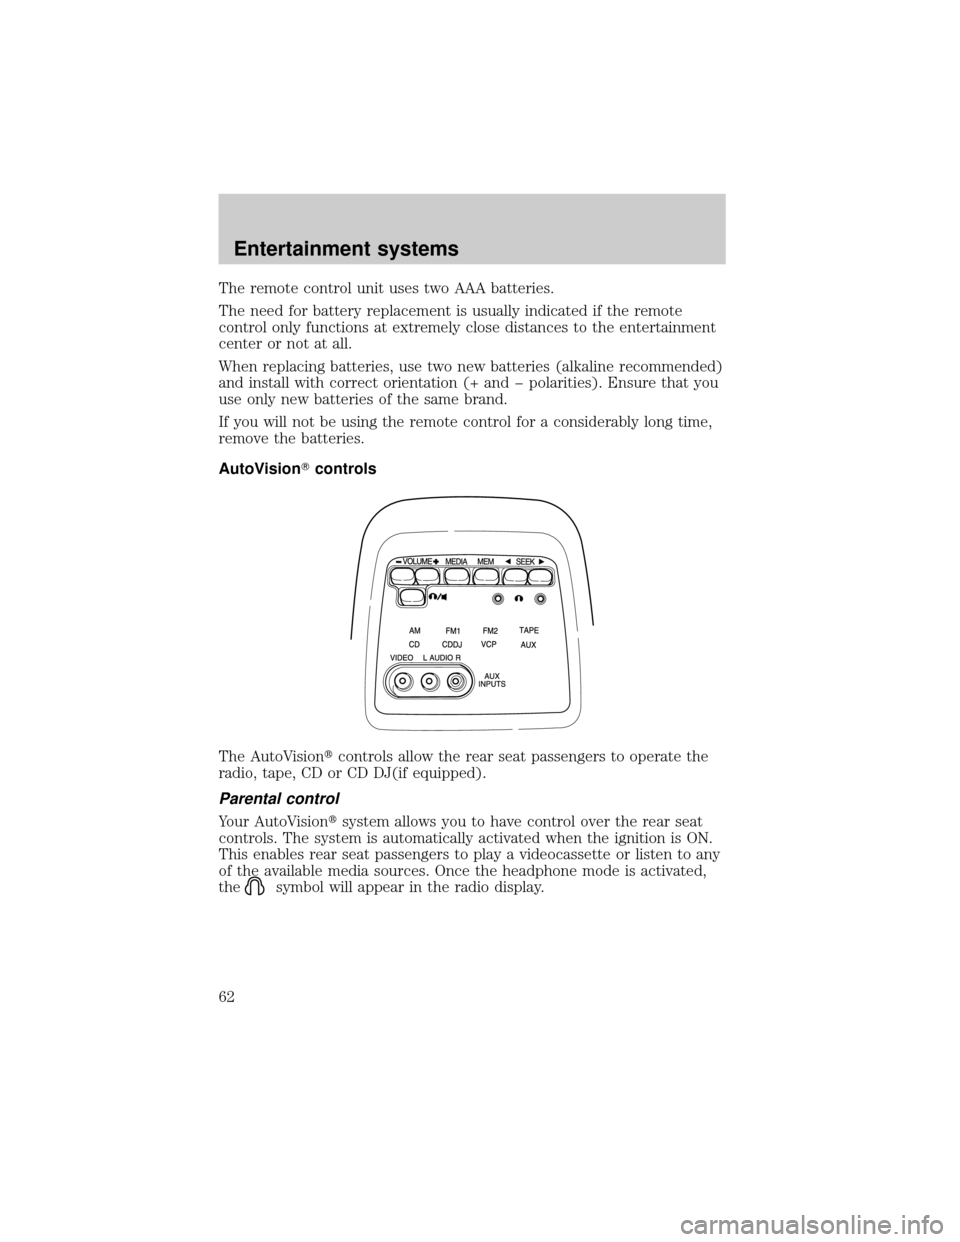
AutoVisionTcontrols
The AutoVisiontcontrols allow the rear seat passengers to operate the
radio, tape, CD or CD DJ(if equipped).
Parental control
Your AutoVisiontsystem allows you to have control over the rear seat
controls. The system is automatically activated when the ignition is ON.
This enables rear seat passengers to play a videocassette or listen to any
of the available media sources. Once the headphone mode is activated,
the
symbol will appear in the radio display.
Entertainment systems
62
Page 63 of 272
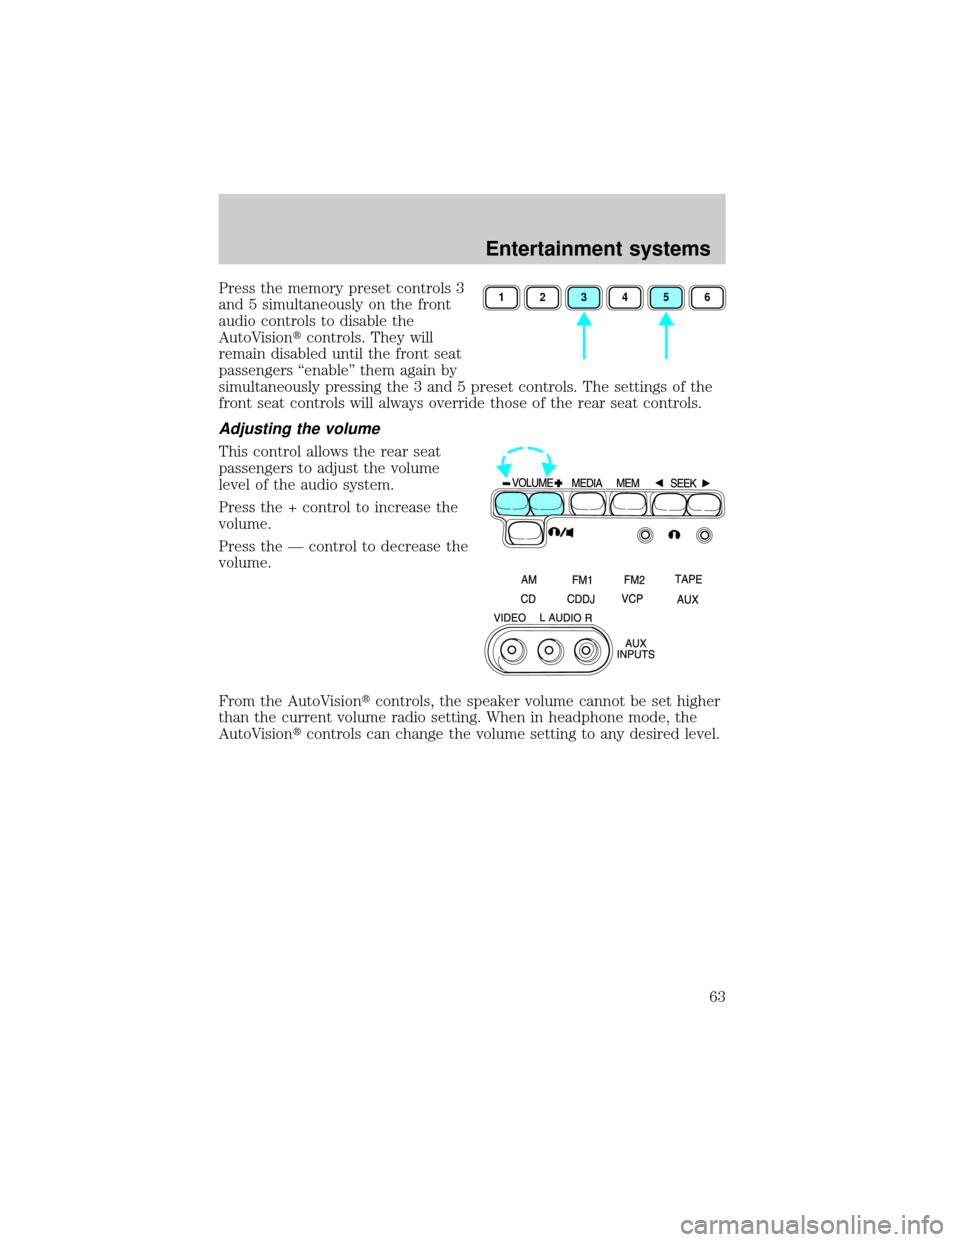
Press the memory preset controls 3
and 5 simultaneously on the front
audio controls to disable the
AutoVisiontcontrols. They will
remain disabled until the front seat
passengers ªenableº them again by
simultaneously pressing the 3 and 5 preset controls. The settings of the
front seat controls will always override those of the rear seat controls.
Adjusting the volume
This control allows the rear seat
passengers to adjust the volume
level of the audio system.
Press the + control to increase the
volume.
Press the Ð control to decrease the
volume.
From the AutoVisiontcontrols, the speaker volume cannot be set higher
than the current volume radio setting. When in headphone mode, the
AutoVisiontcontrols can change the volume setting to any desired level.
123456
Entertainment systems
63
Page 64 of 272
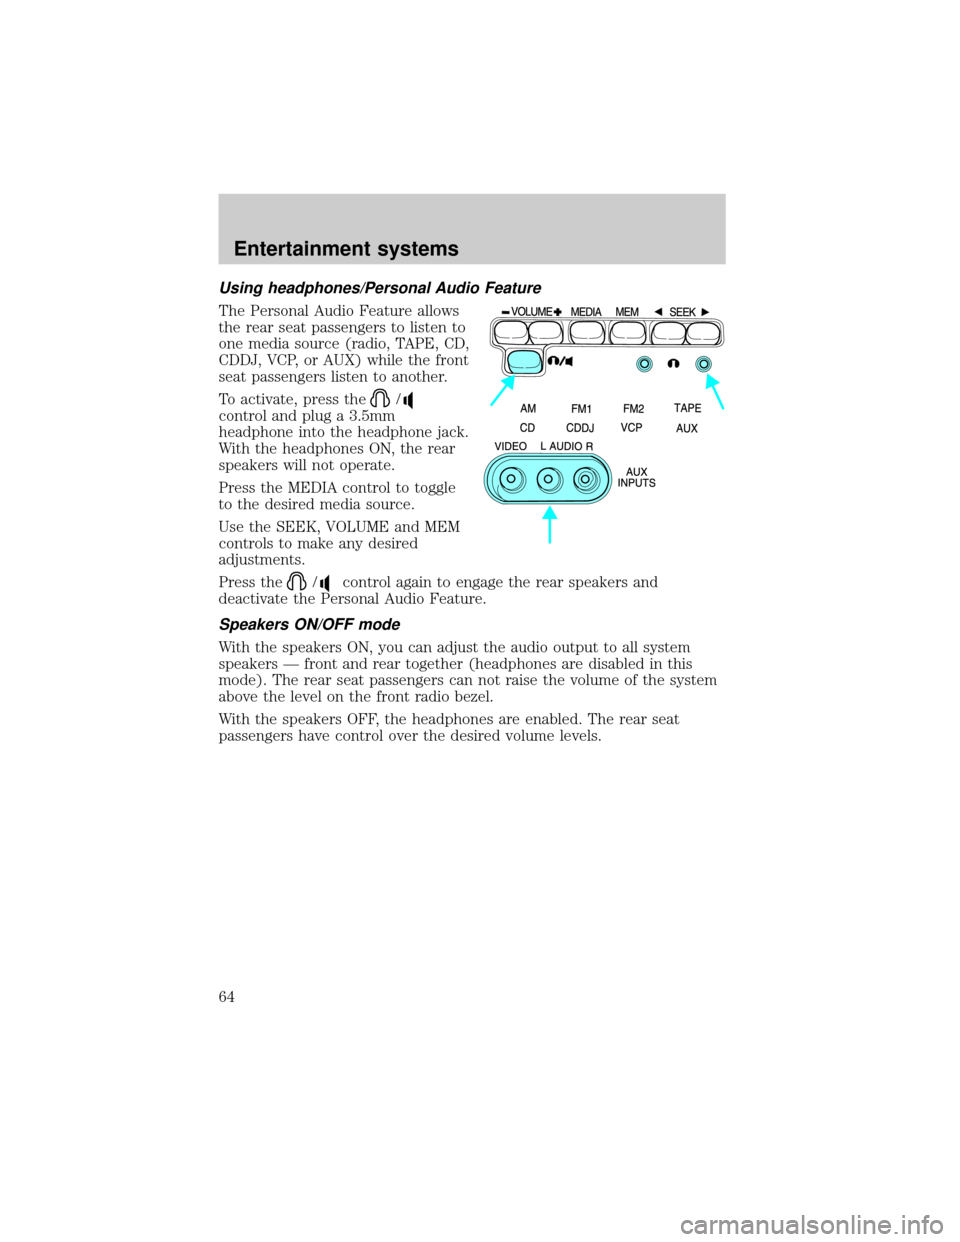
Using headphones/Personal Audio Feature
The Personal Audio Feature allows
the rear seat passengers to listen to
one media source (radio, TAPE, CD,
CDDJ, VCP, or AUX) while the front
seat passengers listen to another.
To activate, press the
/
control and plug a 3.5mm
headphone into the headphone jack.
With the headphones ON, the rear
speakers will not operate.
Press the MEDIA control to toggle
to the desired media source.
Use the SEEK, VOLUME and MEM
controls to make any desired
adjustments.
Press the
/control again to engage the rear speakers and
deactivate the Personal Audio Feature.
Speakers ON/OFF mode
With the speakers ON, you can adjust the audio output to all system
speakers Ð front and rear together (headphones are disabled in this
mode). The rear seat passengers can not raise the volume of the system
above the level on the front radio bezel.
With the speakers OFF, the headphones are enabled. The rear seat
passengers have control over the desired volume levels.
Entertainment systems
64
Page 271 of 272

P
Panic alarm feature, remote
entry system ..............................110
Parking brake ............................154
Parts (see Motorcraft parts) ....253
Power distribution box (see
Fuses) ........................................181
Power door locks ......................108
Power steering ..........................155
fluid, checking and adding ....243
fluid, refill capacity ................254
fluid, specifications .........258, 260
Preparing to drive your
vehicle ........................................156
R
Radio ............................................20
Relays ................................177, 184
Remote entry system .......109±110
illuminated entry ....................112
locking/unlocking
doors ................................108±110
panic alarm .............................110
replacement/additional
transmitters .............................111
replacing the batteries ...........110
S
Safety belts (see Safety
restraints) ....................16, 121±125
Safety defects, reporting ..........206
Safety restraints ................121±125
belt minder .............................127
cleaning the safety
belts .................................131, 212extension assembly ................131
for adults .........................122±124
for children .....................137±138
lap belt ....................................125
warning light and
chime ...................13, 15, 126±127
Safety seats for children ..........139
Seat belts (see Safety
restraints) ..................................121
Seats ..........................................113
child safety seats ....................139
Servicing your vehicle ..............214
Spark plugs,
specifications .............253, 260±261
Special notice
ambulance conversions ..............7
diesel-powered vehicles .............6
utility-type vehicles ....................7
Specification chart,
lubricants ...........................258, 260
Speed control ..............................98
Speedometer ...............................18
Starting your vehicle ........148±150
jump starting ..........................191
Steering wheel
controls ................................95, 98
tilting .........................................95
T
Temperature control (see
Climate control) ..........................78
Tires ...........................184, 248±250
changing ..........................184, 186
checking the pressure ............250
replacing ..........................187, 251
rotating ....................................250
Index
271