set clock FORD E SERIES 2003 4.G Owners Manual
[x] Cancel search | Manufacturer: FORD, Model Year: 2003, Model line: E SERIES, Model: FORD E SERIES 2003 4.GPages: 232, PDF Size: 3.4 MB
Page 16 of 232
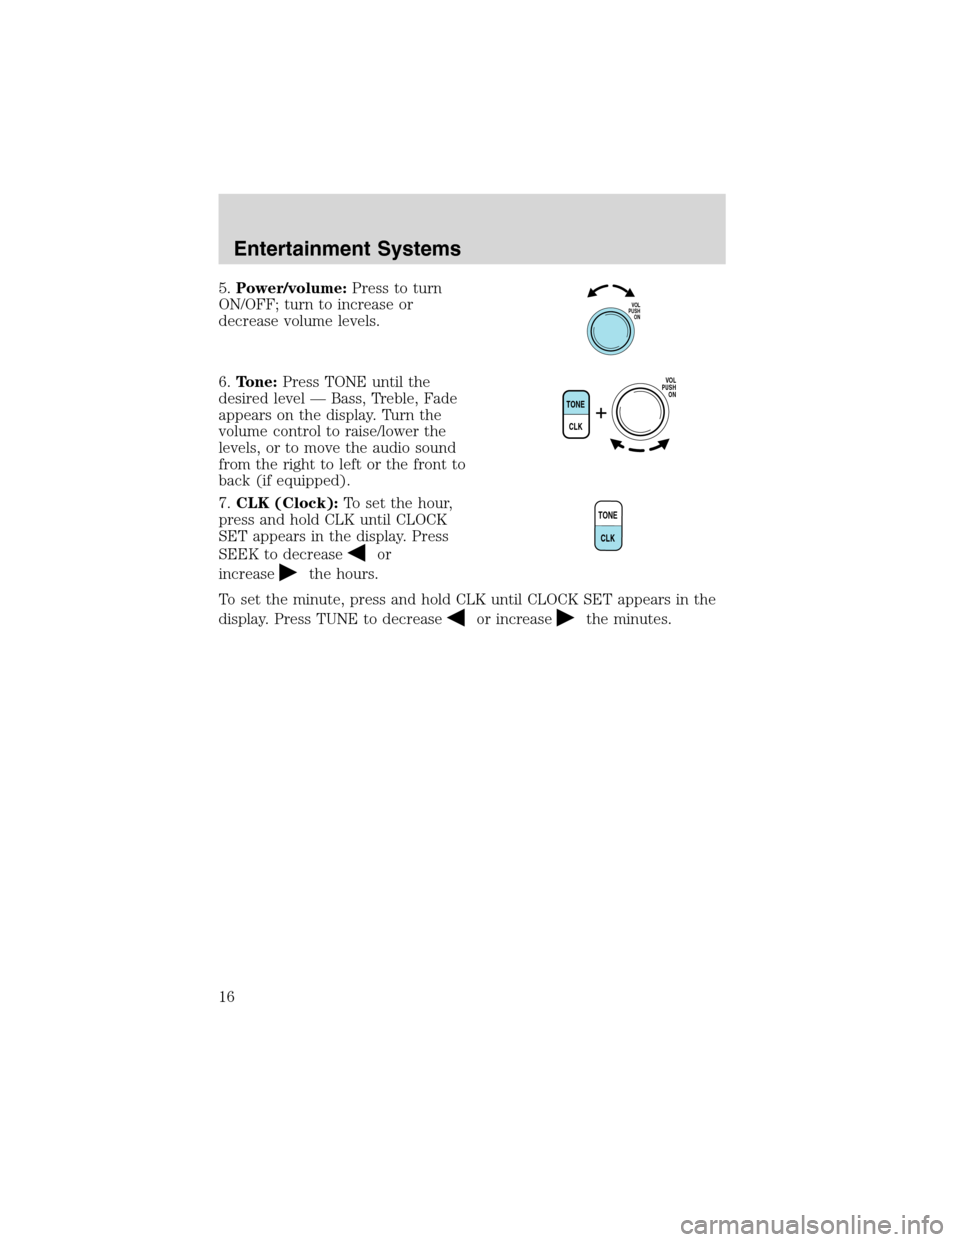
5.Power/volume:Press to turn
ON/OFF; turn to increase or
decrease volume levels.
6.Tone:Press TONE until the
desired level—Bass, Treble, Fade
appears on the display. Turn the
volume control to raise/lower the
levels, or to move the audio sound
from the right to left or the front to
back (if equipped).
7.CLK (Clock):To set the hour,
press and hold CLK until CLOCK
SET appears in the display. Press
SEEK to decrease
or
increase
the hours.
To set the minute, press and hold CLK until CLOCK SET appears in the
display. Press TUNE to decrease
or increasethe minutes.
VOL
PUSH
ON
TONE
CLK
VOL
PUSH
ON
TONE
CLK
Entertainment Systems
16
Page 21 of 232
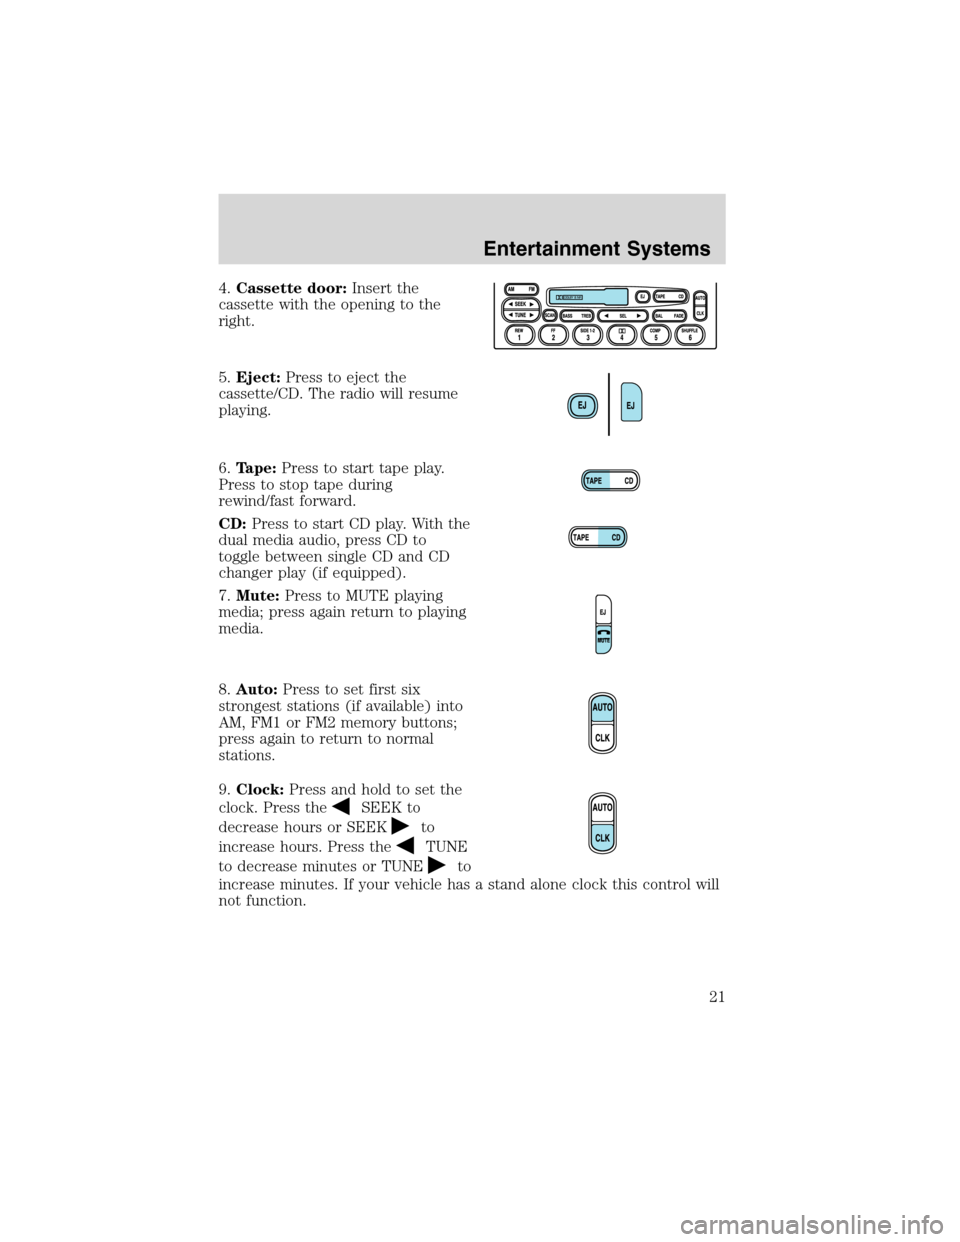
4.Cassette door:Insert the
cassette with the opening to the
right.
5.Eject:Press to eject the
cassette/CD. The radio will resume
playing.
6.Tape:Press to start tape play.
Press to stop tape during
rewind/fast forward.
CD:Press to start CD play. With the
dual media audio, press CD to
toggle between single CD and CD
changer play (if equipped).
7.Mute:Press to MUTE playing
media; press again return to playing
media.
8.Auto:Press to set first six
strongest stations (if available) into
AM, FM1 or FM2 memory buttons;
press again to return to normal
stations.
9.Clock:Press and hold to set the
clock. Press the
SEEK to
decrease hours or SEEK
to
increase hours. Press the
TUNE
to decrease minutes or TUNE
to
increase minutes. If your vehicle has a stand alone clock this control will
not function.
Entertainment Systems
21
Page 25 of 232
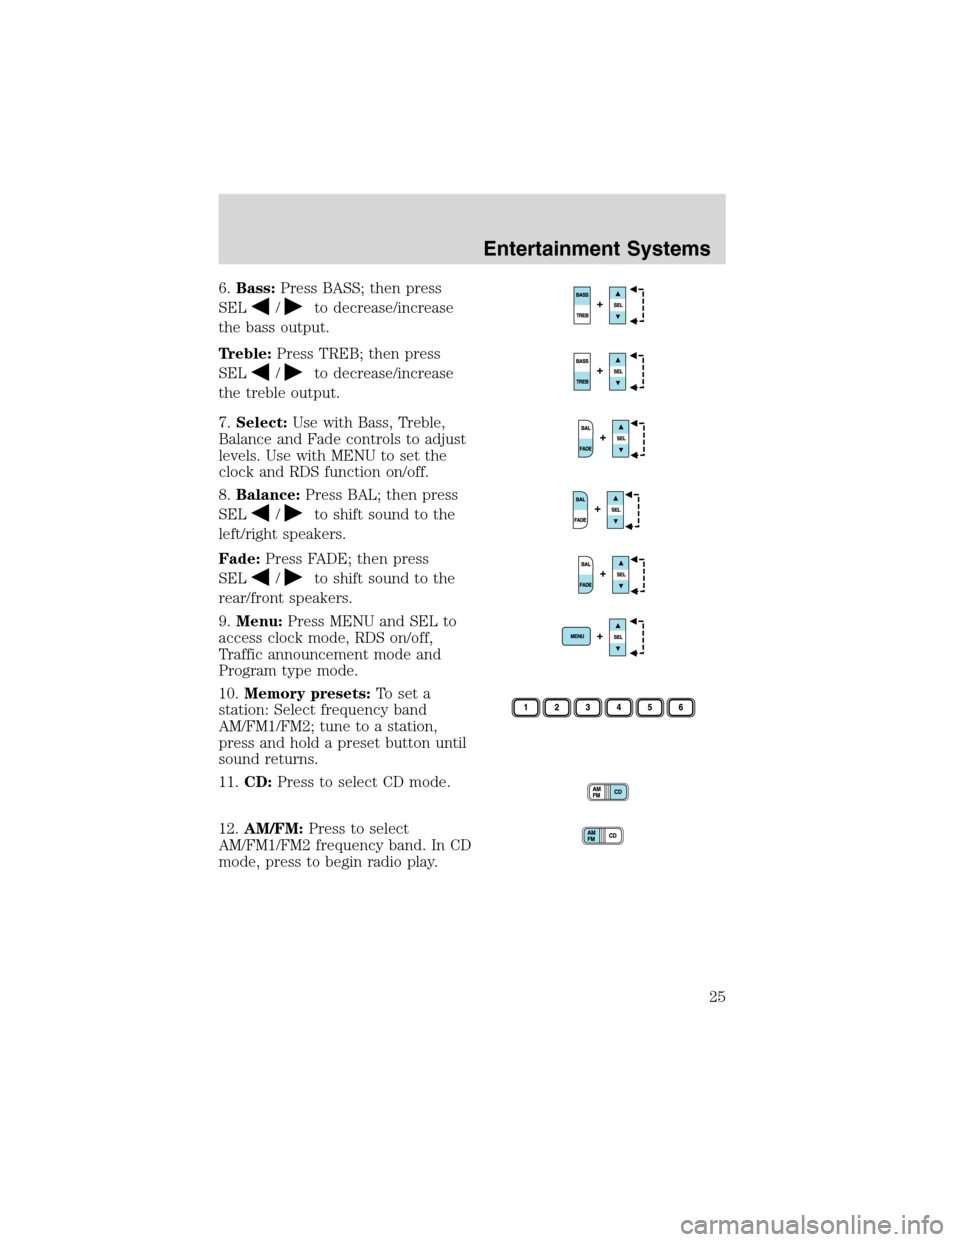
6.Bass:Press BASS; then press
SEL
/to decrease/increase
the bass output.
Treble:Press TREB; then press
SEL
/to decrease/increase
the treble output.
7.Select:Use with Bass, Treble,
Balance and Fade controls to adjust
levels. Use with MENU to set the
clock and RDS function on/off.
8.Balance:Press BAL; then press
SEL
/to shift sound to the
left/right speakers.
Fade:Press FADE; then press
SEL
/to shift sound to the
rear/front speakers.
9.Menu:Press MENU and SEL to
access clock mode, RDS on/off,
Traffic announcement mode and
Program type mode.
10.Memory presets:To set a
station: Select frequency band
AM/FM1/FM2; tune to a station,
press and hold a preset button until
sound returns.
11.CD:Press to select CD mode.
12.AM/FM:Press to select
AM/FM1/FM2 frequency band. In CD
mode, press to begin radio play.
Entertainment Systems
25
Page 148 of 232
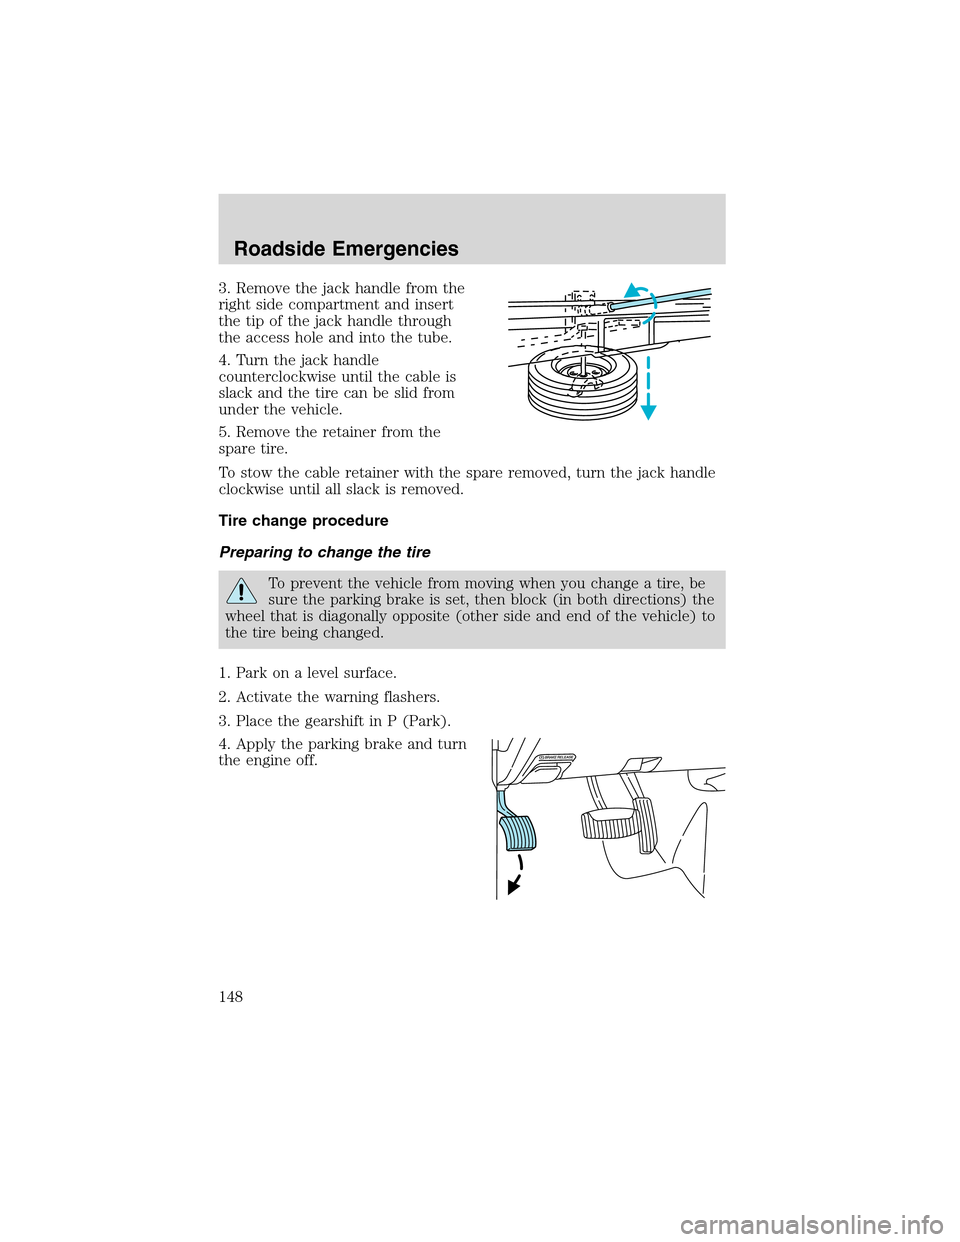
3. Remove the jack handle from the
right side compartment and insert
the tip of the jack handle through
the access hole and into the tube.
4. Turn the jack handle
counterclockwise until the cable is
slack and the tire can be slid from
under the vehicle.
5. Remove the retainer from the
spare tire.
To stow the cable retainer with the spare removed, turn the jack handle
clockwise until all slack is removed.
Tire change procedure
Preparing to change the tire
To prevent the vehicle from moving when you change a tire, be
sure the parking brake is set, then block (in both directions) the
wheel that is diagonally opposite (other side and end of the vehicle) to
the tire being changed.
1. Park on a level surface.
2. Activate the warning flashers.
3. Place the gearshift in P (Park).
4. Apply the parking brake and turn
the engine off.
Roadside Emergencies
148
Page 184 of 232
If the battery has been disconnected or a new battery has been installed,
the clock and radio settings must be reset once the battery is
reconnected.
•Always dispose of automotive
batteries in a responsible manner.
Follow your local authorized
standards for disposal. Call your
local authorized recycling center
to find out more about recycling
automotive batteries.
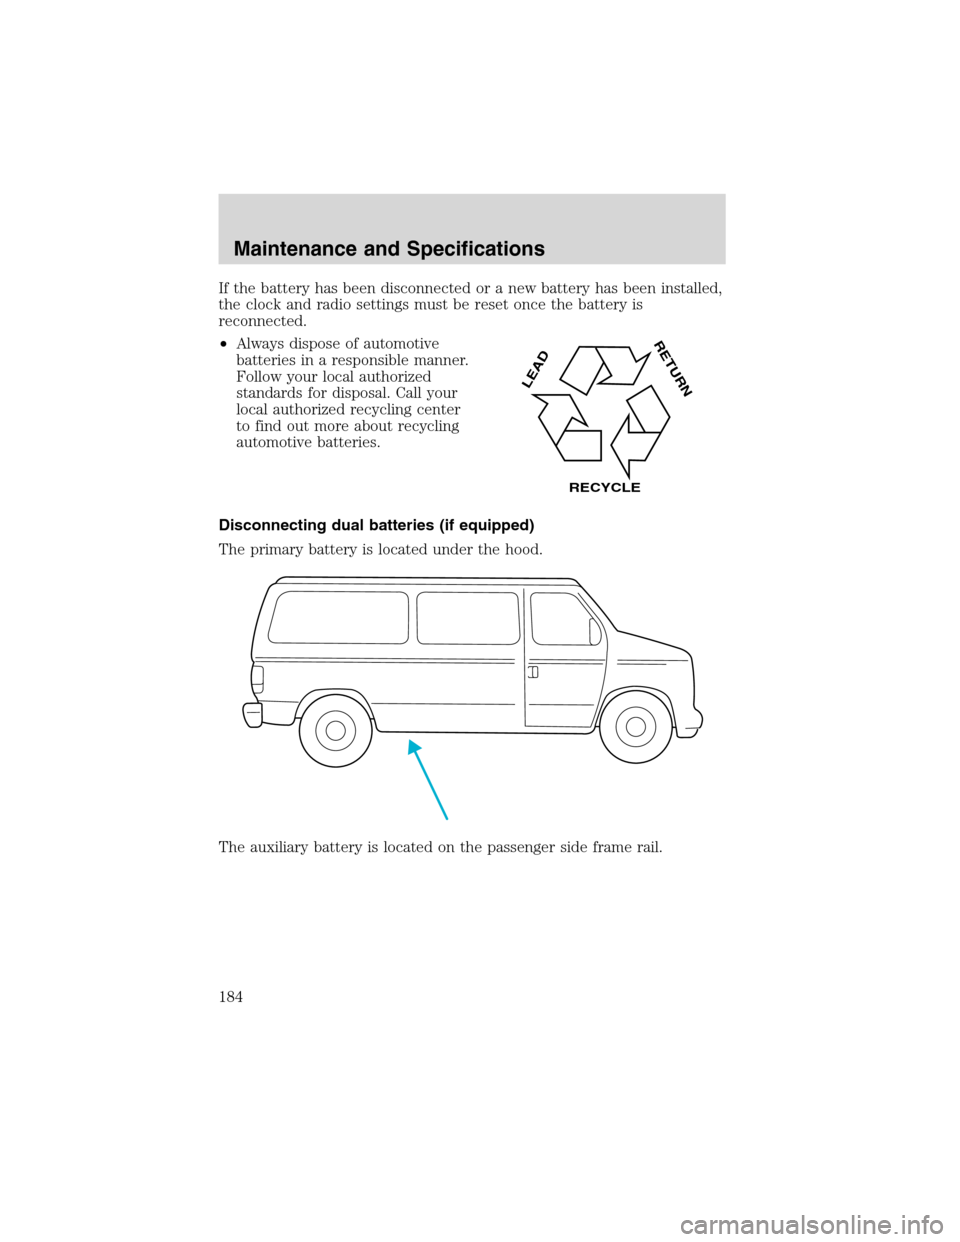
Disconnecting dual batteries (if equipped)
The primary battery is located under the hood.
The auxiliary battery is located on the passenger side frame rail.
LEAD
RETURN
RECYCLE
Maintenance and Specifications
184