FORD E SERIES 2009 4.G Manual PDF
Manufacturer: FORD, Model Year: 2009, Model line: E SERIES, Model: FORD E SERIES 2009 4.GPages: 321, PDF Size: 2.31 MB
Page 71 of 321
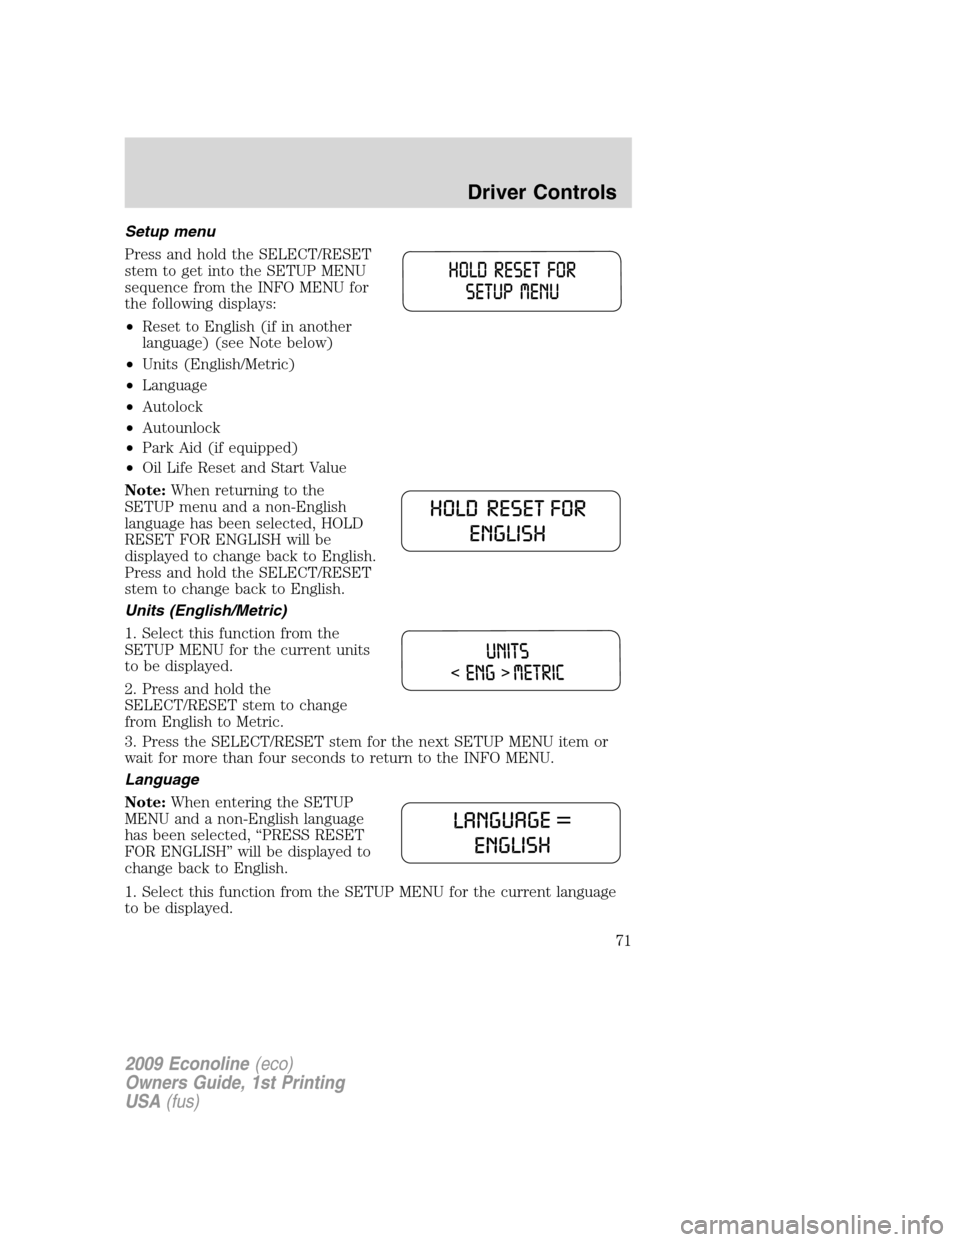
Setup menu
Press and hold the SELECT/RESET
stem to get into the SETUP MENU
sequence from the INFO MENU for
the following displays:
•Reset to English (if in another
language) (see Note below)
•Units (English/Metric)
•Language
•Autolock
•Autounlock
•Park Aid (if equipped)
•Oil Life Reset and Start Value
Note:When returning to the
SETUP menu and a non-English
language has been selected, HOLD
RESET FOR ENGLISH will be
displayed to change back to English.
Press and hold the SELECT/RESET
stem to change back to English.
Units (English/Metric)
1. Select this function from the
SETUP MENU for the current units
to be displayed.
2. Press and hold the
SELECT/RESET stem to change
from English to Metric.
3. Press the SELECT/RESET stem for the next SETUP MENU item or
wait for more than four seconds to return to the INFO MENU.
Language
Note:When entering the SETUP
MENU and a non-English language
has been selected, “PRESS RESET
FOR ENGLISH” will be displayed to
change back to English.
1. Select this function from the SETUP MENU for the current language
to be displayed.
2009 Econoline(eco)
Owners Guide, 1st Printing
USA(fus)
Driver Controls
71
Page 72 of 321
2. Press and hold the SELECT/RESET stem to select a new language.
Selectable languages are English, Spanish and French
3. Press the SELECT/RESET stem for the next SETUP MENU item or
wait for more than four seconds to return to the INFO MENU.
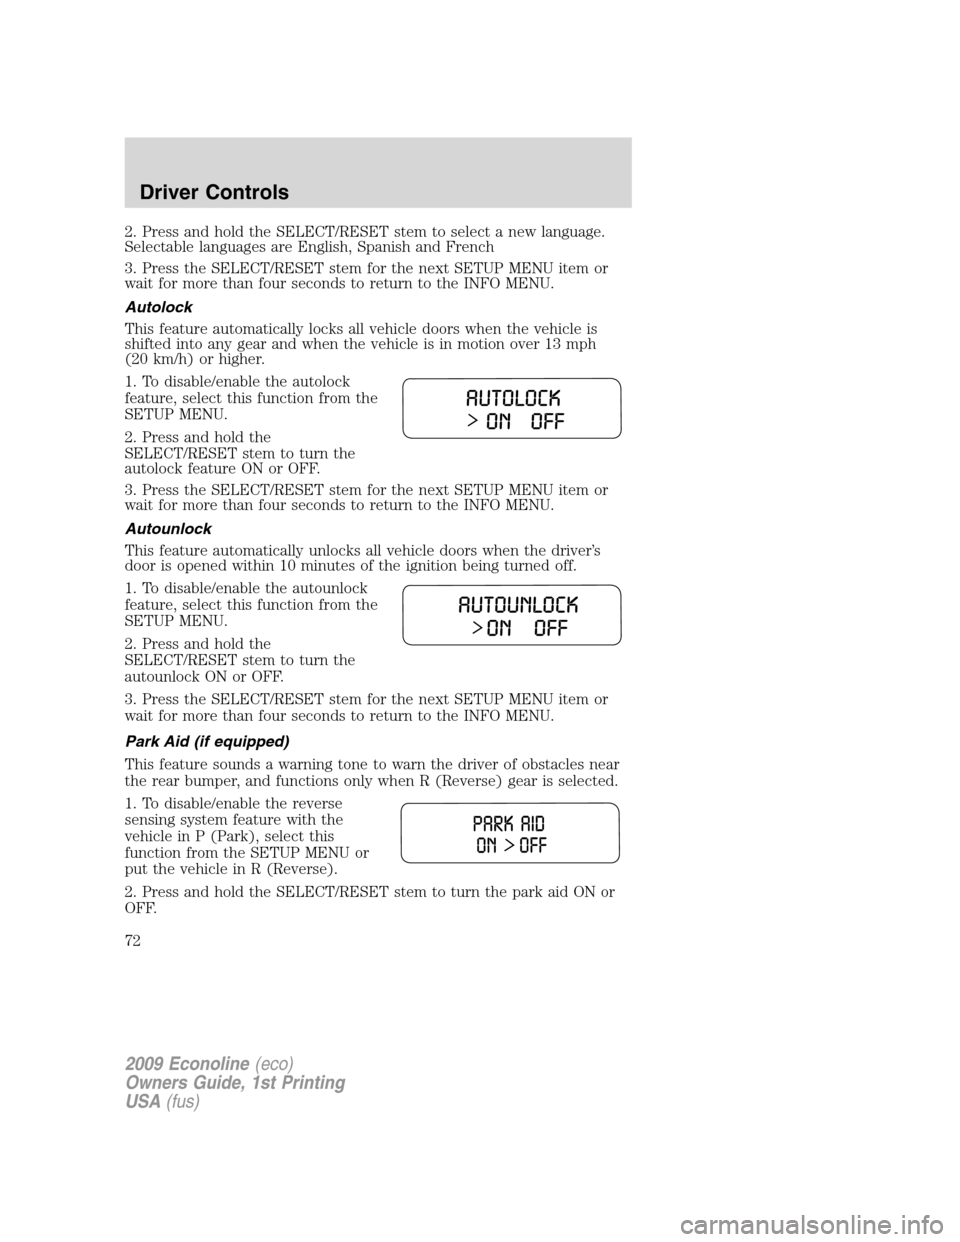
Autolock
This feature automatically locks all vehicle doors when the vehicle is
shifted into any gear and when the vehicle is in motion over 13 mph
(20 km/h) or higher.
1. To disable/enable the autolock
feature, select this function from the
SETUP MENU.
2. Press and hold the
SELECT/RESET stem to turn the
autolock feature ON or OFF.
3. Press the SELECT/RESET stem for the next SETUP MENU item or
wait for more than four seconds to return to the INFO MENU.
Autounlock
This feature automatically unlocks all vehicle doors when the driver’s
door is opened within 10 minutes of the ignition being turned off.
1. To disable/enable the autounlock
feature, select this function from the
SETUP MENU.
2. Press and hold the
SELECT/RESET stem to turn the
autounlock ON or OFF.
3. Press the SELECT/RESET stem for the next SETUP MENU item or
wait for more than four seconds to return to the INFO MENU.
Park Aid (if equipped)
This feature sounds a warning tone to warn the driver of obstacles near
the rear bumper, and functions only when R (Reverse) gear is selected.
1. To disable/enable the reverse
sensing system feature with the
vehicle in P (Park), select this
function from the SETUP MENU or
put the vehicle in R (Reverse).
2. Press and hold the SELECT/RESET stem to turn the park aid ON or
OFF.
2009 Econoline(eco)
Owners Guide, 1st Printing
USA(fus)
Driver Controls
72
Page 73 of 321
3. Press the SELECT/RESET stem for the next SETUP MENU item or
wait for more than four seconds to return to the INFO MENU.
Oil Life Reset and Start Value
An oil change is required whenever indicated by the message center and
according to the recommended maintenance schedule. USE ONLY
RECOMMENDED ENGINE OILS.
To reset the oil monitoring system to 100% after each oil change
(approximately 7,500 miles [12,000 km] or six months) perform the
following:
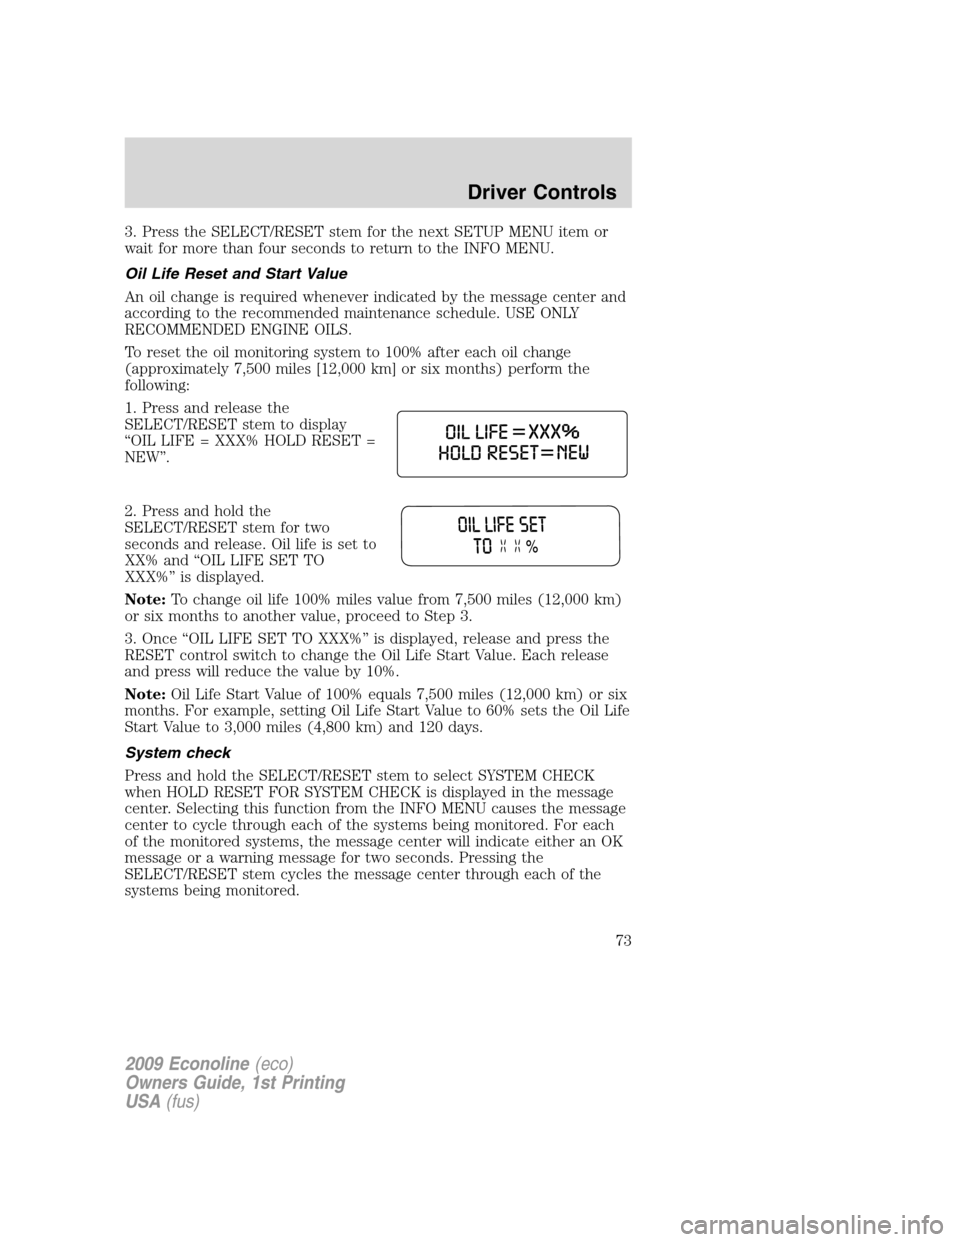
1. Press and release the
SELECT/RESET stem to display
“OIL LIFE = XXX% HOLD RESET =
NEW”.
2. Press and hold the
SELECT/RESET stem for two
seconds and release. Oil life is set to
XX% and “OIL LIFE SET TO
XXX%” is displayed.
Note:To change oil life 100% miles value from 7,500 miles (12,000 km)
or six months to another value, proceed to Step 3.
3. Once “OIL LIFE SET TO XXX%” is displayed, release and press the
RESET control switch to change the Oil Life Start Value. Each release
and press will reduce the value by 10%.
Note:Oil Life Start Value of 100% equals 7,500 miles (12,000 km) or six
months. For example, setting Oil Life Start Value to 60% sets the Oil Life
Start Value to 3,000 miles (4,800 km) and 120 days.
System check
Press and hold the SELECT/RESET stem to select SYSTEM CHECK
when HOLD RESET FOR SYSTEM CHECK is displayed in the message
center. Selecting this function from the INFO MENU causes the message
center to cycle through each of the systems being monitored. For each
of the monitored systems, the message center will indicate either an OK
message or a warning message for two seconds. Pressing the
SELECT/RESET stem cycles the message center through each of the
systems being monitored.
2009 Econoline(eco)
Owners Guide, 1st Printing
USA(fus)
Driver Controls
73
Page 74 of 321
The sequence of the system check report and how it appears in the
message center is as follows:
1. OIL LIFE
2. ENGINE HOURS (Diesel engine only)
3. ENGINE IDLE HOURS (Diesel engine only)
4. CHARGING SYSTEM
5. AIR FILTER (Diesel engine only)
6. DOOR AJAR
7. BRAKE SYSTEM
8. TBC GAIN = XX.X
NO TRAILER (if equipped and no trailer connected)
9. TBC GAIN = XX.X
OUTPUT = ////// (if equipped and trailer connected)
10. XX MILES TO E FUEL LEVEL XXX
System warnings
System warnings alert you to possible problems or malfunctions in your
vehicle’s operating systems.
In the event of a multiple warning situation, the message center will
cycle the display to show all warnings by displaying each one for four
seconds.
The message center will display the last selected feature if there are no
more warning messages. This allows you to use the full functionality of
the message center after you acknowledge the warning by pressing the
SELECT/RESET stem and clearing the warning message.
Warning messages that have been reset are divided into two categories:
•They will reappear on the display 10 minutes from the reset.
•They will not reappear until an ignition off-on cycle has been
completed.
This acts as a reminder that these warning conditions still exist within
the vehicle.
2009 Econoline(eco)
Owners Guide, 1st Printing
USA(fus)
Driver Controls
74
Page 75 of 321
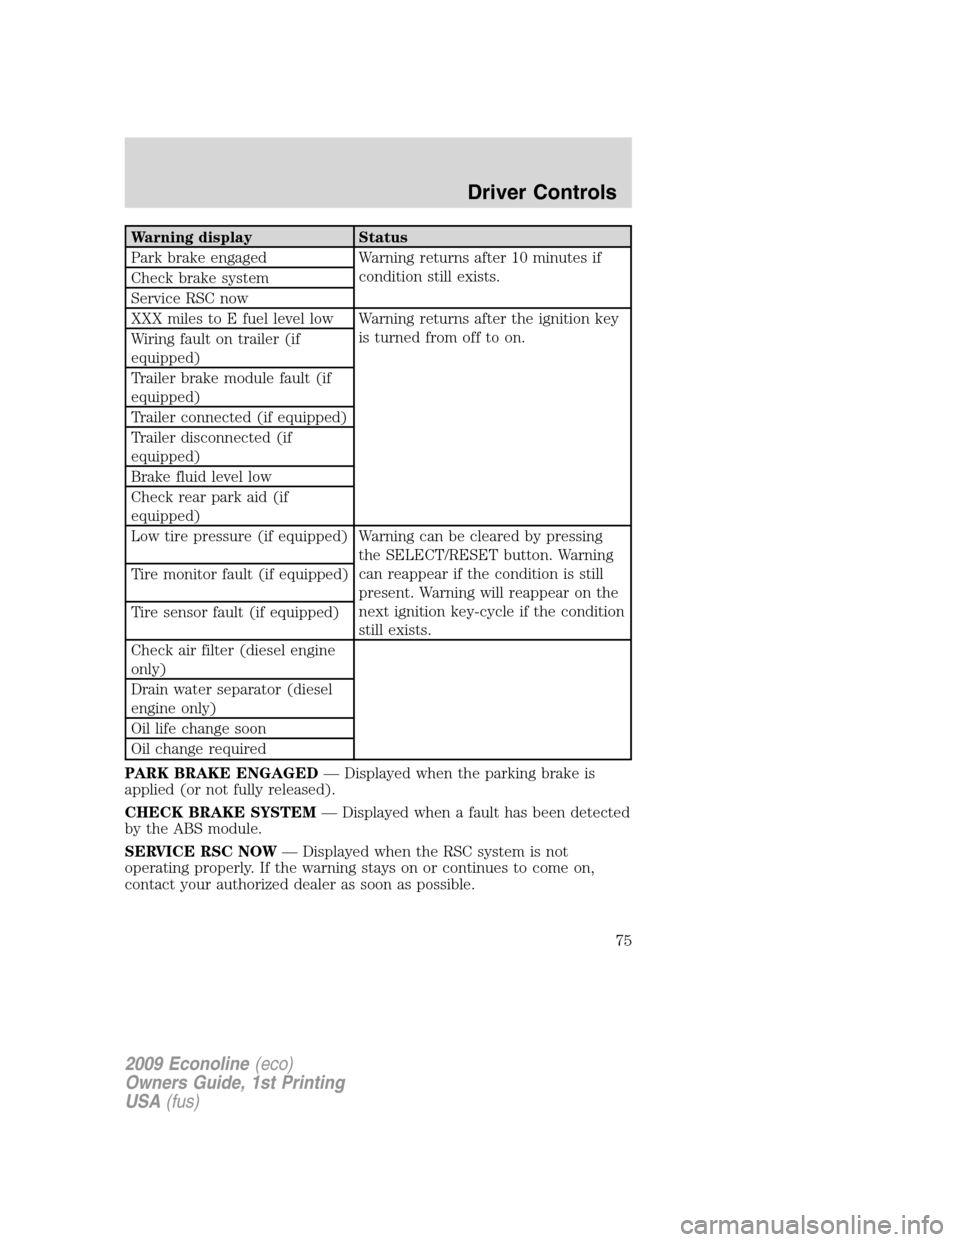
Warning display Status
Park brake engaged Warning returns after 10 minutes if
condition still exists.
Check brake system
Service RSC now
XXX miles to E fuel level low Warning returns after the ignition key
is turned from off to on.
Wiring fault on trailer (if
equipped)
Trailer brake module fault (if
equipped)
Trailer connected (if equipped)
Trailer disconnected (if
equipped)
Brake fluid level low
Check rear park aid (if
equipped)
Low tire pressure (if equipped) Warning can be cleared by pressing
the SELECT/RESET button. Warning
can reappear if the condition is still
present. Warning will reappear on the
next ignition key-cycle if the condition
still exists. Tire monitor fault (if equipped)
Tire sensor fault (if equipped)
Check air filter (diesel engine
only)
Drain water separator (diesel
engine only)
Oil life change soon
Oil change required
PARK BRAKE ENGAGED— Displayed when the parking brake is
applied (or not fully released).
CHECK BRAKE SYSTEM— Displayed when a fault has been detected
by the ABS module.
SERVICE RSC NOW— Displayed when the RSC system is not
operating properly. If the warning stays on or continues to come on,
contact your authorized dealer as soon as possible.
2009 Econoline(eco)
Owners Guide, 1st Printing
USA(fus)
Driver Controls
75
Page 76 of 321
XXX MILES TO E FUEL LEVEL LOW— Displayed as an early
reminder of a low fuel condition.
WIRING FAULT ON TRAILER (if equipped)— Displayed and
accompanied by a single chime if there are certain faults in the vehicle
wiring and trailer wiring/brake system. Refer toTrailer towingin the
Tires, Wheels and Loadingchapter for more information.
TRAILER BRAKE MODULE FAULT (if equipped)— Displayed and
accompanied by a single chime, in response to faults sensed by the TBC.
Refer toTrailer towingin theTires, Wheels and Loadingchapter for
more information.
TRAILER CONNECTED (if equipped)— Displayed when a correct
trailer connection (a trailer with electric trailer brakes) is sensed during
a given ignition cycle. Refer toTrailer towingin theTires, Wheels and
Loadingchapter for more information.
TRAILER DISCONNECTED (if equipped)— Displayed and
accompanied by a single chime when a trailer connection becomes
disconnected, either intentionally or unintentionally, and has been sensed
during a given ignition cycle. Refer toTrailer towingin theTires,
Wheels and Loadingchapter for more information.
BRAKE FLUID LEVEL LOW— Indicates the brake fluid level is low
and the brake system should be inspected immediately. Refer toBrake
fluidin theMaintenance and Specificationschapter.
CHECK REAR PARK AID(if equipped)— Displayed when the
transmission is in R (Reverse). Refer toReverse sensing systemin the
Drivingchapter.
LOW TIRE PRESSURE (if equipped)— Displayed when one or more
tires on your vehicle have low tire pressure. Refer toInflating Your
Tiresin theTires, Wheels and Loadingchapter.
TIRE PRESSURE MONITOR FAULT (if equipped)— Displayed
when the Tire Pressure Monitoring System is malfunctioning. If the
warning stays on or continues to come on, have the system inspected by
your authorized dealer.
TIRE PRESSURE SENSOR FAULT (if equipped)— Displayed when
a tire pressure sensor is malfunctioning, or your spare tire is in use. For
more information on how the system operates under these conditions,
refer toUnderstanding Your Tire Pressure Monitoring System
(TPMS)in theTires, Wheels and Loadingchapter. If the warning stays
on or continues to come on, contact your authorized dealer as soon as
possible
2009 Econoline(eco)
Owners Guide, 1st Printing
USA(fus)
Driver Controls
76
Page 77 of 321
CHECK AIR FILTER (Diesel engine only)— Refer toInstrument
Clusterin your6.0 and 6.4 Liter Power Stroke Direct Injection Turbo
Diesel Owner’s Guide Supplement.
DRAIN WATER SEPARATOR (Diesel engine only)— Displayed
when the water separator has reached a predetermined capacity and
needs to be drained. Refer to your6.0 and 6.4 Liter Power Stroke
Direct Injection Turbo Diesel Owner’s Guide Supplementfor more
information.
OIL LIFE CHANGE SOON— Displayed when the engine oil life
remaining is 5% or less. When oil life left is between 5% and 0%, the
ENGINE OIL CHANGE SOON message will be displayed.
OIL CHANGE REQUIRED— Displayed when the oil life left reaches
0%, the OIL CHANGE REQUIRED message will be displayed. OIL LIFE
OK displays after you have changed the oil.
2009 Econoline(eco)
Owners Guide, 1st Printing
USA(fus)
Driver Controls
77
Page 78 of 321
KEYS
The key operates all locks on your vehicle. You should always carry a
second key with you in a safe place in case you require it in an
emergency.
If your vehicle is equipped with the SecuriLock™ Passive Anti-theft
system, your keys are electronically coded to your vehicle; using a
non-coded key will not permit your vehicle to start. If you lose your
dealer supplied keys, replacement keys are available through your
authorized dealer.
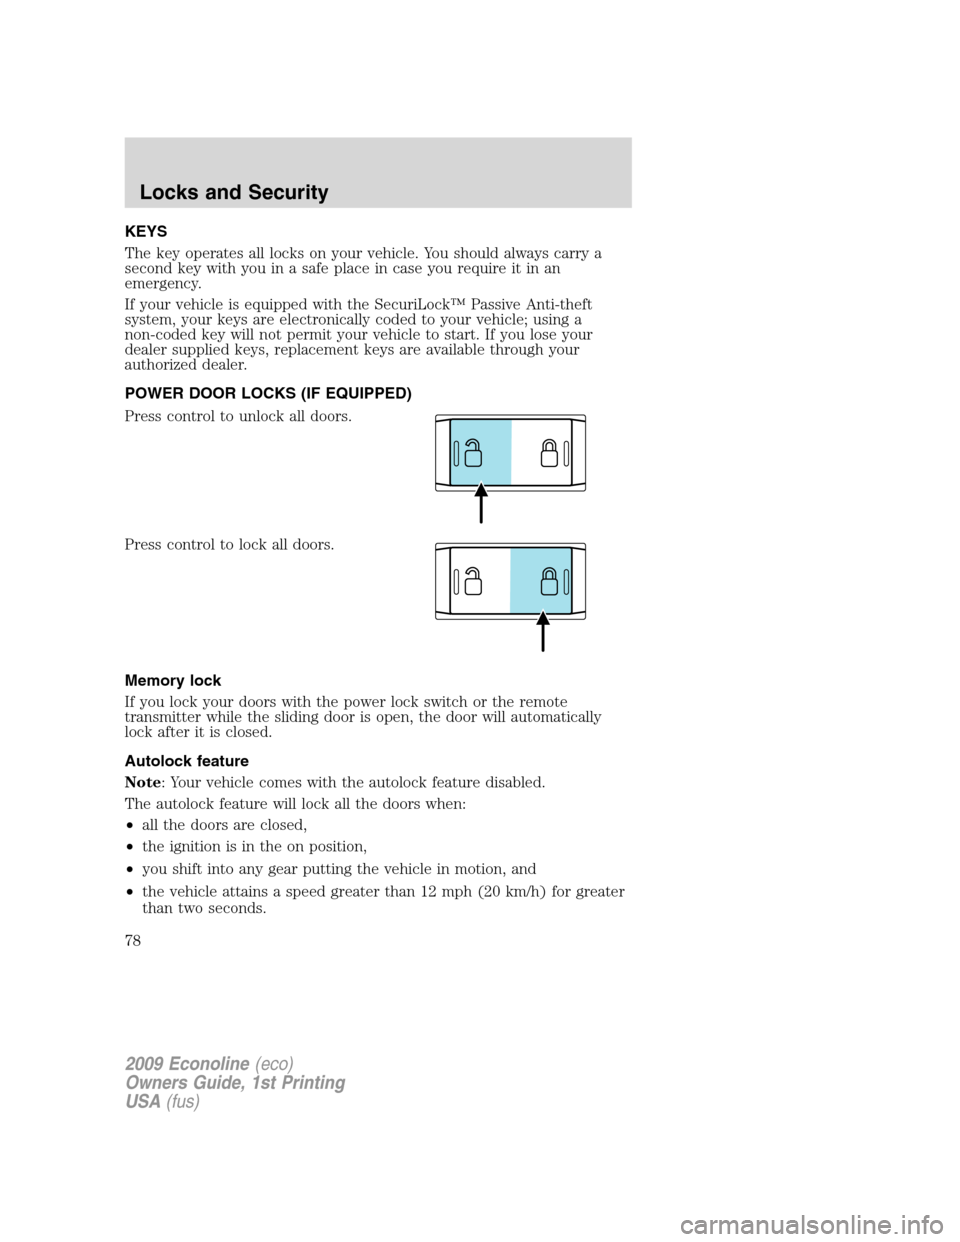
POWER DOOR LOCKS (IF EQUIPPED)
Press control to unlock all doors.
Press control to lock all doors.
Memory lock
If you lock your doors with the power lock switch or the remote
transmitter while the sliding door is open, the door will automatically
lock after it is closed.
Autolock feature
Note: Your vehicle comes with the autolock feature disabled.
The autolock feature will lock all the doors when:
•all the doors are closed,
•the ignition is in the on position,
•you shift into any gear putting the vehicle in motion, and
•the vehicle attains a speed greater than 12 mph (20 km/h) for greater
than two seconds.
2009 Econoline(eco)
Owners Guide, 1st Printing
USA(fus)
Locks and Security
78
Page 79 of 321
The autolock feature repeats when:
•any door is opened then closed while the ignition is in the on position
and the vehicle speed is 9 mph (15 km/h) or lower, and
•the vehicle then attains a speed greater than 12 mph (20 km/h) for
greater than two seconds.
Deactivating/activating autolock feature
Your vehicle comes with the autolock feature disabled; there are two
methods to enable/disable this feature:
•Through your authorized dealer, or
•by using a power door unlock/lock procedure, or
•by using the instrument cluster message center (if equipped). Refer to
Message centerin theDriver Controlschapter,or by using the
instrument cluster message center (if equipped).
Power door lock switch autolock enable/disable procedure
Before starting, ensure the ignition is in the off position and all vehicle
doors are closed. You must complete Steps 1–5 within 30 seconds or the
procedure will have to be repeated. If the procedure needs to be
repeated, wait a minimum of 30 seconds before beginning again.
1. Place the key in the ignition and turn the ignition to the on position.
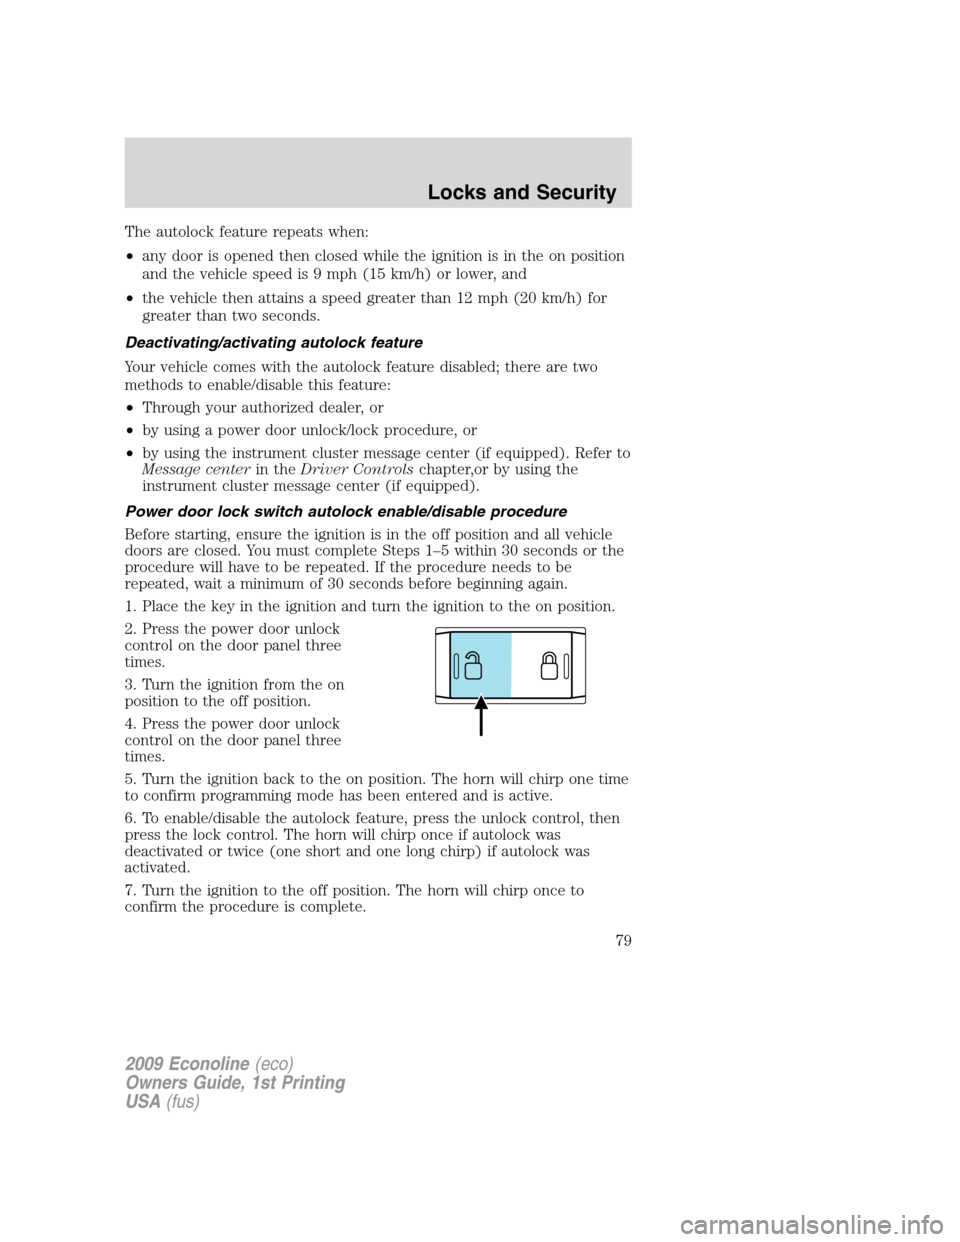
2. Press the power door unlock
control on the door panel three
times.
3. Turn the ignition from the on
position to the off position.
4. Press the power door unlock
control on the door panel three
times.
5. Turn the ignition back to the on position. The horn will chirp one time
to confirm programming mode has been entered and is active.
6. To enable/disable the autolock feature, press the unlock control, then
press the lock control. The horn will chirp once if autolock was
deactivated or twice (one short and one long chirp) if autolock was
activated.
7. Turn the ignition to the off position. The horn will chirp once to
confirm the procedure is complete.
2009 Econoline(eco)
Owners Guide, 1st Printing
USA(fus)
Locks and Security
79
Page 80 of 321
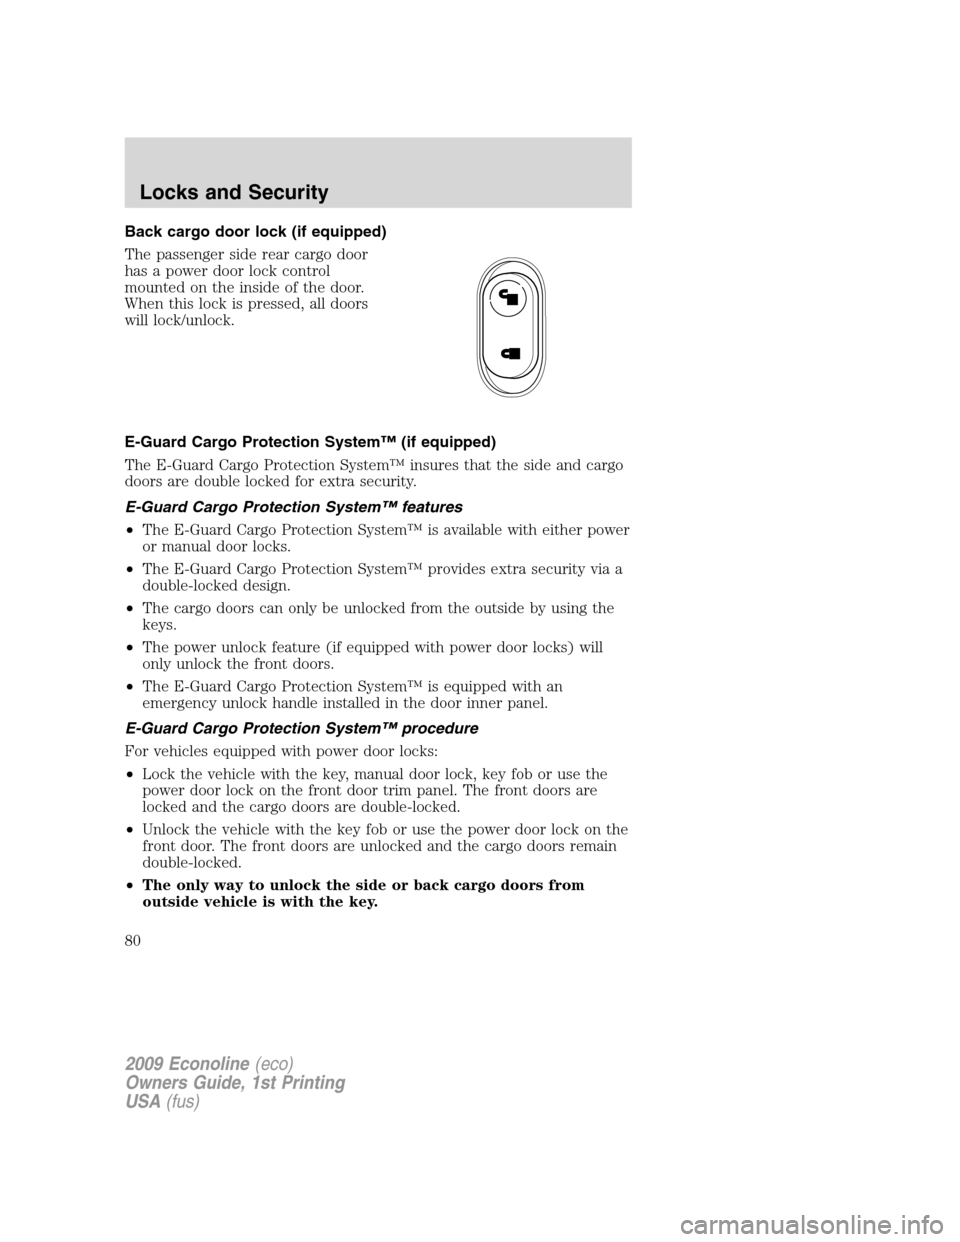
Back cargo door lock (if equipped)
The passenger side rear cargo door
has a power door lock control
mounted on the inside of the door.
When this lock is pressed, all doors
will lock/unlock.
E-Guard Cargo Protection System™ (if equipped)
The E-Guard Cargo Protection System™ insures that the side and cargo
doors are double locked for extra security.
E-Guard Cargo Protection System™ features
•The E-Guard Cargo Protection System™ is available with either power
or manual door locks.
•The E-Guard Cargo Protection System™ provides extra security via a
double-locked design.
•The cargo doors can only be unlocked from the outside by using the
keys.
•The power unlock feature (if equipped with power door locks) will
only unlock the front doors.
•The E-Guard Cargo Protection System™ is equipped with an
emergency unlock handle installed in the door inner panel.
E-Guard Cargo Protection System™ procedure
For vehicles equipped with power door locks:
•Lock the vehicle with the key, manual door lock, key fob or use the
power door lock on the front door trim panel. The front doors are
locked and the cargo doors are double-locked.
•Unlock the vehicle with the key fob or use the power door lock on the
front door. The front doors are unlocked and the cargo doors remain
double-locked.
•The only way to unlock the side or back cargo doors from
outside vehicle is with the key.
2009 Econoline(eco)
Owners Guide, 1st Printing
USA(fus)
Locks and Security
80