FORD E SERIES 2014 4.G Repair Manual
Manufacturer: FORD, Model Year: 2014, Model line: E SERIES, Model: FORD E SERIES 2014 4.GPages: 438, PDF Size: 5.12 MB
Page 61 of 438
E-Guard Cargo Protection System™ (If Equipped)
The system insures that the side and cargo doors are double locked for
extra security.
System Features
•The system is available with either power or manual door locks.
•The system provides extra security via a double-locked design.
•The cargo doors can only be unlocked from the outside by using the
keys.
•The power unlock feature (if equipped with power door locks) will
only unlock the front doors.
•The system is equipped with an emergency unlock handle installed in
the door inner panel.
System Procedure – Power Door Locks
•Lock the vehicle with the key, manual door lock, remote control or use
the power door lock on the front door trim panel. The front doors are
locked and the cargo doors are double-locked.
•Unlock the vehicle with the remote control or use the power door lock
on the front door. The front doors are unlocked and the cargo doors
remain double-locked.
Note:The only way to unlock the side or rear cargo doors from outside
the vehicle is with the key.
System Procedure – Manual Door Locks
•The front door locks can be locked by using either the key or the
manual door lock.
•In order to activate the system, use the key or the manual door lock
to lock the side and rear cargo doors.
Note:The cargo doors cannot be unlocked using the manual door lock.
60Locks
2014 Econoline(eco)
Owners Guide gf, 1st Printing, November 2012
USA(fus)
Page 62 of 438
Emergency Lock Release
WARNING:If equipped with E-Guard Cargo Protection
System™ occupants may become trapped in the cargo area
unless the exit procedure is followed. The cargo doors cannot be
unlocked using manual or power door locks or remote control. In an
emergency, to exit the cargo area, locate the emergency handle in the
rear door or side door, pull the emergency handle to unlock the door,
then unlatch the door using the inside release handle.
The emergency handle in the door trim panel unlocks the E-Guard Cargo
Protection System™.
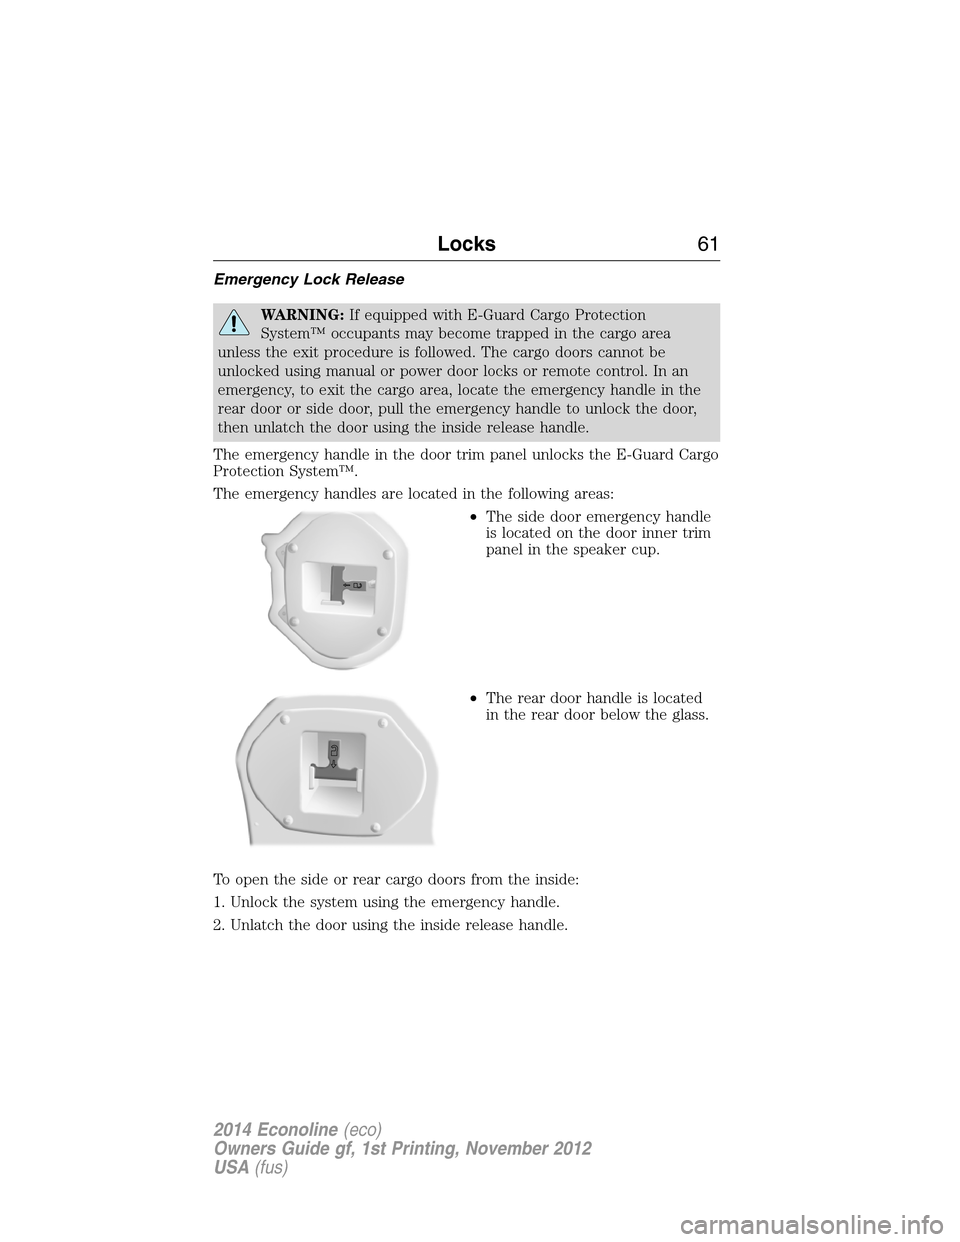
The emergency handles are located in the following areas:
•The side door emergency handle
is located on the door inner trim
panel in the speaker cup.
•The rear door handle is located
in the rear door below the glass.
To open the side or rear cargo doors from the inside:
1. Unlock the system using the emergency handle.
2. Unlatch the door using the inside release handle.
Locks61
2014 Econoline(eco)
Owners Guide gf, 1st Printing, November 2012
USA(fus)
Page 63 of 438
SECURILOCK® PASSIVE ANTI-THEFT SYSTEM (IF EQUIPPED)
Note:The system is not compatible with non-Ford aftermarket remote
start systems. Use of these systems may result in vehicle starting
problems and a loss of security protection.
Note:Metallic objects, electronic devices or a second coded key on the
same key chain may cause vehicle starting issues if they are too close to
the key when starting the engine. Prevent these objects from touching
the coded key while starting the engine. Switch the ignition off, move all
objects on the key chain away from the coded key and restart the engine
if a problem occurs.
Note:Do not leave a duplicate coded key in the vehicle. Always take
your keys and lock all doors when leaving the vehicle.
The system is an engine immobilization system. It helps prevent the
engine from starting unless a coded key programmed to your vehicle is
used. Using the wrong key may prevent the engine from starting. A
message may appear in the information display.
If you are unable to start the engine with a correctly coded key, a
malfunction has happened and a message may appear in the information
display.
Anti-Theft Indicator
The anti-theft indicator is located in the instrument cluster.
•When the ignition is off, the indicator will flash once every
two seconds to indicate the SecuriLock system is functioning
as a theft deterrent.
•When the ignition is on, the indicator will glow for three seconds, then
turn off to indicate normal system functionality.
Vehicles without the SecuriLock Passive Anti-theft system behave as follows:
•When the ignition is off, the indicator will not flash.
•When the ignition is on, the indicator will glow for three seconds to
indicate the engine is enabled.
Automatic Arming
Your vehicle arms immediately after you switch the ignition off.
Automatic Disarming
Your vehicle disarms when you switch the ignition on with a coded key.
62Security
2014 Econoline(eco)
Owners Guide gf, 1st Printing, November 2012
USA(fus)
Page 64 of 438
Replacement Keys
If your keys are lost or stolen and you do not have an extra coded key,
you will need to have your vehicle towed to an authorized dealer. The
key codes need to be erased from your vehicle and new coded keys will
need to be programmed.
Replacing coded keys can be very costly. Store an extra programmed key
away from the vehicle in a safe place to help prevent any
inconveniences. See an authorized dealer to purchase additional spare or
replacement keys.
Programming a Spare Key
Note:A maximum of eight coded keys can be programmed to your
vehicle.
You can program your own coded keys to your vehicle.
Only use SecuriLock® keys.
You must have two previously programmed coded keys and the new
unprogrammed key readily accessible. See your authorized dealer to have
the spare key programmed if two previously programmed coded keys are
not available
Read and understand the entire procedure before you begin.
1. Insert the first previously programmed coded key into the ignition.
2. Turn the ignition from off to on. Keep the ignition on for at least three
seconds, but no more than 10 seconds.
3. Turn the ignition off and remove the first coded key from the ignition.
4. After three seconds but within 10 seconds of removing the first coded
key, insert the second previously coded key into the ignition.
5. Turn the ignition from off to on. Keep the ignition on for at least one
second, but no more than 10 seconds.
6. Turn the ignition off and remove the second previously programmed
coded key from the ignition.
7. After three seconds but within 10 seconds of turning the ignition off
and removing the previously programmed coded key, insert the new
unprogrammed key into the ignition.
8. Turn the ignition from off to on. Keep the ignition on for at least one
second, but no more than 10 seconds.
9. Remove the newly programmed coded key from the ignition.
Security63
2014 Econoline(eco)
Owners Guide gf, 1st Printing, November 2012
USA(fus)
Page 65 of 438
If the key has been successfully programmed it will start the vehicle’s
engine. The theft indicator light will illuminate for three seconds and
then go out.
If the key was not successfully programmed, it will not start your
vehicle’s engine and the theft indicator light will flash rapidly. Wait
20 seconds and repeat Steps 1 through 8. Take your vehicle to your
authorized dealer to have the new key programmed if you are still
unsuccessful.
Wait 20 seconds and then repeat this procedure from Step 1 to program
an additional key.
64Security
2014 Econoline(eco)
Owners Guide gf, 1st Printing, November 2012
USA(fus)
Page 66 of 438
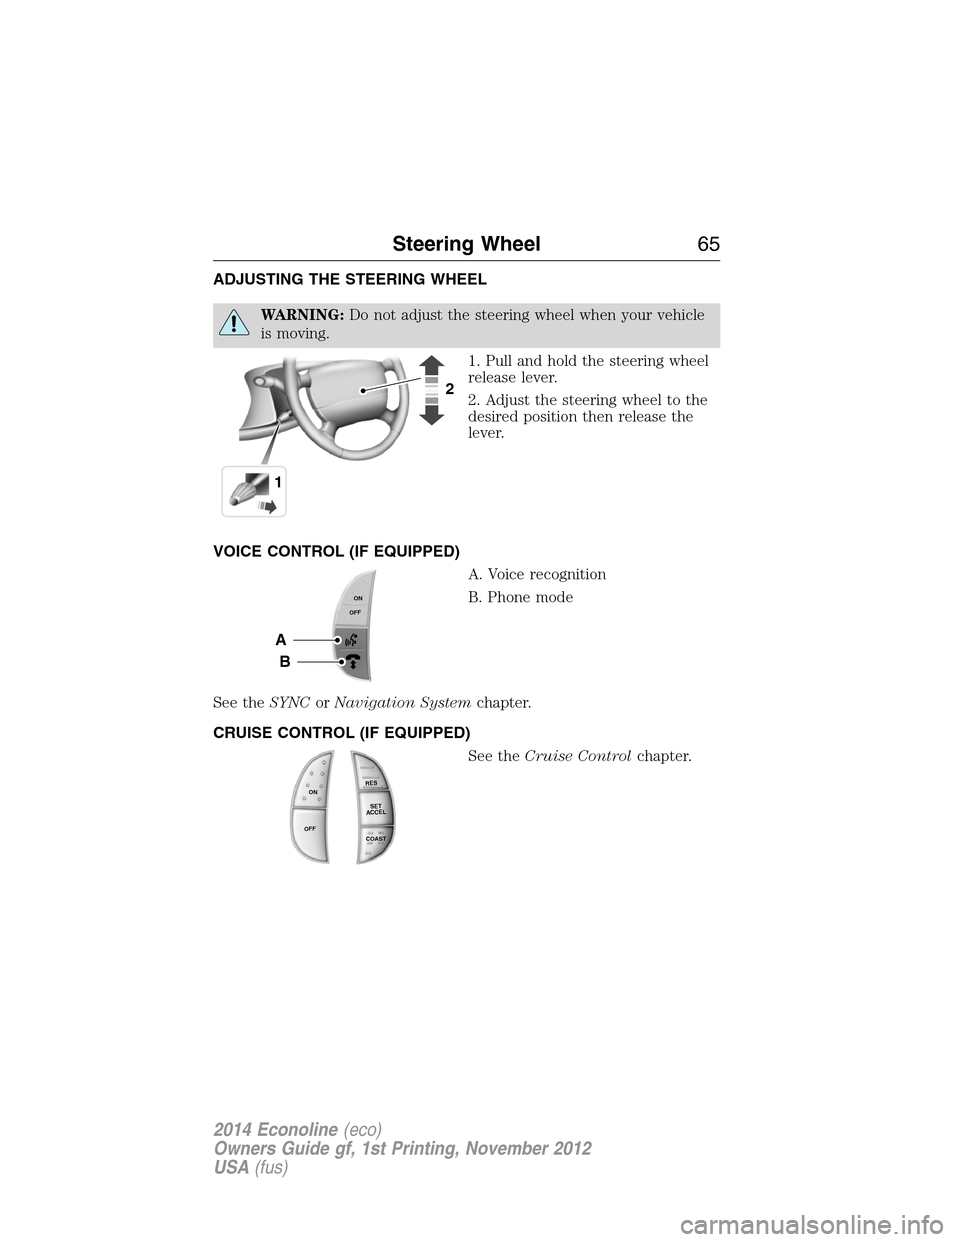
ADJUSTING THE STEERING WHEEL
WARNING:Do not adjust the steering wheel when your vehicle
is moving.
1. Pull and hold the steering wheel
release lever.
2. Adjust the steering wheel to the
desired position then release the
lever.
VOICE CONTROL (IF EQUIPPED)
A. Voice recognition
B. Phone mode
See theSYNCorNavigation Systemchapter.
CRUISE CONTROL (IF EQUIPPED)
See theCruise Controlchapter.
12
A
B
ONOFF
R
E
S
S
E
T
A
C
C
E
L
C
OA
S
T
ON
OFF
Steering Wheel65
2014 Econoline(eco)
Owners Guide gf, 1st Printing, November 2012
USA(fus)
Page 67 of 438
WINDSHIELD WIPERS
Note:Fully defrost the windshield before turning on the windshield wipers.
Note:Make sure the windshield wipers are turned off before entering a
car wash.
Note:Clean the windshield and wiper blades if they begin to leave streaks
or smears. If that does not resolve the issue, install new wiper blades.
Note:Do not operate the wipers on a dry windshield. This may scratch
the glass, damage the wiper blades or cause the wiper motor to bun out.
Always use the windshield washers before wiping a dry windshield.
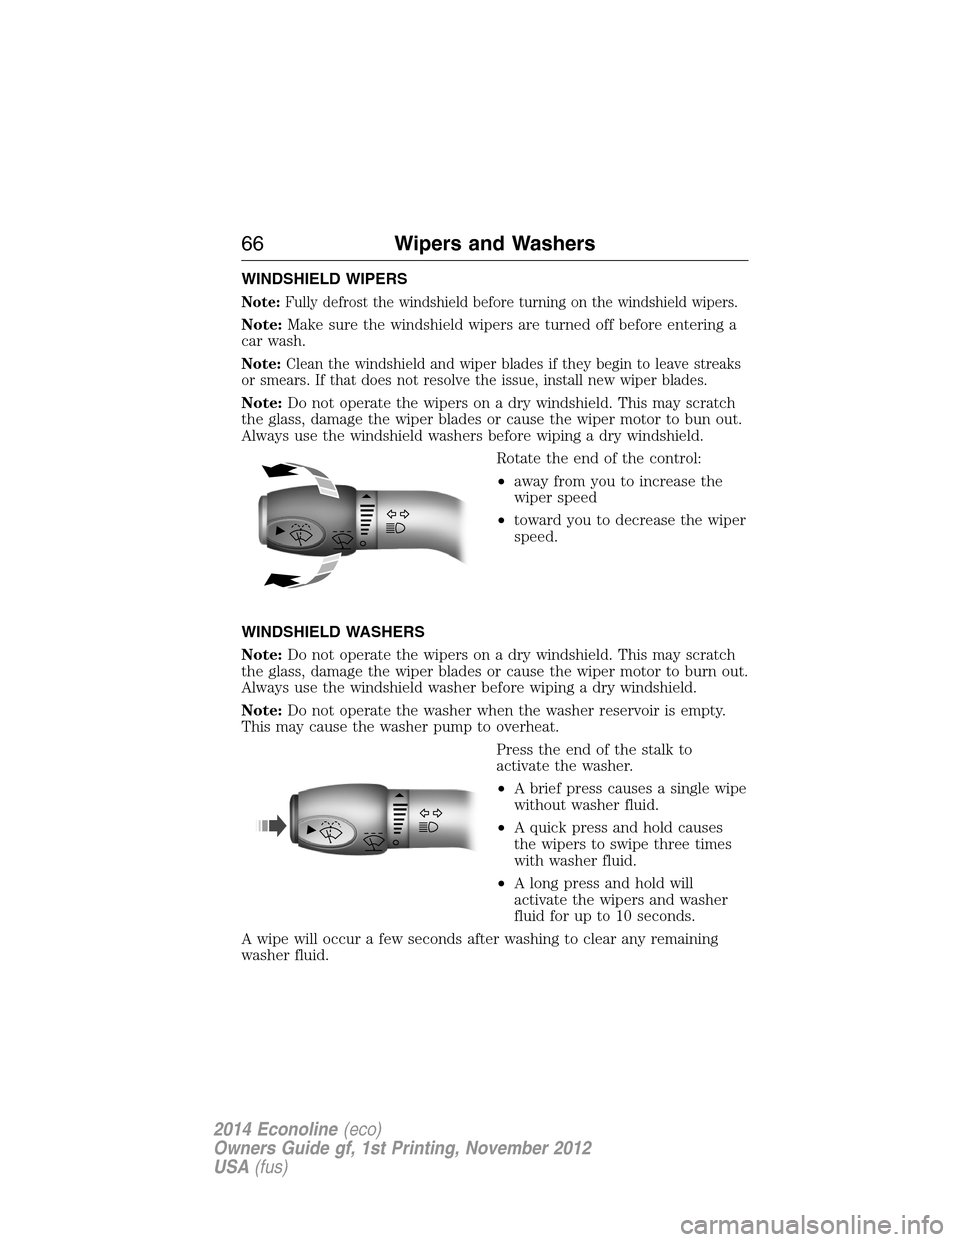
Rotate the end of the control:
•away from you to increase the
wiper speed
•toward you to decrease the wiper
speed.
WINDSHIELD WASHERS
Note:Do not operate the wipers on a dry windshield. This may scratch
the glass, damage the wiper blades or cause the wiper motor to burn out.
Always use the windshield washer before wiping a dry windshield.
Note:Do not operate the washer when the washer reservoir is empty.
This may cause the washer pump to overheat.
Press the end of the stalk to
activate the washer.
•A brief press causes a single wipe
without washer fluid.
•A quick press and hold causes
the wipers to swipe three times
with washer fluid.
•A long press and hold will
activate the wipers and washer
fluid for up to 10 seconds.
A wipe will occur a few seconds after washing to clear any remaining
washer fluid.
66Wipers and Washers
2014 Econoline(eco)
Owners Guide gf, 1st Printing, November 2012
USA(fus)
Page 68 of 438
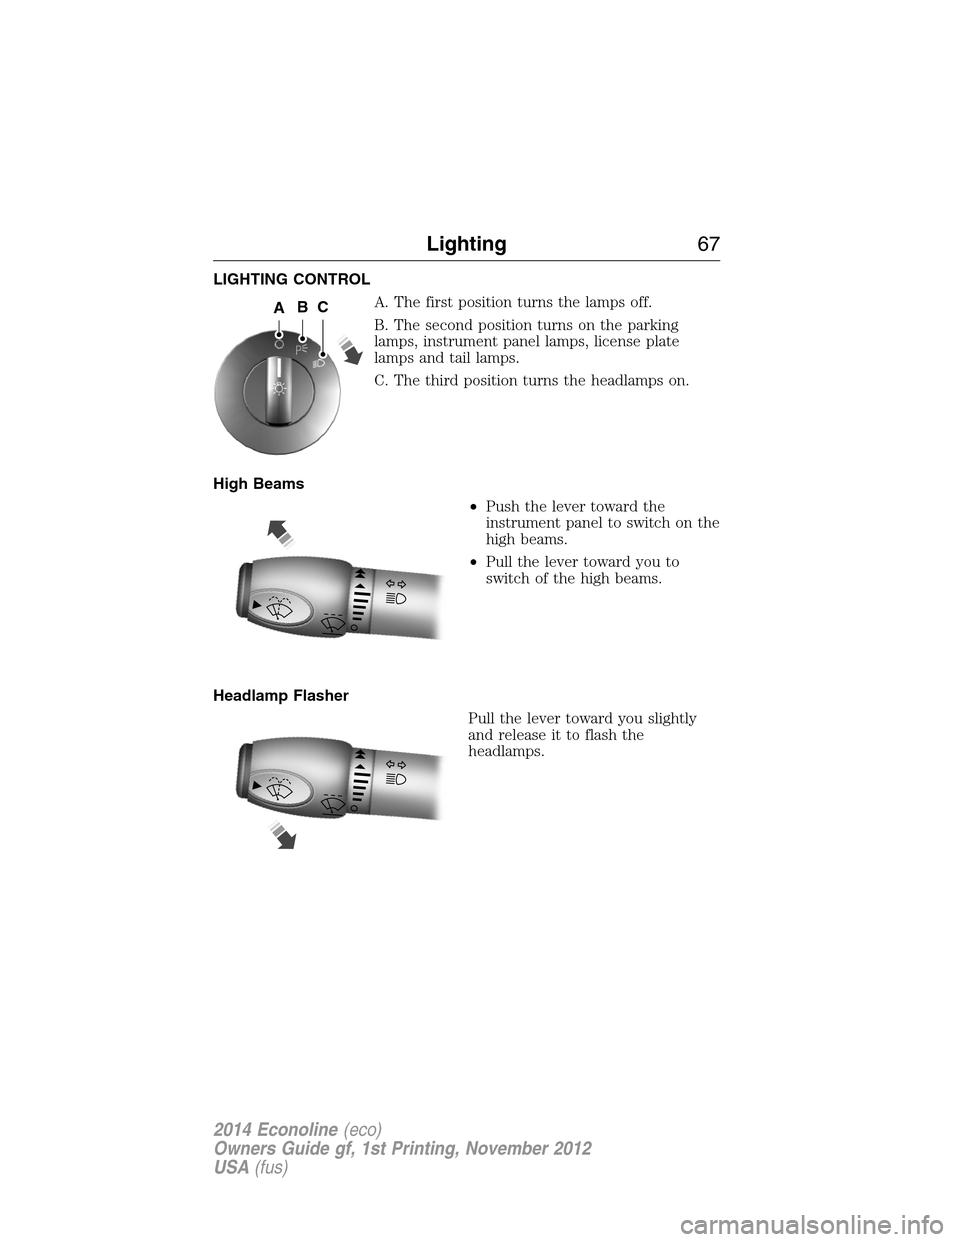
LIGHTING CONTROL
A. The first position turns the lamps off.
B. The second position turns on the parking
lamps, instrument panel lamps, license plate
lamps and tail lamps.
C. The third position turns the headlamps on.
High Beams
•Push the lever toward the
instrument panel to switch on the
high beams.
•Pull the lever toward you to
switch of the high beams.
Headlamp Flasher
Pull the lever toward you slightly
and release it to flash the
headlamps.
ABC
Lighting67
2014 Econoline(eco)
Owners Guide gf, 1st Printing, November 2012
USA(fus)
Page 69 of 438
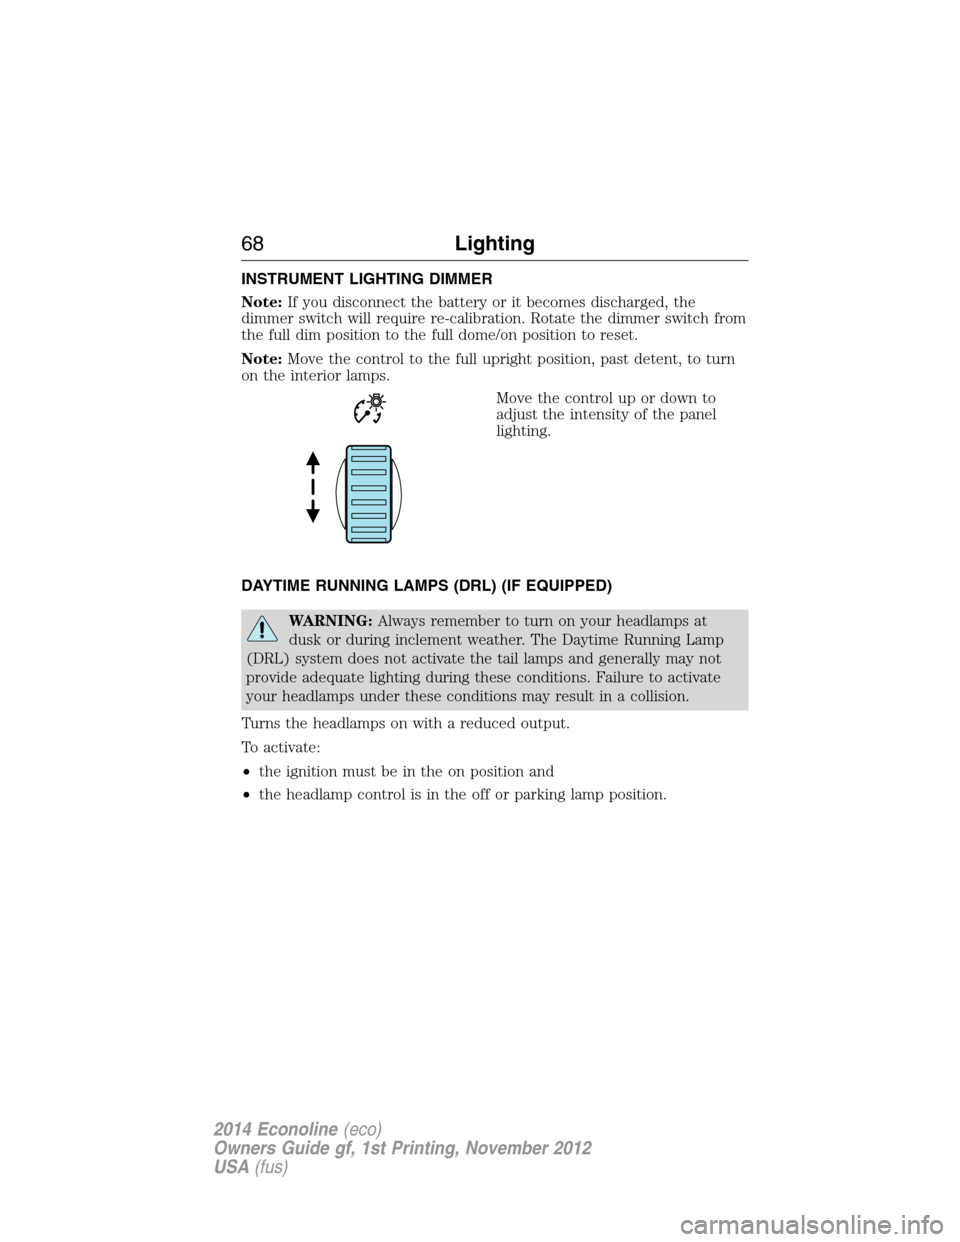
INSTRUMENT LIGHTING DIMMER
Note:If you disconnect the battery or it becomes discharged, the
dimmer switch will require re-calibration. Rotate the dimmer switch from
the full dim position to the full dome/on position to reset.
Note:Move the control to the full upright position, past detent, to turn
on the interior lamps.
Move the control up or down to
adjust the intensity of the panel
lighting.
DAYTIME RUNNING LAMPS (DRL) (IF EQUIPPED)
WARNING:Always remember to turn on your headlamps at
dusk or during inclement weather. The Daytime Running Lamp
(DRL) system does not activate the tail lamps and generally may not
provide adequate lighting during these conditions. Failure to activate
your headlamps under these conditions may result in a collision.
Turns the headlamps on with a reduced output.
To activate:
•the ignition must be in the on position and
•the headlamp control is in the off or parking lamp position.
68Lighting
2014 Econoline(eco)
Owners Guide gf, 1st Printing, November 2012
USA(fus)
Page 70 of 438
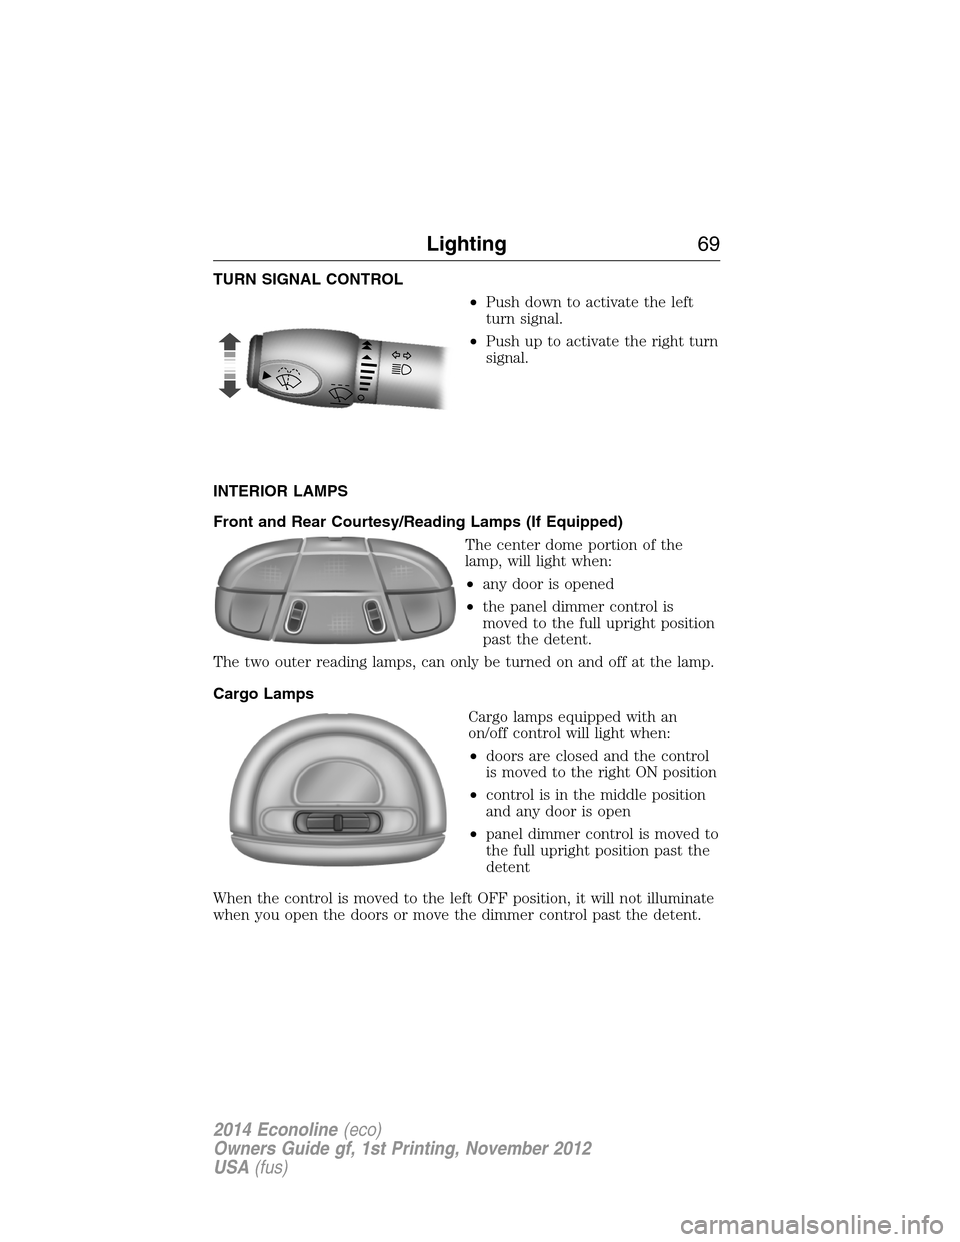
TURN SIGNAL CONTROL
•Push down to activate the left
turn signal.
•Push up to activate the right turn
signal.
INTERIOR LAMPS
Front and Rear Courtesy/Reading Lamps (If Equipped)
The center dome portion of the
lamp, will light when:
•any door is opened
•the panel dimmer control is
moved to the full upright position
past the detent.
The two outer reading lamps, can only be turned on and off at the lamp.
Cargo Lamps
Cargo lamps equipped with an
on/off control will light when:
•doors are closed and the control
is moved to the right ON position
•control is in the middle position
and any door is open
•panel dimmer control is moved to
the full upright position past the
detent
When the control is moved to the left OFF position, it will not illuminate
when you open the doors or move the dimmer control past the detent.
Lighting69
2014 Econoline(eco)
Owners Guide gf, 1st Printing, November 2012
USA(fus)