ECU FORD E SERIES 2018 User Guide
[x] Cancel search | Manufacturer: FORD, Model Year: 2018, Model line: E SERIES, Model: FORD E SERIES 2018Pages: 323, PDF Size: 7.09 MB
Page 60 of 323
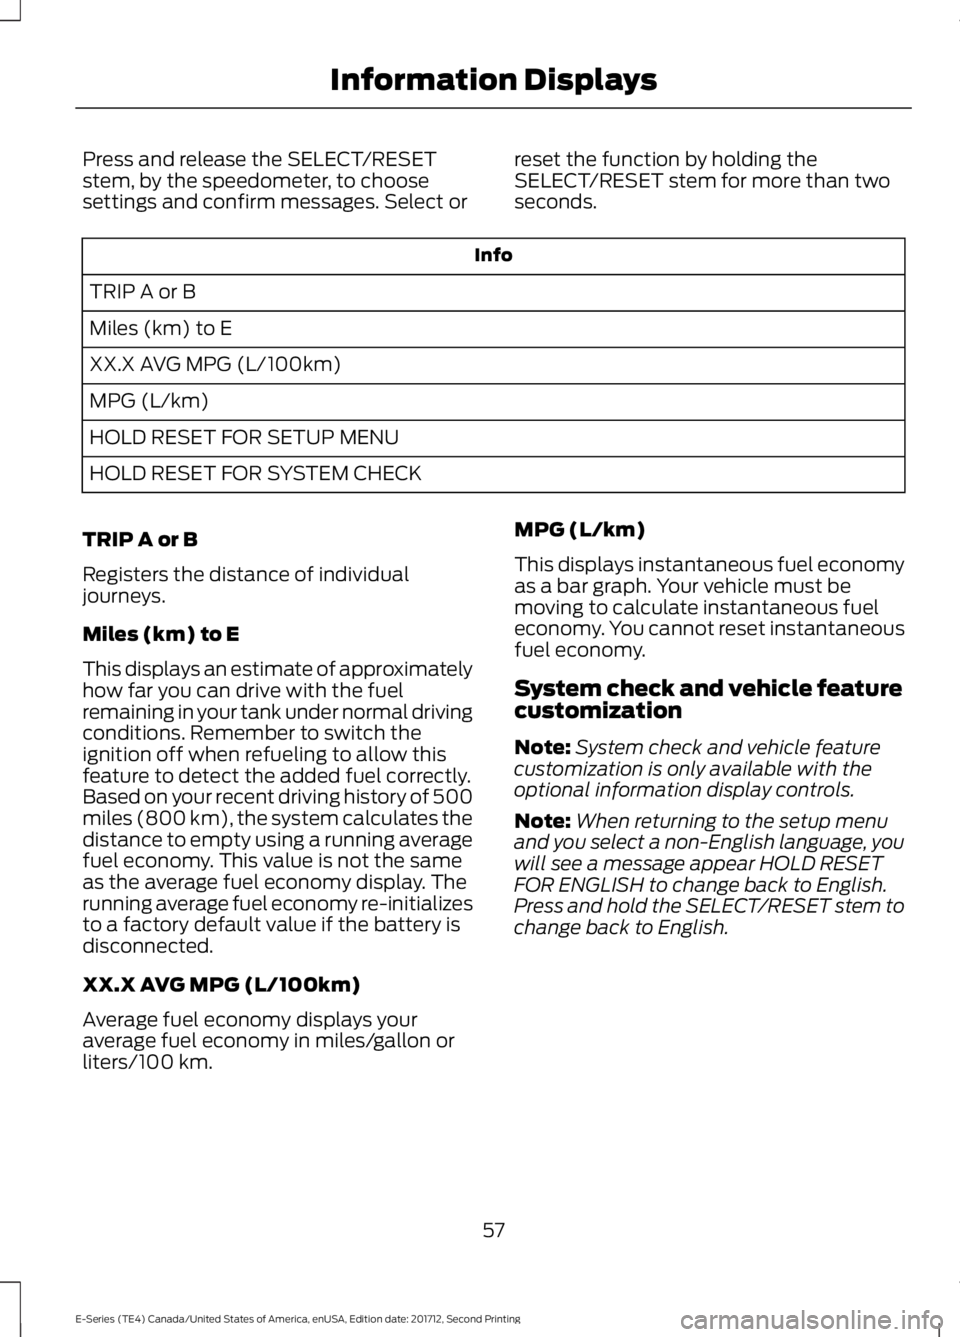
Press and release the SELECT/RESETstem, by the speedometer, to choosesettings and confirm messages. Select or
reset the function by holding theSELECT/RESET stem for more than twoseconds.
Info
TRIP A or B
Miles (km) to E
XX.X AVG MPG (L/100km)
MPG (L/km)
HOLD RESET FOR SETUP MENU
HOLD RESET FOR SYSTEM CHECK
TRIP A or B
Registers the distance of individualjourneys.
Miles (km) to E
This displays an estimate of approximatelyhow far you can drive with the fuelremaining in your tank under normal drivingconditions. Remember to switch theignition off when refueling to allow thisfeature to detect the added fuel correctly.Based on your recent driving history of 500miles (800 km), the system calculates thedistance to empty using a running averagefuel economy. This value is not the sameas the average fuel economy display. Therunning average fuel economy re-initializesto a factory default value if the battery isdisconnected.
XX.X AVG MPG (L/100km)
Average fuel economy displays youraverage fuel economy in miles/gallon orliters/100 km.
MPG (L/km)
This displays instantaneous fuel economyas a bar graph. Your vehicle must bemoving to calculate instantaneous fueleconomy. You cannot reset instantaneousfuel economy.
System check and vehicle featurecustomization
Note:System check and vehicle featurecustomization is only available with theoptional information display controls.
Note:When returning to the setup menuand you select a non-English language, youwill see a message appear HOLD RESETFOR ENGLISH to change back to English.Press and hold the SELECT/RESET stem tochange back to English.
57
E-Series (TE4) Canada/United States of America, enUSA, Edition date: 201712, Second Printing
Information Displays
Page 72 of 323
The front row outboard non-adjustablehead restraints consist of a trimmed foamcovering over the upper structure of theseatback. Properly adjust the seatback toan upright driving or riding position, so thatthe head restraint is positioned as close aspossible to the back of your head.
MANUAL SEATS (If Equipped)
WARNING
Make sure the seat fully locks intoplace by rocking it backward andforward. Not securing the seat intothe locked position can be dangerous in acrash and could cause serious personalinjury or death.
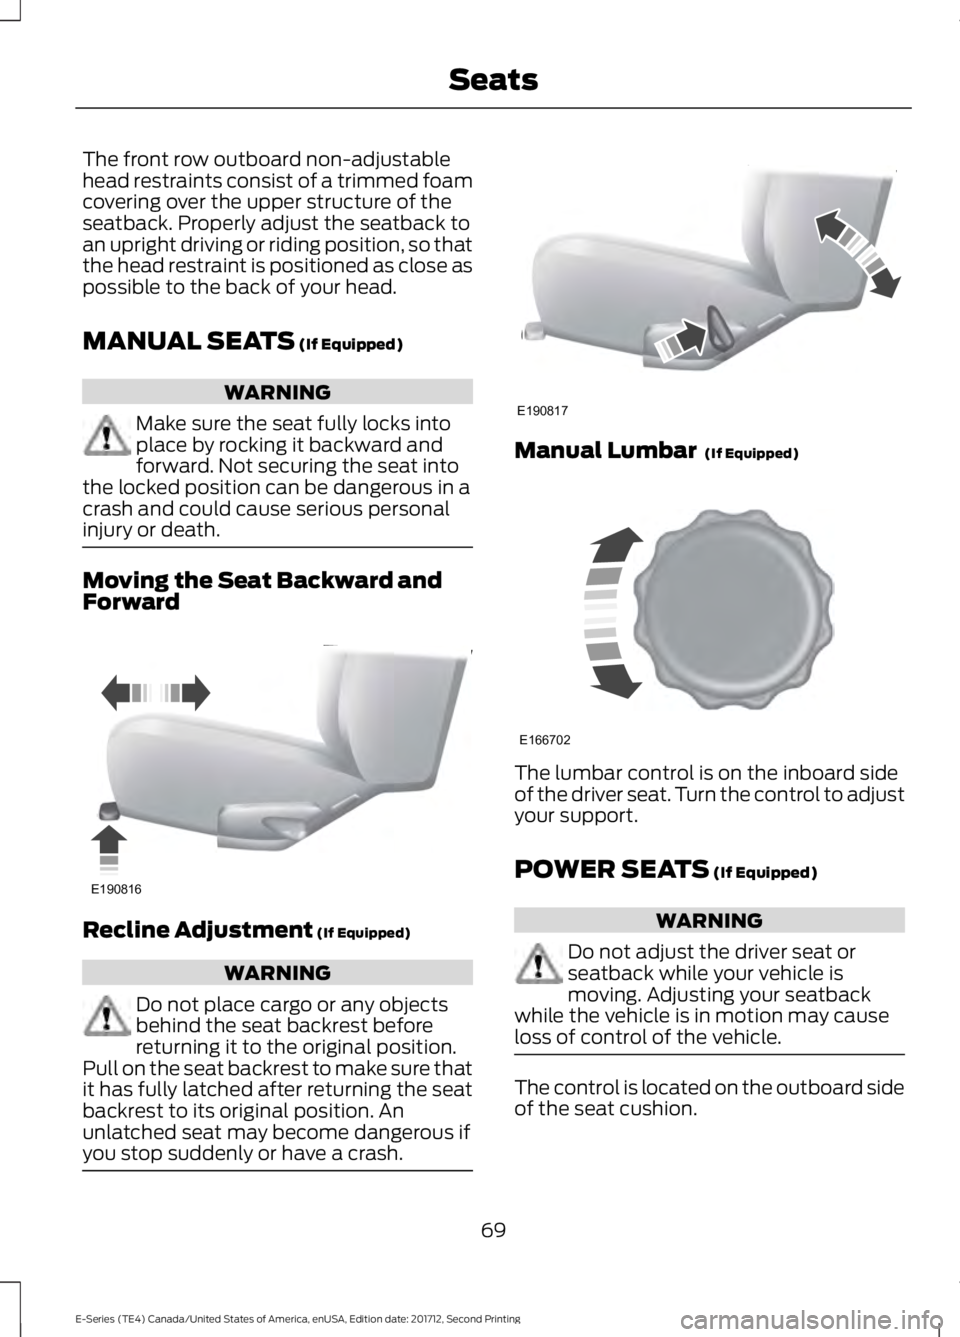
Moving the Seat Backward andForward
Recline Adjustment (If Equipped)
WARNING
Do not place cargo or any objectsbehind the seat backrest beforereturning it to the original position.Pull on the seat backrest to make sure thatit has fully latched after returning the seatbackrest to its original position. Anunlatched seat may become dangerous ifyou stop suddenly or have a crash.
Manual Lumbar (If Equipped)
The lumbar control is on the inboard sideof the driver seat. Turn the control to adjustyour support.
POWER SEATS (If Equipped)
WARNING
Do not adjust the driver seat orseatback while your vehicle ismoving. Adjusting your seatbackwhile the vehicle is in motion may causeloss of control of the vehicle.
The control is located on the outboard sideof the seat cushion.
69
E-Series (TE4) Canada/United States of America, enUSA, Edition date: 201712, Second Printing
SeatsE190816 E190817 E166702
Page 89 of 323
AUTOMATIC TRANSMISSION
WARNING
Always fully apply the parking brake.Make sure you shift into park (P) forvehicles with an automatictransmission. Switch the ignition off andremove the key whenever you leave yourvehicle.
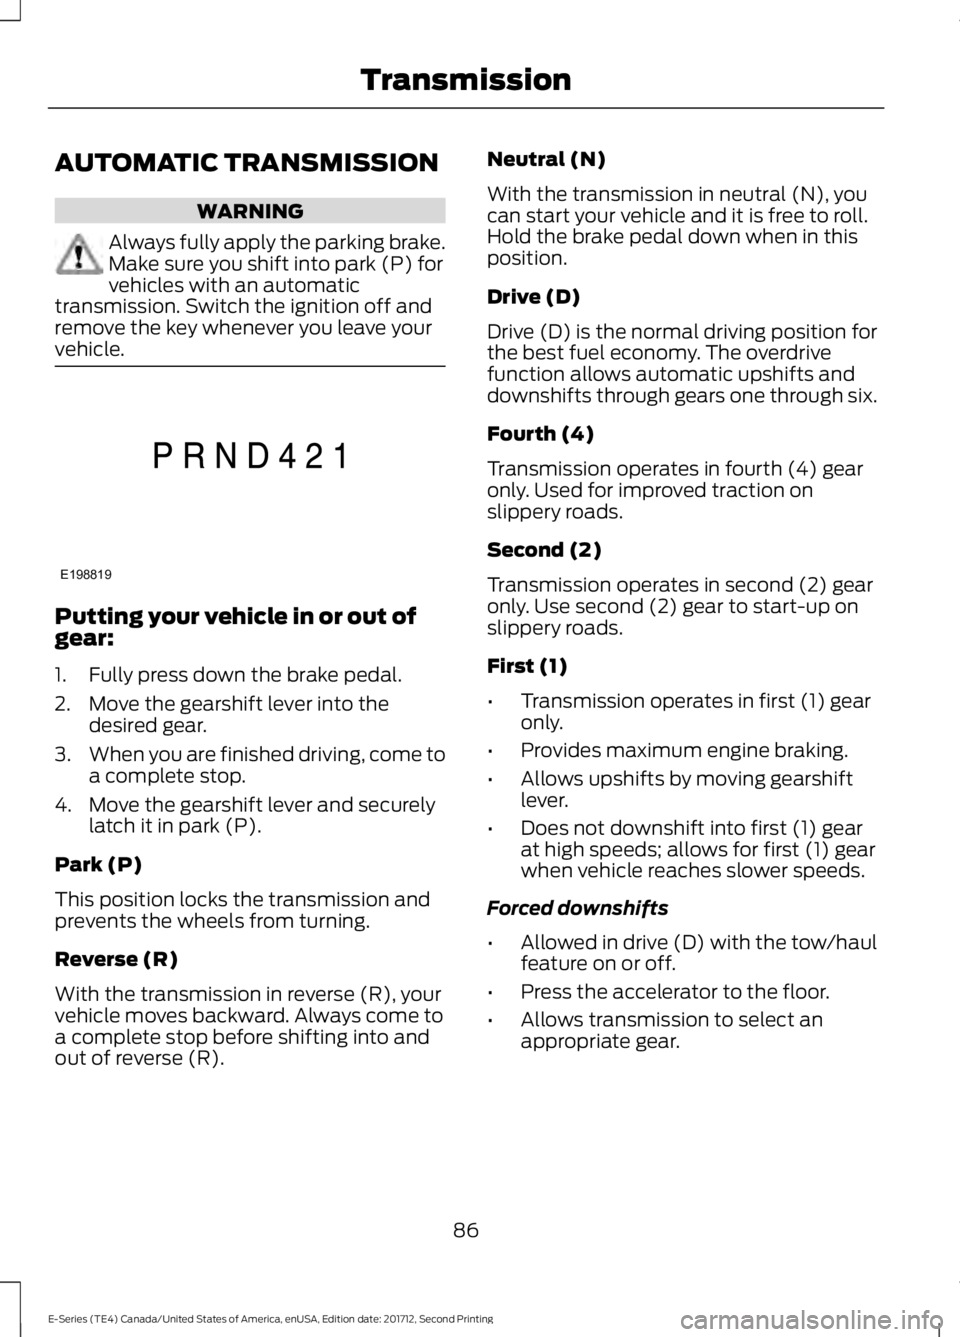
Putting your vehicle in or out ofgear:
1. Fully press down the brake pedal.
2. Move the gearshift lever into thedesired gear.
3.When you are finished driving, come toa complete stop.
4. Move the gearshift lever and securelylatch it in park (P).
Park (P)
This position locks the transmission andprevents the wheels from turning.
Reverse (R)
With the transmission in reverse (R), yourvehicle moves backward. Always come toa complete stop before shifting into andout of reverse (R).
Neutral (N)
With the transmission in neutral (N), youcan start your vehicle and it is free to roll.Hold the brake pedal down when in thisposition.
Drive (D)
Drive (D) is the normal driving position forthe best fuel economy. The overdrivefunction allows automatic upshifts anddownshifts through gears one through six.
Fourth (4)
Transmission operates in fourth (4) gearonly. Used for improved traction onslippery roads.
Second (2)
Transmission operates in second (2) gearonly. Use second (2) gear to start-up onslippery roads.
First (1)
•Transmission operates in first (1) gearonly.
•Provides maximum engine braking.
•Allows upshifts by moving gearshiftlever.
•Does not downshift into first (1) gearat high speeds; allows for first (1) gearwhen vehicle reaches slower speeds.
Forced downshifts
•Allowed in drive (D) with the tow/haulfeature on or off.
•Press the accelerator to the floor.
•Allows transmission to select anappropriate gear.
86
E-Series (TE4) Canada/United States of America, enUSA, Edition date: 201712, Second Printing
TransmissionE198819
Page 111 of 323
Hitches
Do not use a hitch that either clamps ontothe bumper or attaches to the axle. Youmust distribute the load in your trailer sothat 10-15% of the total weight of thetrailer is on the tongue.
Weight-distributing Hitches
WARNING
Do not adjust a weight-distributinghitch to any position where the rearbumper of the vehicle is higher thanit was before attaching the trailer. Doingso will defeat the function of theweight-distributing hitch, which may causeunpredictable handling, and could resultin serious personal injury.
When hooking-up a trailer using aweight-distributing hitch, always use thefollowing procedure:
1. Park the loaded vehicle, without thetrailer, on a level surface.
2. Measure the height to the top of yourvehicle's front wheel opening on thefender. This is H1.
3.Attach the loaded trailer to your vehiclewithout the weight-distributing barsconnected.
4. Measure the height to the top of yourvehicle's front wheel opening on thefender a second time. This is H2.
5. Install and adjust the tension in theweight-distributing bars so that theheight of your vehicle's front wheelopening on the fender is approximatelyhalf the way down from H2, toward H1.
6.Check that the trailer is level or slightlynose down toward your vehicle. If not,adjust the ball height accordingly andrepeat Steps 2-6.
When the trailer is level or slightly nosedown toward the vehicle:
•Lock the bar tension adjuster in place.
•Check that the trailer tongue securelyattaches and locks onto the hitch.
•Install safety chains, lighting, and trailerbrake controls as required by law or thetrailer manufacturer.
Safety Chains
Note:Do not attach safety chains to thebumper.
Always connect the safety chains to theframe or hook retainers of your vehiclehitch.
To connect the safety chains, cross thechains under the trailer tongue and allowenough slack for turning tight corners. Donot allow the chains to drag on the ground.
Trailer Brakes
WARNING
Do not connect a trailer's hydraulicbrake system directly to yourvehicle's brake system. Your vehiclemay not have enough braking power andyour chances of having a collision greatlyincrease.
Electric brakes and manual, automatic orsurge-type trailer brakes are safe if youinstall them properly and adjust them tothe manufacturer's specifications. Thetrailer brakes must meet local and federalregulations.
The rating for the tow vehicle's brakingsystem operation is at the gross vehicleweight rating, not the gross combinedweight rating.
108
E-Series (TE4) Canada/United States of America, enUSA, Edition date: 201712, Second Printing
Towing
Page 112 of 323
Separate functioning brake systemsare required for safe control of towedvehicles and trailers weighing morethan 1500 pounds (680 kilograms)when loaded.
Integrated Trailer Brake Controller (IfEquipped)
WARNING
The Ford trailer brake controller hasbeen verified to be compatible withtrailers having electric-actuateddrum brakes (one to four axles) andelectric-over-hydraulic brakes. It will notactivate hydraulic surge-style trailerbrakes. It is the responsibility of thecustomer to ensure that the trailer brakesare adjusted appropriately, functioningnormally and all electric connections areproperly made. Failure to do so may resultin loss of vehicle control, crash or seriousinjury.
When used properly, the trailer brakecontroller assists in smooth and effectivetrailer braking by powering the trailer’selectric or electric-over-hydraulic brakeswith a proportional output based on thetowing vehicle’s brake pressure.
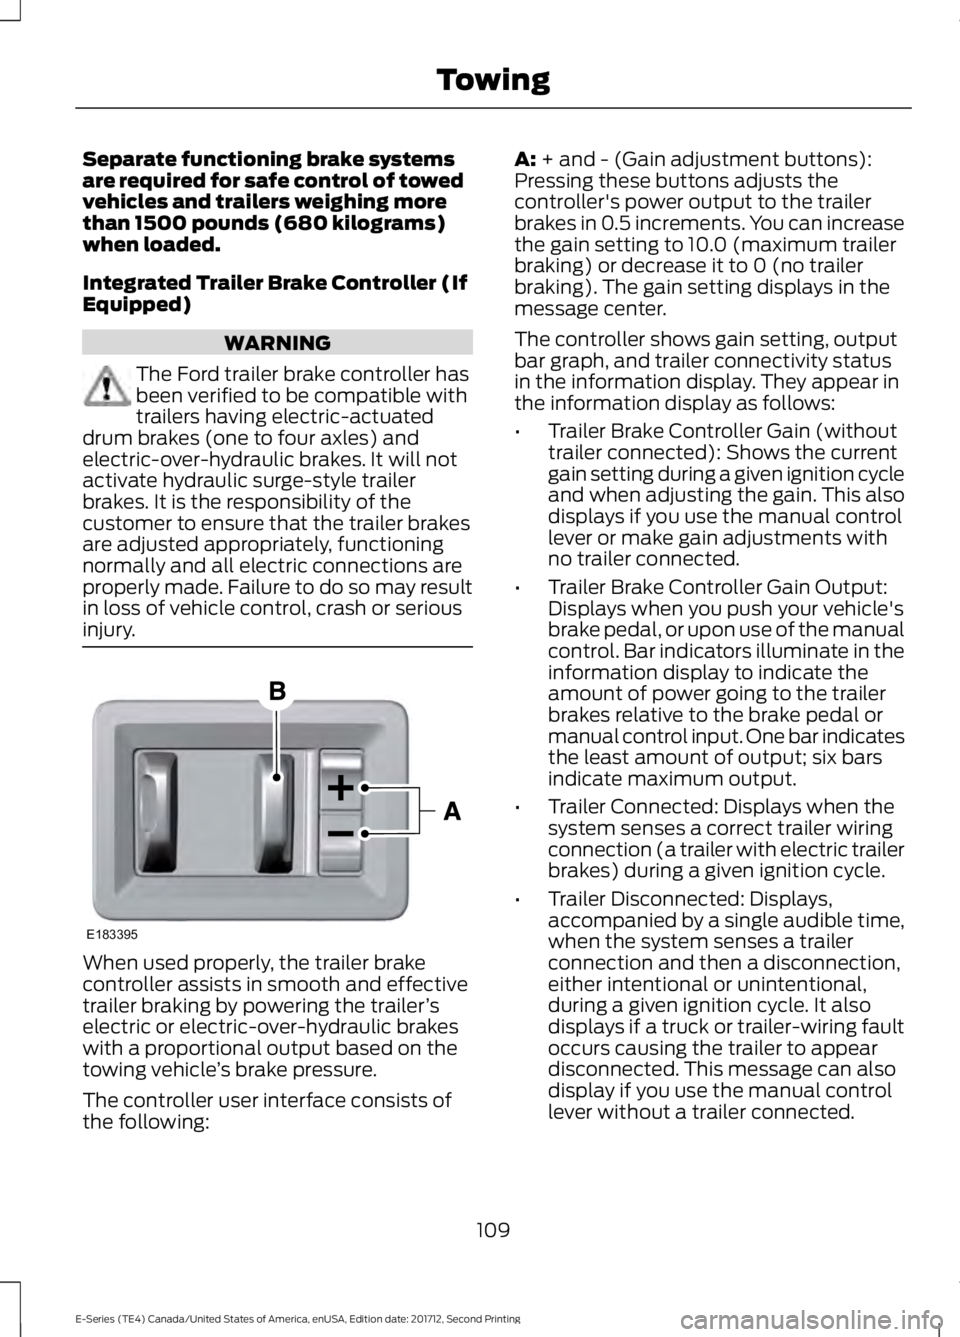
The controller user interface consists ofthe following:
A: + and - (Gain adjustment buttons):Pressing these buttons adjusts thecontroller's power output to the trailerbrakes in 0.5 increments. You can increasethe gain setting to 10.0 (maximum trailerbraking) or decrease it to 0 (no trailerbraking). The gain setting displays in themessage center.
The controller shows gain setting, outputbar graph, and trailer connectivity statusin the information display. They appear inthe information display as follows:
•Trailer Brake Controller Gain (withouttrailer connected): Shows the currentgain setting during a given ignition cycleand when adjusting the gain. This alsodisplays if you use the manual controllever or make gain adjustments withno trailer connected.
•Trailer Brake Controller Gain Output:Displays when you push your vehicle'sbrake pedal, or upon use of the manualcontrol. Bar indicators illuminate in theinformation display to indicate theamount of power going to the trailerbrakes relative to the brake pedal ormanual control input. One bar indicatesthe least amount of output; six barsindicate maximum output.
•Trailer Connected: Displays when thesystem senses a correct trailer wiringconnection (a trailer with electric trailerbrakes) during a given ignition cycle.
•Trailer Disconnected: Displays,accompanied by a single audible time,when the system senses a trailerconnection and then a disconnection,either intentional or unintentional,during a given ignition cycle. It alsodisplays if a truck or trailer-wiring faultoccurs causing the trailer to appeardisconnected. This message can alsodisplay if you use the manual controllever without a trailer connected.
109
E-Series (TE4) Canada/United States of America, enUSA, Edition date: 201712, Second Printing
TowingE183395
Page 118 of 323
•Reduce the use of air conditioning andheat.
•Avoid using speed control in hillyterrain.
•Do not rest your foot on the brakepedal while driving.
•Avoid carrying unnecessary weight.
•Avoid adding particular accessories toyour vehicle (e.g. bug deflectors,rollbars/light bars, running boards, skiracks).
•Avoid driving with the wheels out ofalignment.
DRIVING THROUGH WATER
WARNING
Do not drive through flowing or deepwater as you may lose control of yourvehicle.
Note:Driving through standing water cancause vehicle damage.
Note:Engine damage can occur if waterenters the air filter.
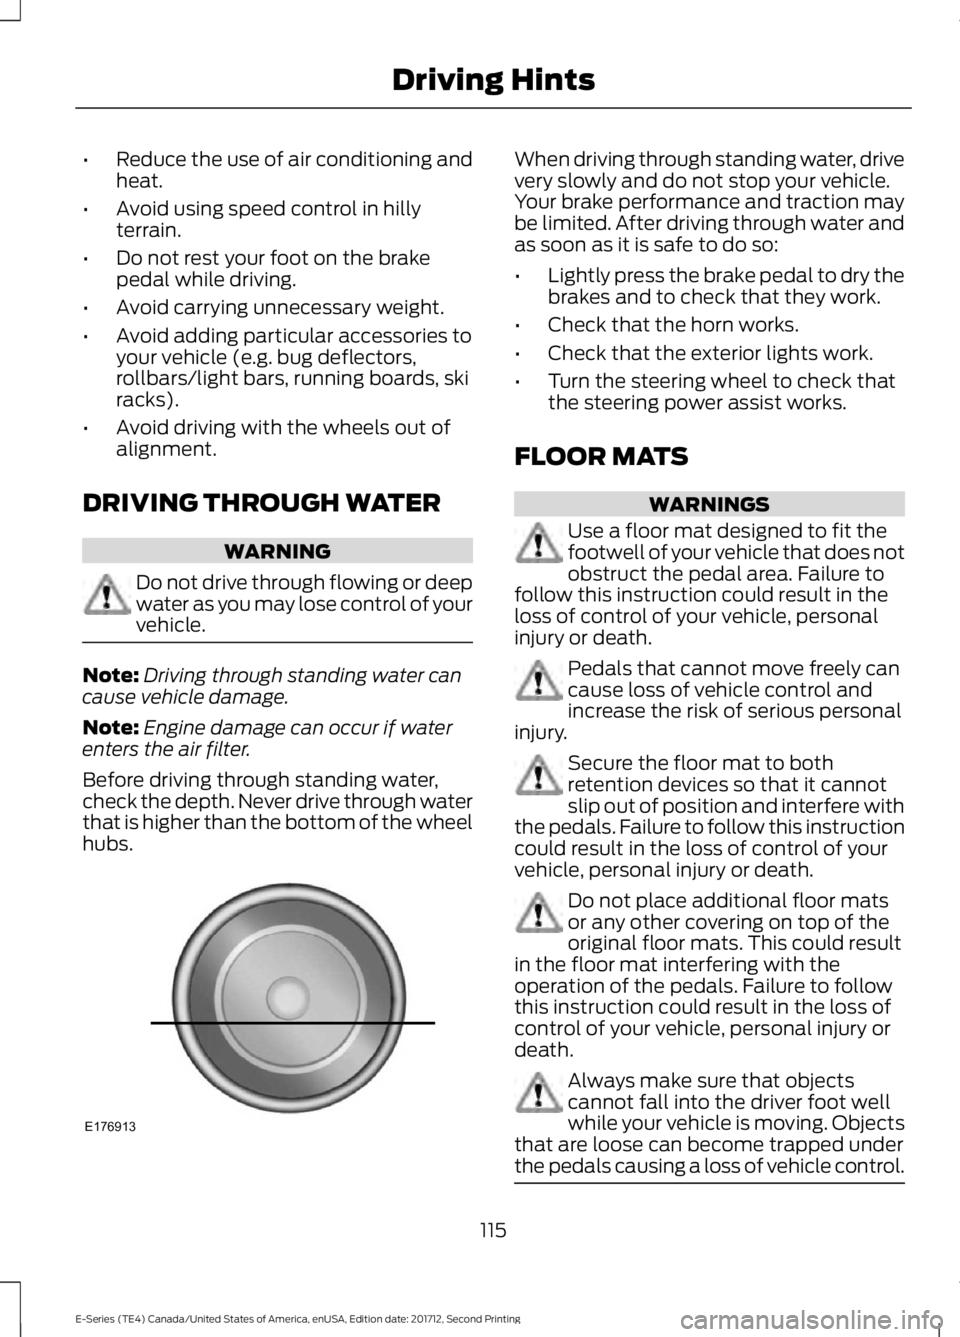
Before driving through standing water,check the depth. Never drive through waterthat is higher than the bottom of the wheelhubs.
When driving through standing water, drivevery slowly and do not stop your vehicle.Your brake performance and traction maybe limited. After driving through water andas soon as it is safe to do so:
•Lightly press the brake pedal to dry thebrakes and to check that they work.
•Check that the horn works.
•Check that the exterior lights work.
•Turn the steering wheel to check thatthe steering power assist works.
FLOOR MATS
WARNINGS
Use a floor mat designed to fit thefootwell of your vehicle that does notobstruct the pedal area. Failure tofollow this instruction could result in theloss of control of your vehicle, personalinjury or death.
Pedals that cannot move freely cancause loss of vehicle control andincrease the risk of serious personalinjury.
Secure the floor mat to bothretention devices so that it cannotslip out of position and interfere withthe pedals. Failure to follow this instructioncould result in the loss of control of yourvehicle, personal injury or death.
Do not place additional floor matsor any other covering on top of theoriginal floor mats. This could resultin the floor mat interfering with theoperation of the pedals. Failure to followthis instruction could result in the loss ofcontrol of your vehicle, personal injury ordeath.
Always make sure that objectscannot fall into the driver foot wellwhile your vehicle is moving. Objectsthat are loose can become trapped underthe pedals causing a loss of vehicle control.
115
E-Series (TE4) Canada/United States of America, enUSA, Edition date: 201712, Second Printing
Driving HintsE176913
Page 119 of 323
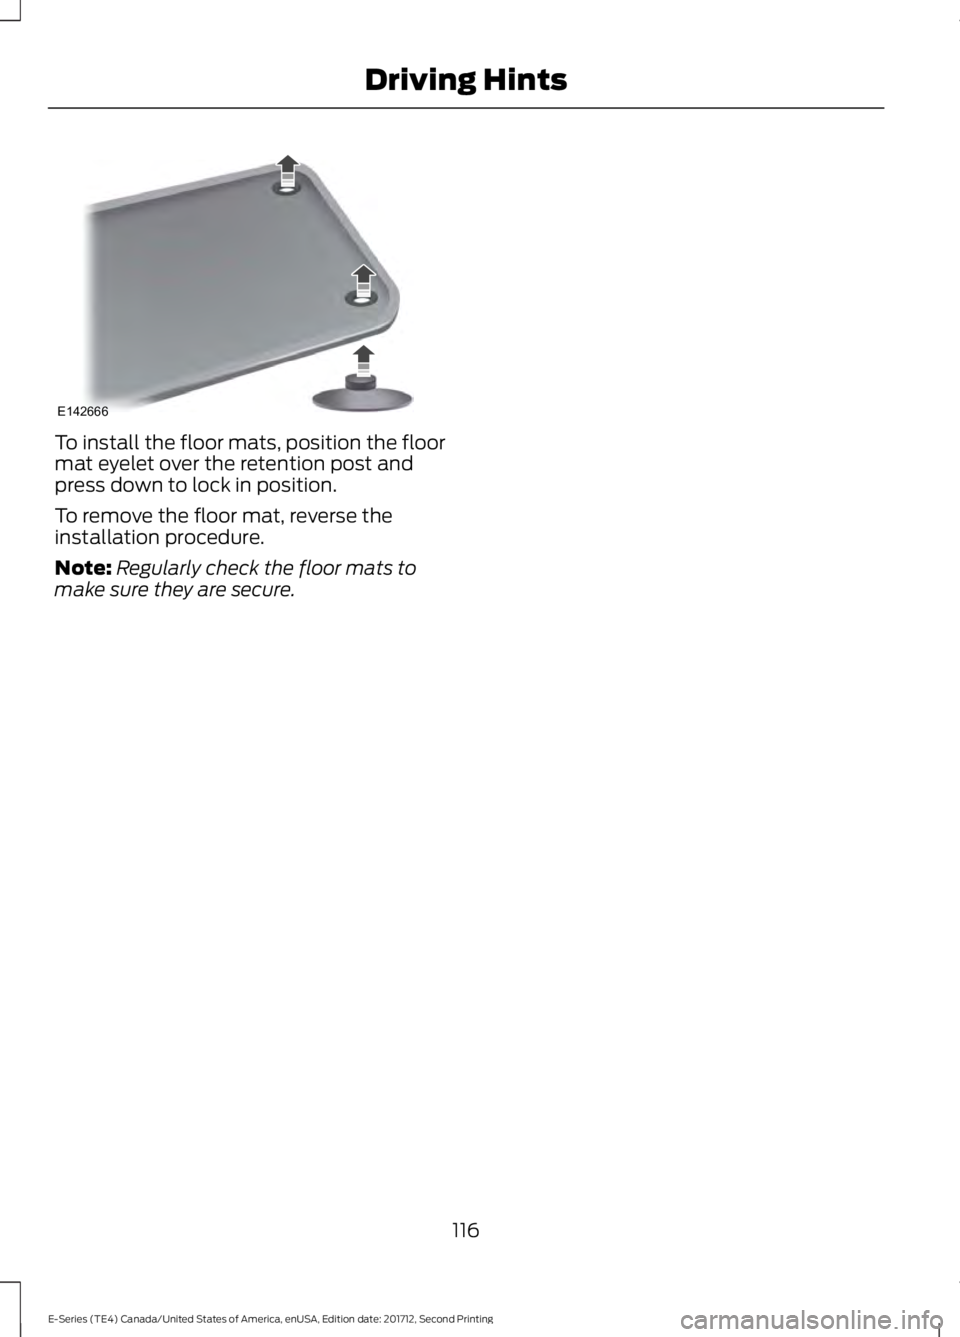
To install the floor mats, position the floormat eyelet over the retention post andpress down to lock in position.
To remove the floor mat, reverse theinstallation procedure.
Note:Regularly check the floor mats tomake sure they are secure.
116
E-Series (TE4) Canada/United States of America, enUSA, Edition date: 201712, Second Printing
Driving HintsE142666
Page 120 of 323
ROADSIDE ASSISTANCE
Vehicles Sold in the United States:Getting Roadside Assistance
To fully assist you should you have avehicle concern, Ford Motor Companyoffers a complimentary roadsideassistance program. This program isseparate from the New Vehicle LimitedWarranty.
The service is available:
•24 hours a day, seven days a week.
•For the coverage period listed on theRoadside Assistance Card included inyour Owner's Manual portfolio.
Roadside Assistance covers:
•A flat tire change with a good spare(except vehicles supplied with a tireinflation kit).
•Battery jump start.
•Lock-out assistance (key replacementcost is the customer's responsibility).
•Fuel delivery — independent servicecontractors, if not prohibited by state,local or municipal law, shall deliver upto 2 gal (8 L) of gasoline or 5 gal (20 L)of diesel fuel to a disabled vehicle.Roadside Assistance limits fuel deliveryservice to two no-charge occurrenceswithin a 12-month period.
•Winch out — available within 100 ft(30 m) of a paved or countymaintained road, no recoveries.
•Towing — independent servicecontractors, if not prohibited by state,local or municipal law, shall tow Fordeligible vehicles to an authorized dealerwithin 35 mi (56 km) of thedisablement location or to the nearestauthorized dealer. If a memberrequests a tow to an authorized dealerthat is more than 35 mi (56 km) fromthe disablement location, the membershall be responsible for any mileagecosts in excess of 35 mi (56 km).
•Roadside Assistance includes up to$200 for a towed trailer if the disabledeligible vehicle requires service at thenearest authorized dealer. If the towingvehicle is operational but the trailer isnot, then the trailer does not qualify forany roadside services.
Vehicles Sold in the United States:Using Roadside Assistance
Complete the roadside assistanceidentification card and place it in yourwallet for quick reference. This card is inthe owner's information portfolio in theglove compartment.
United States vehicle customers whorequire Roadside Assistance, call1-800-241-3673.
If you need to arrange roadside assistancefor yourself, Ford Motor Companyreimburses a reasonable amount fortowing to the nearest dealership within35 mi (56 km). To obtain reimbursementinformation, United States vehiclecustomers call 1-800-241-3673.Customers need to submit their originalreceipts.
117
E-Series (TE4) Canada/United States of America, enUSA, Edition date: 201712, Second Printing
Roadside Emergencies
Page 126 of 323
2. If your inquiry or concern remainsunresolved, contact the Sales Manager,Service Manager or Customer RelationsManager.
3.If you require assistance or clarificationon Ford Motor Company policies,please contact the Ford CustomerRelationship Center.
In order to help us serve you better, pleasehave the following information availablewhen contacting a Customer RelationshipCenter:
•Vehicle Identification Number.
•Your telephone number (home andbusiness).
•The name of the authorized dealer andcity where located.
•The vehicle’s current odometer reading.
In some states within the United States,you must directly notify Ford in writingbefore pursuing remedies under yourstate's warranty laws, and Ford is alsoallowed a final repair attempt.
Additionally, in some states within theUnited States, a consumer has the optionof submitting a warranty dispute to theBBB Auto Line before taking action underthe Magnuson-Moss Warranty Act, or tothe extent allowed by state law, beforepursuing replacement or repurchaseremedies provided by certain state laws.This dispute handling procedure is notrequired prior to enforcing state createdrights or other rights which are independentof the Magnuson-Moss Warranty Act orstate replacement or repurchase laws.
IN CALIFORNIA (U.S. ONLY)
California Civil Code Section 1793.2(d)requires that, if a manufacturer or itsrepresentative is unable to repair a motorvehicle to conform to the vehicle’sapplicable express warranty after areasonable number of attempts, themanufacturer shall be required to eitherreplace the vehicle with one substantiallyidentical or repurchase the vehicle andreimburse the buyer in an amount equal tothe actual price paid or payable by theconsumer (less a reasonable allowancefor consumer use). The consumer has theright to choose whether to receive a refundor replacement vehicle.
California Civil Code Section 1793.22(b)presumes that the manufacturer has hada reasonable number of attempts toconform the vehicle to its applicableexpress warranties if, within the first 18months of ownership of a new vehicle orthe first 18,000 mi (29,000 km), whicheveroccurs first:
1.Two or more repair attempts are madeon the same non-conformity likely tocause death or serious bodily injury OR
2.Four or more repair attempts are madeon the same nonconformity (a defector condition that substantially impairsthe use, value or safety of the vehicle)OR
3. The vehicle is out of service for repairof nonconformities for a total of morethan 30 calendar days (not necessarilyall at one time).
In the case of 1 or 2 above, the consumermust also notify the manufacturer of theneed for the repair of the nonconformityat the following address:
Ford Motor Company16800 Executive Plaza DriveMail Drop 3NE-BDearborn, MI 48126
123
E-Series (TE4) Canada/United States of America, enUSA, Edition date: 201712, Second Printing
Customer Assistance
Page 129 of 323
E-mailFaxPhoneCustomer Relation-ship Center
[email protected]/AN/AAsia Pacific
[email protected]+1 313 594 4857Caribbean andCentral America
[email protected] 4 3327 266
Ford
Middle East
80004443673
Lincoln80004441067
UAE80004441066
Saudi Arabia8008443673
Mobily and Zain cellphone users in Saudi800850078
[email protected]/A+1-800-841-3673Puerto Rico and U.S.Virgin Islands
[email protected]/A+1-313-594-4857Sub-Saharan Africa
[email protected] [email protected]/A+82-02-1600-6003South Korea
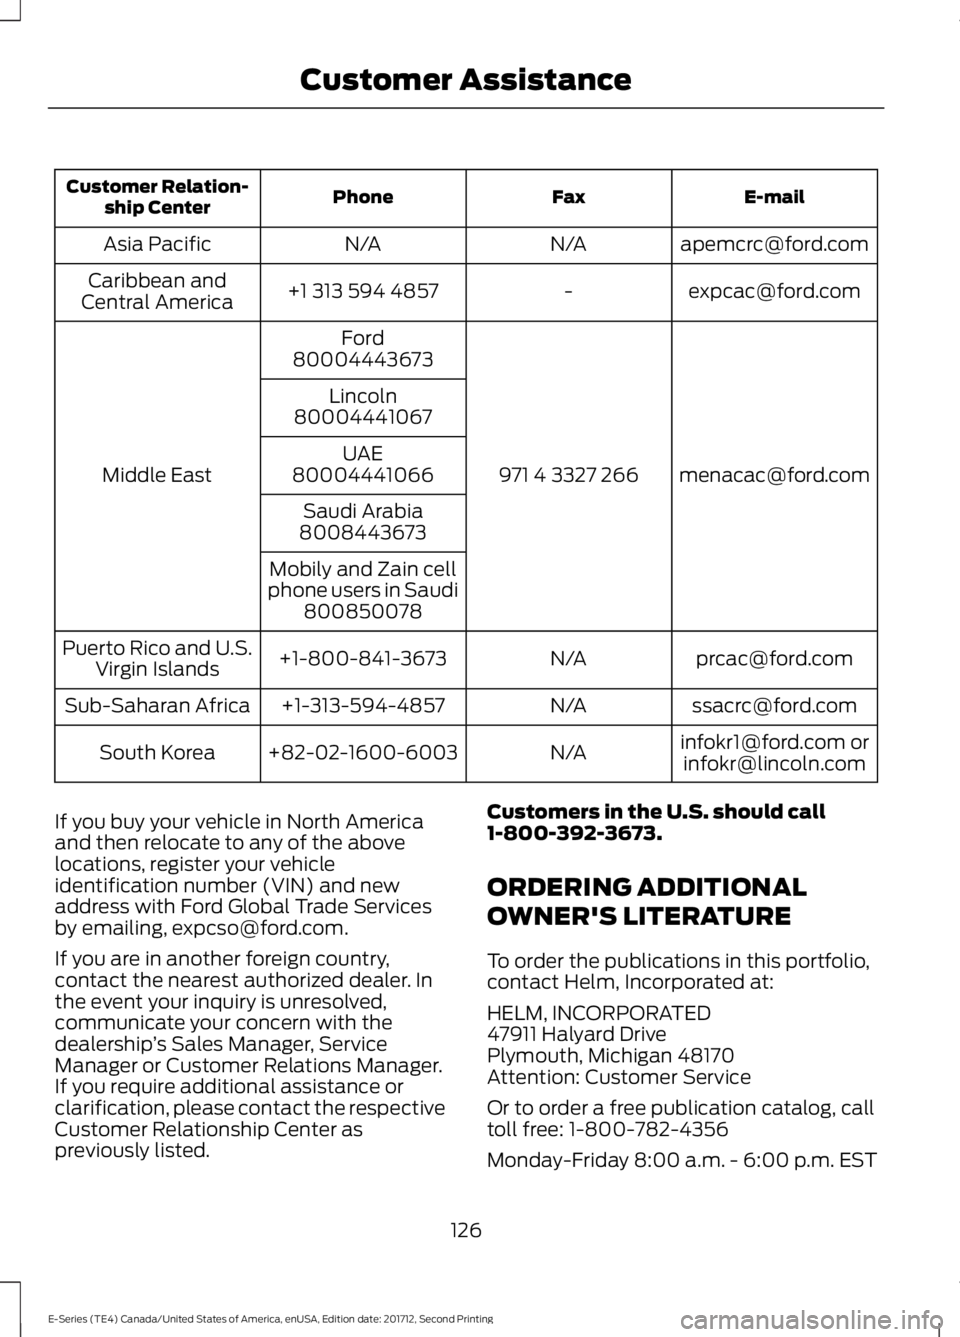
If you buy your vehicle in North Americaand then relocate to any of the abovelocations, register your vehicleidentification number (VIN) and newaddress with Ford Global Trade Servicesby emailing, [email protected].
If you are in another foreign country,contact the nearest authorized dealer. Inthe event your inquiry is unresolved,communicate your concern with thedealership’s Sales Manager, ServiceManager or Customer Relations Manager.If you require additional assistance orclarification, please contact the respectiveCustomer Relationship Center aspreviously listed.
Customers in the U.S. should call1-800-392-3673.
ORDERING ADDITIONAL
OWNER'S LITERATURE
To order the publications in this portfolio,contact Helm, Incorporated at:
HELM, INCORPORATED47911 Halyard DrivePlymouth, Michigan 48170Attention: Customer Service
Or to order a free publication catalog, calltoll free: 1-800-782-4356
Monday-Friday 8:00 a.m. - 6:00 p.m. EST
126
E-Series (TE4) Canada/United States of America, enUSA, Edition date: 201712, Second Printing
Customer Assistance