ignition FORD ECONOLINE 2009 User Guide
[x] Cancel search | Manufacturer: FORD, Model Year: 2009, Model line: ECONOLINE, Model: FORD ECONOLINE 2009Pages: 320, PDF Size: 2.52 MB
Page 28 of 320
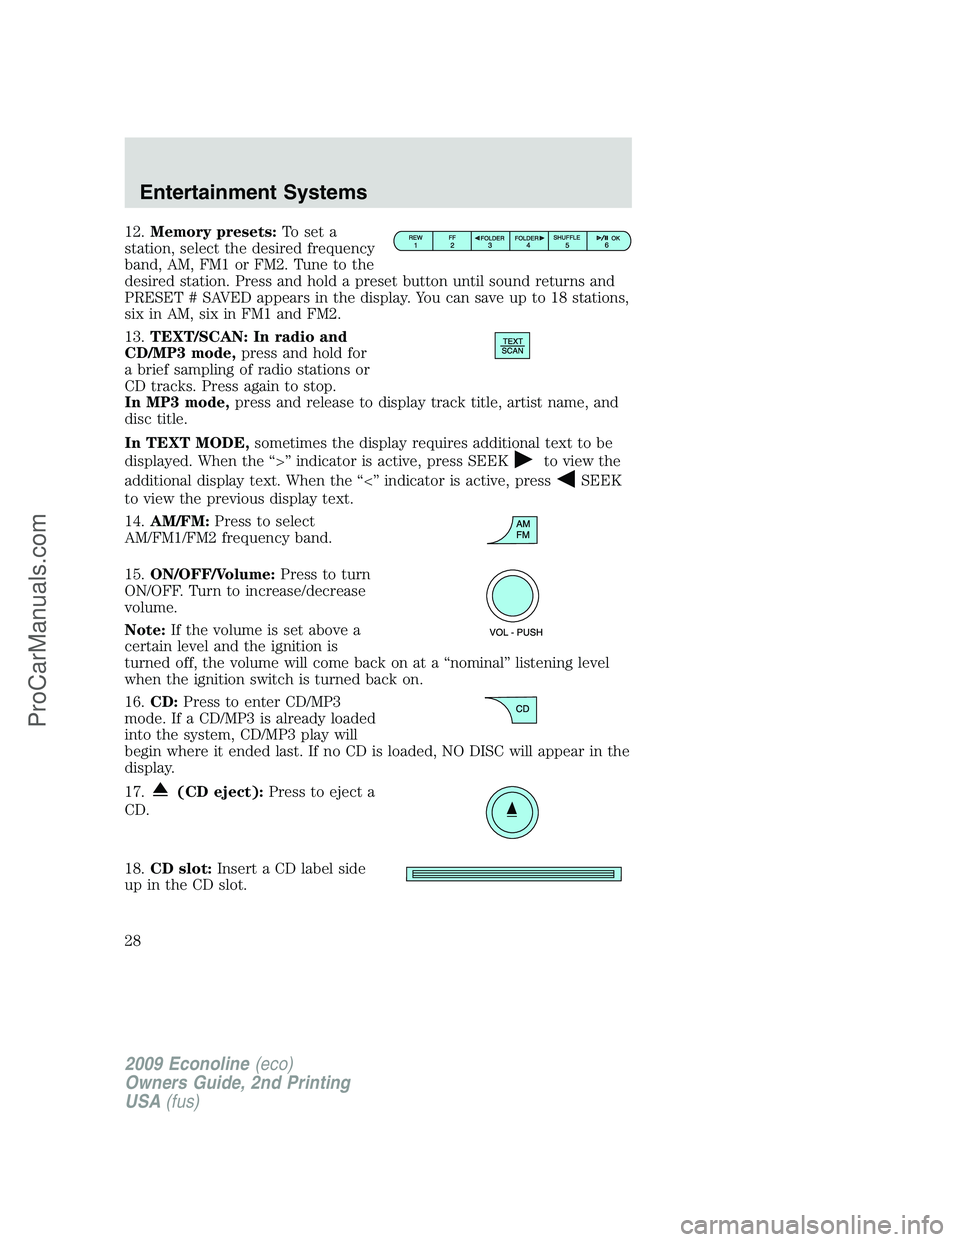
12.Memory presets:To set a
station, select the desired frequency
band, AM, FM1 or FM2. Tune to the
desired station. Press and hold a preset button until sound returns and
PRESET # SAVED appears in the display. You can save up to 18 stations,
six in AM, six in FM1 and FM2.
13.TEXT/SCAN: In radio and
CD/MP3 mode,press and hold for
a brief sampling of radio stations or
CD tracks. Press again to stop.
In MP3 mode,press and release to display track title, artist name, and
disc title.
In TEXT MODE,sometimes the display requires additional text to be
displayed. When the “>” indicator is active, press SEEK
to view the
additional display text. When the “<” indicator is active, press
SEEK
to view the previous display text.
14.AM/FM:Press to select
AM/FM1/FM2 frequency band.
15.ON/OFF/Volume:Press to turn
ON/OFF. Turn to increase/decrease
volume.
Note:If the volume is set above a
certain level and the ignition is
turned off, the volume will come back on at a “nominal” listening level
when the ignition switch is turned back on.
16.CD:Press to enter CD/MP3
mode. If a CD/MP3 is already loaded
into the system, CD/MP3 play will
begin where it ended last. If no CD is loaded, NO DISC will appear in the
display.
17.
(CD eject):Press to eject a
CD.
18.CD slot:Insert a CD label side
up in the CD slot.
2009 Econoline(eco)
Owners Guide, 2nd Printing
USA(fus)
Entertainment Systems
28
ProCarManuals.com
Page 29 of 320
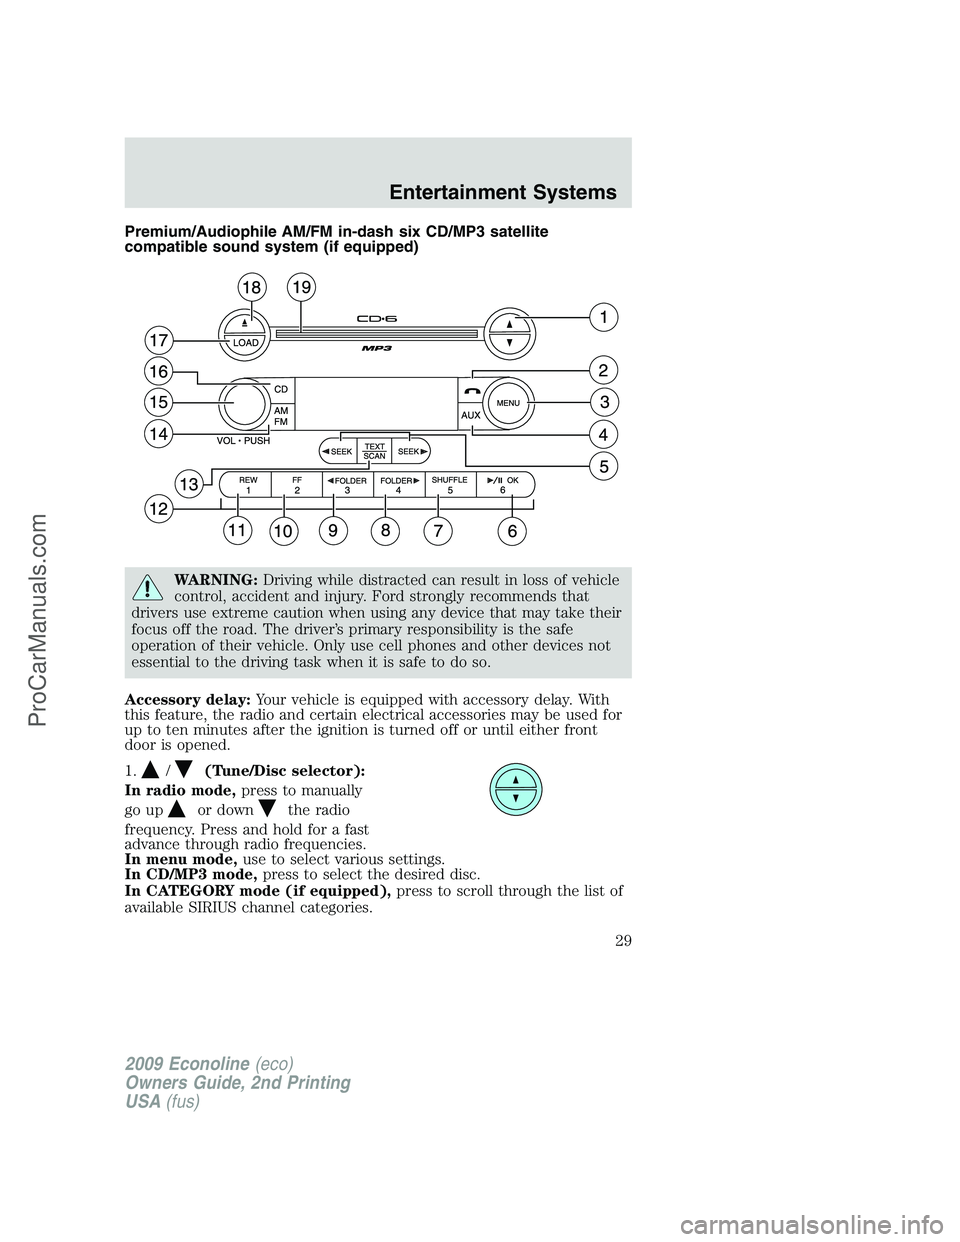
Premium/Audiophile AM/FM in-dash six CD/MP3 satellite
compatible sound system (if equipped)
WARNING:Driving while distracted can result in loss of vehicle
control, accident and injury. Ford strongly recommends that
drivers use extreme caution when using any device that may take their
focus off the road. The driver’s primary responsibility is the safe
operation of their vehicle. Only use cell phones and other devices not
essential to the driving task when it is safe to do so.
Accessory delay:Your vehicle is equipped with accessory delay. With
this feature, the radio and certain electrical accessories may be used for
up to ten minutes after the ignition is turned off or until either front
door is opened.
1.
/(Tune/Disc selector):
In radio mode,press to manually
go up
or downthe radio
frequency. Press and hold for a fast
advance through radio frequencies.
In menu mode,use to select various settings.
In CD/MP3 mode,press to select the desired disc.
In CATEGORY mode (if equipped),press to scroll through the list of
available SIRIUS channel categories.
2009 Econoline(eco)
Owners Guide, 2nd Printing
USA(fus)
Entertainment Systems
29
ProCarManuals.com
Page 35 of 320
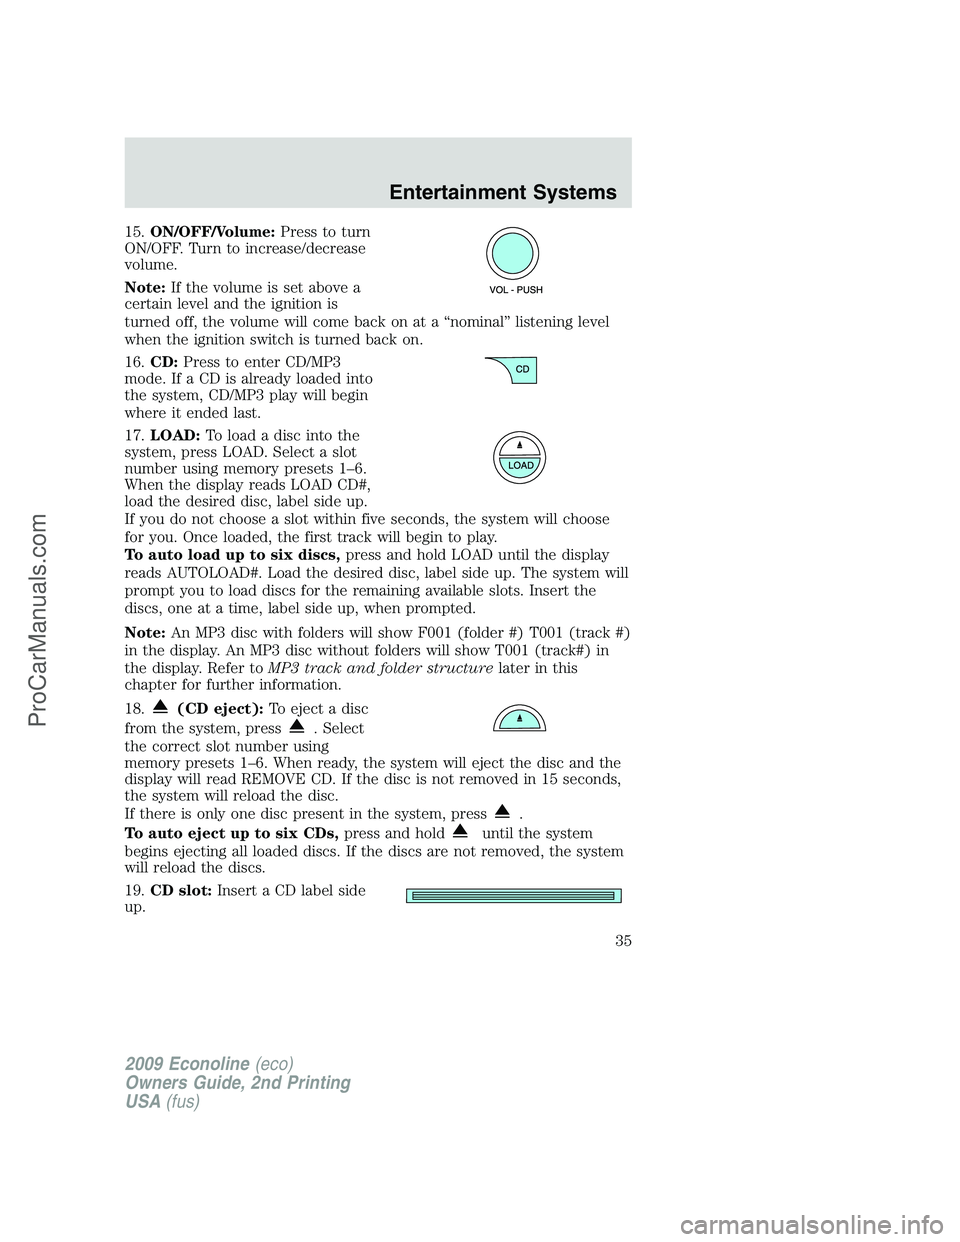
15.ON/OFF/Volume:Press to turn
ON/OFF. Turn to increase/decrease
volume.
Note:If the volume is set above a
certain level and the ignition is
turned off, the volume will come back on at a “nominal” listening level
when the ignition switch is turned back on.
16.CD:Press to enter CD/MP3
mode. If a CD is already loaded into
the system, CD/MP3 play will begin
where it ended last.
17.LOAD:Toloadadiscintothe
system, press LOAD. Select a slot
number using memory presets 1–6.
When the display reads LOAD CD#,
load the desired disc, label side up.
If you do not choose a slot within five seconds, the system will choose
for you. Once loaded, the first track will begin to play.
To auto load up to six discs,press and hold LOAD until the display
reads AUTOLOAD#. Load the desired disc, label side up. The system will
prompt you to load discs for the remaining available slots. Insert the
discs, one at a time, label side up, when prompted.
Note:An MP3 disc with folders will show F001 (folder #) T001 (track #)
in the display. An MP3 disc without folders will show T001 (track#) in
the display. Refer toMP3 track and folder structurelater in this
chapter for further information.
18.
(CD eject):To eject a disc
from the system, press
. Select
the correct slot number using
memory presets 1–6. When ready, the system will eject the disc and the
display will read REMOVE CD. If the disc is not removed in 15 seconds,
the system will reload the disc.
If there is only one disc present in the system, press
.
To auto eject up to six CDs,press and hold
until the system
begins ejecting all loaded discs. If the discs are not removed, the system
will reload the discs.
19.CD slot:Insert a CD label side
up.
2009 Econoline(eco)
Owners Guide, 2nd Printing
USA(fus)
Entertainment Systems
35
ProCarManuals.com
Page 42 of 320
Radio Display Condition Action Required
ACQUIRING Radio requires more
than two seconds to
produce audio for the
selected channel.No action required.
This message should
disappear shortly.
SAT FAULT Internal module or
system failure
present.If this message does
not clear within a short
period of time, or with
an ignition key cycle,
your receiver may have
a fault. See your
authorized dealer for
service.
INVALID CHNL Channel no longer
available.This previously
available channel is no
longer available. Tune
to another channel. If
the channel was one of
your presets, you may
choose another channel
for that preset button.
UNSUBSCRIBED Subscription not
available for this
channel.Contact SIRIUS at
1–888–539–7474 to
subscribe to the
channel or tune to
another channel.
NO TEXT Artist information not
available.Artist information not
available at this time on
this channel. The
system is working
properly.
2009 Econoline(eco)
Owners Guide, 2nd Printing
USA(fus)
Entertainment Systems
42
ProCarManuals.com
Page 47 of 320
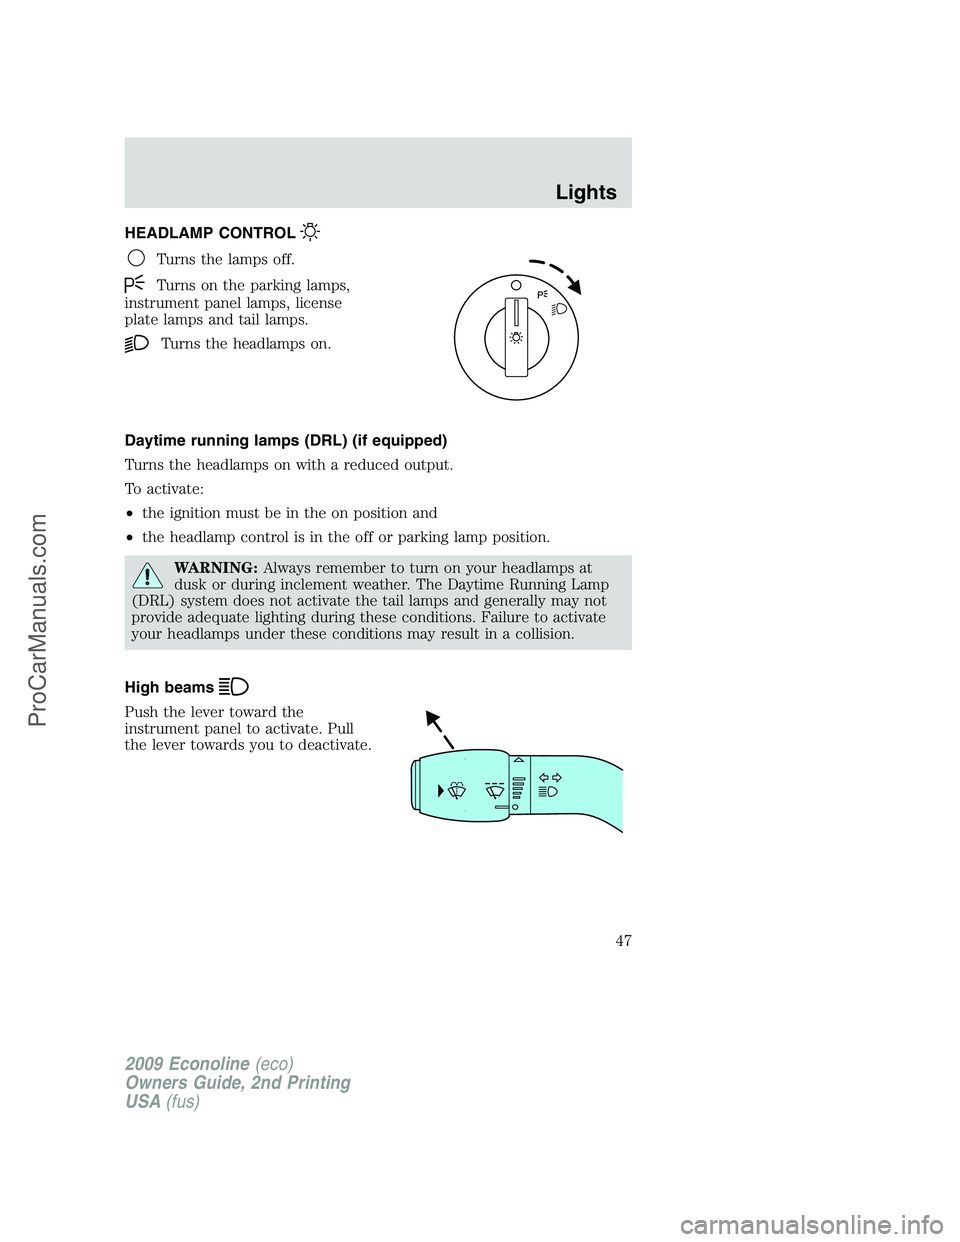
HEADLAMP CONTROL
Turns the lamps off.
Turns on the parking lamps,
instrument panel lamps, license
plate lamps and tail lamps.
Turns the headlamps on.
Daytime running lamps (DRL) (if equipped)
Turns the headlamps on with a reduced output.
To activate:
•the ignition must be in the on position and
•the headlamp control is in the off or parking lamp position.
WARNING:Always remember to turn on your headlamps at
dusk or during inclement weather. The Daytime Running Lamp
(DRL) system does not activate the tail lamps and generally may not
provide adequate lighting during these conditions. Failure to activate
your headlamps under these conditions may result in a collision.
High beams
Push the lever toward the
instrument panel to activate. Pull
the lever towards you to deactivate.
2009 Econoline(eco)
Owners Guide, 2nd Printing
USA(fus)
Lights
47
ProCarManuals.com
Page 52 of 320
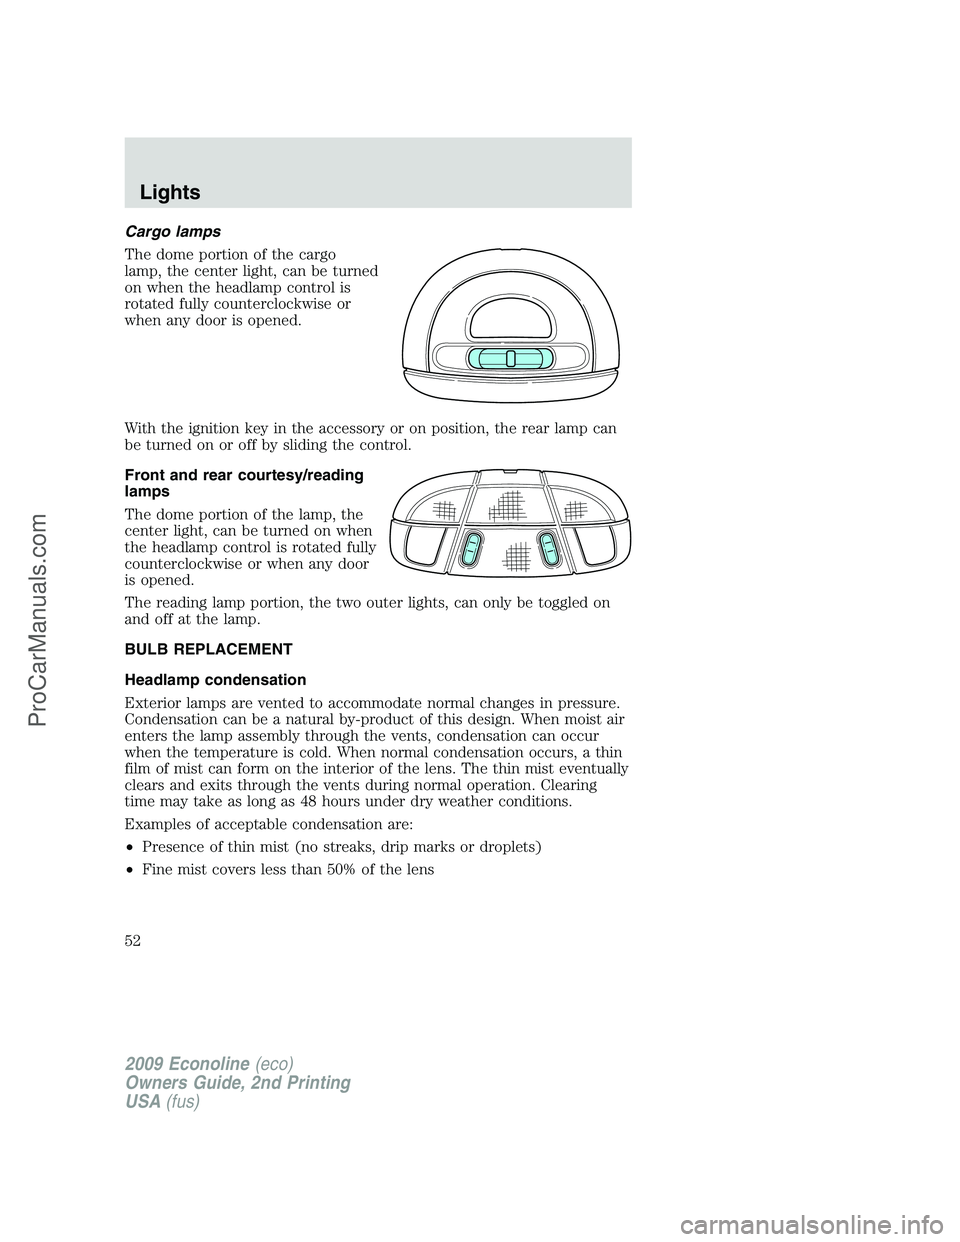
Cargo lamps
The dome portion of the cargo
lamp, the center light, can be turned
on when the headlamp control is
rotated fully counterclockwise or
when any door is opened.
With the ignition key in the accessory or on position, the rear lamp can
be turned on or off by sliding the control.
Front and rear courtesy/reading
lamps
The dome portion of the lamp, the
center light, can be turned on when
the headlamp control is rotated fully
counterclockwise or when any door
is opened.
The reading lamp portion, the two outer lights, can only be toggled on
and off at the lamp.
BULB REPLACEMENT
Headlamp condensation
Exterior lamps are vented to accommodate normal changes in pressure.
Condensation can be a natural by-product of this design. When moist air
enters the lamp assembly through the vents, condensation can occur
when the temperature is cold. When normal condensation occurs, a thin
film of mist can form on the interior of the lens. The thin mist eventually
clears and exits through the vents during normal operation. Clearing
time may take as long as 48 hours under dry weather conditions.
Examples of acceptable condensation are:
•Presence of thin mist (no streaks, drip marks or droplets)
•Fine mist covers less than 50% of the lens
2009 Econoline(eco)
Owners Guide, 2nd Printing
USA(fus)
Lights
52
ProCarManuals.com
Page 62 of 320
Electronic compass/temperature display (if equipped)
Outside air temperature
The outside temperature display is
contained in the overhead console.
The temperature display can be
turned off and on by pressing the
SELECT control on the overhead
console. The temperature can be
displayed in Centigrade or
Fahrenheit by pressing the SELECT
control.
If the outside temperature falls
below 38°F (3°C), the display will alternate from “ICE” to the outside
temperature at a two second rate for one minute.
Compass
The compass display is contained in the overhead console. The vehicle
heading is displayed as one of N, NE, E, SE, S, SW, W and NW.
The compass reading may be affected when you drive near large
buildings, bridges, power lines and powerful broadcast antenna. Magnetic
or metallic objects placed in or on the vehicle may also affect compass
accuracy. Adjustments may need to be made to the zone and calibration
of the compass.
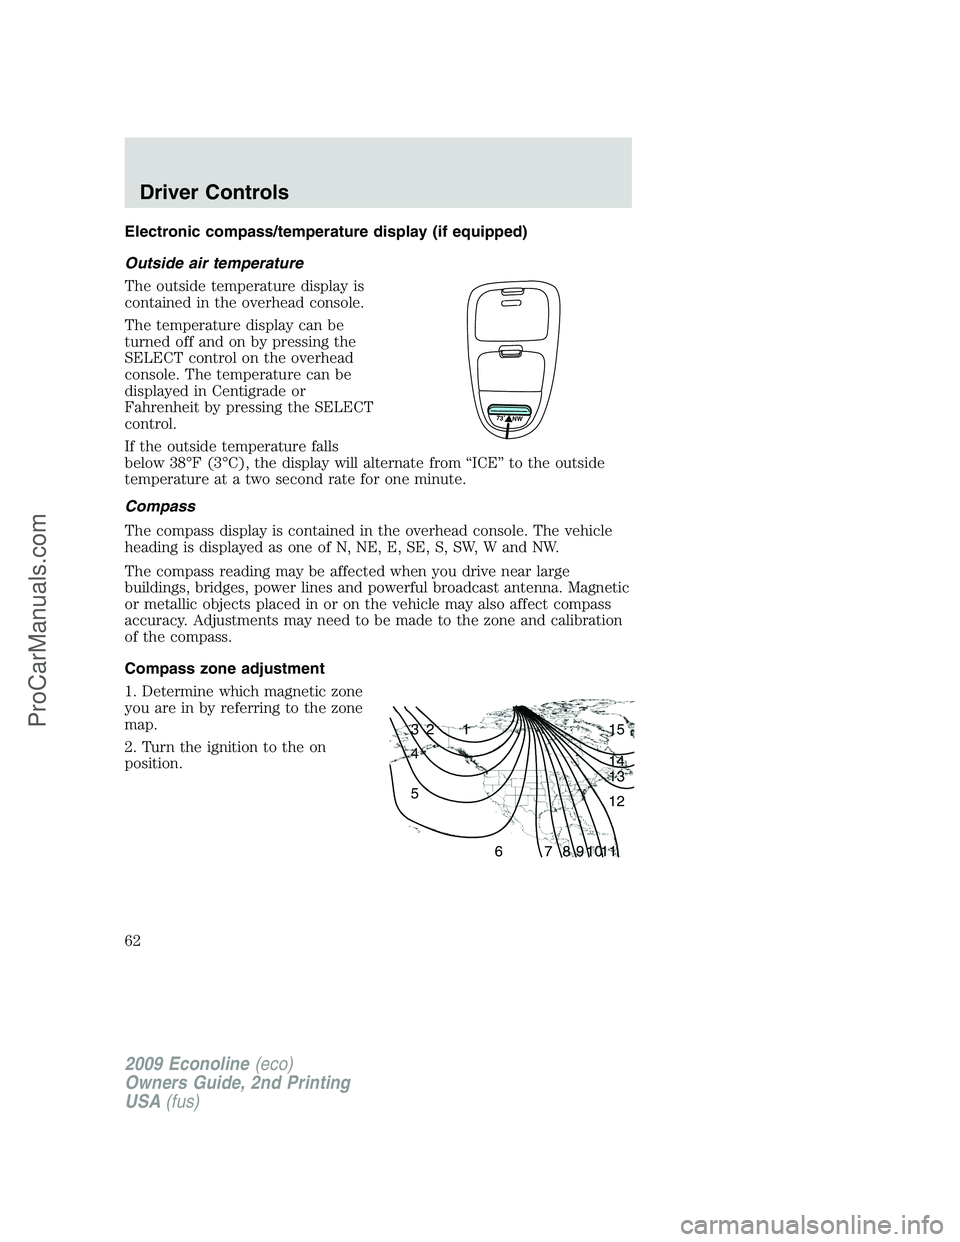
Compass zone adjustment
1. Determine which magnetic zone
you are in by referring to the zone
map.
2. Turn the ignition to the on
position.
73� NW
1 2 3
4
5
6 7 8 9 101112 13 14 15
2009 Econoline(eco)
Owners Guide, 2nd Printing
USA(fus)
Driver Controls
62
ProCarManuals.com
Page 65 of 320
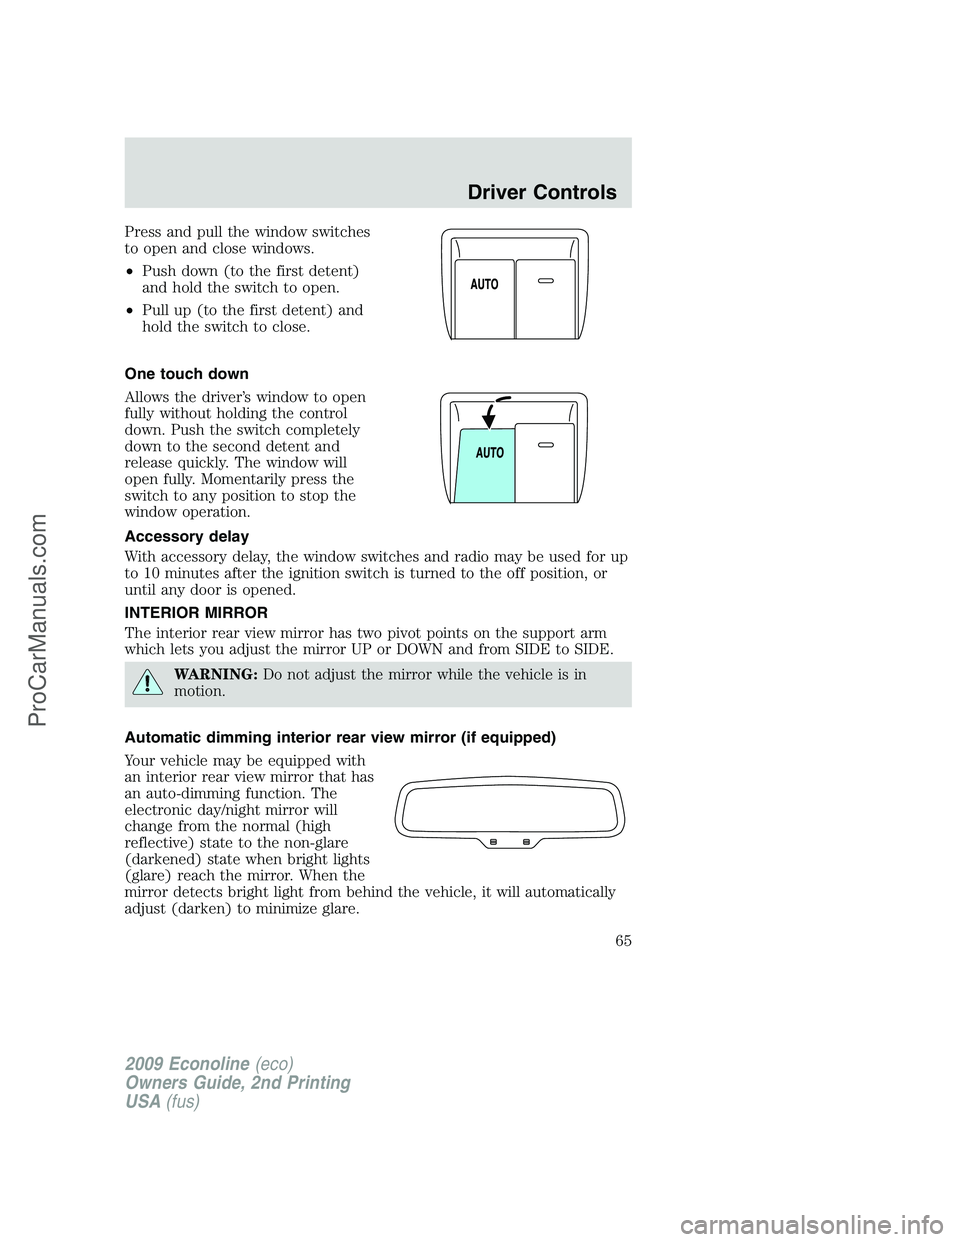
Press and pull the window switches
to open and close windows.
•Push down (to the first detent)
and hold the switch to open.
•Pull up (to the first detent) and
hold the switch to close.
One touch down
Allows the driver’s window to open
fully without holding the control
down. Push the switch completely
down to the second detent and
release quickly. The window will
open fully. Momentarily press the
switch to any position to stop the
window operation.
Accessory delay
With accessory delay, the window switches and radio may be used for up
to 10 minutes after the ignition switch is turned to the off position, or
until any door is opened.
INTERIOR MIRROR
The interior rear view mirror has two pivot points on the support arm
which lets you adjust the mirror UP or DOWN and from SIDE to SIDE.
WARNING:Do not adjust the mirror while the vehicle is in
motion.
Automatic dimming interior rear view mirror (if equipped)
Your vehicle may be equipped with
an interior rear view mirror that has
an auto-dimming function. The
electronic day/night mirror will
change from the normal (high
reflective) state to the non-glare
(darkened) state when bright lights
(glare) reach the mirror. When the
mirror detects bright light from behind the vehicle, it will automatically
adjust (darken) to minimize glare.
2009 Econoline(eco)
Owners Guide, 2nd Printing
USA(fus)
Driver Controls
65
ProCarManuals.com
Page 70 of 320
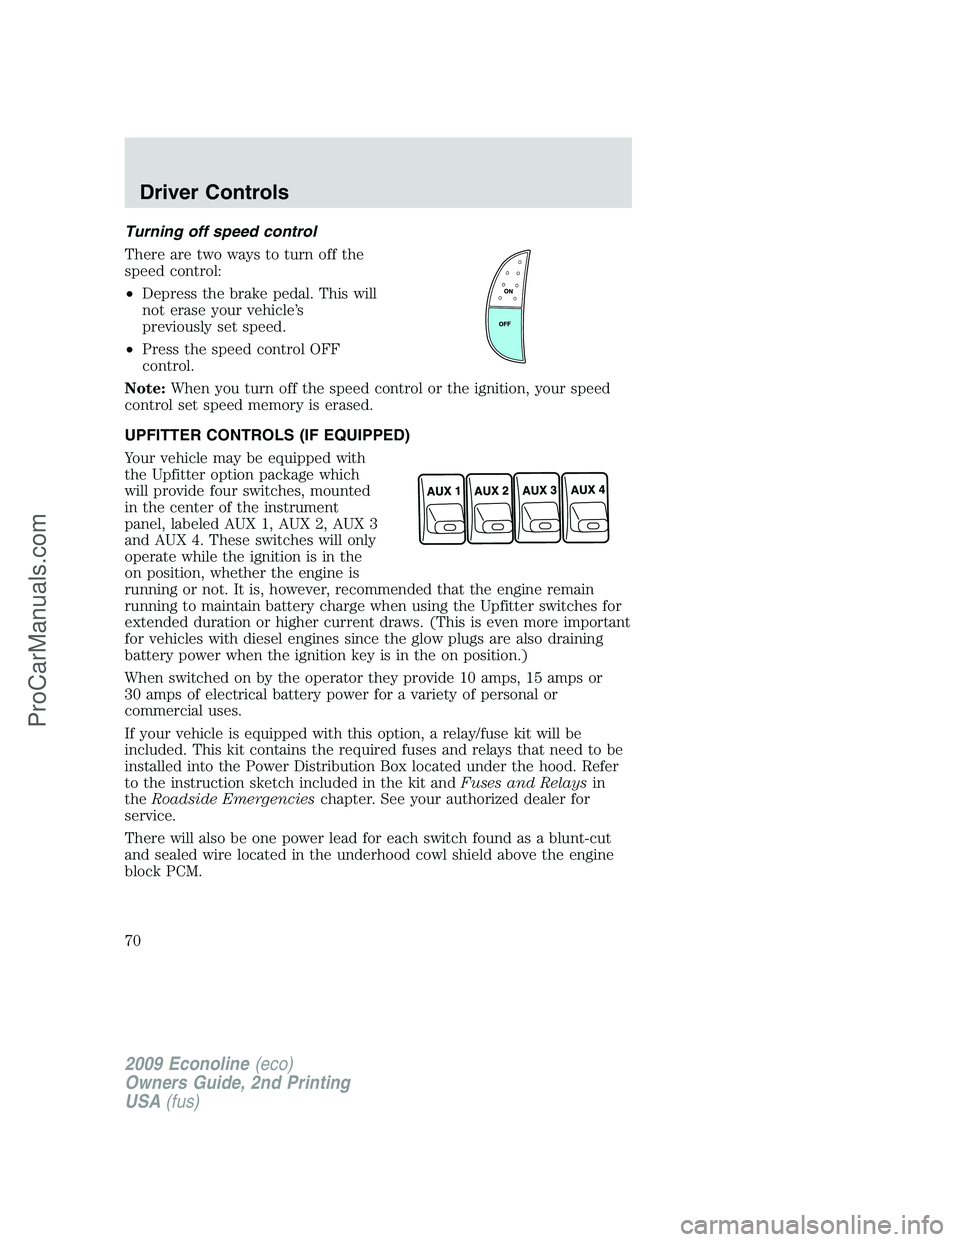
Turning off speed control
There are two ways to turn off the
speed control:
•Depress the brake pedal. This will
not erase your vehicle’s
previously set speed.
•Press the speed control OFF
control.
Note:When you turn off the speed control or the ignition, your speed
control set speed memory is erased.
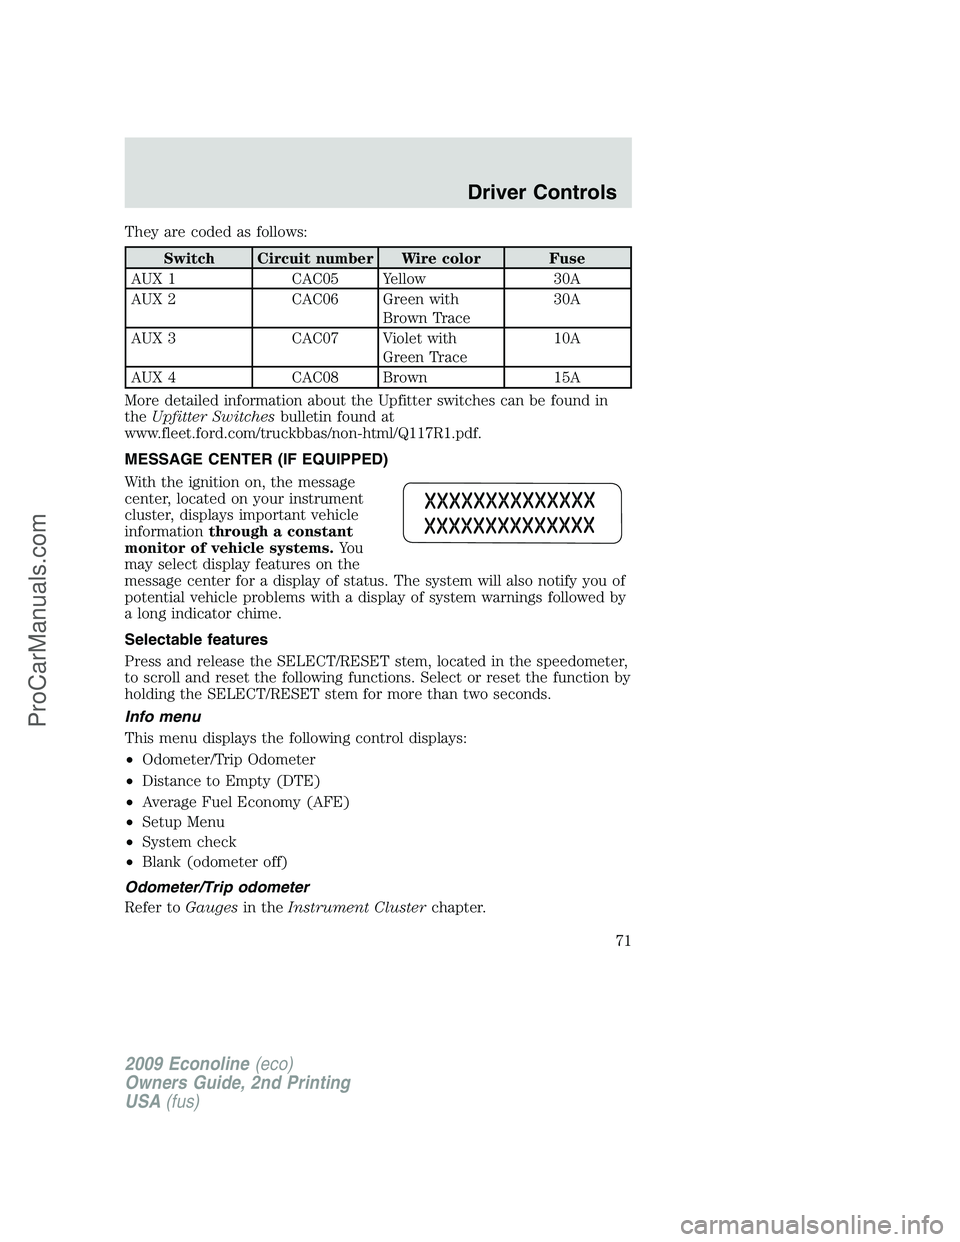
UPFITTER CONTROLS (IF EQUIPPED)
Your vehicle may be equipped with
the Upfitter option package which
will provide four switches, mounted
in the center of the instrument
panel, labeled AUX 1, AUX 2, AUX 3
and AUX 4. These switches will only
operate while the ignition is in the
on position, whether the engine is
running or not. It is, however, recommended that the engine remain
running to maintain battery charge when using the Upfitter switches for
extended duration or higher current draws. (This is even more important
for vehicles with diesel engines since the glow plugs are also draining
battery power when the ignition key is in the on position.)
When switched on by the operator they provide 10 amps, 15 amps or
30 amps of electrical battery power for a variety of personal or
commercial uses.
If your vehicle is equipped with this option, a relay/fuse kit will be
included. This kit contains the required fuses and relays that need to be
installed into the Power Distribution Box located under the hood. Refer
to the instruction sketch included in the kit andFuses and Relaysin
theRoadside Emergencieschapter. See your authorized dealer for
service.
There will also be one power lead for each switch found as a blunt-cut
and sealed wire located in the underhood cowl shield above the engine
block PCM.
2009 Econoline(eco)
Owners Guide, 2nd Printing
USA(fus)
Driver Controls
70
ProCarManuals.com
Page 71 of 320
They are coded as follows:
Switch Circuit number Wire color Fuse
AUX 1 CAC05 Yellow 30A
AUX 2 CAC06 Green with
Brown Trace30A
AUX 3 CAC07 Violet with
Green Trace10A
AUX 4 CAC08 Brown 15A
More detailed information about the Upfitter switches can be found in
theUpfitter Switchesbulletin found at
www.fleet.ford.com/truckbbas/non-html/Q117R1.pdf.
MESSAGE CENTER (IF EQUIPPED)
With the ignition on, the message
center, located on your instrument
cluster, displays important vehicle
informationthrough a constant
monitor of vehicle systems.Yo u
may select display features on the
message center for a display of status. The system will also notify you of
potential vehicle problems with a display of system warnings followed by
a long indicator chime.
Selectable features
Press and release the SELECT/RESET stem, located in the speedometer,
to scroll and reset the following functions. Select or reset the function by
holding the SELECT/RESET stem for more than two seconds.
Info menu
This menu displays the following control displays:
•Odometer/Trip Odometer
•Distance to Empty (DTE)
•Average Fuel Economy (AFE)
•Setup Menu
•System check
•Blank (odometer off)
Odometer/Trip odometer
Refer toGaugesin theInstrument Clusterchapter.
2009 Econoline(eco)
Owners Guide, 2nd Printing
USA(fus)
Driver Controls
71
ProCarManuals.com