lock FORD EDGE 2015 2.G Quick Reference Guide
[x] Cancel search | Manufacturer: FORD, Model Year: 2015, Model line: EDGE, Model: FORD EDGE 2015 2.GPages: 10, PDF Size: 4.54 MB
Page 5 of 10

*if equipped
BEFORE YOU GET STARTED
1. Set up your owner account at SyncMyRide.com (U.S.) or
SyncMyRide.ca (Canada). Register by following the on-screen
instructions. After registering you can see which services you
are eligible for.
2. SYNC uses a wireless connection called
Bluetooth® to
communicate with your phone. Turn Bluetooth mode on in your
phone’s menu options. This lets your phone find SYNC. If you
need more details on setting up your phone with SYNC, visit
SyncMyRide.com (U.S.), SyncMyRide.ca (Canada) or your
phone manufacturer’s website.
PAIRING YOUR CELL PHONE WITH SYNC
In order to use the many features of SYNC, you must first connect
or pair your phone with SYNC.
To Pair Your Cell Phone for the First Time
1. Make sure that your vehicle is in park (P) and you switch
your ignition and radio on.
2. Press the phone button
. When the display indicates
No Phone Found, press OK.
3. When Add Bluetooth Device? appears in the SYNC display,
press OK.
4. When Find SYNC appears in the display, press OK. When
prompted on your phone’s display, enter the PIN provided by
SYNC into your phone.
5. The display indicates when the pairing is successful.
Note: The system may prompt you to set your phone as the primary
or favorite. The primary phone receives messages and voicemail.
Download your phone book, a requirement to use the full set of
voice commands, and switch on 911 Assist
®.
Tips
• Make sure you accept the request from SYNC to access
your phone.
• To pair subsequent phones, please refer to Pairing Subsequent
Cell Phones in the SYNC chapter of your Owner’s Manual.
• If you are experiencing pairing problems, try performing a clean
pairing by deleting your services from SYNC, deleting the SYNC
connection from your phone, and then repeating the process.
WHY DO YOU NEED A SYNC OWNER ACCOUNT?
A SYNC owner account lets you receive the latest software updates
that add new places, directions and information; and if you have
questions, you’ll get free customer support. Visit the website or
call the toll-free number for more information. See the inside front
cover of this guide for details.
Note: Your SYNC system may offer more advanced features. Visit
the website or call the toll-free number for more information. See
the inside front cover of this guide for details.
8
USING YOUR CELL PHONE WITH SYNC
Note: Enter your phone book contacts with both first and last
names to increase the ability of SYNC to select the correct contact.
Remember to say the contact name exactly as it is listed in your
phone book.
Making a Phone Call
Use SYNC to make a phone call to anyone in your phone book
by pressing the voice button
and when prompted, giving a
voice command.
For example, you could say “Call Jake Smith at home”. SYNC
repeats the command back to you and dials the number.
Note: You can also make phone calls by pressing the voice
button . When prompted, give the voice command “Dial”,
then say the phone number.
Answering Incoming Calls
Whenever you have an incoming call, the name and number
of the person calling appears in your display. Press the phone
button
to answer an incoming call. You can hang up at any
time by pressing and holding the phone button .
Do Not Disturb Mode
This feature blocks incoming calls and text messages and
diverts them to your voicemail and saves text messages for later.
You still have access to outgoing calls when this feature is active.
Say the voice command “Do not disturb on” to enable and
“Do not disturb off” to disable.
USING SYNC TO ACCESS DIGITAL MEDIA
SYNC has a media hub with multiple inputs allowing you to access
personal media from your digital devices. Plug in your USB media
devices such as phones and MP3 players and use SYNC to play all
of your favorite music.
Note: SYNC indexes your music; the more stored information you
have on your USB device, the longer it takes SYNC to index.
Using Voice Commands to Play Music
You can use voice commands to access and play music on your
digital media player when it is plugged into your media hub.
1. Plug your media player into your USB port.
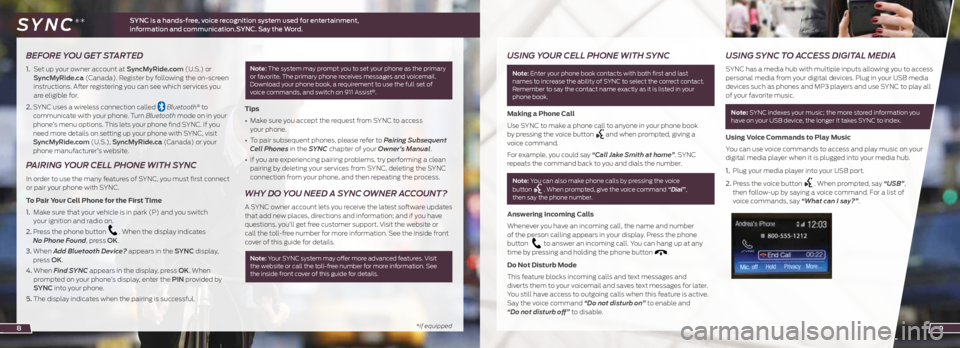
2. Press the voice button
. When prompted, say “USB”,
then follow-up by saying a voice command. For a list of
voice commands, say “What can I say?”.
9
SYNC is a hands-free, voice recognition system used for entertainment,
information and communication.SYNC. Say the Word. SYNC®*
Page 7 of 10

CLIMATE
SYNC with MyFord Touch controls the
temperature, airflow direction, fan
speed, and activates other climate
features like heated front seats for you
and your passenger.
To use voice commands to operate
climate, say a voice command like
“Climate set temperature 72 degrees”
and MyFord Touch makes
that adjustment.
Set Your MyTemp*
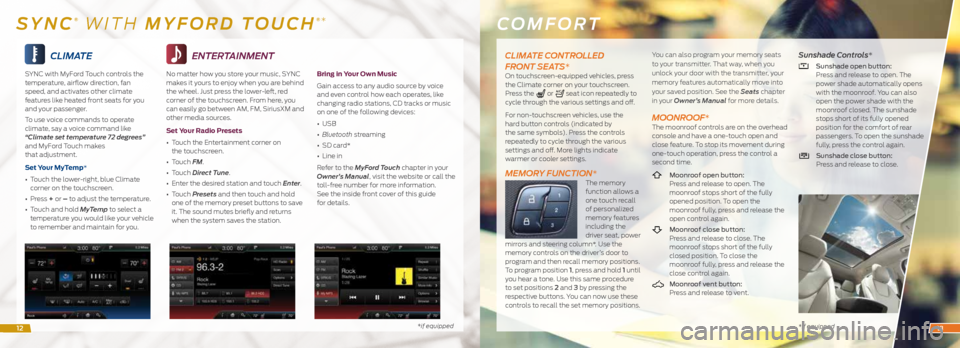
• Touch the lower-right, blue Climate
corner on the touchscreen.
• Press + or – to adjust the temperature.
• Touch and hold MyTemp to select a
temperature you would like your vehicle
to remember and maintain for you.
*if equipped
ENTERTAINMENT
No matter how you store your music, SYNC
makes it yours to enjoy when you are behind
the wheel. Just press the lower-left, red
corner of the touchscreen. From here, you
can easily go between AM, FM, SiriusXM and
other media sources.
Set Your Radio Presets
• Touch the Entertainment corner on
the touchscreen.
• Touch FM.
• Touch Direct Tune.
• Enter the desired station and touch Enter.
• Touch Presets and then touch and hold
one of the memory preset buttons to save
it. The sound mutes briefly and returns
when the system saves the station.
Bring in Your Own Music
Gain access to any audio source by voice
and even control how each operates, like
changing radio stations, CD tracks or music
on one of the following devices:
• USB
• Bluetooth streaming
• SD card*
• Line in
Refer to the MyFord Touch chapter in your
Owner’s Manual, visit the website or call the
toll-free number for more information.
See the inside front cover of this guide
for details.
COMFORT
* if equipped
SYNC® WITH MYFORD TOUCH®*
CLIMATE CONTROLLED
FRONT SEATS*
On touchscreen-equipped vehicles, press
the Climate corner on your touchscreen.
Press the
or seat icon repeatedly to
cycle through the various settings and off.
For non-touchscreen vehicles, use the
hard button controls (indicated by
the same symbols). Press the controls
repeatedly to cycle through the various
settings and off. More lights indicate
warmer or cooler settings.
MEMORY FUNCTION*The memory
function allows a
one touch recall
of personalized
memory features
including the
driver seat, power
mirrors and steering column*. Use the
memory controls on the driver’s door to
program and then recall memory positions.
To program position 1, press and hold 1 until
you hear a tone. Use this same procedure
to set positions 2 and 3 by pressing the
respective buttons. You can now use these
controls to recall the set memory positions. You can also program your memory seats
to your transmitter. That way, when you
unlock your door with the transmitter, your
memory features automatically move into
your saved position. See the Seats
chapter
in your Owner’s Manual for more details.
MOONROOF*The moonroof controls are on the overhead
console and have a one-touch open and
close feature. To stop its movement during
one-touch operation, press the control a
second time.
Moonroof open button:
Press and release to open. The
moonroof stops short of the fully
opened position. To open the
moonroof fully, press and release the
open control again.
Moonroof close button:
Press and release to close. The
moonroof stops short of the fully
closed position. To close the
moonroof fully, press and release the
close control again.
Moonroof vent button:
Press and release to vent.
Sunshade Controls*
Sunshade open button:
Press and release to open. The
power shade automatically opens
with the moonroof. You can also
open the power shade with the
moonroof closed. The sunshade
stops short of its fully opened
position for the comfort of rear
passengers. To open the sunshade
fully, press the control again.
Sunshade close button:
Press and release to close.
1213
Page 8 of 10

*if equipped *if equipped*if equipped
AUTOWIPERS* To switch this feature on, move the
wiper controls to intermittent wipe. The
autowiper system turns the wipers on
only when moisture is present on the
windshield. The wiper speed depends on
how much moisture the system detects
and the sensitivity setting.
• A low sensitivity means the wipers turn
on when the system detects a large
amount of moisture on the windshield.
• A high sensitivity means the wipers turn
on when the rain sensor detects a small
amount of moisture on the windshield.
• To switch this feature off, use your
wiper controls. To change this feature
to intermittent wipe every time you use
your wipers, use the information display.
• To switch intermittent wipe back to
autowipers, use the information display.
Note: Make sure you switch off this
feature before entering a car wash.
REMOTE START*Remote start allows you to start your
vehicle from outside your vehicle using
your remote transmitter. To start, press
and then press twice within three
seconds. Once inside, apply the brake while pressing the START STOP button.
Shift into drive (D) and go. If you have an
integrated keyhead transmitter, insert the
key into the ignition and switch the ignition
on as you normally would before driving.
To switch the engine off from outside your
vehicle after using your remote start,
press
once.
You can personalize your settings within
the information display. For complete
information, refer to the Information
Display chapter in your Owner’s Manual.
INTELLIGENT ACCESS*To unlock and open a door, pull an exterior
door handle. Make sure not to touch the
lock sensor area on the front of the handle.
Touch the top of the door handle to lock
your vehicle. To unlock and open the
liftgate, press the exterior liftgate release
button on the top of the liftgate pull-cup
handle. The intelligent access transmitter
also contains a mechanical key blade that
can be used to unlock the driver door,
if necessary.
Note: Your intelligent access key must
be inside the vehicle for keyless starting
to work. It sounds the horn twice when
you exit the vehicle with the transmitter
and the vehicle is running.
INTEGRATED KEYHEAD
TRANSMITTER AND
INTELLIGENT ACCESS*
REMOTE ENTRY ICONS
• Press once to lock all doors. Press
again within three seconds to confirm
you locked all doors.
• Press
once to unlock the driver’s door.
Press again within three seconds to
unlock all doors.
• Press
to activate the panic alarm.
Press again or switch on the ignition
to deactivate.
• Press
twice within three seconds to
open the liftgate.
• Car finder: Press
twice within three
seconds to locate your vehicle. The
horn sounds and the direction
indicators flash.
CONVENIENCE
15
DUAL ZONE AUTOMATIC CLIMATE CONTROLS*Press the AUTO button to turn on automatic operation, and
set your preferred temperature by using the left-hand side
TEMP (+) or (–) button. The system adjusts fan speed, air
distribution, air conditioning operation, and selects outside air or
recirculated air to heat or cool the vehicle in order to maintain the
desired temperature.
A front passenger can adjust the temperature on the passenger
side by pressing the right-hand side TEMP (+) or (-) button.
To return back to single zone: Press and hold the AUTO button for
more than two seconds.
EASYFOLD® REAR
FOLDING SEATS*
The controls are on the left-hand
side (accessible from the liftgate
area). Press and hold the top
control to lower the left seatback,
or the bottom control to lower
the right seatback. To unfold the
seatbacks, rotate each seatback
up until it latches in the upright
position. The seatback clicks
when it locks into position.
Note: This feature is operational when the vehicle is in park (P) and the liftgate has been open for less than 10 minutes.
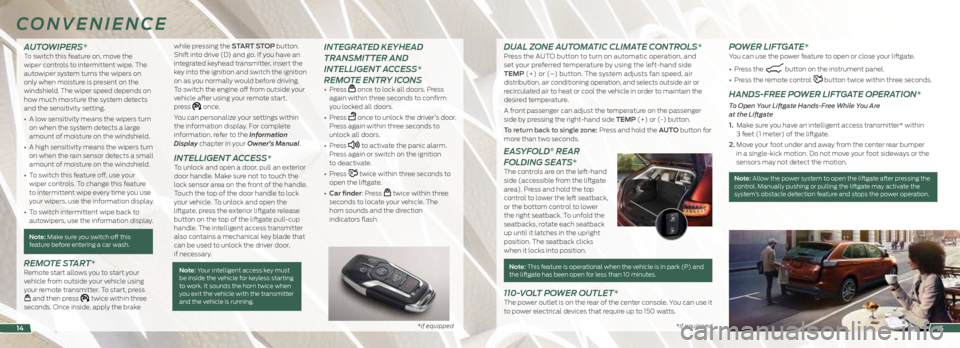
110-VOLT POWER OUTLET*The power outlet is on the rear of the center console. You can use it
to power electrical devices that require up to 150 watts.
POWER LIFTGATE*You can use the power feature to open or close your liftgate.
• Press the
button on the instrument panel.
• Press the remote control
button twice within three seconds.
HANDS-FREE POWER LIFTGATE OPERATION*
To Open Your Liftgate Hands-Free While You Are
at the Liftgate
1. Make sure you have an intelligent access transmitter* within
3 feet (1 meter) of the liftgate.
2. Move your foot under and away from the center rear bumper
in a single-kick motion. Do not move your foot sideways or the
sensors may not detect the motion.
Note: Allow the power system to open the liftgate after pressing the
control. Manually pushing or pulling the liftgate may activate the
system’s obstacle detection feature and stops the power operation.
14
Page 9 of 10

*if equipped *if equipped*if equipped
REAR VIEW CAMERA*The feature provides a video image of
the area behind the vehicle. The image
automatically appears in the touchscreen
when the vehicle is in reverse (R) and
operates at speeds below 3 mph (5 km/h).
The system uses green, yellow and red
guides to alert you of your proximity
to objects.
ADAPTIVE STEERING* The adaptive steering system optimizes
your vehicle’s steering based on your
steering wheel input, changes in vehicle
speed and other conditions. You can change
the settings in the information display. Refer
to your Owner’s Manual for more details.
Note: The adaptive steering system includes
a locking device that may make a sound
when you start or switch off your vehicle.
This is completely normal.
BLIS® (BLIND SPOT
INFORMATION SYSTEM)
WITH CROSS TRAFFIC ALERT*
BLIS aids you in detecting vehicles that
may have entered into your blind spot area
on both sides of the vehicle, extending
rearward from the exterior mirrors to
approximately 10 feet (3 meters) beyond
the bumper. Cross traffic alert warns you of vehicles
approaching from the sides when the
transmission is in reverse (R). It detects
approaching vehicles from approximately
46 feet (14 meters) away.
The Blind Spot Information and cross traffic
alert systems illuminate a yellow alert
indicator in the outside mirror on the side
of your vehicle the approaching vehicle is
coming from. In addition, the yellow alert
indicator flashes if the direction indicator
is ON when a Blind Spot Warning System
alert is active.
Note: The alert indicator dims when the
system detects nighttime darkness.
Cross traffic alert also sounds a series
of tones and a message appears in the
information display indicating a vehicle is
coming from the right or left.
NEVER use
BLIS or cross traffic alert as a replacement
for using the interior and exterior mirrors and
looking over your shoulder before changing
lanes. The systems are not replacements
for careful driving. Use both systems only
as an assist.
SECURICODETM KEYLESS
ENTRY SYSTEM*
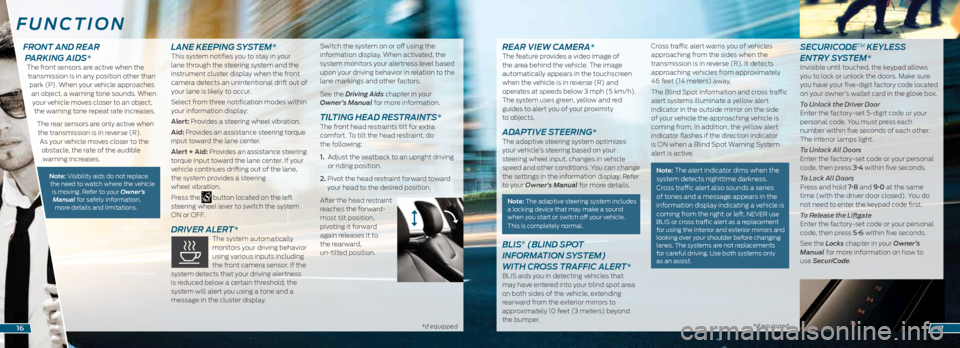
Invisible until touched, the keypad allows
you to lock or unlock the doors. Make sure
you have your five-digit factory code located
on your owner’s wallet card in the glove box.
To Unlock the Driver Door
Enter the factory-set 5-digit code or your
personal code. You must press each
number within five seconds of each other.
The interior lamps light.
To Unlock All Doors
Enter the factory-set code or your personal
code, then press 3·4 within five seconds.
To Lock All Doors
Press and hold 7·8 and 9·0 at the same
time (with the driver door closed). You do
not need to enter the keypad code first.
To Release the Liftgate
Enter the factory-set code or your personal
code, then press 5·6 within five seconds.
See the Locks chapter in your Owner’s
Manual for more information on how to
use SecuriCode.
FUNCTION
1617
FRONT AND REAR PARKING AIDS*
The front sensors are active when the
transmission is in any position other than park (P). When your vehicle approaches an object, a warning tone sounds. When your vehicle moves closer to an object, the warning tone repeat rate increases.
The rear sensors are only active when the transmission is in reverse (R). As your vehicle moves closer to the obstacle, the rate of the audible warning increases.
Note: Visibility aids do not replace the need to watch where the vehicle is moving. Refer to your Owner’s Manual for safety information, more details and limitations.
LANE KEEPING SYSTEM*This system notifies you to stay in your
lane through the steering system and the
instrument cluster display when the front
camera detects an unintentional drift out of
your lane is likely to occur.
Select from three notification modes within
your information display:
Alert: Provides a steering wheel vibration.
Aid: Provides an assistance steering torque
input toward the lane center.
Alert + Aid: Provides an assistance steering
torque input toward the lane center. If your
vehicle continues drifting out of the lane,
the system provides a steering
wheel vibration.
Press the
button located on the left
steering wheel lever to switch the system
ON or OFF.
DRIVER ALERT* The system automatically
monitors your driving behavior
using various inputs including
the front camera sensor. If the
system detects that your driving alertness
is reduced below a certain threshold, the
system will alert you using a tone and a
message in the cluster display. Switch the system on or off using the
information display. When activated, the
system monitors your alertness level based
upon your driving behavior in relation to the
lane markings and other factors.
See the Driving Aids chapter in your
Owner’s Manual for more information.
TILTING HEAD RESTRAINTS* The front head restraints tilt for extra
comfort. To tilt the head restraint, do
the following:
1.
Adjust the seatback to an upright driving
or riding position.
2. Pivot the head restraint forward toward
your head to the desired position.
After the head restraint
reaches the forward-
most tilt position,
pivoting it forward
again releases it to
the rearward,
un-tilted position.