manual transmission FORD ESCAPE 2014 3.G Quick Reference Guide
[x] Cancel search | Manufacturer: FORD, Model Year: 2014, Model line: ESCAPE, Model: FORD ESCAPE 2014 3.GPages: 10, PDF Size: 1.91 MB
Page 7 of 10

Towing Your Escape
Towing your vehicle behind
an RV or any other vehicle
may be limited. Refer to
Towing the Vehicle on
Four Wheels section in the
Towing chapter of your
Owner’s Manual.
Tire Pressure
Monitoring System
Your vehicle illuminates a
low tire pressure warning
light
in your instrument
cluster when one or more
of your tires are significantly
underinflated. If this
happens, stop and check
your tires as soon as
possible. Inflate them to
the proper pressure. Refer
to the Inflating Your Tires
section in the Wheels
and Tires chapter of
your Owner’s Manual for
more information.
Fuel-efficient
Transmission
Your vehicle has been
designed to improve fuel
economy by reducing fuel
usage while coasting or
decelerating. This may
be perceived as a light to
medium braking sensation
when removing your foot
from the accelerator pedal.
Rear Window Buffeting
You may hear a pulsing
noise when just one of the
windows is open. Lower the
opposite window slightly to
reduce this noise. Press the
switch to open the window.
Lift the switch to close
the window.
Front and Rear
Sensing System*
This system sounds an
audible warning tone if
there is an obstacle near
the vehicle’s front or rear
bumpers. As the vehicle
moves closer to the
obstacle, the rate of the
warning tone increases
in frequency. The front
sensors are automatically
activated when the vehicle
is in D (Drive) and the
vehicle speed is below
6 mph (10 km/h). The
system will detect objects
up to 27 inches (70 cm)
away from the front of the
vehicle and about 14 inches
(35 cm) to the side of the
front end. The rear sensors
are active only when the
Essential Information continued
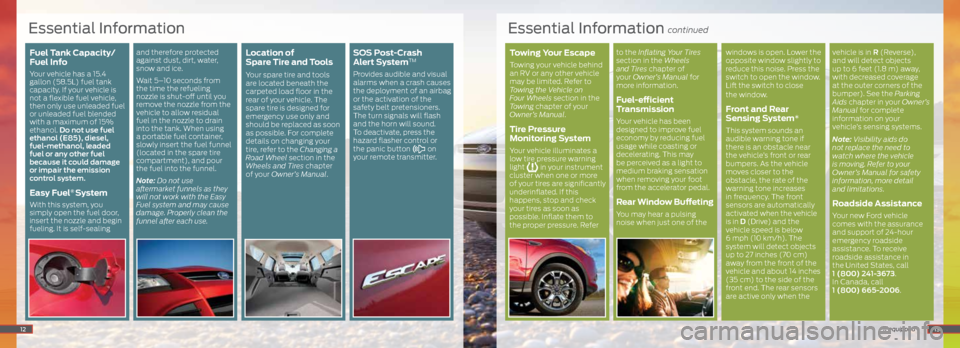
Fuel Tank Capacity/
Fuel Info
Your vehicle has a 15.4
gallon (58.5L) fuel tank
capacity. If your vehicle is
not a flexible fuel vehicle,
then only use unleaded fuel
or unleaded fuel blended
with a maximum of 15%
ethanol. Do not use fuel
ethanol (E85), diesel,
fuel-methanol, leaded
fuel or any other fuel
because it could damage
or impair the emission
control system.
Easy Fuel® System
With this system, you
simply open the fuel door,
insert the nozzle and begin
fueling. It is self-sealing
and therefore protected
against dust, dirt, water,
snow and ice.
Wait 5–10 seconds from
the time the refueling
nozzle is shut-off until you
remove the nozzle from the
vehicle to allow residual
fuel in the nozzle to drain
into the tank. When using
a portable fuel container,
slowly insert the fuel funnel
(located in the spare tire
compartment), and pour
the fuel into the funnel.
Note: Do not use
aftermarket funnels as they
will not work with the Easy
Fuel system and may cause
damage. Properly clean the
funnel after each use.Location of
Spare Tire and Tools
Your spare tire and tools
are located beneath the
carpeted load floor in the
rear of your vehicle. The
spare tire is designed for
emergency use only and
should be replaced as soon
as possible. For complete
details on changing your
tire, refer to the Changing a
Road Wheel section in the
Wheels and Tires chapter
of your Owner’s Manual.
SOS Post-Crash
Alert SystemTM
Provides audible and visual
alarms when a crash causes
the deployment of an airbag
or the activation of the
safety belt pretensioners.
The turn signals will flash
and the horn will sound.
To deactivate, press the
hazard flasher control or
the panic button
on
your remote transmitter.
12
Essential Information
vehicle is in R (Reverse),
and will detect objects
up to 6 feet (1.8 m) away,
with decreased coverage
at the outer corners of the
bumper). See the Parking
Aids chapter in your Owner’s
Manual for complete
information on your
vehicle’s sensing systems.
Note: Visibility aids do
not replace the need to
watch where the vehicle
is moving. Refer to your
Owner’s Manual for safety
information, more detail
and limitations.
Roadside Assistance
Your new Ford vehicle
comes with the assurance
and support of 24-hour
emergency roadside
assistance. To receive
roadside assistance in
the United States, call
1 (800) 241-3673.
In Canada, call
1 (800) 665-2006.
13*if equipped
only active
Page 8 of 10

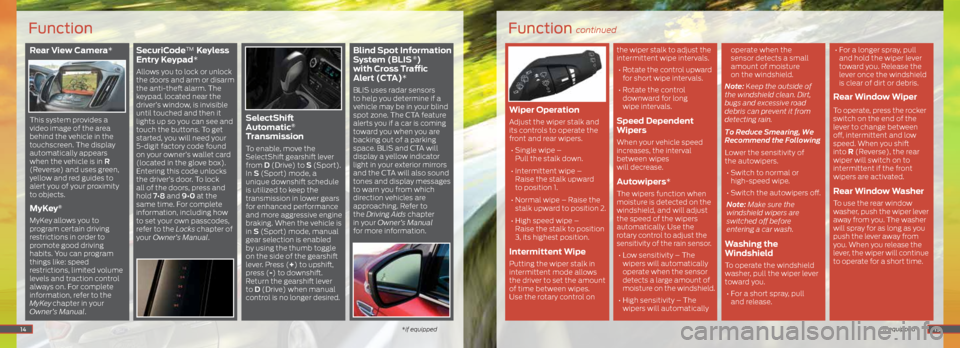
Rear View Camera*
This system provides a
video image of the area
behind the vehicle in the
touchscreen. The display
automatically appears
when the vehicle is in R
(Reverse) and uses green,
yellow and red guides to
alert you of your proximity
to objects.
MyKey®
MyKey allows you to
program certain driving
restrictions in order to
promote good driving
habits. You can program
things like: speed
restrictions, limited volume
levels and traction control
always on. For complete
information, refer to the
MyKey
chapter in your
Owner’s Manual.
SecuriCode™ Keyless
Entry Keypad*
Allows you to lock or unlock
the doors and arm or disarm
the anti-theft alarm. The
keypad, located near the
driver’s window, is invisible
until touched and then it
lights up so you can see and
touch the buttons. To get
started, you will need your
5-digit factory code found
on your owner’s wallet card
(located in the glove box).
Entering this code unlocks
the driver’s door. To lock
all of the doors, press and
hold 7•8 and 9•0 at the
same time. For complete
information, including how
to set your own passcodes,
refer to the Locks chapter of
your Owner’s Manual.
SelectShift
Automatic®
Transmission
To enable, move the
SelectShift gearshift lever
from D (Drive) to S (Sport).
In S (Sport) mode, a
unique downshift schedule
is utilized to keep the
transmission in lower gears
for enhanced performance
and more aggressive engine
braking. When the vehicle is
in S (Sport) mode, manual
gear selection is enabled
by using the thumb toggle
on the side of the gearshift
lever. Press (+) to upshift,
press (-) to downshift.
Return the gearshift lever
to D (Drive) when manual
control is no longer desired.
Blind Spot Information
System (BLIS ®)
with Cross Traffic
Alert (CTA)*
BLIS uses radar sensors
to help you determine if a
vehicle may be in your blind
spot zone. The CTA feature
alerts you if a car is coming
toward you when you are
backing out of a parking
space. BLIS and CTA will
display a yellow indicator
light in your exterior mirrors
and the CTA will also sound
tones and display messages
to warn you from which
direction vehicles are
approaching. Refer to
the Driving Aids chapter
in your Owner’s Manual
for more information.
14
Function
*if equipped
Function continued
*if equipped
Wiper Operation
Adjust the wiper stalk and
its controls to operate the
front and rear wipers.
• Single wipe –
Pull the stalk down.
• Intermittent wipe –
Raise the stalk upward
to position 1.
• Normal wipe – Raise the
stalk upward to position 2.
• High speed wipe –
Raise the stalk to position
3, its highest position.
Intermittent Wipe
Putting the wiper stalk in
intermittent mode allows
the driver to set the amount
of time between wipes.
Use the rotary control on the wiper stalk to adjust the
intermittent wipe intervals.
• Rotate the control upward
for short wipe intervals.
• Rotate the control
downward for long
wipe intervals.
Speed Dependent
Wipers
When your vehicle speed
increases, the interval
between wipes
will decrease.
Autowipers*
The wipers function when
moisture is detected on the
windshield, and will adjust
the speed of the wipers
automatically. Use the
rotary control to adjust the
sensitivity of the rain sensor.
• Low sensitivity – The
wipers will automatically
operate when the sensor
detects a large amount of
moisture on the windshield.
• High sensitivity – The
wipers will automatically operate when the
sensor detects a small
amount of moisture
on the windshield.
Note: Keep the outside of
the windshield clean. Dirt,
bugs and excessive road
debris can prevent it from
detecting rain.
To Reduce Smearing, We
Recommend the Following
Lower the sensitivity of
the autowipers. • Switch to normal or
high-speed wipe.
• Switch the autowipers off.
Note: Make sure the
windshield wipers are
switched off before
entering a car wash.
Washing the
Windshield
To operate the windshield
washer, pull the wiper lever
toward you. • For a short spray, pull
and release. •
For a longer spray, pull
and hold the wiper lever
toward you. Release the
lever once the windshield
is clear of dirt or debris.
Rear Window Wiper
To operate, press the rocker
switch on the end of the
lever to change between
off, intermittent and low
speed. When you shift
into R (Reverse), the rear
wiper will switch on to
intermittent if the front
wipers are activated.
Rear Window Washer
To use the rear window
washer, push the wiper lever
away from you. The washer
will spray for as long as you
push the lever away from
you. When you release the
lever, the wiper will continue
to operate for a short time.
15
Page 9 of 10

Manual Liftgate
To Open the Liftgate 1. Unlock all the vehicle doors.
2. Press the button located inside the liftgate pull cup
handle to unlatch the liftgate.
3. Pull on the outside handle to raise the liftgate.
Power Liftgate*
Note: If the vehicle is running,the liftgate will only operate
with the transmission in P (Park).
Open or close the liftgate with your remote control by
pressing the
button twice within three seconds. You
will hear a tone when the liftgate is activated. You can
also open or close the liftgate from inside the vehicle by
pressing the
button on the instrument panel. To Open with the Outside
Liftgate Button
1. Unlock the liftgate with
the remote control or
power door control. If
the intelligent access
key* is within 3 feet
(1 meter) of the liftgate,
the liftgate will unlock
when you press the
liftgate release button.
2. Press the button
located in the top of the
liftgate pull-cup handle.
3. Allow the power system
to open the liftgate after
pressing the control.
4. To close, press and
release the control
located to the left of
the open liftgate, as
shown below. Setting the Liftgate
Open Height
Once you open the power
liftgate, you can move
it manually to a desired
height. If the previously
programmed liftgate height
is lower than the fully
opened position, you can
manually push it upward.
To Program a New Height
1. Open the liftgate.
2.
Manually move the
liftgate to your
desired height.
3. Press and hold the
control button on the
liftgate until you hear
a tone, indicating that
your programming of
the liftgate height
is successful.
The next time you use the
power feature to open the
liftgate, it will open to its
newly programmed height.
To change the
programmed height,
repeat the process above. Obstacle Detection
When you use the power
open or close feature
and the liftgate detects
a problem, you will hear
a warning tone and the
liftgate will stop.
The Liftgate Will Not
Power Open or Close When • it detects an object in its
opening or closing path,
• the 12-volt battery does
not have enough charge
to power the liftgate,
• the ignition is on and the
transmission is not in P
(Park), or
• you are traveling at
speeds at or above 3 mph
(5 km/h).
Note: Entering the vehicle
while the liftgate is closing
could cause the vehicle
to bounce and activate
obstacle detection.
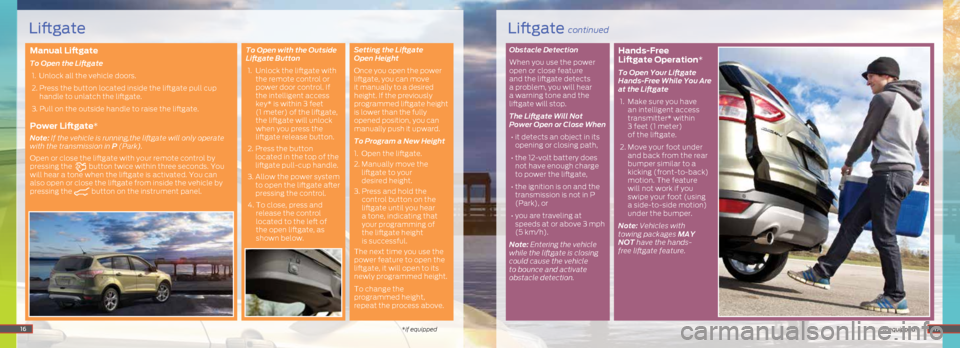
Hands-Free
Liftgate Operation*
To Open Your Liftgate
Hands-Free While You Are
at the Liftgate
1. Make sure you have
an intelligent access
transmitter* within
3 feet (1 meter)
of the liftgate.
2. Move your foot under
and back from the rear
bumper similar to a
kicking (front-to-back)
motion. The feature
will not work if you
swipe your foot (using
a side-to-side motion)
under the bumper.
Note: Vehicles with
towing packages MAY
NOT have the hands-
free liftgate feature.
16*if equipped *if equipped17
Liftgate continuedLiftgate