automatic transmission FORD ESCAPE 2016 3.G Owners Manual
[x] Cancel search | Manufacturer: FORD, Model Year: 2016, Model line: ESCAPE, Model: FORD ESCAPE 2016 3.GPages: 393, PDF Size: 5.85 MB
Page 6 of 393
Refueling..........................................................132
Fuel Consumption........................................134
Emission Control System
..........................135
Transmission
Automatic Transmission...........................138
Four-Wheel Drive
Principle of Operation..................................141
Using Four-Wheel Drive..............................141
Brakes
General Information
....................................146
Hints on Driving With Anti-Lock Brakes...........................................................146
Parking Brake
..................................................147
Hill Start Assist..............................................147
Traction Control
Principle of Operation................................149
Using Traction Control...............................149
Stability Control
Principle of Operation................................150
Using Stability Control.................................151
Parking Aids
Principle of Operation.................................152
Rear Parking Aid............................................152
Front Parking Aid..........................................153
Active Park Assist
.........................................154
Rear View Camera
.......................................158
Cruise Control
Principle of Operation..................................161
Using Cruise Control.....................................161
Driving Aids
Blind Spot Information System..............162
Cross Traffic Alert
.........................................164 Eco Mode
.........................................................167
Steering
............................................................168
Load Carrying
Rear Under Floor Storage..........................170
Luggage Covers.............................................170
Roof Racks and Load Carriers...................171
Load Limit
........................................................172
Towing
Towing a Trailer
..............................................179
Trailer Sway Control....................................180
Recommended Towing Weights............180
Essential Towing Checks...........................182
Towing Points
................................................185
Transporting the Vehicle...........................186
Towing the Vehicle on Four Wheels......186
Driving Hints
Breaking-In.....................................................188
Economical Driving......................................188
Driving Through Water...............................189
Floor Mats
.......................................................189
Roadside Emergencies
Roadside Assistance....................................191
Hazard Warning Flashers
..........................192
Fuel Shutoff....................................................192
Jump Starting the Vehicle
.........................193
Post-Crash Alert System
...........................195
Customer Assistance
Getting the Services You Need...............196
In California (U.S. Only)..............................197
The Better Business Bureau (BBB) Auto Line Program (U.S. Only)......................198
Utilizing the Mediation/Arbitration Program (Canada Only)........................198
Getting Assistance Outside the U.S. and Canada........................................................199
3
Escape/Kuga (TM2), enUSA, First Printing Table of Contents
Page 7 of 393
Ordering Additional Owner's
Literature....................................................200
Reporting Safety Defects (U.S. Only)............................................................200
Reporting Safety Defects (Canada Only).............................................................201
Fuses
Fuse Specification Chart..........................202
Changing a Fuse.............................................211
Maintenance
General Information.....................................212
Opening and Closing the Hood...............212
Under Hood Overview -
1.6L
EcoBoost™.................................................214
Under Hood Overview -
2.0L
EcoBoost™.................................................215
Under Hood Overview - 2.5L....................216
Engine Oil Dipstick -
1.6L
EcoBoost™.................................................217
Engine Oil Dipstick -
2.0L EcoBoost™/
2.5L.................................................................217
Engine Oil Check............................................217
Engine Coolant Check
................................218
Automatic Transmission Fluid Check.............................................................221
Brake Fluid Check
.........................................221
Power Steering Fluid Check......................221
Washer Fluid Check.....................................221
Fuel Filter
.........................................................222
Changing the 12V Battery..........................222
Checking the Wiper Blades......................223
Changing the Wiper Blades.....................223
Adjusting the Headlamps.........................224
Removing a Headlamp..............................226
Changing a Bulb
...........................................226
Bulb Specification Chart
..........................230
Changing the Engine Air Filter.................232 Vehicle Care
General Information
...................................234
Cleaning Products
.......................................234
Cleaning the Exterior..................................234
Waxing.............................................................235
Cleaning the Engine....................................235
Cleaning the Windows and Wiper Blades..........................................................236
Cleaning the Interior...................................236
Cleaning the Instrument Panel and Instrument Cluster Lens........................237
Cleaning Leather Seats..............................237
Repairing Minor Paint Damage..............238
Cleaning the Alloy Wheels.......................238
Vehicle Storage
............................................238
Wheels and Tires
General Information
....................................241
Tire Care..........................................................244
Using Snow Chains.....................................257
Tire Pressure Monitoring System..........258
Changing a Road Wheel...........................262
Technical Specifications..........................266
Capacities and Specific- ations
Engine Specifications -
1.6L
EcoBoost™...............................................268
Engine Specifications -
2.0L
EcoBoost™...............................................268
Engine Specifications - 2.5L....................269
Motorcraft Parts - 1.6L EcoBoost™......270
Motorcraft Parts - 2.0L EcoBoost™......271
Motorcraft Parts - 2.5L...............................272
Vehicle Identification Number
................273
Vehicle Certification Label
.......................274
Transmission Code Designation............274
Capacities and Specifications -
1.6L
EcoBoost™................................................275
Capacities and Specifications -
2.0L
EcoBoost™................................................278
4
Escape/Kuga (TM2), enUSA, First Printing Table of Contents
Page 50 of 393
4. Insert a new battery with the + facing
downward. Press the battery down to
make sure it is fully in the housing.
5. Snap the battery cover back onto the transmitter and install the backup key.
Car Finder Press the button twice within
three seconds. The horn sounds
and the direction indicators
flash. We recommend you use this method
to locate your vehicle, rather than using
the panic alarm.
Note: If locking was not successful or if any
door or the liftgate is open, or if the hood is
open on vehicles with a perimeter alarm or
remote start, the horn sounds twice and the
lamps do not flash.
Sounding a Panic Alarm
Note: The panic alarm only operates when
the ignition is off. Press the button to activate the
alarm. Press the button again or
switch the ignition on to
deactivate.
Remote Start
(If Equipped) WARNING
To avoid exhaust fumes, do not use
remote start if your vehicle is parked
indoors or areas that are not well
ventilated. Note:
Do not use remote start if your vehicle
is low on fuel. The remote start button is on the
transmitter.
This feature allows you to start your
vehicle from outside the vehicle. The
transmitter has an extended operating
range. Vehicles with automatic climate control
can be configured to operate when the
vehicle is remote started. See Automatic
Climate Control
(page 102).
Many states and provinces have
restrictions for the use of remote start.
Check your local and state or provincial
laws for specific requirements regarding
remote start systems.
The remote start system does not work if:
• The ignition is on.
• The alarm system is triggered.
• You disable the feature.
• The hood is open.
• The transmission is not in park (P).
• The vehicle battery voltage is too low.
• The service engine soon indicator was
on the last time your vehicle was
driven.
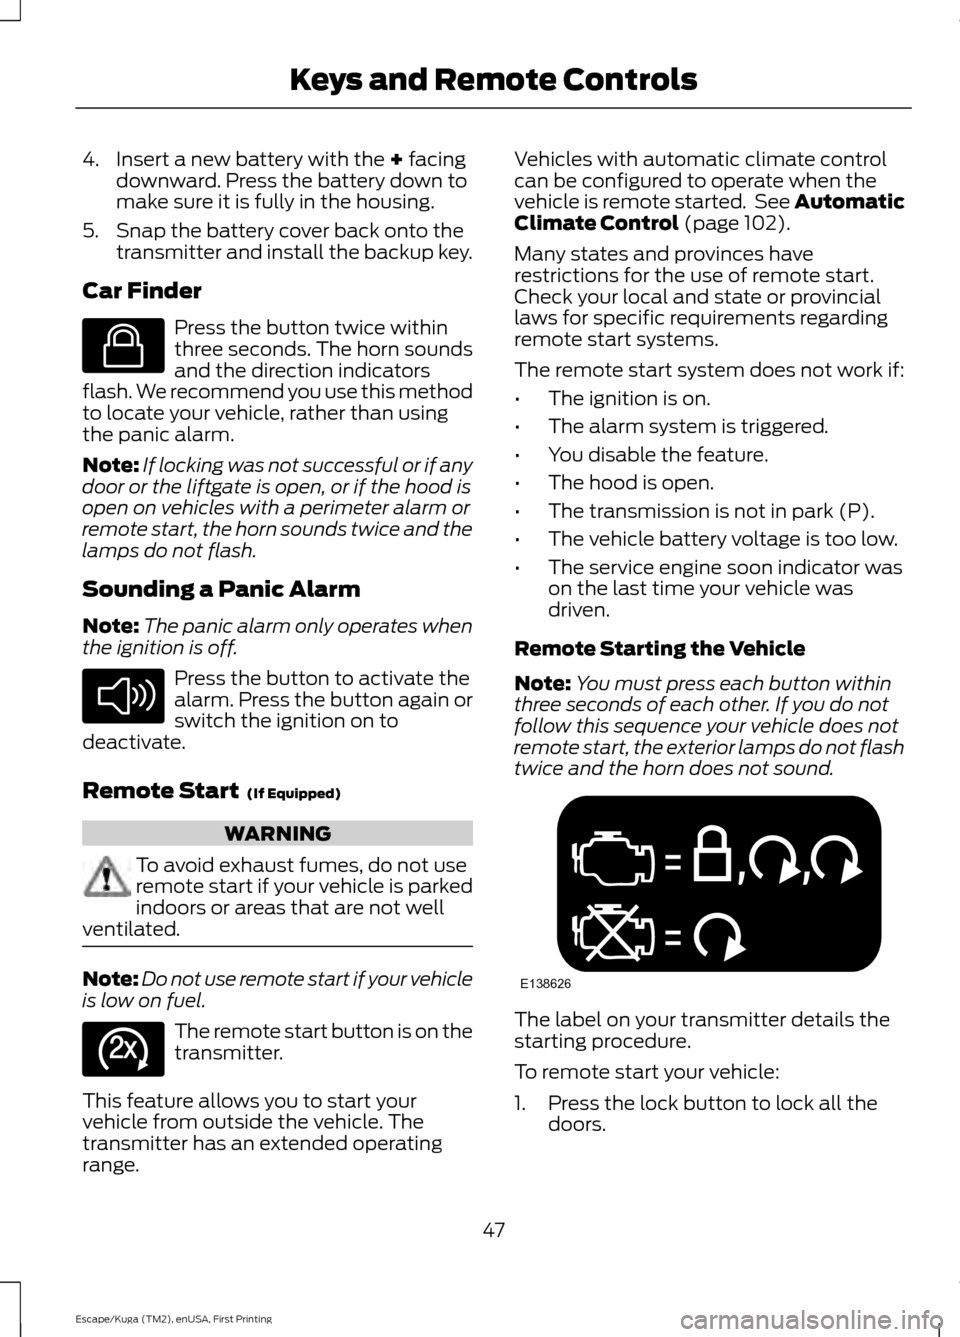
Remote Starting the Vehicle
Note: You must press each button within
three seconds of each other. If you do not
follow this sequence your vehicle does not
remote start, the exterior lamps do not flash
twice and the horn does not sound. The label on your transmitter details the
starting procedure.
To remote start your vehicle:
1. Press the lock button to lock all the
doors.
47
Escape/Kuga (TM2), enUSA, First Printing Keys and Remote ControlsE138623 E138624 E138625 E138626
Page 79 of 393
DAYTIME RUNNING LAMPS (If
Equipped) WARNING
The daytime running lamps system
does not activate the rear lamps and
may not provide adequate lighting
during low visibility driving conditions. Also,
the autolamps switch position may not
activate the headlamps in all low visibility
conditions, such as daytime fog. Make sure
the headlamps are switched to auto or on,
as appropriate, during all low visibility
conditions. Failure to do so may result in a
crash. Type 1 - Conventional (Non-
Configurable)
The daytime running lamps turn on when:
1. The ignition is switched to the on
position.
2. The transmission is not in park (P) for vehicles with automatic transmissions
or the parking brake is released for
vehicles with manual transmissions.
3. The lighting control is in the off, parking
lamp or autolamps positions.
4. The headlamps are off.
Type 2 - Configurable
Switch the daytime running lamps on or
off using the information display controls.
See
Information Displays (page 88).
The daytime running lamps turn on when:
1. They are switched on in the information
display. See
Information Displays
(page 88).
2. The ignition is switched to the on position. 3. The transmission is not in park (P) for
vehicles with automatic transmissions
or the parking brake is released for
vehicles with manual transmissions.
4. The lighting control is in the autolamps
position.
5. The headlamps are off.
The other lighting control switch positions
do not activate the daytime running lamps,
and you can use them to temporarily
override autolamp control.
When switched off in the information
display, the daytime running lamps are off
in all lighting control switch positions.
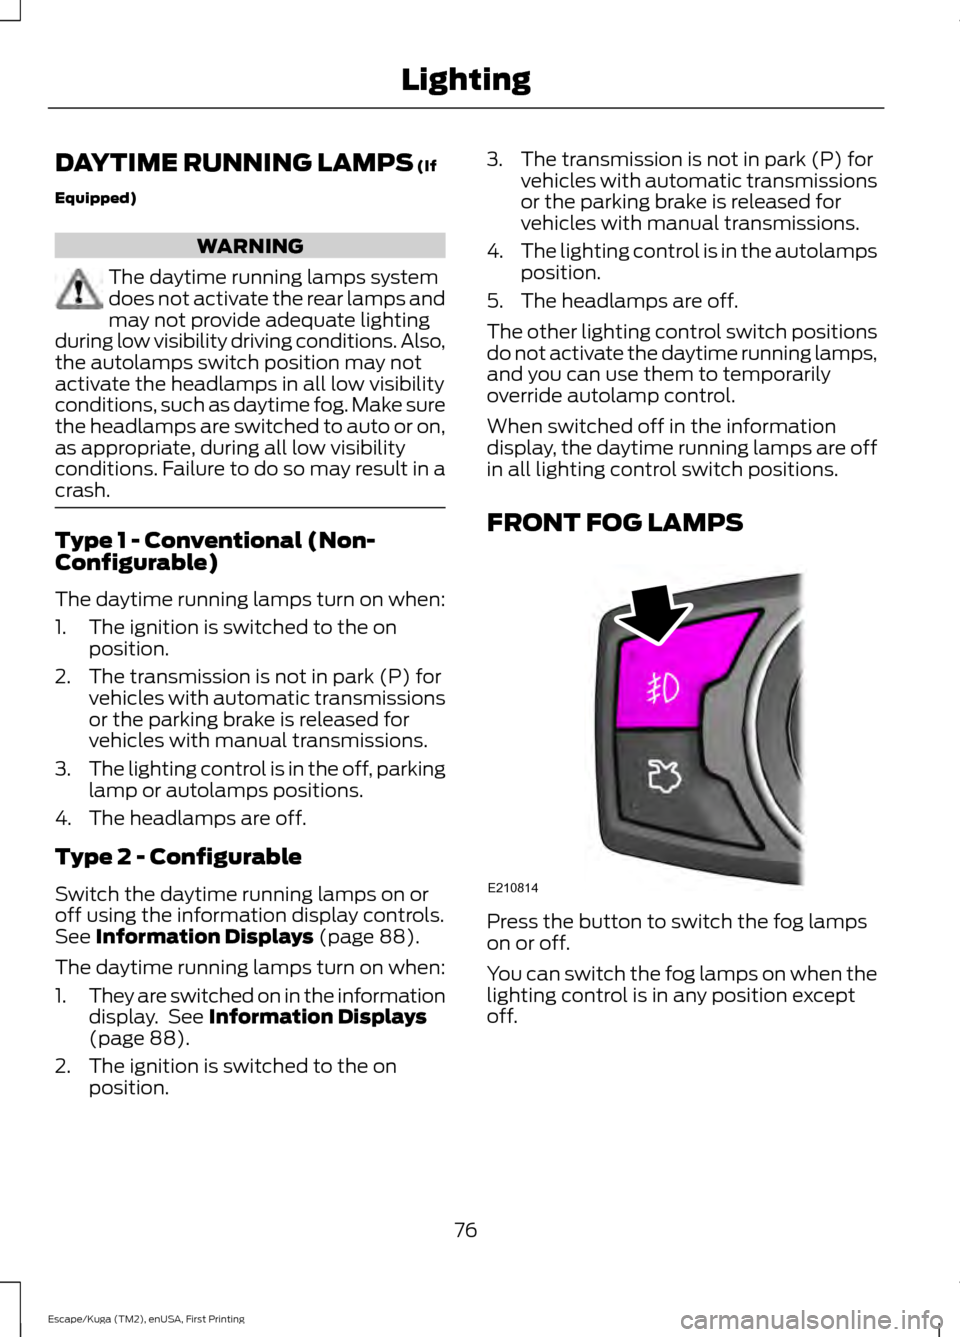
FRONT FOG LAMPS Press the button to switch the fog lamps
on or off.
You can switch the fog lamps on when the
lighting control is in any position except
off.
76
Escape/Kuga (TM2), enUSA, First Printing LightingE210814
Page 90 of 393
WARNING
Under engine misfire conditions,
excessive exhaust temperatures
could damage the catalytic
converter, the fuel system, interior floor
coverings or other vehicle components,
possibly causing a fire. Have an authorized
dealer service your vehicle immediately. The service engine soon indicator light
illuminates when the ignition is first turned
on prior to engine start to check the bulb
and to indicate whether the vehicle is ready
for Inspection/Maintenance (I/M) testing.
Normally, the service engine soon light will
stay on until the engine is cranked, then
turn itself off if no malfunctions are
present. However, if after 15 seconds the
service engine soon light blinks eight times,
it means that the vehicle is not ready for
I/M testing. See Emission Control
System (page 135).
Traction and Stability Control It will flash when the system is
active. If it remains illuminated
or does not illuminate when you
switch the ignition on, this indicates a
malfunction. During a malfunction the
system will switch off. Have the system
checked by your authorized dealer
immediately.
Traction and Stability Control Off It will illuminate when you switch
the system off. It will go out
when you switch the system
back on or when you switch the ignition
off. AUDIBLE WARNINGS AND
INDICATORS
Key in Ignition Warning Chime
Sounds when you open the driver's door
and you have left the key in the ignition.
Engine On Warning Chime
A warning chime will sound when any door
is opened if the vehicle exceeds a relatively
low speed.
Keyless Warning Alert
(If Equipped)
Sounds the horn twice when you exit the
vehicle and the keyless vehicle is in RUN,
indicating the vehicle is still on.
Headlamps On Warning Chime
Sounds when you remove the key from the
ignition and open the driver's door and you
have left the headlamps or parking lamps
on.
Parking Brake On Warning Chime
Sounds when you have left the parking
brake on and drive your vehicle. If the
warning chime remains on after you have
released the parking brake, have the
system checked by your authorized dealer
immediately.
Automatic Transmission Warning
Chime
Sounds when you have not moved the
transmission selector lever to position
P.
A message will be shown in the display.
87
Escape/Kuga (TM2), enUSA, First Printing Instrument ClusterE138639
Page 102 of 393
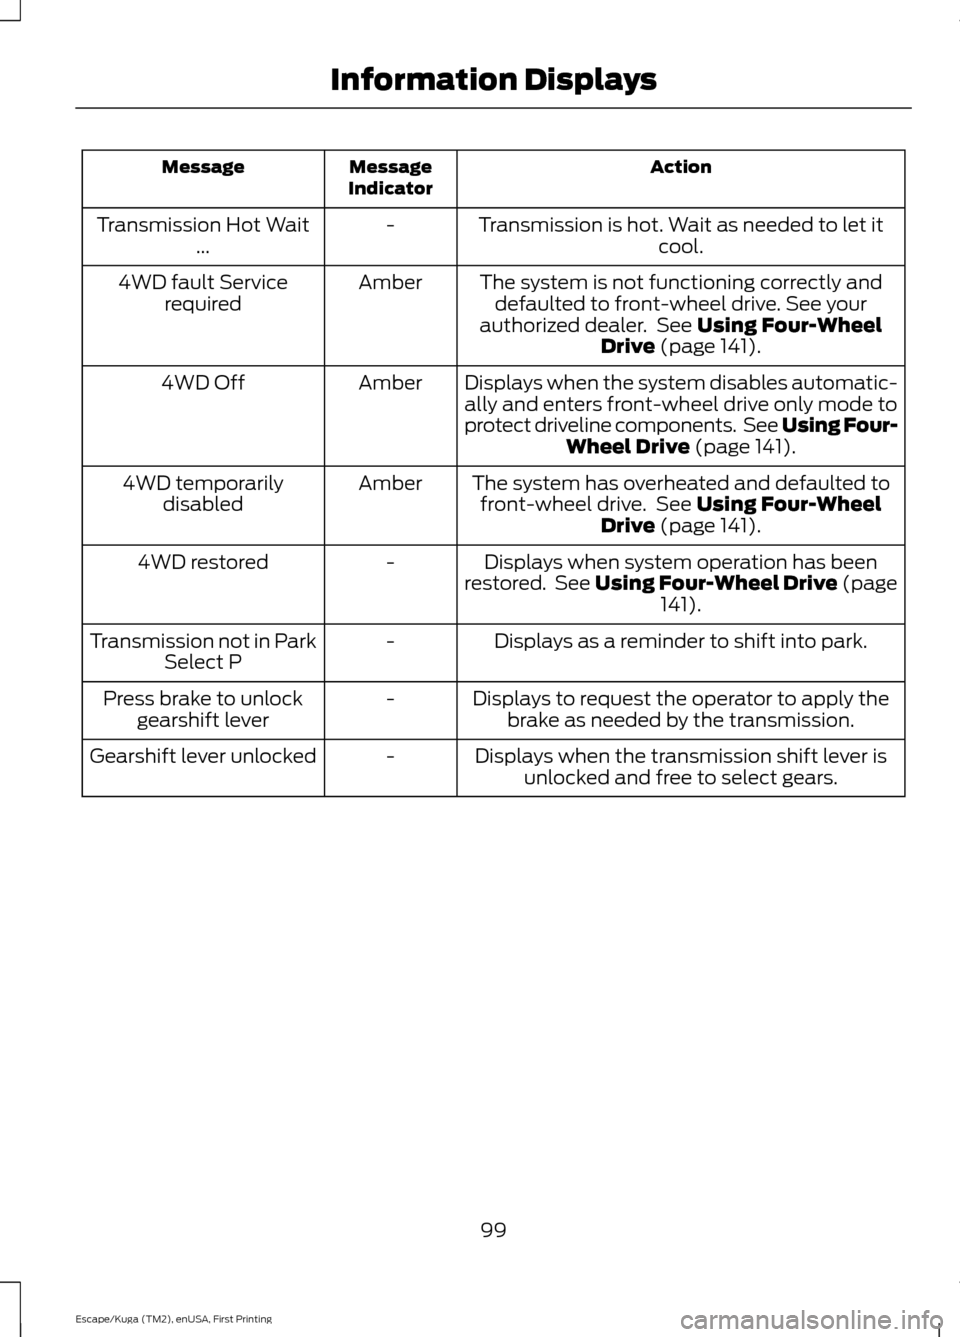
Action
Message
Indicator
Message
Transmission is hot. Wait as needed to let itcool.
-
Transmission Hot Wait
...
The system is not functioning correctly anddefaulted to front-wheel drive. See your
authorized dealer. See Using Four-Wheel
Drive (page 141).
Amber
4WD fault Service
required
Displays when the system disables automatic-ally and enters front-wheel drive only mode to
protect driveline components. See Using Four- Wheel Drive
(page 141).
Amber
4WD Off
The system has overheated and defaulted tofront-wheel drive. See
Using Four-Wheel
Drive (page 141).
Amber
4WD temporarily
disabled
Displays when system operation has been
restored. See Using Four-Wheel Drive (page 141
).
-
4WD restored
Displays as a reminder to shift into park.
-
Transmission not in Park
Select P
Displays to request the operator to apply thebrake as needed by the transmission.
-
Press brake to unlock
gearshift lever
Displays when the transmission shift lever isunlocked and free to select gears.
-
Gearshift lever unlocked
99
Escape/Kuga (TM2), enUSA, First Printing Information Displays
Page 108 of 393
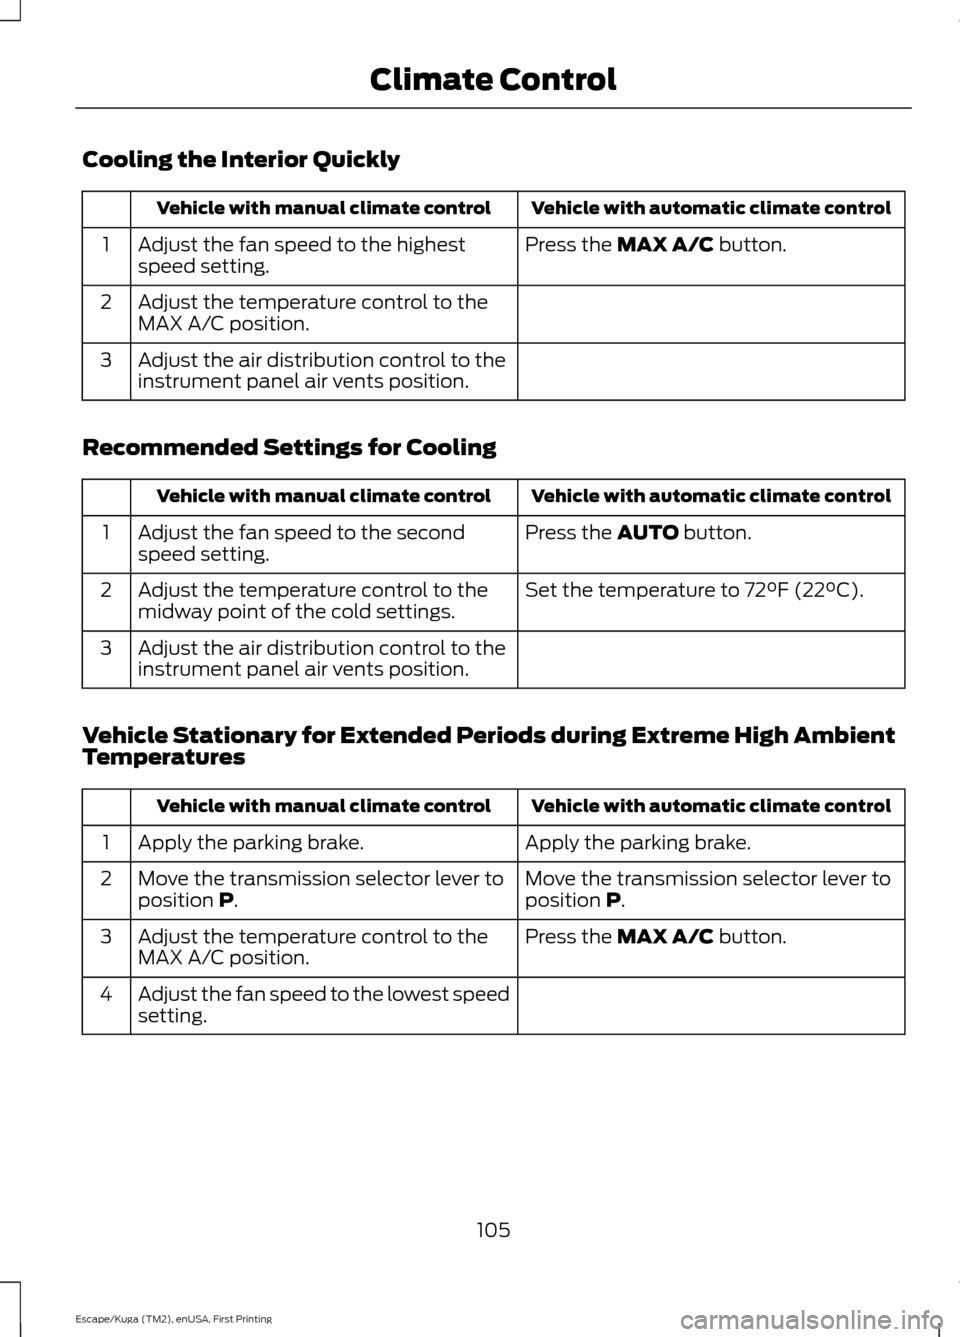
Cooling the Interior Quickly
Vehicle with automatic climate control
Vehicle with manual climate control
Press the MAX A/C button.
Adjust the fan speed to the highest
speed setting.
1
Adjust the temperature control to the
MAX A/C position.
2
Adjust the air distribution control to the
instrument panel air vents position.
3
Recommended Settings for Cooling Vehicle with automatic climate control
Vehicle with manual climate control
Press the
AUTO button.
Adjust the fan speed to the second
speed setting.
1
Set the temperature to 72°F (22°C).
Adjust the temperature control to the
midway point of the cold settings.
2
Adjust the air distribution control to the
instrument panel air vents position.
3
Vehicle Stationary for Extended Periods during Extreme High Ambient
Temperatures Vehicle with automatic climate control
Vehicle with manual climate control
Apply the parking brake.
Apply the parking brake.
1
Move the transmission selector lever to
position
P.
Move the transmission selector lever to
position P.
2
Press the
MAX A/C button.
Adjust the temperature control to the
MAX A/C position.
3
Adjust the fan speed to the lowest speed
setting.
4
105
Escape/Kuga (TM2), enUSA, First Printing Climate Control
Page 128 of 393
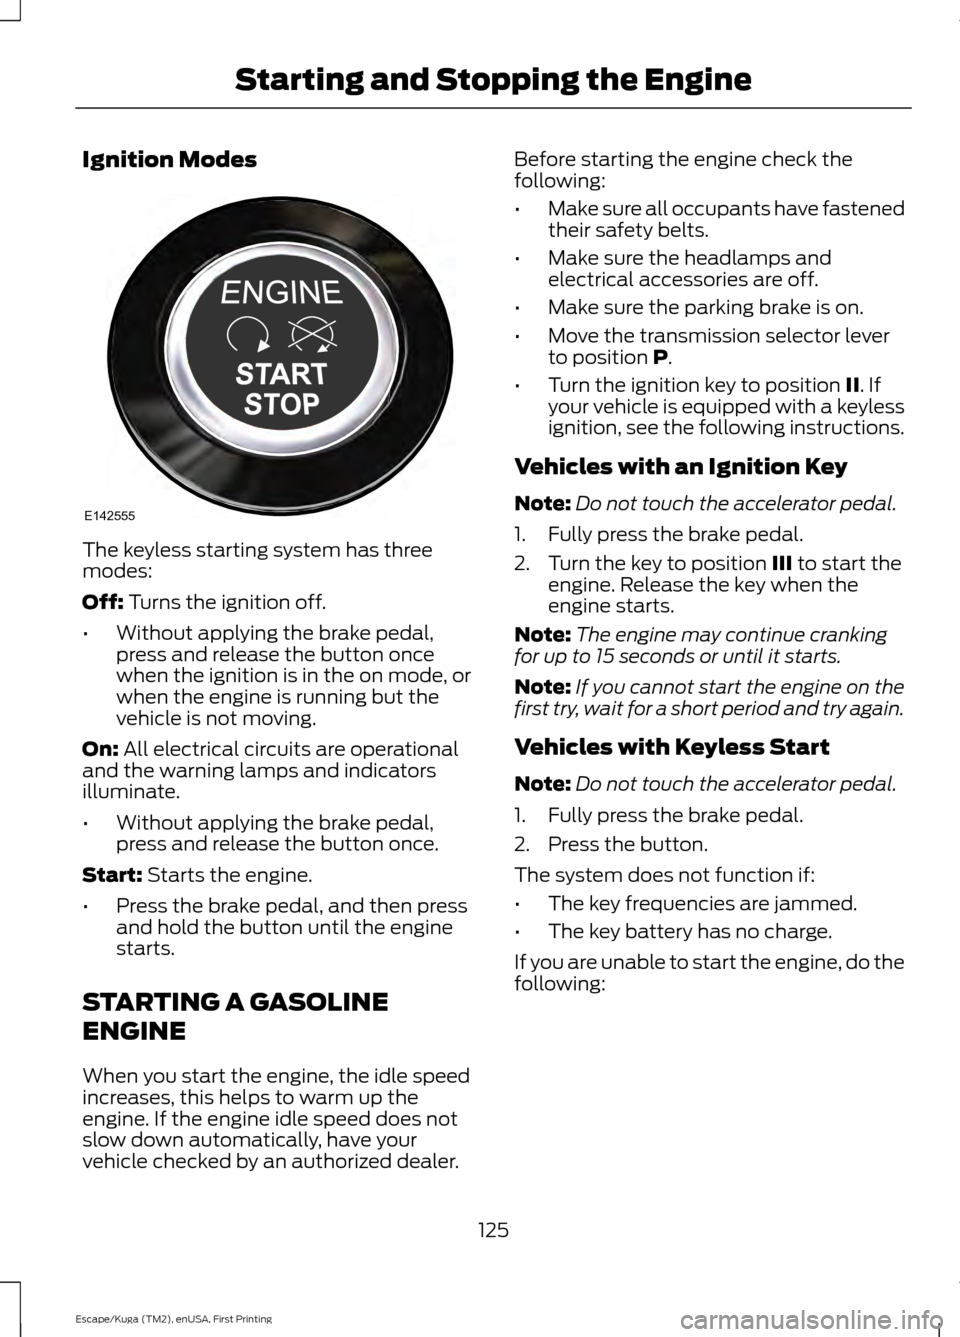
Ignition Modes
The keyless starting system has three
modes:
Off: Turns the ignition off.
• Without applying the brake pedal,
press and release the button once
when the ignition is in the on mode, or
when the engine is running but the
vehicle is not moving.
On:
All electrical circuits are operational
and the warning lamps and indicators
illuminate.
• Without applying the brake pedal,
press and release the button once.
Start:
Starts the engine.
• Press the brake pedal, and then press
and hold the button until the engine
starts.
STARTING A GASOLINE
ENGINE
When you start the engine, the idle speed
increases, this helps to warm up the
engine. If the engine idle speed does not
slow down automatically, have your
vehicle checked by an authorized dealer. Before starting the engine check the
following:
•
Make sure all occupants have fastened
their safety belts.
• Make sure the headlamps and
electrical accessories are off.
• Make sure the parking brake is on.
• Move the transmission selector lever
to position
P.
• Turn the ignition key to position
II. If
your vehicle is equipped with a keyless
ignition, see the following instructions.
Vehicles with an Ignition Key
Note: Do not touch the accelerator pedal.
1. Fully press the brake pedal.
2. Turn the key to position
III to start the
engine. Release the key when the
engine starts.
Note: The engine may continue cranking
for up to 15 seconds or until it starts.
Note: If you cannot start the engine on the
first try, wait for a short period and try again.
Vehicles with Keyless Start
Note: Do not touch the accelerator pedal.
1. Fully press the brake pedal.
2. Press the button.
The system does not function if:
• The key frequencies are jammed.
• The key battery has no charge.
If you are unable to start the engine, do the
following:
125
Escape/Kuga (TM2), enUSA, First Printing Starting and Stopping the EngineE142555
Page 137 of 393
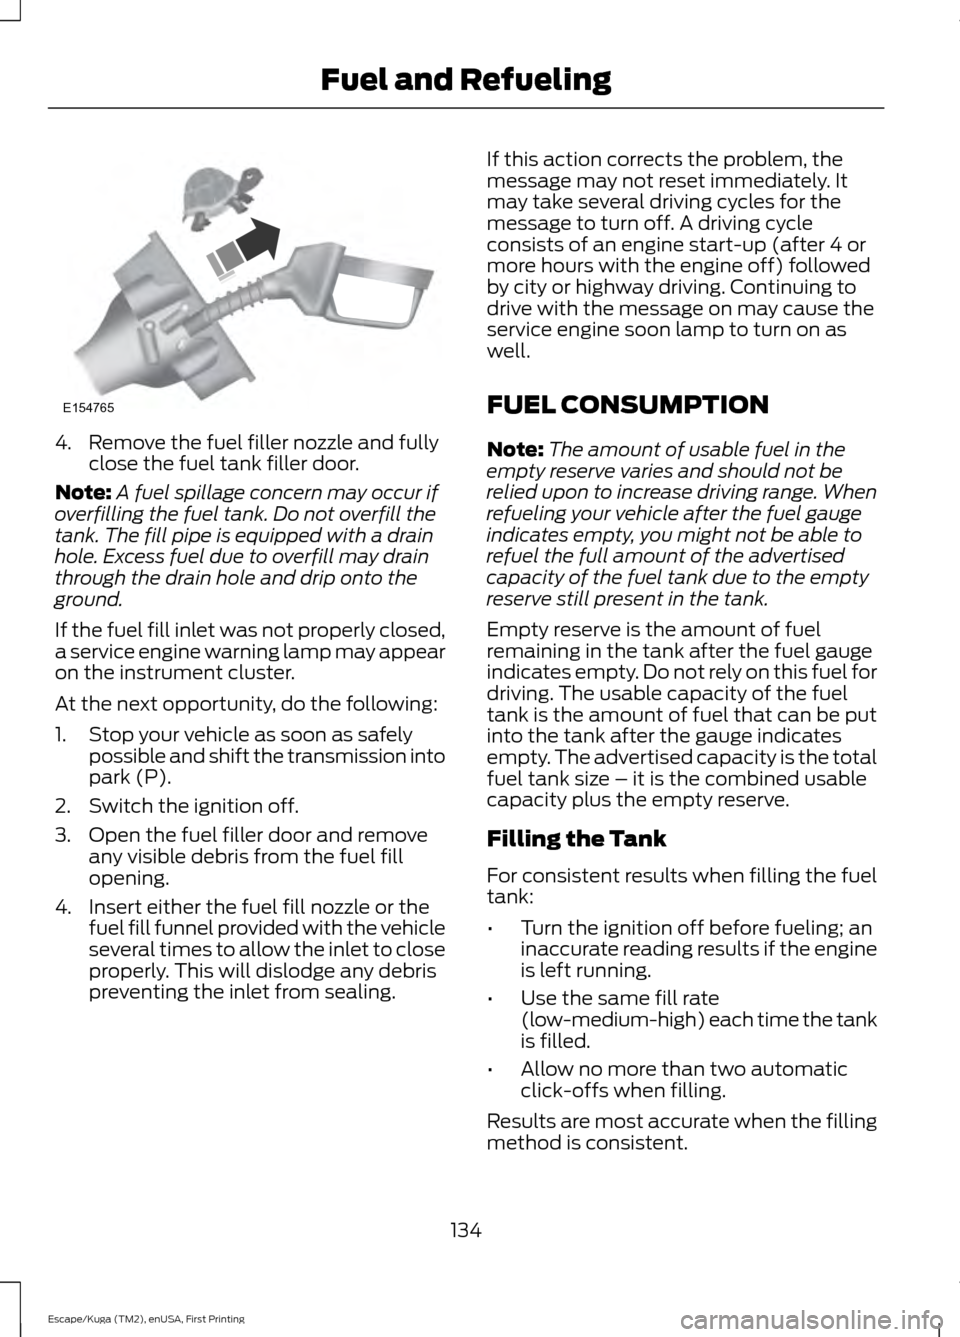
4. Remove the fuel filler nozzle and fully
close the fuel tank filler door.
Note: A fuel spillage concern may occur if
overfilling the fuel tank. Do not overfill the
tank. The fill pipe is equipped with a drain
hole. Excess fuel due to overfill may drain
through the drain hole and drip onto the
ground.
If the fuel fill inlet was not properly closed,
a service engine warning lamp may appear
on the instrument cluster.
At the next opportunity, do the following:
1. Stop your vehicle as soon as safely possible and shift the transmission into
park (P).
2. Switch the ignition off.
3. Open the fuel filler door and remove any visible debris from the fuel fill
opening.
4. Insert either the fuel fill nozzle or the fuel fill funnel provided with the vehicle
several times to allow the inlet to close
properly. This will dislodge any debris
preventing the inlet from sealing. If this action corrects the problem, the
message may not reset immediately. It
may take several driving cycles for the
message to turn off. A driving cycle
consists of an engine start-up (after 4 or
more hours with the engine off) followed
by city or highway driving. Continuing to
drive with the message on may cause the
service engine soon lamp to turn on as
well.
FUEL CONSUMPTION
Note:
The amount of usable fuel in the
empty reserve varies and should not be
relied upon to increase driving range. When
refueling your vehicle after the fuel gauge
indicates empty, you might not be able to
refuel the full amount of the advertised
capacity of the fuel tank due to the empty
reserve still present in the tank.
Empty reserve is the amount of fuel
remaining in the tank after the fuel gauge
indicates empty. Do not rely on this fuel for
driving. The usable capacity of the fuel
tank is the amount of fuel that can be put
into the tank after the gauge indicates
empty. The advertised capacity is the total
fuel tank size – it is the combined usable
capacity plus the empty reserve.
Filling the Tank
For consistent results when filling the fuel
tank:
• Turn the ignition off before fueling; an
inaccurate reading results if the engine
is left running.
• Use the same fill rate
(low-medium-high) each time the tank
is filled.
• Allow no more than two automatic
click-offs when filling.
Results are most accurate when the filling
method is consistent.
134
Escape/Kuga (TM2), enUSA, First Printing Fuel and RefuelingE154765
Page 141 of 393
AUTOMATIC TRANSMISSION
WARNINGS
Always set the parking brake fully
and make sure the gearshift is
latched in park (P). Turn the ignition
to the off position and remove the key
whenever you leave your vehicle. Do not apply the brake pedal and
accelerator pedal simultaneously.
Applying both pedals simultaneously
for more than three seconds will limit
engine rpm, which may result in difficulty
maintaining speed in traffic and could lead
to serious injury. Understanding the Positions of
Your Automatic Transmission
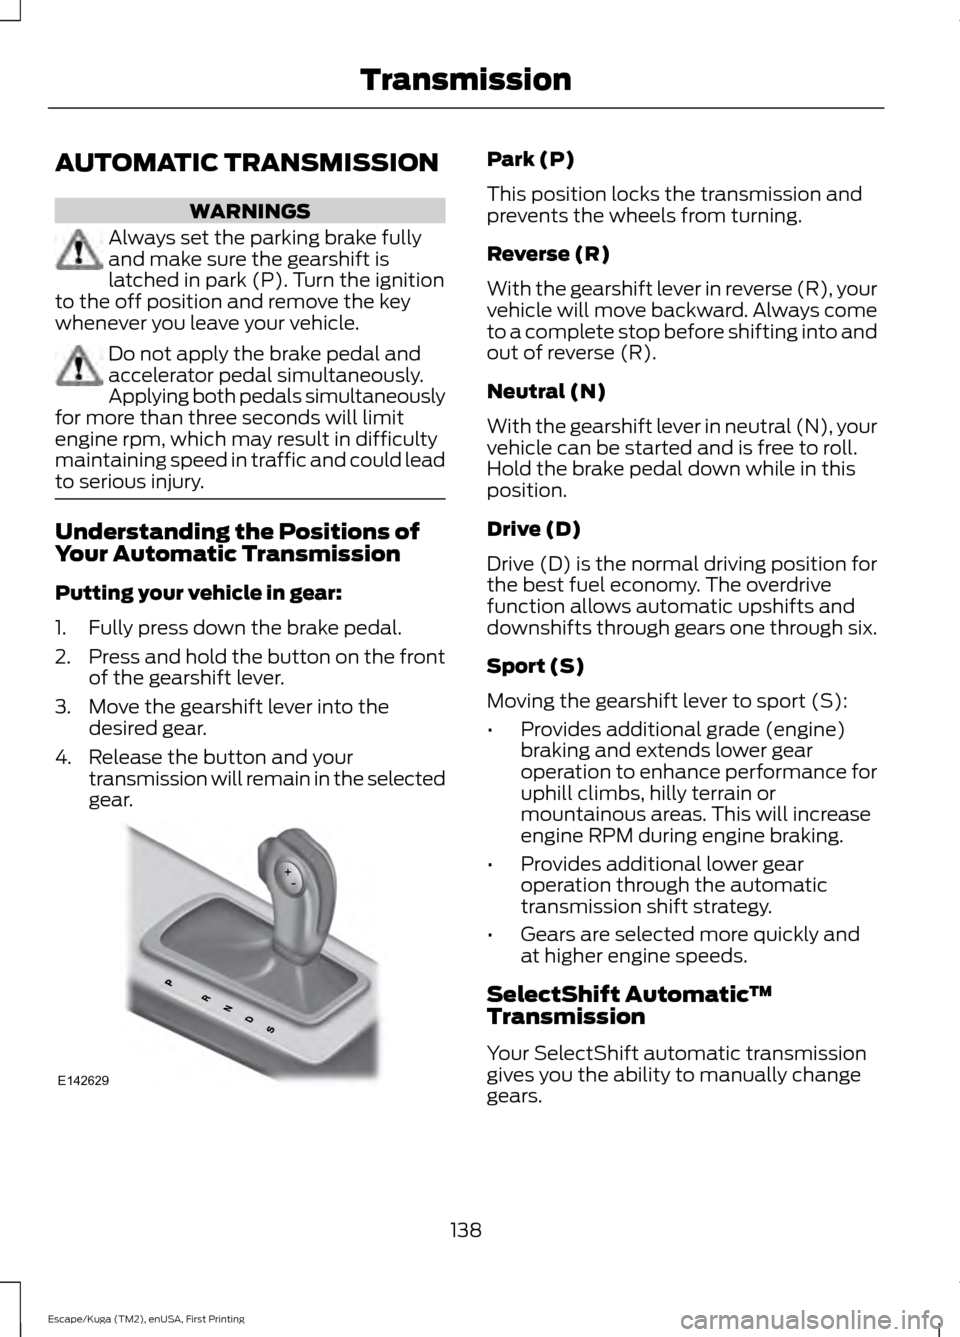
Putting your vehicle in gear:
1. Fully press down the brake pedal.
2.
Press and hold the button on the front
of the gearshift lever.
3. Move the gearshift lever into the desired gear.
4. Release the button and your transmission will remain in the selected
gear. Park (P)
This position locks the transmission and
prevents the wheels from turning.
Reverse (R)
With the gearshift lever in reverse (R), your
vehicle will move backward. Always come
to a complete stop before shifting into and
out of reverse (R).
Neutral (N)
With the gearshift lever in neutral (N), your
vehicle can be started and is free to roll.
Hold the brake pedal down while in this
position.
Drive (D)
Drive (D) is the normal driving position for
the best fuel economy. The overdrive
function allows automatic upshifts and
downshifts through gears one through six.
Sport (S)
Moving the gearshift lever to sport (S):
•
Provides additional grade (engine)
braking and extends lower gear
operation to enhance performance for
uphill climbs, hilly terrain or
mountainous areas. This will increase
engine RPM during engine braking.
• Provides additional lower gear
operation through the automatic
transmission shift strategy.
• Gears are selected more quickly and
at higher engine speeds.
SelectShift Automatic ™
Transmission
Your SelectShift automatic transmission
gives you the ability to manually change
gears.
138
Escape/Kuga (TM2), enUSA, First Printing TransmissionE142629