warning lights FORD ESCAPE 2022 Owners Manual
[x] Cancel search | Manufacturer: FORD, Model Year: 2022, Model line: ESCAPE, Model: FORD ESCAPE 2022Pages: 585, PDF Size: 6.15 MB
Page 49 of 585
WHAT IS THE PERSONAL
SAFETY SYSTEM
An advanced safety system that protects
occupants in frontal crashes.
HOW DOES THE PERSONAL
SAFETY SYSTEM WORK
This system provides an improved level of
frontal crash protection to front seat
occupants and is designed to reduce the
risk of airbag-related injuries. The system
analyzes occupant conditions and crash
severity before activating the appropriate
safety devices. During a crash, the
restraints control module may deploy the
seatbelt pretensioners, and one or both
stages of the dual-stage airbags based on
crash severity and occupant conditions.
PERSONAL SAFETY SYSTEM
COMPONENTS
• Driver and passenger dual-stage airbagsupplemental restraints.
• Front seat outermost seatbelts with pretensioners, energy management
retractors and seatbelt usage sensors.
• Driver seat position sensor.
• Passenger seat position sensor.
• Front passenger sensing system.
• Passenger airbag off and on indicators.
• Front crash severity sensors.
• Restraints control module with impact and safing sensors. • Restraint system warning light and
tone.
• The electrical wiring for the airbags, crash sensors, seatbelt pretensioners,
front seatbelt usage sensors, front
passenger sensing system and
indicator lights.
46
Personal Safety System™
Page 102 of 585
EXTERIOR LAMPS
SWITCHING THE TURN SIGNAL
LAMPS ON AND OFF
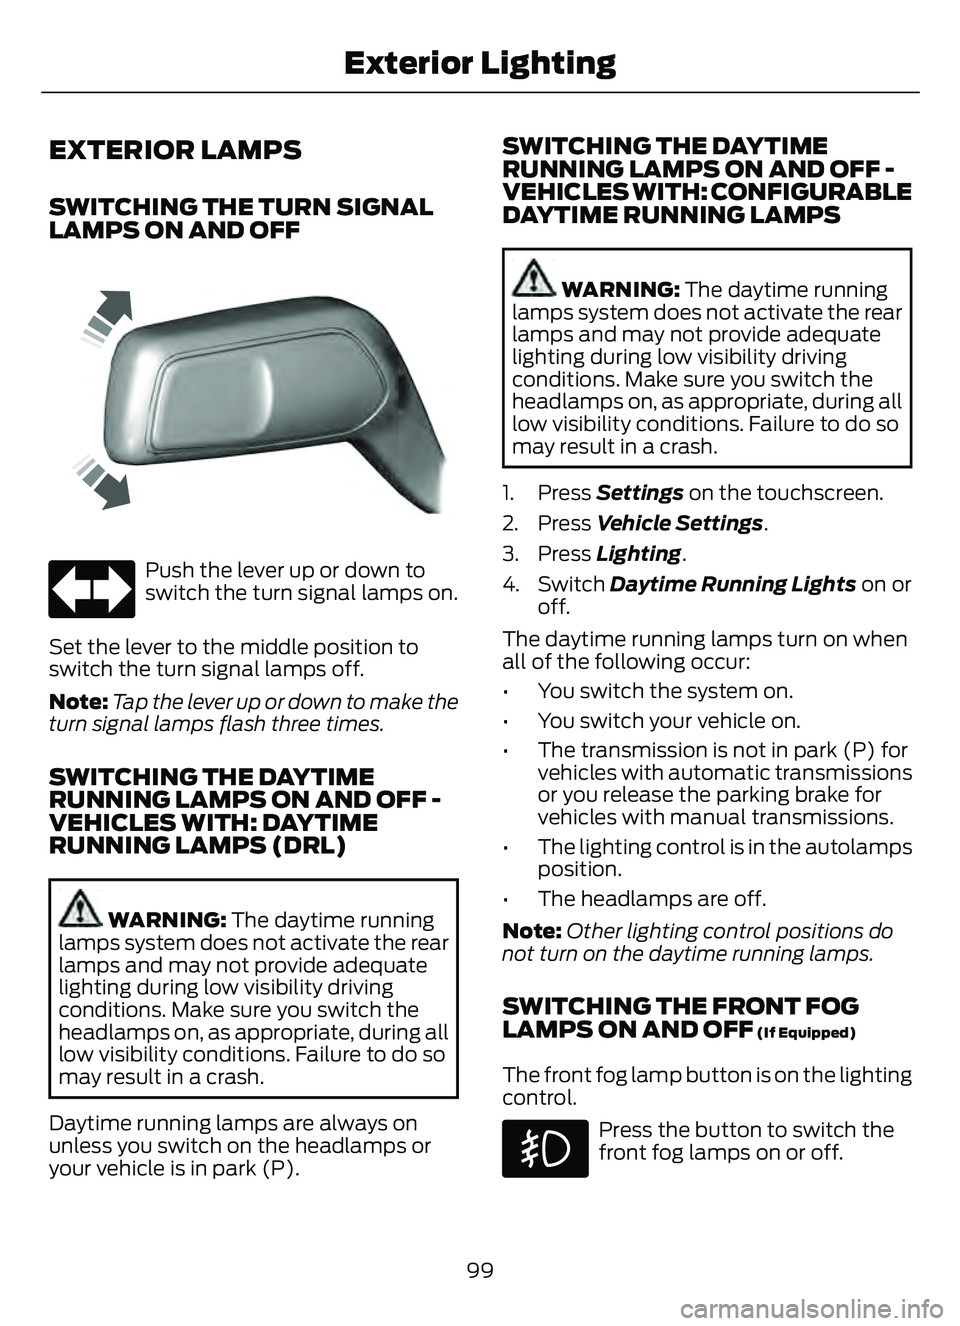
66E242676
Push the lever up or down to
switch the turn signal lamps on.
Set the lever to the middle position to
switch the turn signal lamps off.
Note: Tap the lever up or down to make the
turn signal lamps flash three times.
SWITCHING THE DAYTIME
RUNNING LAMPS ON AND OFF -
VEHICLES WITH: DAYTIME
RUNNING LAMPS (DRL)
WARNING: The daytime running
lamps system does not activate the rear
lamps and may not provide adequate
lighting during low visibility driving
conditions. Make sure you switch the
headlamps on, as appropriate, during all
low visibility conditions. Failure to do so
may result in a crash.
Daytime running lamps are always on
unless you switch on the headlamps or
your vehicle is in park (P).
SWITCHING THE DAYTIME
RUNNING LAMPS ON AND OFF -
VEHICLES WITH: CONFIGURABLE
DAYTIME RUNNING LAMPS
WARNING: The daytime running
lamps system does not activate the rear
lamps and may not provide adequate
lighting during low visibility driving
conditions. Make sure you switch the
headlamps on, as appropriate, during all
low visibility conditions. Failure to do so
may result in a crash.
1. Press Settings on the touchscreen.
2. Press Vehicle Settings .
3. Press Lighting.
4. Switch Daytime Running Lights on or
off.
The daytime running lamps turn on when
all of the following occur:
• You switch the system on.
• You switch your vehicle on.
• The transmission is not in park (P) for vehicles with automatic transmissions
or you release the parking brake for
vehicles with manual transmissions.
• The lighting control is in the autolamps position.
• The headlamps are off.
Note: Other lighting control positions do
not turn on the daytime running lamps.
SWITCHING THE FRONT FOG
LAMPS ON AND OFF (If Equipped)
The front fog lamp button is on the lighting
control.
Press the button to switch the
front fog lamps on or off.
99
Exterior Lighting
Page 104 of 585
AUTOMATIC HIGH BEAM
CONTROL PRECAUTIONS
WARNING: The system does not
relieve you of your responsibility to drive
with due care and attention. You may
need to override the system if it does not
turn the high beams on or off.
WARNING: The system may not
switch the high beams off if the lights of
oncoming vehicles are hidden by
obstacles, for example guard rails.
WARNING: Do not use the system
in poor visibility, for example fog, heavy
rain, spray or snow.
WARNING: You may need to
override the system when approaching
other road users.
WARNING: You may need to
override the system during inclement
weather.
AUTOMATIC HIGH BEAM
CONTROL REQUIREMENTS
The system turns the high beams on if all
of the following occur:
• You switch the system on.
• You set the lighting control to the autolamps position.
• The ambient light level is low enough that you require high beams.
• There is no traffic in front of your vehicle.
• The vehicle speed is greater than approximately 32 mph (52 km/h).
AUTOMATIC HIGH BEAM
CONTROL LIMITATIONS
The system turns the high beams off if any
of the following occur:
• You switch the system off.
• You set the lighting control to anyposition except autolamps.
• The ambient light level is high enough that you do not require high beams.
• The system detects an approaching vehicle's headlamps or a leading
vehicle's tail lamps.
• The system detects severe rain, snow or fog.
• The system detects street lighting.
• The camera has reduced visibility.
• The vehicle speed falls below approximately 27 mph (44 km/h).
SWITCHING AUTOMATIC HIGH
BEAM CONTROL ON AND OFF
1. Press Settings on the touchscreen.
2. Press Vehicle Settings .
3. Press Lighting.
4. Switch Auto Highbeam on or off.
AUTOMATIC HIGH BEAM
CONTROL INDICATORS
Illuminates to confirm when the
system is ready to assist.
101
Exterior Lighting
Page 248 of 585
ADAPTIVE CRUISE CONTROL
LIMITATIONS
Sensor Limitations
WARNING: On rare occasions,
detection issues can occur due to the
road infrastructures, for example bridges,
tunnels and safety barriers. In these
cases, the system may brake late or
unexpectedly. At all times, you are
responsible for controlling your vehicle,
supervising the system and intervening,
if required.
WARNING: If the system
malfunctions, have your vehicle checked
as soon as possible.
WARNING: Large contrasts in
outside lighting can limit sensor
performance.
WARNING: The system only warns
of vehicles detected by the radar sensor.
In some cases there may be no warning
or a delayed warning. Apply the brakes
when necessary. Failure to follow this
instruction could result in personal injury
or death.
WARNING: The system may not
detect stationary or slow moving
vehicles below 6 mph (10 km/h).
WARNING: The system does not
detect pedestrians or objects in the road.
WARNING: The system does not
detect oncoming vehicles in the same
lane.
WARNING: The system may not
operate properly if the sensor is blocked.
Keep the windshield free from
obstruction.
WARNING: The sensor may
incorrectly track lane markings as other
structures or objects. This can result in
a false or missed warning.
E307893E307893
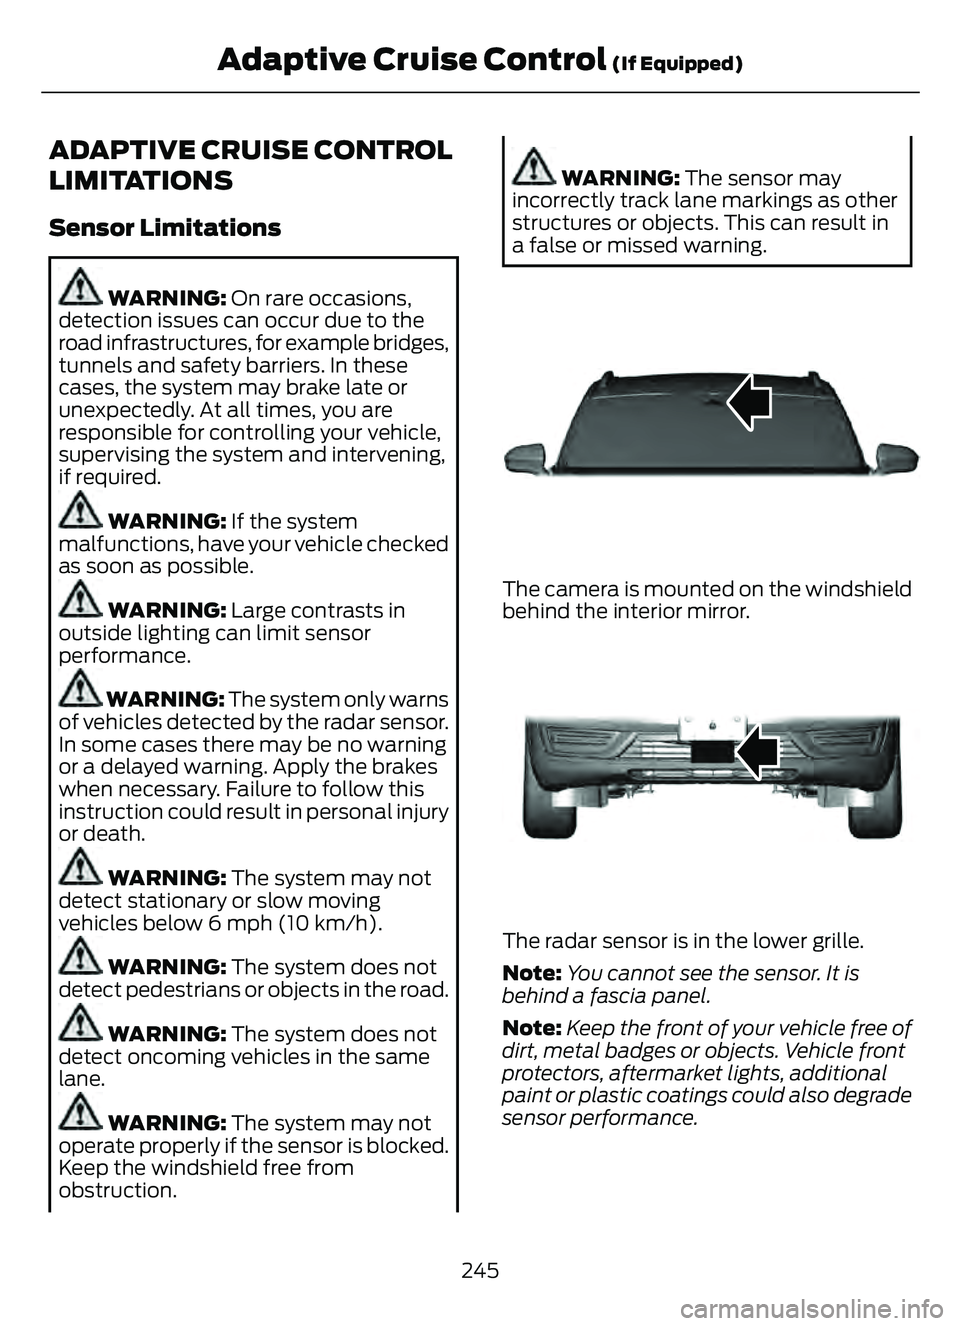
The camera is mounted on the windshield
behind the interior mirror.
E307892E307892
The radar sensor is in the lower grille.
Note: You cannot see the sensor. It is
behind a fascia panel.
Note: Keep the front of your vehicle free of
dirt, metal badges or objects. Vehicle front
protectors, aftermarket lights, additional
paint or plastic coatings could also degrade
sensor performance.
245
Adaptive Cruise Control (If Equipped)
Page 278 of 585
WARNING: The system does not
operate during hard acceleration or
steering. Failure to take care may lead
to a crash or personal injury.
WARNING: The system may fail or
operate with reduced function during
cold and severe weather conditions.
Snow, ice, rain, spray and fog can
adversely affect the system. Keep the
front camera and radar free of snow and
ice. Failure to take care may result in the
loss of control of your vehicle, serious
personal injury or death.
WARNING: Take additional care if
your vehicle is heavily loaded or you are
towing a trailer. These conditions could
result in reduced performance of this
system. Failure to follow this instruction
could result in the loss of control of your
vehicle, personal injury or death.
WARNING: The system cannot
help prevent all crashes. Do not rely on
this system to replace driver judgment
and the need to maintain a safe distance
and speed.
WARNING: In situations where the
vehicle camera has limited detection
capability, this may reduce system
performance. These situations include
but are not limited to direct or low
sunlight, vehicles at night without tail
lights, unconventional vehicle types,
pedestrians with complex backgrounds,
running pedestrians, partly obscured
pedestrians, or pedestrians that the
system cannot distinguish from a group.
Failure to take care may result in the loss
of control of your vehicle, serious
personal injury or death.
PRE-COLLISION ASSIST
LIMITATIONS
Pre-collision assist depends on the
detection ability of its camera and sensors.
Any obstructions or damage to these areas
can limit detection or prevent the system
from functioning. See Locating the
Pre-Collision Assist Sensors (page 276).
The system is active at speeds above
3 mph (5 km/h)
Note: The pre-collision assist system
disables when you select four-wheel drive
low or manually disable AdvanceTrac™.
Note: Brake support and automatic
emergency braking are active at speeds up
to 80 mph (130 km/h). If the vehicle has a
radar sensor included with adaptive cruise
control, then brake support and automatic
emergency braking are active up to the
maximum speed of the vehicle.
Pedestrian Detection Limitations
Pedestrian detection is active at speeds
up to 50 mph (80 km/h).
Pedestrian detection functions optimally
when detected hazards are clearly
identifiable. System performance may
reduce in situations where pedestrians are
running, partly obscured, have a complex
background, or cannot be distinguished
from a group.
SWITCHING PRE-COLLISION
ASSIST ON AND OFF
You cannot switch the system off.
275
Pre-Collision Assist
Page 299 of 585
CONNECTING A TRAILER
PRECAUTIONS
Do not tow a trailer until you drive your
vehicle at least 1,000 mi (1,600 km).
Consult your local motor vehicle laws for
towing a trailer.
See the instructions included with towing
accessories for the proper installation and
adjustment specifications.
Service your vehicle more frequently if you
tow a trailer. See Normal Scheduled
Maintenance (page 485).
If you use a rental trailer, follow the
instructions the rental agency gives you.
When attaching the trailer wiring connector
to your vehicle, only use a proper fitting
connector that works with the vehicle and
trailer functions.
Account for the trailer coupler weight as
part of your vehicle load when calculating
the total vehicle weight.
Do not exceed the load limits. See
Calculating the Load Limit (page 290).
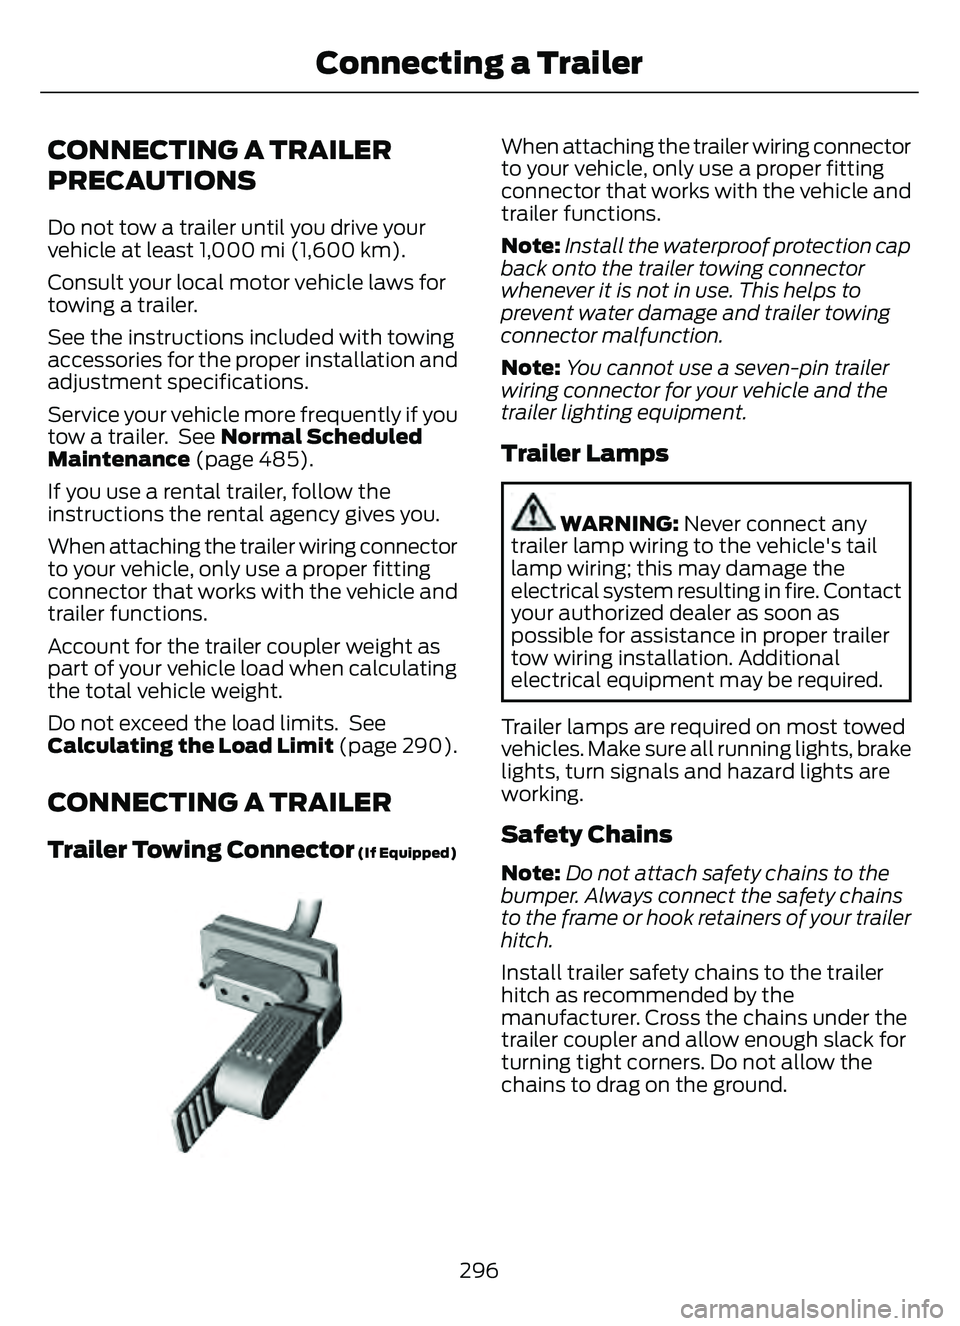
CONNECTING A TRAILER
Trailer Towing Connector (If Equipped)
E168683E168683
When attaching the trailer wiring connector
to your vehicle, only use a proper fitting
connector that works with the vehicle and
trailer functions.
Note:Install the waterproof protection cap
back onto the trailer towing connector
whenever it is not in use. This helps to
prevent water damage and trailer towing
connector malfunction.
Note: You cannot use a seven-pin trailer
wiring connector for your vehicle and the
trailer lighting equipment.
Trailer Lamps
WARNING: Never connect any
trailer lamp wiring to the vehicle's tail
lamp wiring; this may damage the
electrical system resulting in fire. Contact
your authorized dealer as soon as
possible for assistance in proper trailer
tow wiring installation. Additional
electrical equipment may be required.
Trailer lamps are required on most towed
vehicles. Make sure all running lights, brake
lights, turn signals and hazard lights are
working.
Safety Chains
Note:Do not attach safety chains to the
bumper. Always connect the safety chains
to the frame or hook retainers of your trailer
hitch.
Install trailer safety chains to the trailer
hitch as recommended by the
manufacturer. Cross the chains under the
trailer coupler and allow enough slack for
turning tight corners. Do not allow the
chains to drag on the ground.
296
Connecting a Trailer
Page 309 of 585
DRIVING IN SAND
When driving over sand, try to keep all four
wheels on the most solid area of the trail.
Steadily drive through the terrain. Apply
the accelerator slowly and avoid excessive
wheel slip. Do not drive your vehicle in
deep sand for an extended period of time.
This could overheat the system. A
message appears in the instrument cluster
display.
Note:If your vehicle gets stuck driving on
hilly or sloping terrain, it could be rocked out
by shifting between forward and reverse
gears, stopping between shifts in a steady
pattern. Press lightly on the accelerator in
each gear.
Note: Do not rock your vehicle if the engine
is not at normal operating temperature, as
damage to the transmission could occur.
Note: Do not rock your vehicle for more
than a minute, as damage to the
transmission and tires could occur or the
engine could overheat
DRIVING THROUGH SHALLOW
WATER
WARNING: Do not attempt to
cross a deep or flowing body of water.
Failure to follow this instruction could
result in the loss of control of your
vehicle, personal injury or death.
Note: Driving through standing water can
cause vehicle damage.
Note: Engine damage can occur if water
enters the air filter.
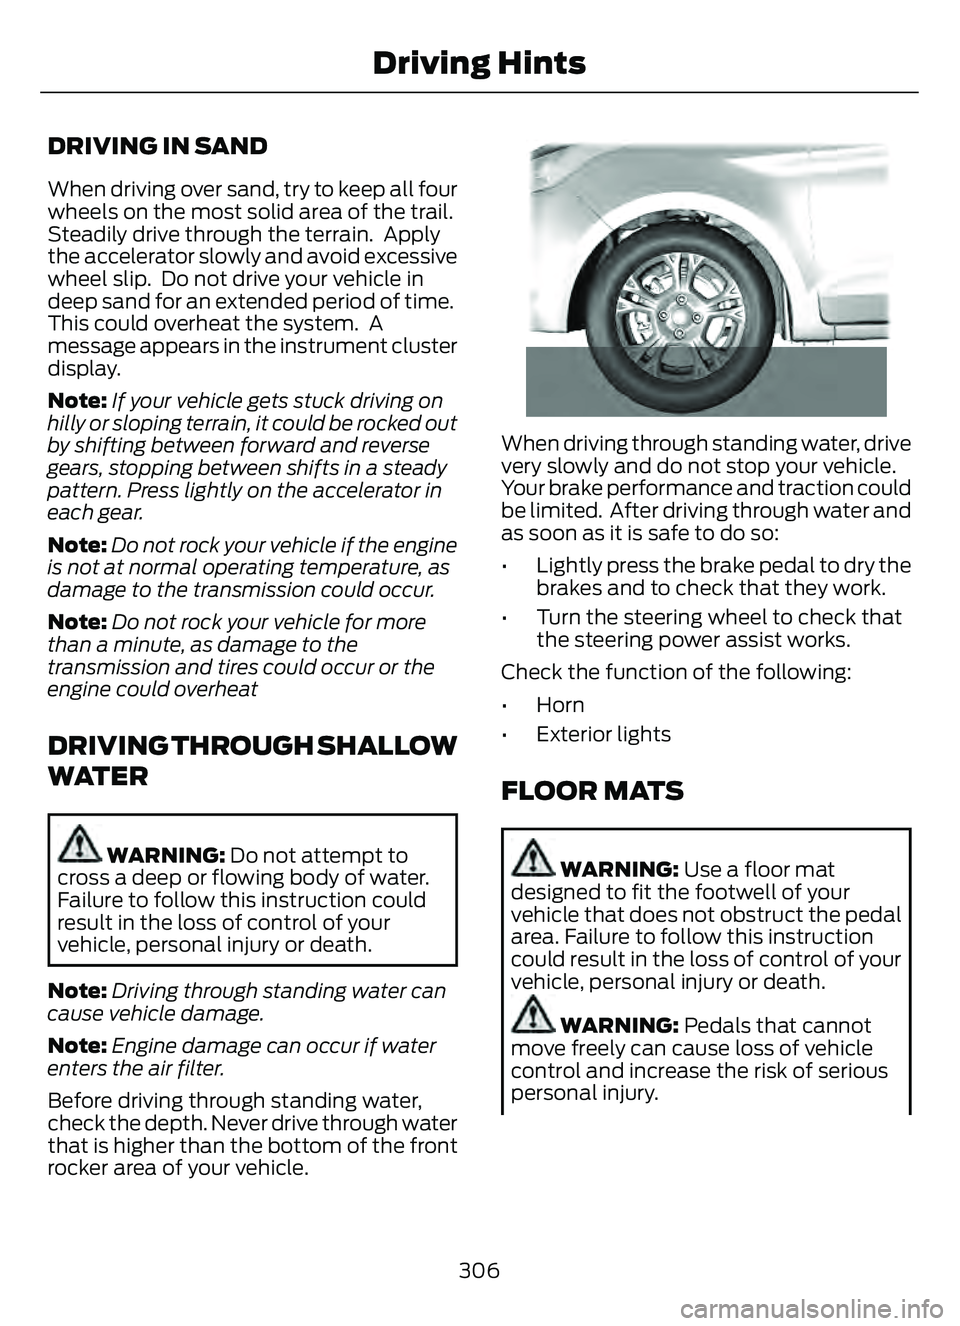
Before driving through standing water,
check the depth. Never drive through water
that is higher than the bottom of the front
rocker area of your vehicle.
66E266447
When driving through standing water, drive
very slowly and do not stop your vehicle.
Your brake performance and traction could
be limited. After driving through water and
as soon as it is safe to do so:
• Lightly press the brake pedal to dry the brakes and to check that they work.
• Turn the steering wheel to check that the steering power assist works.
Check the function of the following:
• Horn
• Exterior lights
FLOOR MATS
WARNING: Use a floor mat
designed to fit the footwell of your
vehicle that does not obstruct the pedal
area. Failure to follow this instruction
could result in the loss of control of your
vehicle, personal injury or death.
WARNING: Pedals that cannot
move freely can cause loss of vehicle
control and increase the risk of serious
personal injury.
306
Driving Hints
Page 376 of 585
Accessory power plug
H
Casing/housing
I
Bike/raft/sports ball adapters
J
USING THE TIRE SEALANT
AND INFLATOR KIT
Tips for use of the kit
To ensure safe operation of the kit:
• Before operating the kit, make sure
your vehicle is safely off the road and
away from moving traffic.
• Do not remove any foreign objects, such as nails or screws, from the tire.
• Do not allow the compressor to operate continuously for more than 15
minutes. This will help prevent the
compressor from overheating.
• Only use the kit when the ambient temperature is between -22°F (-30°C)
and 158°F (70°C).
• Only use the sealing compound before the use-by date. The use-by date is on
a label on the sealant canister and can
be seen through the rectangular
viewing window on the bottom of the
compressor. Check the use-by date
regularly and replace the canister when
the sealant expires.
Note: Sealant compound contains latex.
Use appropriate precautions to avoid any
allergic reactions.
E175978
When inflation only is required
for a tire or other objects, the
selector must be in the Air
position.
What to do when a tire is punctured
A tire puncture within the tire's tread area
can be repaired in two stages with the kit. • In the first stage, the tire will be
reinflated with a sealing compound
and air. After the tire has been inflated,
you will need to drive the vehicle a
short distance approximately 4 mi
(6 km) to distribute the sealant in the
tire.
• In the second stage, you will need to check the tire pressure and adjust, if
necessary, to the vehicle's specified
tire inflation pressure.
First Stage: Reinflating the Tire
with sealing compound and air
WARNING: Do not stand directly
over the kit while inflating the tire. If you
notice any unusual bulges or
deformations in the tire's sidewall during
inflation, stop and call roadside
assistance.
WARNING: If the tire does not
inflate to the recommended tire pressure
within 15 minutes, stop and call roadside
assistance.
Park the vehicle in a safe, level and secure
area, away from moving traffic.
Turn the hazard lights on. Apply the parking
brake and power off the vehicle. Inspect
the flat tire for visible damage.
If a puncture is located in the tire sidewall,
stop and call roadside assistance.
1. Remove the valve cap from the tire valve.
2. Unwrap the dual purpose hose (black tube) from the back of the compressor
housing.
3. Fasten the hose to the tire valve by turning the connector clockwise.
Tighten the connection securely.
373
Tire Sealant and Inflator Kit (If Equipped)