hood open FORD ESCORT 1998 6.G Owners Manual
[x] Cancel search | Manufacturer: FORD, Model Year: 1998, Model line: ESCORT, Model: FORD ESCORT 1998 6.GPages: 191, PDF Size: 1.51 MB
Page 24 of 191
²-Distributes outside air
through the windshield defroster
ducts. It can be used to clear ice
or fog from the windshield. If
the temperature is about 10ÉC
(50ÉF) or higher, the air
conditioner will automatically
dehumidify the air to prevent
fogging.
Operating tips
²In humid weather, select
before driving. This will
prevent your windshield from
fogging. After a few minutes,
select any desired position.
²To prevent humidity buildup
inside the vehicle, don't drive
with the climate control system
in the OFF position.
²Don't put objects under the
front seat that will interfere with
the airflow to the back seats.
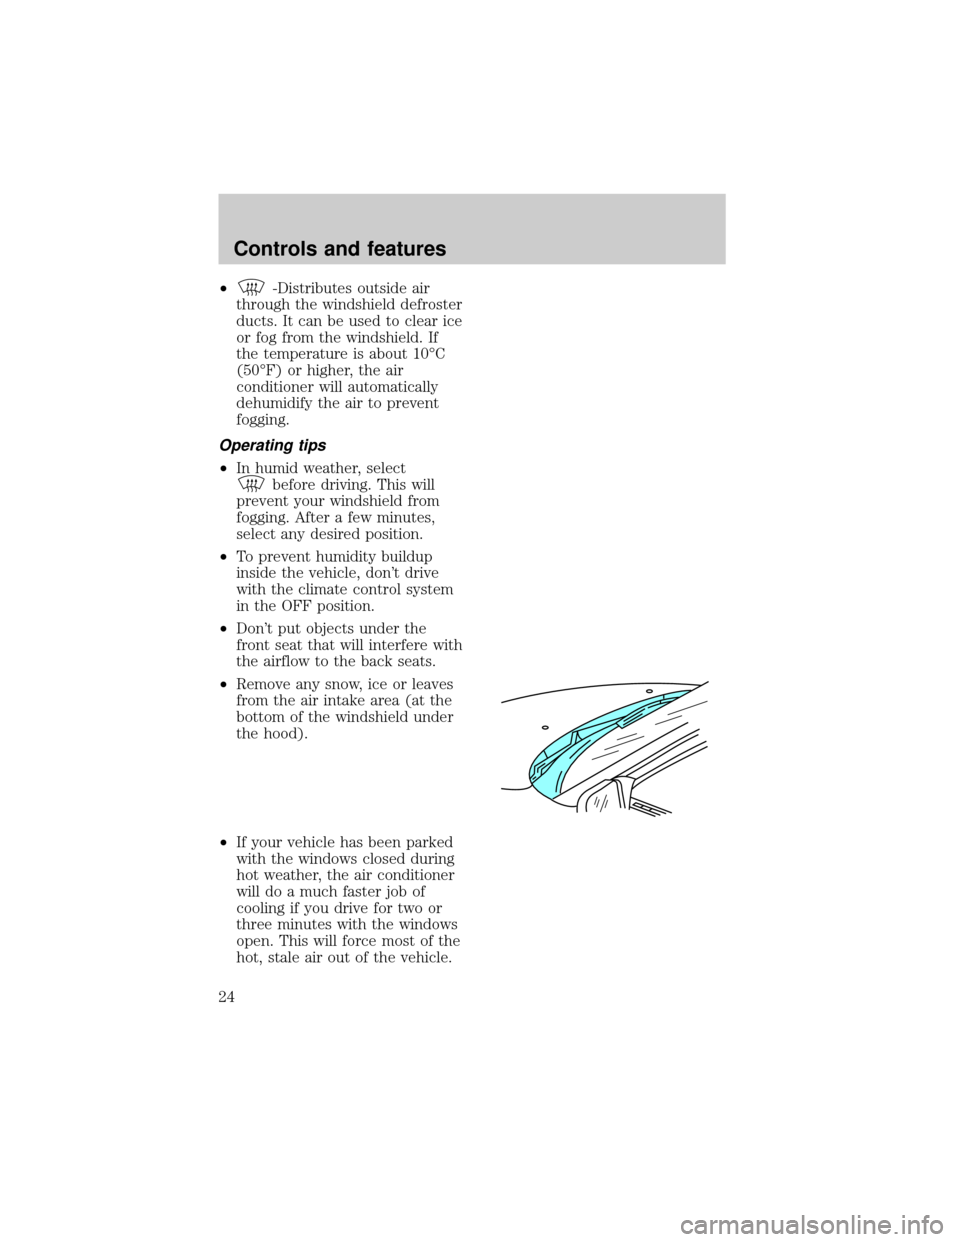
²Remove any snow, ice or leaves
from the air intake area (at the
bottom of the windshield under
the hood).
²If your vehicle has been parked
with the windows closed during
hot weather, the air conditioner
will do a much faster job of
cooling if you drive for two or
three minutes with the windows
open. This will force most of the
hot, stale air out of the vehicle.
Controls and features
24
Page 128 of 191
depress the clutch and place the
gearshift in N (Neutral).
2. Block the wheels to prevent the
vehicle from moving unexpectedly.
Do not start your engine
with the air cleaner
removed and do not remove it
while the engine is running.
OPENING THE HOOD
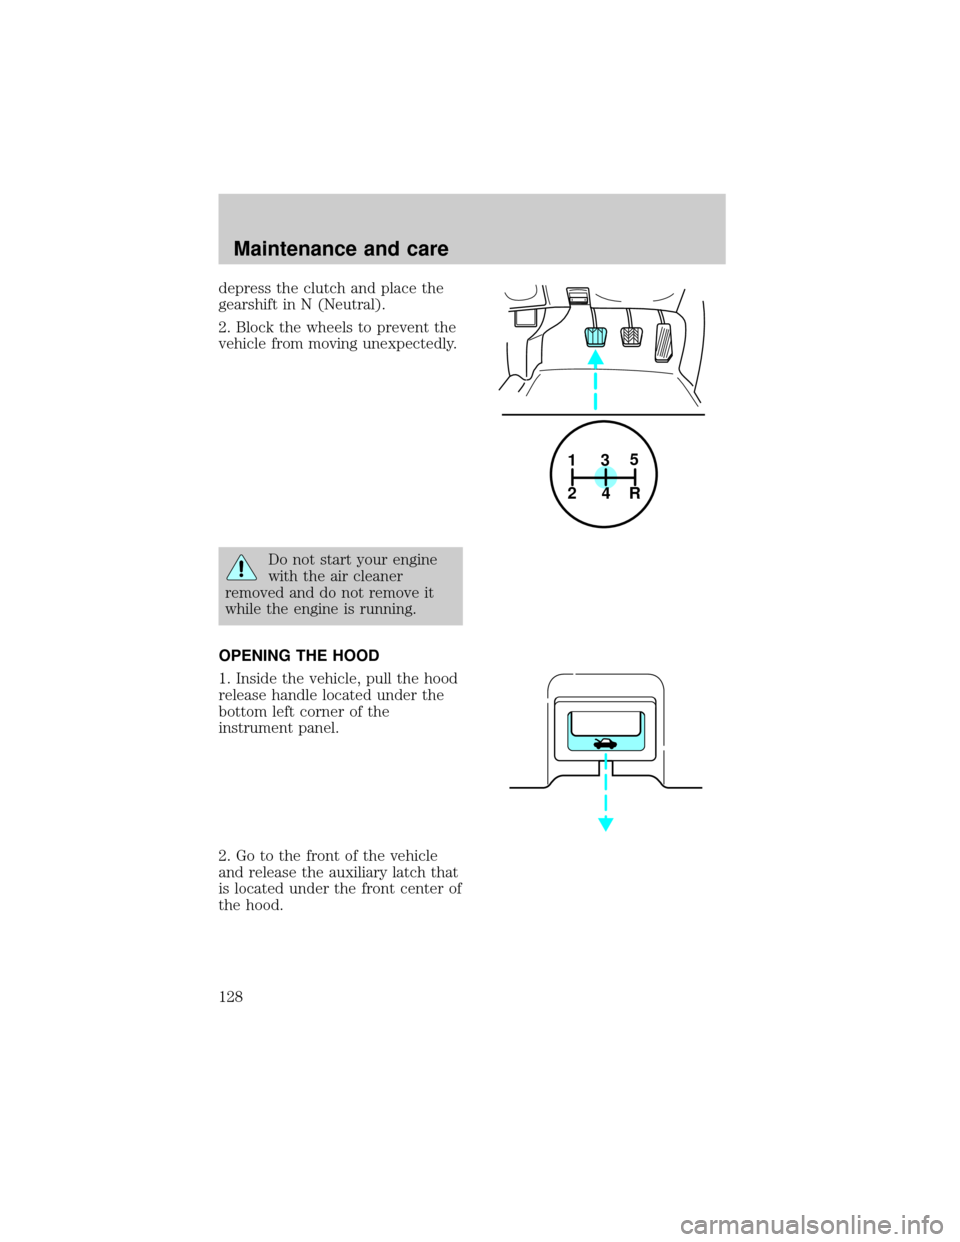
1. Inside the vehicle, pull the hood
release handle located under the
bottom left corner of the
instrument panel.
2. Go to the front of the vehicle
and release the auxiliary latch that
is located under the front center of
the hood.
1
24R35
Maintenance and care
128
Page 132 of 191
ENGINE OIL
Checking the engine oil
Check the engine oil each time you
fuel your vehicle.
1. Make sure the vehicle is on level
ground.
2. Turn the engine off and wait a
few minutes for the oil to drain
into the oil pan.
3. Set the parking brake and
ensure the gearshift is securely
latched in P (automatic transaxle)
or 1st (manual transaxle).
4. Open the hood. Protect yourself
from engine heat.
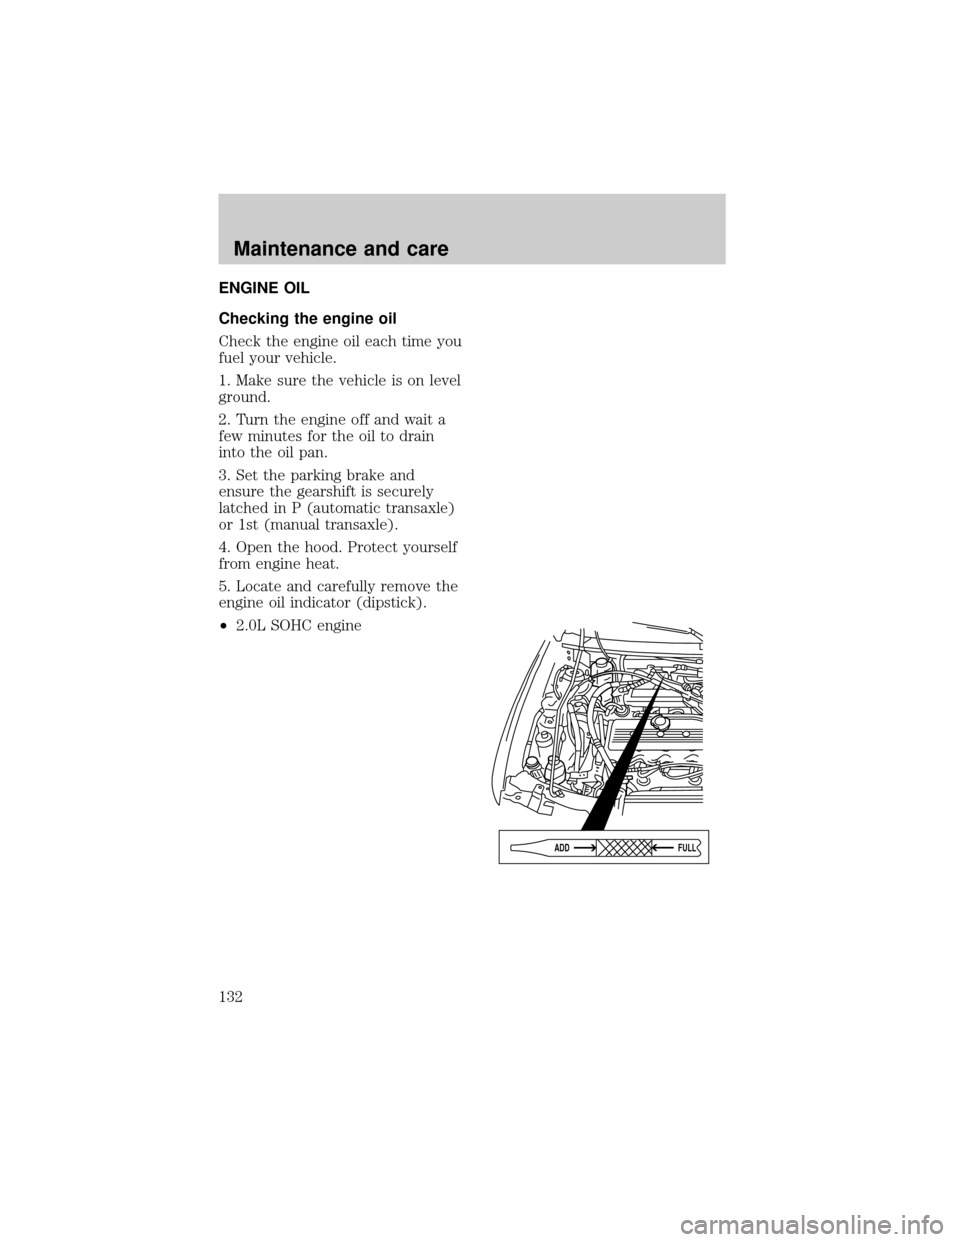
5. Locate and carefully remove the
engine oil indicator (dipstick).
²2.0L SOHC engine
ADDFULL
Maintenance and care
132
Page 165 of 191
Handle a halogen bulb
carefully and keep out of
children's reach. Grasp the bulb
only by its plastic base and do
not touch the glass; the oil from
your hand could cause the bulb
to break the next time that the
headlamps are operated.
Replacing headlamp bulbs
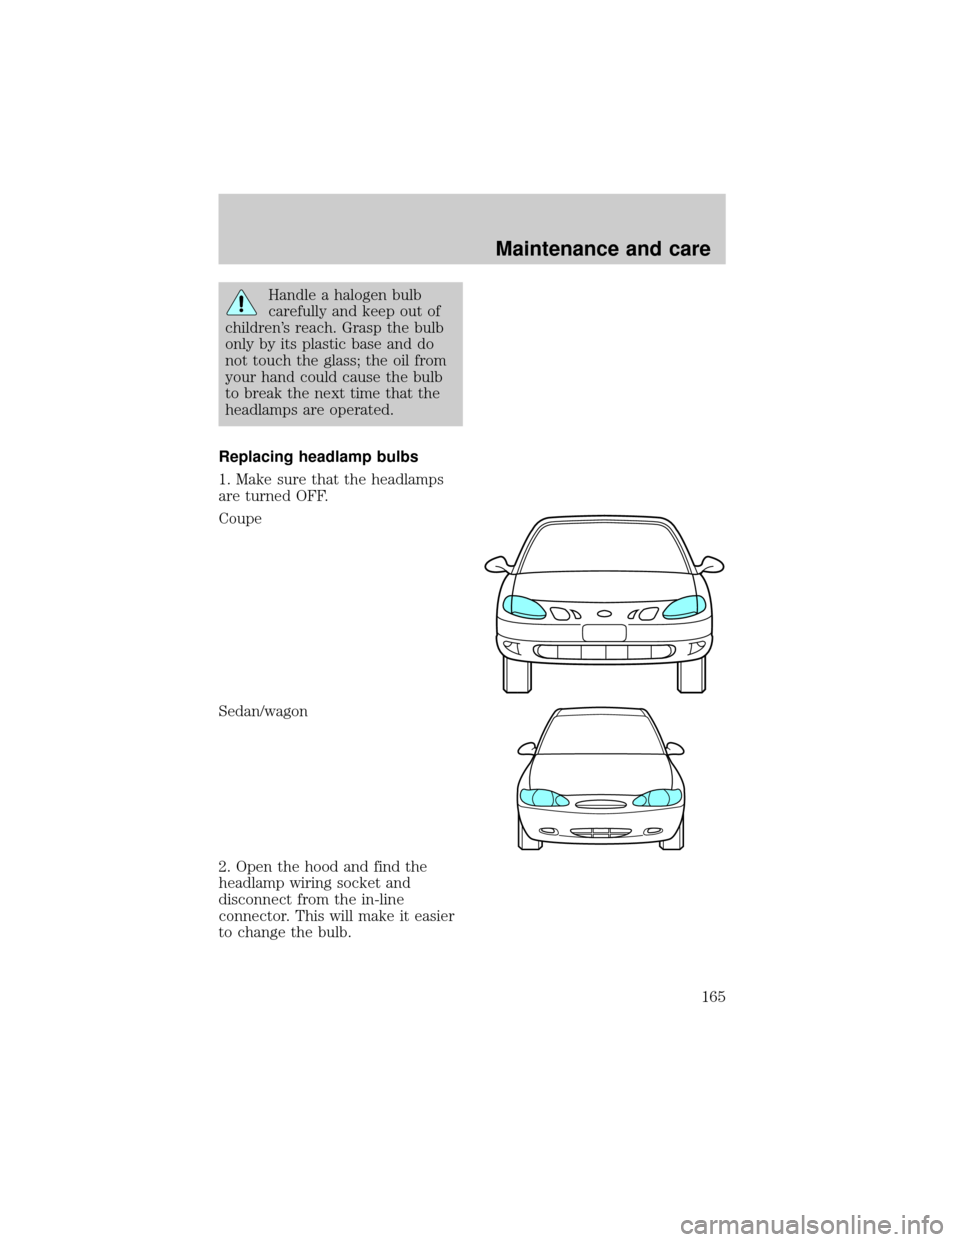
1. Make sure that the headlamps
are turned OFF.
Coupe
Sedan/wagon
2. Open the hood and find the
headlamp wiring socket and
disconnect from the in-line
connector. This will make it easier
to change the bulb.
Maintenance and care
165
Page 173 of 191
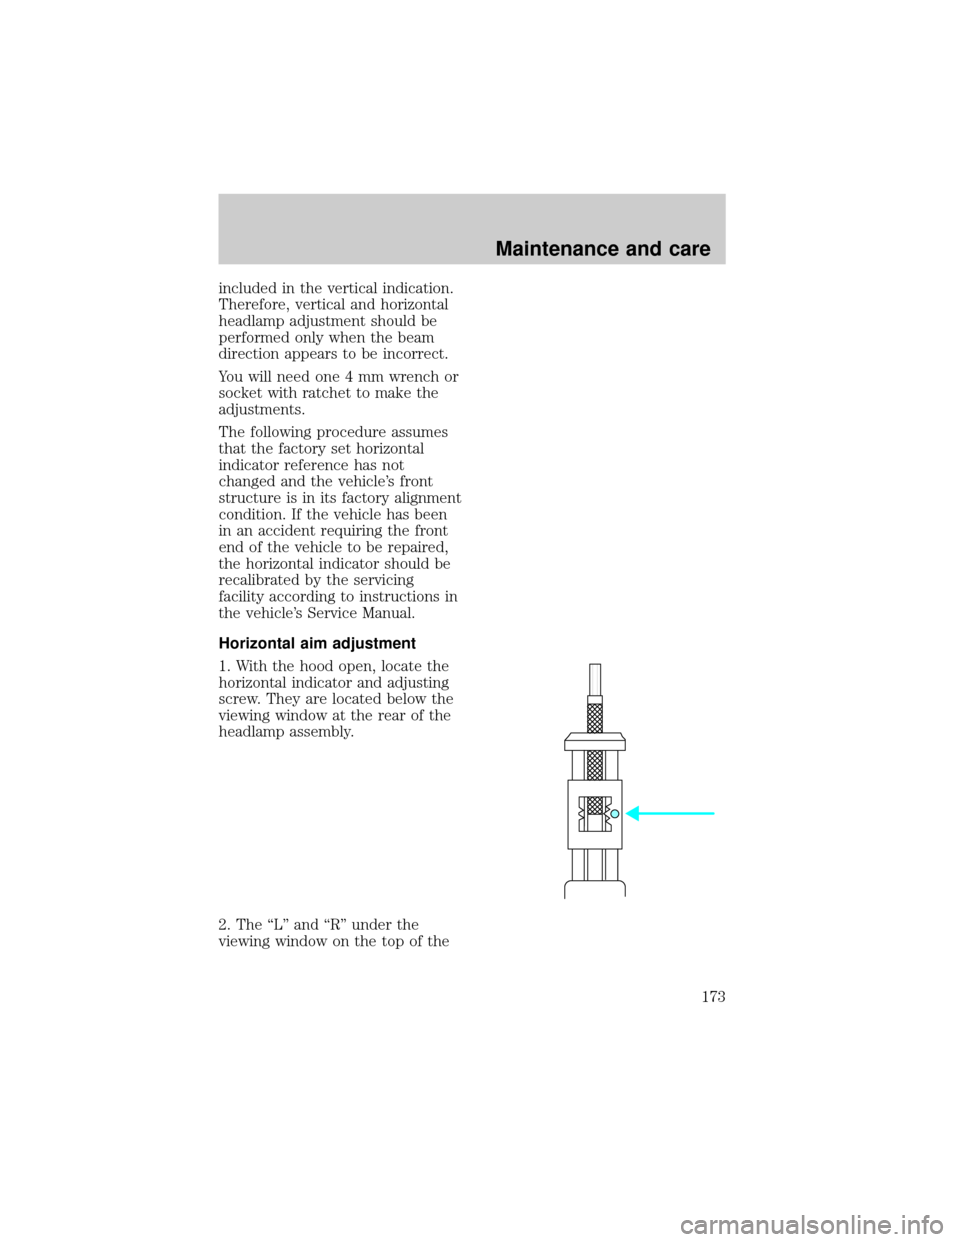
included in the vertical indication.
Therefore, vertical and horizontal
headlamp adjustment should be
performed only when the beam
direction appears to be incorrect.
You will need one 4 mm wrench or
socket with ratchet to make the
adjustments.
The following procedure assumes
that the factory set horizontal
indicator reference has not
changed and the vehicle's front
structure is in its factory alignment
condition. If the vehicle has been
in an accident requiring the front
end of the vehicle to be repaired,
the horizontal indicator should be
recalibrated by the servicing
facility according to instructions in
the vehicle's Service Manual.
Horizontal aim adjustment
1. With the hood open, locate the
horizontal indicator and adjusting
screw. They are located below the
viewing window at the rear of the
headlamp assembly.
2. The ªLº and ªRº under the
viewing window on the top of the
Maintenance and care
173
Page 174 of 191
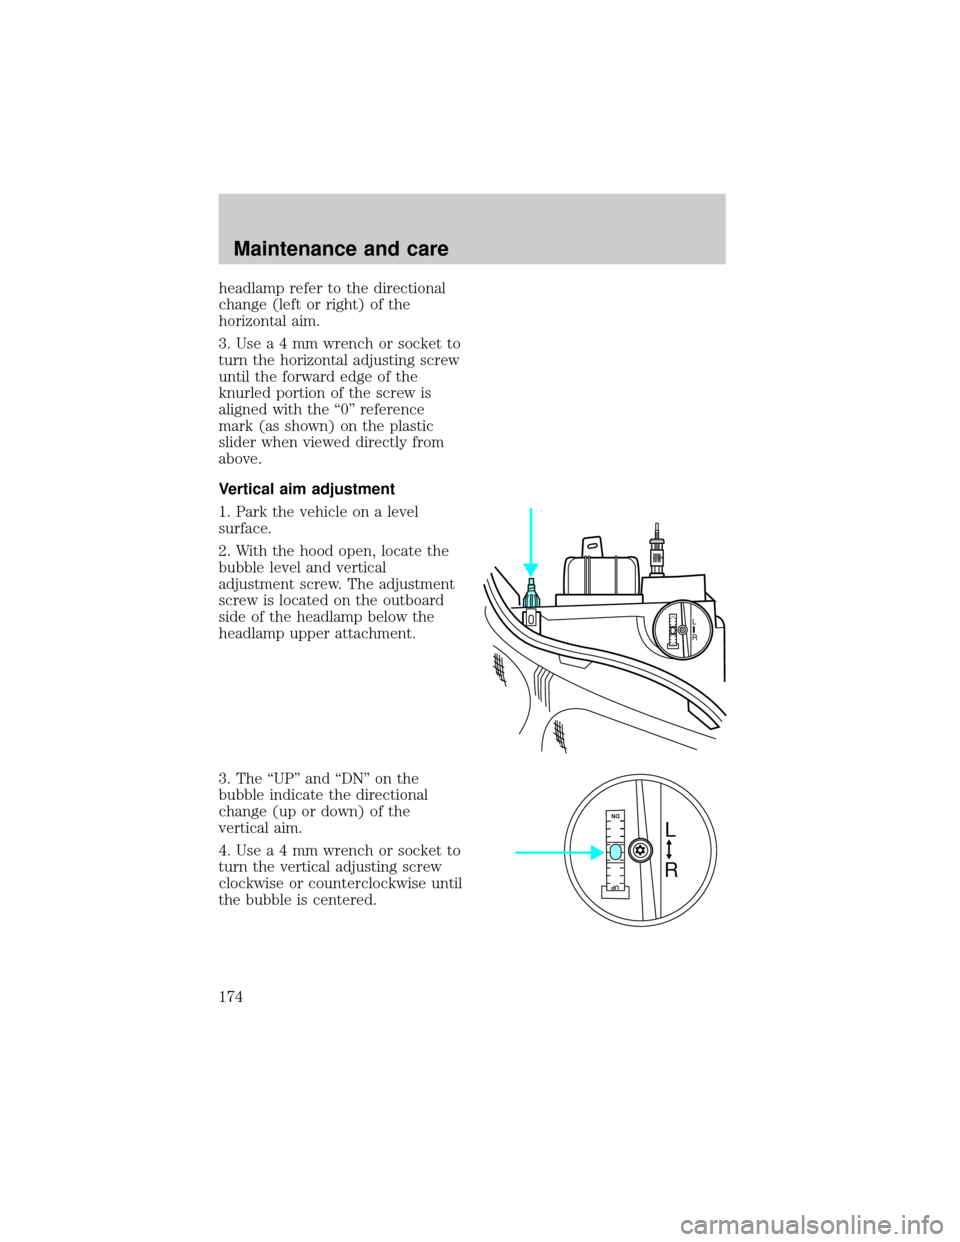
headlamp refer to the directional
change (left or right) of the
horizontal aim.
3.Usea4mmwrench or socket to
turn the horizontal adjusting screw
until the forward edge of the
knurled portion of the screw is
aligned with the ª0º reference
mark (as shown) on the plastic
slider when viewed directly from
above.
Vertical aim adjustment
1. Park the vehicle on a level
surface.
2. With the hood open, locate the
bubble level and vertical
adjustment screw. The adjustment
screw is located on the outboard
side of the headlamp below the
headlamp upper attachment.
3. The ªUPº and ªDNº on the
bubble indicate the directional
change (up or down) of the
vertical aim.
4.Usea4mmwrench or socket to
turn the vertical adjusting screw
clockwise or counterclockwise until
the bubble is centered.
L
R
UP
DN
L
R
DNUP
Maintenance and care
174