spare wheel FORD ESCORT 1999 7.G Owners Manual
[x] Cancel search | Manufacturer: FORD, Model Year: 1999, Model line: ESCORT, Model: FORD ESCORT 1999 7.GPages: 200, PDF Size: 1.37 MB
Page 113 of 200

Fuse/Relay
LocationFuse Amp
RatingDescription
COOLING
FA N40A* Constant Control Relay Module
OBD-II 10A** Data Link Connector (DLC), Instrument
Cluster
FUEL
PUMP20A** Engine Controls
HEAD RH 10A** Headlamps
HEAD LH 10A** Headlamps
* Fuse Link Cartridge ** Fuse
Relays
Relays are located in the power distribution box and should be replaced
by qualified technicians.
CHANGING THE TIRES
If you get a flat tire while driving, do not apply the brake heavily.
Instead, gradually decrease your speed. Hold the steering wheel firmly
and slowly move to a safe place on the side of the road.
Temporary spare tire information
The temporary spare tire for your vehicle is labeled as such. It is smaller
than a regular tire and is designed for emergency use only.
If you use the temporary spare tire continuously or do not follow
these precautions, the tire could fail, causing you to lose control
of the vehicle, possibly injuring yourself or others.
When driving with the temporary spare tiredo not:
²exceed 80 km/h (50 mph) under any circumstances
²load the vehicle beyond maximum vehicle load rating listed on the
Safety Compliance Label
²tow a trailer
²use tire chains
²drive through an automatic car wash, because of the vehicle's reduced
ground clearance
Roadside emergencies
113
Page 114 of 200

²try to repair the temporary spare tire or remove it from its wheel
²use the wheel for any other type of vehicle
Tire change procedure
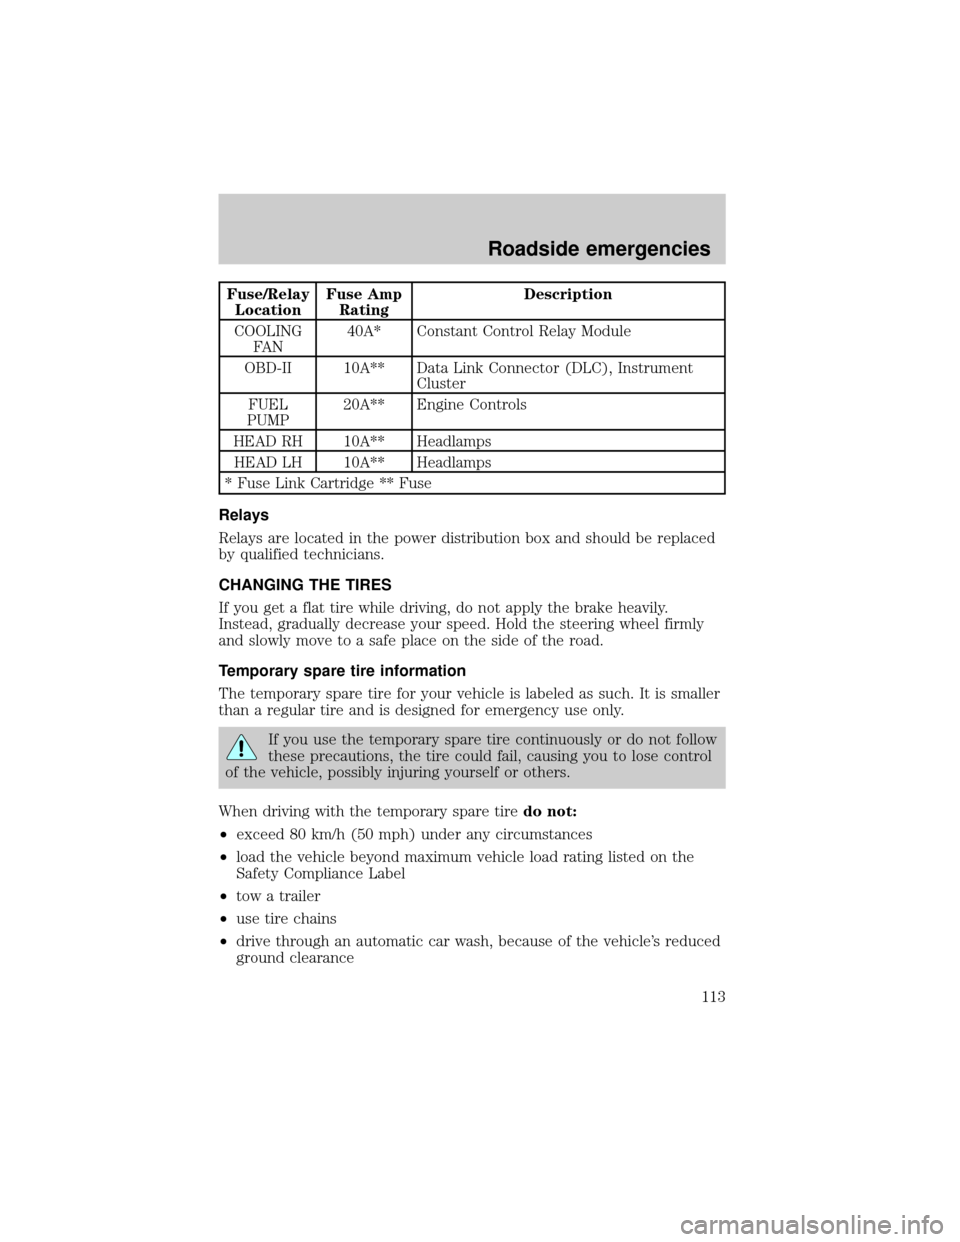
1. Park on a level surface, activate
hazard flashers and set the parking
brake.
When one of the front wheels is off the ground, the transaxle
alone will not prevent the vehicle from moving or slipping off the
jack, even if the vehicle is in P (Park) (automatic transaxle) or R
(Reverse) (manual transaxle).
To prevent the vehicle from moving when you change a tire, be
sure the parking brake is set, then block (in both directions) the
wheel that is diagonally opposite (other side and end of the vehicle) to
the tire being changed.
If the vehicle slips off the jack, you or someone else could be
seriously injured.
2. Place gearshift lever in P (Park) (automatic transaxle) or R (Reverse)
(manual transaxle), turn engine OFF, and block the diagonally opposite
wheel.
Roadside emergencies
114
Page 116 of 200

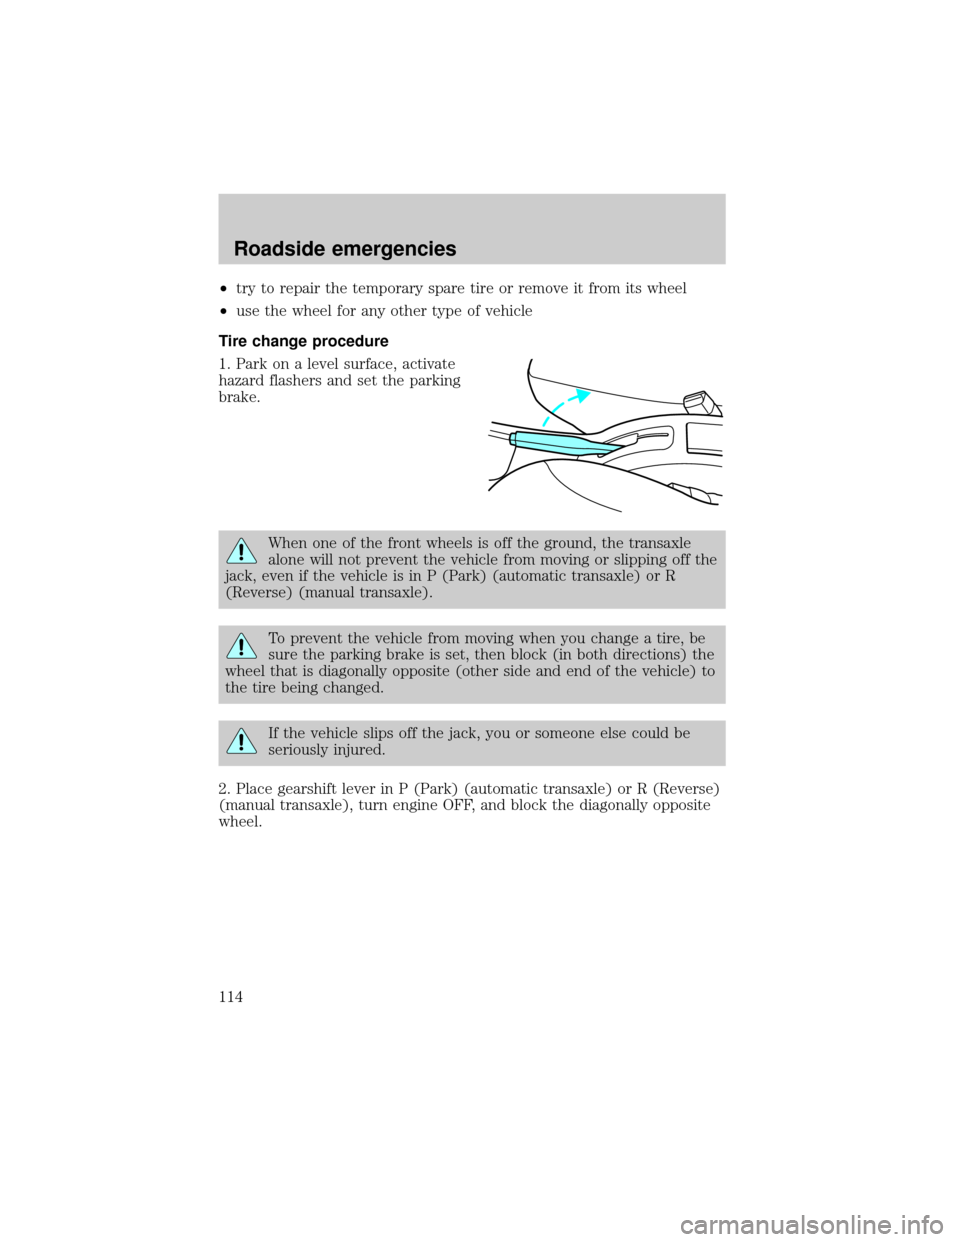
4. Loosen each wheel lug nut
one-half turn counterclockwise but
do not remove them until the wheel
is raised off the ground.
5. Put the jack in the jack notch
next to the door of the tire you are
changing. Turn the handle clockwise
until the wheel is completely off the
ground.
6. Remove the lug nuts with the lug wrench.
7. Replace the flat tire with the spare tire, making sure the valve stem is
facing outward. Reinstall the lug nuts until the wheel is snug against the
hub. Do not fully tighten the lug nuts until the wheel has been lowered.
8. Lower the wheel by turning the jack handle counterclockwise.
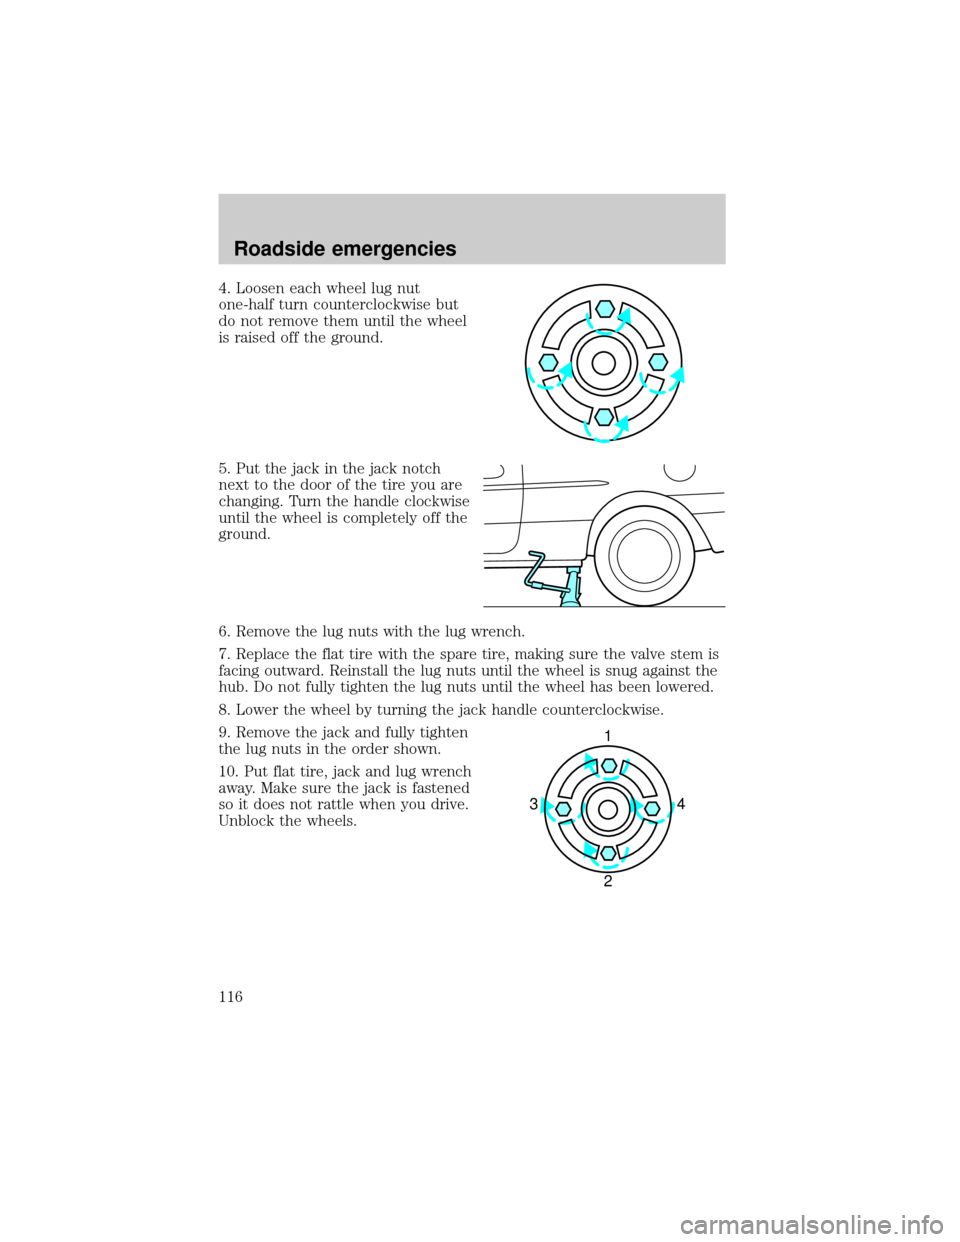
9. Remove the jack and fully tighten
the lug nuts in the order shown.
10. Put flat tire, jack and lug wrench
away. Make sure the jack is fastened
so it does not rattle when you drive.
Unblock the wheels.
1
4 3
2
Roadside emergencies
116