FORD EXCURSION 2000 1.G Repair Manual
Manufacturer: FORD, Model Year: 2000, Model line: EXCURSION, Model: FORD EXCURSION 2000 1.GPages: 232, PDF Size: 2.01 MB
Page 61 of 232
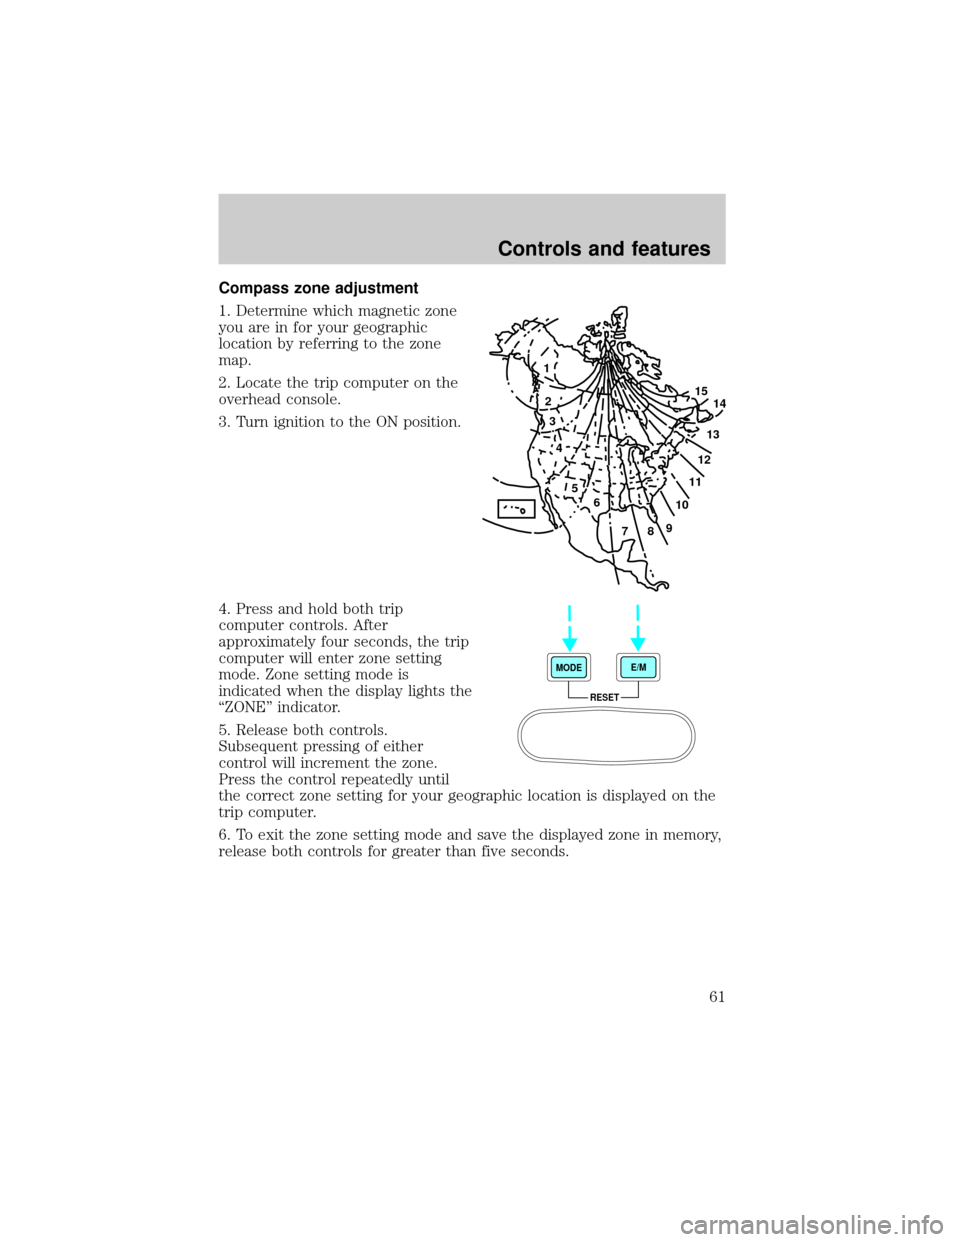
Compass zone adjustment
1. Determine which magnetic zone
you are in for your geographic
location by referring to the zone
map.
2. Locate the trip computer on the
overhead console.
3. Turn ignition to the ON position.
4. Press and hold both trip
computer controls. After
approximately four seconds, the trip
computer will enter zone setting
mode. Zone setting mode is
indicated when the display lights the
ªZONEº indicator.
5. Release both controls.
Subsequent pressing of either
control will increment the zone.
Press the control repeatedly until
the correct zone setting for your geographic location is displayed on the
trip computer.
6. To exit the zone setting mode and save the displayed zone in memory,
release both controls for greater than five seconds.
1
2
3
4
5
6
7891011121314 15
RESET MODEE/M
Controls and features
61
Page 62 of 232
Compass calibration adjustment
Perform this adjustment in an open area free from steel structures and
high voltage lines.
For optimum calibration, turn off all electrical accessories (heater/air
conditioning, wipers, etc.) and make sure all vehicle doors are shut.
1. Locate the trip computer located in the overhead console.
2. Start the vehicle.
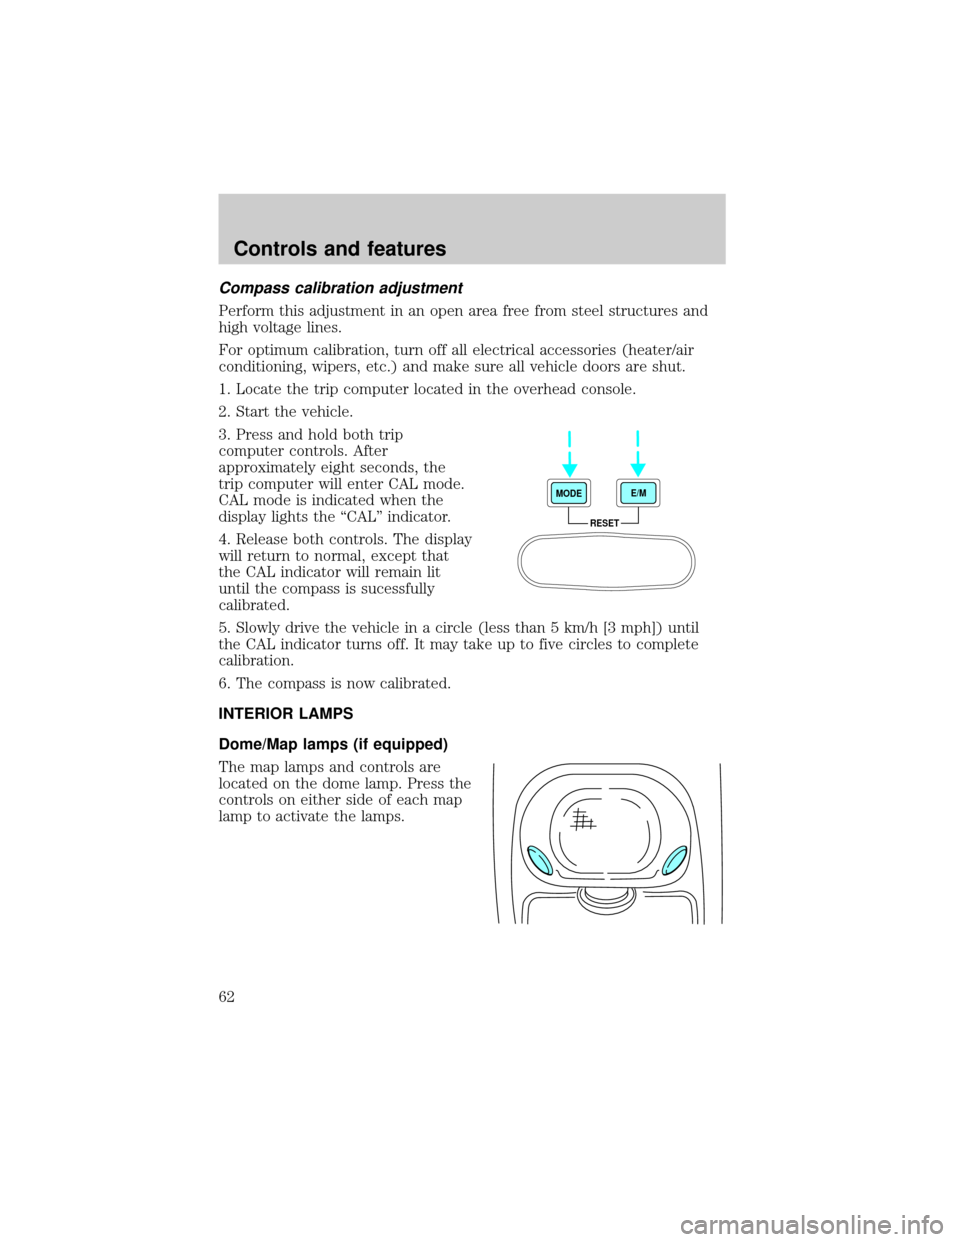
3. Press and hold both trip
computer controls. After
approximately eight seconds, the
trip computer will enter CAL mode.
CAL mode is indicated when the
display lights the ªCALº indicator.
4. Release both controls. The display
will return to normal, except that
the CAL indicator will remain lit
until the compass is sucessfully
calibrated.
5. Slowly drive the vehicle in a circle (less than 5 km/h [3 mph]) until
the CAL indicator turns off. It may take up to five circles to complete
calibration.
6. The compass is now calibrated.
INTERIOR LAMPS
Dome/Map lamps (if equipped)
The map lamps and controls are
located on the dome lamp. Press the
controls on either side of each map
lamp to activate the lamps.
RESET MODEE/M
Controls and features
62
Page 63 of 232
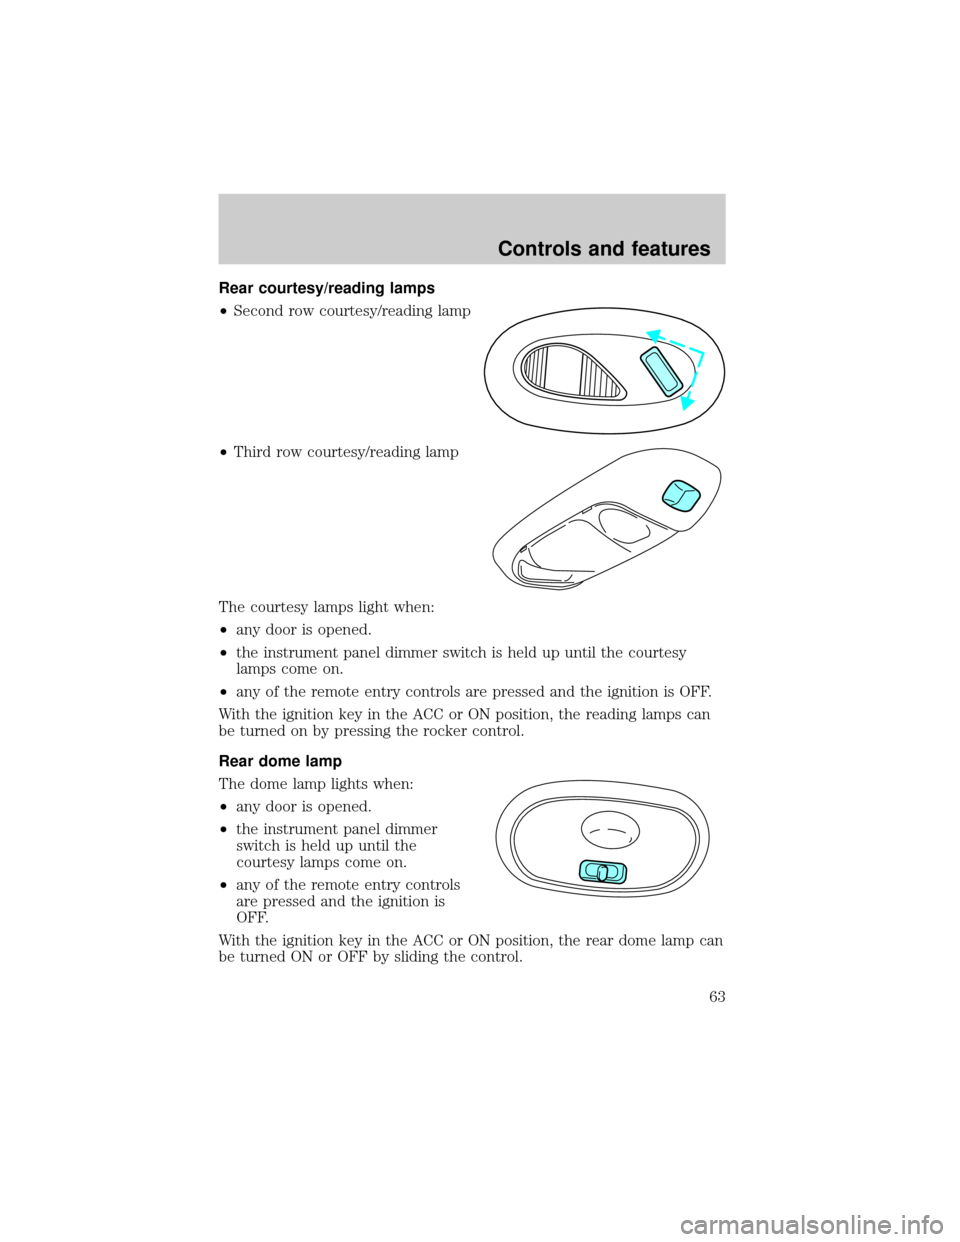
Rear courtesy/reading lamps
²Second row courtesy/reading lamp
²Third row courtesy/reading lamp
The courtesy lamps light when:
²any door is opened.
²the instrument panel dimmer switch is held up until the courtesy
lamps come on.
²any of the remote entry controls are pressed and the ignition is OFF.
With the ignition key in the ACC or ON position, the reading lamps can
be turned on by pressing the rocker control.
Rear dome lamp
The dome lamp lights when:
²any door is opened.
²the instrument panel dimmer
switch is held up until the
courtesy lamps come on.
²any of the remote entry controls
are pressed and the ignition is
OFF.
With the ignition key in the ACC or ON position, the rear dome lamp can
be turned ON or OFF by sliding the control.
Controls and features
63
Page 64 of 232
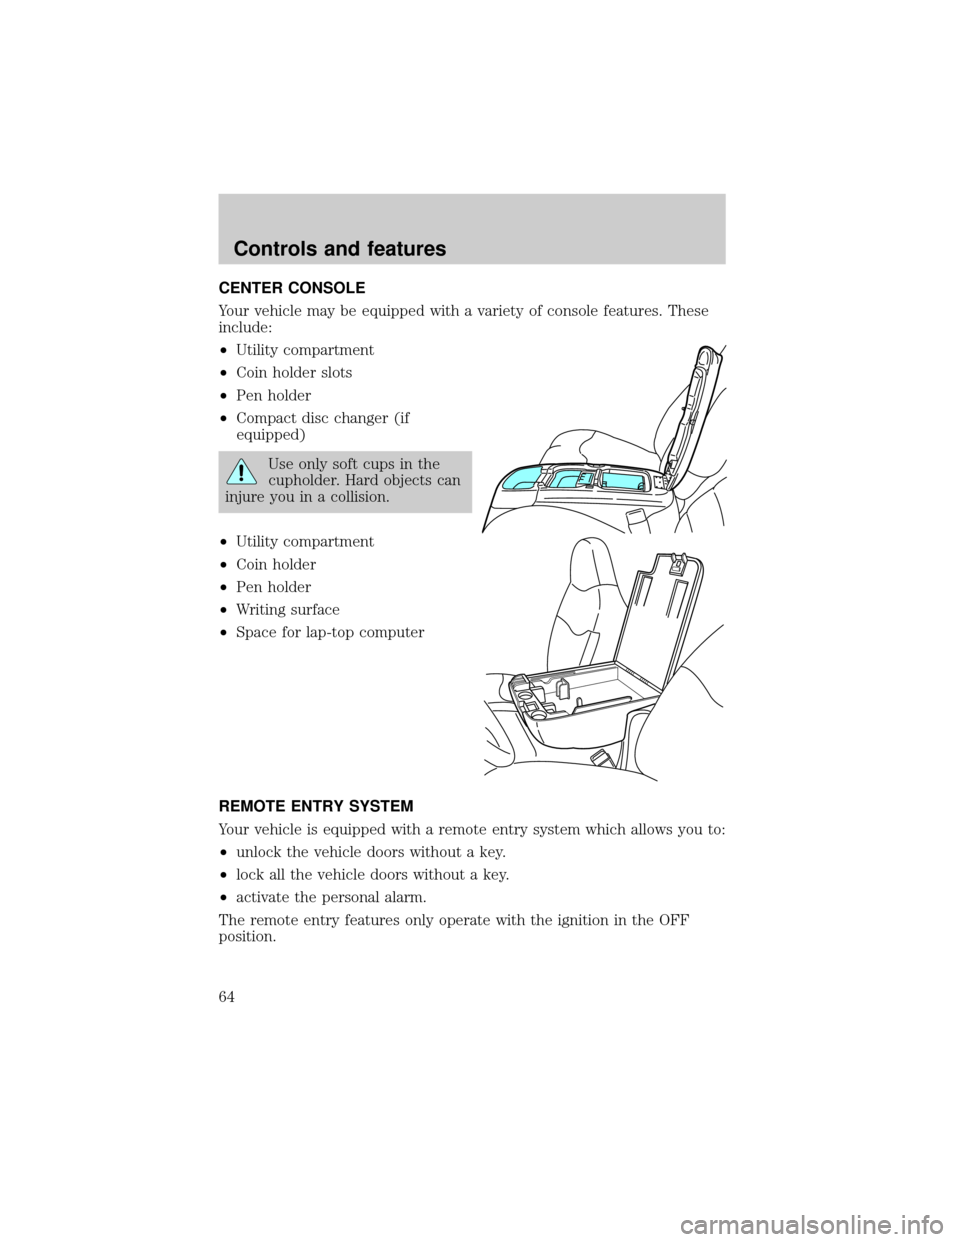
CENTER CONSOLE
Your vehicle may be equipped with a variety of console features. These
include:
²Utility compartment
²Coin holder slots
²Pen holder
²Compact disc changer (if
equipped)
Use only soft cups in the
cupholder. Hard objects can
injure you in a collision.
²Utility compartment
²Coin holder
²Pen holder
²Writing surface
²Space for lap-top computer
REMOTE ENTRY SYSTEM
Your vehicle is equipped with a remote entry system which allows you to:
²unlock the vehicle doors without a key.
²lock all the vehicle doors without a key.
²activate the personal alarm.
The remote entry features only operate with the ignition in the OFF
position.
Controls and features
64
Page 65 of 232
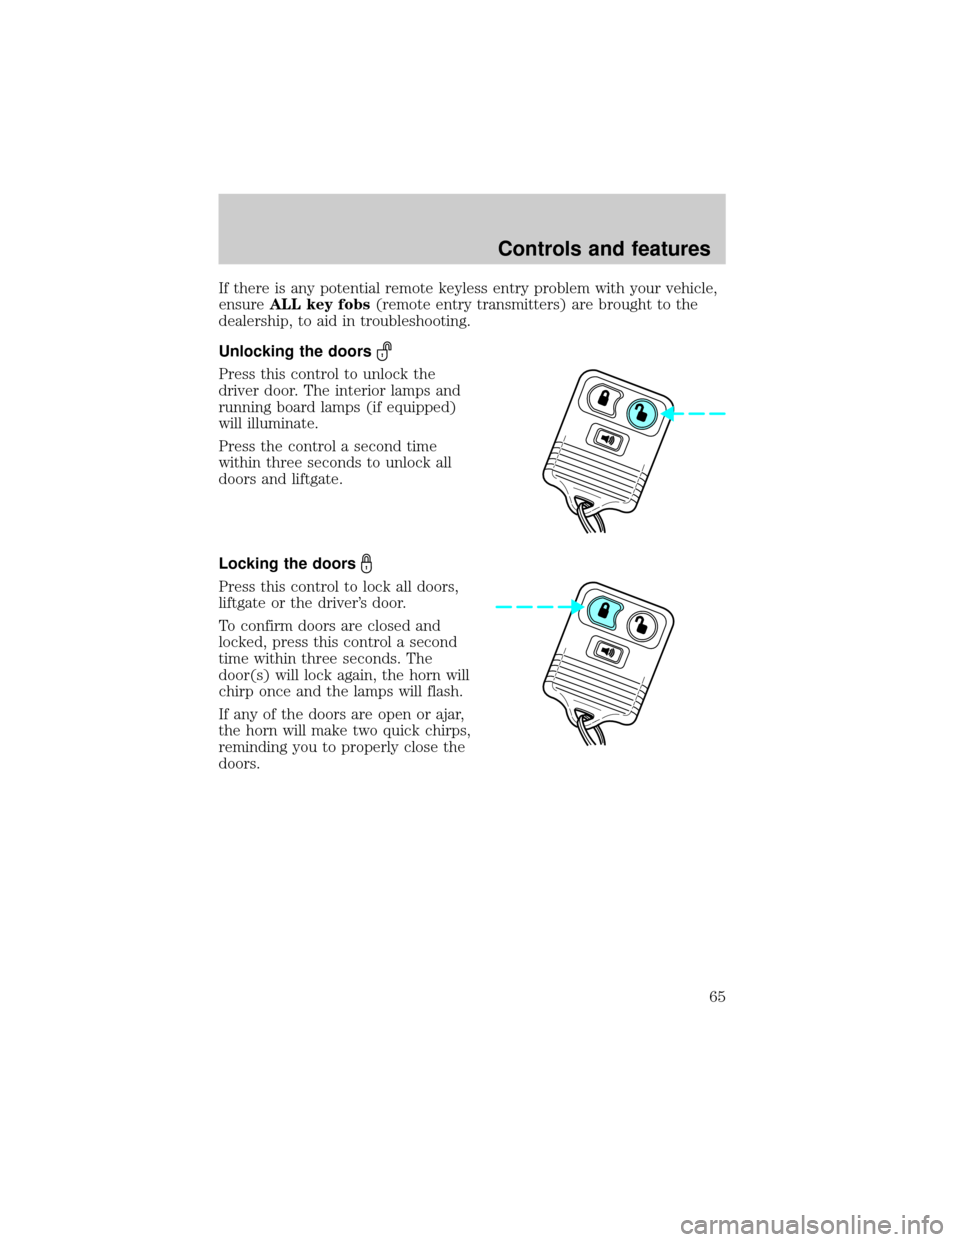
If there is any potential remote keyless entry problem with your vehicle,
ensureALL key fobs(remote entry transmitters) are brought to the
dealership, to aid in troubleshooting.
Unlocking the doors
Press this control to unlock the
driver door. The interior lamps and
running board lamps (if equipped)
will illuminate.
Press the control a second time
within three seconds to unlock all
doors and liftgate.
Locking the doors
Press this control to lock all doors,
liftgate or the driver's door.
To confirm doors are closed and
locked, press this control a second
time within three seconds. The
door(s) will lock again, the horn will
chirp once and the lamps will flash.
If any of the doors are open or ajar,
the horn will make two quick chirps,
reminding you to properly close the
doors.
Controls and features
65
Page 66 of 232
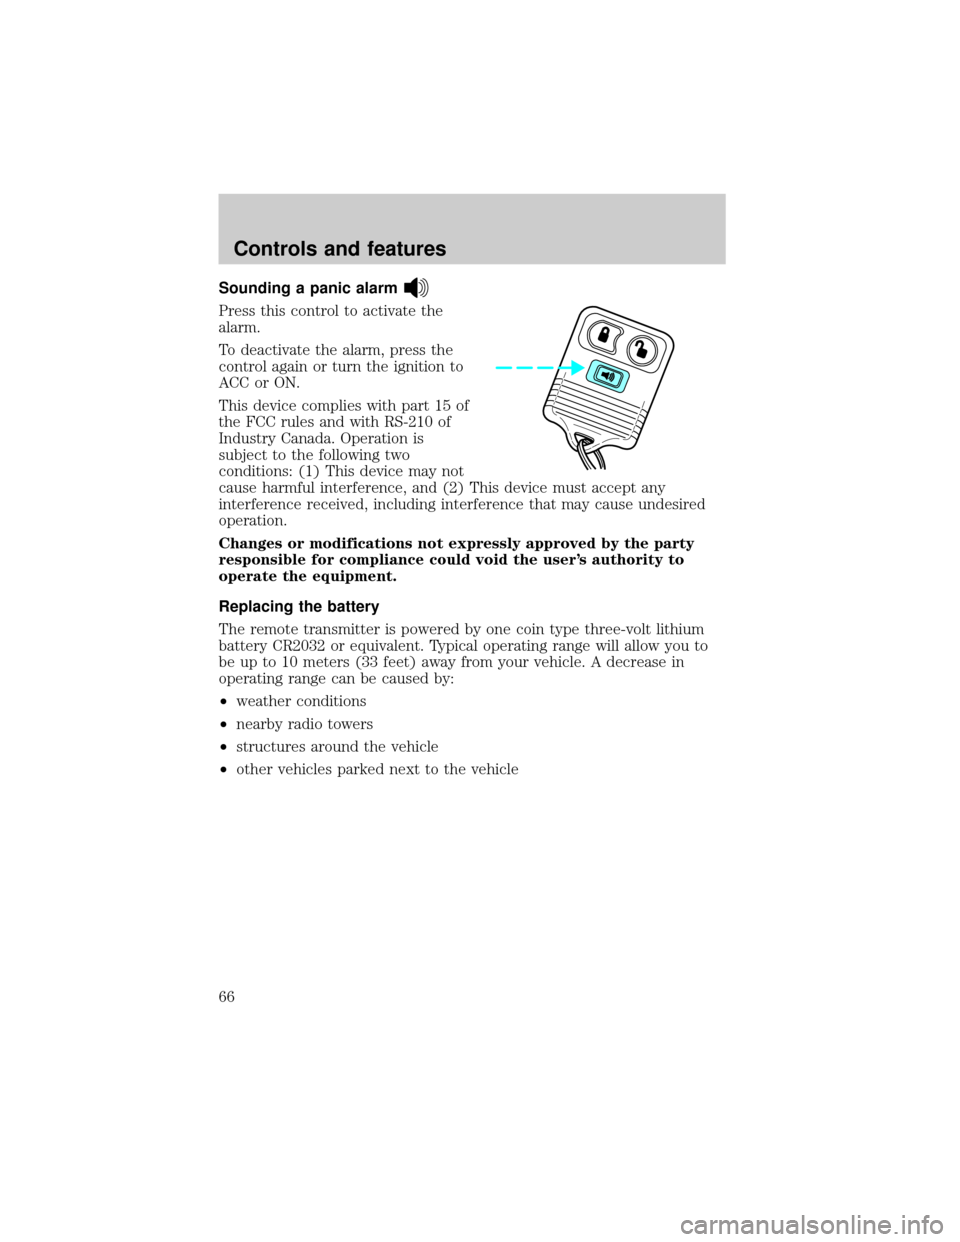
Sounding a panic alarm
Press this control to activate the
alarm.
To deactivate the alarm, press the
control again or turn the ignition to
ACC or ON.
This device complies with part 15 of
the FCC rules and with RS-210 of
Industry Canada. Operation is
subject to the following two
conditions: (1) This device may not
cause harmful interference, and (2) This device must accept any
interference received, including interference that may cause undesired
operation.
Changes or modifications not expressly approved by the party
responsible for compliance could void the user's authority to
operate the equipment.
Replacing the battery
The remote transmitter is powered by one coin type three-volt lithium
battery CR2032 or equivalent. Typical operating range will allow you to
be up to 10 meters (33 feet) away from your vehicle. A decrease in
operating range can be caused by:
²weather conditions
²nearby radio towers
²structures around the vehicle
²other vehicles parked next to the vehicle
Controls and features
66
Page 67 of 232
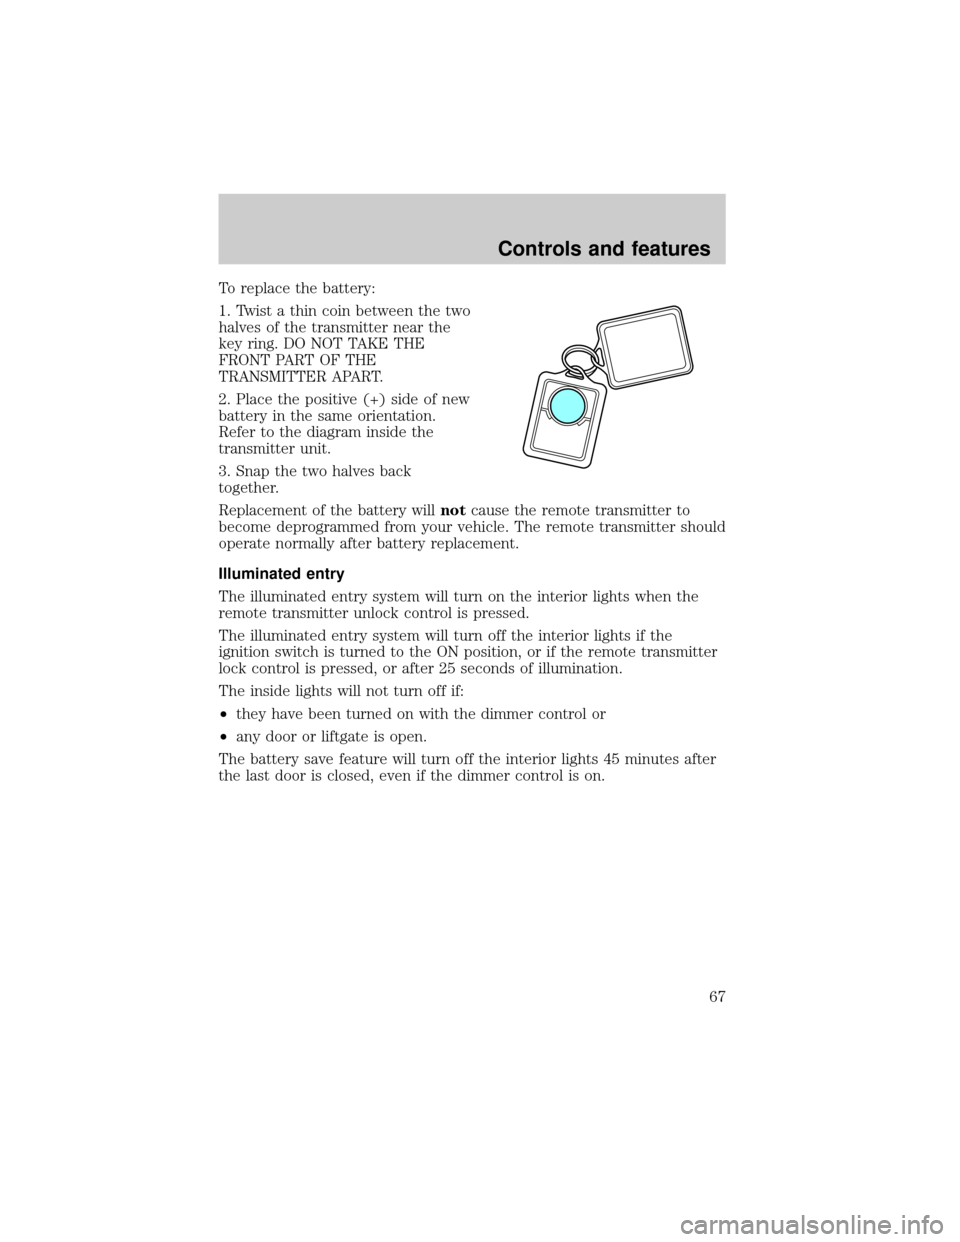
To replace the battery:
1. Twist a thin coin between the two
halves of the transmitter near the
key ring. DO NOT TAKE THE
FRONT PART OF THE
TRANSMITTER APART.
2. Place the positive (+) side of new
battery in the same orientation.
Refer to the diagram inside the
transmitter unit.
3. Snap the two halves back
together.
Replacement of the battery willnotcause the remote transmitter to
become deprogrammed from your vehicle. The remote transmitter should
operate normally after battery replacement.
Illuminated entry
The illuminated entry system will turn on the interior lights when the
remote transmitter unlock control is pressed.
The illuminated entry system will turn off the interior lights if the
ignition switch is turned to the ON position, or if the remote transmitter
lock control is pressed, or after 25 seconds of illumination.
The inside lights will not turn off if:
²they have been turned on with the dimmer control or
²any door or liftgate is open.
The battery save feature will turn off the interior lights 45 minutes after
the last door is closed, even if the dimmer control is on.
Controls and features
67
Page 68 of 232
Replacing lost transmitters
If a remote transmitter has been lost
and you would like to remove it
from the vehicle's memory, or you
would like to purchase additional
remote transmitters and have them
programmed to your vehicle:
²Takeallyour vehicle's
transmitters to your dealer for
programming, or
²Perform the programming
procedure yourself
Programming remote transmitters
It is necessary to haveall(maximum of four Ð original and/or new) of
your remote transmitters available prior to beginning this procedure.
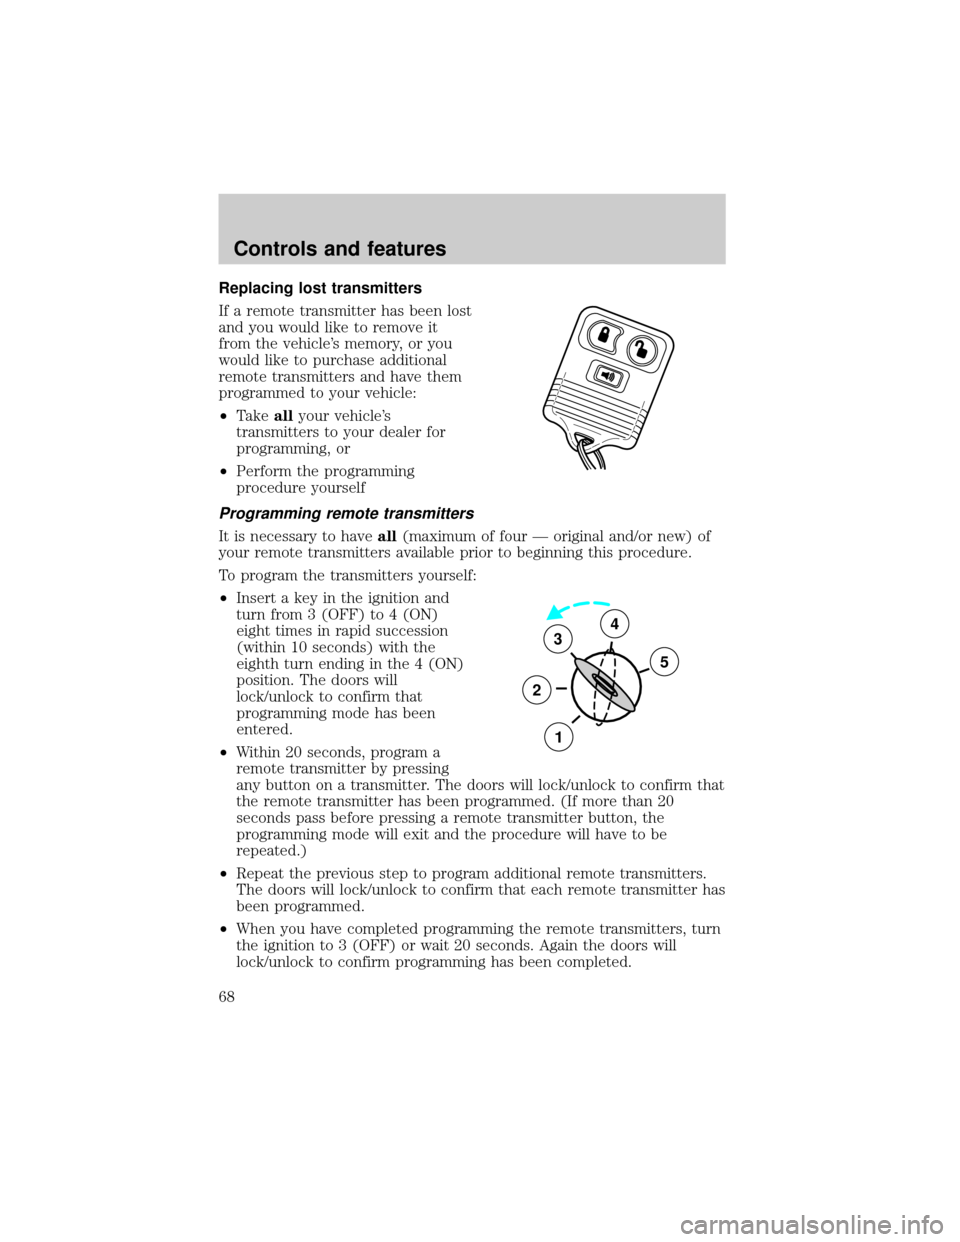
To program the transmitters yourself:
²Insert a key in the ignition and
turn from 3 (OFF) to 4 (ON)
eight times in rapid succession
(within 10 seconds) with the
eighth turn ending in the 4 (ON)
position. The doors will
lock/unlock to confirm that
programming mode has been
entered.
²Within 20 seconds, program a
remote transmitter by pressing
any button on a transmitter. The doors will lock/unlock to confirm that
the remote transmitter has been programmed. (If more than 20
seconds pass before pressing a remote transmitter button, the
programming mode will exit and the procedure will have to be
repeated.)
²Repeat the previous step to program additional remote transmitters.
The doors will lock/unlock to confirm that each remote transmitter has
been programmed.
²When you have completed programming the remote transmitters, turn
the ignition to 3 (OFF) or wait 20 seconds. Again the doors will
lock/unlock to confirm programming has been completed.
3
2
1
5
4
Controls and features
68
Page 69 of 232
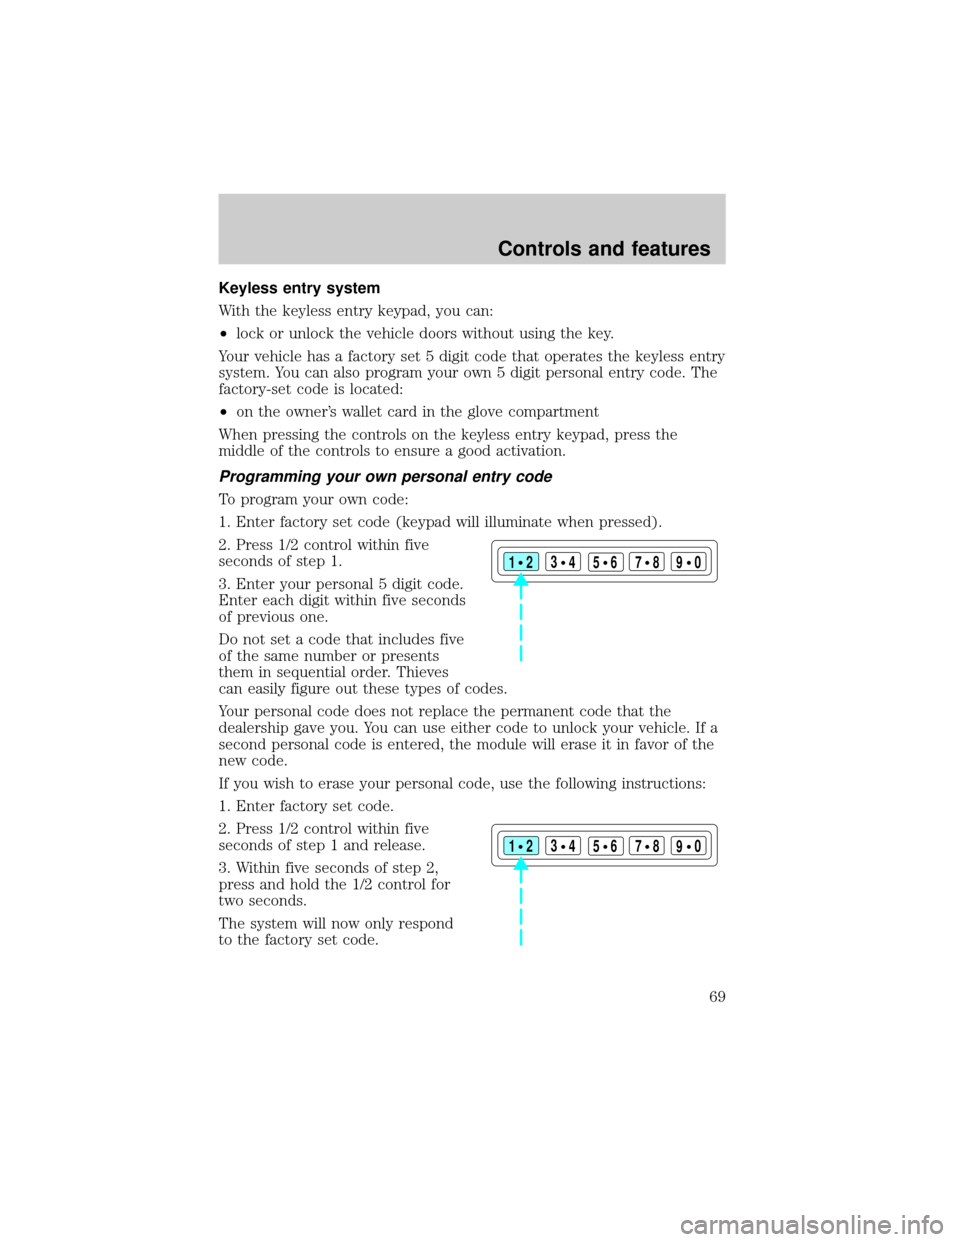
Keyless entry system
With the keyless entry keypad, you can:
²lock or unlock the vehicle doors without using the key.
Your vehicle has a factory set 5 digit code that operates the keyless entry
system. You can also program your own 5 digit personal entry code. The
factory-set code is located:
²on the owner's wallet card in the glove compartment
When pressing the controls on the keyless entry keypad, press the
middle of the controls to ensure a good activation.
Programming your own personal entry code
To program your own code:
1. Enter factory set code (keypad will illuminate when pressed).
2. Press 1/2 control within five
seconds of step 1.
3. Enter your personal 5 digit code.
Enter each digit within five seconds
of previous one.
Do not set a code that includes five
of the same number or presents
them in sequential order. Thieves
can easily figure out these types of codes.
Your personal code does not replace the permanent code that the
dealership gave you. You can use either code to unlock your vehicle. If a
second personal code is entered, the module will erase it in favor of the
new code.
If you wish to erase your personal code, use the following instructions:
1. Enter factory set code.
2. Press 1/2 control within five
seconds of step 1 and release.
3. Within five seconds of step 2,
press and hold the 1/2 control for
two seconds.
The system will now only respond
to the factory set code.
123
45678
90
123
45678
90
Controls and features
69
Page 70 of 232
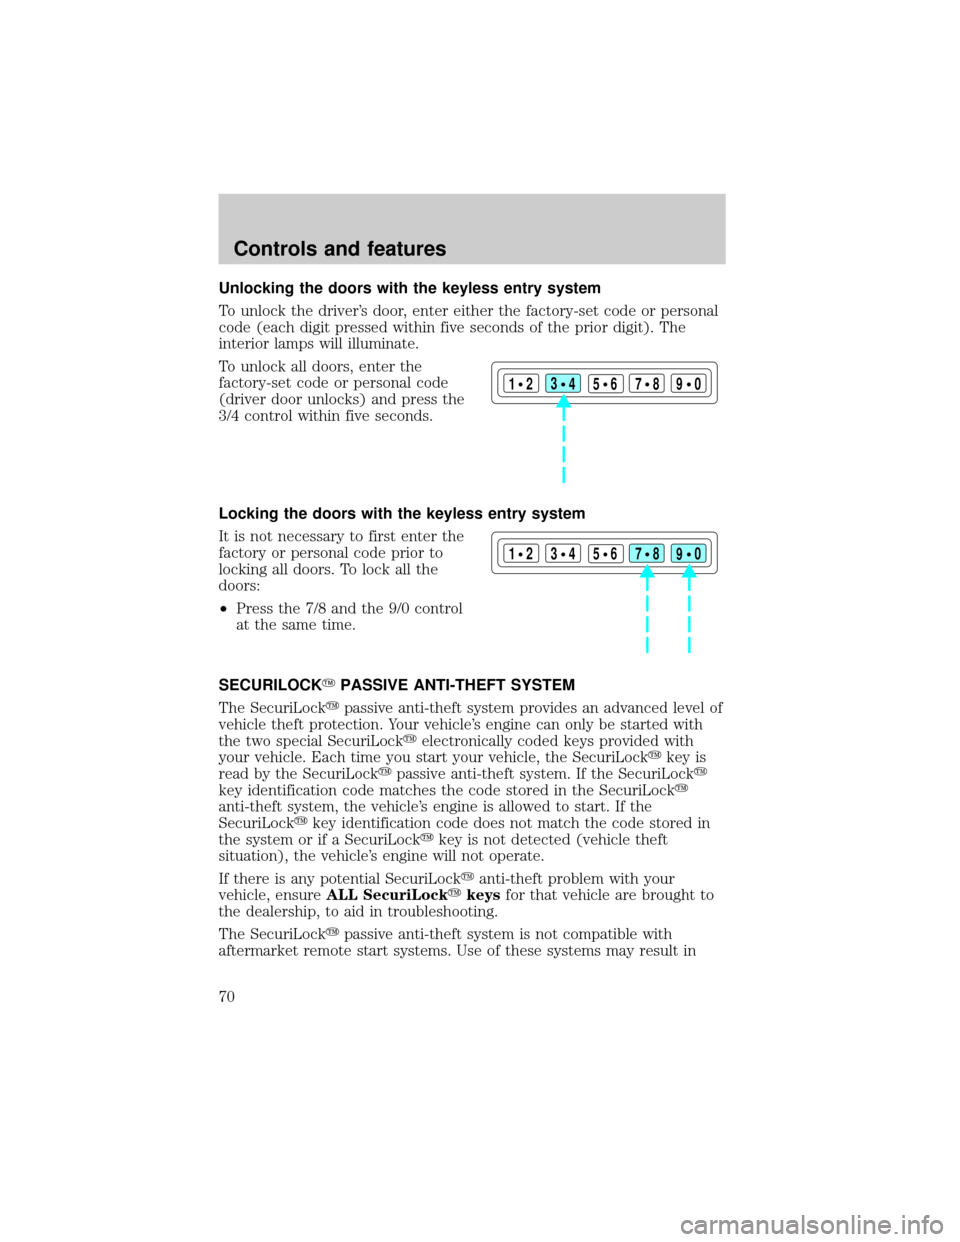
Unlocking the doors with the keyless entry system
To unlock the driver's door, enter either the factory-set code or personal
code (each digit pressed within five seconds of the prior digit). The
interior lamps will illuminate.
To unlock all doors, enter the
factory-set code or personal code
(driver door unlocks) and press the
3/4 control within five seconds.
Locking the doors with the keyless entry system
It is not necessary to first enter the
factory or personal code prior to
locking all doors. To lock all the
doors:
²Press the 7/8 and the 9/0 control
at the same time.
SECURILOCKYPASSIVE ANTI-THEFT SYSTEM
The SecuriLockypassive anti-theft system provides an advanced level of
vehicle theft protection. Your vehicle's engine can only be started with
the two special SecuriLockyelectronically coded keys provided with
your vehicle. Each time you start your vehicle, the SecuriLockykey is
read by the SecuriLockypassive anti-theft system. If the SecuriLocky
key identification code matches the code stored in the SecuriLocky
anti-theft system, the vehicle's engine is allowed to start. If the
SecuriLockykey identification code does not match the code stored in
the system or if a SecuriLockykey is not detected (vehicle theft
situation), the vehicle's engine will not operate.
If there is any potential SecuriLockyanti-theft problem with your
vehicle, ensureALL SecuriLockykeysfor that vehicle are brought to
the dealership, to aid in troubleshooting.
The SecuriLockypassive anti-theft system is not compatible with
aftermarket remote start systems. Use of these systems may result in
123
45678
90
123
45678
90
Controls and features
70