tow FORD EXPEDITION 1997 1.G Owners Manual
[x] Cancel search | Manufacturer: FORD, Model Year: 1997, Model line: EXPEDITION, Model: FORD EXPEDITION 1997 1.GPages: 224, PDF Size: 2.2 MB
Page 2 of 224
ICONS AND WARNINGS
ICONS
Indicates a warning. Read the
following section onWarningsfor
a full explanation of them.
Indicates that vehicle information
related to recycling and other
environmental concerns will follow.
We must all play our part in
protecting the environment.
Correct vehicle usage and the
authorized disposal of waste
cleaning and lubrication materials
are significant steps towards this
aim.
WARNINGS
How can you reduce the risk of
personal injury and prevent
possible damage to others, your
vehicle and its equipment?
In this owner's guide, answers to
such questions are contained in
comments highlighted by the
warning triangle symbol.
NOTICE TO OWNERS OF
UTILITY TYPE VEHICLES
Before you drive your vehicle,
please read this owner's guide
carefully. Your vehicle is not a
passenger car. In vehicles of this
type, incorrect operation may
result in unpredictable handling
behavior. Be sure to readControl
Trac ± Automatic Four±Wheel
Drive System (if equipped)in thecom_icons.01
com_warn.01
com_notice_utility.01
Introduction
2
Page 9 of 224

Brake system warning
Extinguishes when the parking
brake is released. Illumination after
releasing the parking brake
indicates low brake fluid level.
Safety belt
Illuminates when the ignition is
switched on to remind you to
fasten your safety belts. For more
information, refer toUsing the
safety restraints properlyin the
Seating and safety restraints
chapter.
Air bag readiness
Briefly illuminates when the
ignition is turned to On. If the light
fails to illuminate, continues to
flash or remains on, have the
system serviced. For more
information, refer to
Supplemental restraints system
(SRS)in theSeating and safety
restraintschapter.
Check engine warning light
This light illuminates when the
engine's Emission Control System
requires service. It will also
illuminate when the ignition key is
in the On position and the engine
is off. Refer toWhat you should
know about the On-board
diagnostic (OBD II) systemin the
Maintenance and carechapter.
!
BRAKE
CHECK
ENGINE
com_safety_belt.01
exd_air_bag
exd_check_engine
exd_tcil_light
Instrumentation
10
Page 17 of 224
refer to trip computer information
in theControls and features
chapter.
Selectable features
English/metric display
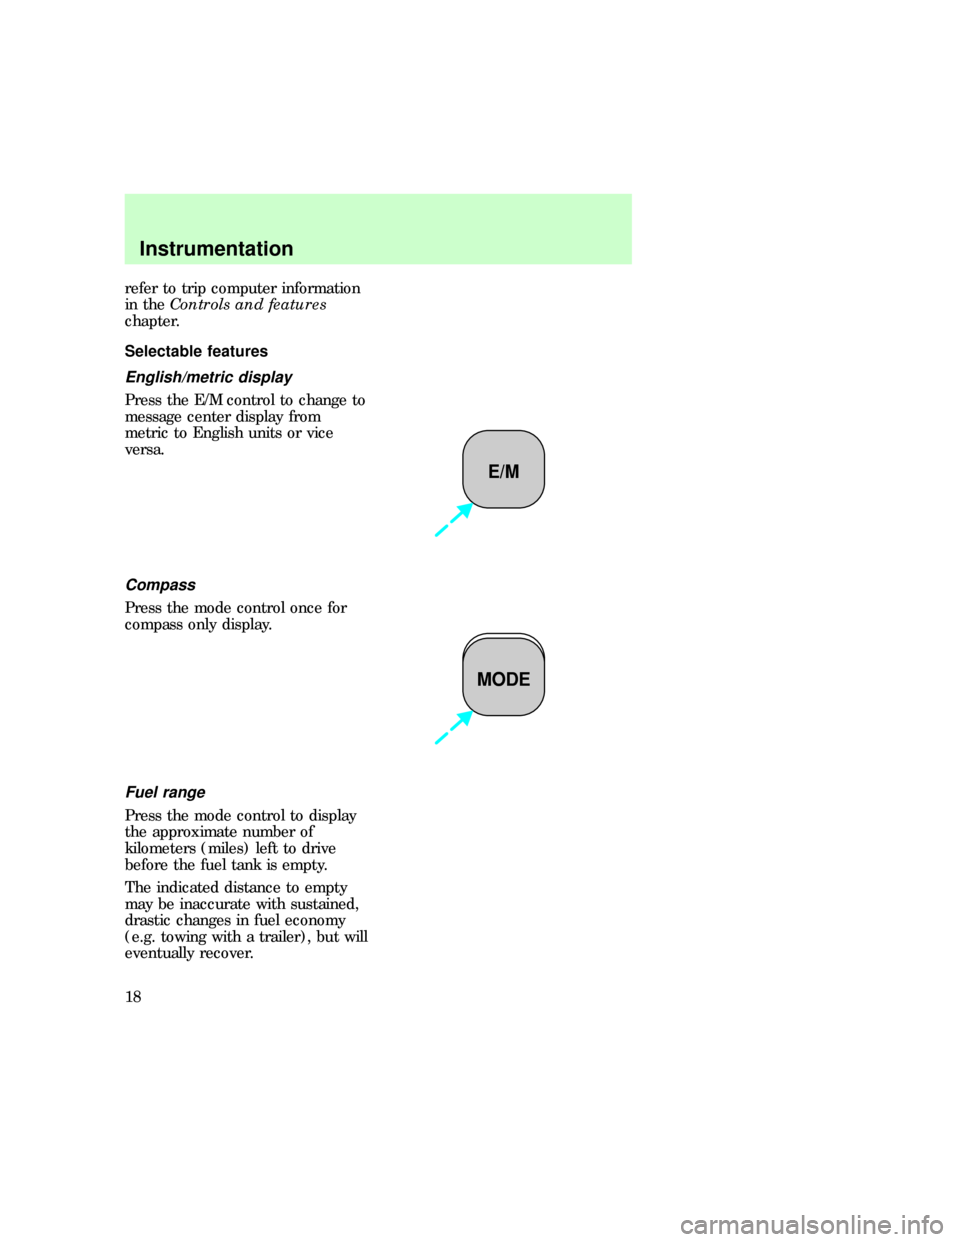
Press the E/M control to change to
message center display from
metric to English units or vice
versa.
Compass
Press the mode control once for
compass only display.
Fuel range
Press the mode control to display
the approximate number of
kilometers (miles) left to drive
before the fuel tank is empty.
The indicated distance to empty
may be inaccurate with sustained,
drastic changes in fuel economy
(e.g. towing with a trailer), but will
eventually recover.
E/M
MODE
exd_select_features_head
exd_metric_english_select exd_compass_display
exd_fuel_range_select
exd_economy_fuel_select
Instrumentation
18
Page 19 of 224
Headlamp/foglamp control
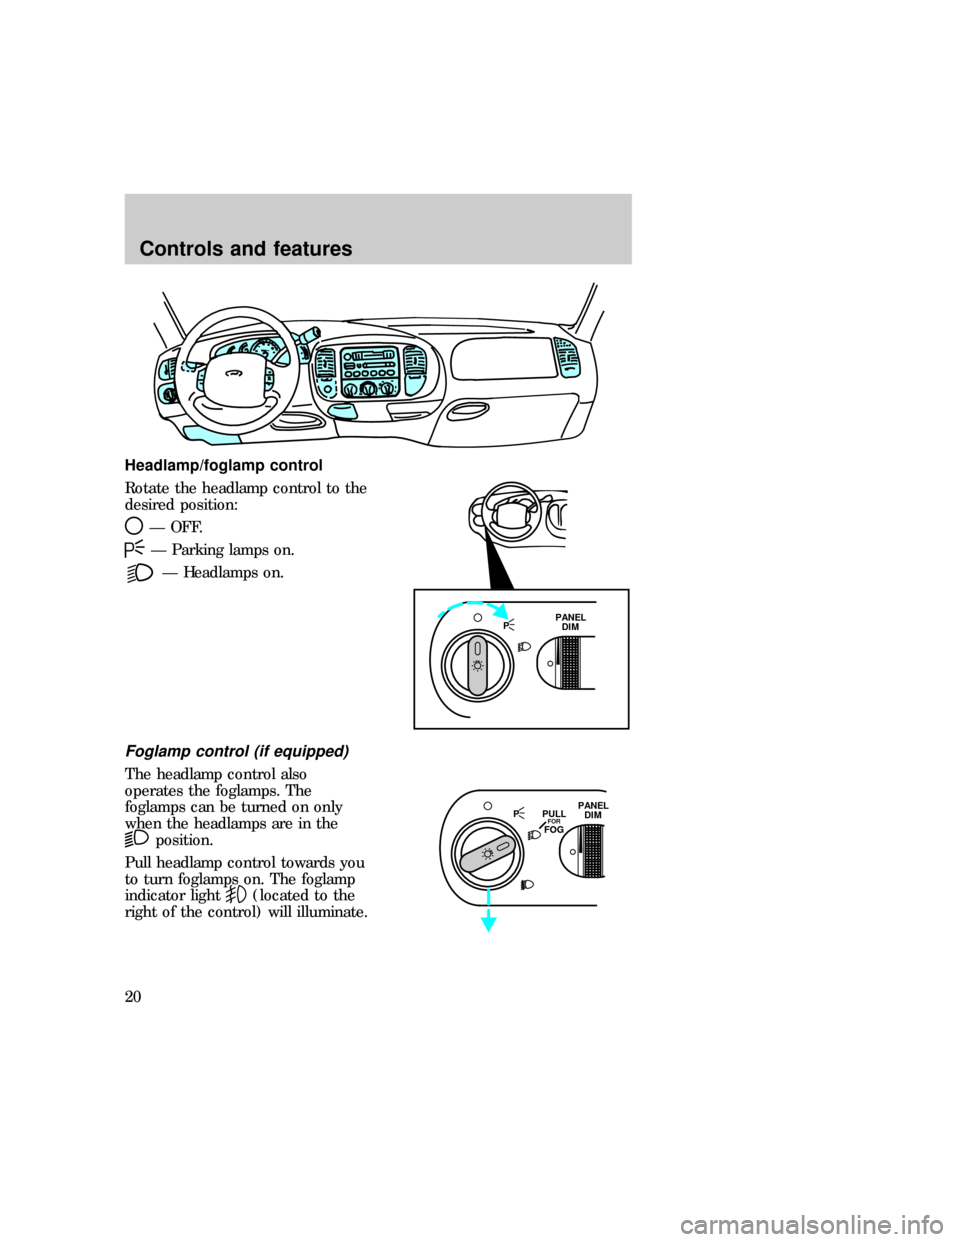
Rotate the headlamp control to the
desired position:
Ð OFF.
Ð Parking lamps on.
Ð Headlamps on.
Foglamp control (if equipped)
The headlamp control also
operates the foglamps. The
foglamps can be turned on only
when the headlamps are in the
position.
Pull headlamp control towards you
to turn foglamps on. The foglamp
indicator light
(located to the
right of the control) will illuminate.
PPANEL
DIM
PPANEL
DIM PULLFORFOG
exd_headlamp
exd_autolamp_operation
Controls and features
20
Page 46 of 224
Flash to pass
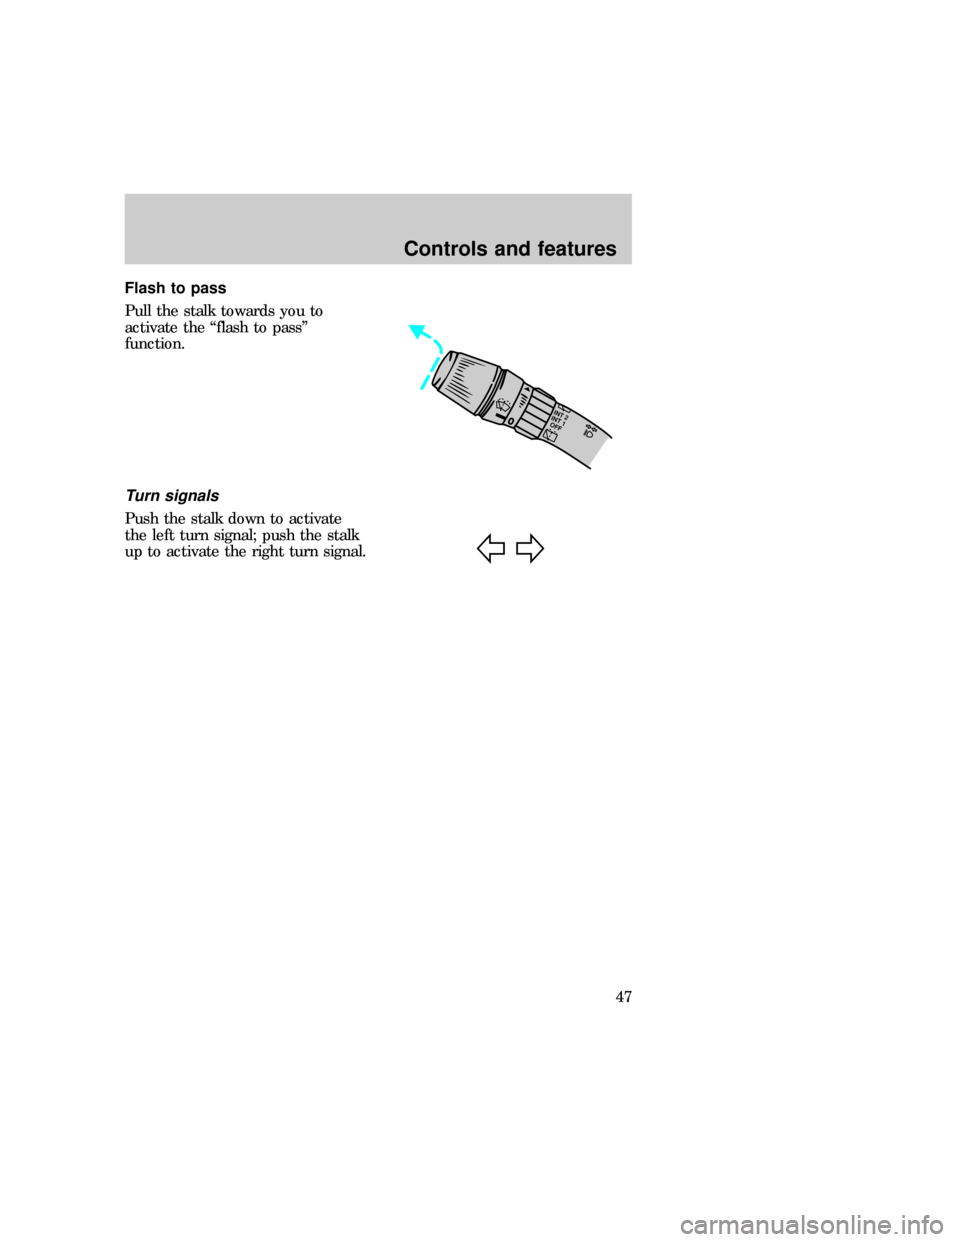
Pull the stalk towards you to
activate the ªflash to passº
function.
Turn signals
Push the stalk down to activate
the left turn signal; push the stalk
up to activate the right turn signal.
INT 2
INT 1
OFF
exd_title_overdrive
Controls and features
47
Page 48 of 224
automatically return to normalD(Overdrive) mode.
Deactivate overdrive whenever
driving conditions (i.e., city traffic,
hilly terrain, etc.) cause the
transmission to shift excessively
between
D(Overdrive) and
D(Drive) ranges. Also deactivate
D(Overdrive) when:
²driving with a heavy load
²towing a trailer up or down
steep hills
²additional engine braking is
desired
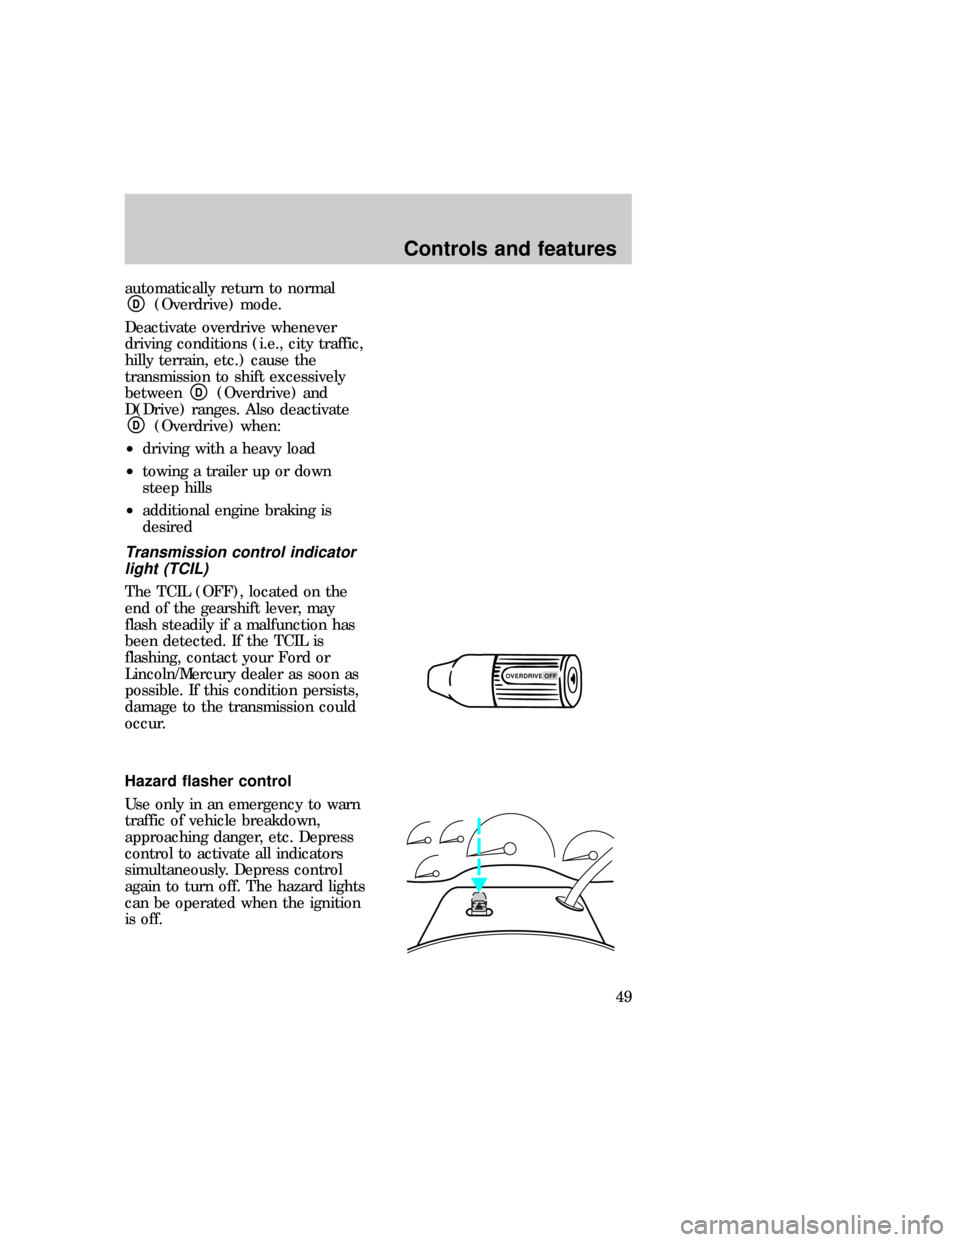
Transmission control indicator
light (TCIL)
The TCIL (OFF), located on the
end of the gearshift lever, may
flash steadily if a malfunction has
been detected. If the TCIL is
flashing, contact your Ford or
Lincoln/Mercury dealer as soon as
possible. If this condition persists,
damage to the transmission could
occur.
Hazard flasher control
Use only in an emergency to warn
traffic of vehicle breakdown,
approaching danger, etc. Depress
control to activate all indicators
simultaneously. Depress control
again to turn off. The hazard lights
can be operated when the ignition
is off.
OVERDRIVE OFFexd_hazards
exd_tilt_steering
Controls and features
49
Page 50 of 224

The front overhead console and
overhead controls provide a variety
of available features including:
²compass display
²trip computer
²overhead lamps
²storage compartment
²garage door opener stowage
²moon roof control
²auxiliary A/C controls
²power quarter window switches
The appearance of your vehicle's
overhead console will vary
according to your option package.
Compass display (if equipped)
The compass reading may be
affected when you drive near large
buildings, bridges, power lines and
powerful broadcast antenna.
Magnetic or metallic objects placed
in or on the vehicle may also affect
compass accuracy. Adjustments
may be made to the zone and
calibration of the compass.
WARMPANEL FLOOR COOL
REAR
OFF
HI
MODE E/M
VENT VENT
km TO EMPTY
exd_compass_temp_display
exd_zone_compass_adjust
Controls and features
51
Page 55 of 224
²Place Velcroyhook onto back
side of aftermarket transmitter
opposite of actuator control.
²Place transmitter into storage
compartment, control down.
²Place the provided height
adaptors onto the back of the
storage bin door as needed.
²Press the storage compartment
door to activate the transmitter.
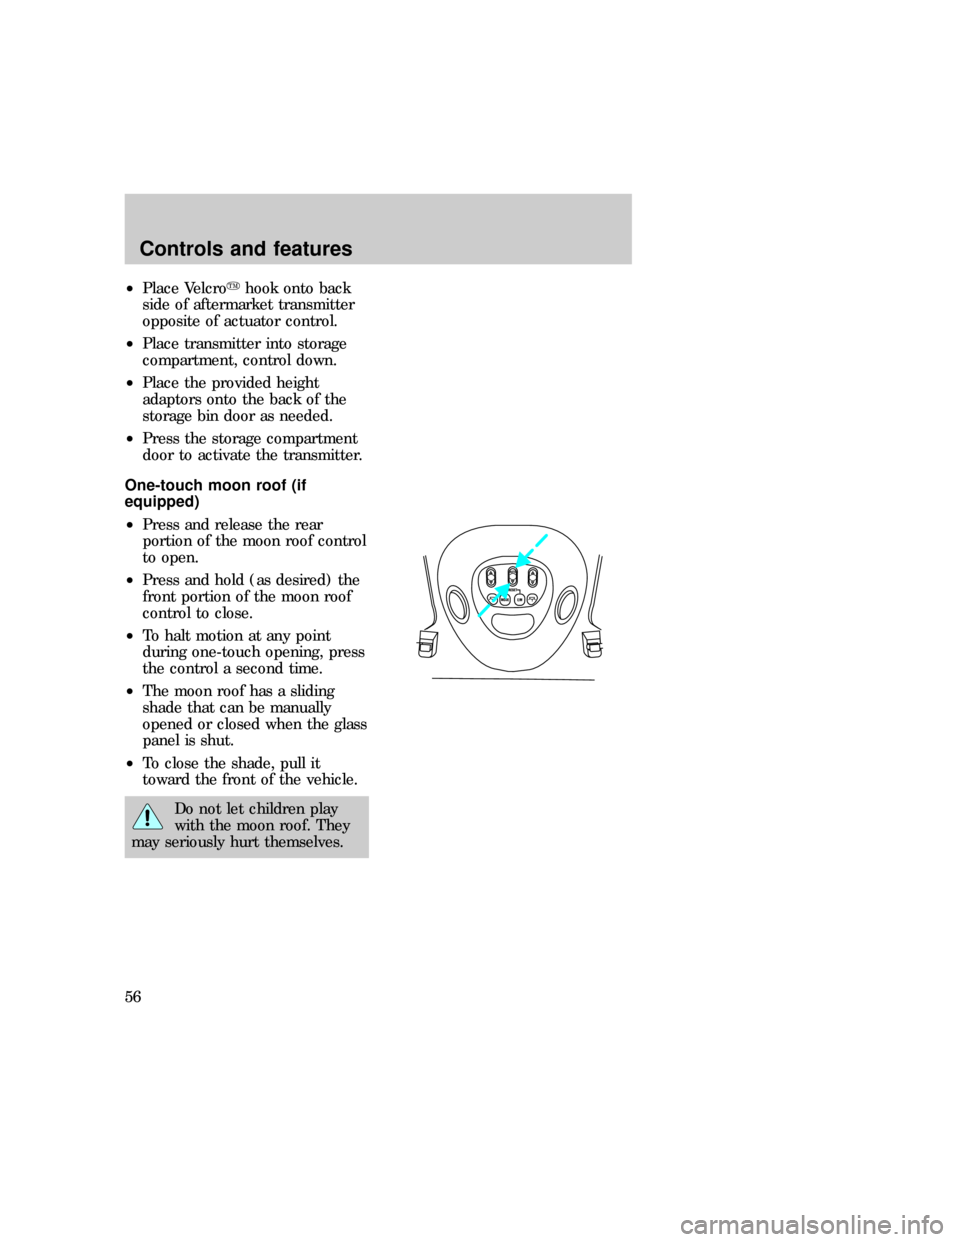
One-touch moon roof (if
equipped)
²Press and release the rear
portion of the moon roof control
to open.
²Press and hold (as desired) the
front portion of the moon roof
control to close.
²To halt motion at any point
during one-touch opening, press
the control a second time.
²The moon roof has a sliding
shade that can be manually
opened or closed when the glass
panel is shut.
²To close the shade, pull it
toward the front of the vehicle.
Do not let children play
with the moon roof. They
may seriously hurt themselves.
exd_moonroof
exd_power_quarter_window
Controls and features
56
Page 66 of 224

ANTI-THEFT SYSTEM
Passive anti-theft system
Your ignition key has a unique
imbedded transponder which
engages engine electronics and
allows the vehicle to be started.
Without the use of your special
ignition key, the vehicle will not
start.
During each vehicle start, the
coded key is read by the anti-theft
system. If the key's ID code
matches the code in the anti-theft
system, the vehicle is enabled to
start.
Your vehicle is equipped with two
electronically coded keys.
Additional spare keys can be
purchased through your dealer or
selected retailers. Be sure to
purchase coded keys with the Ford
logo to ensure proper functionality.
If both supplied keys are lost or
stolen, the vehicle and any other
keys must be reinitialized by the
dealer.
A theft indicator in the instrument
cluster provides operating status of
the anti-theft system. For more
information on this indicator and
its function, refer toWarning and
indicator lightsin the
Instrumentationchapter.
Programming spare keys
Use one of the two electronically
coded keys supplied with your
vehicle to program additional keys:
THEFT
com_anti-theft_passive.01
exd_passive_anti_theft
exd_programming_key
Controls and features
67
Page 74 of 224
Rear fold seat (if equipped)
Folding down the rear seats
Insure that no objects such as
books, purses or briefcases are on
the floor in front of the second row
seats before actuating them down.
Move front passengers seat
forward so that the second row
seat headrest clears the front seat.
For assistance, refer to the label
located on the lower position of
the opening.
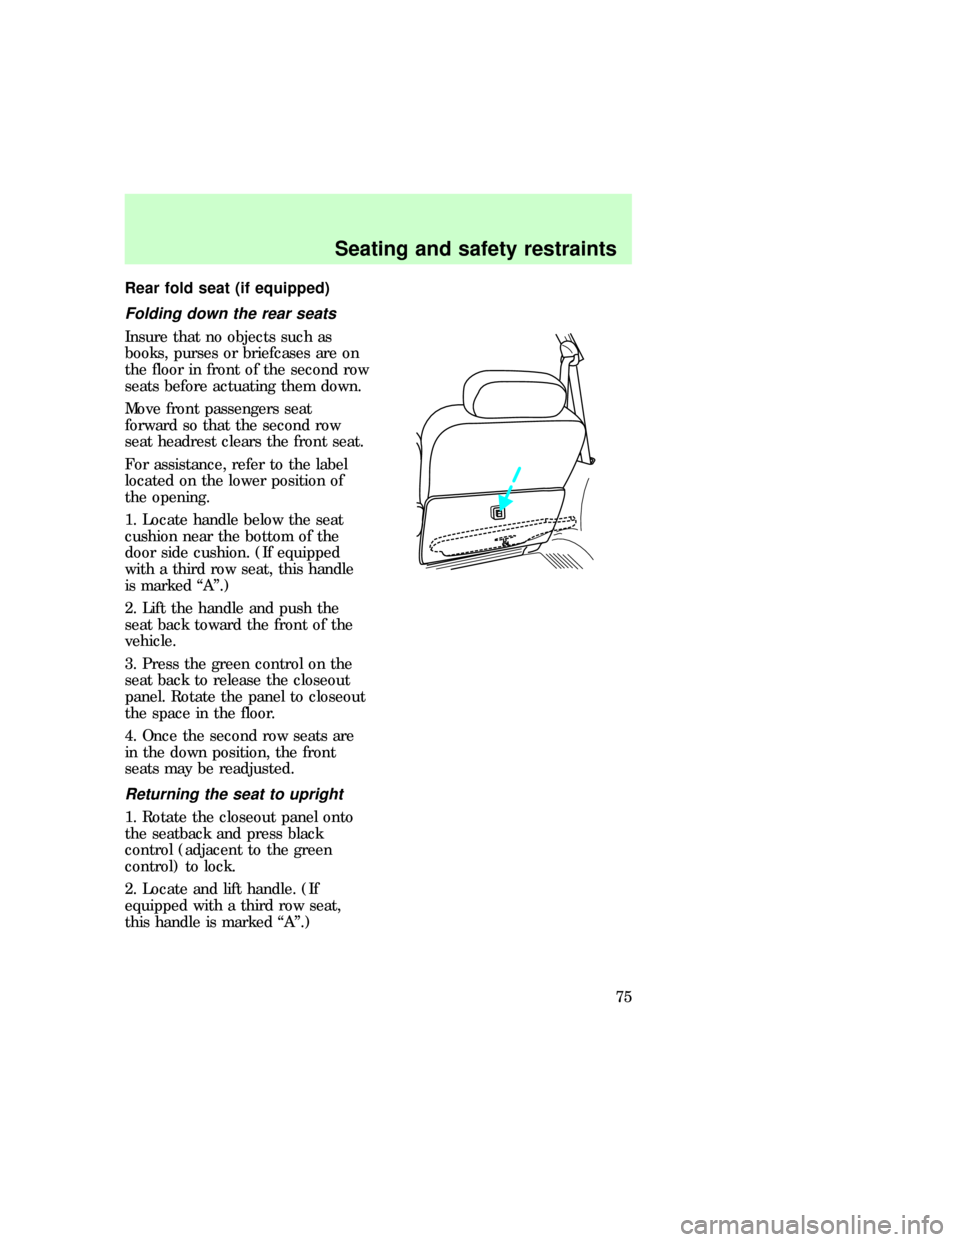
1. Locate handle below the seat
cushion near the bottom of the
door side cushion. (If equipped
with a third row seat, this handle
is marked ªAº.)
2. Lift the handle and push the
seat back toward the front of the
vehicle.
3. Press the green control on the
seat back to release the closeout
panel. Rotate the panel to closeout
the space in the floor.
4. Once the second row seats are
in the down position, the front
seats may be readjusted.
Returning the seat to upright
1. Rotate the closeout panel onto
the seatback and press black
control (adjacent to the green
control) to lock.
2. Locate and lift handle. (If
equipped with a third row seat,
this handle is marked ªAº.)
Seating and safety restraints
75