ignition FORD EXPEDITION 1998 1.G Owner's Manual
[x] Cancel search | Manufacturer: FORD, Model Year: 1998, Model line: EXPEDITION, Model: FORD EXPEDITION 1998 1.GPages: 216, PDF Size: 1.51 MB
Page 56 of 216

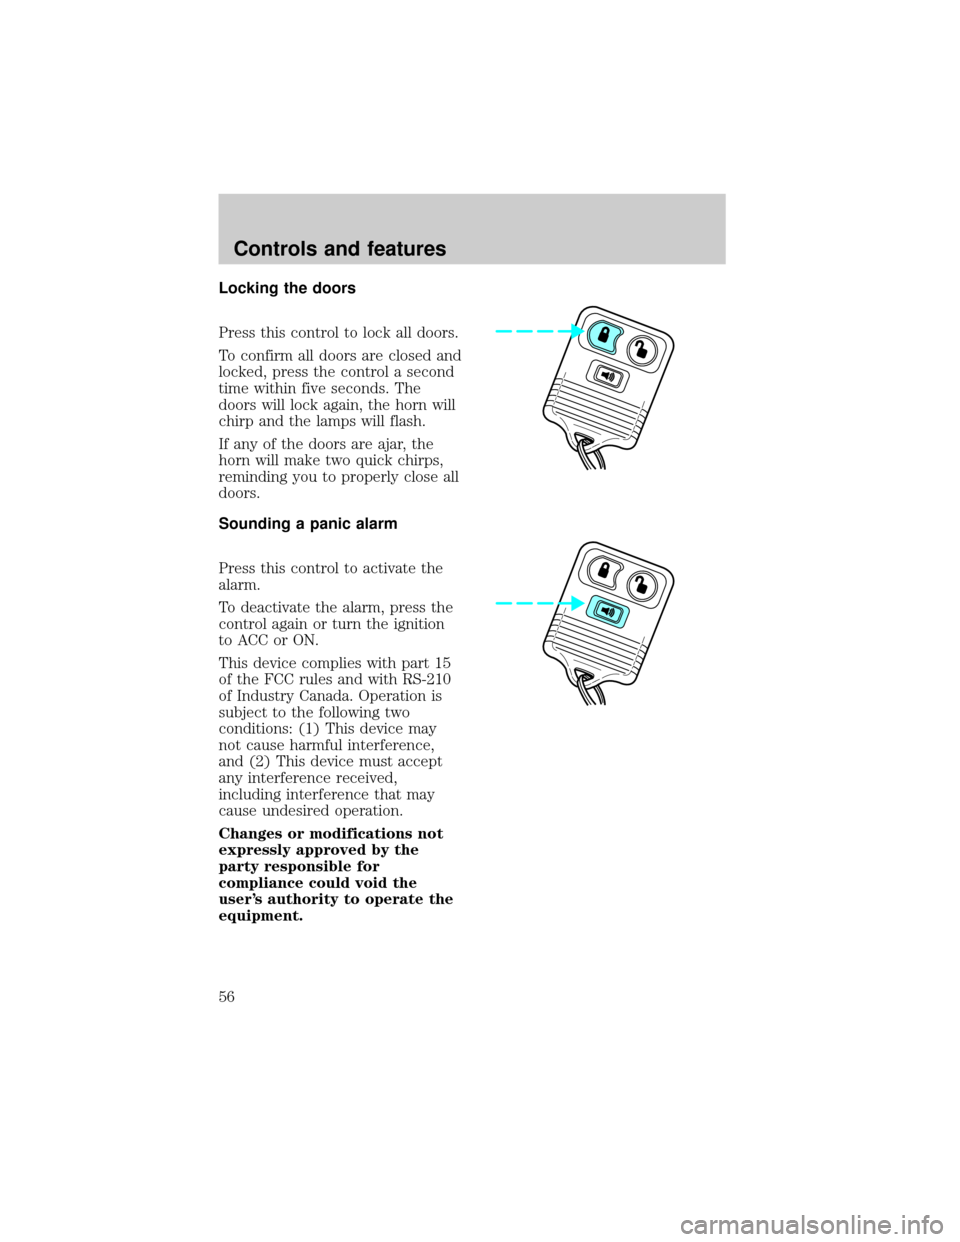
Locking the doors
Press this control to lock all doors.
To confirm all doors are closed and
locked, press the control a second
time within five seconds. The
doors will lock again, the horn will
chirp and the lamps will flash.
If any of the doors are ajar, the
horn will make two quick chirps,
reminding you to properly close all
doors.
Sounding a panic alarm
Press this control to activate the
alarm.
To deactivate the alarm, press the
control again or turn the ignition
to ACC or ON.
This device complies with part 15
of the FCC rules and with RS-210
of Industry Canada. Operation is
subject to the following two
conditions: (1) This device may
not cause harmful interference,
and (2) This device must accept
any interference received,
including interference that may
cause undesired operation.
Changes or modifications not
expressly approved by the
party responsible for
compliance could void the
user's authority to operate the
equipment.
Controls and features
56
Page 58 of 216

Replacing lost transmitters
Take all your vehicle's transmitters
to your dealer for reprogramming
if:
²a transmitter is lost or
²you want to purchase additional
transmitters (up to four may be
programmed).
To reprogram the transmitters,
place the key in the ignition and
switch from OFF to ON eight times
in rapid succession within 10
seconds. After doors lock/unlock,
press any button on all
transmitters (up to four). When
completed, switch the ignition to
OFF.
All transmitters must be
programmed at the same time.
Illuminated entry
The interior lamps and the running
board lights illuminate when the
remote entry system is used to
unlock the door(s) or sound the
personal alarm.
The system automatically turns off
after 25 seconds or when the
ignition is turned to the RUN
position. The dome lamp switch (if
equipped) mustnotbe set to the
OFF position for the illuminated
entry system to operate.
The inside lights will not turn off
if:
²they have been turned on with
the dimmer control or
Controls and features
58
Page 77 of 216

Conditions of operation
If... Then...
The driver's safety belt is not
buckled before the ignition key
is turned to ON...The safety belt warning light
illuminates for one to two minutes and
the warning chime sounds for four to
eight seconds.
The driver's safety belt is
buckled while the indicator
light is illuminated and the
warning chime is sounding...The safety belt warning light turns off.
The driver's safety belt is
buckled before the ignition key
is turned to ON...The safety belt warning light remains
off.
Safety belt maintenance
Check the safety belt systems
periodically to make sure they
work properly and are not
damaged. Check the safety belts to
make sure there are no nicks,
wears or cuts. All safety belt
assemblies, including retractors,
buckles, front seat belt buckle
assemblies (slide bar)(if
equipped), shoulder belt height
adjusters (if equipped), child
safety seat tether bracket
assemblies (if equipped), and
attaching hardware, should be
inspected after a collision. Ford
recommends that all safety belt
assemblies used in vehicles
involved in a collision be replaced.
However, if the collision was minor
and a qualified technician finds
that the belts do not show damage
and continue to operate properly,
they do not need to be replaced.
Seating and safety restraints
77
Page 83 of 216

A difficulty with the system is
indicated by one or more of the
following:
²The readiness light will either
flash or stay lit.
²The readiness light will not
illuminate immediately after
ignition is turned on.
²A series of five beeps will be
heard. The tone pattern will
repeat periodically until the
problem and light are repaired.
If any of these things happen, even
intermittently, have the SRS
serviced at your dealership or by a
qualified technician immediately.
Unless serviced, the system may
not function properly in the event
of a collision.
Disposal of air bags and air bag
equipped vehicles
For disposal of air bags or air bag
equipped vehicles, see your local
dealership or qualified technician.
Air bags MUST BE disposed of by
qualified personnel.
SAFETY RESTRAINTS FOR
CHILDREN
Important child restraint
precautions
You are required by law to use
safety restraints for children in the
U.S. and Canada. If small children
ride in your vehicle (generally
children who are four years old or
Seating and safety restraints
83
Page 92 of 216

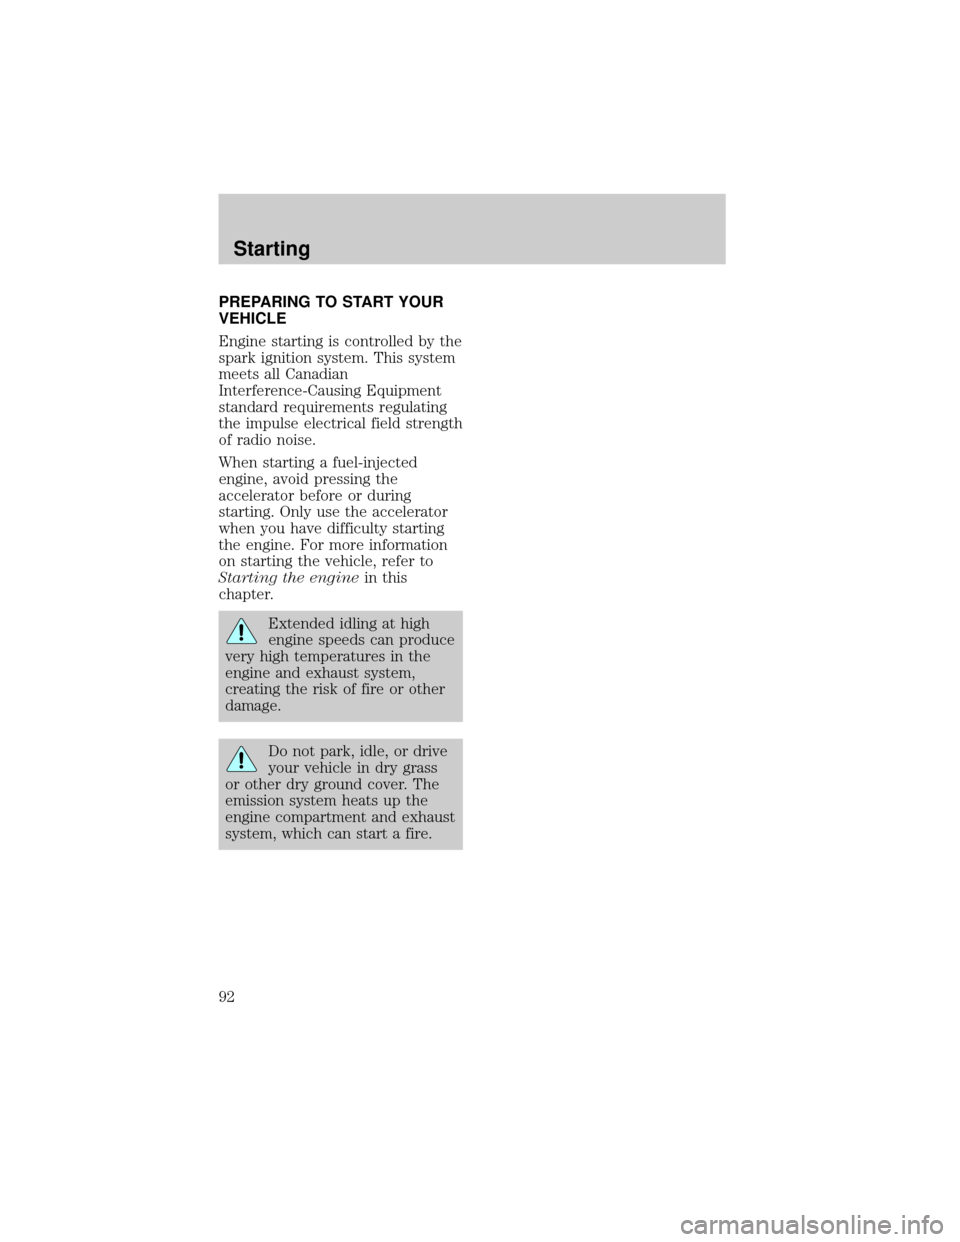
PREPARING TO START YOUR
VEHICLE
Engine starting is controlled by the
spark ignition system. This system
meets all Canadian
Interference-Causing Equipment
standard requirements regulating
the impulse electrical field strength
of radio noise.
When starting a fuel-injected
engine, avoid pressing the
accelerator before or during
starting. Only use the accelerator
when you have difficulty starting
the engine. For more information
on starting the vehicle, refer to
Starting the enginein this
chapter.
Extended idling at high
engine speeds can produce
very high temperatures in the
engine and exhaust system,
creating the risk of fire or other
damage.
Do not park, idle, or drive
your vehicle in dry grass
or other dry ground cover. The
emission system heats up the
engine compartment and exhaust
system, which can start a fire.
Starting
92
Page 100 of 216

there is sufficient space, will
enable you to avoid obstacles
and bring the vehicle to a
controlled stop.
²We recommend that you
familiarize yourself with this
braking technique. However,
avoid taking any unnecessary
risks.
Parking brake
Apply the parking brake whenever
the vehicle is parked. To set the
parking brake, press the parking
brake pedal down until the pedal
stops.
The BRAKE warning lamp in the
instrument cluster illuminates and
remains illuminated (when the
ignition is turned ON) until the
parking brake is released.
Always set the parking
brake fully and make sure
that the gearshift is securely
latched in P (Park).
BRAKE
HOOD
!
BRAKE
Driving
100
Page 102 of 216

steering assist will decrease to
improve steering feel. At lower
speeds, maneuverability will be
increased.
If the amount of effort required to
steer your vehicle changes at a
constant vehicle speed, have the
power steering system checked by
your dealer or a qualified service
technician.
AIR SUSPENSION SYSTEM
(IF EQUIPPED)
The air suspension system is
designed to improve ride, handling
and general vehicle performance
for static, on and off-road driving
conditions.
²The load leveling feature of the
air suspension automatically
keeps the vehicle at a constant
level if a load is added or
removed from the vehicle.
²The height adjustment feature
automatically controls the
vehicle height over a range of
approximately 5 cm (2 inches)
based on vehicle speed, ignition
position and selection of two or
four-wheel drive modes.
Driving
102
Page 104 of 216

TRANSMISSION OPERATION
Automatic transmission
operation
Brake-shift interlock
This vehicle is equipped with a
brake-shift interlock feature that
prevents the gearshift from being
moved from P (Park) unless the
brake pedal is depressed.
If you cannot move the gearshift
out of P (Park) with the brake
pedal depressed:
1. Apply the parking brake, turn
ignition key to LOCK, then remove
the key.
2. Insert the key and turn it to
OFF. Apply the brake pedal and
shift to N (Neutral).
3. Start the vehicle.
If it is necessary to use the above
procedure to move the gearshift, it
is possible that a fuse has blown
and the vehicle's brakelamps may
not be operating properly. Refer to
Fuses and relaysin theRoadside
emergencieschapter.
Do not drive your vehicle
until you verify that the
brakelamps are working.
If your vehicle gets stuck in mud
or snow it may be rocked out by
shifting from forward and reverse
gears in a steady pattern. Press
lightly on the accelerator in each
gear.
Driving
104
Page 105 of 216

Do not rock the vehicle for
more than a few minutes. The
transmission and tires may be
damaged or the engine may
overheat.
Always set the parking
brake fully and make sure
the gearshift is latched in P
(Park). Turn off the ignition
whenever you leave your vehicle.
Driving with a 4±speed
automatic transmission
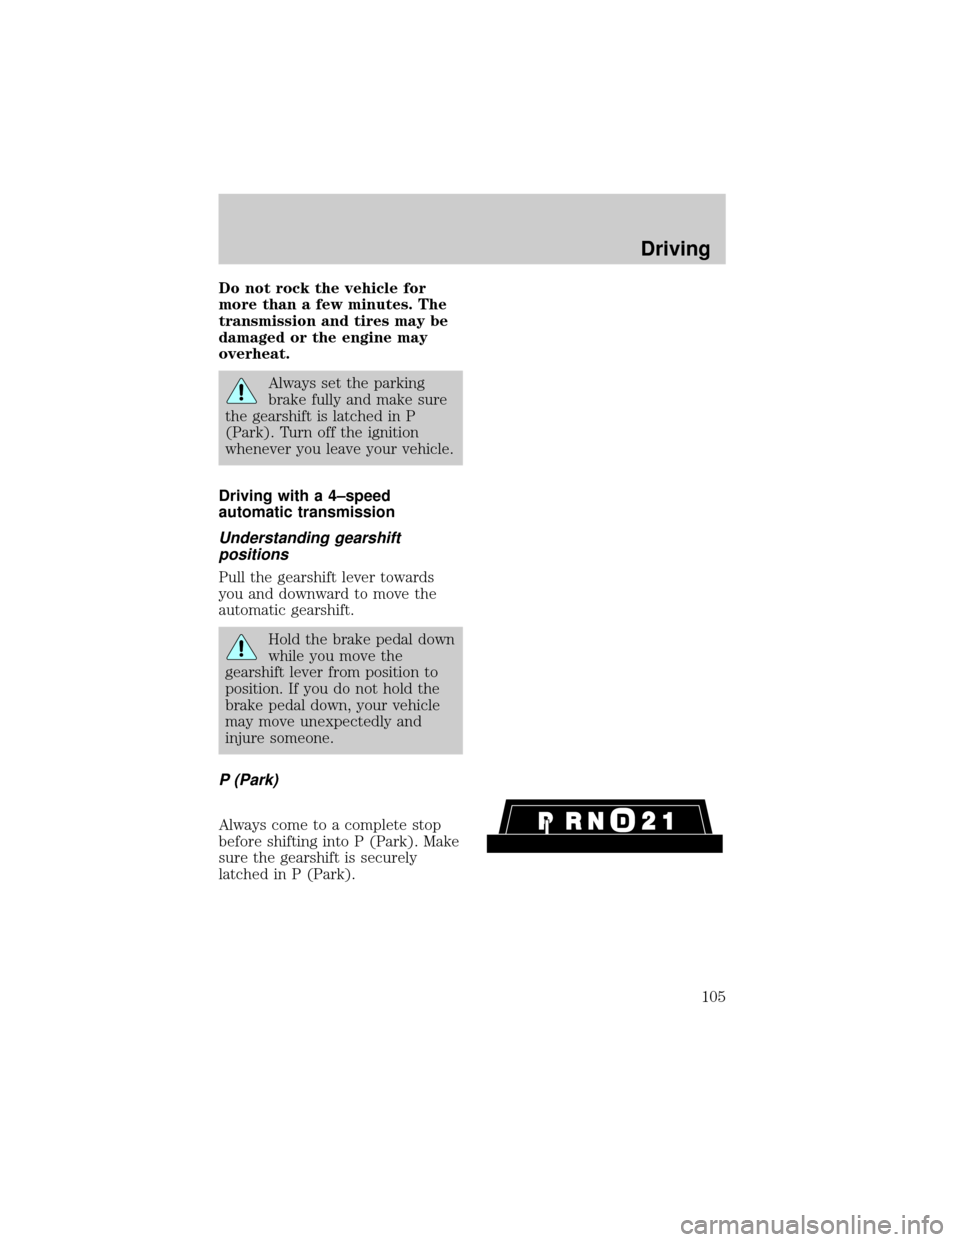
Understanding gearshift
positions
Pull the gearshift lever towards
you and downward to move the
automatic gearshift.
Hold the brake pedal down
while you move the
gearshift lever from position to
position. If you do not hold the
brake pedal down, your vehicle
may move unexpectedly and
injure someone.
P (Park)
Always come to a complete stop
before shifting into P (Park). Make
sure the gearshift is securely
latched in P (Park).
Driving
105
Page 112 of 216

accelerator slowly and avoid
spinning the wheels.
Mud and water
If you must drive through high
water, drive slowly. Traction or
brake capability may be limited.
When driving through water,
determine the depth; avoid water
higher than the bottom of the hubs
(if possible) and proceed slowly. If
the ignition system gets wet, the
vehicle may stall.
Once through water, always try the
brakes. Wet brakes do not stop the
vehicle as effectively as dry brakes.
Drying can be improved by moving
your vehicle slowly while applying
light pressure on the brake pedal.
After driving through mud, clean
off residue stuck to rotating
driveshafts and tires. Excess mud
stuck on tires and rotating
driveshafts causes an imbalance
that could damage drive
components.
If the transmission and transfer
case are submerged in water, their
fluids should be checked and
changed, if necessary.
Water intrusion into the
transmission may damage the
transmission.
If the rear axle is submerged in
water, the rear axle lubricant
should be checked and changed, if
necessary. The rear axle is filled
with a synthetic lubricant and does
not normally require a lubricant
Driving
112