ECO mode FORD EXPEDITION 1998 1.G Owners Manual
[x] Cancel search | Manufacturer: FORD, Model Year: 1998, Model line: EXPEDITION, Model: FORD EXPEDITION 1998 1.GPages: 216, PDF Size: 1.51 MB
Page 17 of 216
depending on your vehicle's option
package, but the functions are the
same.
The trip computer only works
when the ignition is in the ON
position. Trip computer features
follow:
Selectable features
English/metric display
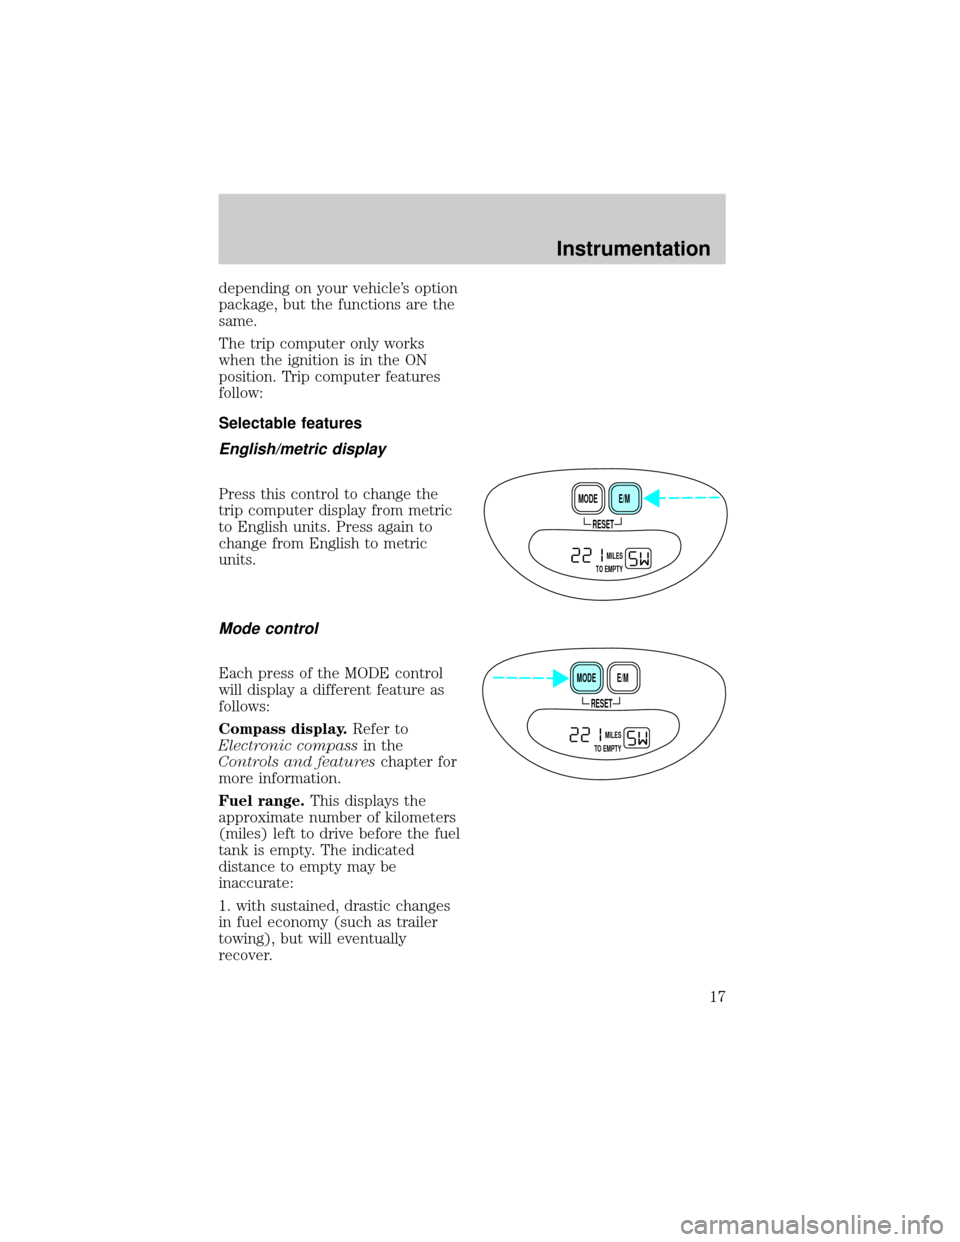
Press this control to change the
trip computer display from metric
to English units. Press again to
change from English to metric
units.
Mode control
Each press of the MODE control
will display a different feature as
follows:
Compass display.Refer to
Electronic compassin the
Controls and featureschapter for
more information.
Fuel range.This displays the
approximate number of kilometers
(miles) left to drive before the fuel
tank is empty. The indicated
distance to empty may be
inaccurate:
1. with sustained, drastic changes
in fuel economy (such as trailer
towing), but will eventually
recover.
RESET
E/M MODE
MILES
TO EMPTY
RESET
E/M MODE
MILES
TO EMPTY
Instrumentation
17
Page 18 of 216
2. if the vehicle is started while
parked on an incline.
3. if less than 30 liters (8 gallons)
of fuel is added to the fuel tank.
The fuel range function will flash
for 5 seconds when you have
approximately the following
amounts of fuel left before you run
out:
²80 km (50 miles)
²40 km (25 miles)
²16 km (10 miles)
Average fuel economy.The
display will indicate the vehicle's
average fuel economy in liters/100
km (or miles/gallon) since last
reset.
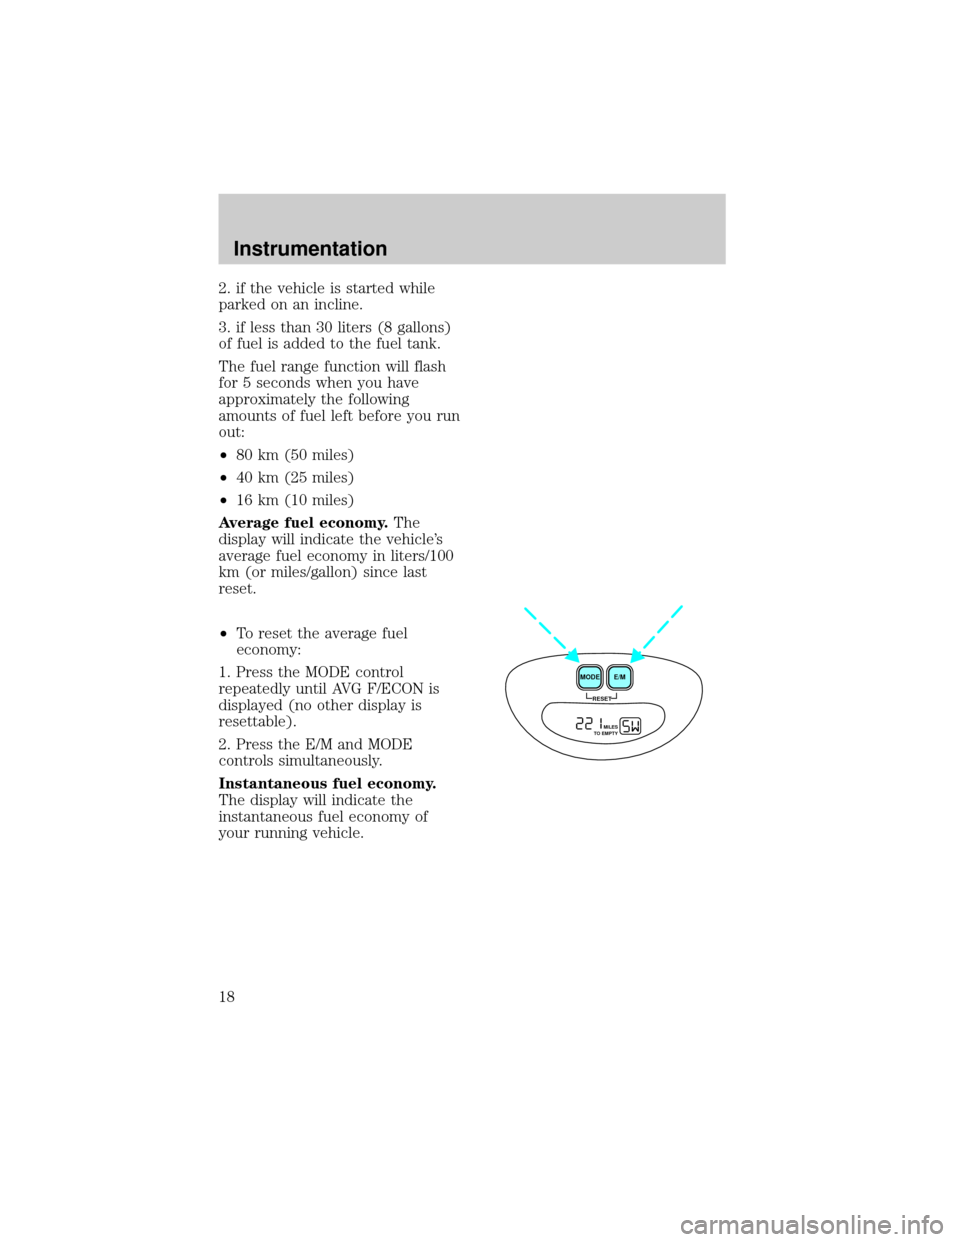
²To reset the average fuel
economy:
1. Press the MODE control
repeatedly until AVG F/ECON is
displayed (no other display is
resettable).
2. Press the E/M and MODE
controls simultaneously.
Instantaneous fuel economy.
The display will indicate the
instantaneous fuel economy of
your running vehicle.
RESET
E/M
MODE
MILES
TO EMPTY
Instrumentation
18
Page 24 of 216

Mode selector control
Controls the direction of the
airflow to the inside of the vehicle.
The air conditioning compressor
will operate in all modes except
PANEL and FLOOR. However, the
air conditioning will only function
if the outside temperature is about
10ÉC (50ÉF) or above.
Since the air conditioner removes
considerable moisture from the air
during operation, it is normal if
clear water drips on the ground
under the air conditioner drain
while the system is working and
even after you have stopped the
vehicle.
Under normal conditions, your
vehicle's climate control system
should be left in any position other
than MAX A/C or OFF when the
vehicle is parked. This allows the
vehicle to ªbreatheº through the
outside air inlet duct.
²MAX A/C-Uses recirculated air
to cool the vehicle. MAX A/C is
noisier than A/C but more
economical and will cool the
inside of the vehicle faster.
Airflow will be from the
instrument panel registers. This
mode can also be used to
prevent undesirable odors from
entering the vehicle.
²A/C-Uses outside air to cool the
OFFPANEL
A/CFLOOR
DEFFLR
& DEFMAX
A/C
PANEL &
FLOOR
Controls and features
24
Page 25 of 216

vehicle. It is quieter than MAX
A/C but not as economical.
Airflow will be from the
instrument panel registers.
²PANEL-Distributes outside air
through the instrument panel
registers. However, the air will
not be cooled below the outside
temperature because the air
conditioning does not operate in
this mode.
²OFF-Outside air is shut out and
the fan will not operate. For
short periods of time only, use
this mode to prevent
undesirable odors from entering
the vehicle.
²PANEL & FLOOR-Distributes
outside air through the
instrument panel registers and
the floor ducts. Heating and air
conditioning capabilities are
provided in this mode. For
added customer comfort, when
the temperature control knob is
anywhere in between the full
hot and full cold positions, the
air distributed through the floor
ducts will be slightly warmer
than the air sent to the
instrument panel registers.
²FLOOR-Allows for maximum
heating by distributing outside
air through the floor ducts.
However, the air will not be
cooled below the outside
temperature because the air
conditioning does not operate in
this mode.
Controls and features
25
Page 44 of 216
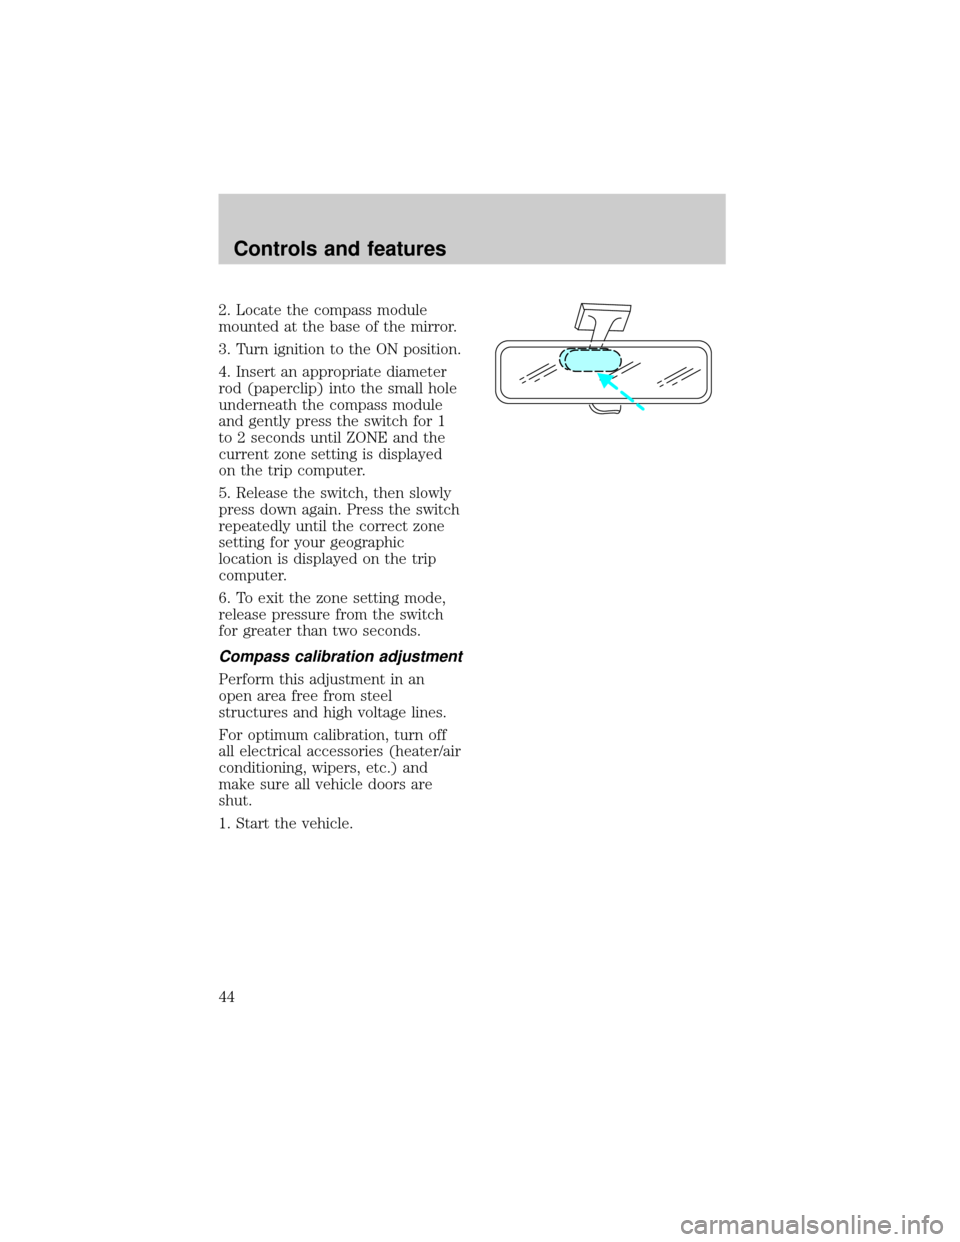
2. Locate the compass module
mounted at the base of the mirror.
3. Turn ignition to the ON position.
4. Insert an appropriate diameter
rod (paperclip) into the small hole
underneath the compass module
and gently press the switch for 1
to 2 seconds until ZONE and the
current zone setting is displayed
on the trip computer.
5. Release the switch, then slowly
press down again. Press the switch
repeatedly until the correct zone
setting for your geographic
location is displayed on the trip
computer.
6. To exit the zone setting mode,
release pressure from the switch
for greater than two seconds.
Compass calibration adjustment
Perform this adjustment in an
open area free from steel
structures and high voltage lines.
For optimum calibration, turn off
all electrical accessories (heater/air
conditioning, wipers, etc.) and
make sure all vehicle doors are
shut.
1. Start the vehicle.
Controls and features
44
Page 45 of 216
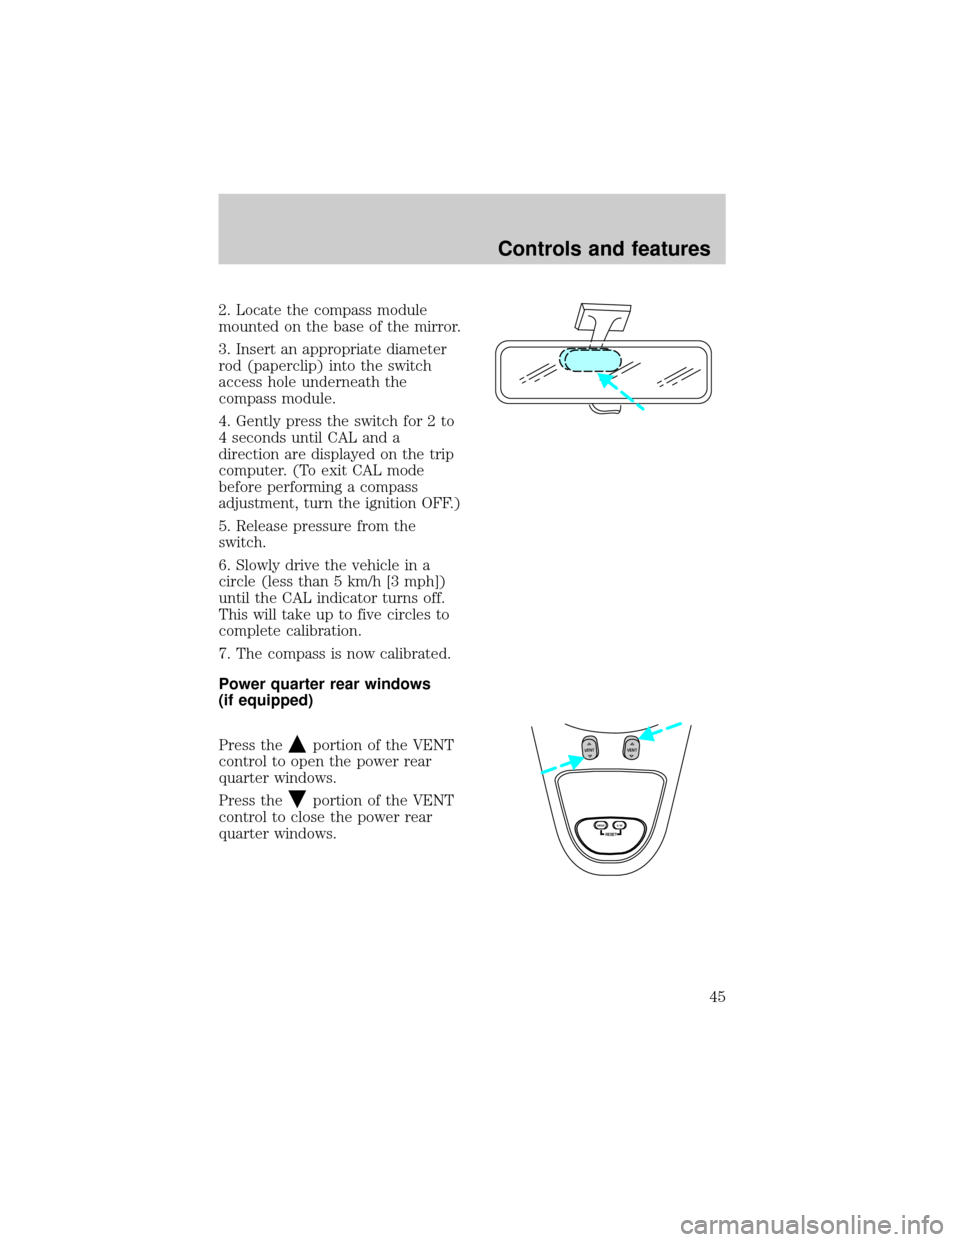
2. Locate the compass module
mounted on the base of the mirror.
3. Insert an appropriate diameter
rod (paperclip) into the switch
access hole underneath the
compass module.
4. Gently press the switch for 2 to
4 seconds until CAL and a
direction are displayed on the trip
computer. (To exit CAL mode
before performing a compass
adjustment, turn the ignition OFF.)
5. Release pressure from the
switch.
6. Slowly drive the vehicle in a
circle (less than 5 km/h [3 mph])
until the CAL indicator turns off.
This will take up to five circles to
complete calibration.
7. The compass is now calibrated.
Power quarter rear windows
(if equipped)
Press the
portion of the VENT
control to open the power rear
quarter windows.
Press the
portion of the VENT
control to close the power rear
quarter windows.
RESET
VENTVENT
MODE E/M
Controls and features
45
Page 86 of 216
edge of the seat cushion. You may
wish to discuss the special needs
of your child with your
pediatrician.
SAFETY SEATS FOR CHILDREN
Child and infant or child safety
seats
Use a safety seat that is
recommended for the size and
weight of the child. Carefully
follow all of the manufacturer's
instructions with the safety seat
you put in your vehicle. If you do
not install and use the safety seat
properly, the child may be injured
in a sudden stop or collision.
When installing a child safety seat:
²Use the correct safety belt
buckle for that seating position.
²Make sure the tongue is
securely fastened in the buckle.
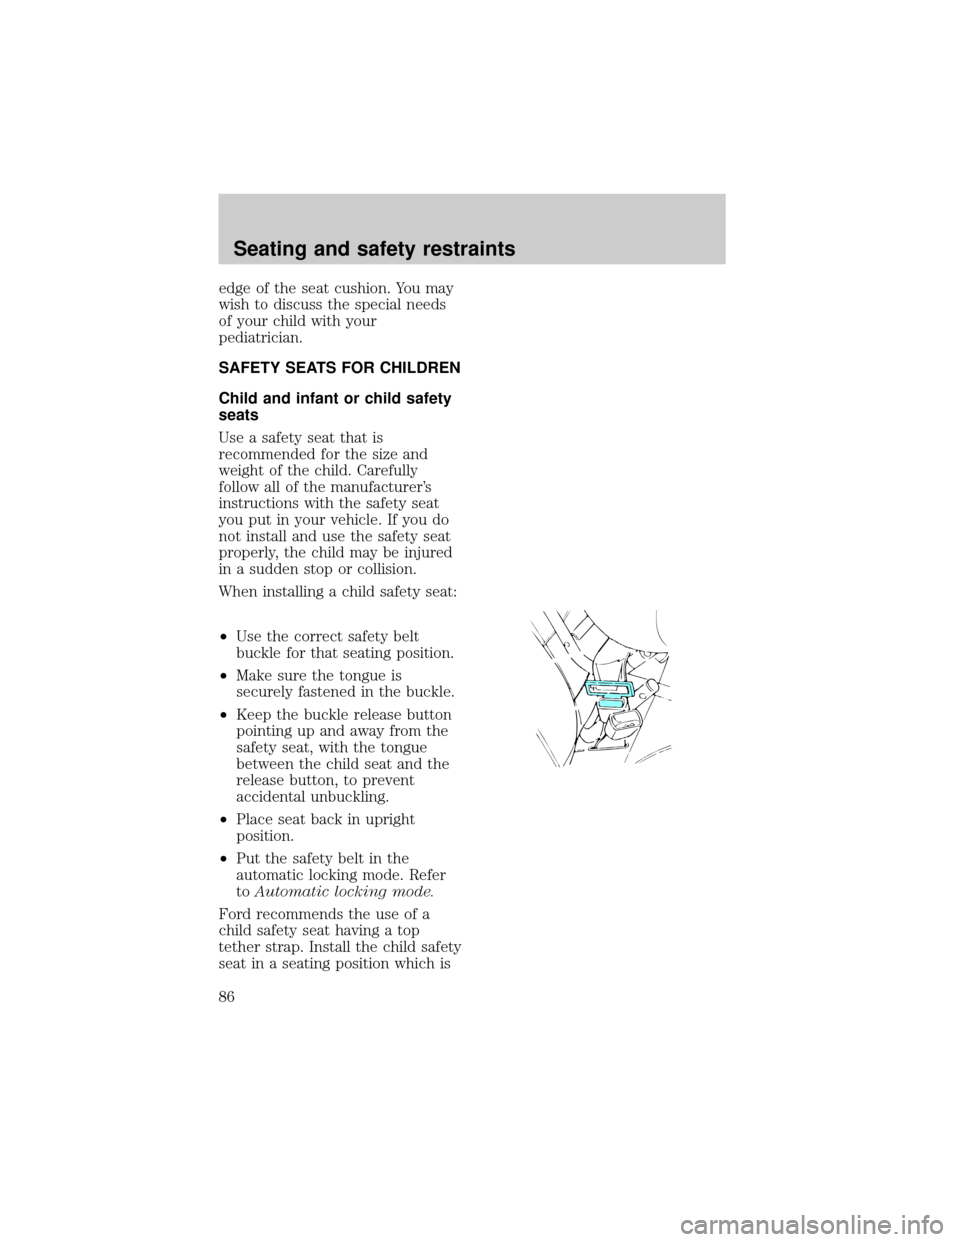
²Keep the buckle release button
pointing up and away from the
safety seat, with the tongue
between the child seat and the
release button, to prevent
accidental unbuckling.
²Place seat back in upright
position.
²Put the safety belt in the
automatic locking mode. Refer
toAutomatic locking mode.
Ford recommends the use of a
child safety seat having a top
tether strap. Install the child safety
seat in a seating position which is
Seating and safety restraints
86
Page 107 of 216
more engine braking than
(Overdrive) and is useful when:
²driving with a heavy load
²towing a trailer up or down
steep hills
²additional engine downhill
braking is desired. If towing a
trailer, refer toDriving while
you towin theTowing a trailer
chapter.
To return to
(Overdrive) mode,
press the transmission control
switch. The TCIL (the word OFF)
will no longer be illuminated.
Each time the vehicle is started,
the transmission will automatically
return to normal overdrive mode.
Every time the vehicle is shut off
and restarted, you must press the
transmission control switch to
cancel overdrive operation if
driving in overdrive is not desired.
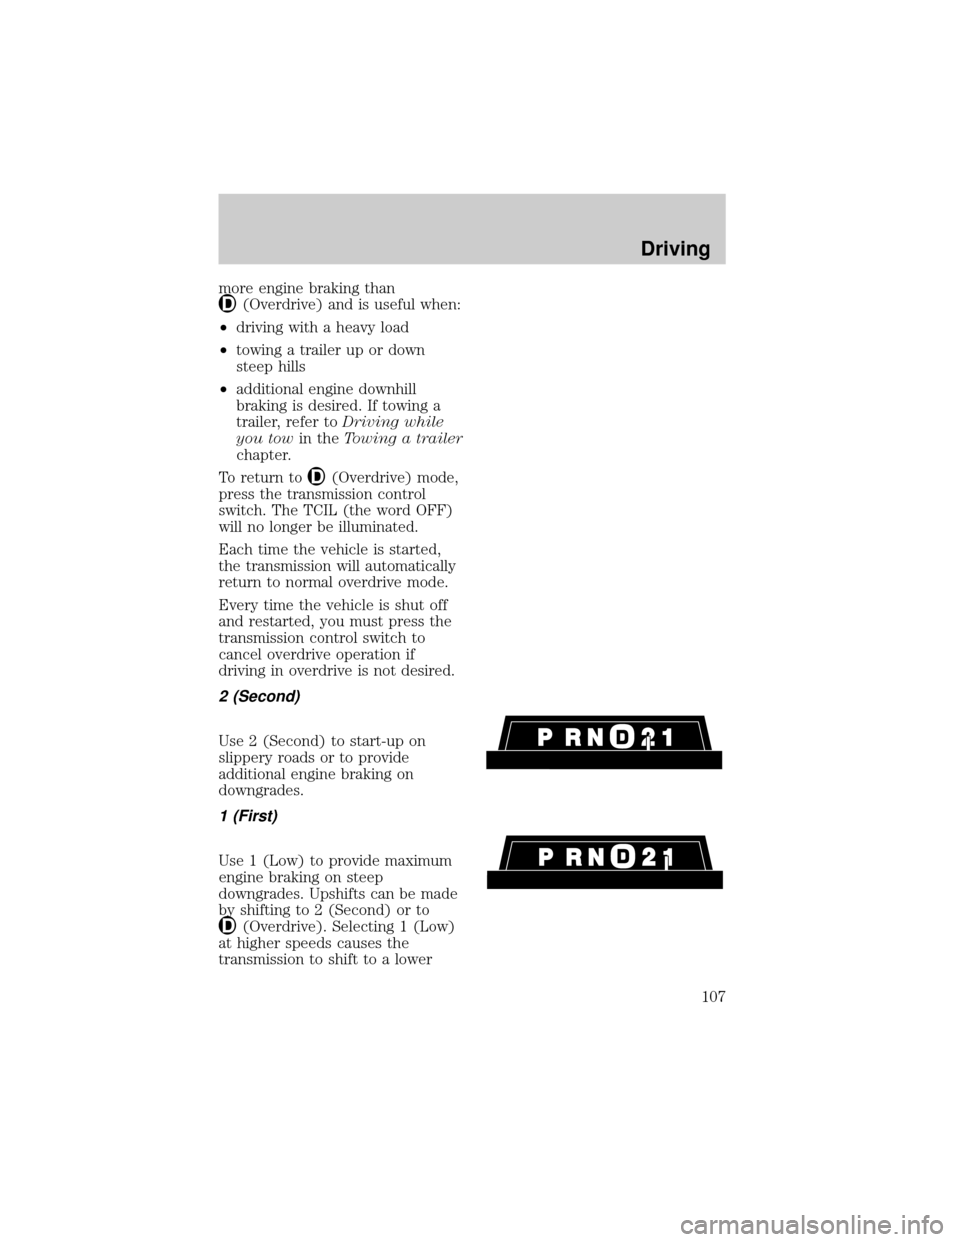
2 (Second)
Use 2 (Second) to start-up on
slippery roads or to provide
additional engine braking on
downgrades.
1 (First)
Use 1 (Low) to provide maximum
engine braking on steep
downgrades. Upshifts can be made
by shifting to 2 (Second) or to
(Overdrive). Selecting 1 (Low)
at higher speeds causes the
transmission to shift to a lower
Driving
107