rear FORD EXPEDITION 2001 1.G Owner's Manual
[x] Cancel search | Manufacturer: FORD, Model Year: 2001, Model line: EXPEDITION, Model: FORD EXPEDITION 2001 1.GPages: 280, PDF Size: 1.79 MB
Page 83 of 280
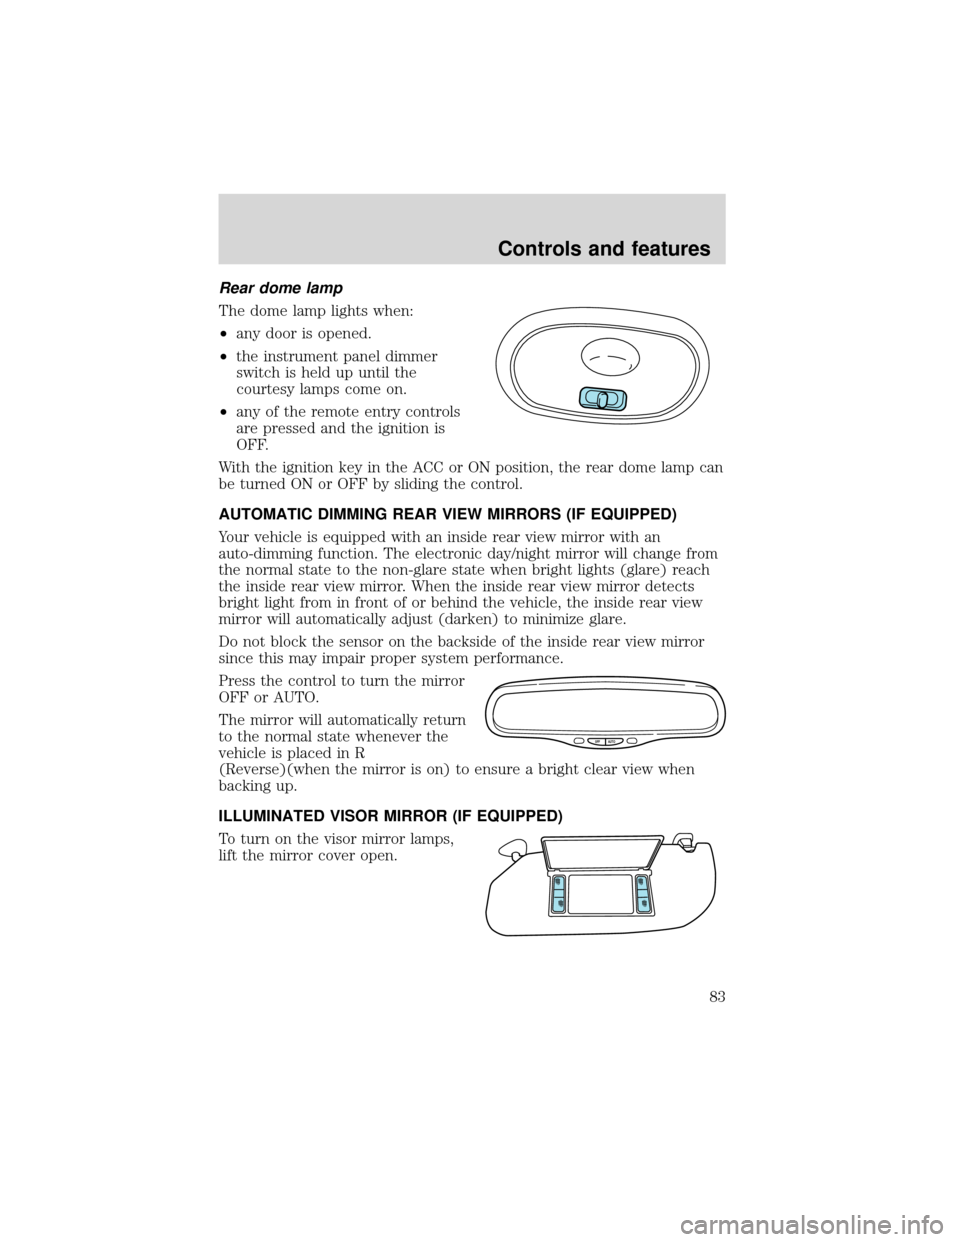
Rear dome lamp
The dome lamp lights when:
•any door is opened.
•the instrument panel dimmer
switch is held up until the
courtesy lamps come on.
•any of the remote entry controls
are pressed and the ignition is
OFF.
With the ignition key in the ACC or ON position, the rear dome lamp can
be turned ON or OFF by sliding the control.
AUTOMATIC DIMMING REAR VIEW MIRRORS (IF EQUIPPED)
Your vehicle is equipped with an inside rear view mirror with an
auto-dimming function. The electronic day/night mirror will change from
the normal state to the non-glare state when bright lights (glare) reach
the inside rear view mirror. When the inside rear view mirror detects
bright light from in front of or behind the vehicle, the inside rear view
mirror will automatically adjust (darken) to minimize glare.
Do not block the sensor on the backside of the inside rear view mirror
since this may impair proper system performance.
Press the control to turn the mirror
OFF or AUTO.
The mirror will automatically return
to the normal state whenever the
vehicle is placed in R
(Reverse)(when the mirror is on) to ensure a bright clear view when
backing up.
ILLUMINATED VISOR MIRROR (IF EQUIPPED)
To turn on the visor mirror lamps,
lift the mirror cover open.
OFF AUTO
Controls and features
83
Page 89 of 280
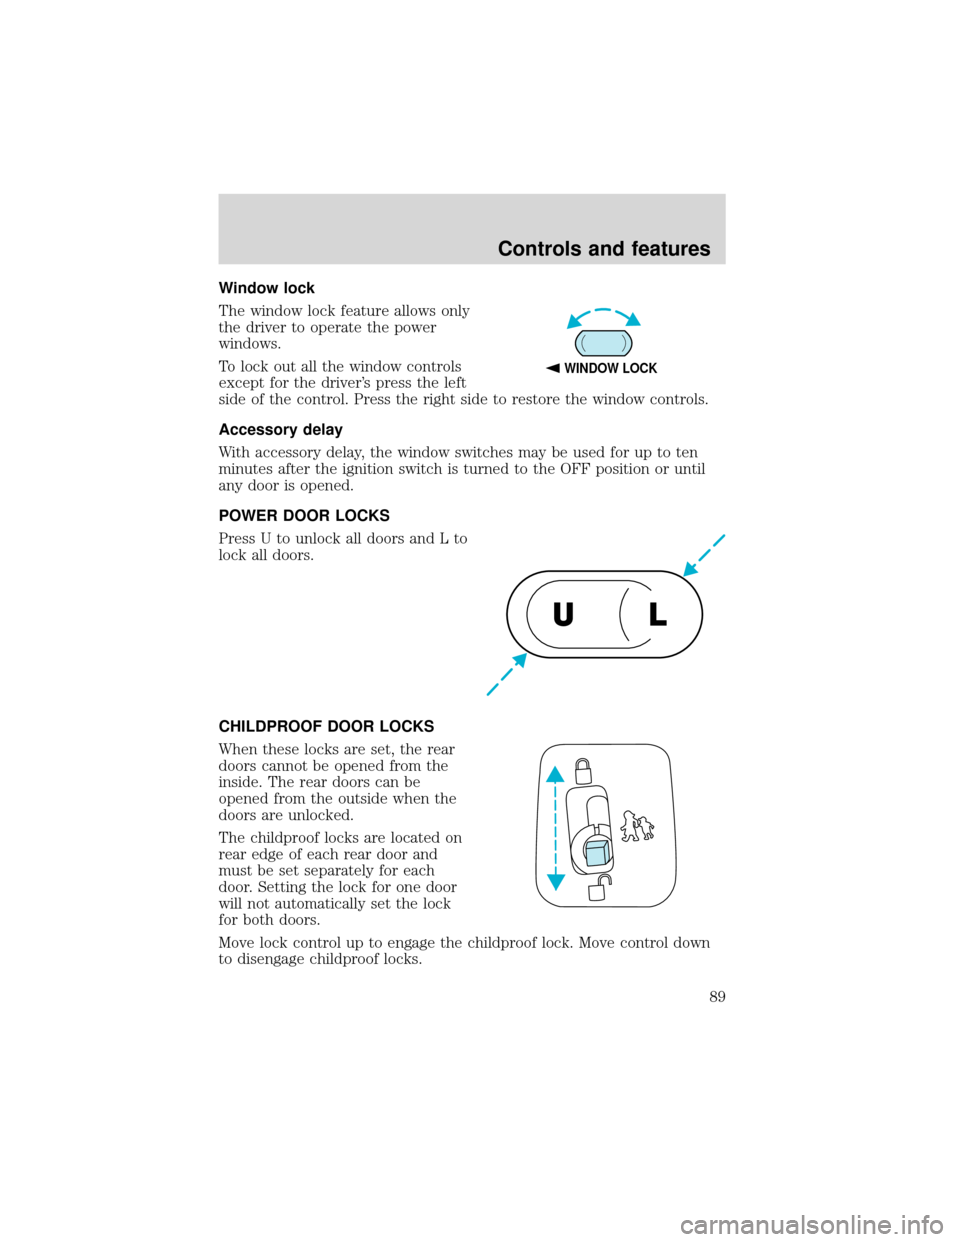
Window lock
The window lock feature allows only
the driver to operate the power
windows.
To lock out all the window controls
except for the driver’s press the left
side of the control. Press the right side to restore the window controls.
Accessory delay
With accessory delay, the window switches may be used for up to ten
minutes after the ignition switch is turned to the OFF position or until
any door is opened.
POWER DOOR LOCKS
Press U to unlock all doors and L to
lock all doors.
CHILDPROOF DOOR LOCKS
When these locks are set, the rear
doors cannot be opened from the
inside. The rear doors can be
opened from the outside when the
doors are unlocked.
The childproof locks are located on
rear edge of each rear door and
must be set separately for each
door. Setting the lock for one door
will not automatically set the lock
for both doors.
Move lock control up to engage the childproof lock. Move control down
to disengage childproof locks.
WINDOW LOCK
UL
Controls and features
89
Page 90 of 280
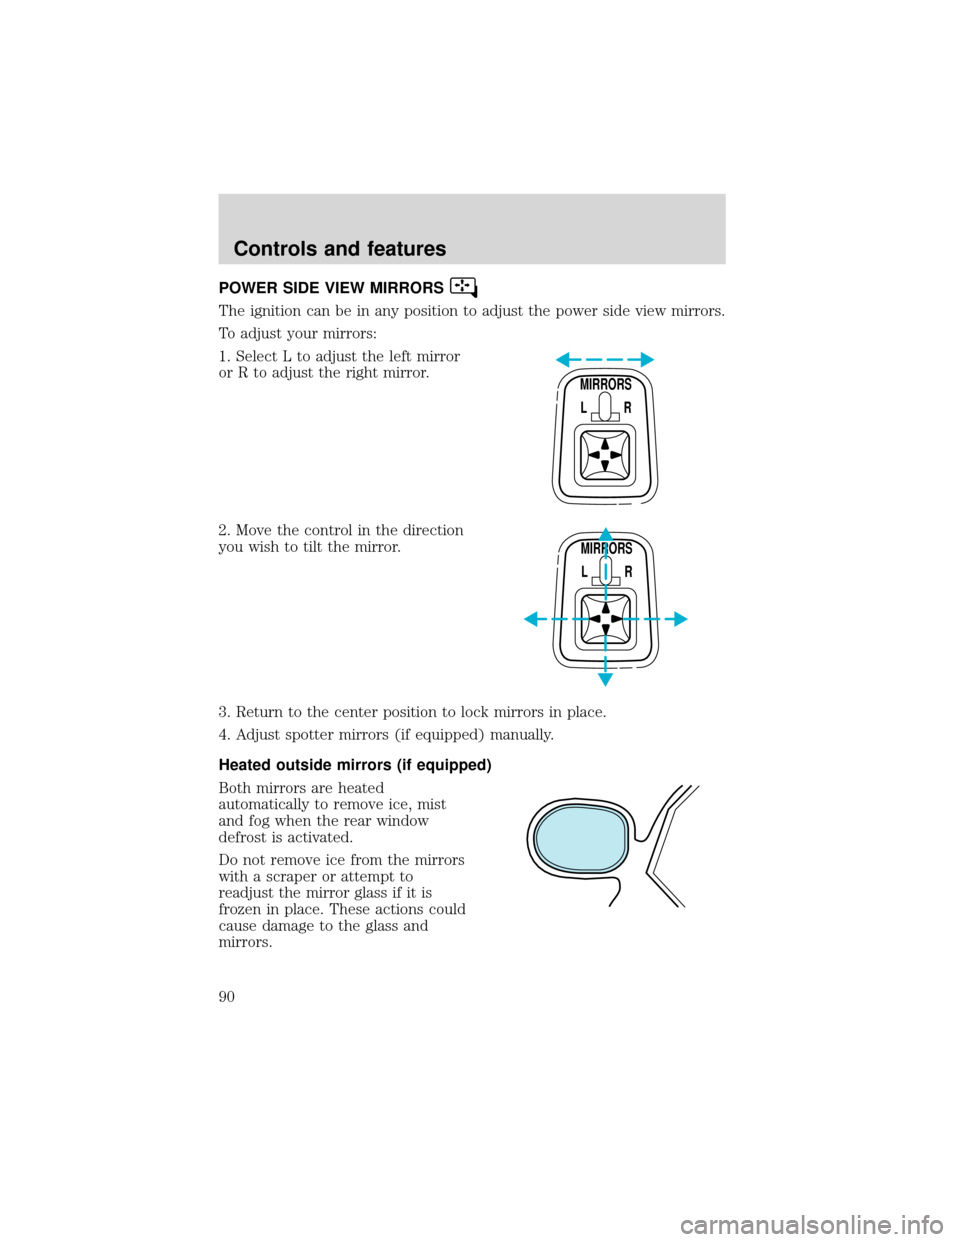
POWER SIDE VIEW MIRRORS
The ignition can be in any position to adjust the power side view mirrors.
To adjust your mirrors:
1. Select L to adjust the left mirror
or R to adjust the right mirror.
2. Move the control in the direction
you wish to tilt the mirror.
3. Return to the center position to lock mirrors in place.
4. Adjust spotter mirrors (if equipped) manually.
Heated outside mirrors (if equipped)
Both mirrors are heated
automatically to remove ice, mist
and fog when the rear window
defrost is activated.
Do not remove ice from the mirrors
with a scraper or attempt to
readjust the mirror glass if it is
frozen in place. These actions could
cause damage to the glass and
mirrors.
MIRRORS
L R
MIRRORS
L R
Controls and features
90
Page 91 of 280
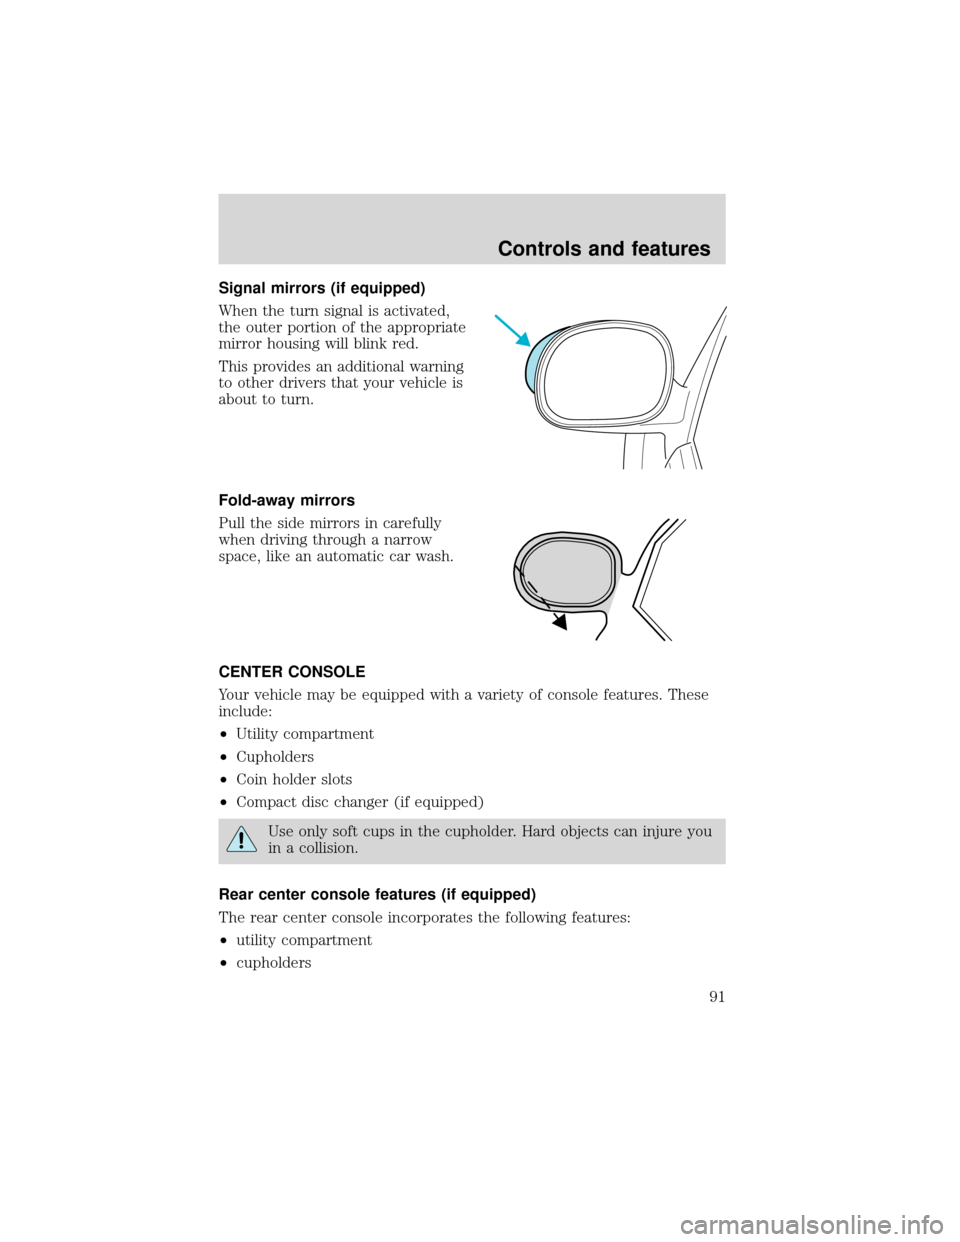
Signal mirrors (if equipped)
When the turn signal is activated,
the outer portion of the appropriate
mirror housing will blink red.
This provides an additional warning
to other drivers that your vehicle is
about to turn.
Fold-away mirrors
Pull the side mirrors in carefully
when driving through a narrow
space, like an automatic car wash.
CENTER CONSOLE
Your vehicle may be equipped with a variety of console features. These
include:
•Utility compartment
•Cupholders
•Coin holder slots
•Compact disc changer (if equipped)
Use only soft cups in the cupholder. Hard objects can injure you
in a collision.
Rear center console features (if equipped)
The rear center console incorporates the following features:
•utility compartment
•cupholders
Controls and features
91
Page 92 of 280
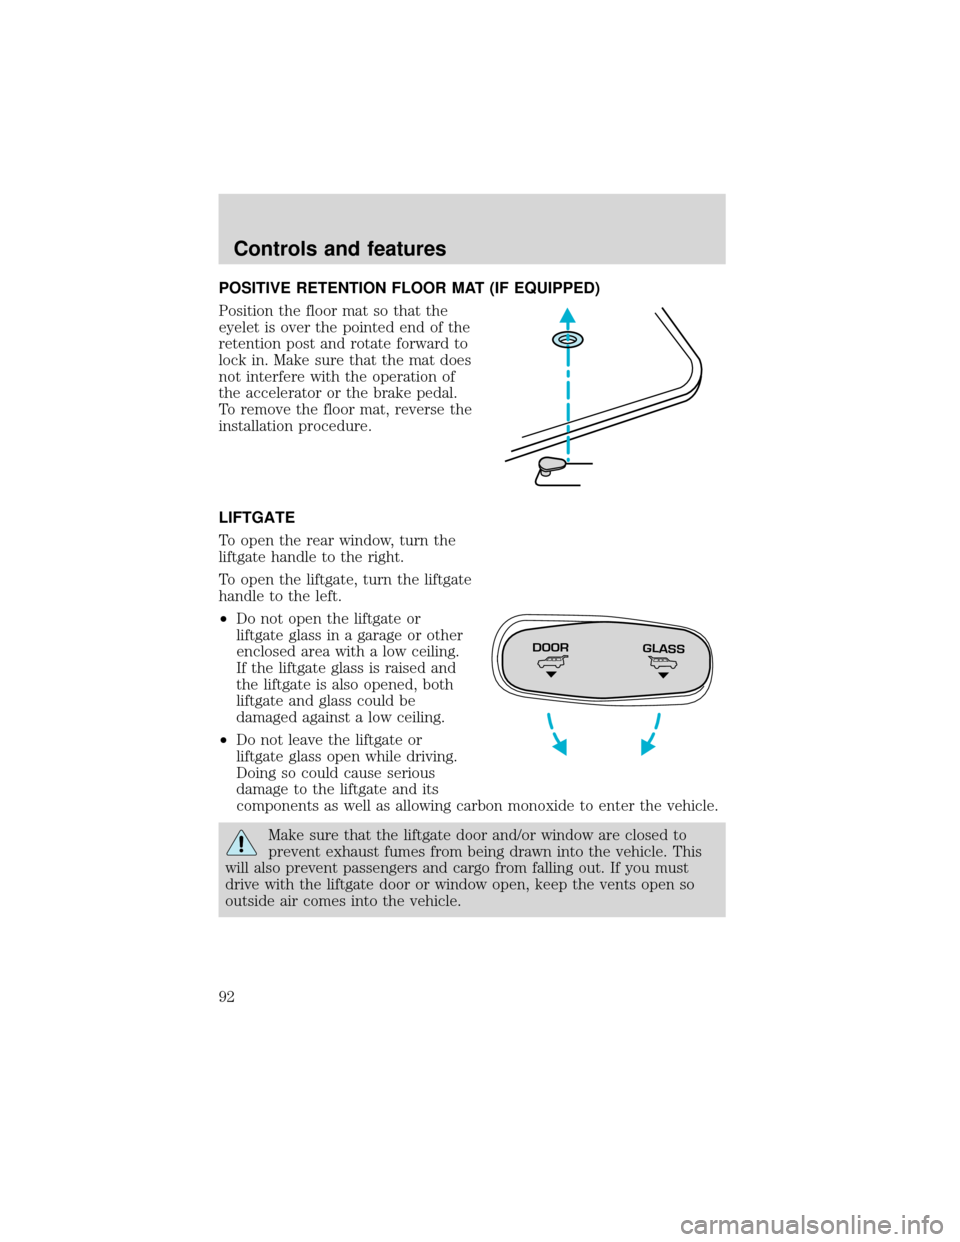
POSITIVE RETENTION FLOOR MAT (IF EQUIPPED)
Position the floor mat so that the
eyelet is over the pointed end of the
retention post and rotate forward to
lock in. Make sure that the mat does
not interfere with the operation of
the accelerator or the brake pedal.
To remove the floor mat, reverse the
installation procedure.
LIFTGATE
To open the rear window, turn the
liftgate handle to the right.
To open the liftgate, turn the liftgate
handle to the left.
•Do not open the liftgate or
liftgate glass in a garage or other
enclosed area with a low ceiling.
If the liftgate glass is raised and
the liftgate is also opened, both
liftgate and glass could be
damaged against a low ceiling.
•Do not leave the liftgate or
liftgate glass open while driving.
Doing so could cause serious
damage to the liftgate and its
components as well as allowing carbon monoxide to enter the vehicle.
Make sure that the liftgate door and/or window are closed to
prevent exhaust fumes from being drawn into the vehicle. This
will also prevent passengers and cargo from falling out. If you must
drive with the liftgate door or window open, keep the vents open so
outside air comes into the vehicle.
DOORGLASS
Controls and features
92
Page 104 of 280
SEATING
Adjustable head restraints (if equipped)
Your vehicle’s seats may be equipped with head restraints which are
vertically adjustable. The purpose of these head restraints is to help limit
head motion in the event of a rear collision. To properly adjust your head
restraints, lift the head restraint so that it is located directly behind your
head or as close to that position as possible. Refer to the following to
raise and lower the head restraints.
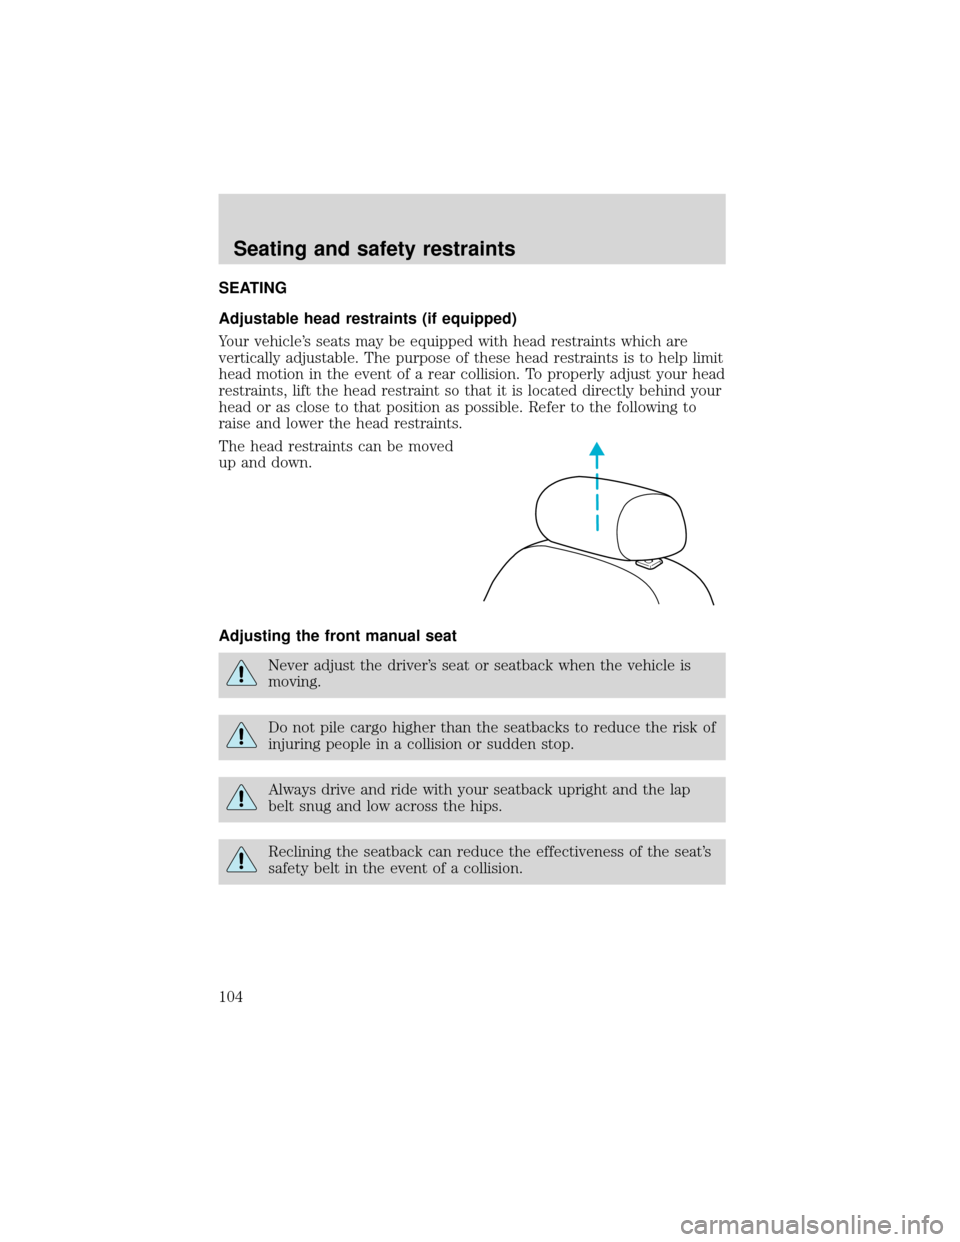
The head restraints can be moved
up and down.
Adjusting the front manual seat
Never adjust the driver’s seat or seatback when the vehicle is
moving.
Do not pile cargo higher than the seatbacks to reduce the risk of
injuring people in a collision or sudden stop.
Always drive and ride with your seatback upright and the lap
belt snug and low across the hips.
Reclining the seatback can reduce the effectiveness of the seat’s
safety belt in the event of a collision.
Seating and safety restraints
104
Page 106 of 280
Using the armrest (if equipped)
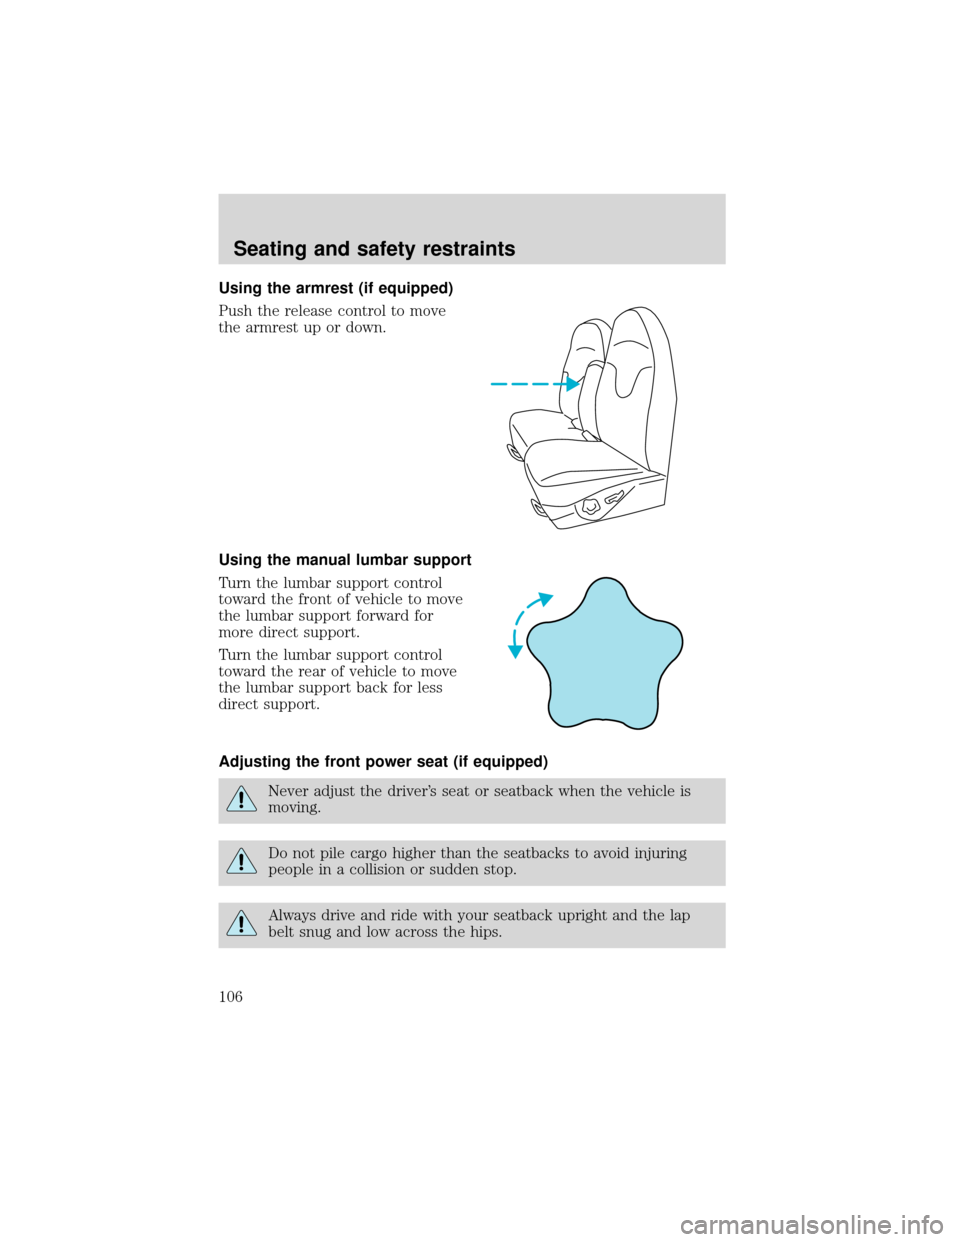
Push the release control to move
the armrest up or down.
Using the manual lumbar support
Turn the lumbar support control
toward the front of vehicle to move
the lumbar support forward for
more direct support.
Turn the lumbar support control
toward the rear of vehicle to move
the lumbar support back for less
direct support.
Adjusting the front power seat (if equipped)
Never adjust the driver’s seat or seatback when the vehicle is
moving.
Do not pile cargo higher than the seatbacks to avoid injuring
people in a collision or sudden stop.
Always drive and ride with your seatback upright and the lap
belt snug and low across the hips.
Seating and safety restraints
106
Page 107 of 280
Reclining the seatback can reduce the effectiveness of the seat’s
safety belt in the event of a collision.
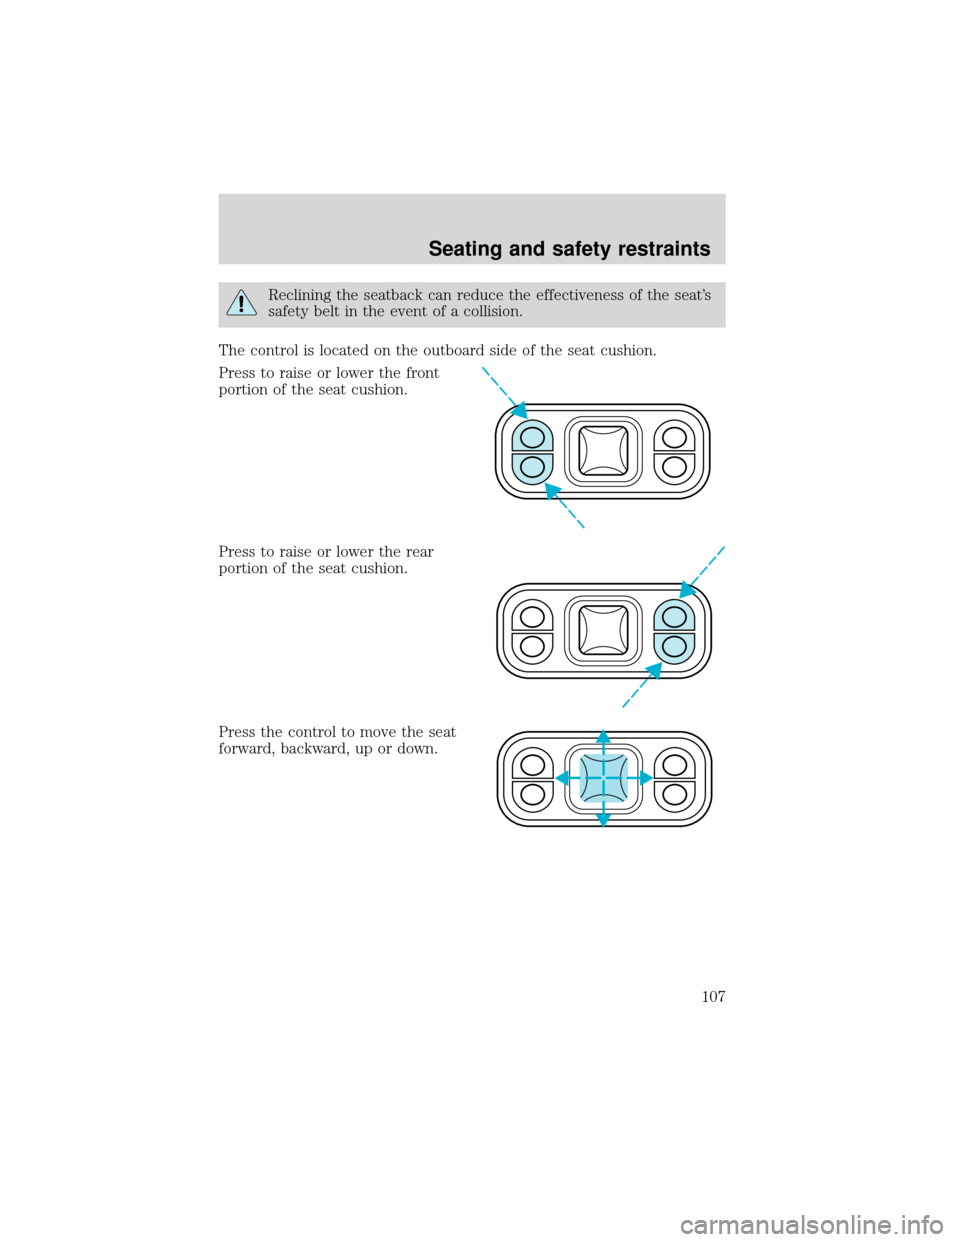
The control is located on the outboard side of the seat cushion.
Press to raise or lower the front
portion of the seat cushion.
Press to raise or lower the rear
portion of the seat cushion.
Press the control to move the seat
forward, backward, up or down.
Seating and safety restraints
107
Page 108 of 280
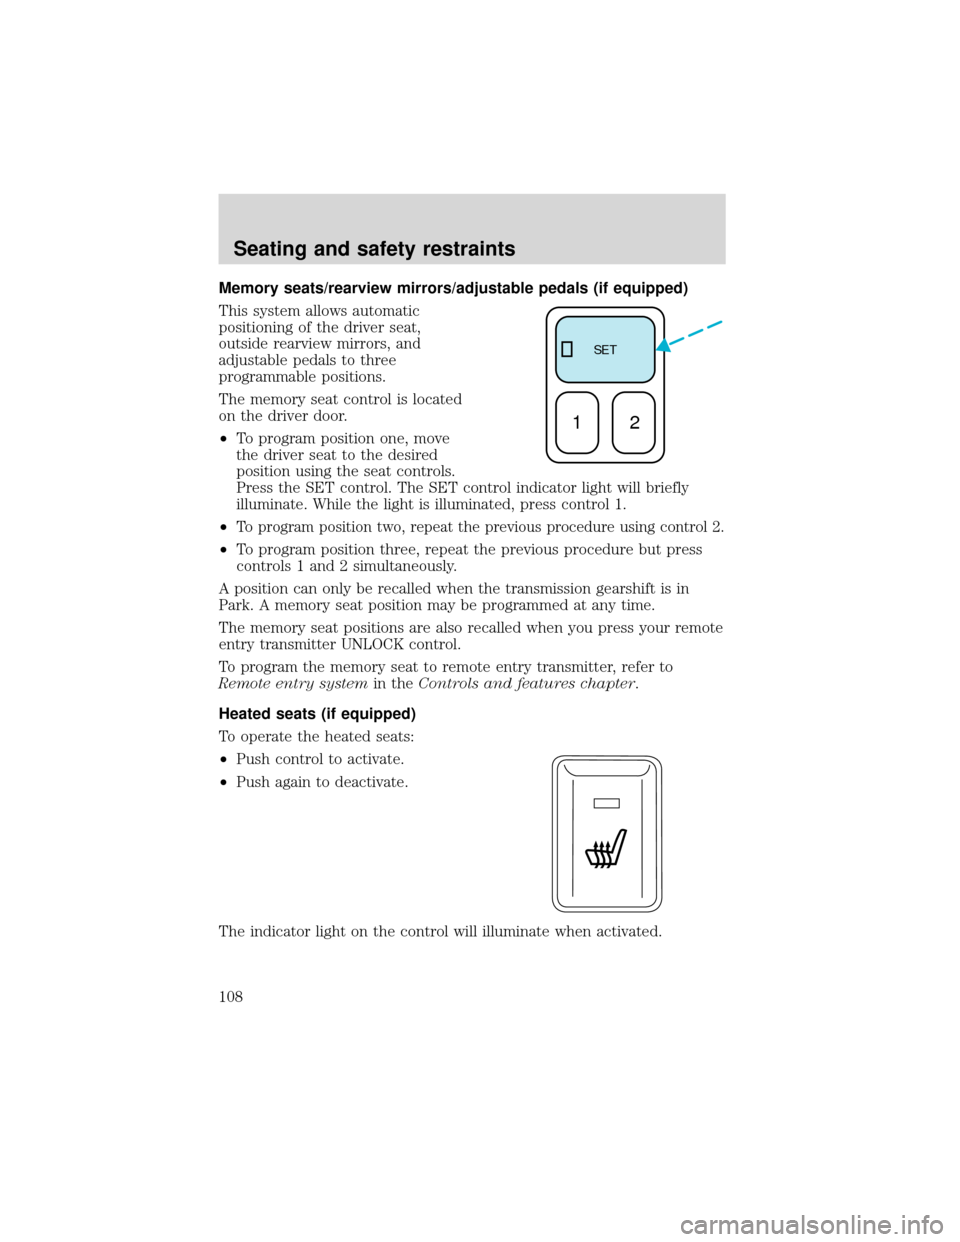
Memory seats/rearview mirrors/adjustable pedals (if equipped)
This system allows automatic
positioning of the driver seat,
outside rearview mirrors, and
adjustable pedals to three
programmable positions.
The memory seat control is located
on the driver door.
•To program position one, move
the driver seat to the desired
position using the seat controls.
Press the SET control. The SET control indicator light will briefly
illuminate. While the light is illuminated, press control 1.
•
To program position two, repeat the previous procedure using control 2.
•To program position three, repeat the previous procedure but press
controls 1 and 2 simultaneously.
A position can only be recalled when the transmission gearshift is in
Park. A memory seat position may be programmed at any time.
The memory seat positions are also recalled when you press your remote
entry transmitter UNLOCK control.
To program the memory seat to remote entry transmitter, refer to
Remote entry systemin theControls and features chapter.
Heated seats (if equipped)
To operate the heated seats:
•Push control to activate.
•Push again to deactivate.
The indicator light on the control will illuminate when activated.
SE T
12
Seating and safety restraints
108
Page 109 of 280
REAR SEATS
Adjustable head restraints
Your vehicle’s seats may be equipped with head restraints which are
vertically adjustable. The purpose of these head restraints is to help limit
head motion in the event of a rear collision. To properly adjust your head
restraints, lift the head restraint so that it is located directly behind your
head or as close to that position as possible. Refer to the following to
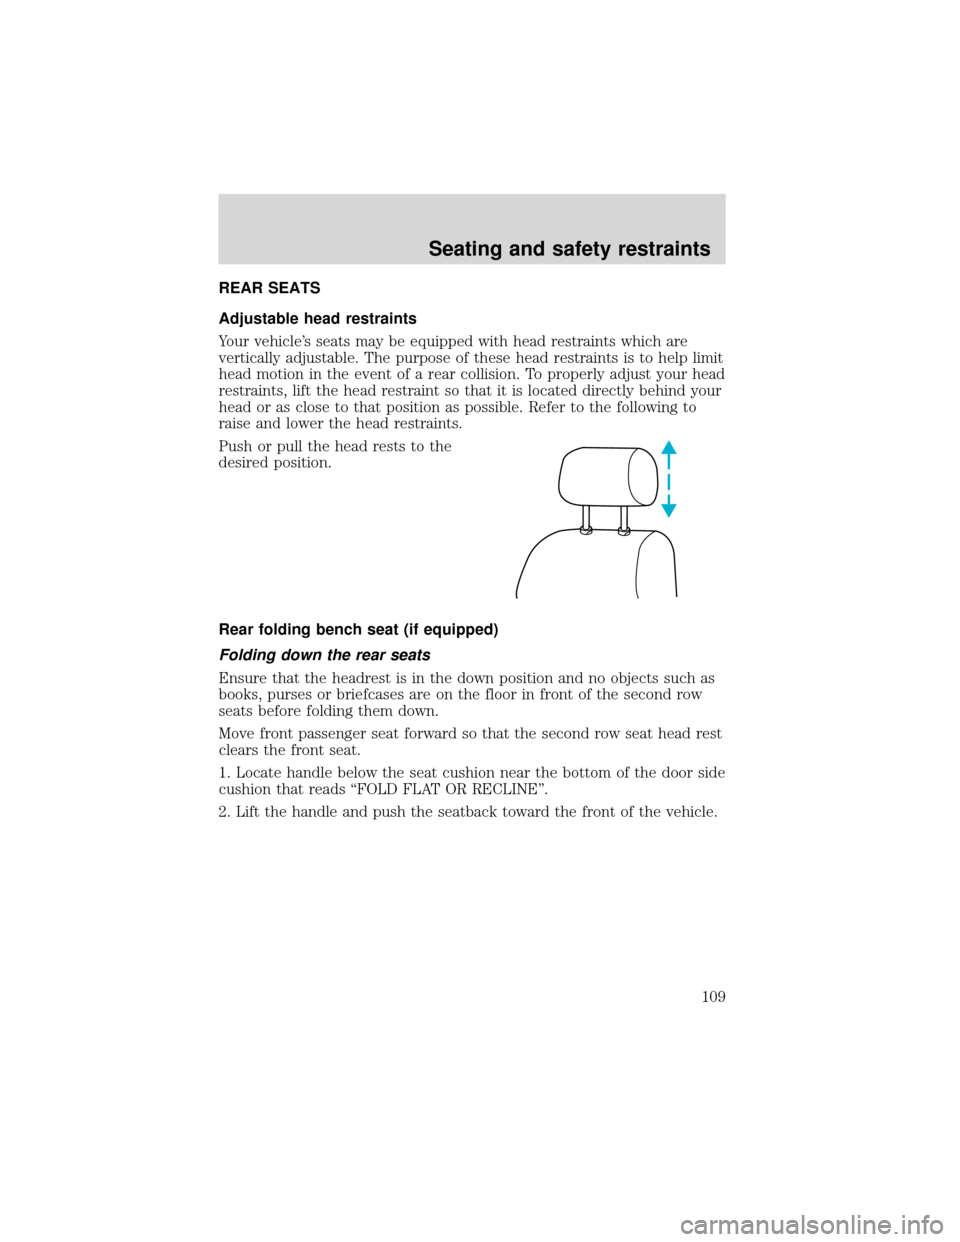
raise and lower the head restraints.
Push or pull the head rests to the
desired position.
Rear folding bench seat (if equipped)
Folding down the rear seats
Ensure that the headrest is in the down position and no objects such as
books, purses or briefcases are on the floor in front of the second row
seats before folding them down.
Move front passenger seat forward so that the second row seat head rest
clears the front seat.
1. Locate handle below the seat cushion near the bottom of the door side
cushion that reads“FOLD FLAT OR RECLINE”.
2. Lift the handle and push the seatback toward the front of the vehicle.
Seating and safety restraints
109