change time FORD EXPEDITION 2001 1.G Owners Manual
[x] Cancel search | Manufacturer: FORD, Model Year: 2001, Model line: EXPEDITION, Model: FORD EXPEDITION 2001 1.GPages: 280, PDF Size: 1.79 MB
Page 4 of 280
INFORMATION ABOUT THIS GUIDE
The information found in this guide was in effect at the time of printing.
Ford may change the contents without notice and without incurring
obligation.
EMISSION WARRANTY
The New Vehicle Limited Warranty includes Bumper-to-Bumper
Coverage, Safety Restraint Coverage, Corrosion Coverage, and 7.3L
Power Stroke Diesel Engine Coverage. In addition, your vehicle is eligible
for Emissions Defect and Emissions Performance Warranties. For a
detailed description of what is covered and what is not covered, refer to
theWarranty Guidethat is provided to you along with your Owner’s
Guide.
Introduction
4
Page 37 of 280
Setting the clock with radio data system (RDS) feature
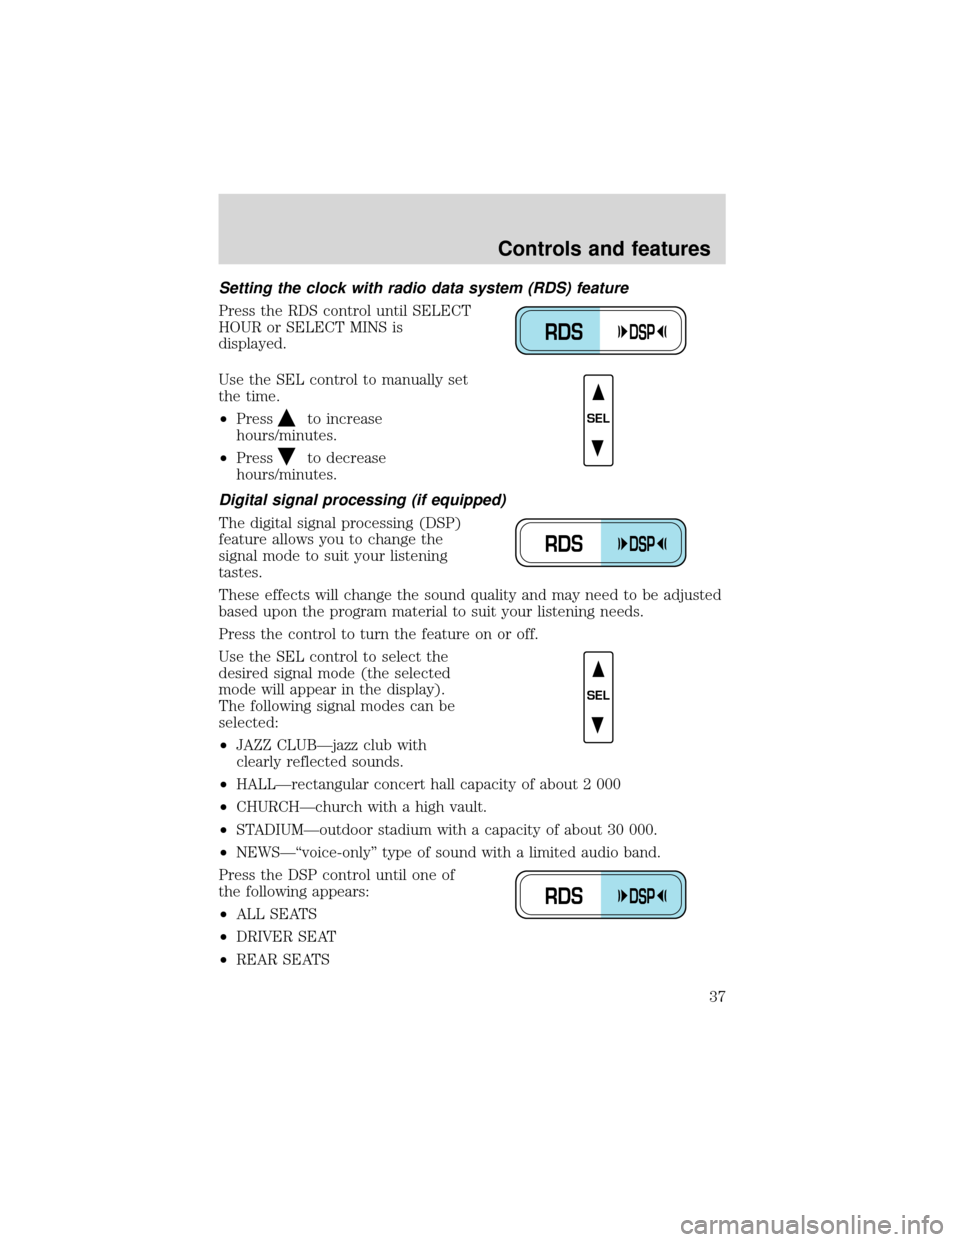
Press the RDS control until SELECT
HOUR or SELECT MINS is
displayed.
Use the SEL control to manually set
the time.
•Press
to increase
hours/minutes.
•Press
to decrease
hours/minutes.
Digital signal processing (if equipped)
The digital signal processing (DSP)
feature allows you to change the
signal mode to suit your listening
tastes.
These effects will change the sound quality and may need to be adjusted
based upon the program material to suit your listening needs.
Press the control to turn the feature on or off.
Use the SEL control to select the
desired signal mode (the selected
mode will appear in the display).
The following signal modes can be
selected:
•JAZZ CLUB—jazz club with
clearly reflected sounds.
•HALL—rectangular concert hall capacity of about 2 000
•CHURCH—church with a high vault.
•STADIUM—outdoor stadium with a capacity of about 30 000.
•NEWS—“voice-only”type of sound with a limited audio band.
Press the DSP control until one of
the following appears:
•ALL SEATS
•DRIVER SEAT
•REAR SEATS
RDSDSP
SEL
RDSDSP
SEL
RDSDSP
Controls and features
37
Page 55 of 280
Cleaning compact discs
Inspect all discs for contamination before playing. If necessary, clean
discs only with an approved CD cleaner and wipe from the center out to
the edge. Do not use circular motion.
CD and CD changer care
•Handle discs by their edges only. Never touch the playing surface.
•Do not expose discs to direct sunlight or heat sources for extended
periods of time.
•Do not insert more than one disc into each slot of the CD changer
magazine.
Do not insert any promotional (odd shaped or sized) discs, or discs
with removable labels into the CD player as jamming may occur.
Cleaning cassette player (if equipped)
Clean the tape player head with a cassette cleaning cartridge after 10 to
12 hours of play in order to maintain the best sound and operation.
Cassette and cassette player care
•Use only cassettes that are 90 minutes long or less.
•Do not expose tapes to direct sunlight, high humidity, extreme heat or
extreme cold. Allow tapes that may have been exposed to extreme
temperatures to reach a moderate temperature before playing.
•Tighten very loose tapes by inserting a finger or pencil into the hole
and turning the hub.
•Remove loose labels before inserting tapes.
•Do not leave tapes in the cassette player for a long time when not
being played.
Radio frequency information
The Federal Communications Commission (FCC) and the Canadian Radio
and Telecommunications Commission(CRTC) establish the frequencies AM
and FM stations may use for their broadcasts. Allowable frequencies are:
AM 530, 540–1600, 1610 kHz
FM 87.7, 87.9–107.7, 107.9 MHz
Not all frequencies are used in a given area.
Controls and features
55
Page 61 of 280
windshield. In approximately 31⁄2minutes or less, the fan speed will start
to increase and the airflow location will change to the floor area.
If unusual conditions exist (i.e.-window fogging, etc.), the manual
override controls allow you to select airflow locations and the fan control
allows you to adjust fan speed as necessary.
Temperature selection
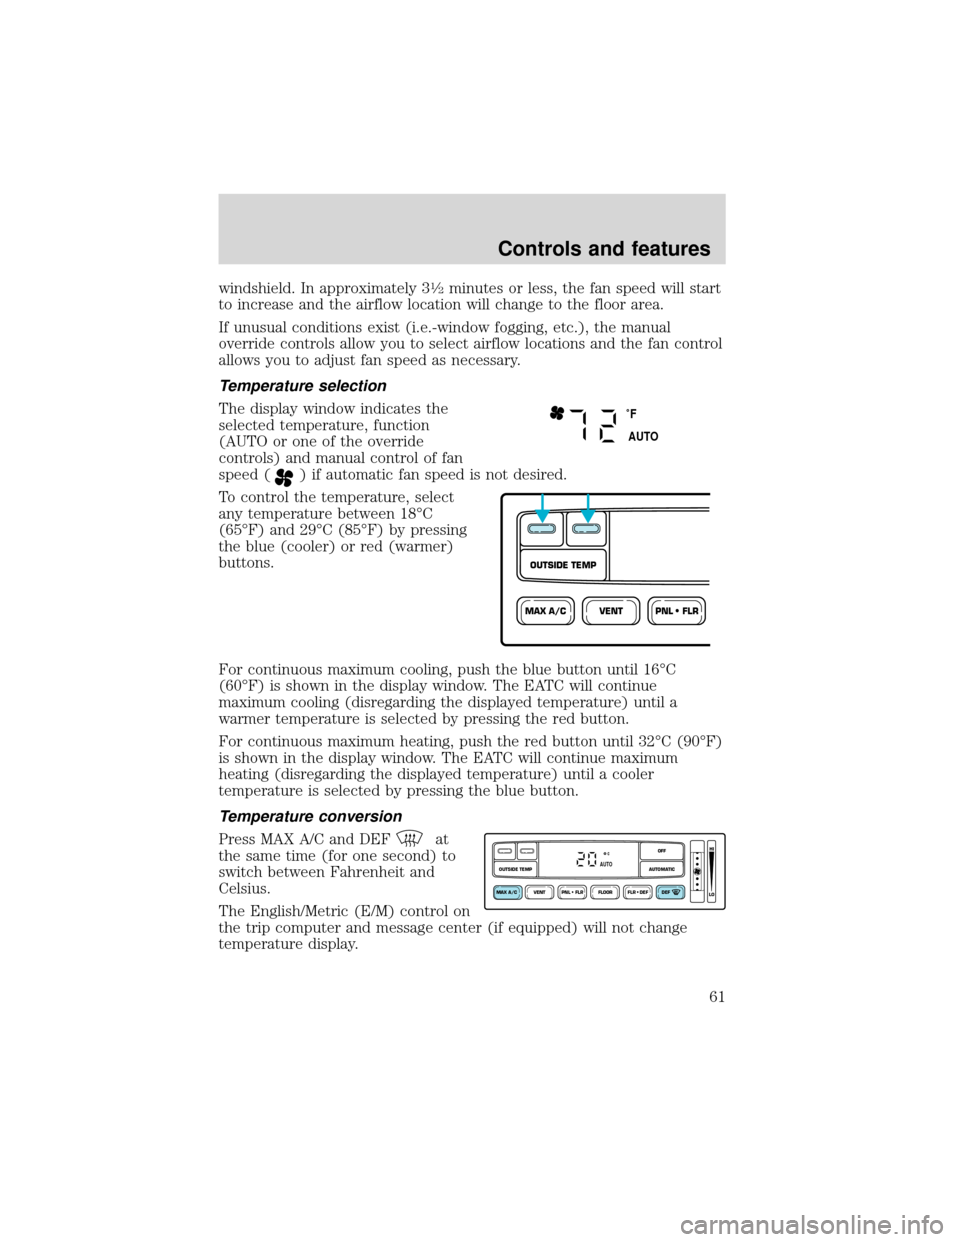
The display window indicates the
selected temperature, function
(AUTO or one of the override
controls) and manual control of fan
speed (
) if automatic fan speed is not desired.
To control the temperature, select
any temperature between 18°C
(65°F) and 29°C (85°F) by pressing
the blue (cooler) or red (warmer)
buttons.
For continuous maximum cooling, push the blue button until 16°C
(60°F) is shown in the display window. The EATC will continue
maximum cooling (disregarding the displayed temperature) until a
warmer temperature is selected by pressing the red button.
For continuous maximum heating, push the red button until 32°C (90°F)
is shown in the display window. The EATC will continue maximum
heating (disregarding the displayed temperature) until a cooler
temperature is selected by pressing the blue button.
Temperature conversion
Press MAX A/C and DEF
at
the same time (for one second) to
switch between Fahrenheit and
Celsius.
The English/Metric (E/M) control on
the trip computer and message center (if equipped) will not change
temperature display.
˚F
AUTO
VENTPNL • FLRMAX A/C
OUTSIDE TEMP
VENT PNL • FLR FLOOR FLR • DEF DEF
HI
LO
MAX A/C
OUTSIDE TEMP AUTOMATICOFFAUTO
Controls and features
61
Page 96 of 280
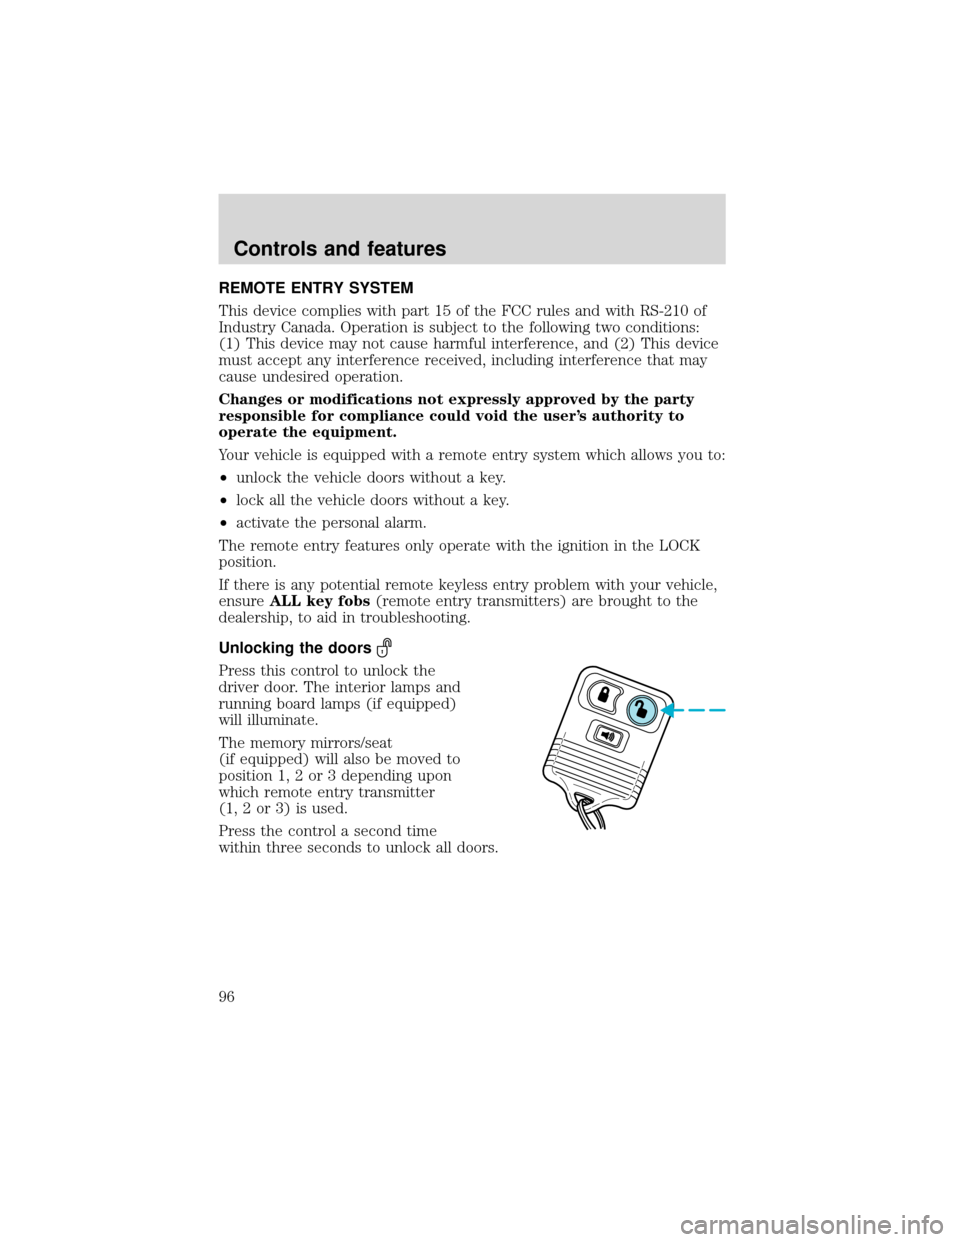
REMOTE ENTRY SYSTEM
This device complies with part 15 of the FCC rules and with RS-210 of
Industry Canada. Operation is subject to the following two conditions:
(1) This device may not cause harmful interference, and (2) This device
must accept any interference received, including interference that may
cause undesired operation.
Changes or modifications not expressly approved by the party
responsible for compliance could void the user’s authority to
operate the equipment.
Your vehicle is equipped with a remote entry system which allows you to:
•unlock the vehicle doors without a key.
•lock all the vehicle doors without a key.
•activate the personal alarm.
The remote entry features only operate with the ignition in the LOCK
position.
If there is any potential remote keyless entry problem with your vehicle,
ensureALL key fobs(remote entry transmitters) are brought to the
dealership, to aid in troubleshooting.
Unlocking the doors
Press this control to unlock the
driver door. The interior lamps and
running board lamps (if equipped)
will illuminate.
The memory mirrors/seat
(if equipped) will also be moved to
position 1, 2 or 3 depending upon
which remote entry transmitter
(1, 2 or 3) is used.
Press the control a second time
within three seconds to unlock all doors.
Controls and features
96
Page 165 of 280
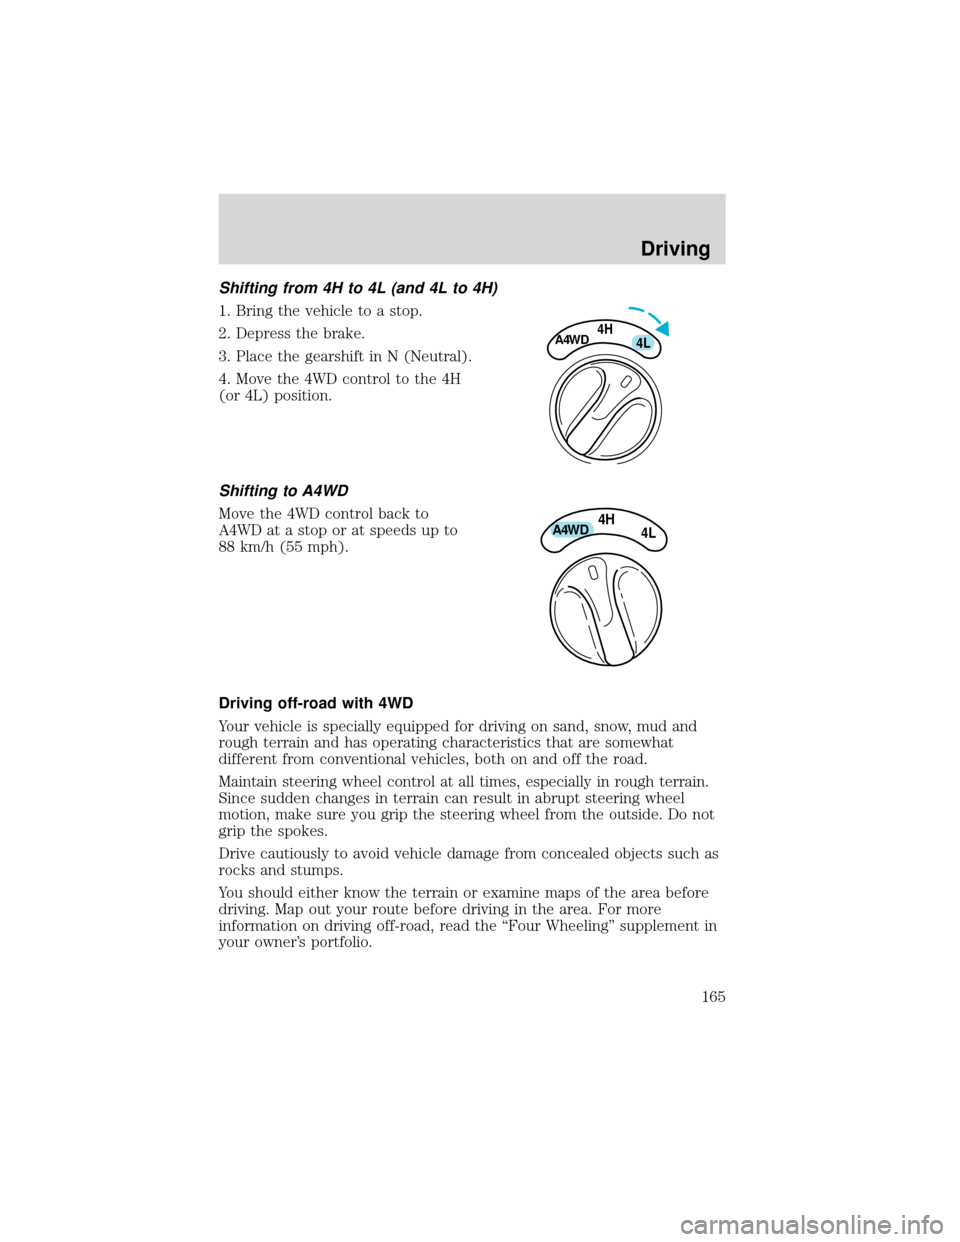
Shifting from 4H to 4L (and 4L to 4H)
1. Bring the vehicle to a stop.
2. Depress the brake.
3. Place the gearshift in N (Neutral).
4. Move the 4WD control to the 4H
(or 4L) position.
Shifting to A4WD
Move the 4WD control back to
A4WD at a stop or at speeds up to
88 km/h (55 mph).
Driving off-road with 4WD
Your vehicle is specially equipped for driving on sand, snow, mud and
rough terrain and has operating characteristics that are somewhat
different from conventional vehicles, both on and off the road.
Maintain steering wheel control at all times, especially in rough terrain.
Since sudden changes in terrain can result in abrupt steering wheel
motion, make sure you grip the steering wheel from the outside. Do not
grip the spokes.
Drive cautiously to avoid vehicle damage from concealed objects such as
rocks and stumps.
You should either know the terrain or examine maps of the area before
driving. Map out your route before driving in the area. For more
information on driving off-road, read the“Four Wheeling”supplement in
your owner’s portfolio.
4HA4WD4L
4HA4WD4L
Driving
165
Page 176 of 280
4WD vehicles electronic shift transfer case (with automatic
transmissions)
4x4 vehicles with electronic shift on the fly cannot be towed with any
wheels on the ground.
Trailer towing tips
•Practice turning, stopping and backing up before starting on a trip to
get the feel of the vehicle trailer combination. When turning, make
wider turns so the trailer wheels will clear curbs and other obstacles.
•Allow more distance for stopping with a trailer attached.
•If you are driving down a long or steep hill, shift to a lower gear. Do
not apply the brakes continuously, as they may overheat and become
less effective.
•The trailer tongue weight should be 10% of the loaded trailer weight.
•After you have traveled 80 km (50 miles), thoroughly check your
hitch, electrical connections and trailer wheel lug nuts.
•When stopped in traffic for long periods of time in hot weather, place
the gearshift in P (Park) and increase idle speed. This aids engine
cooling and air conditioner efficiency.
•Vehicles with trailers should not be parked on a grade. If you must
park on a grade, place wheel chocks under the trailer’s wheels.
Launching or retrieving a boat
When backing down a ramp during boat launching or retrieval,
•Do not allow the static water level to rise above the bottom edge of
the rear bumper and
•Do not allow waves to break higher than 15 cm (6 inches) above the
bottom edge of the rear bumper.
Exceeding these limits may allow water to enter critical vehicle
components, adversely affecting driveability, emissions, reliability and
causing internal transmission damage.
Replace the rear axle lubricant anytime the axle has been submerged in
water. Rear axle lubricant quantities are not to be checked or changed
unless a leak is suspected or repair required.
Disconnect the wiring to the trailer before backing the trailer into the
water. Reconnect the wiring to the trailer after the trailer is removed
from the water.
Driving
176
Page 215 of 280
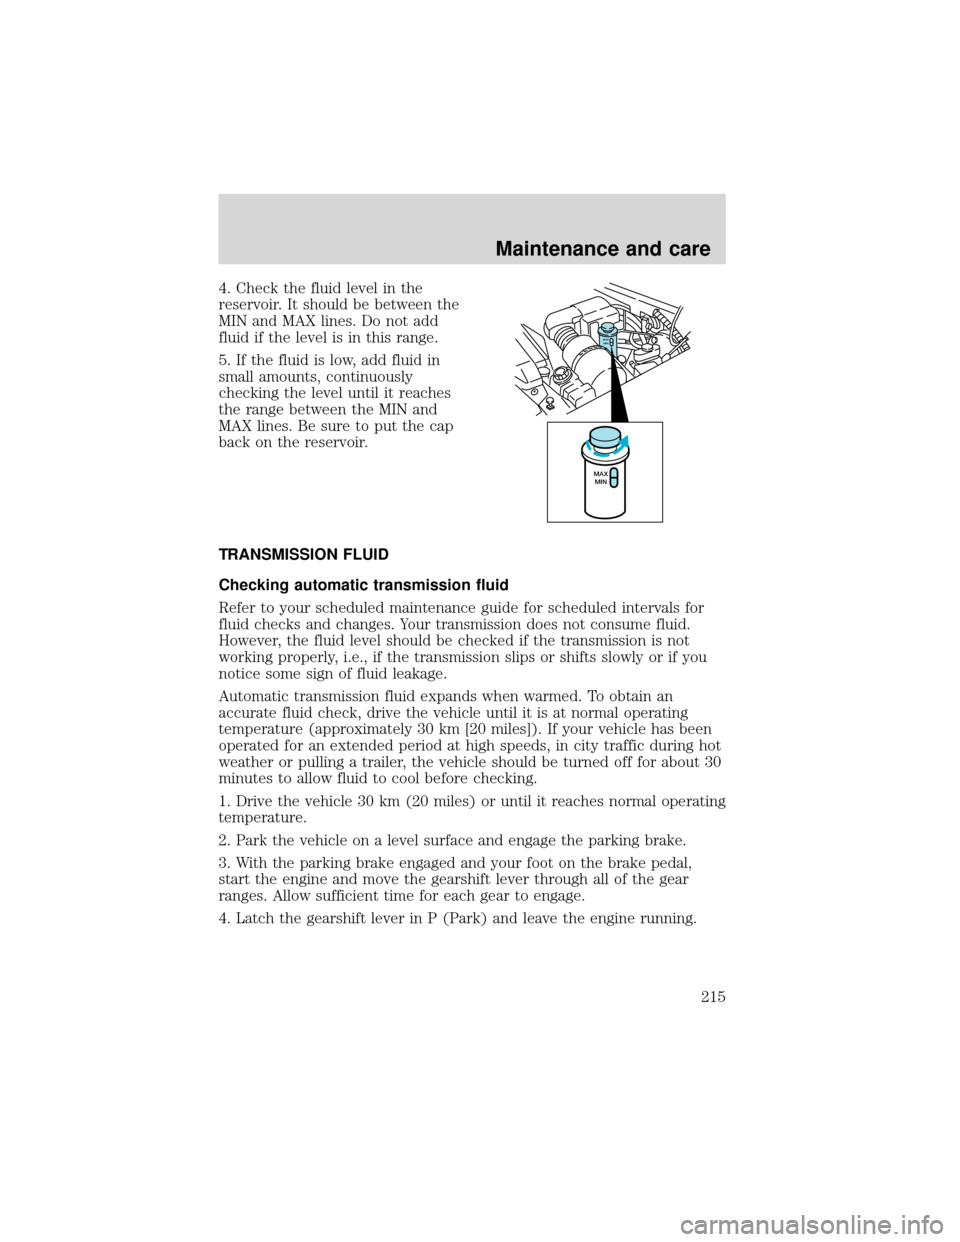
4. Check the fluid level in the
reservoir. It should be between the
MIN and MAX lines. Do not add
fluid if the level is in this range.
5. If the fluid is low, add fluid in
small amounts, continuously
checking the level until it reaches
the range between the MIN and
MAX lines. Be sure to put the cap
back on the reservoir.
TRANSMISSION FLUID
Checking automatic transmission fluid
Refer to your scheduled maintenance guide for scheduled intervals for
fluid checks and changes. Your transmission does not consume fluid.
However, the fluid level should be checked if the transmission is not
working properly, i.e., if the transmission slips or shifts slowly or if you
notice some sign of fluid leakage.
Automatic transmission fluid expands when warmed. To obtain an
accurate fluid check, drive the vehicle until it is at normal operating
temperature (approximately 30 km [20 miles]). If your vehicle has been
operated for an extended period at high speeds, in city traffic during hot
weather or pulling a trailer, the vehicle should be turned off for about 30
minutes to allow fluid to cool before checking.
1. Drive the vehicle 30 km (20 miles) or until it reaches normal operating
temperature.
2. Park the vehicle on a level surface and engage the parking brake.
3. With the parking brake engaged and your foot on the brake pedal,
start the engine and move the gearshift lever through all of the gear
ranges. Allow sufficient time for each gear to engage.
4. Latch the gearshift lever in P (Park) and leave the engine running.
MAX
MIN
MAX
MIN
Maintenance and care
215
Page 233 of 280
Calculating fuel economy
1. Fill the fuel tank completely and record the initial odometer reading
(in kilometers or miles).
2. Each time you fill the tank, record the amount of fuel added (in liters
or gallons).
3. After at least three to five tank fill-ups, fill the fuel tank and record
the current odometer reading.
4. Subtract your initial odometer reading from the current odometer
reading.
5. Follow one of the simple calculations in order to determine fuel
economy:
Multiply liters used by 100, then divide by total kilometers
traveled.
Divide total miles traveled by total gallons used.
Keep a record for at least one month and record the type of driving (city
or highway). This will provide an accurate estimate of the vehicle’s fuel
economy under current driving conditions. Additionally, keeping records
during summer and winter will show how temperature impacts fuel
economy. In general, lower temperatures give lower fuel economy.
Driving style—good driving and fuel economy habits
Give consideration to the lists that follow and you may be able to change
a number of variables and improve your fuel economy.
Habits
•Smooth, moderate operation can yield up to 10% savings in fuel.
•Steady speeds without stopping will usually give the best fuel
economy.
•Idling for long periods of time (greater than one minute) may waste
fuel.
•Anticipate stopping; slowing down may eliminate the need to stop.
•Sudden or hard accelerations may reduce fuel economy.
•Slow down gradually.
•Driving at reasonable speeds (traveling at 88 km/h [55 mph] uses 15%
less fuel than traveling at 105 km/h [65 mph]).
•Revving the engine before turning it off may reduce fuel economy.
Maintenance and care
233
Page 241 of 280
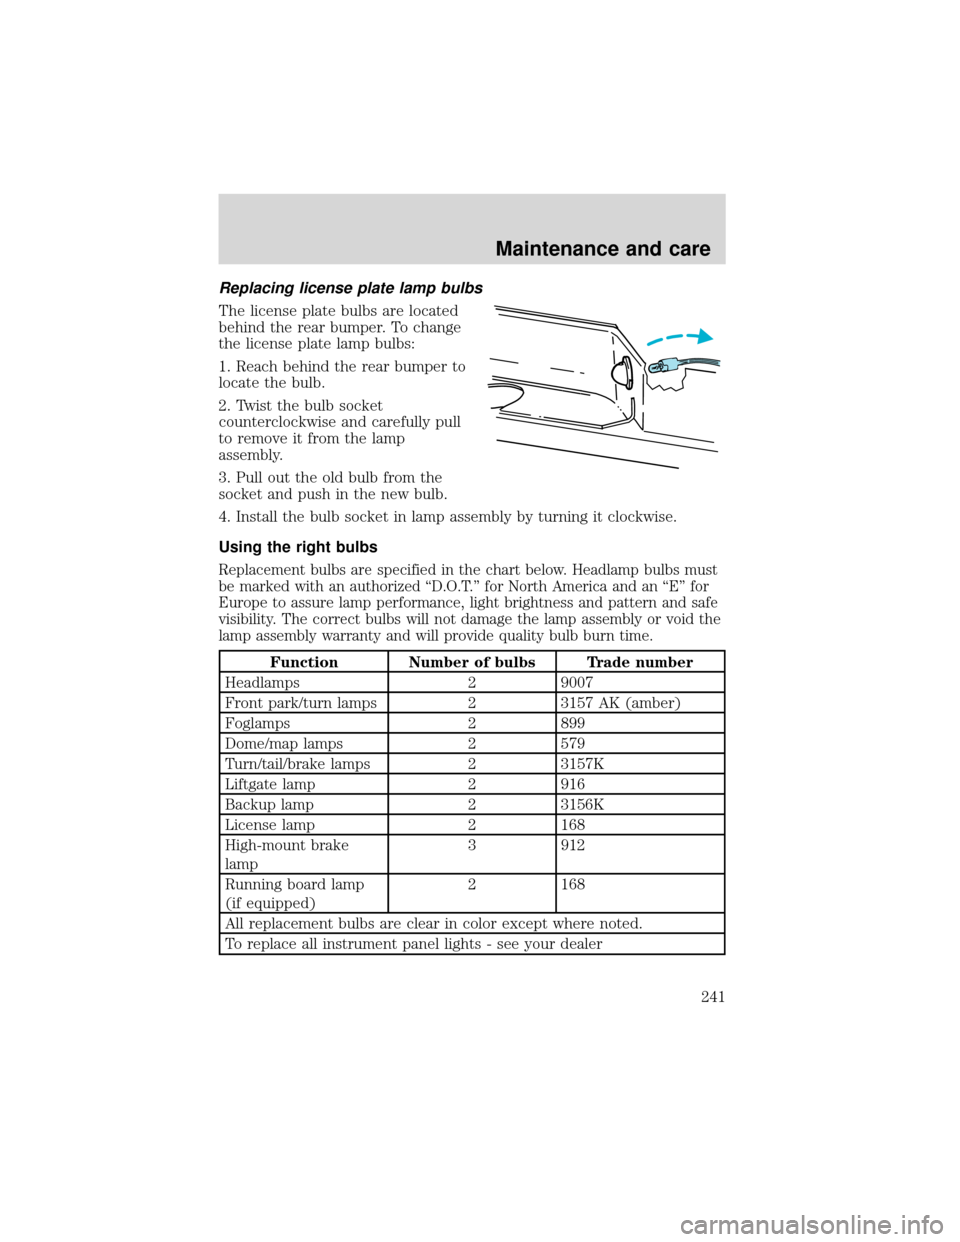
Replacing license plate lamp bulbs
The license plate bulbs are located
behind the rear bumper. To change
the license plate lamp bulbs:
1. Reach behind the rear bumper to
locate the bulb.
2. Twist the bulb socket
counterclockwise and carefully pull
to remove it from the lamp
assembly.
3. Pull out the old bulb from the
socket and push in the new bulb.
4. Install the bulb socket in lamp assembly by turning it clockwise.
Using the right bulbs
Replacement bulbs are specified in the chart below. Headlamp bulbs must
be marked with an authorized“D.O.T.”for North America and an“E”for
Europe to assure lamp performance, light brightness and pattern and safe
visibility. The correct bulbs will not damage the lamp assembly or void the
lamp assembly warranty and will provide quality bulb burn time.
Function Number of bulbs Trade number
Headlamps 2 9007
Front park/turn lamps 2 3157 AK (amber)
Foglamps 2 899
Dome/map lamps 2 579
Turn/tail/brake lamps 2 3157K
Liftgate lamp 2 916
Backup lamp 2 3156K
License lamp 2 168
High-mount brake
lamp3 912
Running board lamp
(if equipped)2 168
All replacement bulbs are clear in color except where noted.
To replace all instrument panel lights - see your dealer
Maintenance and care
241