display FORD EXPEDITION 2001 1.G Owners Manual
[x] Cancel search | Manufacturer: FORD, Model Year: 2001, Model line: EXPEDITION, Model: FORD EXPEDITION 2001 1.GPages: 280, PDF Size: 1.79 MB
Page 16 of 280
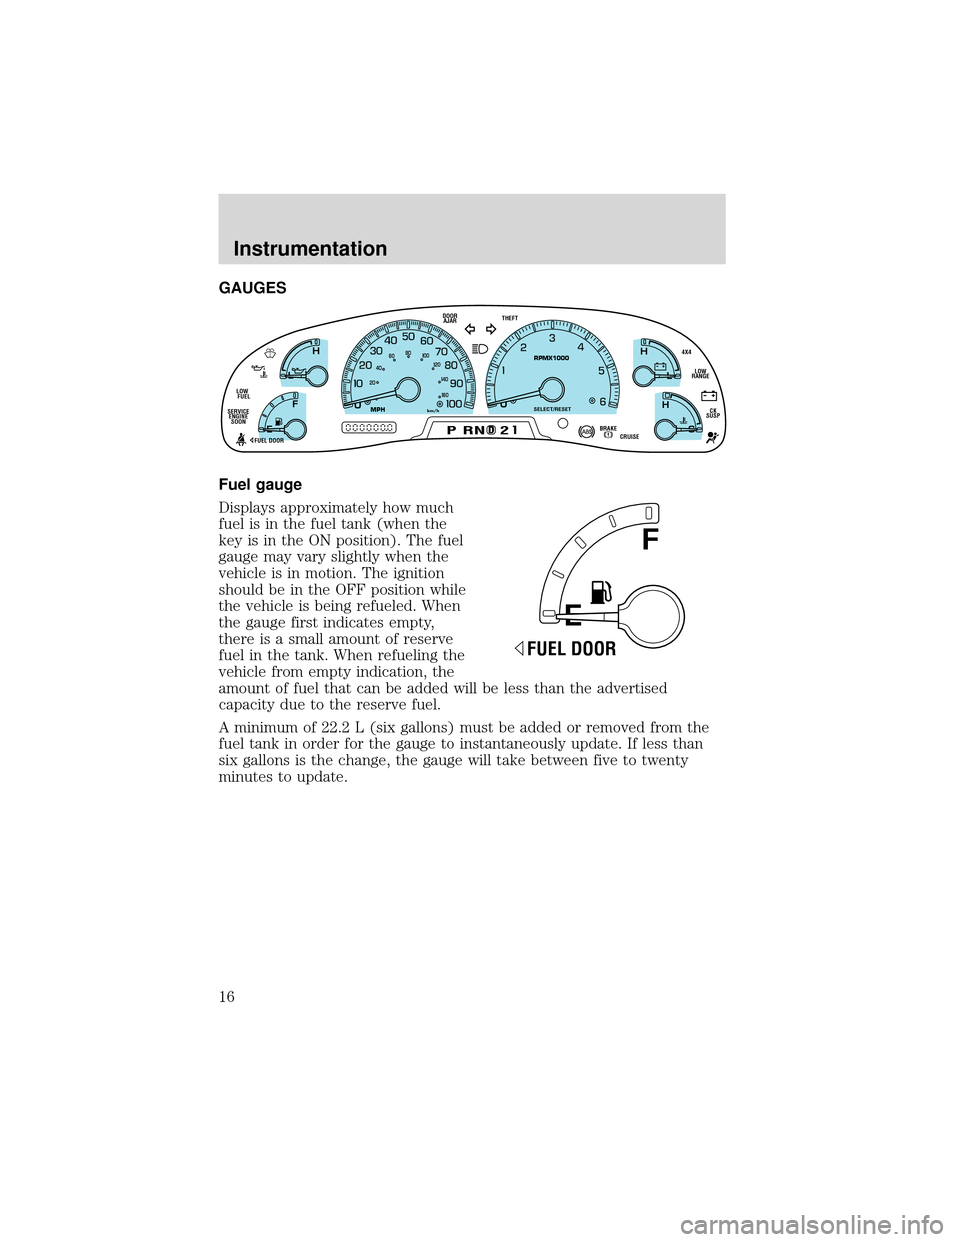
GAUGES
Fuel gauge
Displays approximately how much
fuel is in the fuel tank (when the
key is in the ON position). The fuel
gauge may vary slightly when the
vehicle is in motion. The ignition
should be in the OFF position while
the vehicle is being refueled. When
the gauge first indicates empty,
there is a small amount of reserve
fuel in the tank. When refueling the
vehicle from empty indication, the
amount of fuel that can be added will be less than the advertised
capacity due to the reserve fuel.
A minimum of 22.2 L (six gallons) must be added or removed from the
fuel tank in order for the gauge to instantaneously update. If less than
six gallons is the change, the gauge will take between five to twenty
minutes to update.
D
L
H
L
H
E
F
C
H
BRAKEPRND2CRUISE DOOR
AJAR
SELECT/RESET
4X4
LOW
RANGE
CK
SUSP THEFT
FUEL DOOR SERVICE
ENGINE
SOONLOW
FUEL
0MPHRPMX1000km/h
20406080
00
20
40
60
E
F
FUEL DOOR
Instrumentation
16
Page 18 of 280
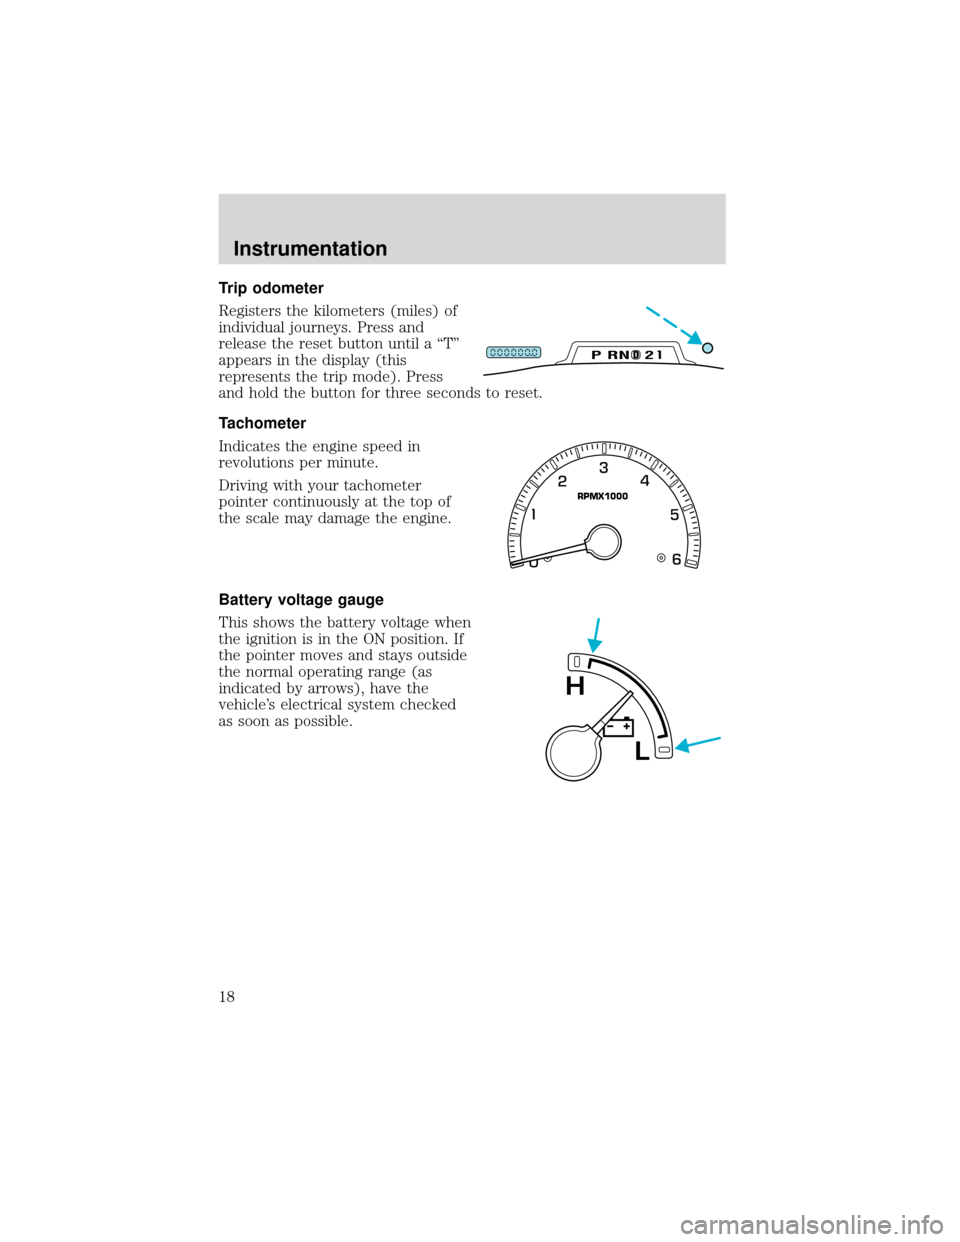
Trip odometer
Registers the kilometers (miles) of
individual journeys. Press and
release the reset button until a“T”
appears in the display (this
represents the trip mode). Press
and hold the button for three seconds to reset.
Tachometer
Indicates the engine speed in
revolutions per minute.
Driving with your tachometer
pointer continuously at the top of
the scale may damage the engine.
Battery voltage gauge
This shows the battery voltage when
the ignition is in the ON position. If
the pointer moves and stays outside
the normal operating range (as
indicated by arrows), have the
vehicle’s electrical system checked
as soon as possible.
DPRND2
RPMX1000
L
H
Instrumentation
18
Page 19 of 280
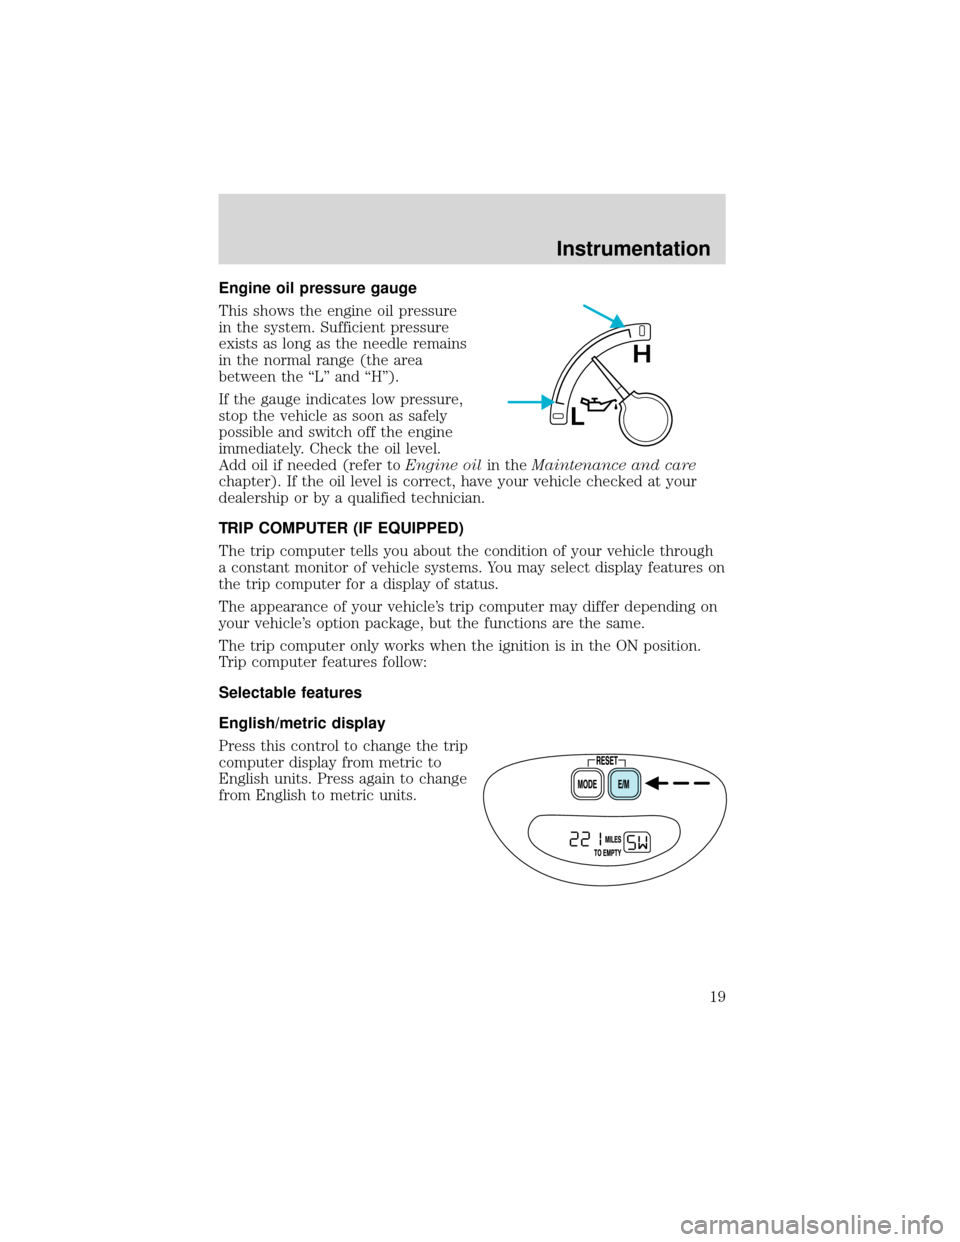
Engine oil pressure gauge
This shows the engine oil pressure
in the system. Sufficient pressure
exists as long as the needle remains
in the normal range (the area
between the“L”and“H”).
If the gauge indicates low pressure,
stop the vehicle as soon as safely
possible and switch off the engine
immediately. Check the oil level.
Add oil if needed (refer toEngine oilin theMaintenance and care
chapter). If the oil level is correct, have your vehicle checked at your
dealership or by a qualified technician.
TRIP COMPUTER (IF EQUIPPED)
The trip computer tells you about the condition of your vehicle through
a constant monitor of vehicle systems. You may select display features on
the trip computer for a display of status.
The appearance of your vehicle’s trip computer may differ depending on
your vehicle’s option package, but the functions are the same.
The trip computer only works when the ignition is in the ON position.
Trip computer features follow:
Selectable features
English/metric display
Press this control to change the trip
computer display from metric to
English units. Press again to change
from English to metric units.
L
H
Instrumentation
19
Page 20 of 280
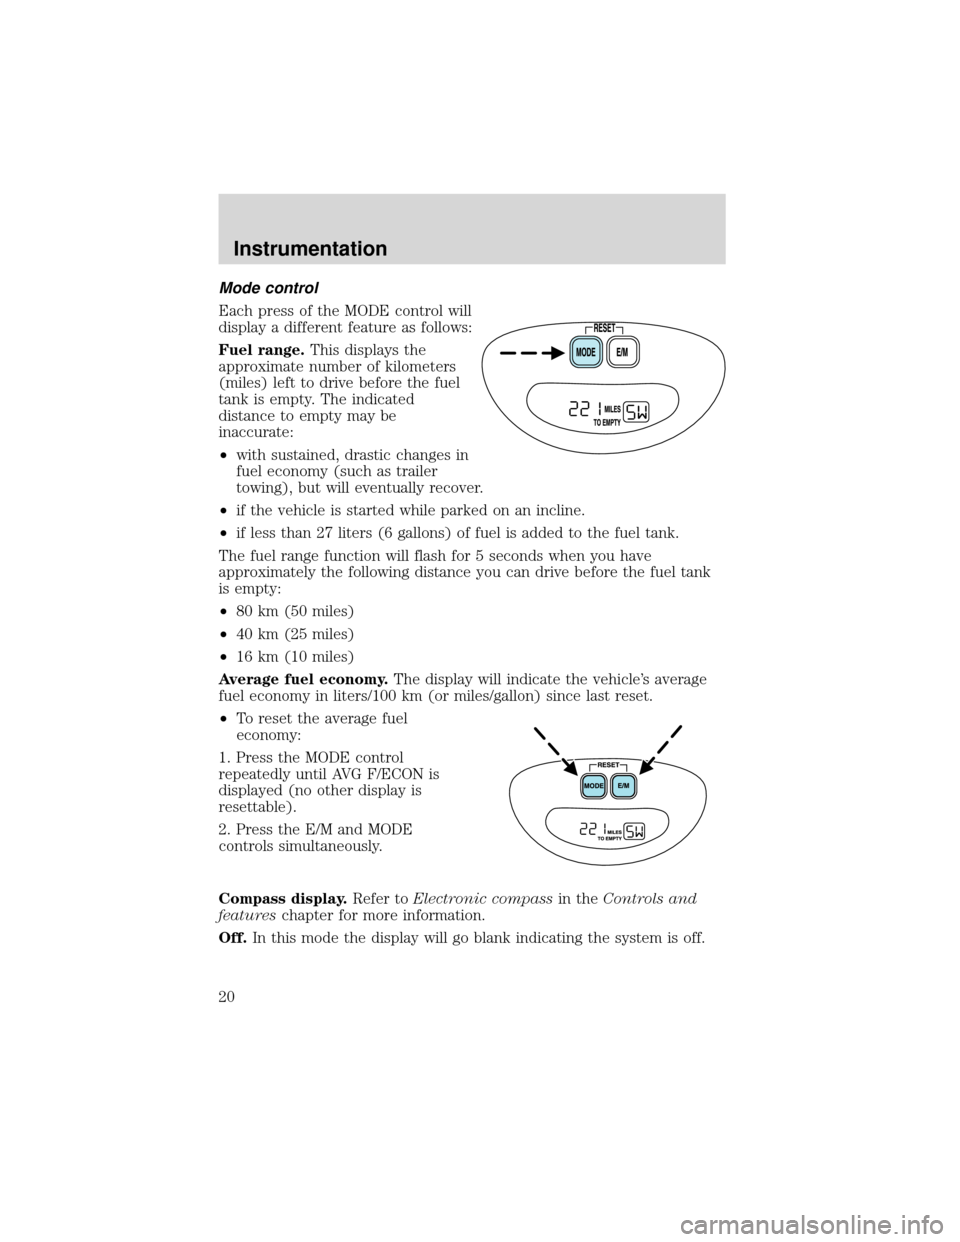
Mode control
Each press of the MODE control will
display a different feature as follows:
Fuel range.This displays the
approximate number of kilometers
(miles) left to drive before the fuel
tank is empty. The indicated
distance to empty may be
inaccurate:
•with sustained, drastic changes in
fuel economy (such as trailer
towing), but will eventually recover.
•if the vehicle is started while parked on an incline.
•if less than 27 liters (6 gallons) of fuel is added to the fuel tank.
The fuel range function will flash for 5 seconds when you have
approximately the following distance you can drive before the fuel tank
is empty:
•80 km (50 miles)
•40 km (25 miles)
•16 km (10 miles)
Average fuel economy.The display will indicate the vehicle’s average
fuel economy in liters/100 km (or miles/gallon) since last reset.
•To reset the average fuel
economy:
1. Press the MODE control
repeatedly until AVG F/ECON is
displayed (no other display is
resettable).
2. Press the E/M and MODE
controls simultaneously.
Compass display.Refer toElectronic compassin theControls and
featureschapter for more information.
Off.In this mode the display will go blank indicating the system is off.
Instrumentation
20
Page 29 of 280
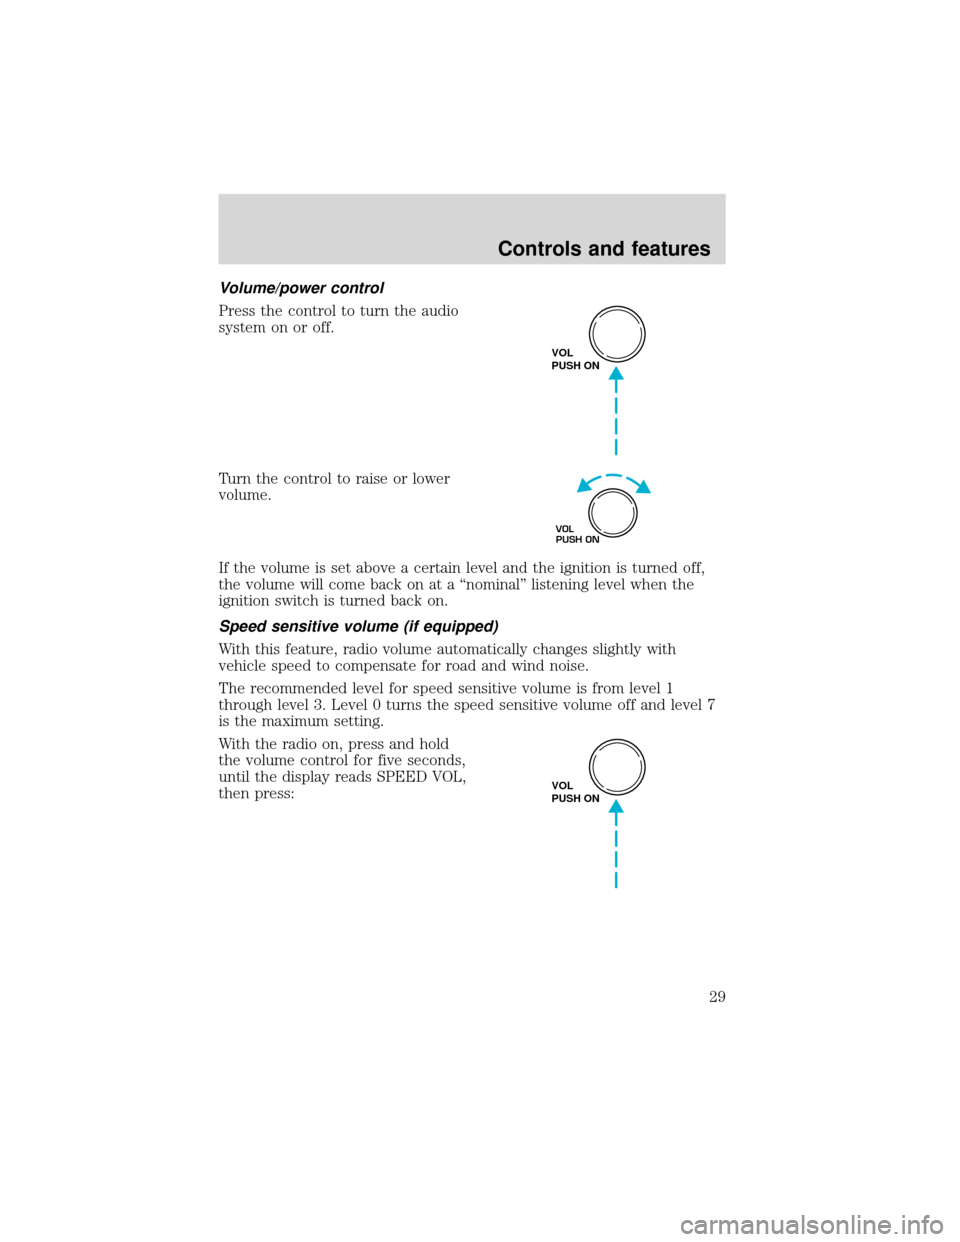
Volume/power control
Press the control to turn the audio
system on or off.
Turn the control to raise or lower
volume.
If the volume is set above a certain level and the ignition is turned off,
the volume will come back on at a“nominal”listening level when the
ignition switch is turned back on.
Speed sensitive volume (if equipped)
With this feature, radio volume automatically changes slightly with
vehicle speed to compensate for road and wind noise.
The recommended level for speed sensitive volume is from level 1
through level 3. Level 0 turns the speed sensitive volume off and level 7
is the maximum setting.
With the radio on, press and hold
the volume control for five seconds,
until the display reads SPEED VOL,
then press:
VOL
PUSH ON
VOL
PUSH ON
VOL
PUSH ON
Controls and features
29
Page 37 of 280
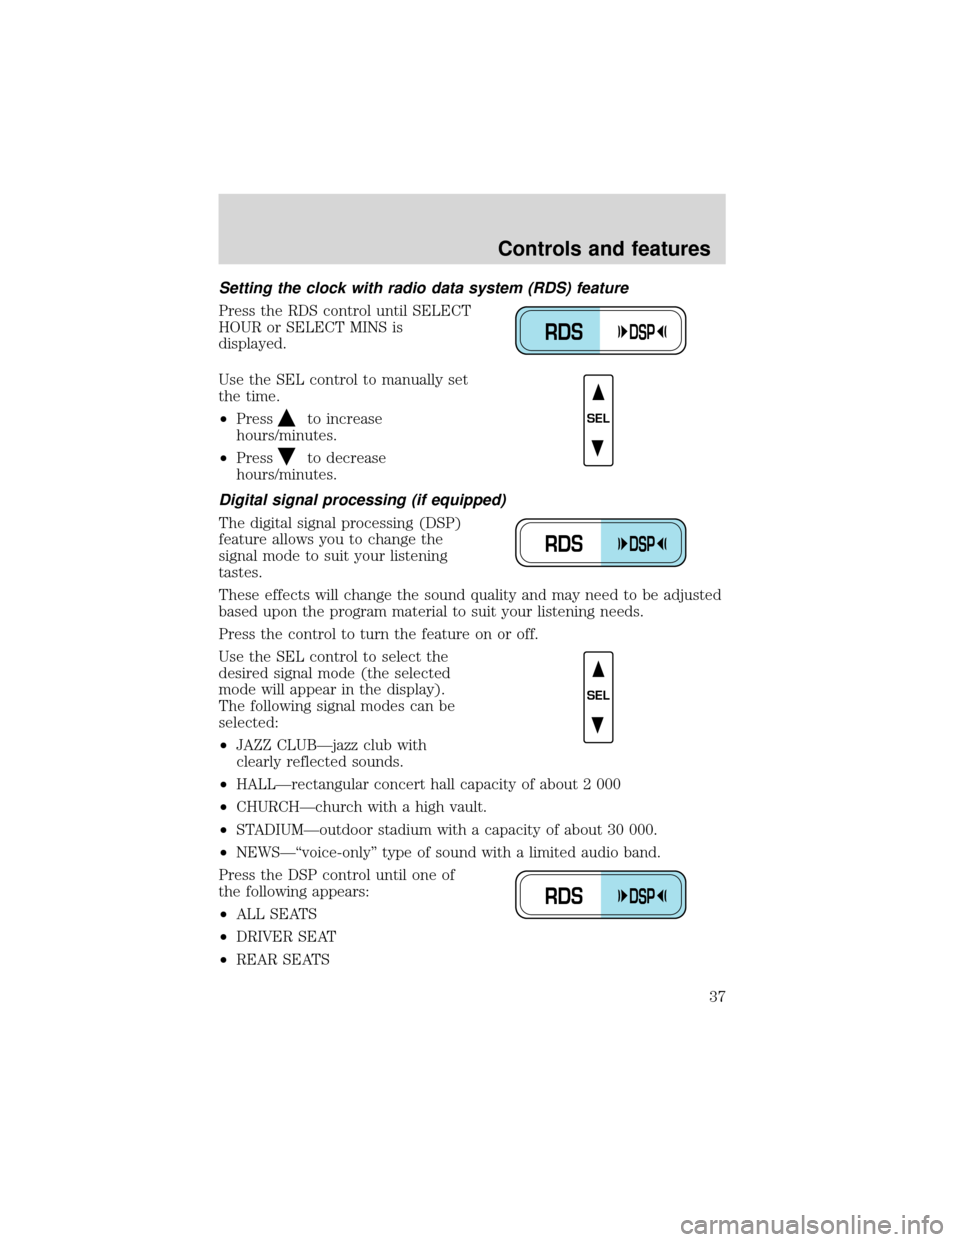
Setting the clock with radio data system (RDS) feature
Press the RDS control until SELECT
HOUR or SELECT MINS is
displayed.
Use the SEL control to manually set
the time.
•Press
to increase
hours/minutes.
•Press
to decrease
hours/minutes.
Digital signal processing (if equipped)
The digital signal processing (DSP)
feature allows you to change the
signal mode to suit your listening
tastes.
These effects will change the sound quality and may need to be adjusted
based upon the program material to suit your listening needs.
Press the control to turn the feature on or off.
Use the SEL control to select the
desired signal mode (the selected
mode will appear in the display).
The following signal modes can be
selected:
•JAZZ CLUB—jazz club with
clearly reflected sounds.
•HALL—rectangular concert hall capacity of about 2 000
•CHURCH—church with a high vault.
•STADIUM—outdoor stadium with a capacity of about 30 000.
•NEWS—“voice-only”type of sound with a limited audio band.
Press the DSP control until one of
the following appears:
•ALL SEATS
•DRIVER SEAT
•REAR SEATS
RDSDSP
SEL
RDSDSP
SEL
RDSDSP
Controls and features
37
Page 38 of 280
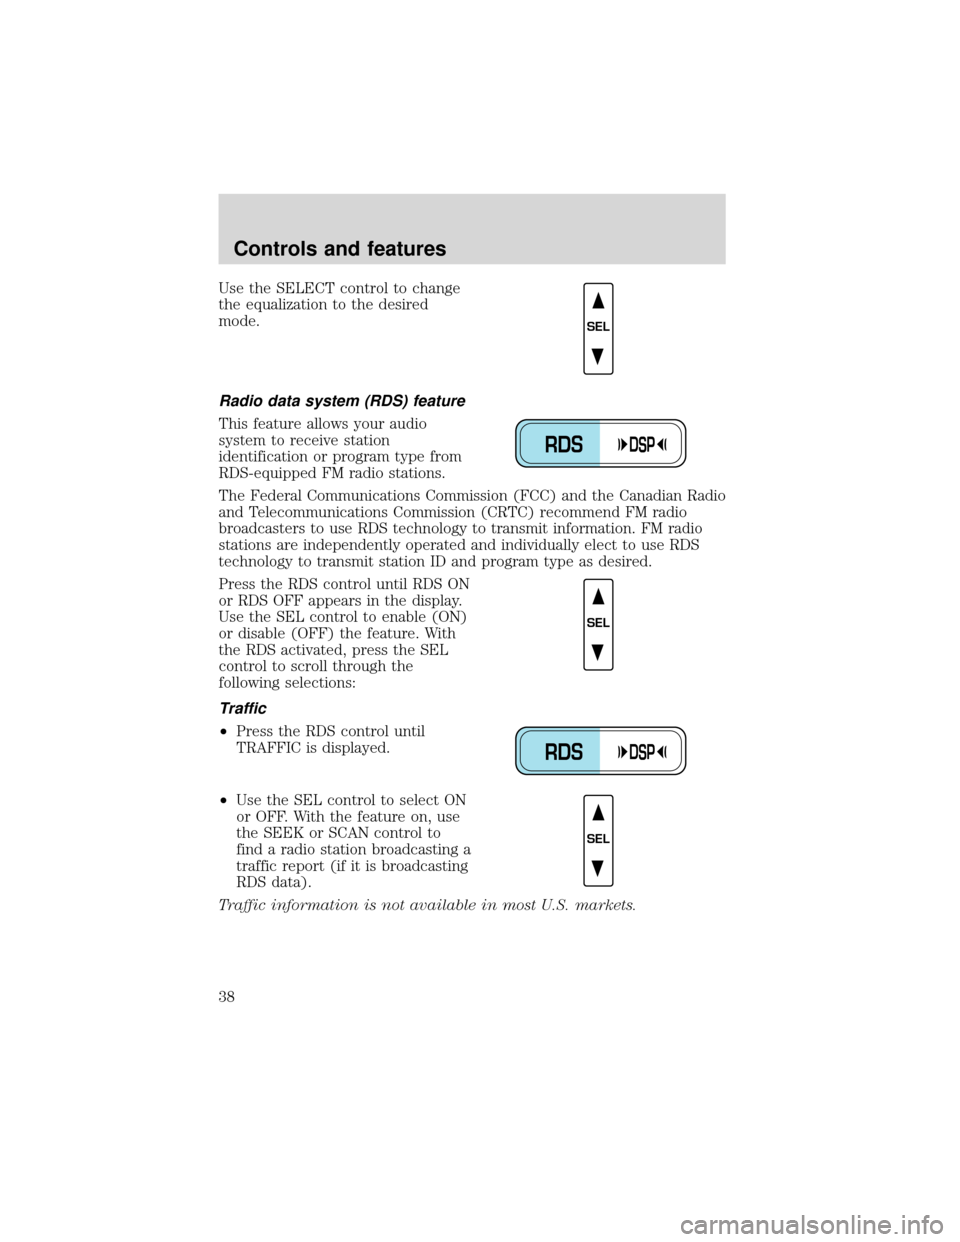
Use the SELECT control to change
the equalization to the desired
mode.
Radio data system (RDS) feature
This feature allows your audio
system to receive station
identification or program type from
RDS-equipped FM radio stations.
The Federal Communications Commission (FCC) and the Canadian Radio
and Telecommunications Commission (CRTC) recommend FM radio
broadcasters to use RDS technology to transmit information. FM radio
stations are independently operated and individually elect to use RDS
technology to transmit station ID and program type as desired.
Press the RDS control until RDS ON
or RDS OFF appears in the display.
Use the SEL control to enable (ON)
or disable (OFF) the feature. With
the RDS activated, press the SEL
control to scroll through the
following selections:
Traffic
•Press the RDS control until
TRAFFIC is displayed.
•Use the SEL control to select ON
or OFF. With the feature on, use
the SEEK or SCAN control to
find a radio station broadcasting a
traffic report (if it is broadcasting
RDS data).
Traffic information is not available in most U.S. markets.
SEL
RDSDSP
SEL
RDSDSP
SEL
Controls and features
38
Page 39 of 280
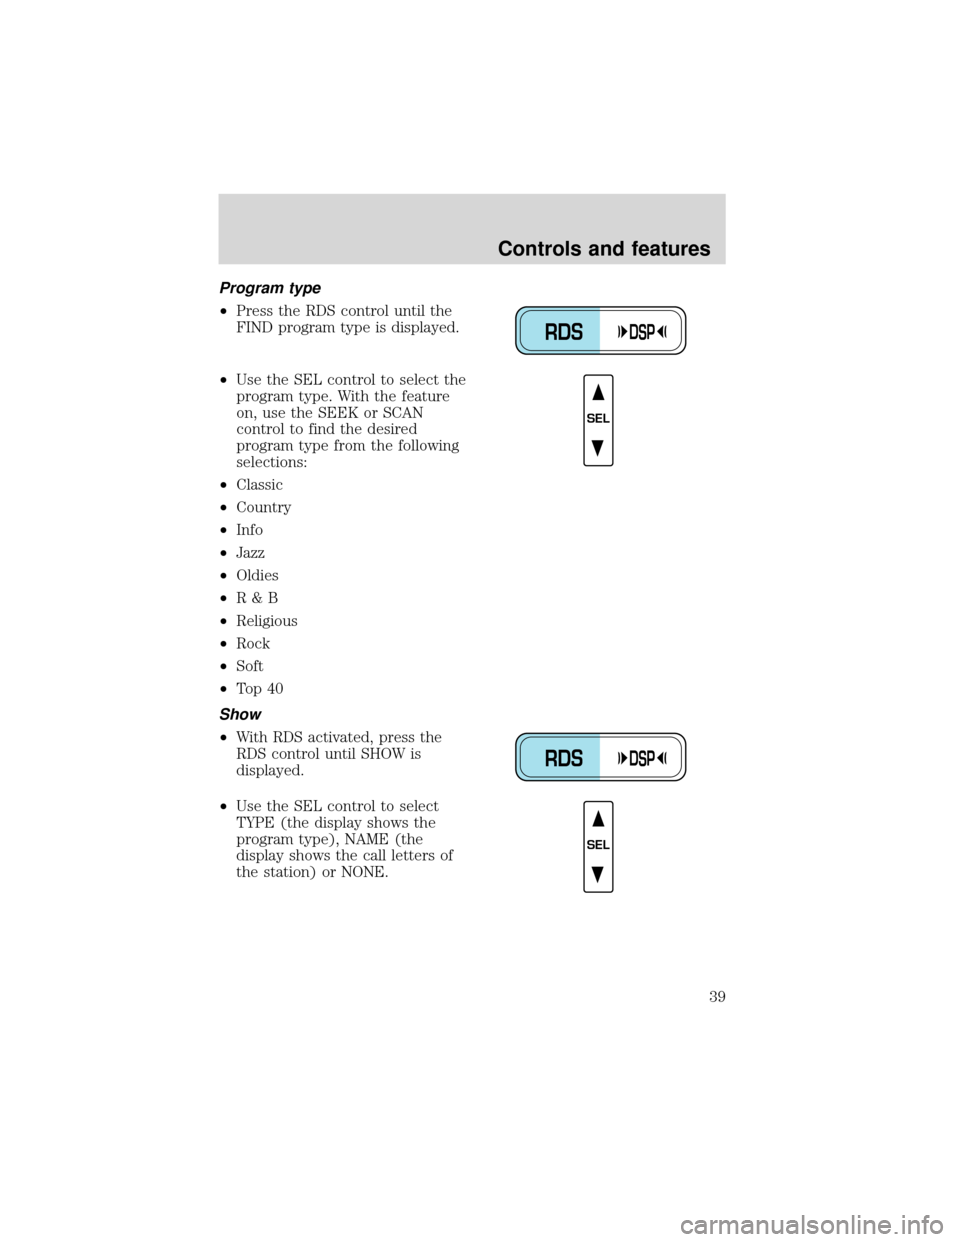
Program type
•Press the RDS control until the
FIND program type is displayed.
•Use the SEL control to select the
program type. With the feature
on, use the SEEK or SCAN
control to find the desired
program type from the following
selections:
•Classic
•Country
•Info
•Jazz
•Oldies
•R&B
•Religious
•Rock
•Soft
•To p 4 0
Show
•With RDS activated, press the
RDS control until SHOW is
displayed.
•Use the SEL control to select
TYPE (the display shows the
program type), NAME (the
display shows the call letters of
the station) or NONE.
RDSDSP
SEL
RDSDSP
SEL
Controls and features
39
Page 47 of 280
Radio data system (RDS) feature
This feature allows your audio
system to receive station
identification or program type from
RDS-equipped FM radio station.
The Federal Communications Commission (FCC) and the Canadian Radio
and Telecommunications Commission (CRTC) recommend FM radio
broadcasters to use RDS technology to transmit information. FM radio
stations are independently operated and individually elect to use RDS
technology to transmit station ID and program type as desired.
Press the RDS control until RDS ON or RDS OFF appear in the display.
Use the SEL control to enable (ON) or disable (OFF) the feature. Once
activated, you can choose from the following items:
Traffic
•Press the RDS control until
TRAFFIC is displayed.
•Use the SEL control to select ON
or OFF. With the feature on, use
the SEEK or SCAN control to
find a radio station broadcasting a
traffic report (if it is broadcasting
RDS data).
Program type
•Press the RDS control until FIND
program type is displayed.
RDS
RDS
SEL
RDS
Controls and features
47
Page 48 of 280
•Use the SEL control to select the
program type. With the feature
on, use the SEEK or SCAN
control to find the desired
program type from the following
selections:
•Classic
•Country
•Info
•Jazz
•Oldies
•R&B
•Religious
•Rock
•Soft
•To p 4 0
Show
•With RDS activated, press the
RDS control until SHOW is
displayed.
•Use the SEL control to select
TYPE, NAME or NONE.
Mute mode
Press the control to mute the
playing media. Press the control
again to return to the playing media.
SEL
RDS
SEL
MUTE
Controls and features
48